Using Canva, it’s extremely easy to design professional-looking graphics. You don’t need to be a professional to use Canva. With its intuitive drag-and-drop approach, you’ve finally created your first design.
Whether you were designing cards for your business or flyers for a yard sale, when you went ahead to print it, the only option you could find is Canva’s printing service. But you have your own printer and don’t want to spend money on their printing services.
No worries, you can print your designs using your personal printer. You can download your design and print it like any other file on your computer. It’s as easy. But when printing your designs, there are some things you need to pay attention to. Let’s see what all that’s about.
Before You Download your Design to Print
Downloading your design for printing is a piece of cake. But before you download your design, you need to make sure that your design is print-ready. From colors of the print to bleed and crop marks, a lot of thought goes into making your design print-ready.
Use the Right Colors
Printing the design on paper is different than publishing it online. When publishing a design online, you don’t have to worry about colors. In fact, you get to create designs with diverse color palettes. But print colors are not as rich and diverse as screen colors.
So, it’s better to use colors that are print-friendly. Canva suggests using CMYK colors for the designs you intend to print. The Cyan, Magenta, Yellow, Black color model refers to the ink plates used in printing instead of the RGB color values computer screens use. You can use an online CMYK color picker to build your color palette for CMYK colors.
You can either create your designs as you normally do and then make a copy and change the colors to CMYK equivalents in the copy or use CMYK colors, to begin with.
Check Margins
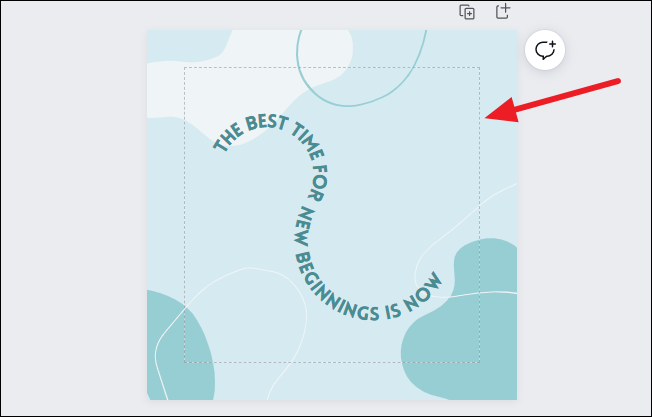
Before printing any designs, make sure that any important design elements aren’t cut while printing them. For that, always ensure that important information or design elements are inside the margins.
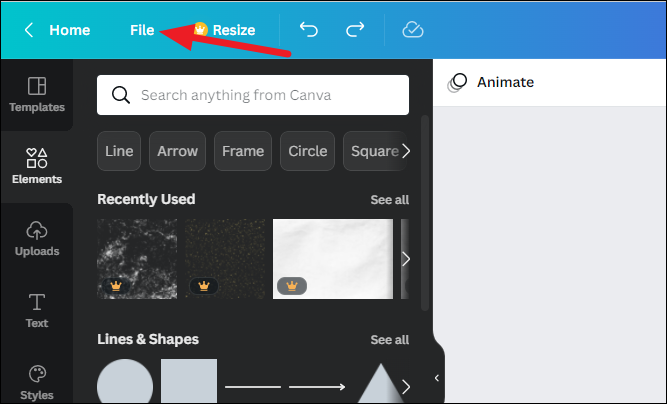
Open your design and go to the ‘File’ option on the editor menu bar.
Then, select ‘Show margins’ from the menu that appears.
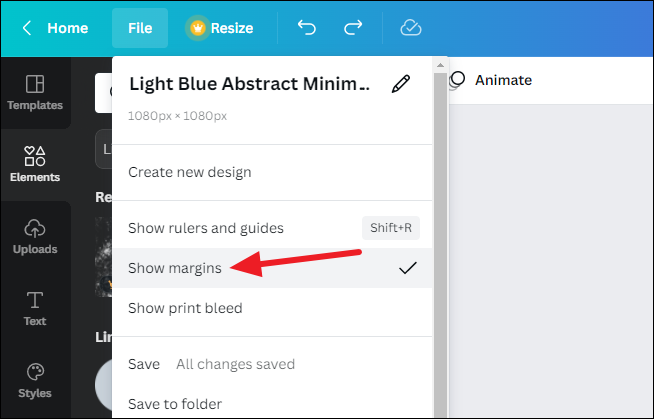
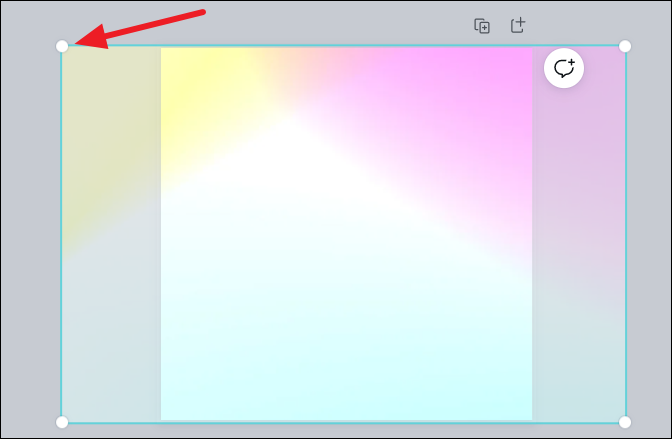
A border of broken lines will appear on all the pages in the design. Rearrange any important elements to fall inside the margins.
Check for Print Bleed
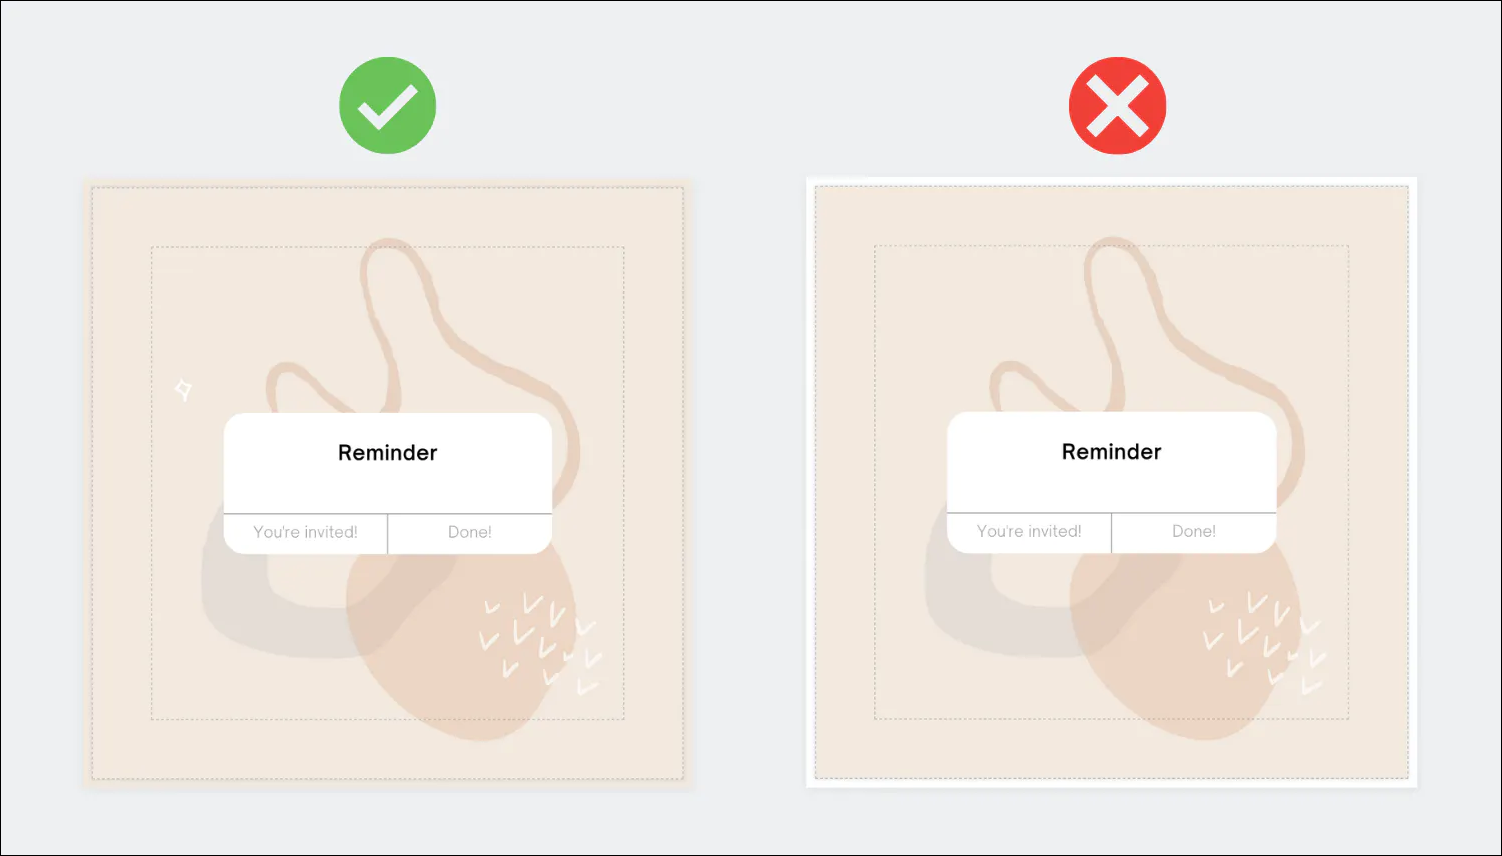
When printing, it’s paramount to check for print bleed to make sure there are no white gaps at the edge of the paper or card.
Go to the ‘File’ option from the editor menu bar and click ‘Show print bleed’ from the menu.
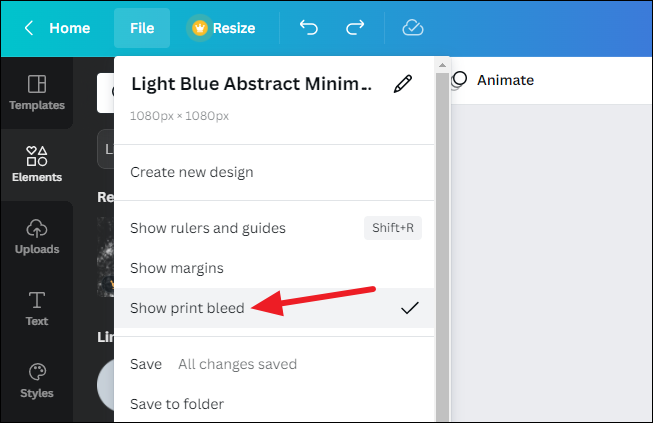
A border of broken lines will appear close to the edge of the design. You cannot fix or move this margin. If there are any white gaps beyond this border, adjust your background to cover it entirely.
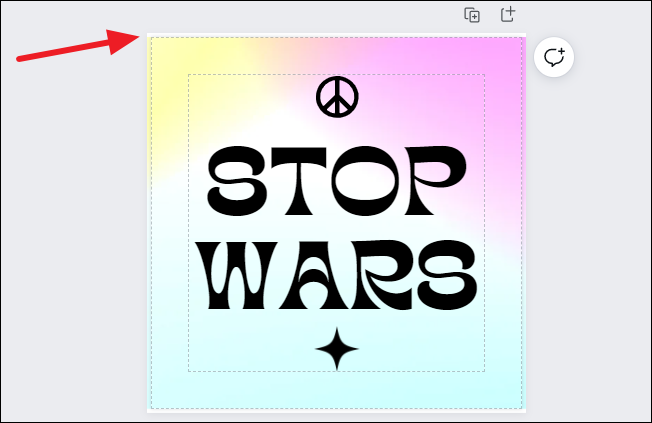
Double-click the background to edit it. Then, drag and drop the edges to cover the gaps completely. You can also resize any elements you don’t mind being cut around the edges.
Download and Print Your Design
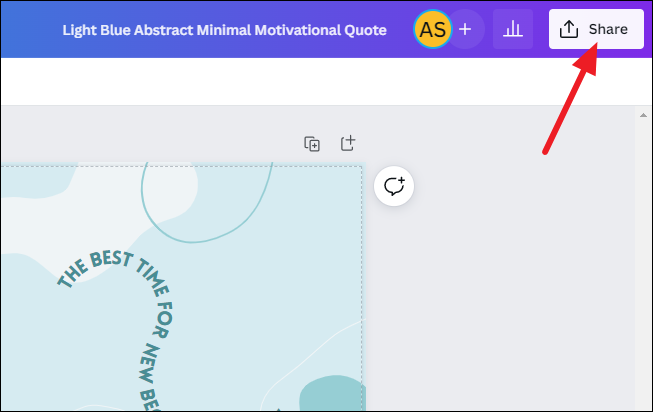
Once you’ve tweaked the design with all the necessary requirements, it’s ready for download. Click the ‘Share’ button from the editor menu bar.
Then, click ‘Download’ from the menu.
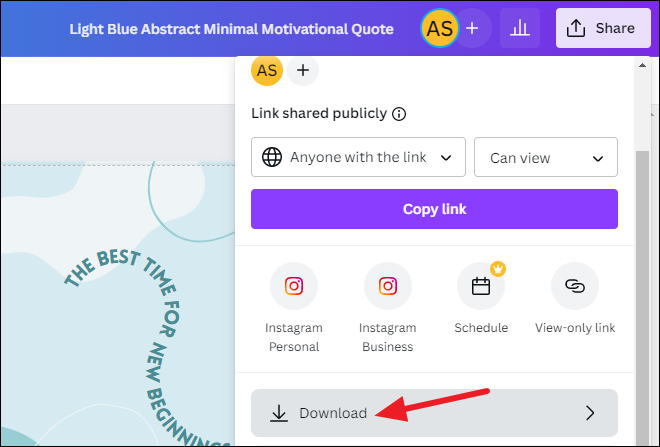
Go to the option for ‘File type’ and click the format underneath it to expand the drop-down menu.

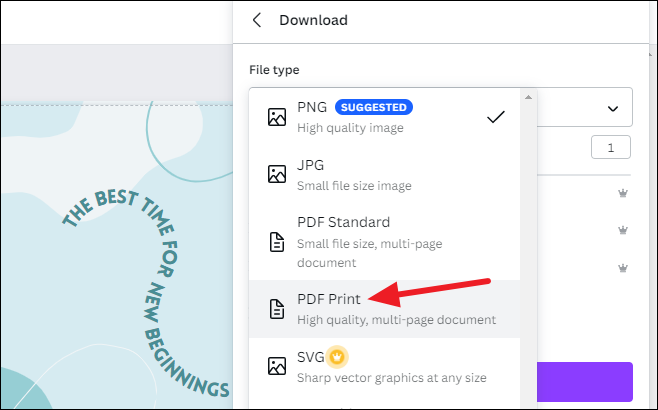
Select ‘PDF Print’ from the available file formats. This is the option you need to choose every time you want to print high-quality designs.
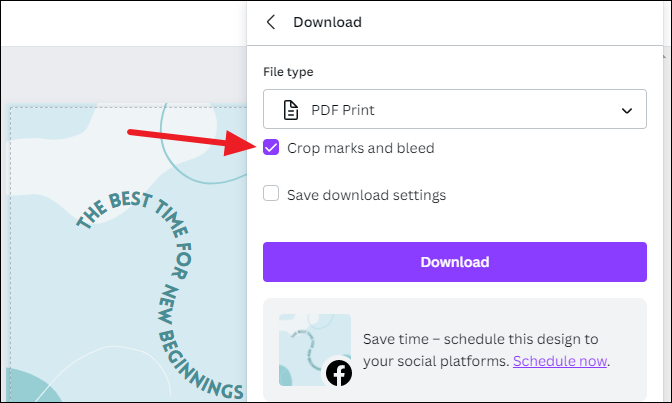
Check the option for ‘Crop marks and bleed’ so you know where to trim the paper once you print the design. If you don’t want crop marks, leave this option unchecked.
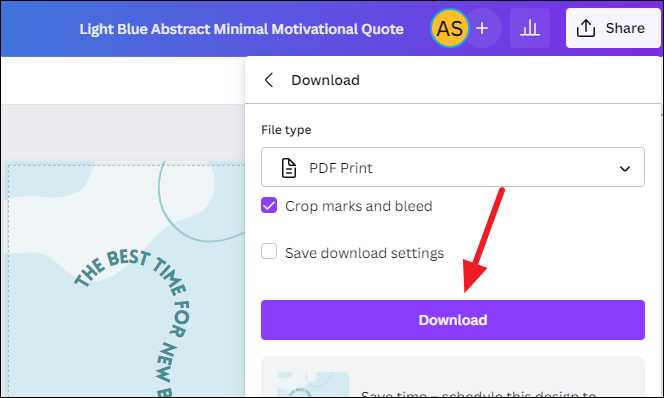
Finally, click the ‘Download’ button. If you have any premium elements in the design, click ‘Pay and download’ and pay for the element first.
The PDF for the design will be downloaded in the Downloads folder of your computer. You can now print it like any other document.
Open the PDF and click the ‘Print’ option or use the keyboard shortcut Ctrl + P (for Windows) and Command + P (for Mac).
Select your Printer model and make sure it supports printing in the size of your design. Set the scale to 100% to ensure the design is printed in the correct size and click ‘Print’.
Canva is a great place to make your own designs when you’re on a budget. And once you’ve created your design, printing it is a no-brainer either. All you have to do is tweak some settings and you’re good to go.