
Twitter Spaces has been around for some time on the microblogging website. However, initially, Twitter had restricted the use of this feature to users having 600 or more followers.
Fortunately, this restriction has rolled back and this functionality is open to all users irrespective of their followers count on their account.
In case you are not aware of what is ‘Twitter Spaces’, it acts as a platform for people to have an audio-only conference where people can join in and listen to the conversation. Though there is a limit of 13 speakers in Twitter Space (including the host and co-host(s)), there is no limit on the number of people that can join in as listeners.
Recording Twitter Spaces from your iPhone
Recording a Space on Twitter is as plain-sailing as it gets. You can share any recorded space until it expires, that is 30 days from the time of recording completion.
To record a space, head to the Twitter app either from the home screen or from the app library of your device.

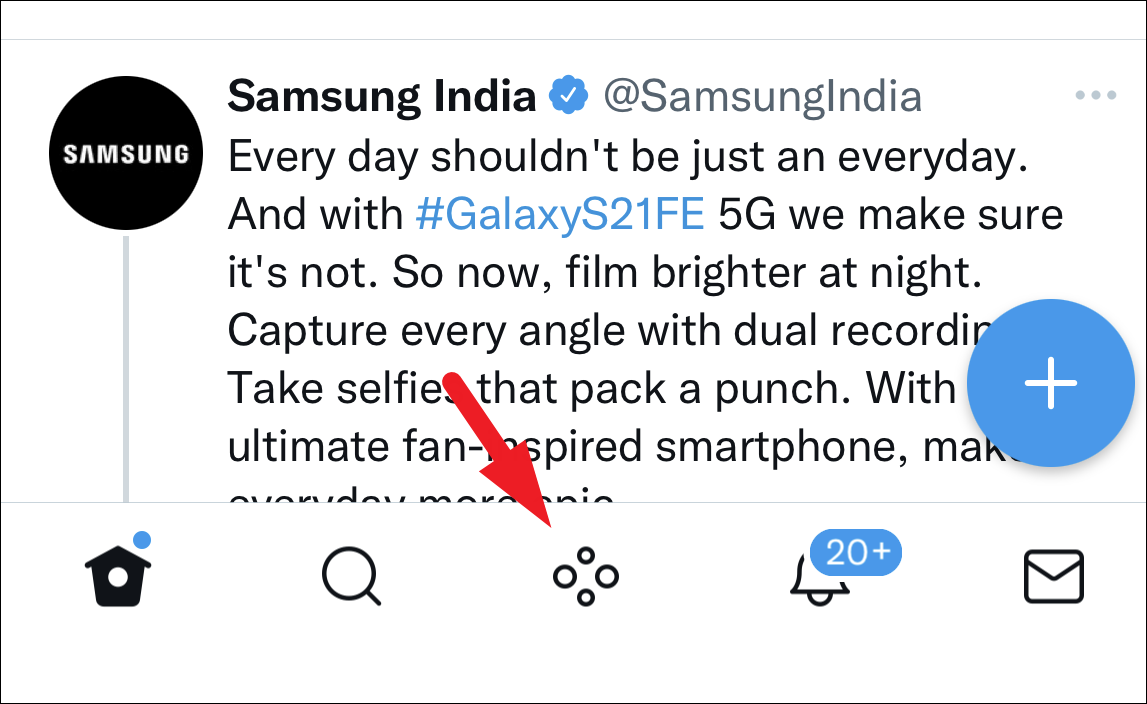
Next, tap on the ‘Spaces’ icon present at the bottom centre section of your screen to continue.
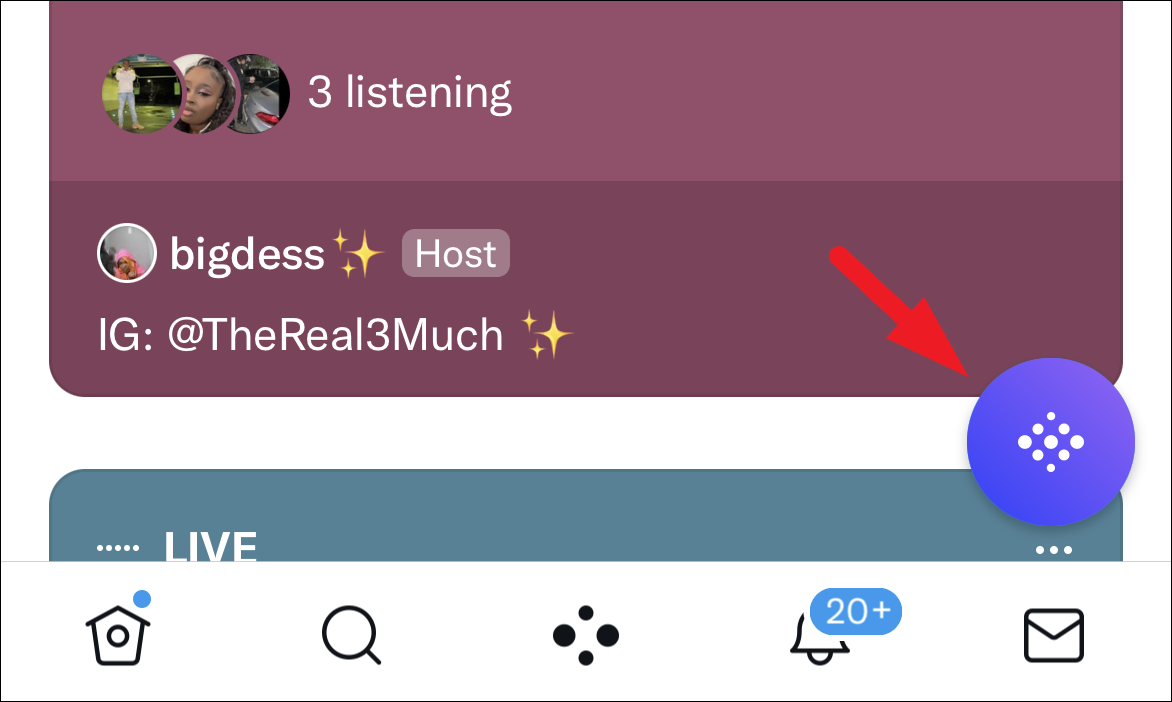
After that, tap on the ‘New Space’ icon situated in the bottom right corner of your screen to initiate a new Space from your account.
If this is your first time creating a Space, Twitter will request access to your mic. From the overlay panel on your screen tap on the toggle switch to bring it to the ‘On’ position.

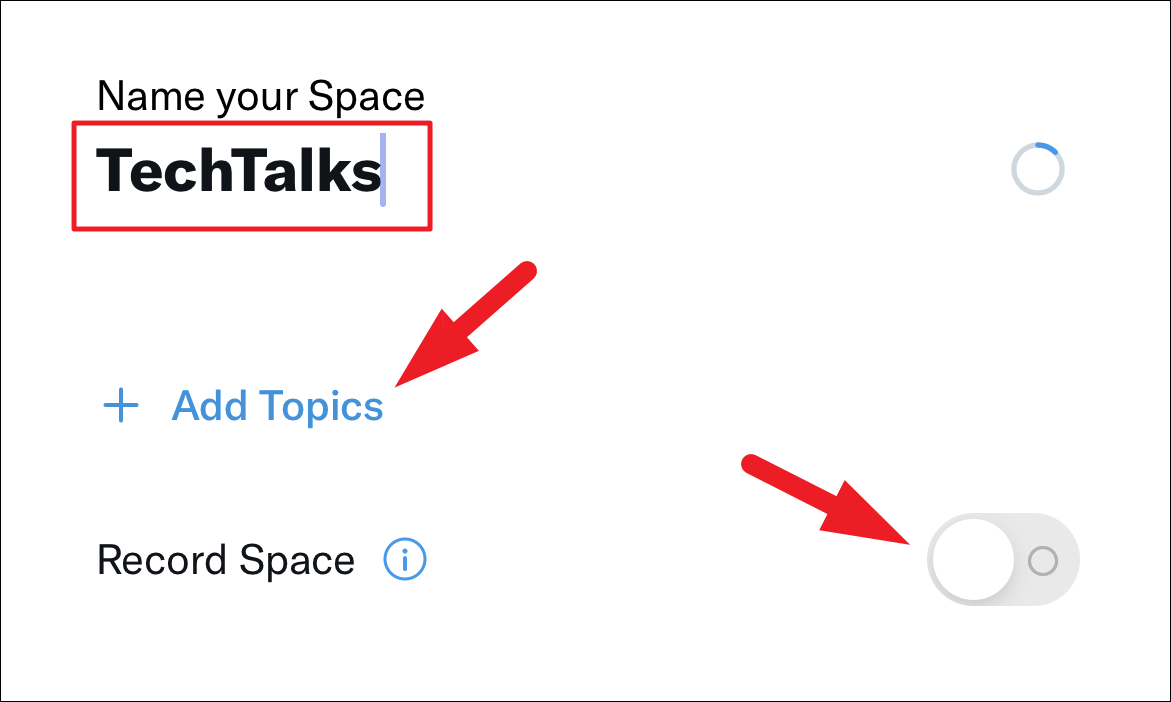
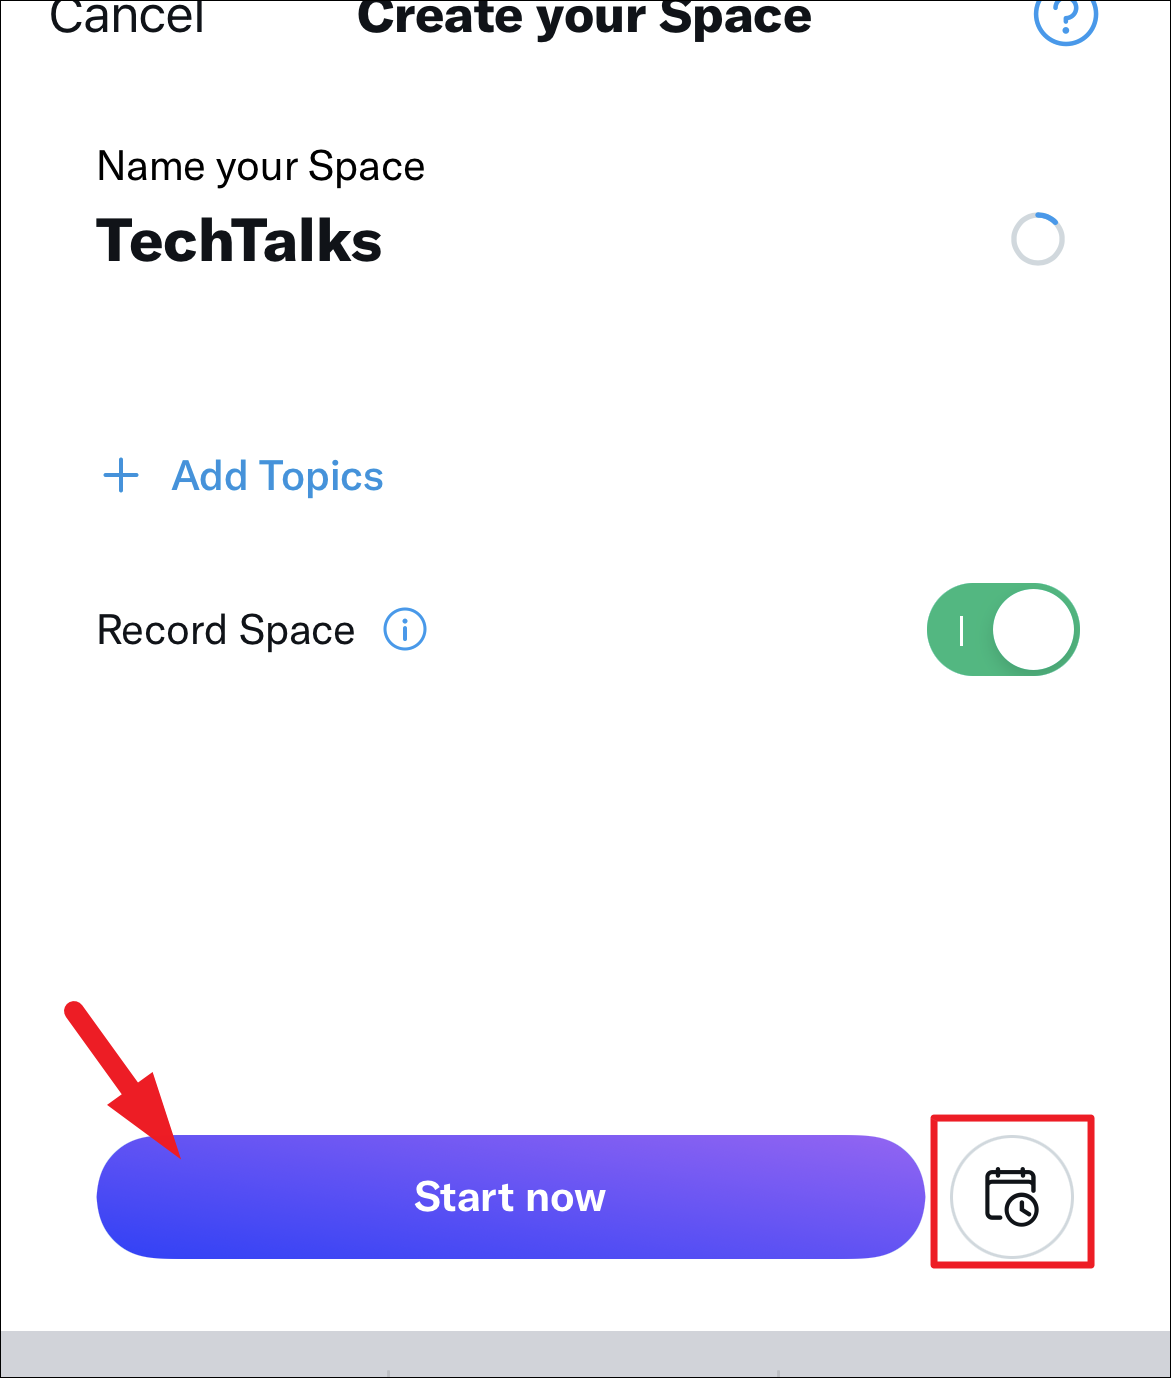
Then, give an appropriate name of the space you are creating and tap on the relavant topics. Then, locate the ‘Record Space’ option present right under the ‘Topics’ section and tap on the following toggle switch to bring it to the ‘On’ position. This will bring up a prompt on your screen.
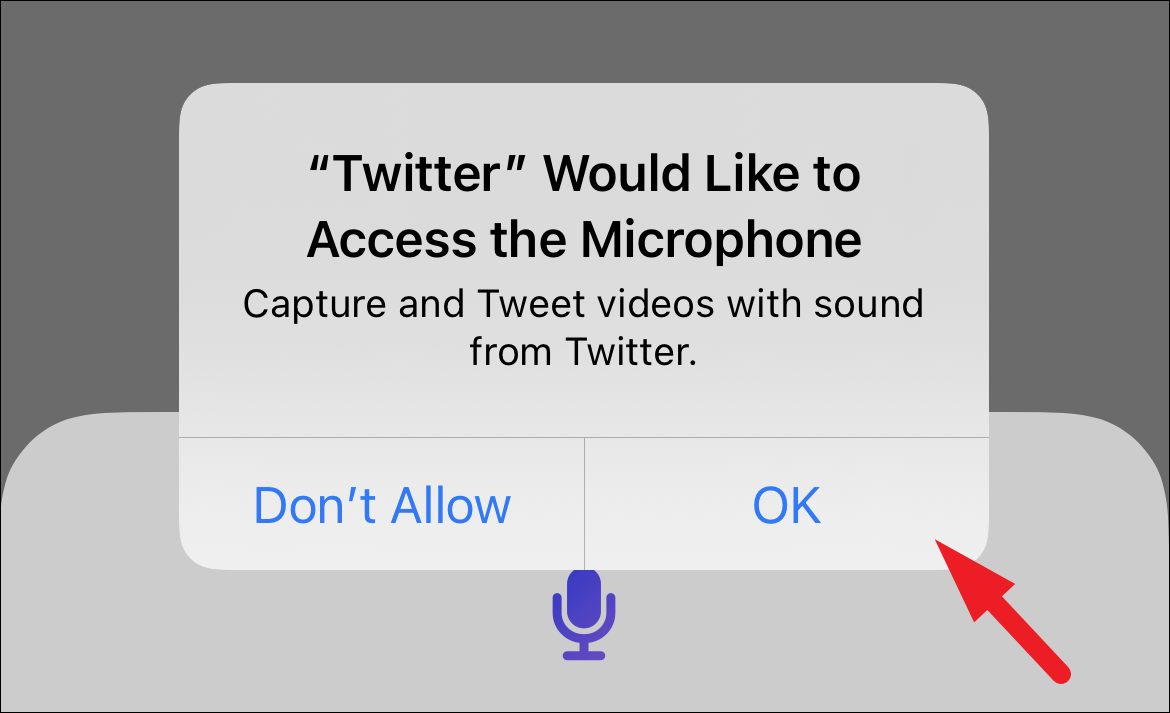
Next, tap the ‘OK’ button present on the prompt to grant Twitter the permission to access your microphone.
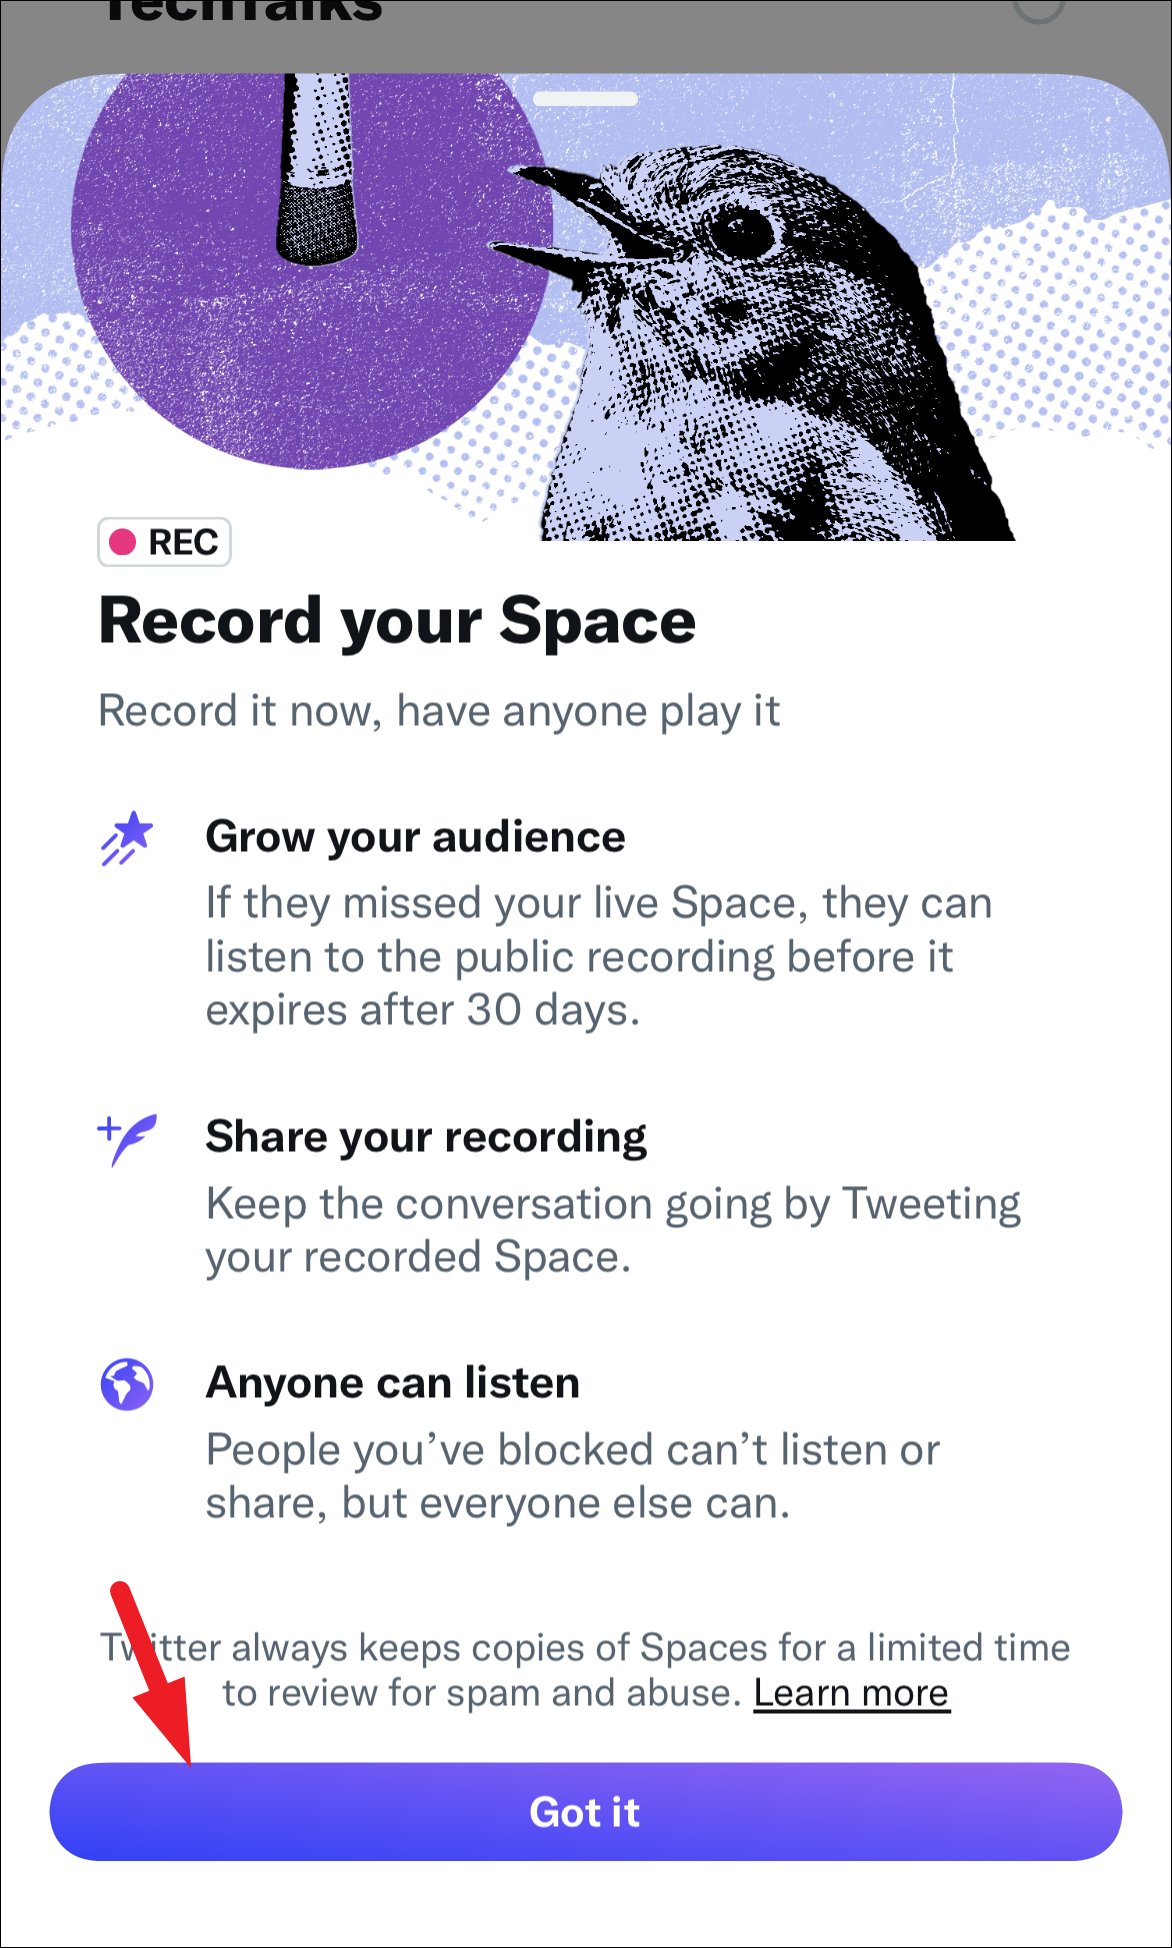
If it is the first time you have turned on the ‘Record Space’ toggle, you will see an overlay pane on your screen. Read the infromation carefully and tap on the ‘Got it’ button to proceed.
Finally, tap on the ‘Start Now’ button to start the Space right now. Otherwise, you can also schedule the space to start at your desired time by tapping on the schedule Space button.
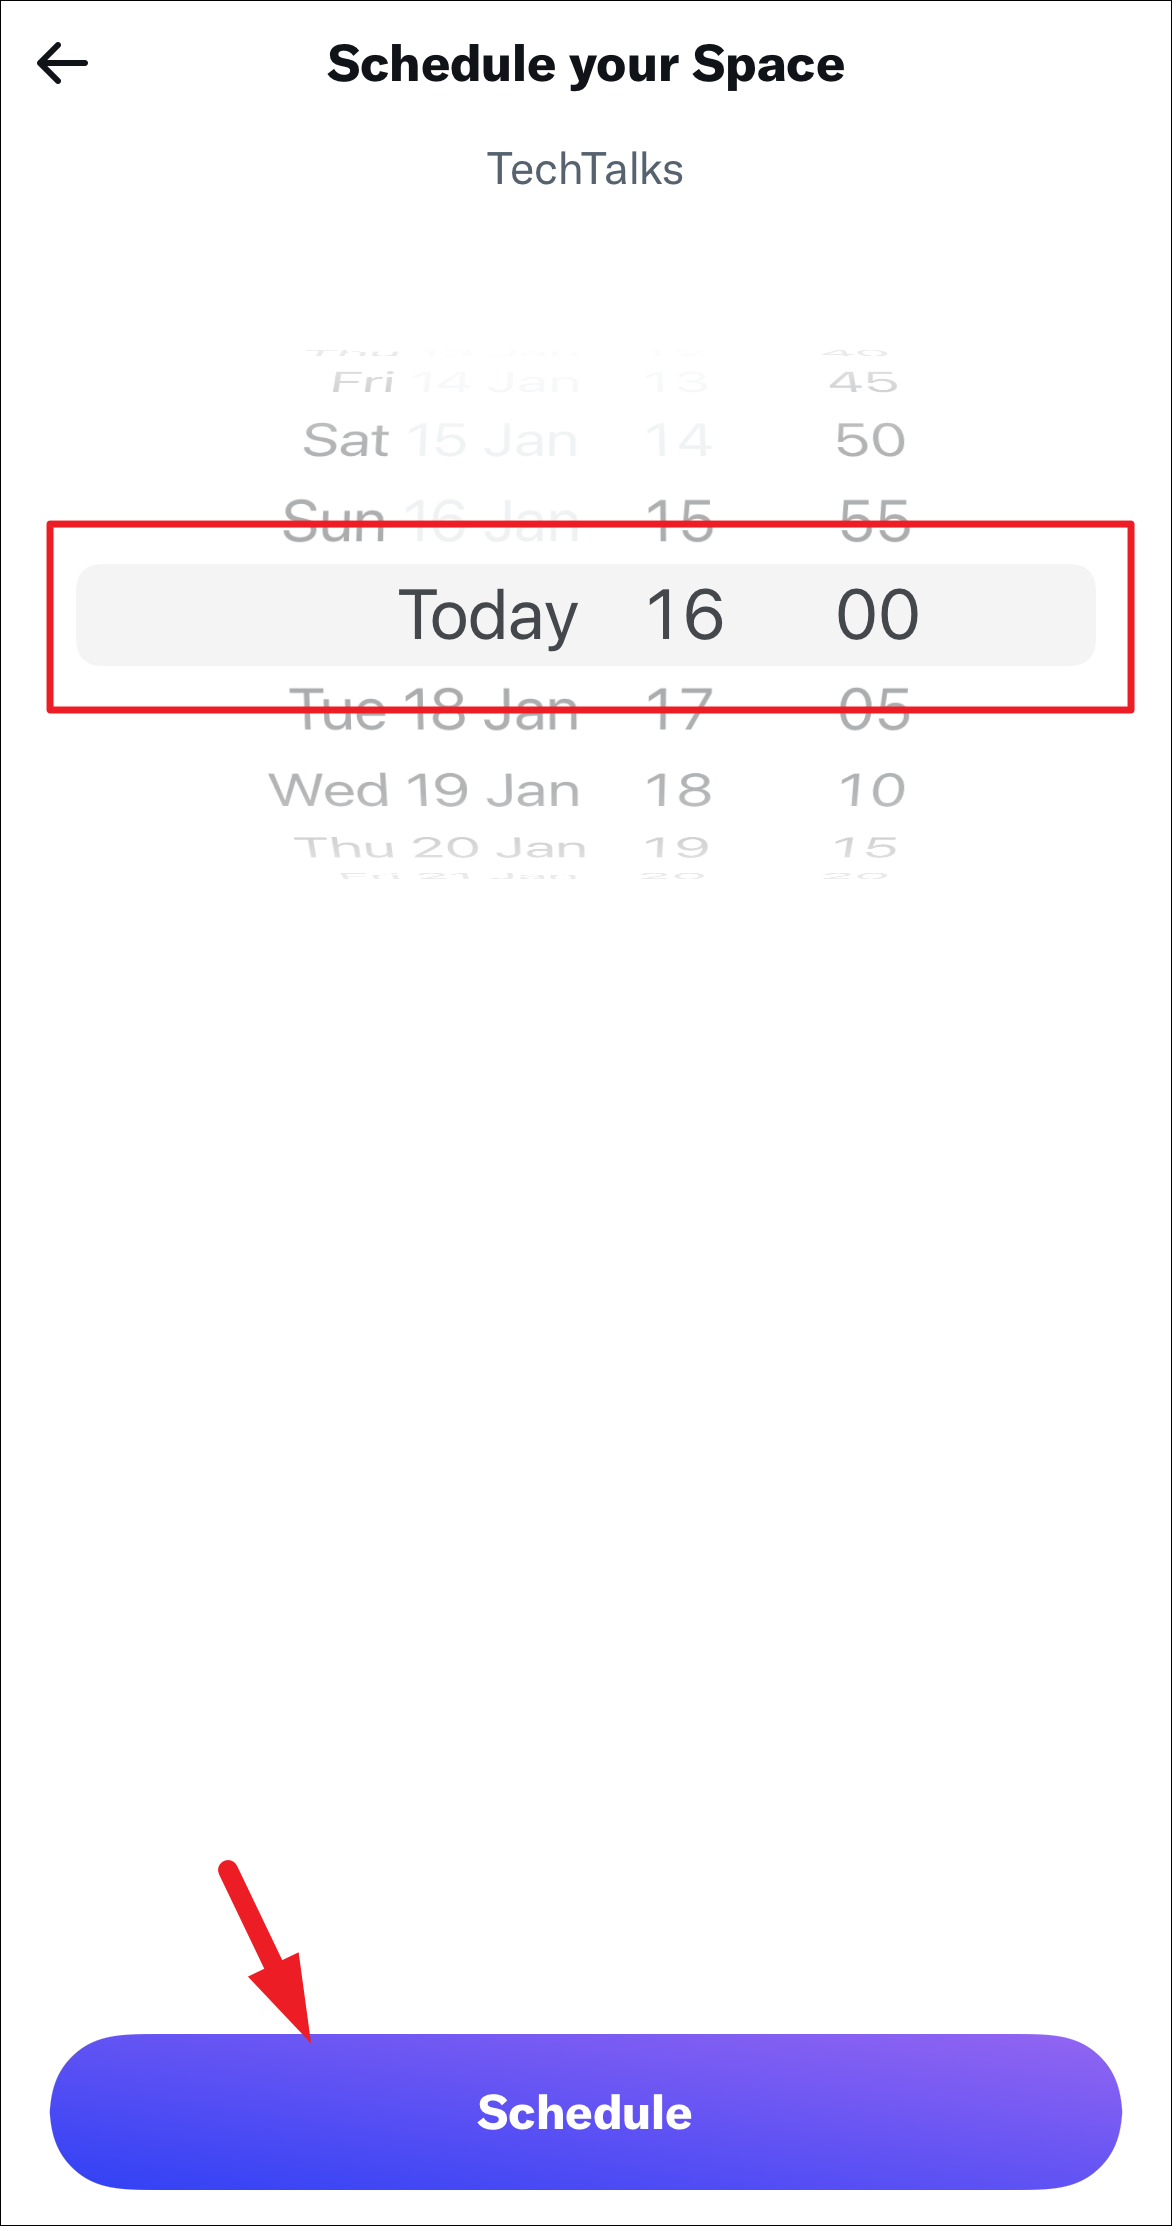
If you chose to schedule your Space, set the day and time options repectively and set the date and time to commence the Space and tap on the ‘Schedule’ button to schedule your Space.
And that’s it, your space will be now recorded.


