Everyone knows about the spelling and grammar checker in Microsoft Word. But did you know that Microsoft Word can also check your work for inclusivity?
That’s right. Microsoft Word allows you to be sure that you’re using “woke” terms that are inclusive and won’t offend anyone. What does it mean to be inclusive?
Being inclusive means you’re aware of certain words that show bias towards gender, race, culture, age, ethnicity, or sexual orientation and eliminate that bias from your content. But certain biases are so ingrained in our minds that we often use them without thinking about them twice.
Microsoft Word’s inclusiveness editor or “woke” spellchecker will help with that.
What is the Inclusiveness Editor?
Just like the spelling and grammar editor in Word, the Inclusiveness editor flags any non-inclusive and potentially offensive phrases in your writing. When enabled, the Inclusiveness Editor not just highlights but also presents alternatives to the text it deems problematic.
It is to be noted that the editor only highlights the text and presents alternatives you can use in its place. It does not impose the alternatives on you by autocorrecting your text. Whether you choose to ignore the flags or pay attention to them is completely up to you.
How Does It Work?
The editor provides full control to the user in whether or not they want to use it. In fact, by default, the feature is disabled. And it’s buried deep in settings. That’s precisely the reason why not many users are even aware of its existence despite being around for almost two years now.
In fact, some feel that Microsoft is afraid to upset the people who think of being woke and inclusive as toxic. You know, the people who are always complaining that the youth these days is too sensitive and gets offended too easily. Why else would they disable the feature by default and bury it so deep down? But that’s a debate for another time.
Microsoft says that they know that not every suggestion from the editor will be suitable for all users and all scenarios. That’s why they’ve given complete control to the users.
Back to the matter at hand. You can enable or disable the Inclusiveness Editor at any time. Not just that, you can choose which suggestions you want to receive.
Presently, the editor has the following categories for which it scans and flags non-inclusive terms:
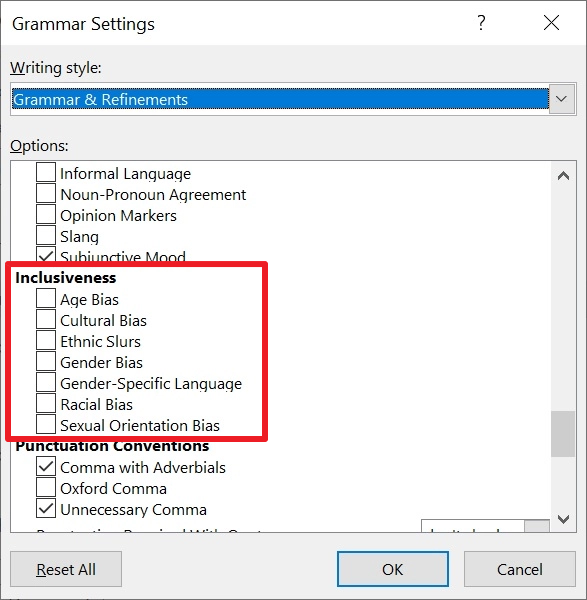
- Age Bias
- Cultural Bias
- Ethnic Slurs
- Gender Bias
- Gender-Specific Language
- Racial Bias
- Sexual Orientation Bias
These are all separate categories and you can decide which you want to use at any given time.
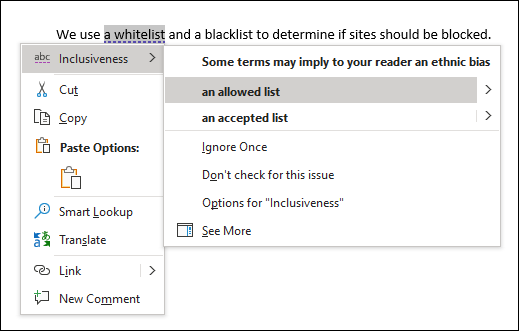
To provide a glimpse of the editor in action, here’s an example: it flags the words “whitelist” and “blacklist” and suggests replacing them with “an allowed list” or “an accepted list,” citing ethnic bias.
Some other examples include replacing “postman,” “spokesman,” and “mankind” on grounds of gender bias. It suggests replacing them with “postal worker,” “spokesperson,” and “humankind” or “humanity” respectively.
Who can use the Inclusiveness Editor?
The Inclusiveness Editor is only available in Word for Microsoft 365. This means that only the newest version of Microsoft Word that comes with the Microsoft 365 subscription has the feature.
Unfortunately, it also means that users of the standalone Office 2019 or earlier versions and the free web version of the Office apps don’t have access to the feature.
How to Enable the Inclusiveness Editor?
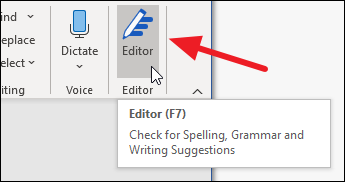
The feature might be a little buried in the settings but it’s still easy to enable/ disable once you know where to look. Open the Microsoft Word desktop app and go to the ‘Editor’ option towards the right of the Home tab.
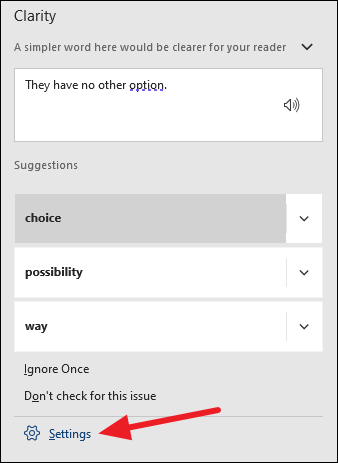
Then, click ‘Settings’ from the menu that appears for Editor.
Alternatively, you can also go to the ‘File’ tab. From there, go to ‘Options’. A dialog box for ‘Word Options’ will open. Go to ‘Proofing’ from the navigation pane on the left.
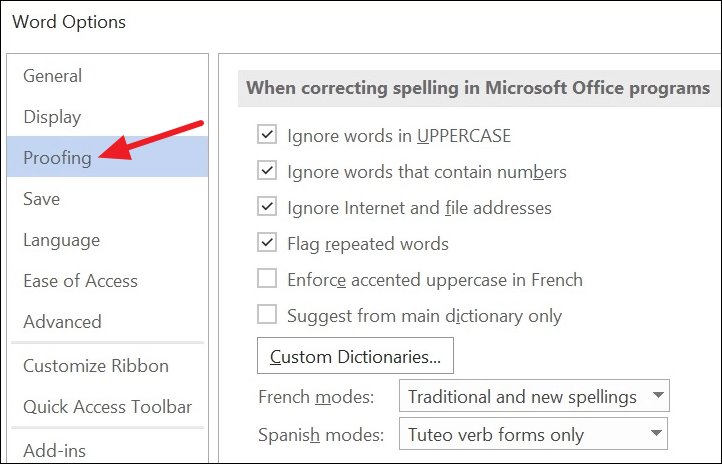
You’ll reach the same place as Editor settings will take you, i.e., to the proofing settings.
In the Proofing options, scroll down to the ‘When correcting spelling and grammar in Word’ category. Go to the option for ‘Writing Style’ and make sure that it says ‘Grammar & Refinements’ in the drop-down menu. If not, select the appropriate option from the drop-down menu.
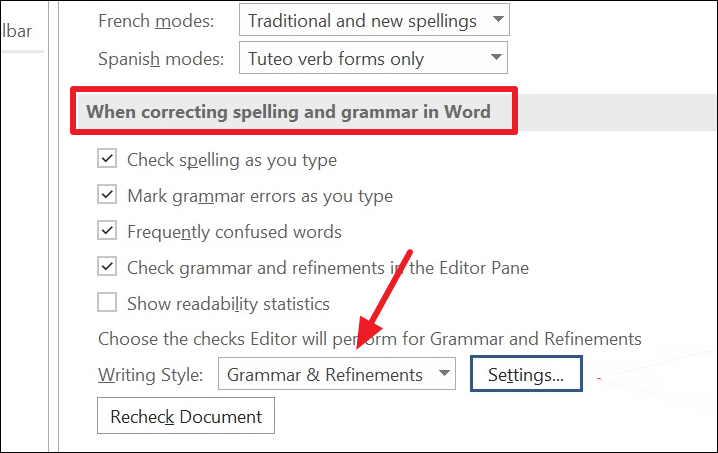
Finally, click the ‘Settings’ button next to it.

A dialog box for ‘Grammar Settings’ will open. Scroll down to ‘Inclusiveness’. Then, check the boxes next to all or some of the categories you want to get suggestions for. Click ‘OK’ to implement the feature.
Now, when you’re typing in Word, any non-inclusive content from the selected categories will be underlined in purple. You can right-click it to see the alternate suggestions.
To disable the feature again, simply uncheck all of the options for Inclusiveness from the Grammar settings dialog box.
The inclusiveness editor is a great thing if you want to make your work more inclusive and avoid biases that might hurt others. It’s never too late to overcome biases.
Microsoft reportedly hired “native speakers and linguistic experts” in over 20 languages to determine which inclusiveness suggestions to include and which might be unwelcome.