Adding shortcuts to your Windows 11 desktop provides quick access to frequently used applications and files. These convenient icons eliminate the need to search for programs or navigate through folders each time you want to launch an app. Desktop shortcuts are especially useful for third-party applications that may not integrate well with the Start menu or Windows search.
If you’re new to Windows 11 or accustomed to earlier versions, you may find the process of adding desktop icons slightly different. This guide will walk you through several methods to add app shortcuts to your Windows 11 desktop, starting with the most straightforward approach.
Add app shortcuts to the desktop in Windows 11
Windows 11 offers multiple methods to create or add desktop shortcuts for your applications.
Add app icons to the desktop using drag and drop
The simplest way to add a desktop shortcut in Windows 11 is by dragging and dropping the app from the Start menu. Here’s how:
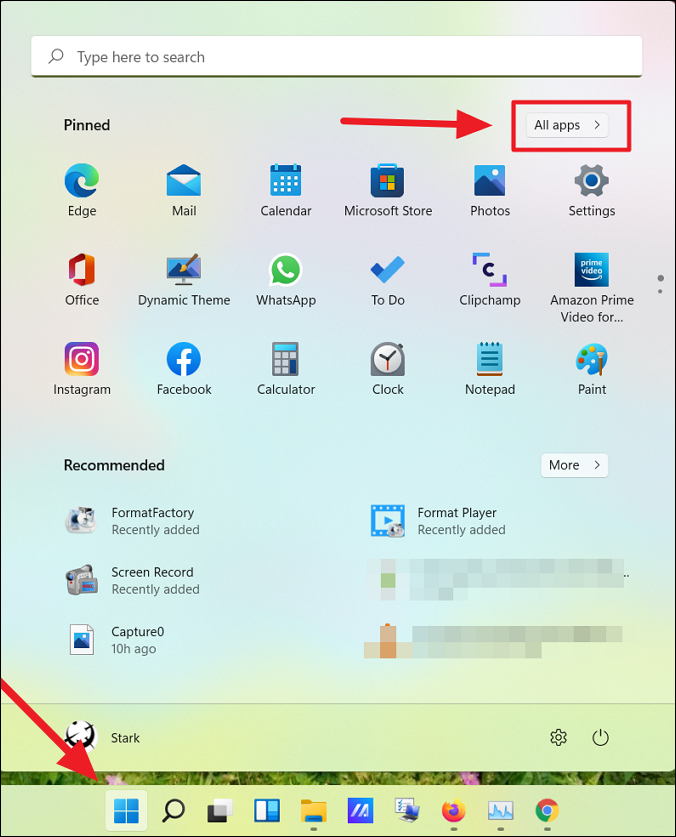
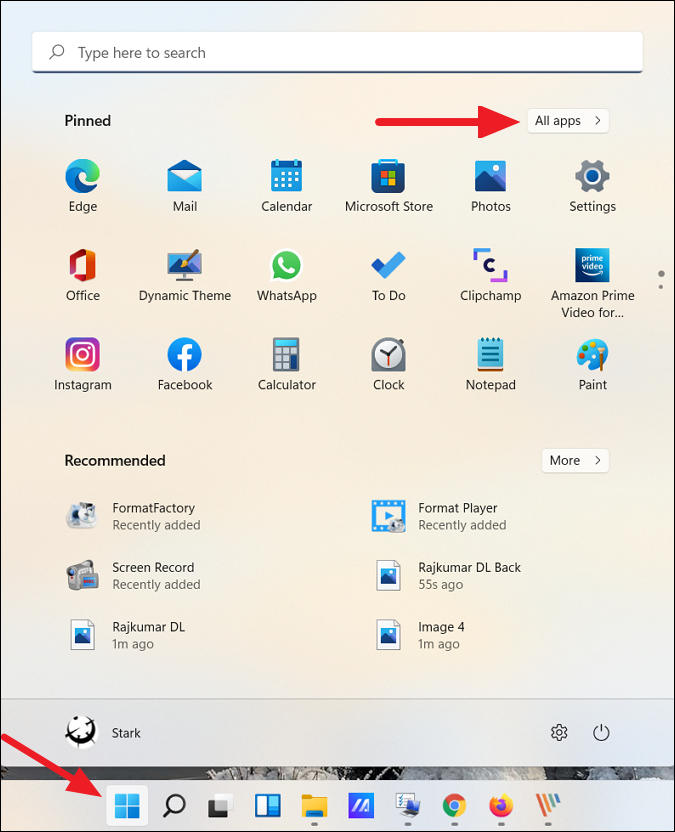
- Click the Start button on the taskbar to open the Start menu.
- Click on All apps at the top right corner.
- Scroll through the list to find the app you want to create a shortcut for.
- Click and hold the app, then drag it onto the desktop.
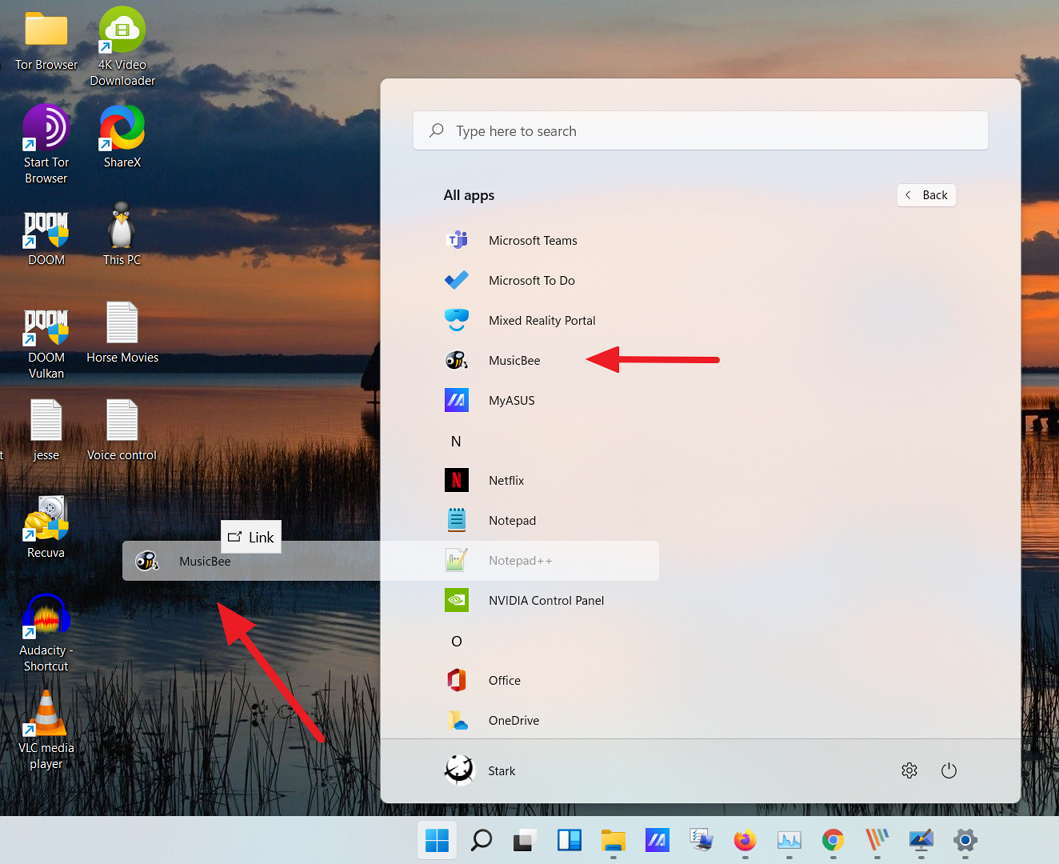
The application shortcut will now be visible on your desktop.
Create an application shortcut from the Start menu folder
If dragging and dropping doesn’t work, you can create a desktop shortcut from the Start menu’s file location. Here’s how:
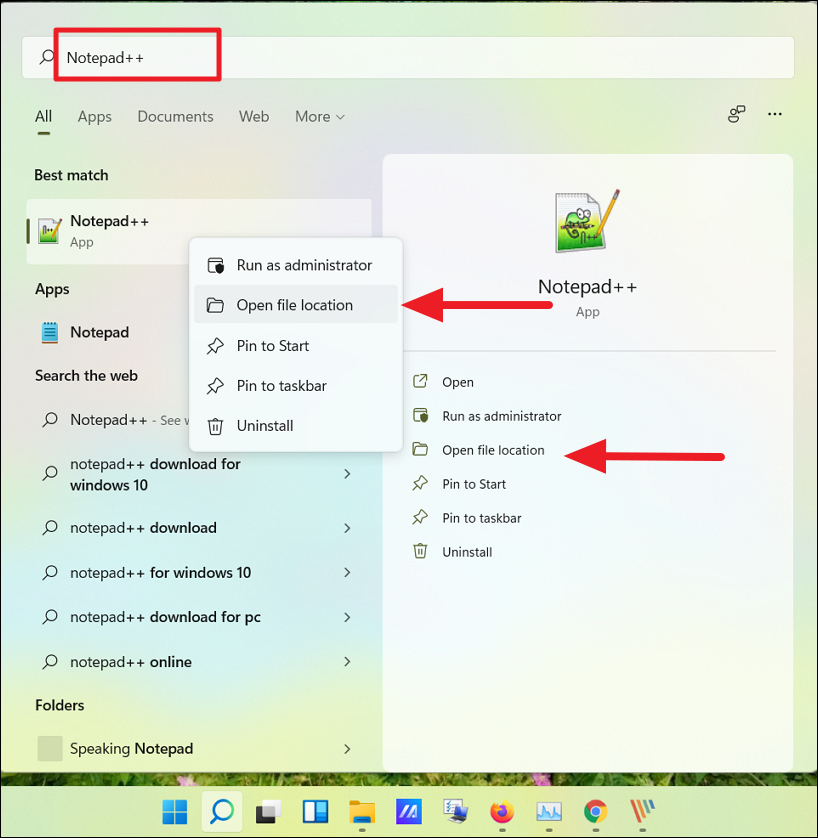
- Click the Start button on the taskbar.
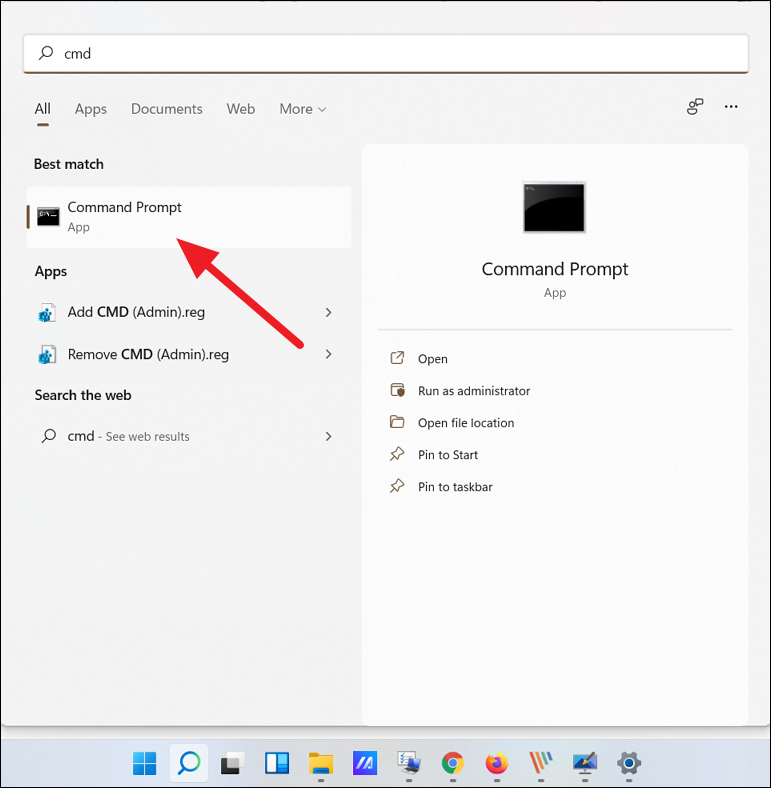
- Search for the app you want to add to the desktop.
- Right-click the app under Best match and select Open file location. For example, we’re searching for ‘Notepad++’.
Alternatively, you can:
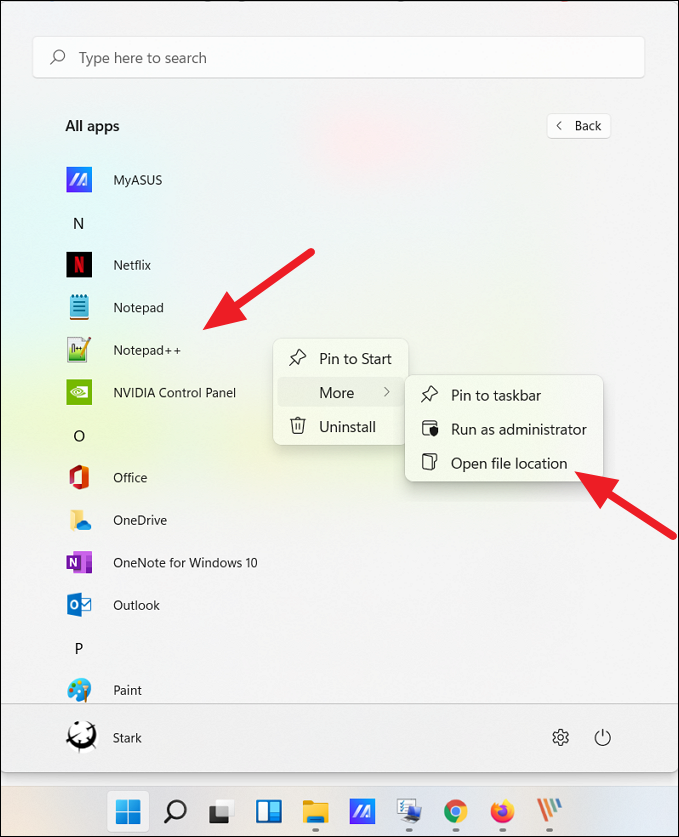
- Click on All apps at the top right corner.
- Find the app in the list.
- Right-click the app, expand More, and select Open file location.
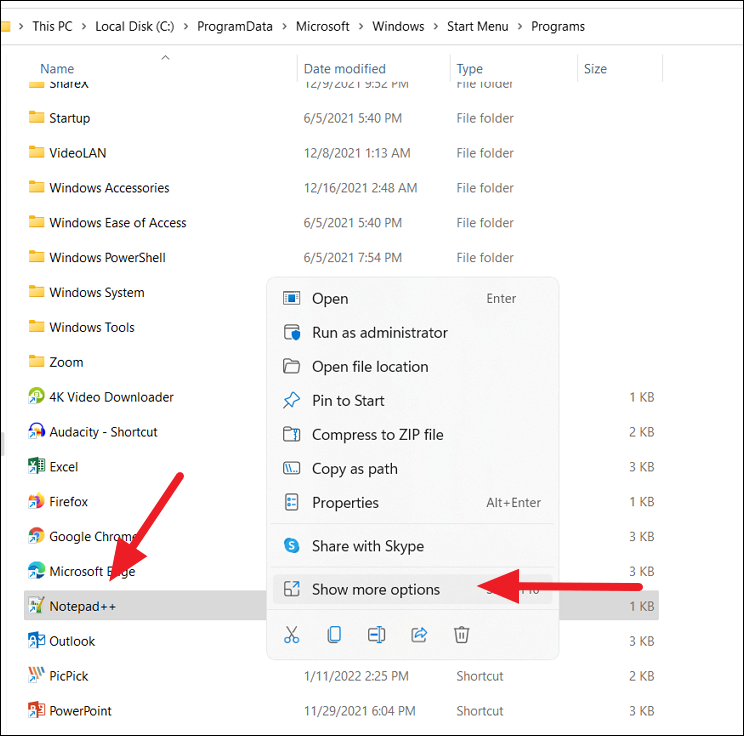
- In the File Explorer window that opens, right-click the program icon and select Show more options.
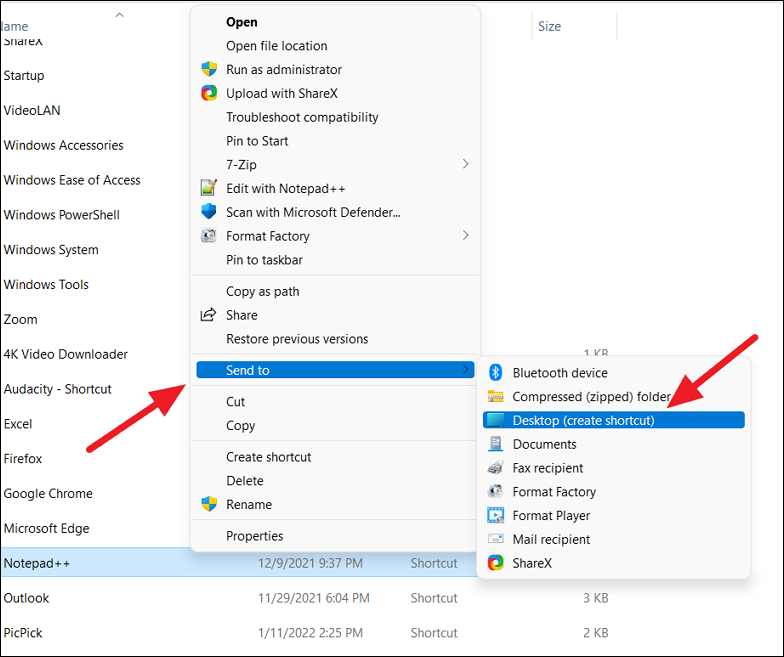
- Click on Send to and choose Desktop (create shortcut). Alternatively, you can copy and paste the icon onto the desktop.
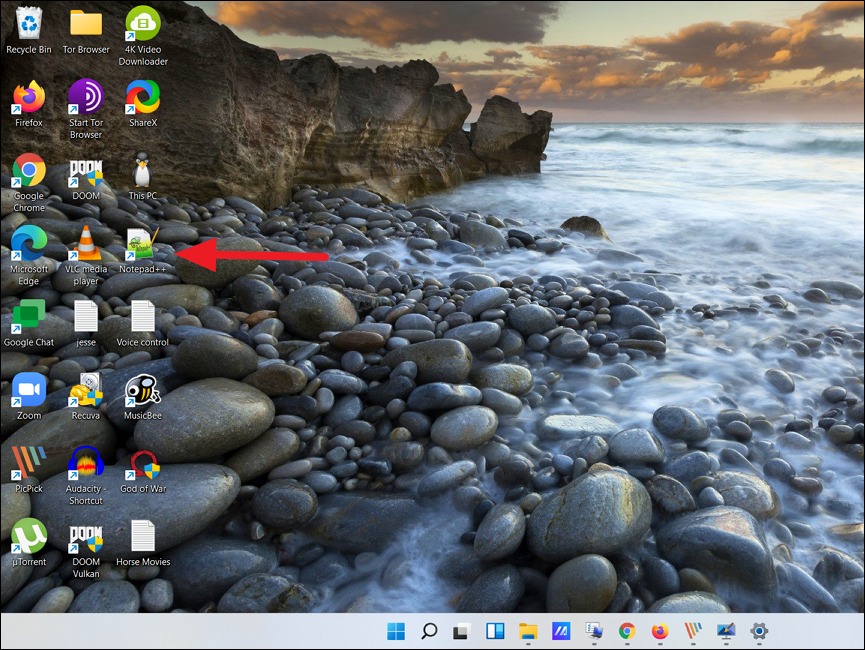
The shortcut for the application will now appear on your desktop.
Create an application shortcut using the Applications folder
This method allows you to create shortcuts for both third-party apps and Windows Store or built-in apps. Here’s how:
- Press
Win + Rto open the Run dialog, typecmd, and pressEnterto open the Command Prompt.
- In the Command Prompt window, type the following command and press
Enter:
explorer shell:AppsFolder
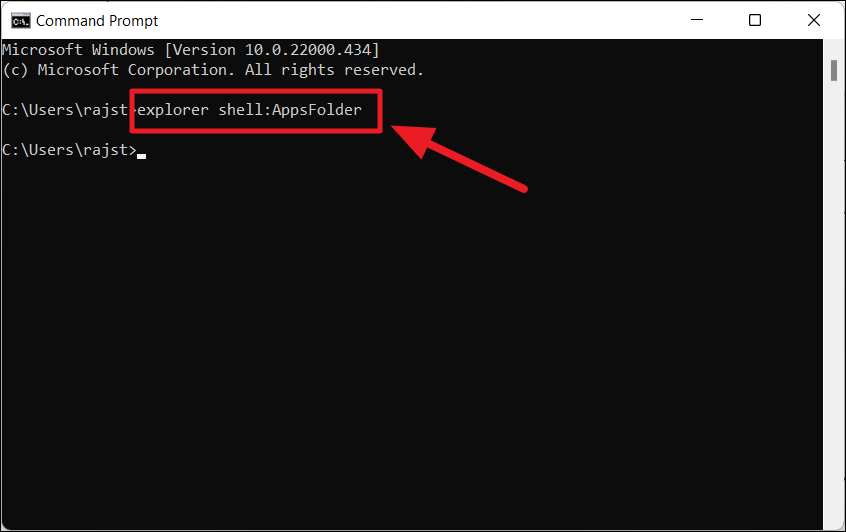
This will open the Applications folder containing all your installed apps.
- In the Applications folder, locate the app you want to create a shortcut for.
- Right-click the app and select Create shortcut.
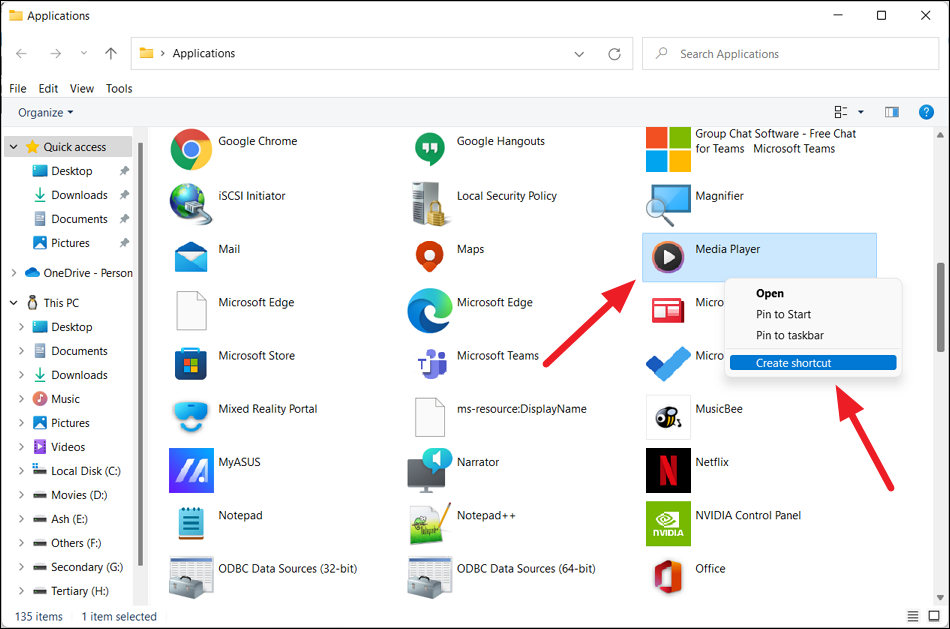
- A prompt will appear asking if you want to place the shortcut on the desktop. Click Yes.

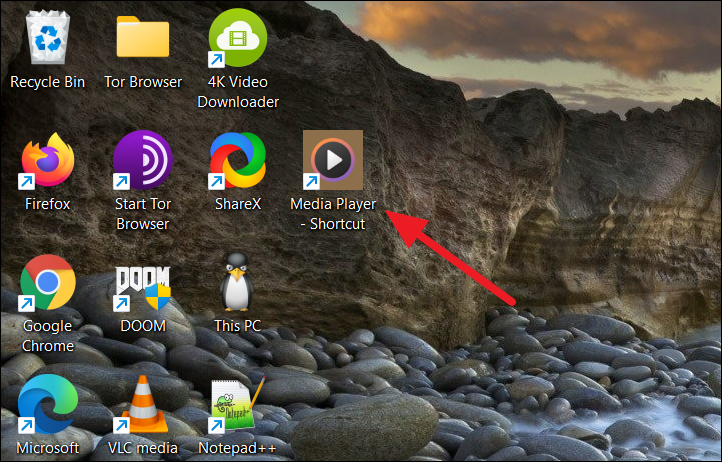
The shortcut will now be available on your desktop.
Create an application shortcut from the installation folder
For applications like portable apps or experimental software that may not appear in the Start menu, you can create a shortcut directly from the installation folder:
- Navigate to the folder where the application is installed or stored.
- Right-click the application’s executable file (
.exe) and select Show more options.
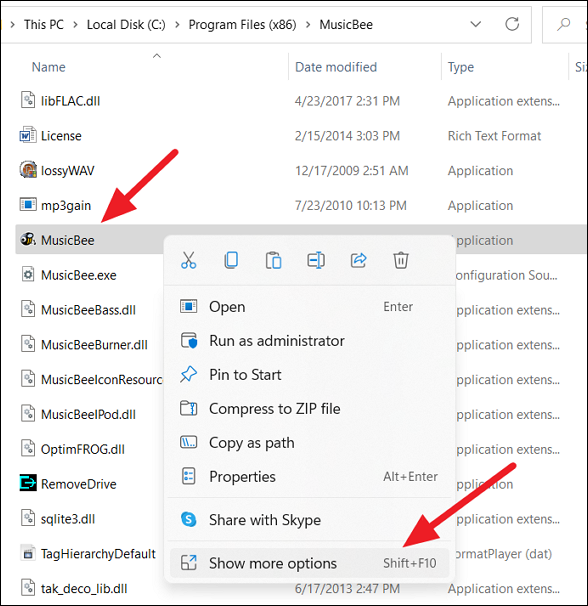
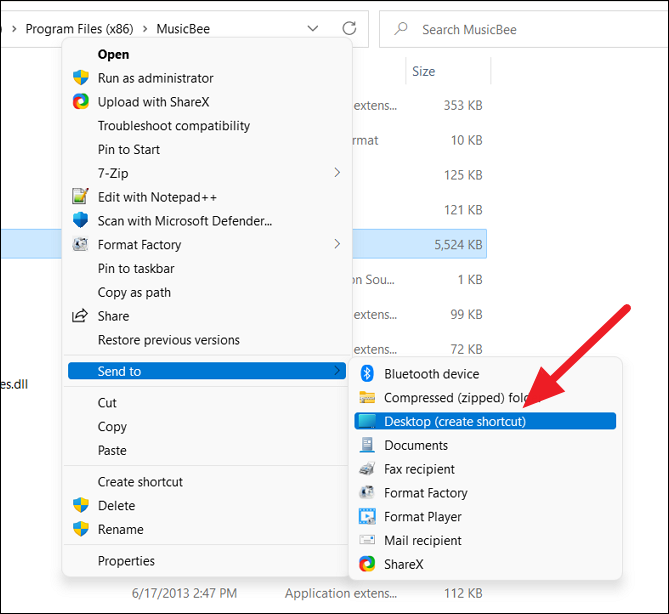
- Select Send to and choose Desktop (create shortcut). By default, most applications are installed in the
Program FilesorProgram Files (x86)folder on the C Drive.
Alternatively, you can manually create a shortcut:
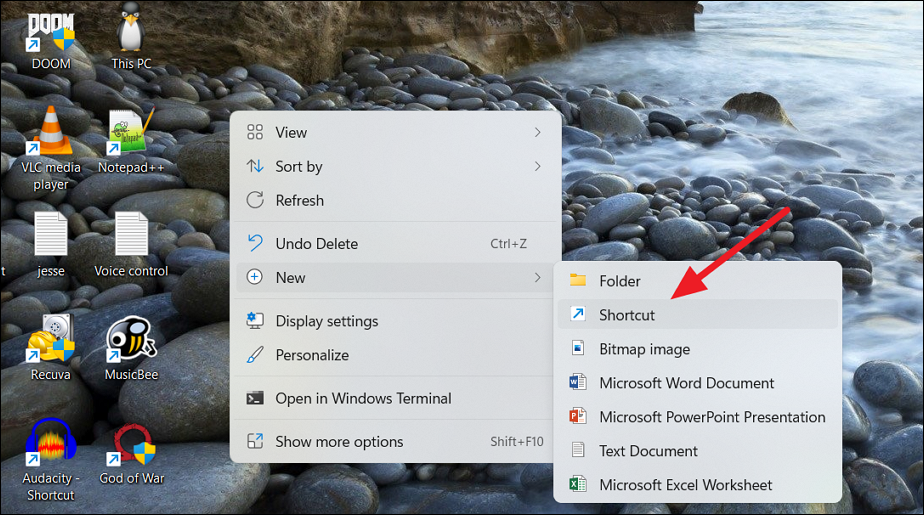
- Right-click on an empty area of the desktop, hover over New, and select Shortcut.
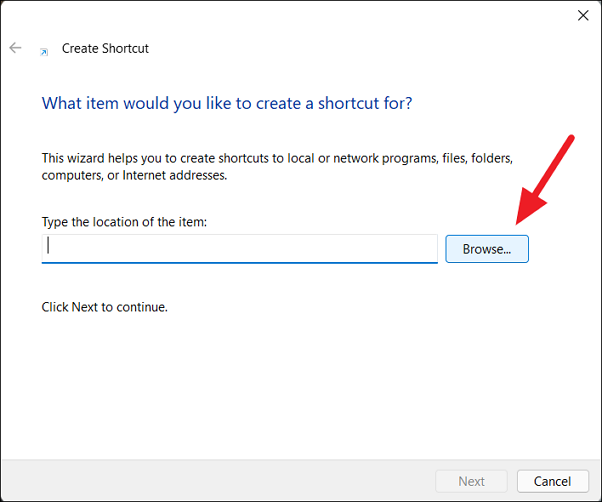
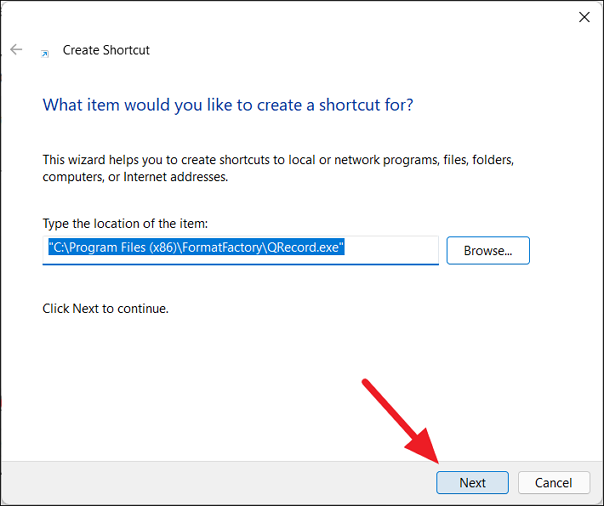
- In the Create Shortcut window, click Browse.
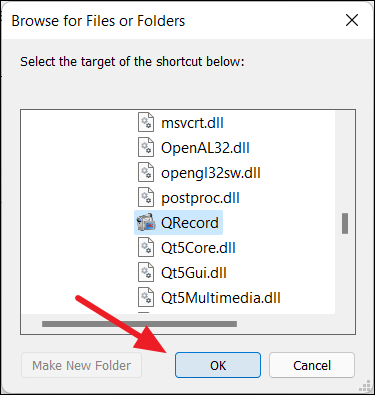
- Navigate to the application’s installation folder, select the executable file, and click OK.
- Click Next to continue.
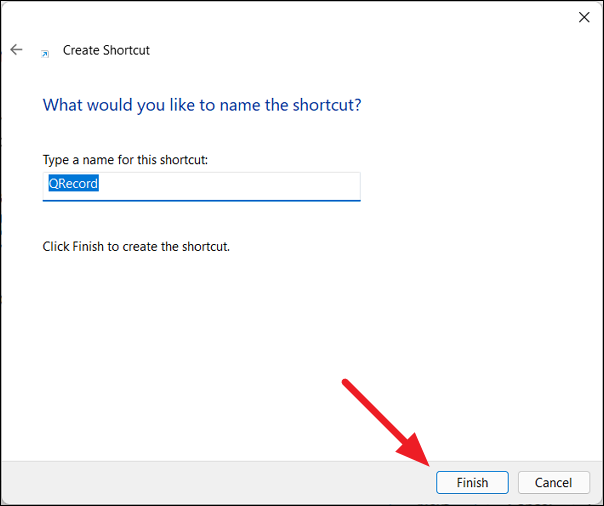
- Enter a name for the shortcut or keep the default name, then click Finish.
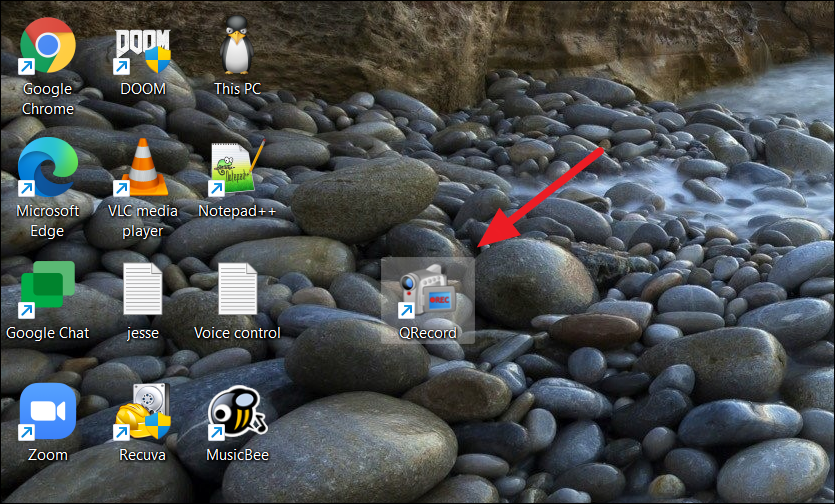
Your new shortcut is now available on the desktop for use.
Change or display system icons on the Windows 11 desktop
When you install or upgrade to Windows 11, only the Recycle Bin icon is displayed on the desktop by default. You can choose to show other system icons such as This PC, Control Panel, Network, and your User profile folder. You can also change their appearance. Here’s how:
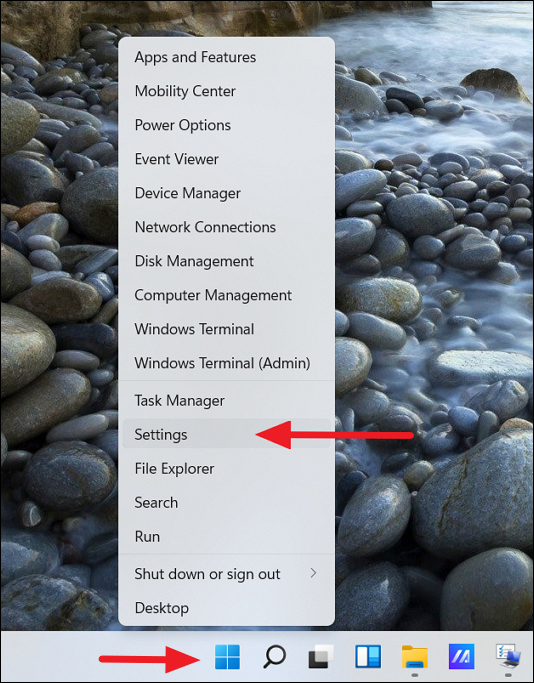
- Open the Settings app by right-clicking the Start button and selecting Settings.
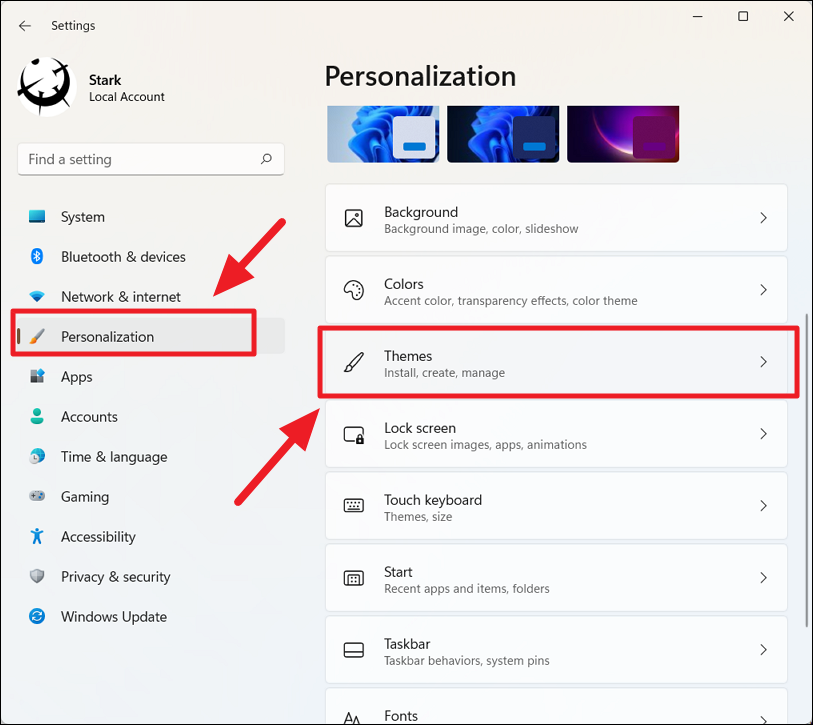
- In the Settings window, select Personalization from the left sidebar, then click on Themes on the right pane.
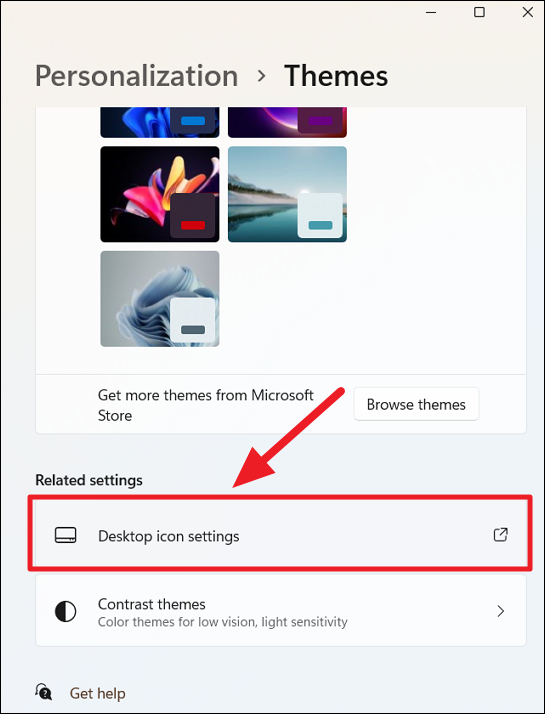
- Scroll down and click on Desktop icon settings under the Related settings section.
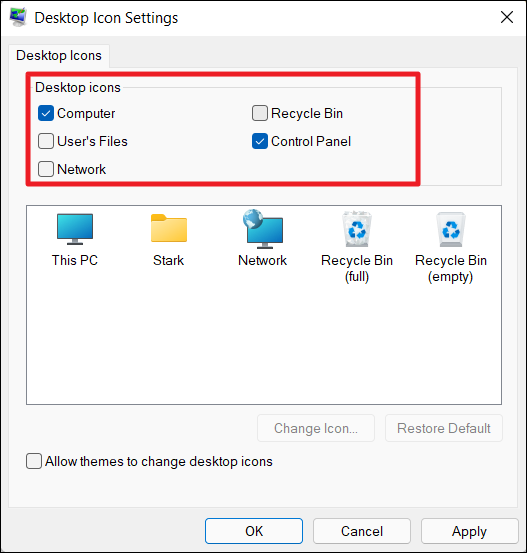
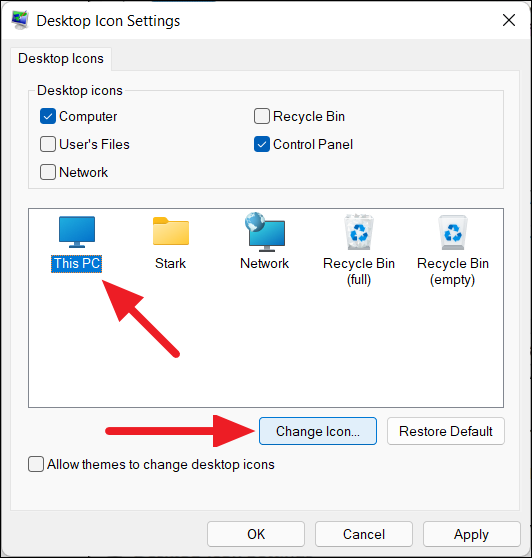
- In the Desktop Icon Settings window, under the Desktop Icons section, check the boxes next to the icons you want to display on the desktop.
- To change an icon, select the icon and click on Change icon….
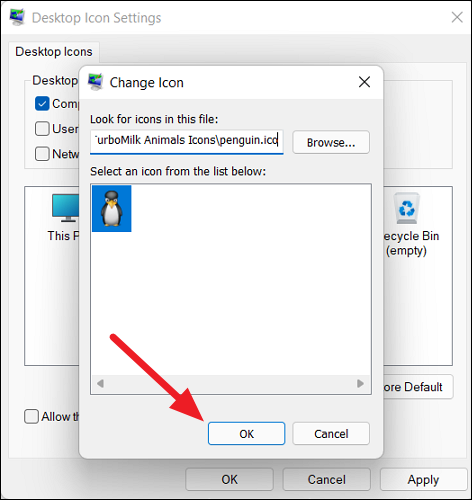
- Choose an icon from the list, or click Browse… to select a custom icon from your files.
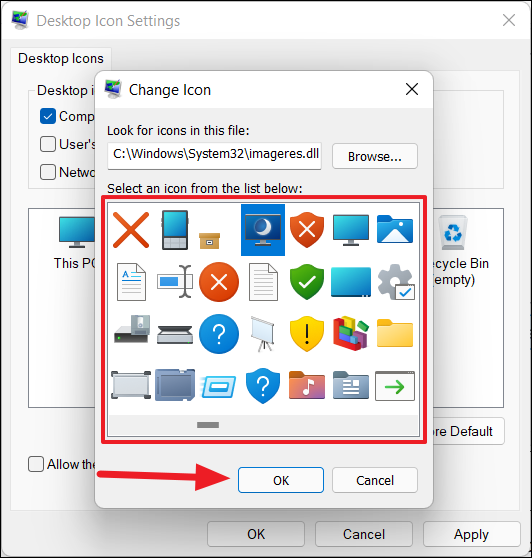
- Click OK to apply the changes.
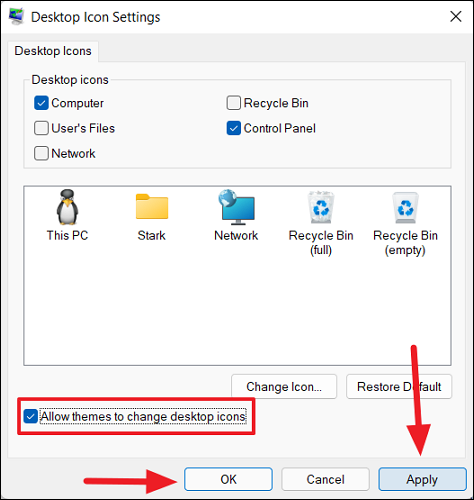
- You can also allow themes to change desktop icons by checking the Allow themes to change desktop icons option.
- Once done, click Apply and then OK.
Add applications to the desktop or File Explorer context menu
If your desktop is cluttered with too many icons and shortcuts, you can add apps to the right-click context menu for quick access without adding clutter. Here’s how to add apps to the desktop context menu using a simple registry edit:
Note: Modifying the registry can be risky. Be sure to follow the steps carefully.
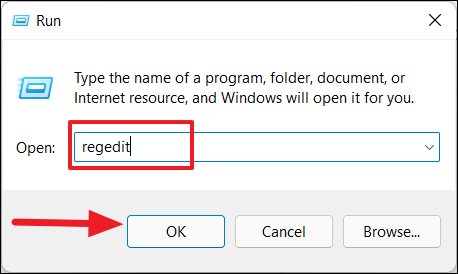
- Press
Win + Rto open the Run dialog, typeregedit, and pressEnterto open the Registry Editor.
- In the Registry Editor, navigate to:
Computer\HKEY_CLASSES_ROOT\Directory\Background\shell
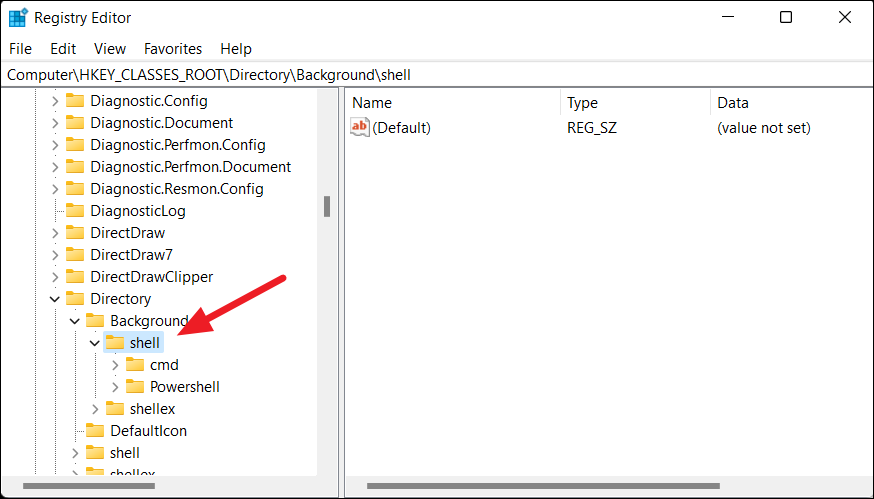
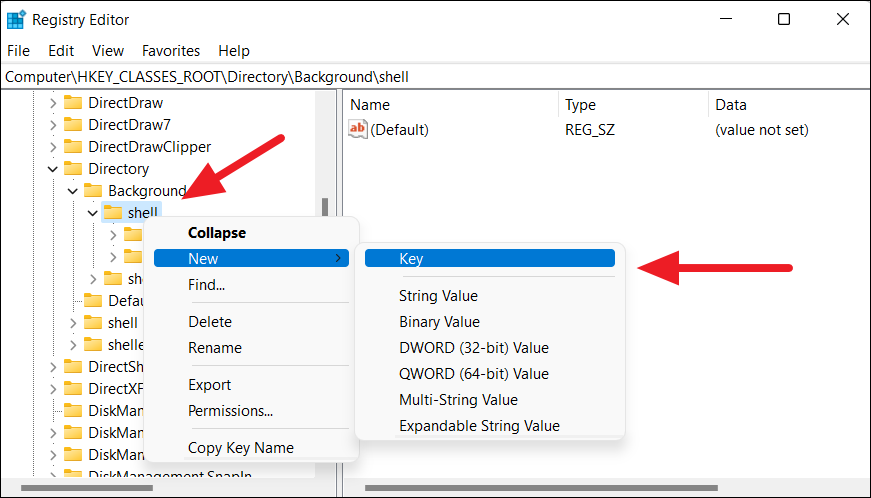
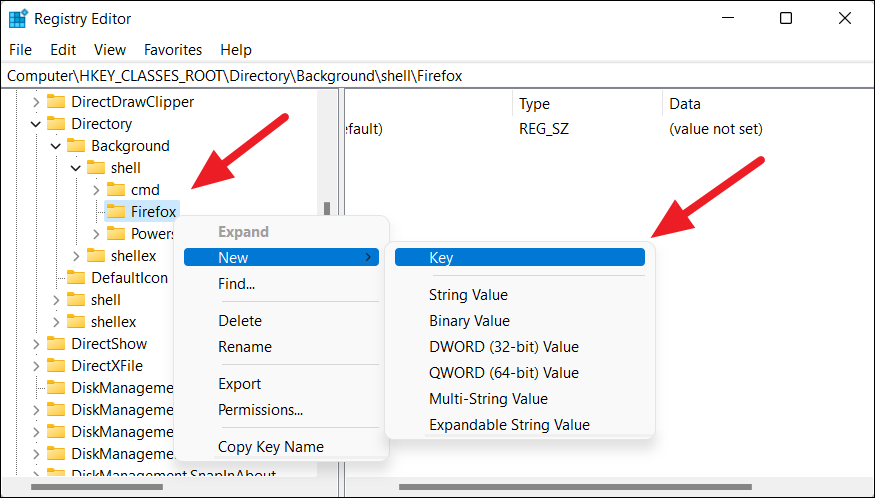
- Right-click the shell key, select New, and then click Key.
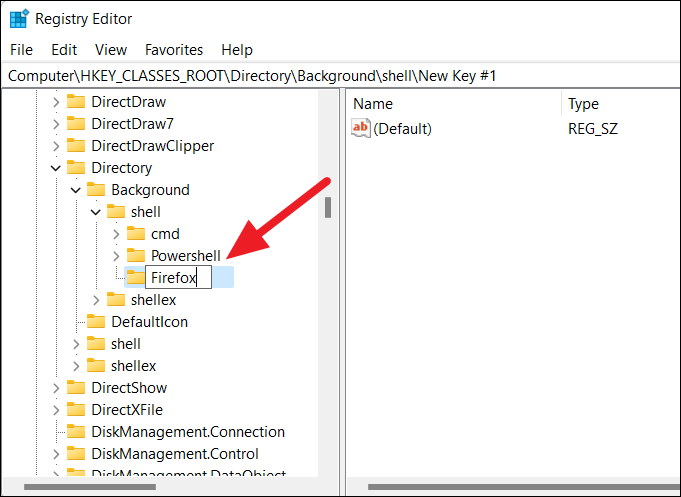
- Name the new key with the name of the application you want to add to the context menu. For example, Firefox.
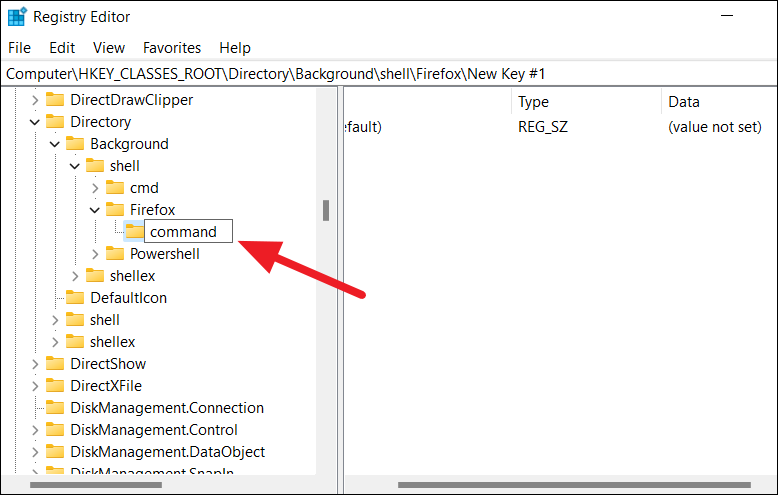
- Right-click the new key you just created, select New, and then click Key.
- Name this subkey command in lowercase.
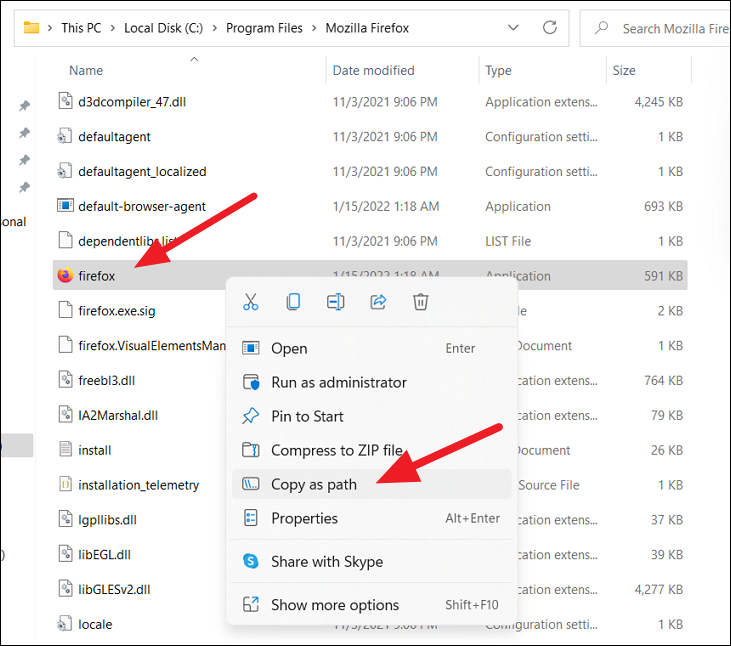
- Navigate to the application’s installation folder, right-click the executable file (
.exe), and select Copy as path.
- Return to the Registry Editor, select the command subkey, and double-click on the (Default) value on the right pane.
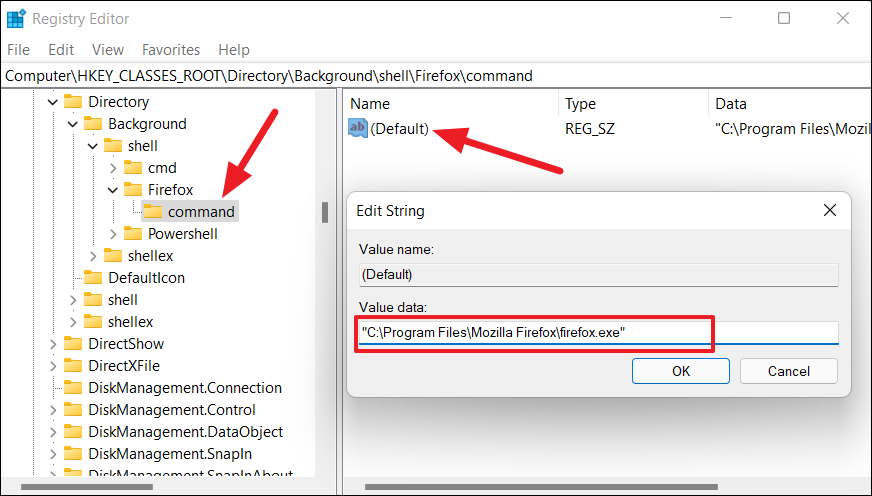
- Paste the copied path into the Value data field and click OK.
Ensure that the path is correct and includes the application executable file.
- Close the Registry Editor.
Now, when you right-click on the desktop or in File Explorer and select Show more options, you’ll see the application listed in the context menu.
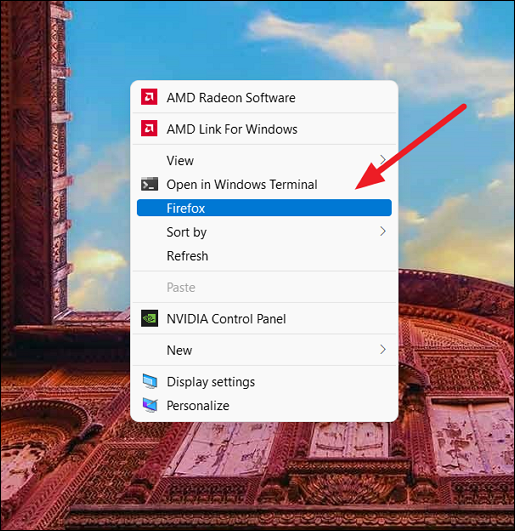
Clicking the application in the context menu will launch it.
Change the size of desktop icons in Windows 11
You can adjust the size of your desktop icons to suit your preference. Here’s how:
- Right-click on an empty space on the desktop.
- Hover over View.
- Select one of the icon sizes: Large icons, Medium icons, or Small icons.
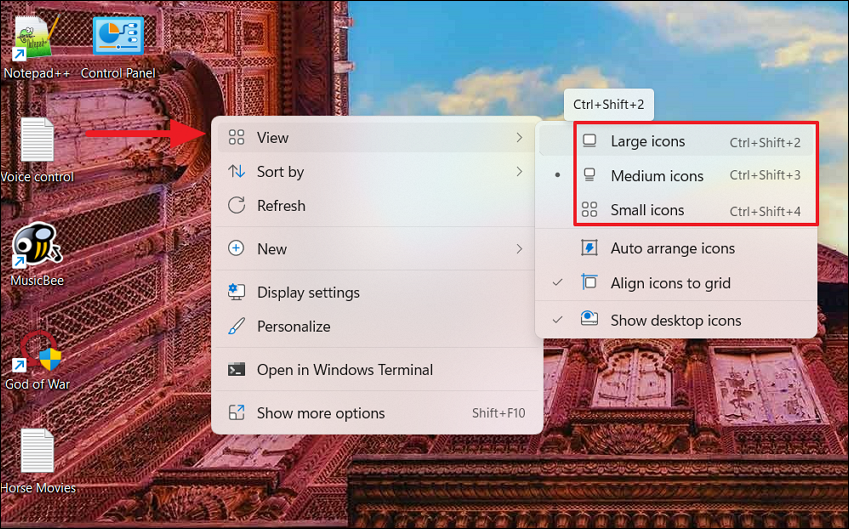
Alternatively, you can use these keyboard shortcuts to change the icon size:
| Icon Size | Keyboard Shortcut |
|---|---|
| Extra Large Icons | Ctrl + Shift + 1 |
| Large Icons | Ctrl + Shift + 2 |
| Medium Icons | Ctrl + Shift + 3 |
| Small Icons | Ctrl + Shift + 4 |
Hide or display desktop icons in Windows 11
If your desktop is cluttered, you can quickly hide all the icons:
To hide desktop icons:
- Right-click on an empty space on the desktop.
- Hover over View.
- Click on Show desktop icons to uncheck it.
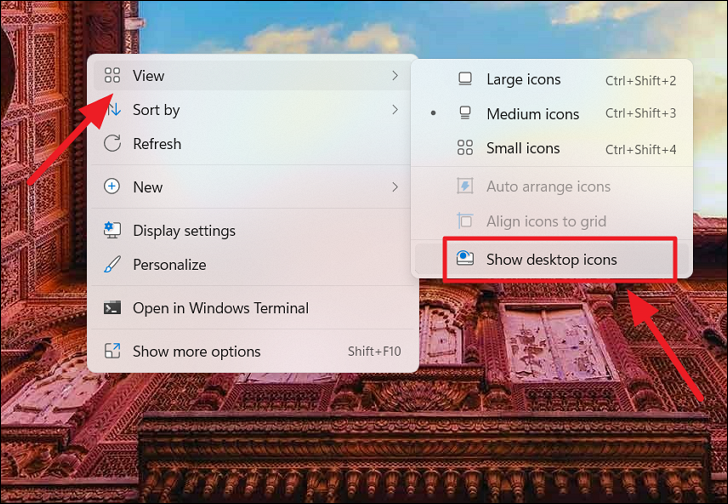
All desktop icons will now be hidden.
To display desktop icons:
- Right-click on an empty space on the desktop.
- Hover over View.
- Click on Show desktop icons to check it.
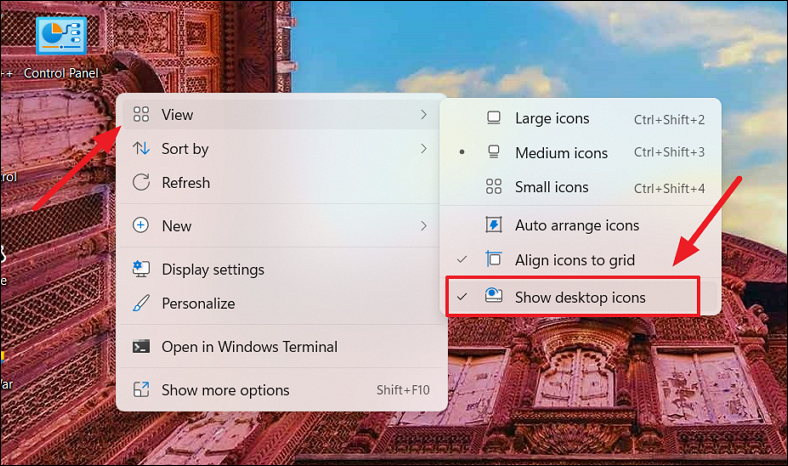
Your desktop icons will reappear.
By following these steps, you can efficiently manage your desktop shortcuts in Windows 11, giving you quick access to your most-used applications while keeping your workspace organized.