
Creating video recordings on your Windows 11 PC is a straightforward process, whether you’re preparing a training session, capturing a lecture, or preserving memorable moments. With the built-in Camera app, you can effortlessly record high-quality videos using your computer’s internal or external camera.
Recording video using the Camera app
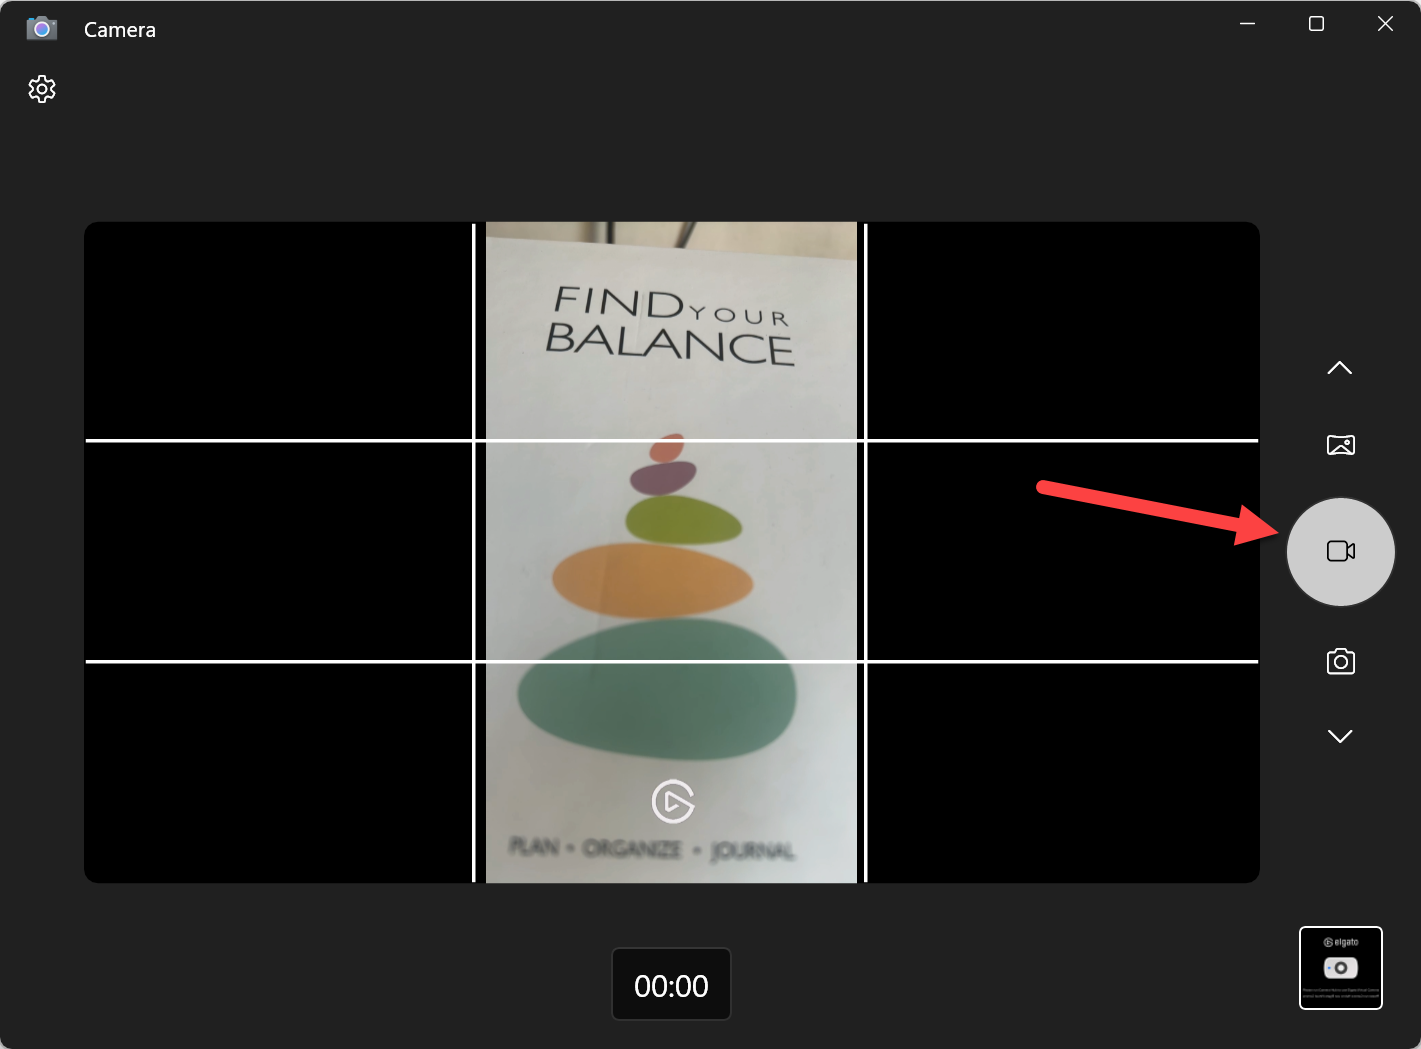
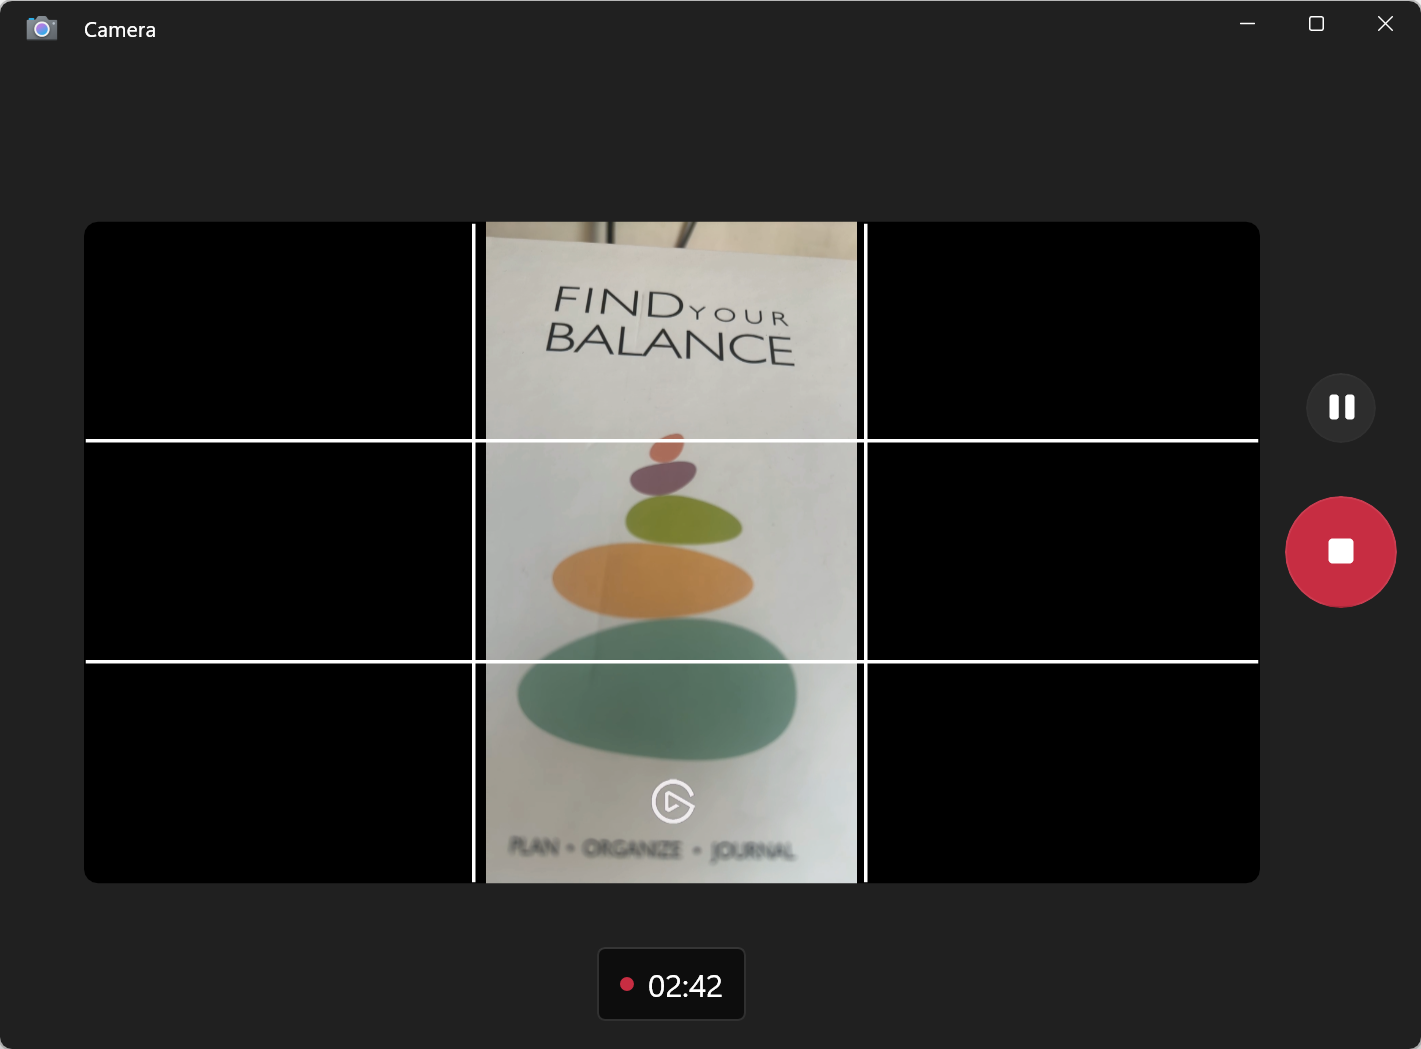
Recording videos with the Camera app in Windows 11 is simple and provides additional features that enhance your recording experience.
Start menu and selecting the Camera application from the list of apps. If you don’t see it immediately, type “Camera” into the search bar to locate it quickly.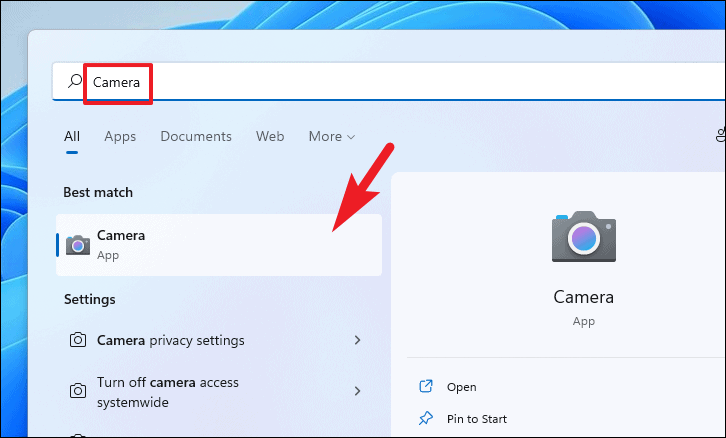
Enhancing your video quality
Even with optimal lighting and camera angles, adjusting certain settings can significantly improve the quality of your videos:
Utilize grid lines: For better framing of your shots, access the Camera app’s settings by clicking on the gear icon. Navigate to Camera settings and under Framing grid, choose the grid line option that best suits your needs.
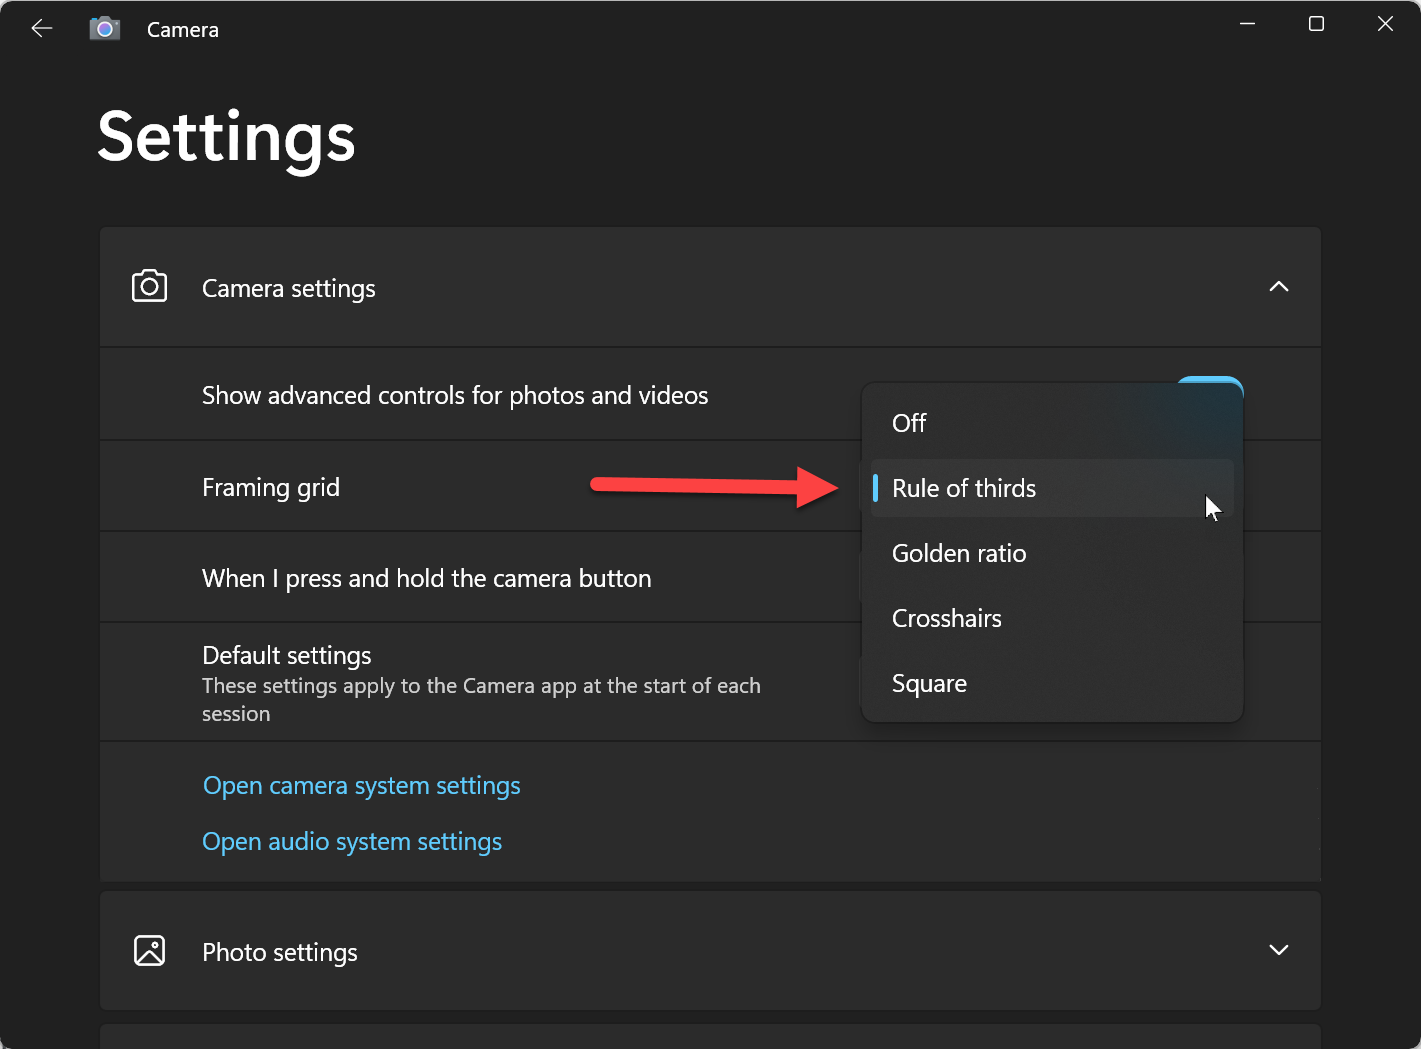
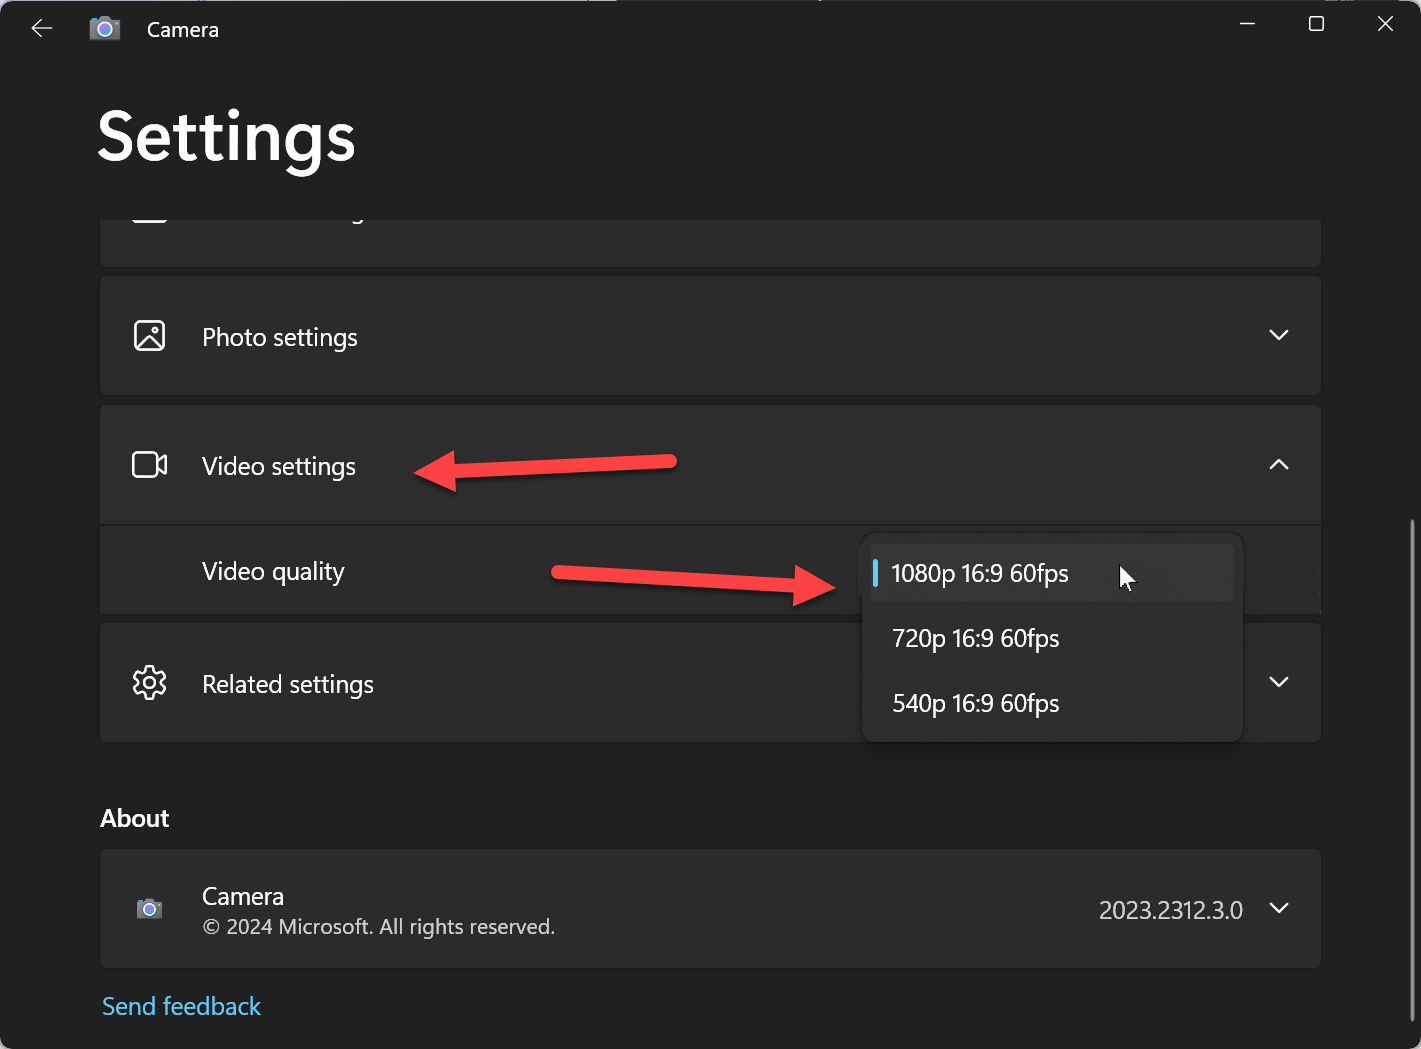
Select video quality: In the settings panel, go to Video settings and select your desired video resolution. Available resolutions may vary depending on your camera’s capabilities.
By following these steps and adjusting the settings to your preference, you can create professional-looking videos directly from your Windows 11 PC, making it a valuable tool for education, training, or capturing special moments.


