
If you’re using Windows 11 and have concerns about certain files or folders appearing in search results, there are ways to keep them hidden. Whether it’s for privacy reasons, to prevent accidental deletion, or to enhance search performance by excluding large files, Windows 11 offers various methods to hide your content from search.
In this guide, we’ll explore effective techniques to hide files, folders, drives, and specific file types from Windows 11 search results. We’ll cover methods using Settings, Indexing Options, File Explorer, Command Prompt, and more.
Methods to Hide Files and Folders in Windows 11
There are several approaches to prevent files and folders from appearing in Windows 11 search results. Below are some of the most effective methods.
Hide Files and Folders Using File Explorer
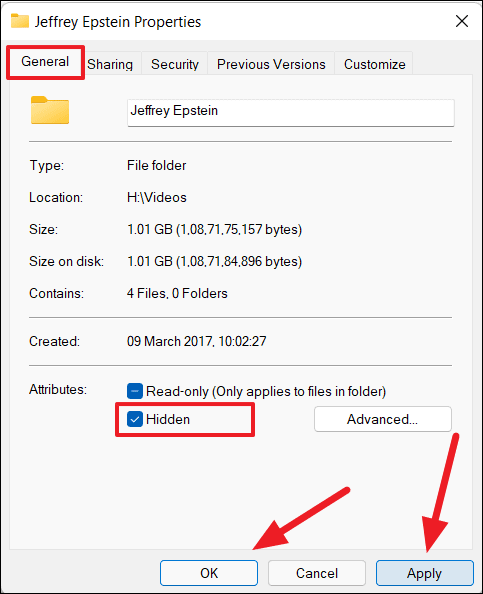
One of the simplest ways to hide files or folders is by adjusting their properties in File Explorer. This method allows you to apply a hidden attribute to any file or folder, making it invisible in search results and in File Explorer (unless configured otherwise).
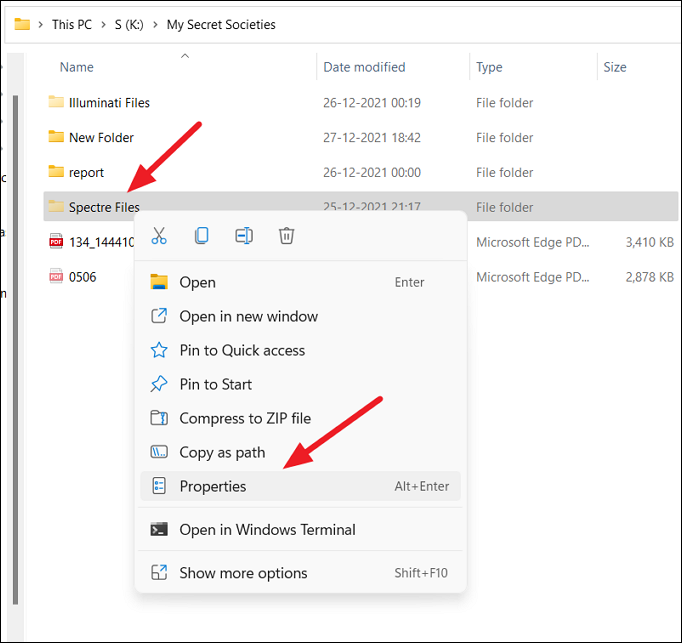
Properties from the context menu.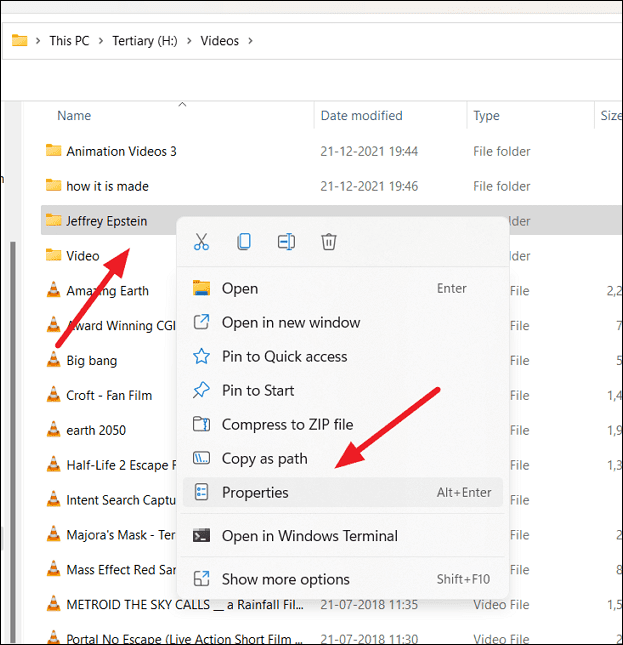
Apply changes to this folder, subfolders, and files if you wish to hide everything within the folder. Click OK.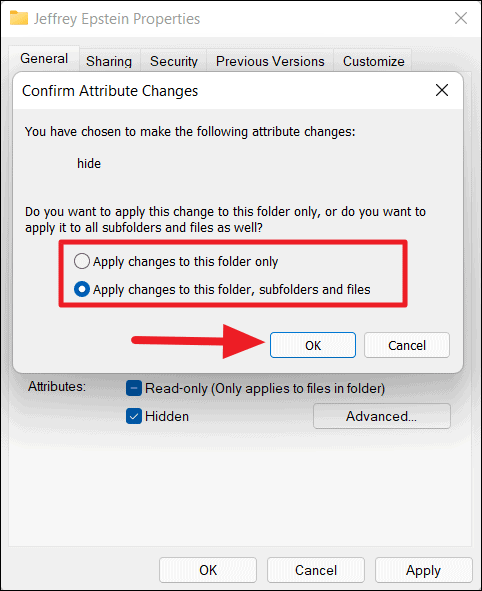
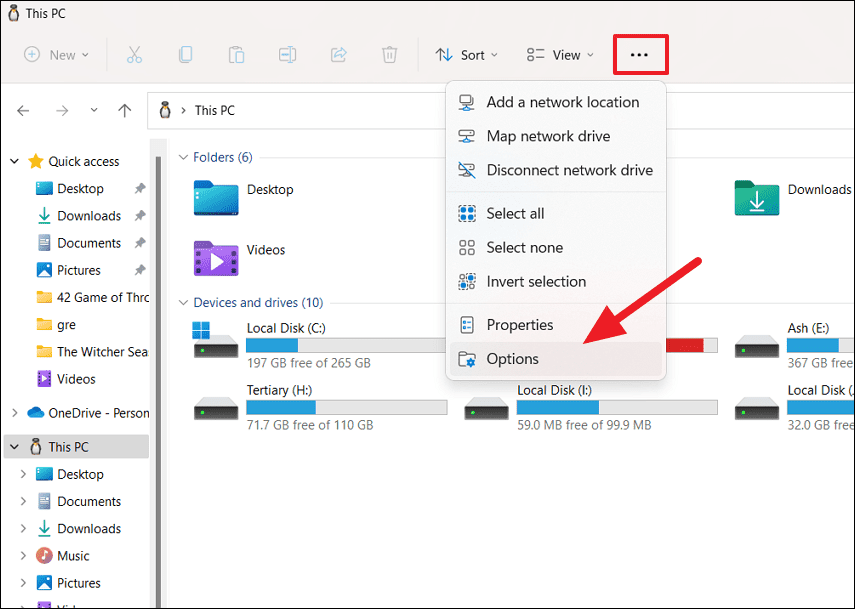
See more button (three dots) at the top of File Explorer and select Options.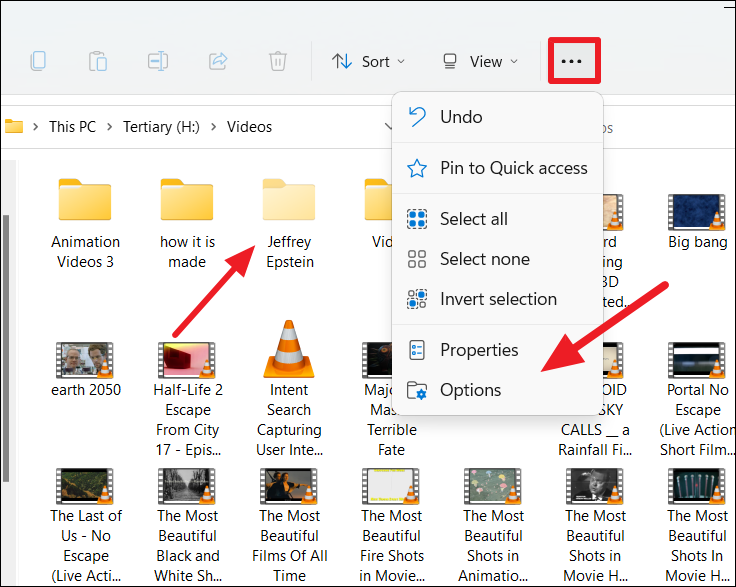
View tab. Under Advanced settings, select Don't show hidden files, folders, or drives. Click Apply and then OK.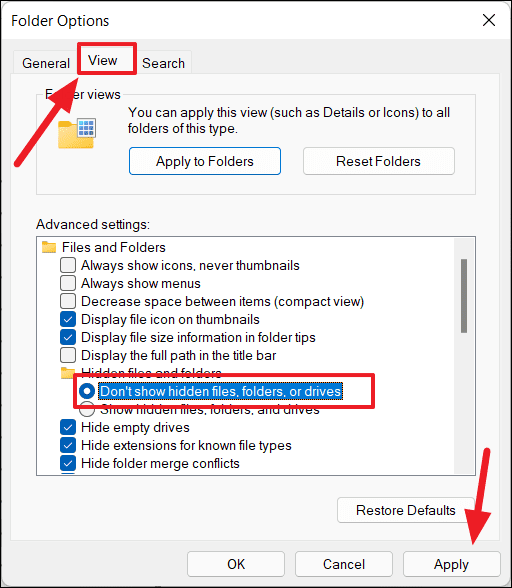
The hidden files and folders will no longer be visible in File Explorer or appear in search results.
Hide Files and Folders Using Settings
You can also exclude specific folders from Windows Search through the Settings app.
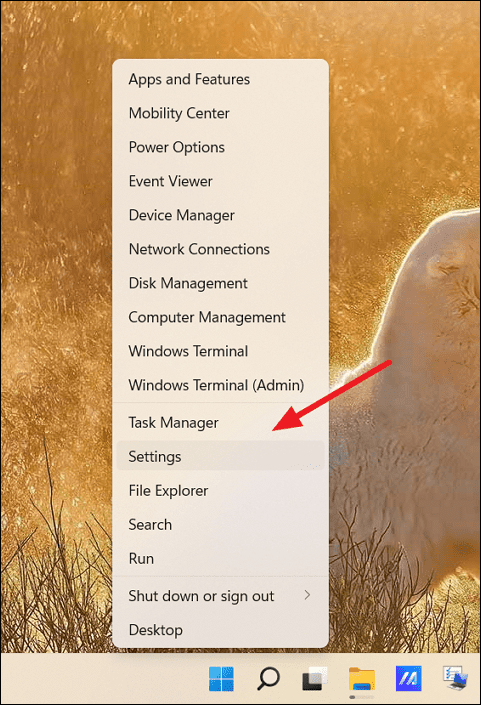
Privacy & security on the left sidebar, then select Searching Windows on the right pane.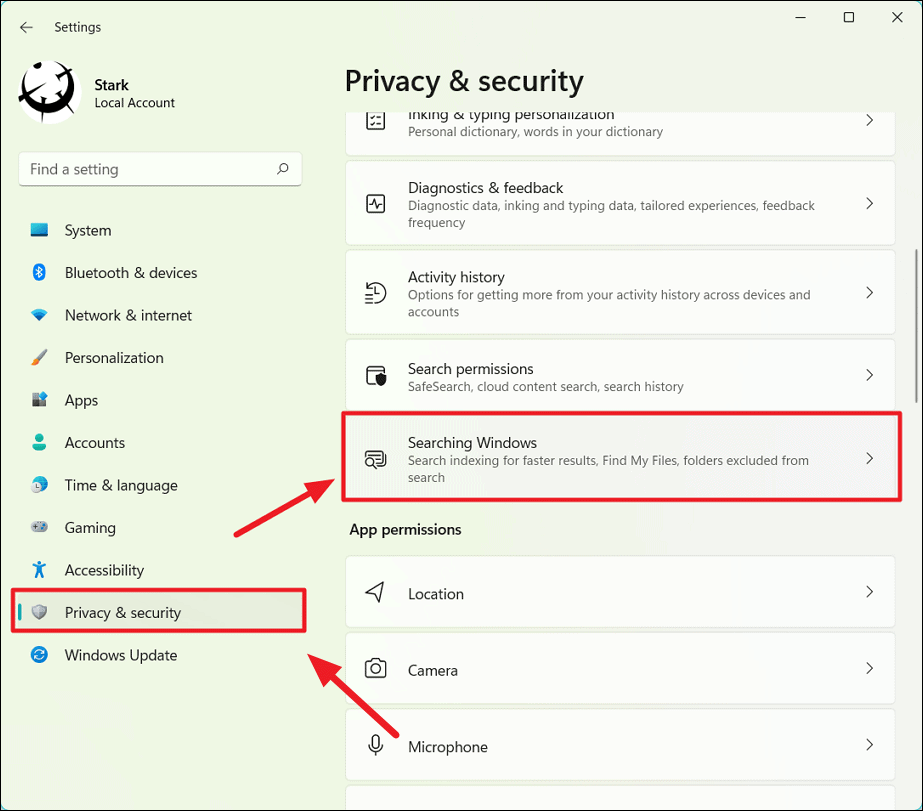
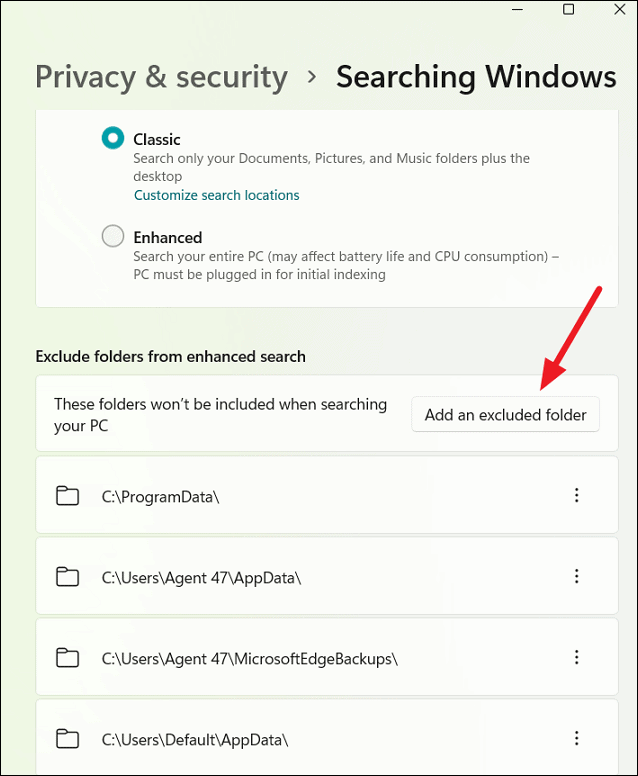
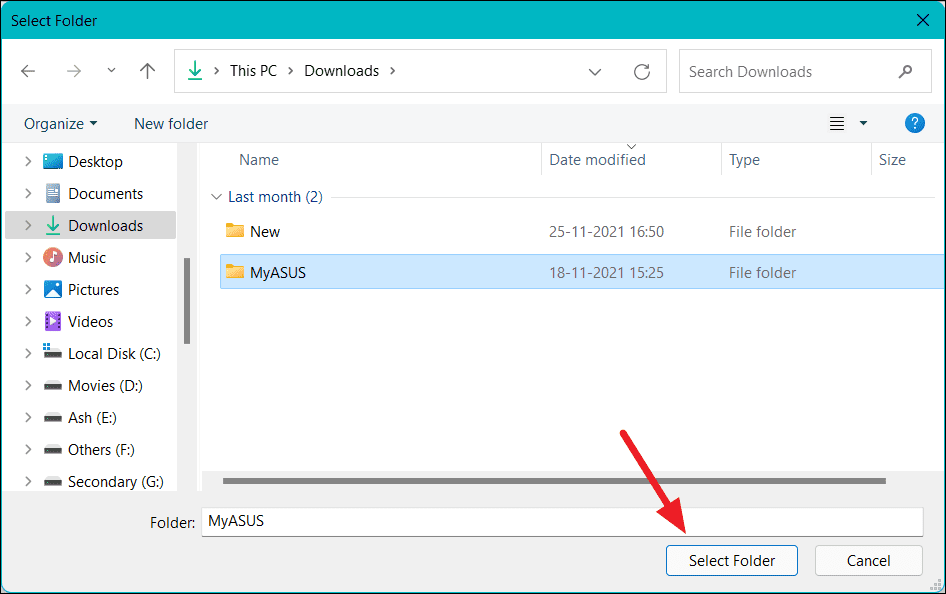
The selected folder is now excluded from Windows Search and won’t appear in search results.
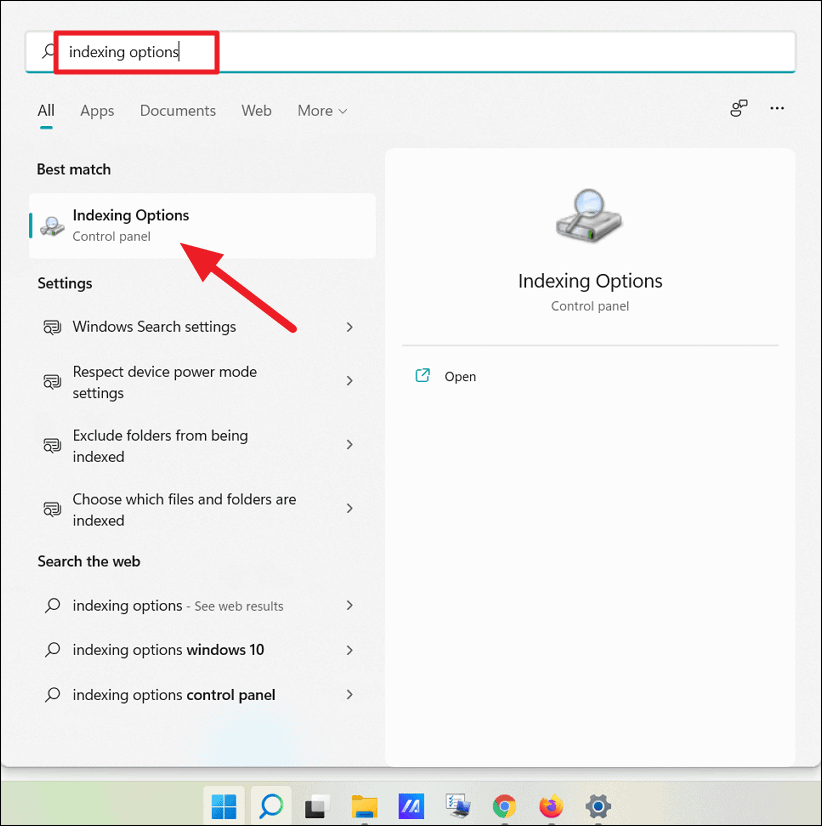
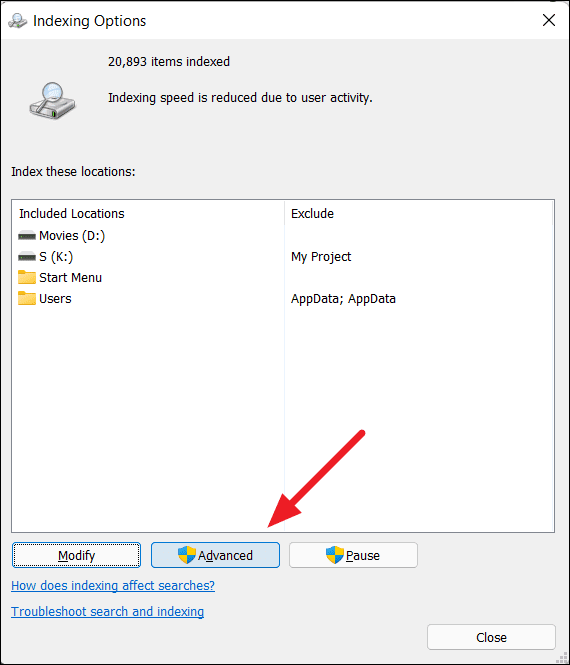
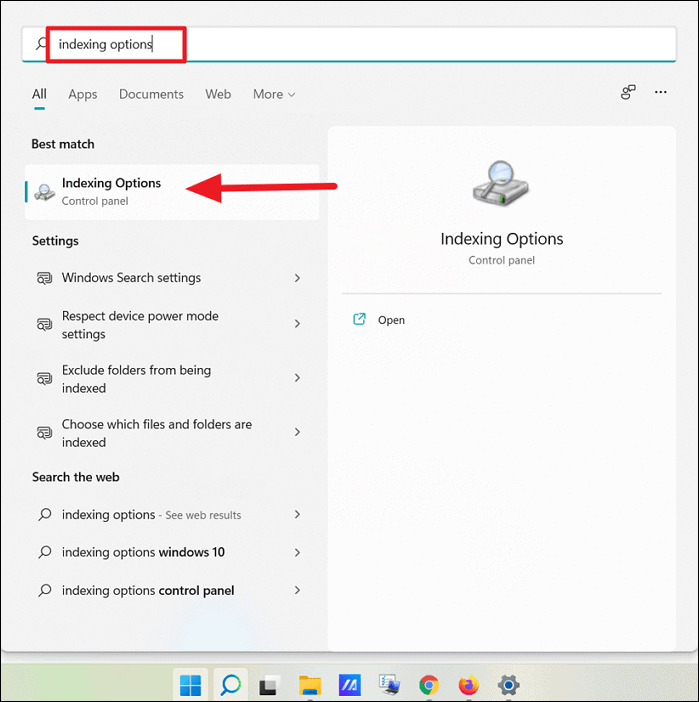
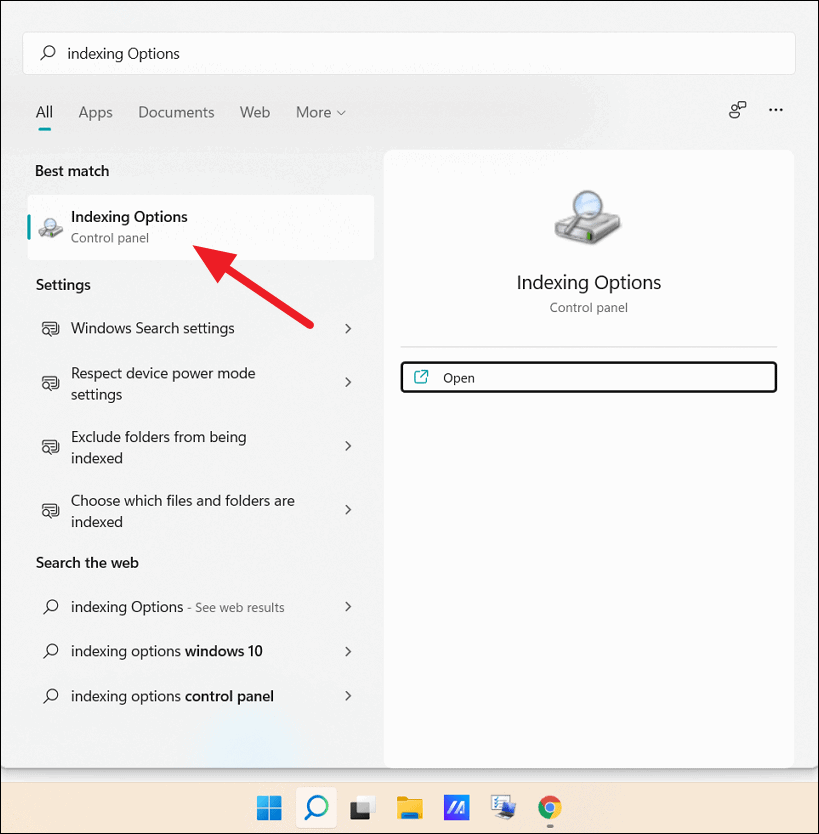
Hide Files and Folders Using Indexing Options
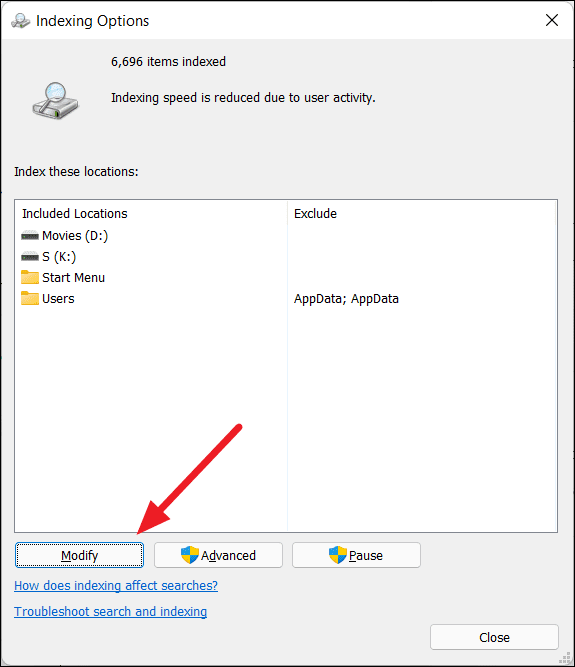
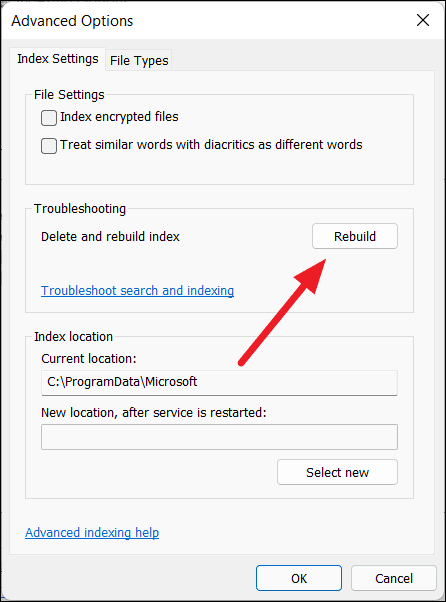
Windows Search relies on an index to provide quick search results. By modifying the indexing options, you can exclude specific folders or file types from search results.
OK.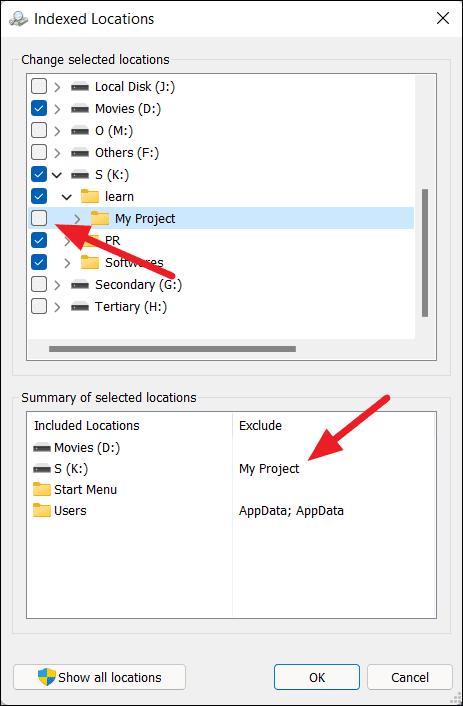
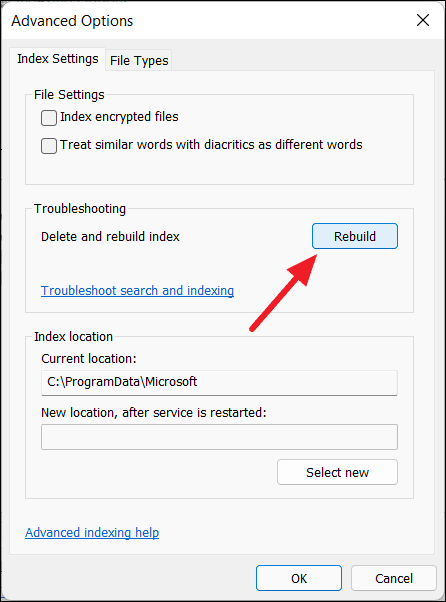
Rebuild under the Troubleshooting section to rebuild the index.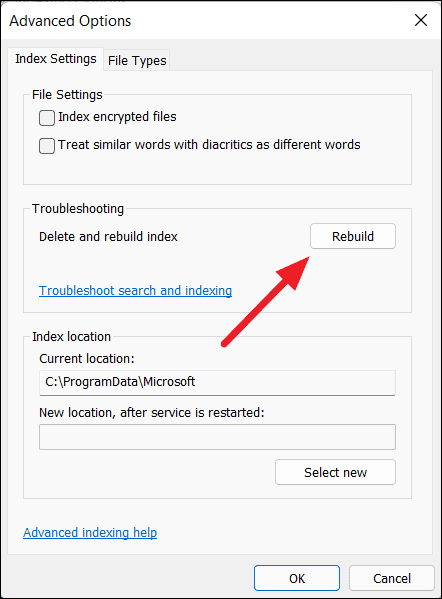
After the indexing is complete, the excluded folders will not appear in search results.
Hide Specific File Types from Search Results
If you want to prevent certain file types from appearing in search results (e.g., all PDF files), you can modify the indexing options to exclude those file types.

File Types tab. Uncheck the file extensions you want to exclude from search results (e.g., uncheck pdf). Click OK.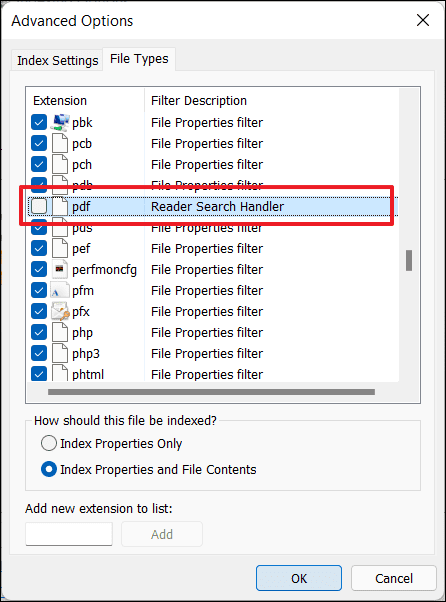
Once the indexing process is complete, the specified file types will no longer appear in search results.
Hide an Entire Drive
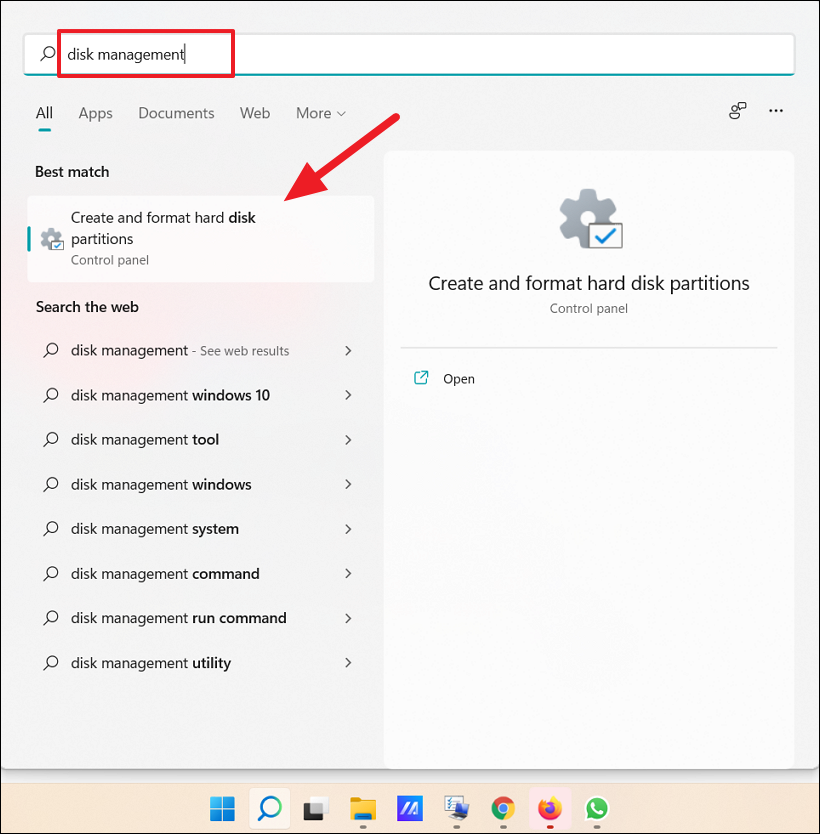
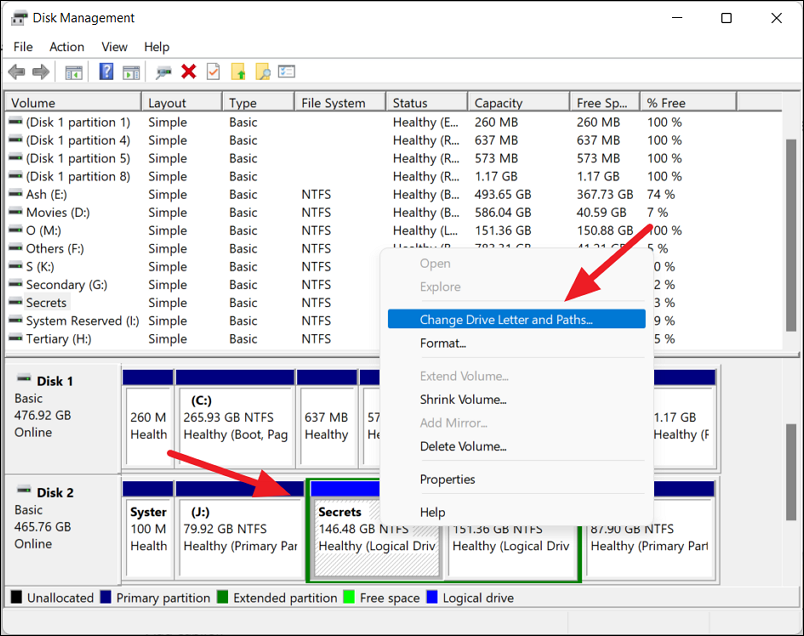
If you need to hide an entire drive from File Explorer and search results, you can do so using Disk Management.
Start menu and select Disk Management, or press Windows+R, type diskmgmt.msc, and press Enter.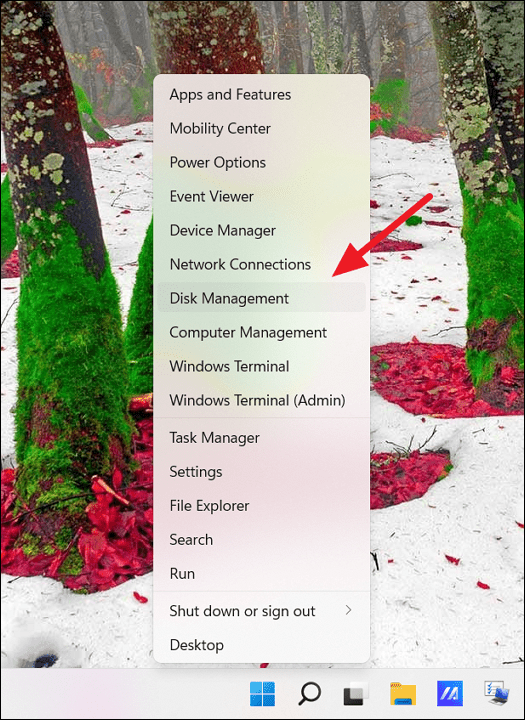
Change Drive Letter and Paths....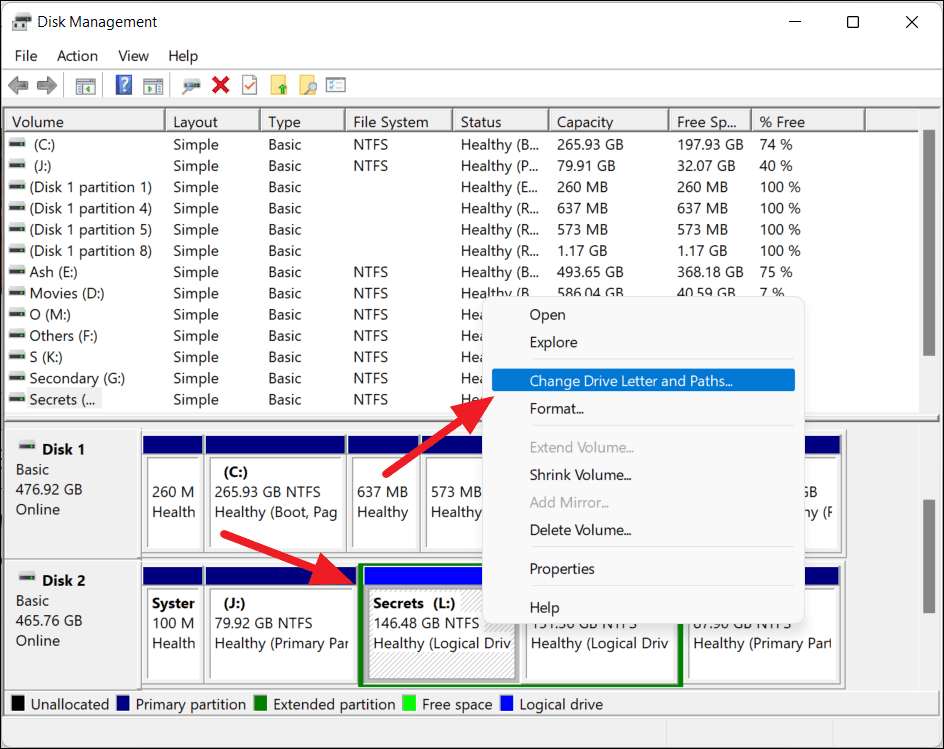
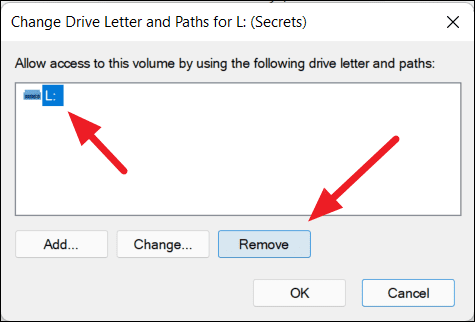
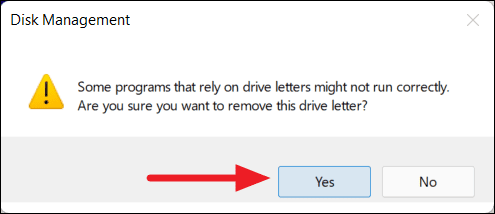
The drive will no longer appear in File Explorer or in search results.
Hide Files and Folders Using Command Prompt
For advanced users, the Command Prompt provides a way to hide files and folders using the attrib command.
cmd in the Start menu, then click Run as administrator.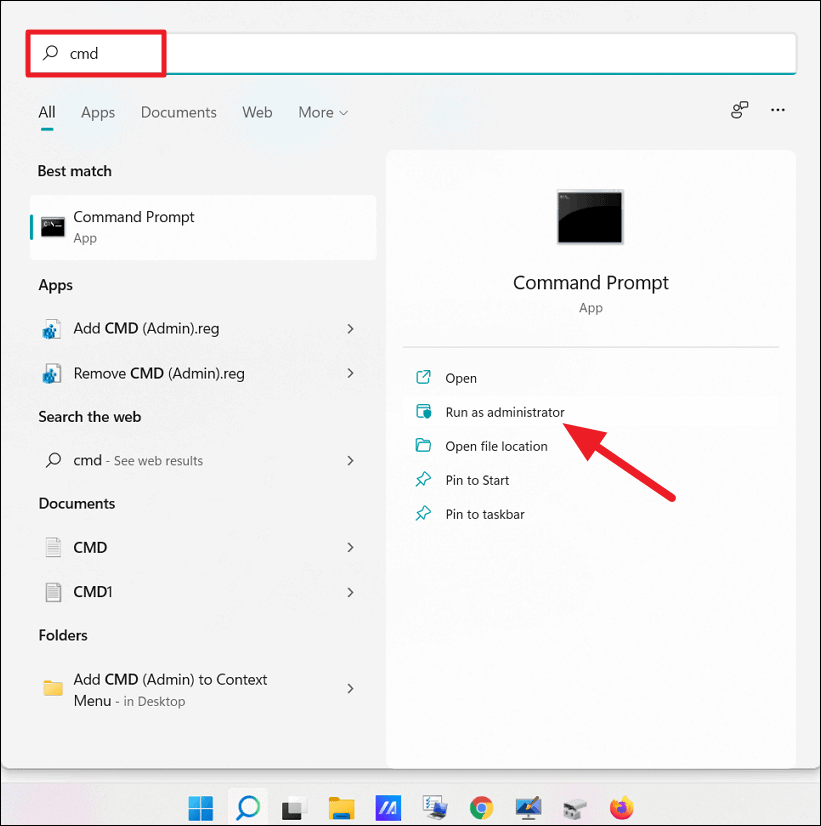
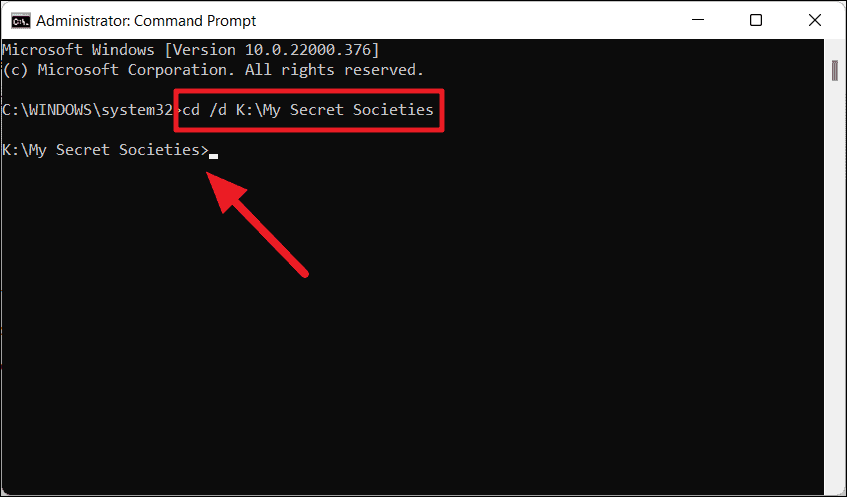
cd command. For example:cd /d K:\My Secret SocietiesThe /d switch allows you to change the drive as well as the directory.
attrib +h "Folder Name"Replace "Folder Name" with the name of your folder.
attrib +h "Illuminati Files"
The folder is now hidden and won’t appear in File Explorer or search results.
cd "Illuminati Files"Then run:
attrib +h /s /d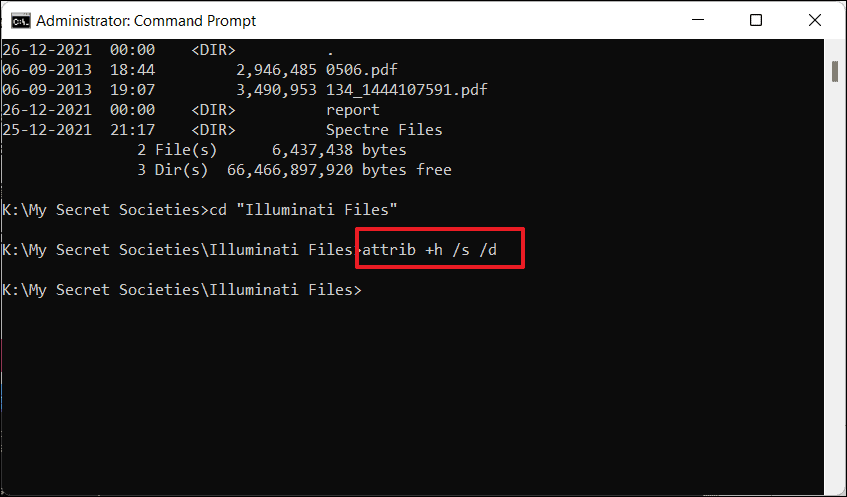
This command applies the hidden attribute to all files and subdirectories within the current directory.
Methods to Unhide Files and Folders in Windows 11
If you need to access or restore visibility to hidden files and folders, you can unhide them using the following methods.
Unhide Hidden Files and Folders in File Explorer
View tab. Under Advanced settings, select Show hidden files, folders, and drives. Click Apply and then OK.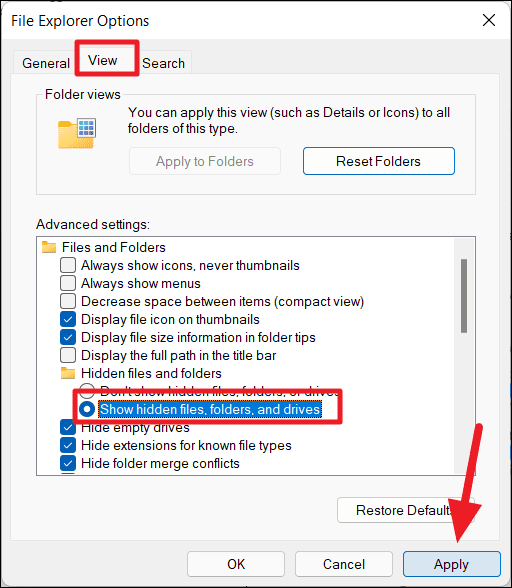
The hidden files and folders will now be visible, but with faded icons indicating they are still marked as hidden.
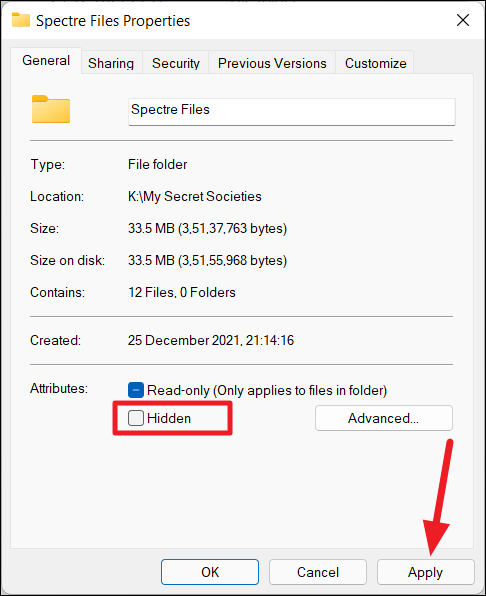
OK to confirm.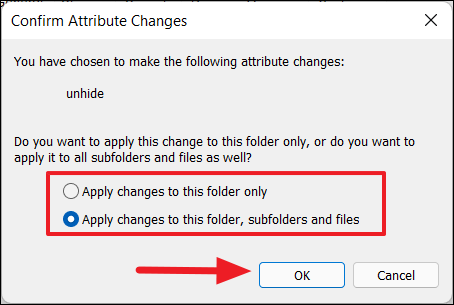
The file or folder will now be fully visible and will appear in search results.
Unhide Files and Folders Using Indexing Options
If you previously excluded folders from the search index, you can include them again to make them searchable.

After rebuilding the index, the previously hidden files and folders will appear in search results.
Unhide an Entire Drive
If you’ve hidden a drive and want to make it visible again, you can reassign a drive letter using Disk Management.
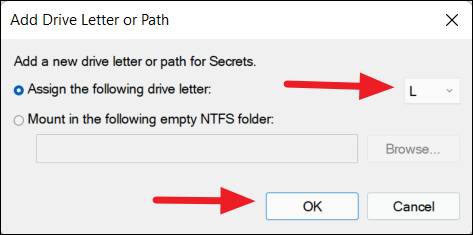
The drive will reappear in File Explorer and be accessible as before.
Unhide Files and Folders Using Command Prompt
If you hid files or folders using Command Prompt, you can unhide them using similar commands.
cd /d K:\My Secret Societies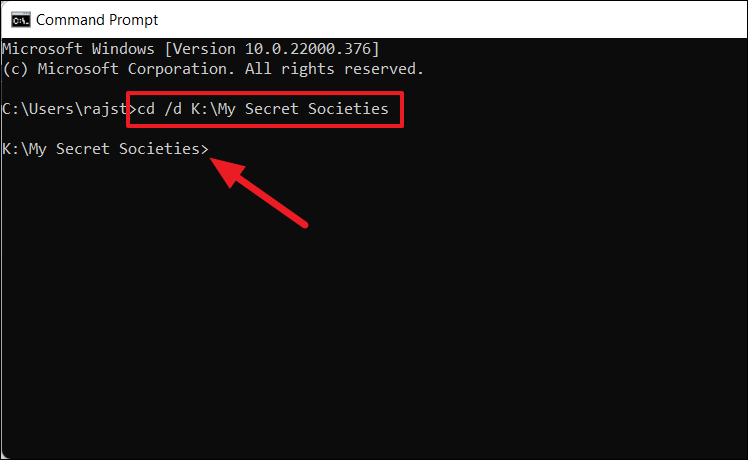
attrib -h "Folder Name"Replace "Folder Name" with the actual name.
attrib -h "Spectre Files"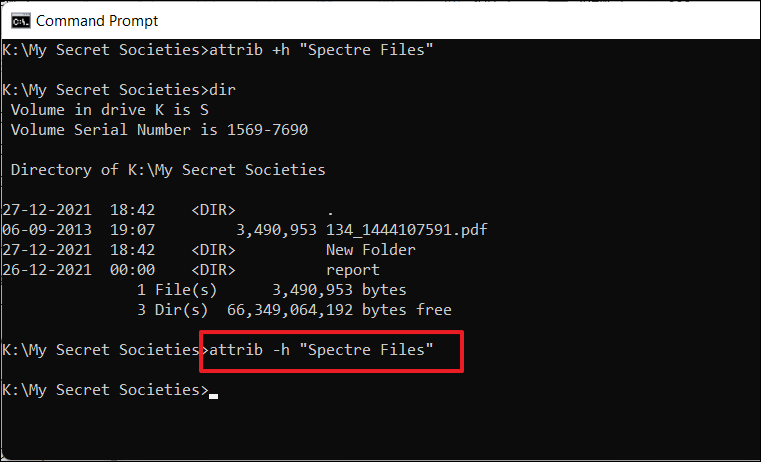
cd "Spectre Files"Then run:
attrib -h /s /d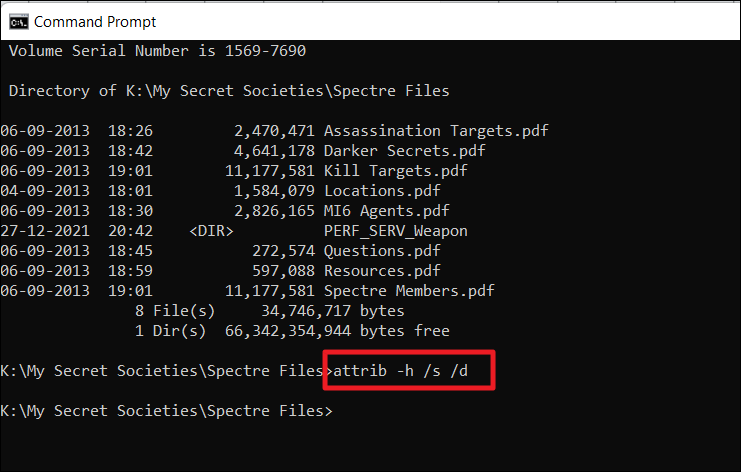
This command removes the hidden attribute from all files and subdirectories.
By utilizing these methods, you can effectively manage the visibility of your files, folders, and drives in Windows 11, ensuring your data remains private and your search experience is optimized.


