
Formatting inconsistencies in Microsoft Word documents can cause issues with readability, document structure, and overall presentation. Removing all formatting restores text to the default style, which is especially useful when combining content from multiple sources or troubleshooting stubborn style problems.
Remove All Formatting Using the Ribbon
Step 1: Start by selecting the text where you want to remove formatting. To select the entire document, use the shortcut Ctrl+A (Windows) or Command+A (Mac).
Step 2: Navigate to the Home tab at the top of the Word window. In the Font group, look for the Clear All Formatting button. This icon often looks like an eraser next to the letter 'A'. If you don’t see it right away, click the More button (three dots) to expand additional options.
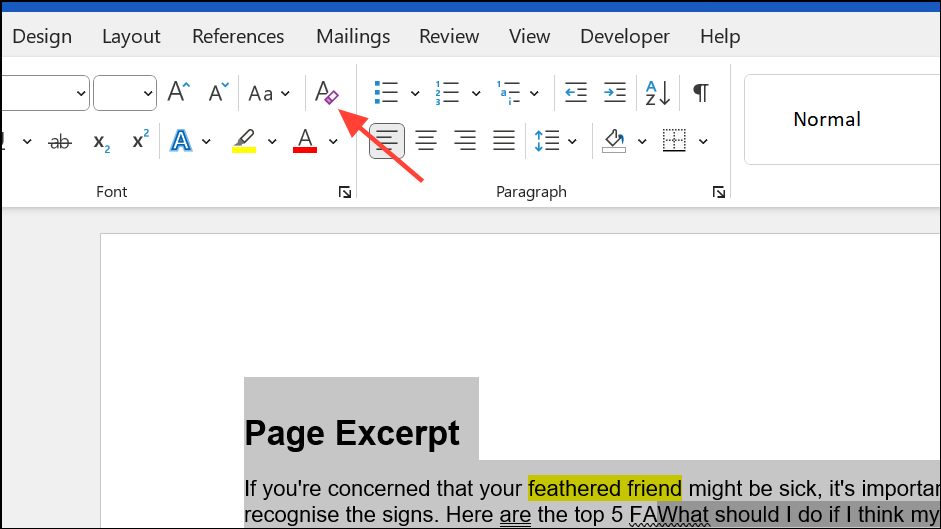
Step 3: Click the Clear All Formatting button. All font and paragraph formatting—including bold, italics, underline, color, and size—will be removed, and the text will revert to the default style defined by the document’s template.
Remove Formatting with Keyboard Shortcuts
Step 1: Select the portion of text you want to reset. For the entire document, use Ctrl+A.
Step 2: To clear character formatting (font, size, color, bold, italics, underline), press Ctrl+Spacebar. This resets text to the default character style.
Step 3: To reset paragraph formatting (alignment, line spacing, indentation), press Ctrl+Q. This restores the paragraph to its default settings based on the applied style.
Using both shortcuts in sequence ensures both character and paragraph formatting are cleared, streamlining the process for large or complex documents.
Paste as Plain Text
Step 1: When bringing in content from another source, paste it as plain text to avoid importing unwanted formatting. Use Ctrl+Shift+V (Windows) or Command+Shift+V (Mac) instead of the standard paste shortcut.
Step 2: If your version of Word does not support this shortcut, you can right-click and select Keep Text Only from the paste options menu. This strips all formatting and applies the default style of your document.
Remove Formatting by Copying to a Plain Text Editor
Step 1: For a comprehensive reset, especially with heavily formatted text, copy the content from Word and paste it into a plain text editor like Notepad (Windows) or TextEdit (Mac) set to plain text mode.
Step 2: Copy the unformatted text from the plain text editor and paste it back into your Word document. This removes all formatting, including hidden styles that sometimes persist after using Word’s built-in tools.
This method is especially effective when dealing with documents imported from web pages or other word processors that introduce complex formatting.
Customizing the Default Style After Clearing Formatting
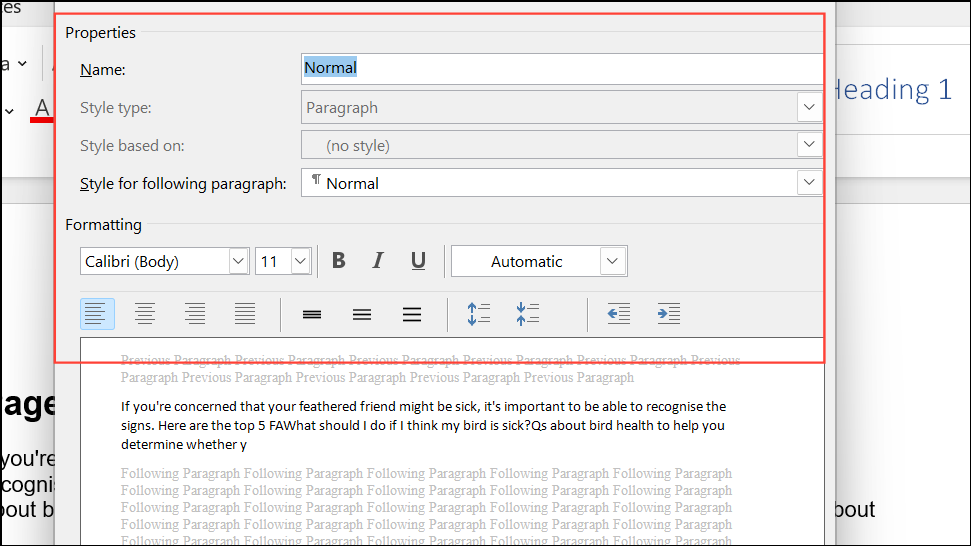
After removing all formatting, Word applies the default “Normal” style, which is typically Calibri, size 11, black. If you want a different default font or size, modify the Normal style:
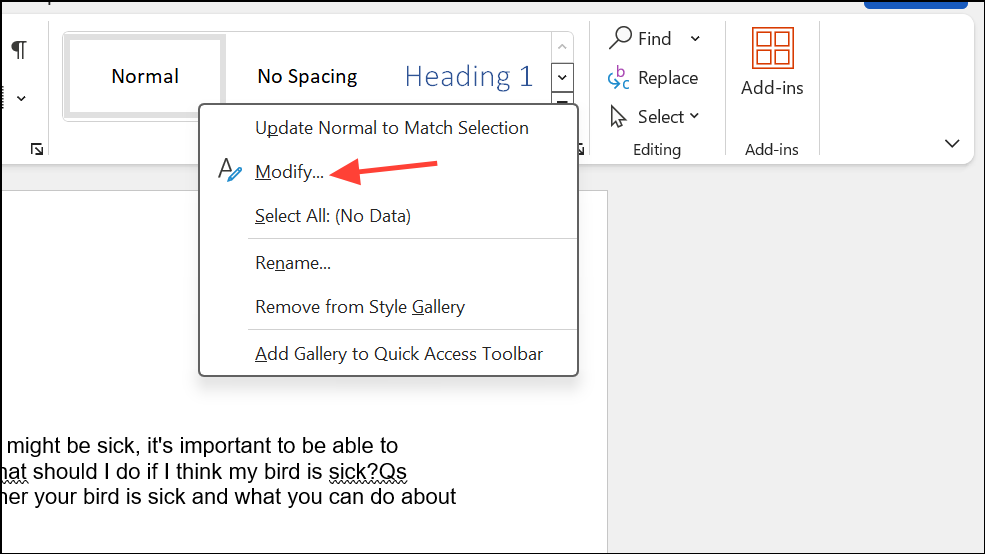
- On the Home tab, right-click the Normal style in the Styles gallery and select Modify.
- Set your preferred font, size, and color, then choose whether to apply changes to just the current document or all new documents based on the template.
This ensures that when you clear formatting, your text adopts your preferred default style instead of Word’s standard settings.
Advanced: Remove All Formatting Except Bold
If you need to clear all formatting but retain bold text, use Find & Replace with formatting options or a VBA macro. One approach involves highlighting all bold text first, clearing formatting, and then restoring bold formatting only to highlighted words. Alternatively, advanced users can run a VBA macro to automate this process, preserving bold while removing other styles.
Removing all formatting in Microsoft Word is straightforward with the right tools—use the ribbon, keyboard shortcuts, or plain text editors to quickly restore your document to a clean, consistent style. Adjusting the Normal style ensures your preferred formatting is applied every time you clear text.