Find and remove duplicate data in your Excel sheet using these simple steps.
Find and remove duplicate data in your Excel sheet using these simple steps.
by Raj Kumar
Duplicate entries in Excel can lead to inaccuracies in data analysis and reporting. Identifying and removing these duplicates ensures your datasets remain clean and reliable.
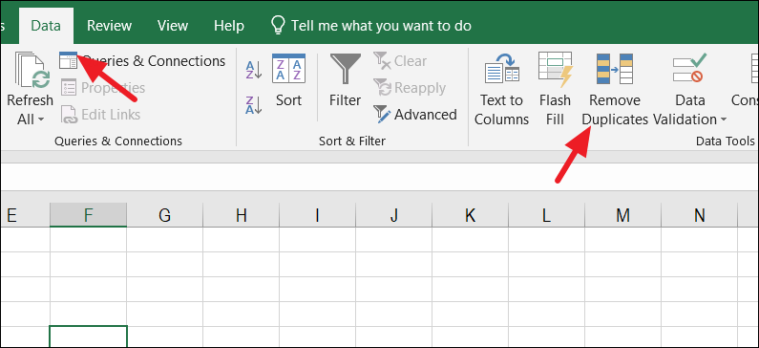
Removing Duplicates Using the Remove Duplicates Feature
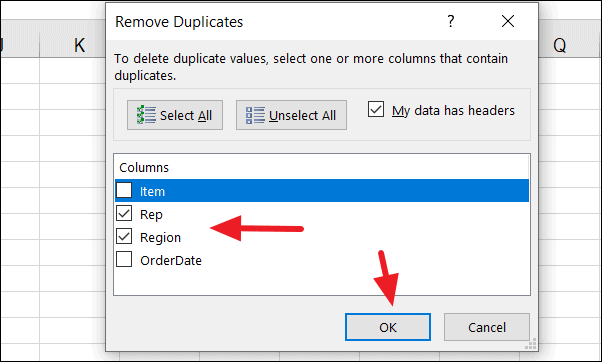
The Remove Duplicates dialog box will appear, displaying the list of columns in your dataset. Check the boxes next to the columns where you want to look for duplicates. If your data has headers, ensure the My data has headers option is selected. Once you’ve made your selections, click OK.
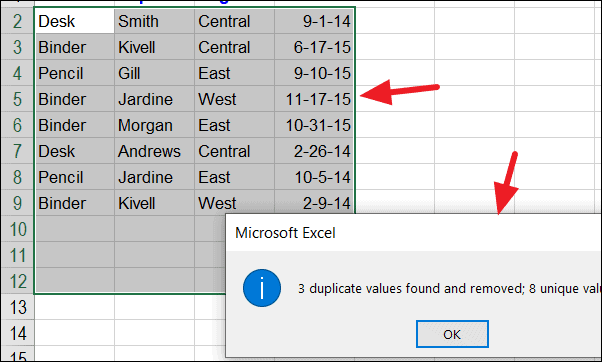
After clicking OK, Excel will display a message indicating how many duplicate values were found and removed, as well as how many unique values remain. Click OK to confirm.
This process quickly removes duplicate rows based on the columns you specified, leaving you with a dataset containing only unique records.
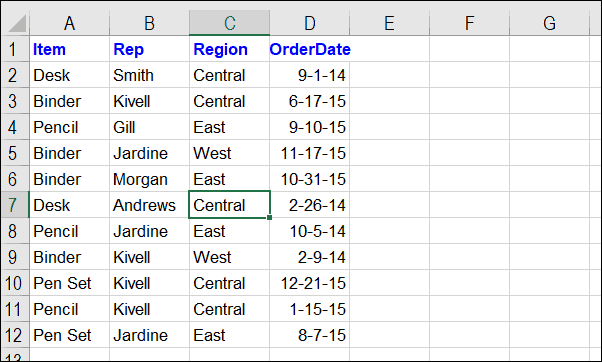
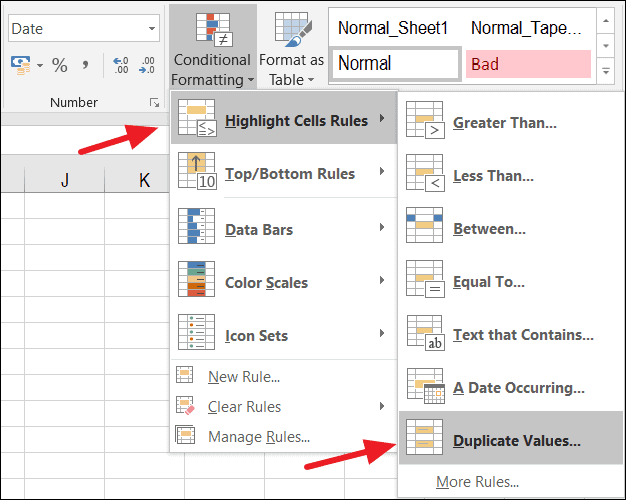
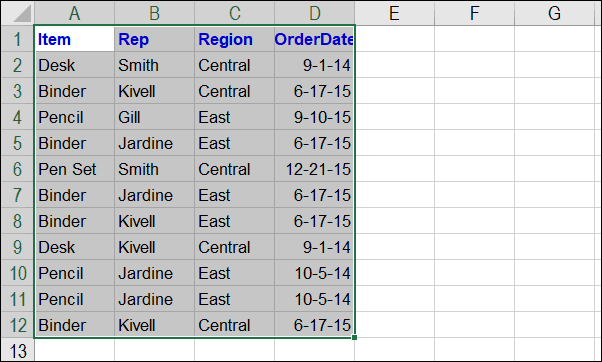
Select the range of cells where you want to identify duplicate values. This can be specific columns, rows, or the entire worksheet. In this example, we’ll check for duplicate names in the “Representatives” column.
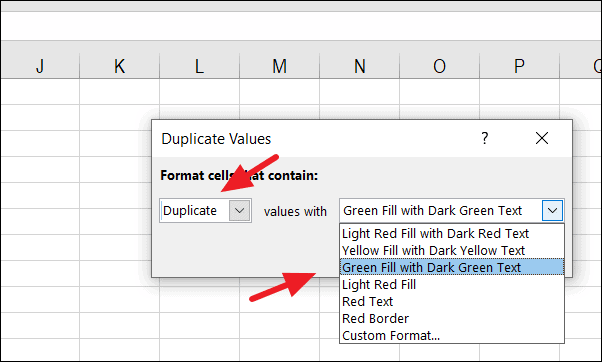
In the Duplicate Values dialog box, choose whether you want to highlight duplicates or unique values. Select Duplicate in the first drop-down menu. In the second drop-down, pick the formatting style you prefer to highlight the duplicates. Click OK to apply.
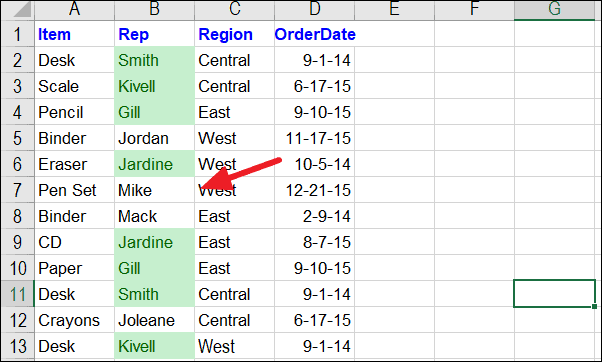
Excel will now highlight all duplicate values in the selected range according to the formatting you chose. You can review these duplicates and decide whether to remove them.
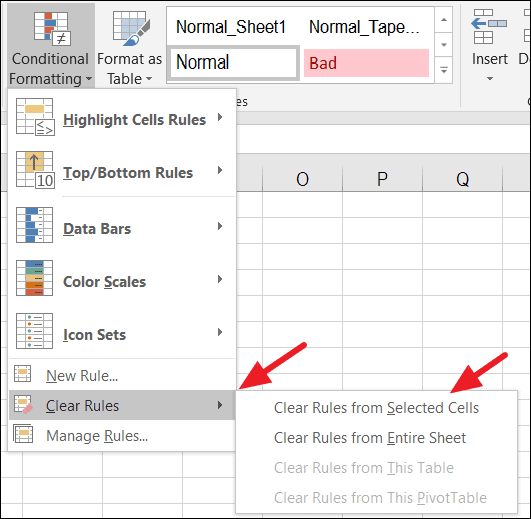
If you wish to remove the highlighting, select the highlighted cells. Go back to the Conditional Formatting menu, click on Clear Rules, and select Clear Rules from Selected Cells.
This method allows you to easily identify duplicates without immediately removing them, giving you the option to review and manage duplicate data as needed.
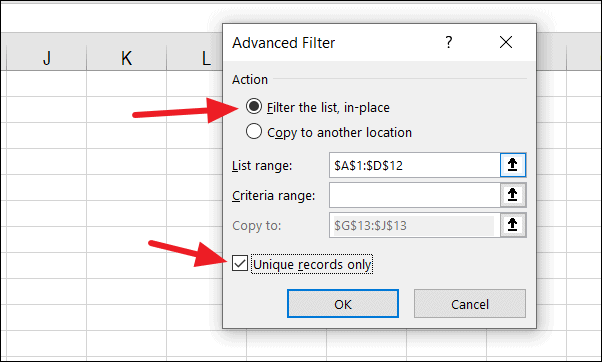
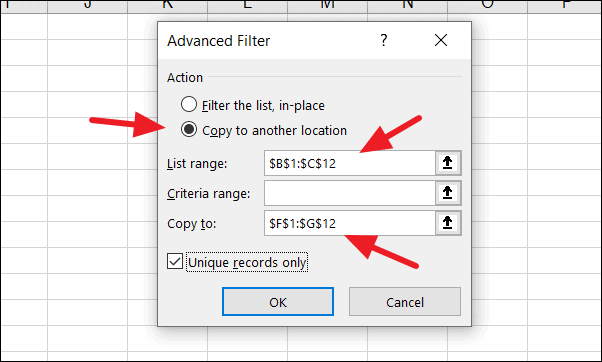
If you prefer to copy the unique records to a new location, select Copy to another location in the Advanced Filter dialog box. Specify the Copy to range by entering the cell references where you want the unique data to appear. Ensure you have the Unique records only checkbox selected, then click OK.
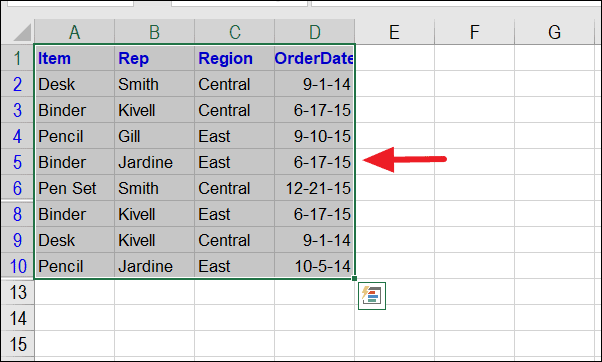
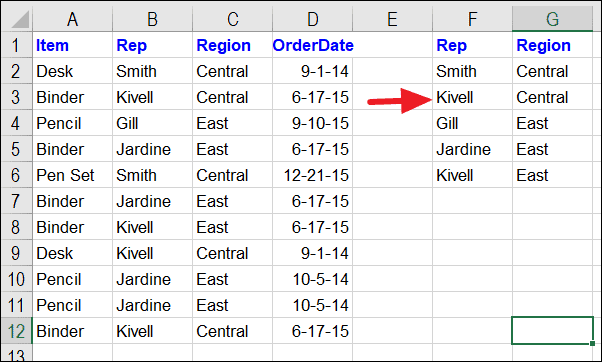
The unique records from your original dataset will be copied to the specified location, leaving the original data intact.
This method is useful when you want to extract unique records without altering your original dataset, allowing you to work with a distinct set of data elsewhere in your worksheet.
Maintaining a dataset free of duplicates in Excel ensures accurate analysis and reporting. By using these built-in features, you can efficiently identify and eliminate duplicate entries, leading to cleaner and more reliable data.