
Experiencing frequent crashes, sluggish performance, or abnormal behavior on your Windows 11 computer can be quite frustrating. Luckily, many of these issues can be resolved using built-in Windows tools and methods. This guide provides several effective solutions to help you repair Windows 11 and restore your PC’s optimal performance.
Fix Registry Errors Using DISM and SFC
Corrupted or missing system files can cause various problems on your computer. By running the DISM (Deployment Image Servicing and Management) and SFC (System File Checker) tools, you can repair system images and fix corrupted Windows files.
Since the DISM tool requires administrative privileges, you’ll need to run the command-line tool as an administrator.
- Right-click the Start button on the taskbar, and select Windows Terminal (Admin). If you’re using an older version of Windows, choose Command Prompt (Admin) instead.
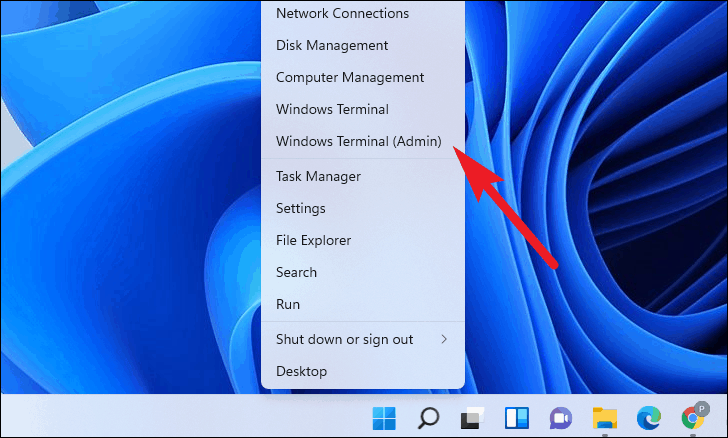
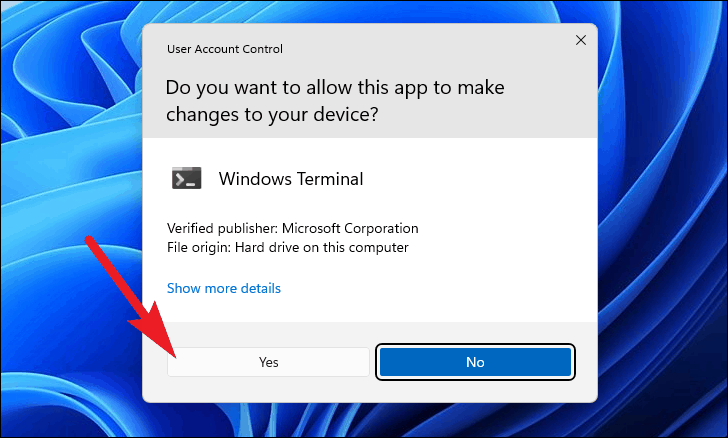
You may be prompted by the User Account Control (UAC). Click Yes to proceed.
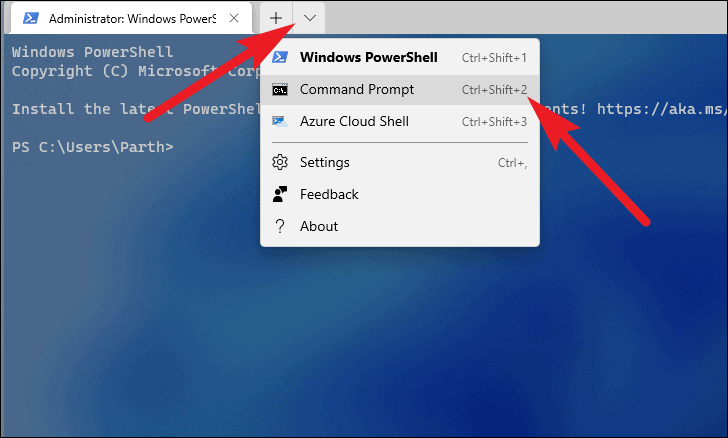
- If you opened Windows Terminal, click the downward arrow icon on the tab bar and select Command Prompt. Alternatively, you can press
Ctrl+Shift+2to open a Command Prompt tab.
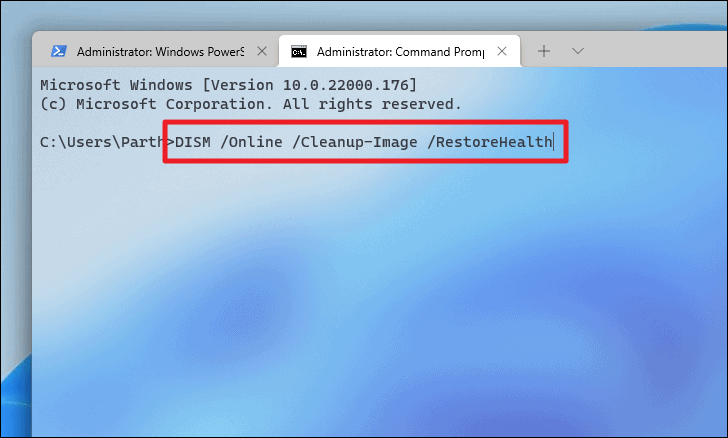
- In the Command Prompt window, type or paste the following command and press
Enterto restore your system image:
DISM /Online /Cleanup-Image /RestoreHealthNote: Ensure you’re connected to the internet, as the DISM command may download files from Windows Update to replace corrupted ones.
The DISM process may take several minutes to complete. It’s normal for the progress to seem stuck at times; do not interrupt it.
- Once the DISM scan is finished, run the SFC scan by typing or pasting the following command and pressing
Enter:
SFC /scannow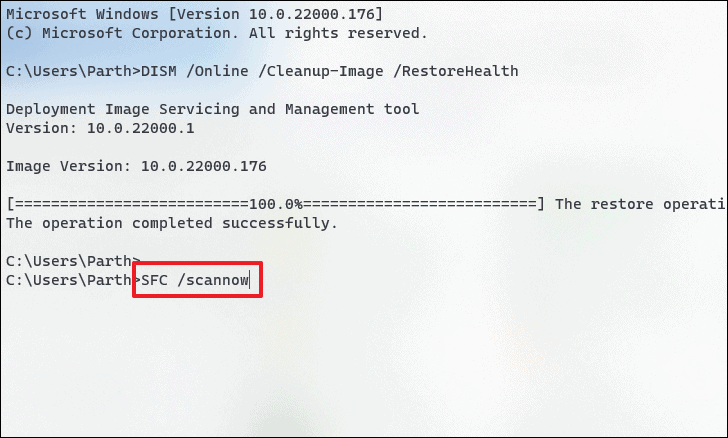
The SFC scan will check for corrupted system files and repair them. This process might also take several minutes. Once completed, restart your computer to apply the changes.
Run Windows Troubleshooter
Windows Troubleshooter can automatically detect and fix common issues. Here’s how to run it:
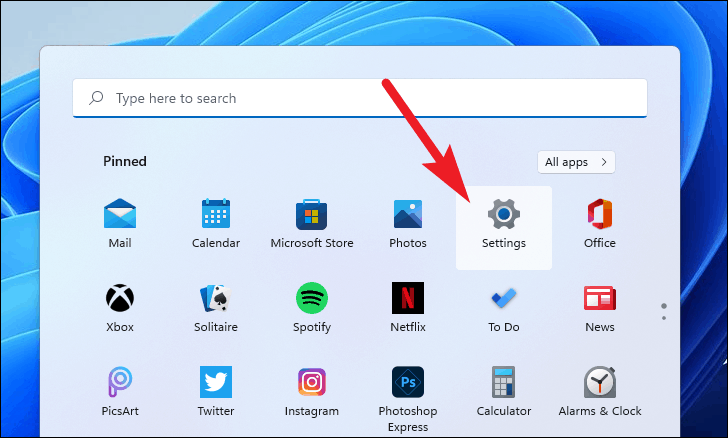
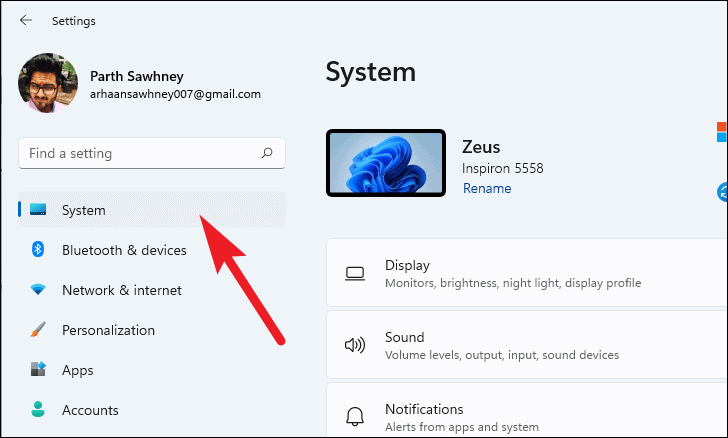
- Open the Settings app by clicking the Start button and selecting Settings, or by pressing
Windows+Ion your keyboard.

- In the Settings window, click on the System tab on the left sidebar.

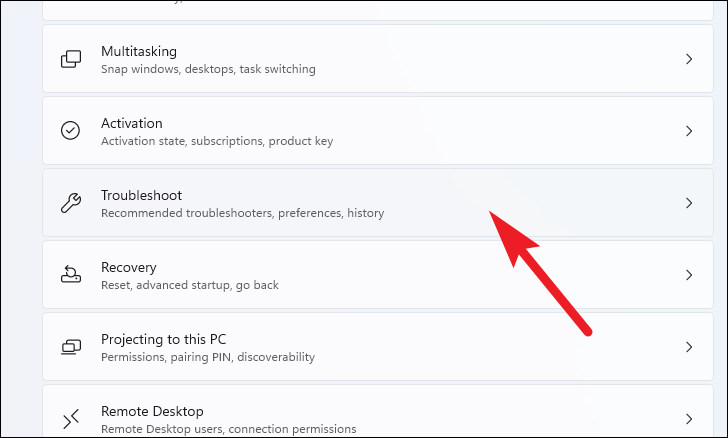
- Scroll down and select Troubleshoot from the list.
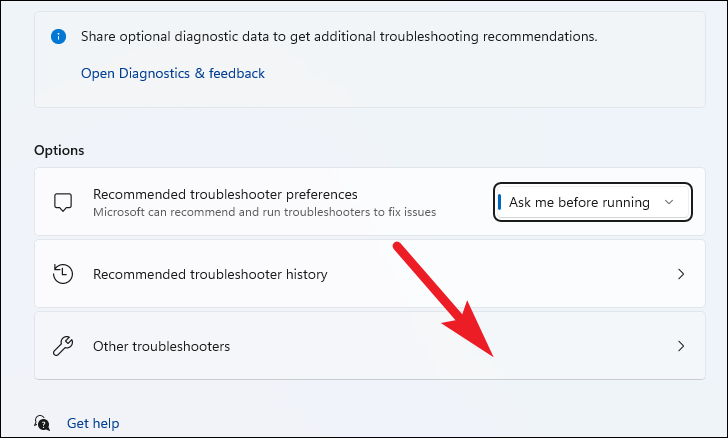
- Click on Other troubleshooters.
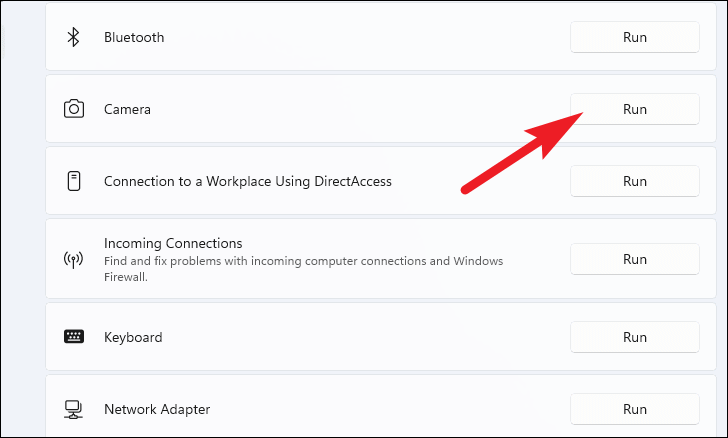
- Find the troubleshooter that matches your issue and click Run next to it.
Fix Drivers Using Device Manager
Updating or reinstalling drivers can resolve hardware-related issues. Follow these steps to fix drivers using Device Manager:
- Open the Settings app by clicking the Start button and selecting Settings, or by pressing
Windows+I.

- Click on the System tab on the left sidebar.

- Scroll down and select About from the list.
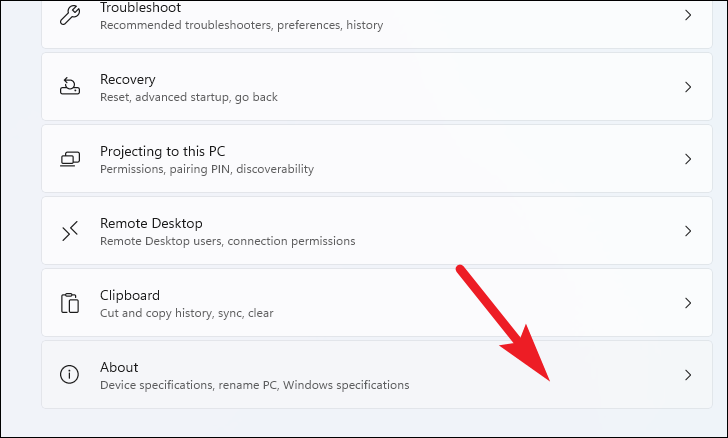
- In the About window, scroll down to the Related settings section and click on Device Manager. This will open a new window.
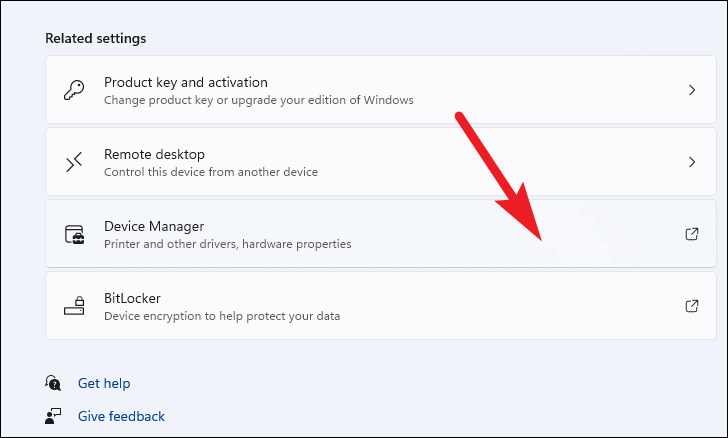
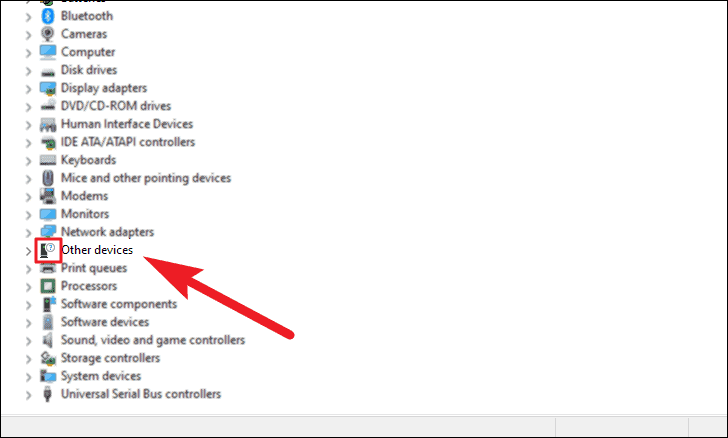
In Device Manager, you’ll see a list of all hardware components installed on your system.
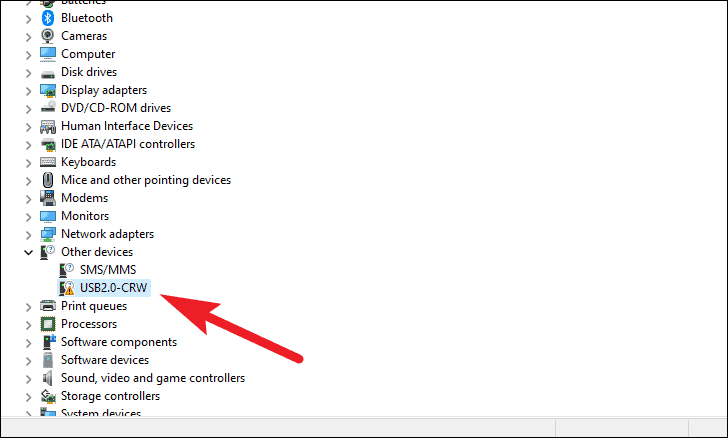
- If there’s a missing or problematic driver, you’ll see a question mark or yellow exclamation mark icon next to the device. Double-click on the category to expand it and locate the specific device.
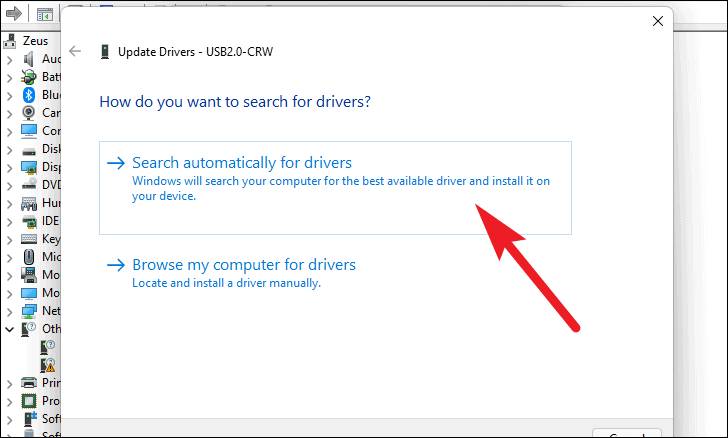
- Right-click on the device with the issue and select Update driver from the context menu.
- In the Update Drivers window, choose Search automatically for drivers to let Windows find the latest driver, or select Browse my computer for drivers if you have the driver file saved locally.
After updating the driver, restart your computer to apply the changes.
Uninstall Recent Updates
If issues started occurring after a recent Windows update, uninstalling the update might resolve them.
- Open the Settings app by clicking the Start button and selecting Settings, or by pressing
Windows+I.

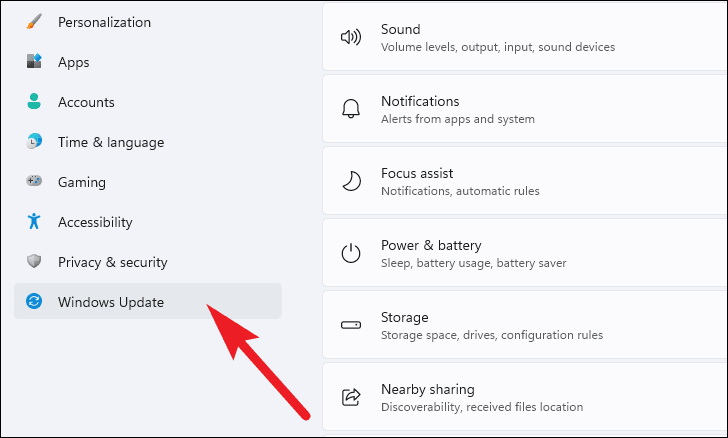
- Click on Windows Update on the left sidebar.
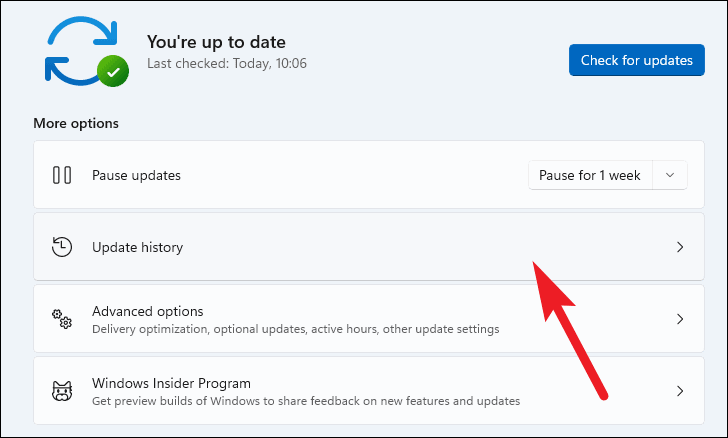
- Select Update history from the options.
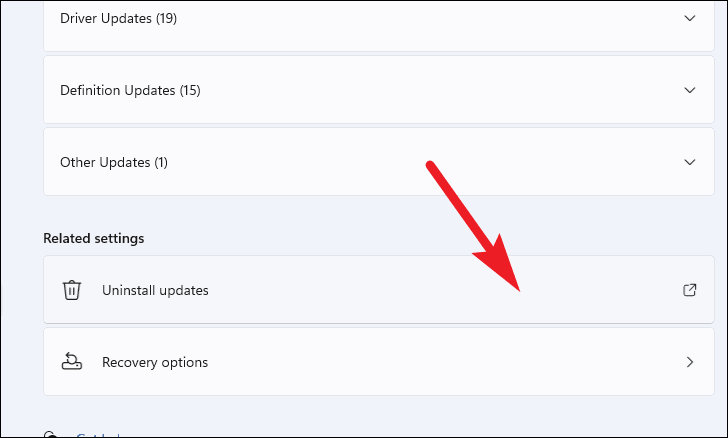
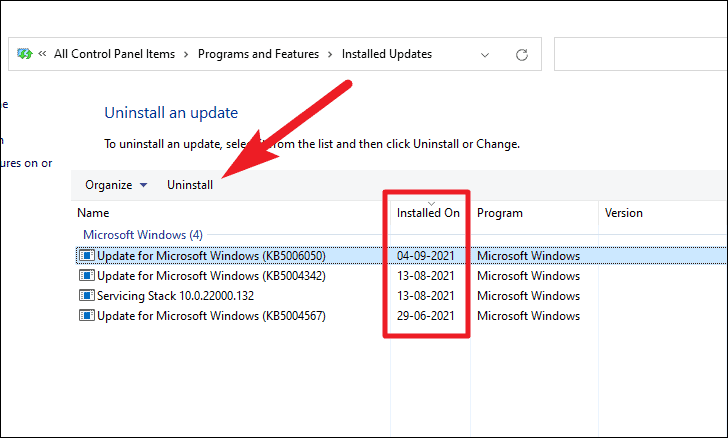
- Scroll down and click on Uninstall updates. This will open a Control Panel window.
- In the Control Panel window, find the most recent update, select it, and click Uninstall.
- Confirm the uninstallation by clicking Yes when prompted.
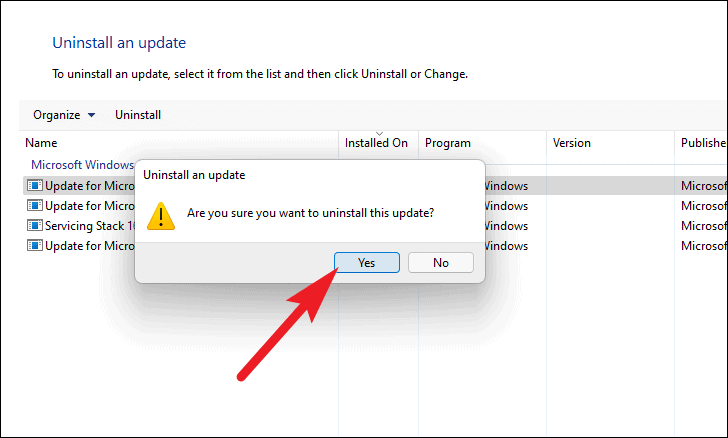
After the update is uninstalled, restart your computer to see if the issue has been resolved.
Roll Back to a System Restore Point
Using a System Restore Point can revert your system settings and files to an earlier state before issues occurred. Note that you may lose recent applications and files added after the restore point was created.
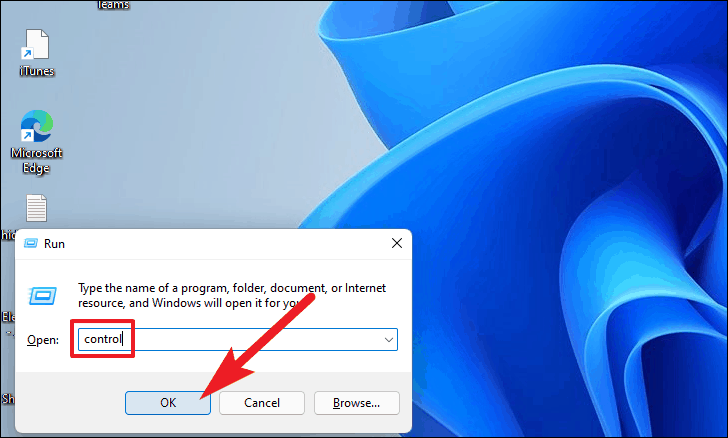
- Press
Windows+Rto open the Run dialog box. Typecontroland pressEnterto open the Control Panel.
- In the Control Panel, click on Recovery.
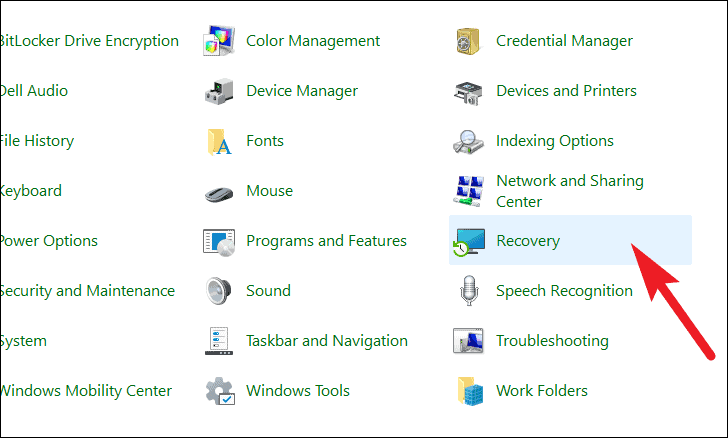
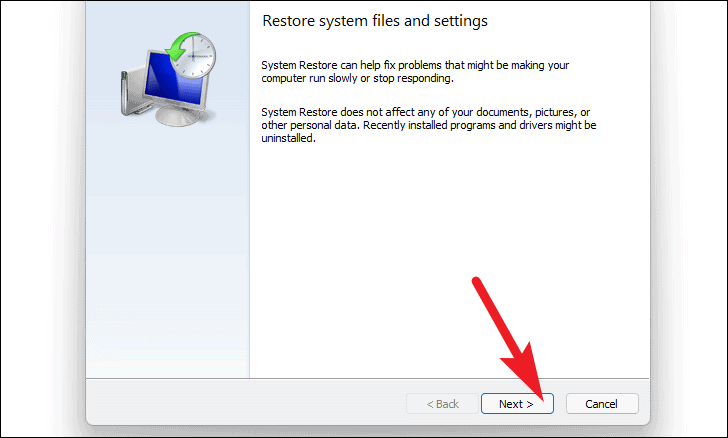
- Click on Open System Restore. This will open the System Restore window.

- Click Next to view available restore points.
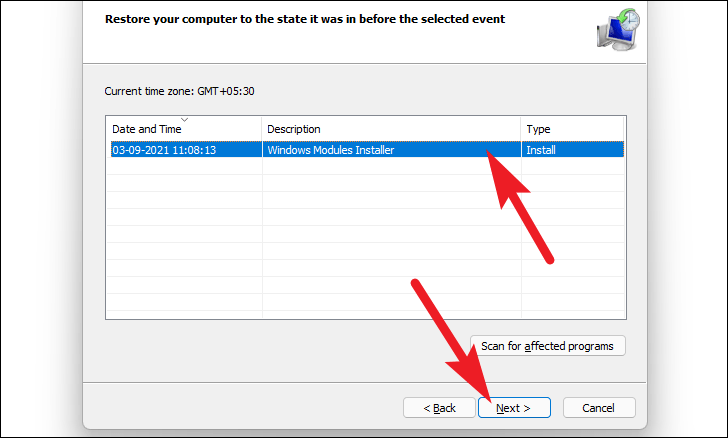
- Select a restore point from the list and click Next. To see affected programs, click on Scan for affected programs.
- Review the details and click Finish to start the restoration process.
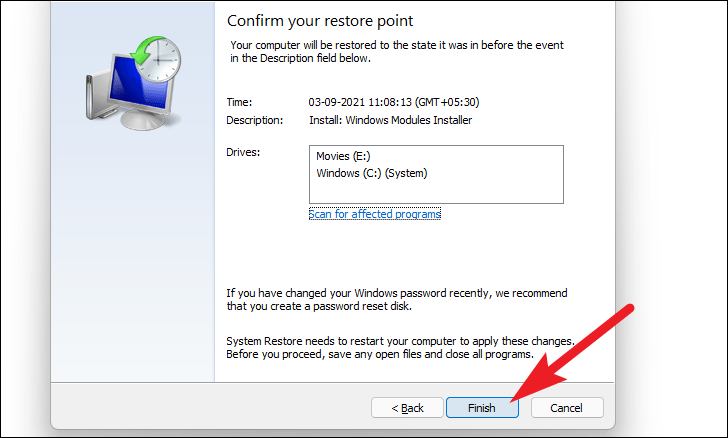
Your computer will restart to apply the restore point. This process may take some time.
Reset Your PC
If other methods haven’t resolved the issues, resetting your PC might help. You can choose to keep your personal files or remove everything during the reset.
- Open the Settings app by clicking the Start button and selecting Settings, or by pressing
Windows+I.
- Click on the System tab on the left sidebar.
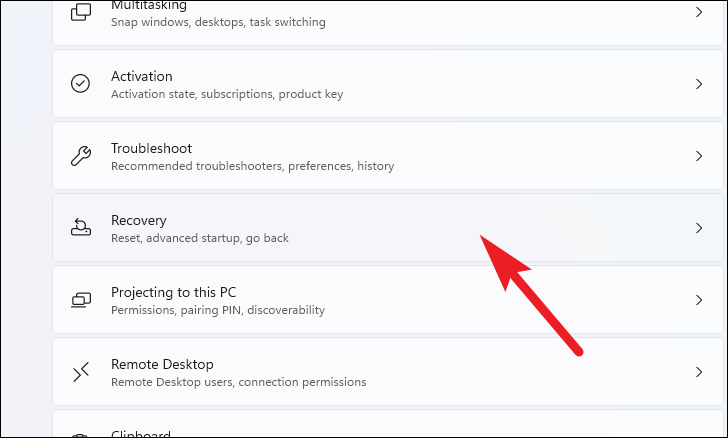
- Scroll down and select Recovery.
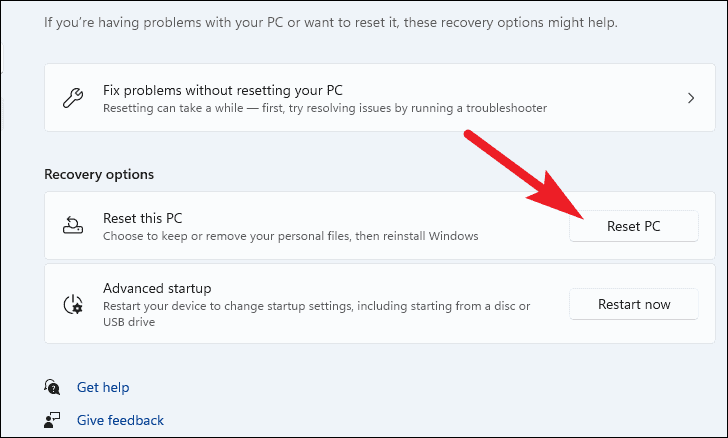
- Under Recovery options, click on Reset PC. This will open the Reset this PC window.
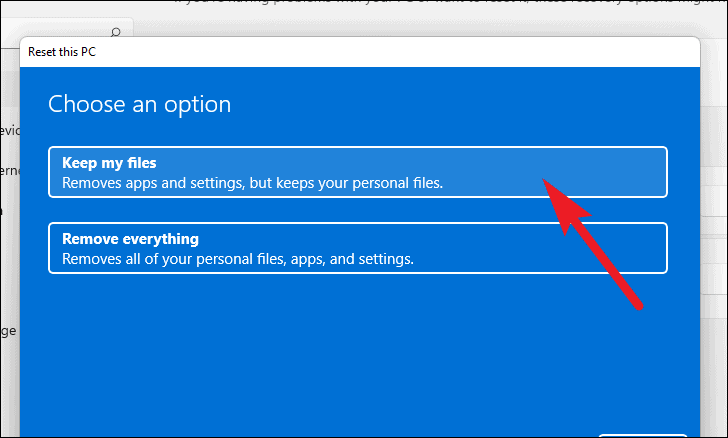
- Choose either Keep my files to retain your personal files or Remove everything to erase all data.
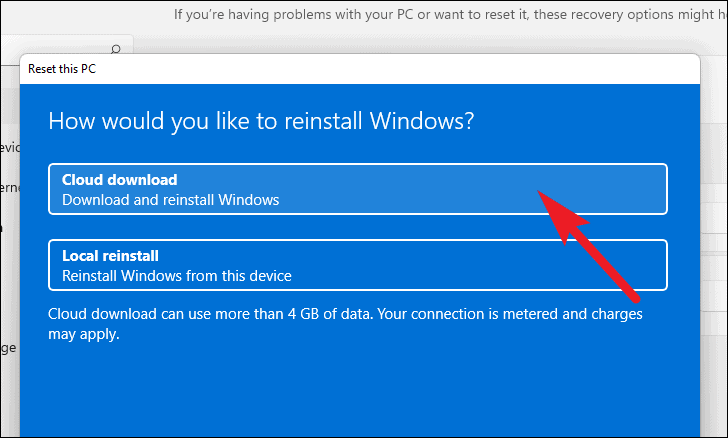
- Select either Cloud download or Local reinstall for Windows reinstallation. Cloud download requires an internet connection but is more reliable.
Note: Neither option requires external installation media.
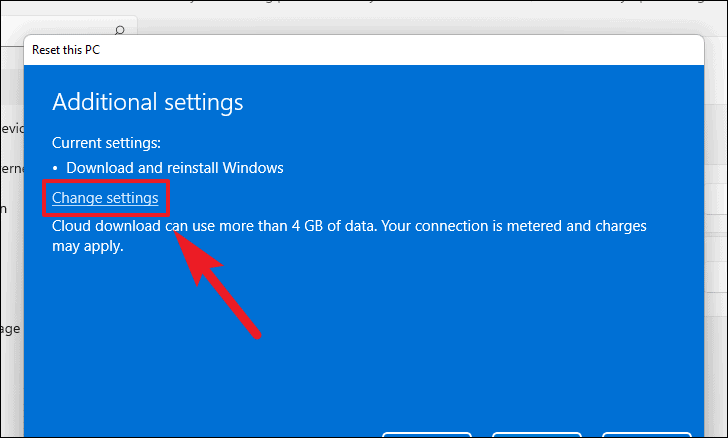
- Review the current settings. To change them, click on Change settings.
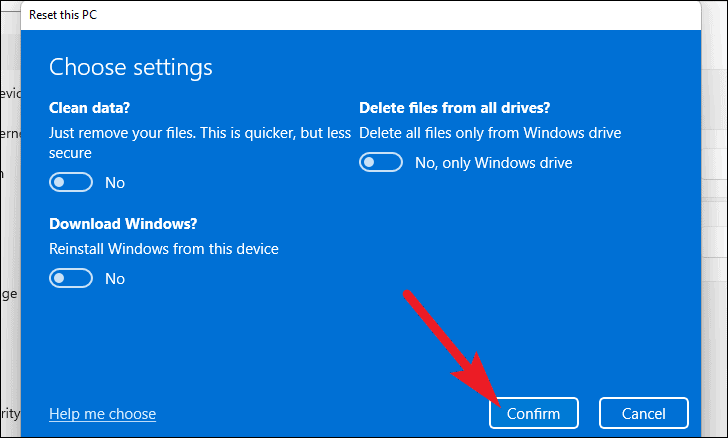
On the Choose settings screen, you can adjust the following options:
- Clean data: Select this if you want to remove files securely, which is useful if you plan to give away your PC.
- Delete files from all drives: Choose whether to remove files only from the Windows drive or all drives.
- Download Windows: Switch between Cloud download and Local reinstall.
- After adjusting settings, click Confirm, then click Next.
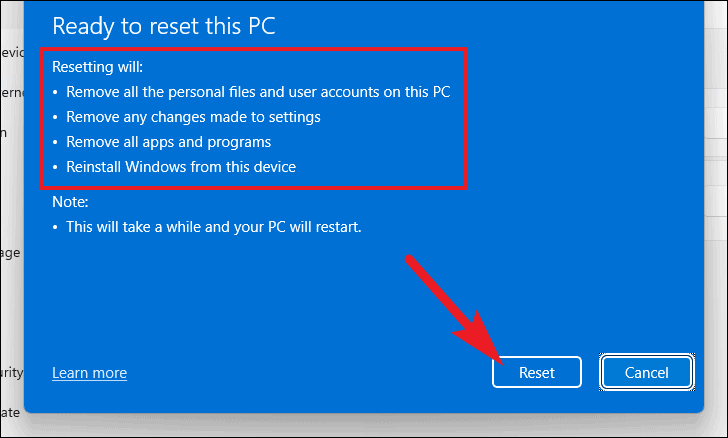
Windows will display a summary of actions that will be performed.
- When ready, click Reset to begin the reset process.
Your PC will restart and begin the reset. This process may take some time, and your PC may restart multiple times.
Fix Issues Using Windows Startup Repair
If your computer is having trouble booting up, you can use Windows Startup Repair to fix problems that prevent Windows from starting correctly.
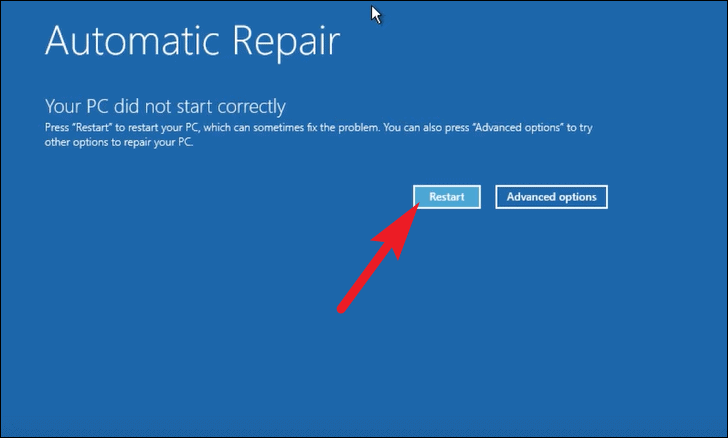
- Turn on your computer. As soon as it starts to boot, press and hold the power button for about 10 seconds to force a shutdown.
- Repeat this process two more times. On the third startup, Windows will enter the Recovery Environment (WinRE) automatically. Click on Advanced options.
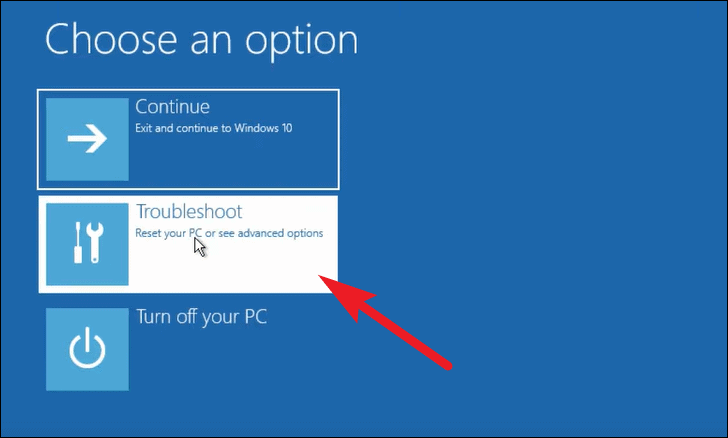
- Select Troubleshoot from the Choose an Option screen.
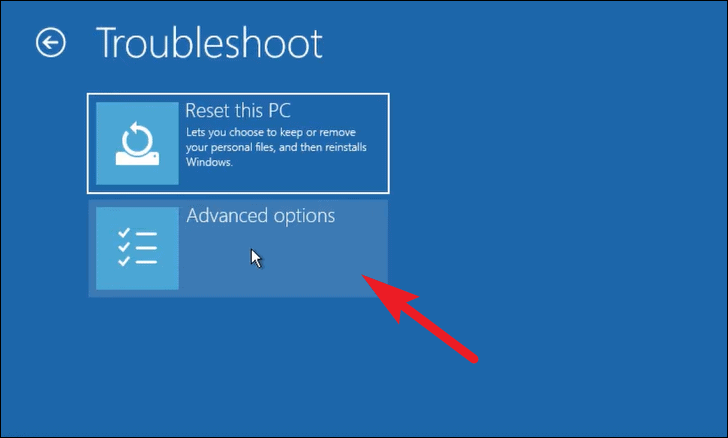
- Click on Advanced options.
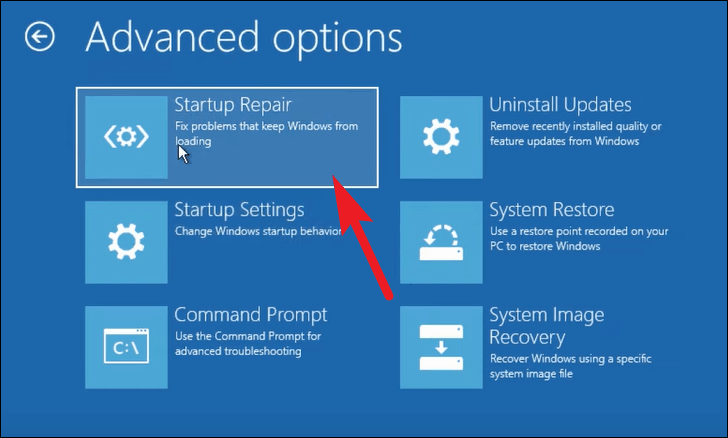
- Select Startup Repair. Windows will begin diagnosing and attempting repairs.
By following these methods, you should be able to resolve most issues affecting your Windows 11 computer and restore it to proper working condition.


