
Windows 11 introduces significant changes to the operating system, from design to features and performance. However, new updates can sometimes bring unexpected issues. This guide will walk you through how to roll back builds and uninstall problematic updates on Windows 11 to restore stability to your system.
Uninstall feature updates or builds in Windows 11
Feature updates, released once or twice a year, upgrade Windows to the latest version with new features and improvements. If you experience major issues after upgrading, you can roll back to the previous build within 10 days of installation. Here’s how:
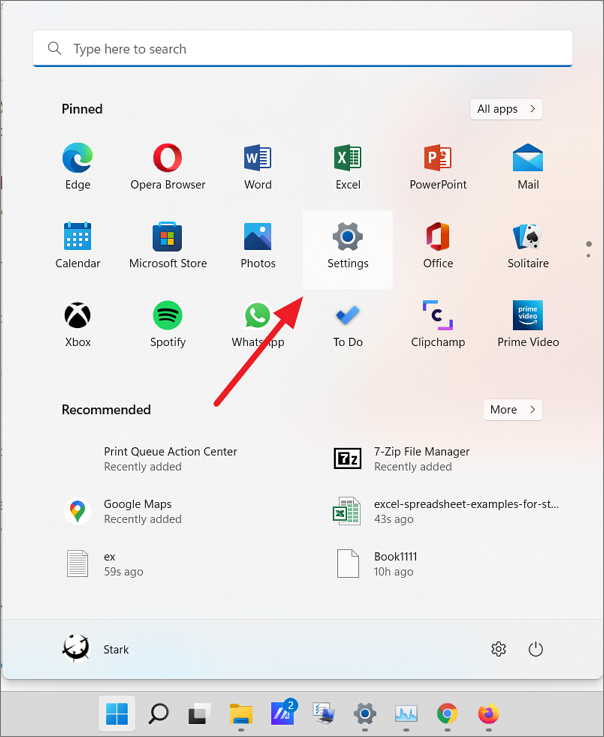
- Open the Settings app by clicking the Start menu and selecting ‘Settings’.
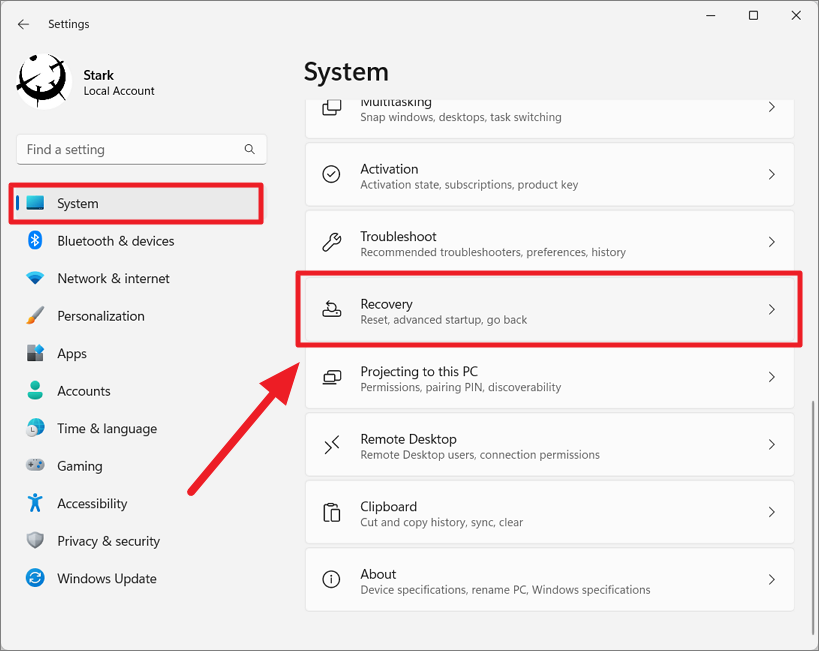
- Navigate to ‘System’ > ‘Recovery’.
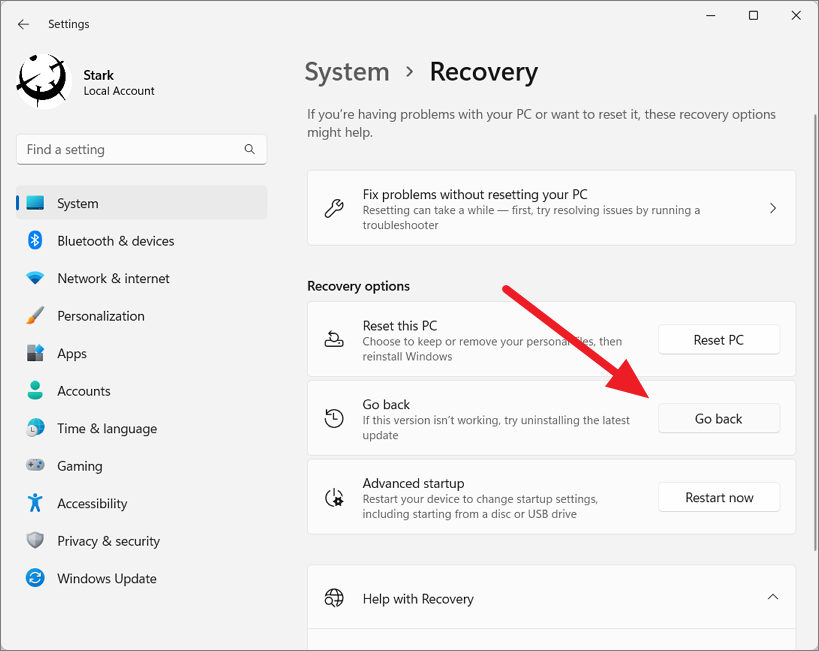
- If it’s been less than 10 days since the update, click the ‘Go back’ button under the Recovery section.
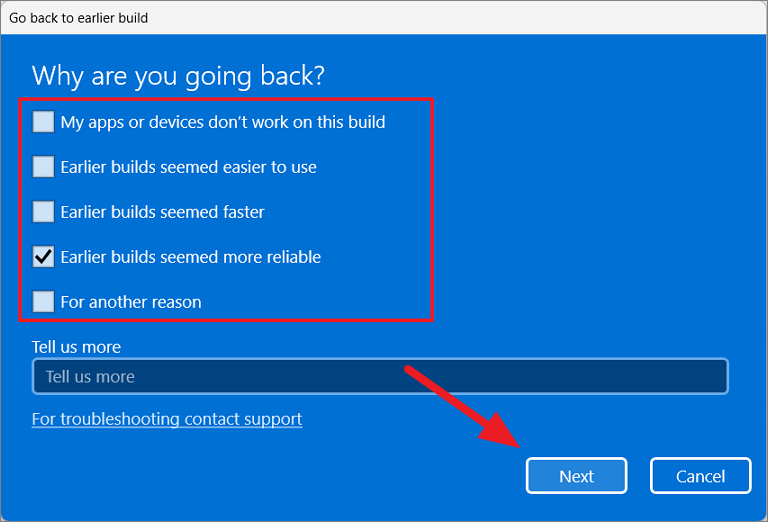
- Select a reason for rolling back and click ‘Next’.
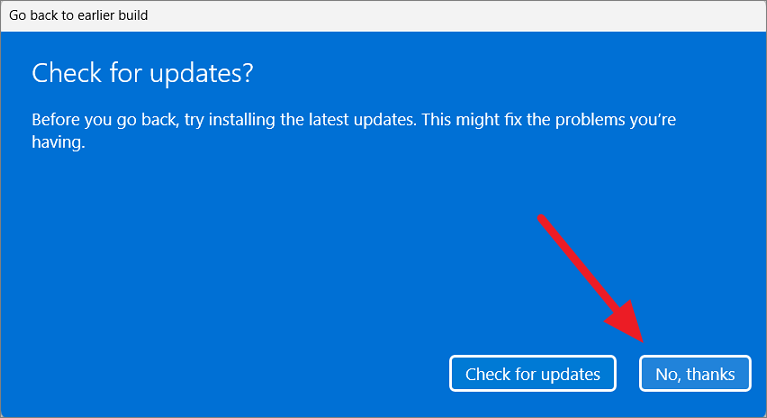
- Choose whether to check for updates or proceed with the rollback.
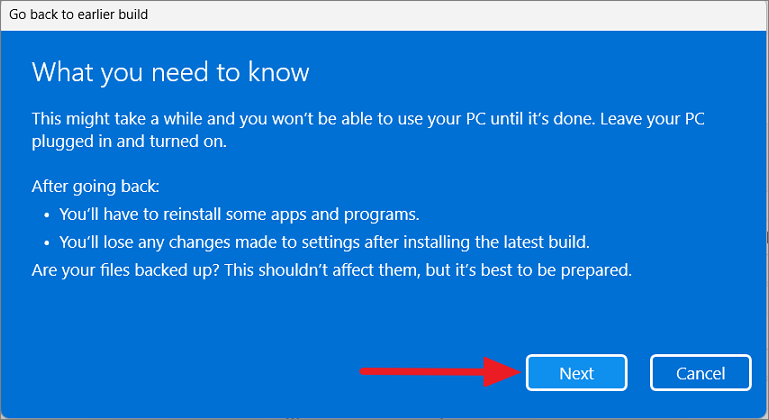
- Review the information about the rollback process and click ‘Next’.
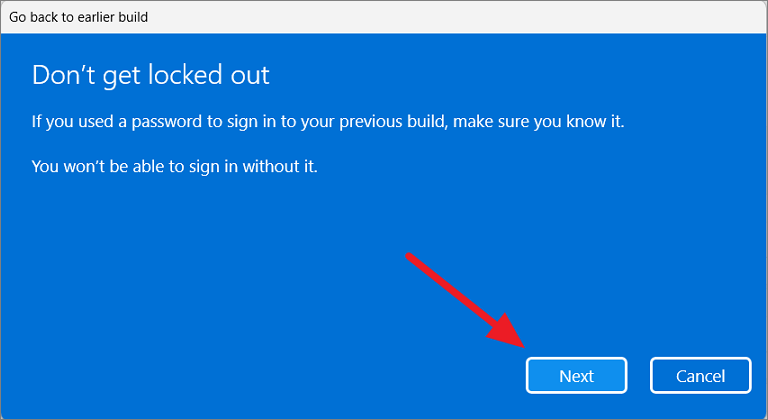
- Ensure you know the password for the previous build if it has changed, then click ‘Next’.
- Click ‘Go back to earlier build’ to begin the rollback process.
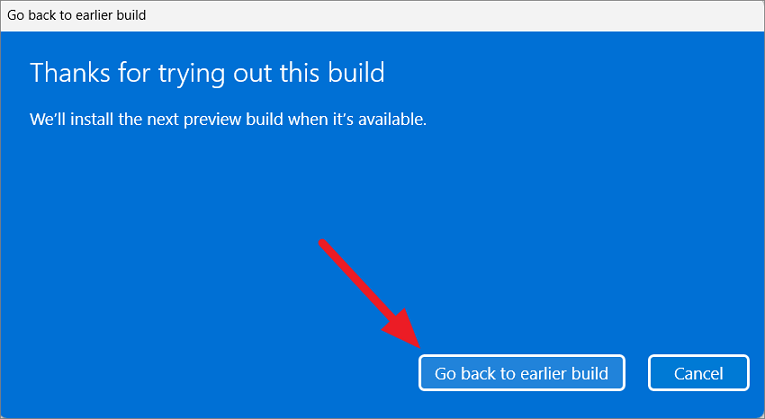
Your system will reboot and revert to the previous Windows 11 version.
Uninstall quality updates on Windows 11
Quality updates are released monthly to address bugs and security issues. If you encounter problems after installing these updates, you can remove them using these steps:
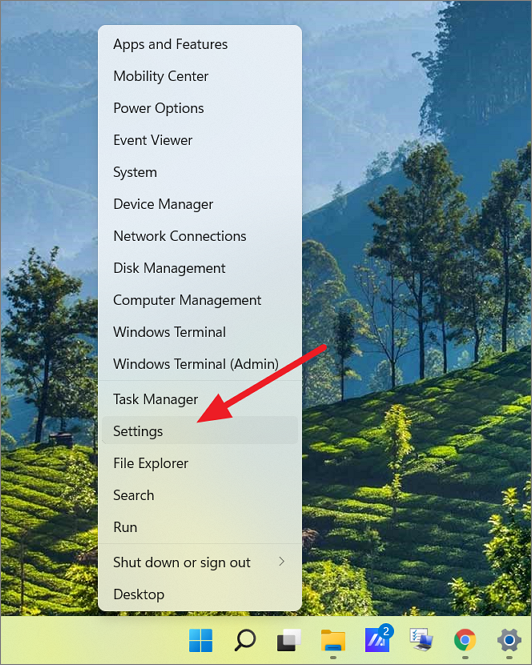
- Open Settings by right-clicking the Start menu and selecting ‘Settings’.
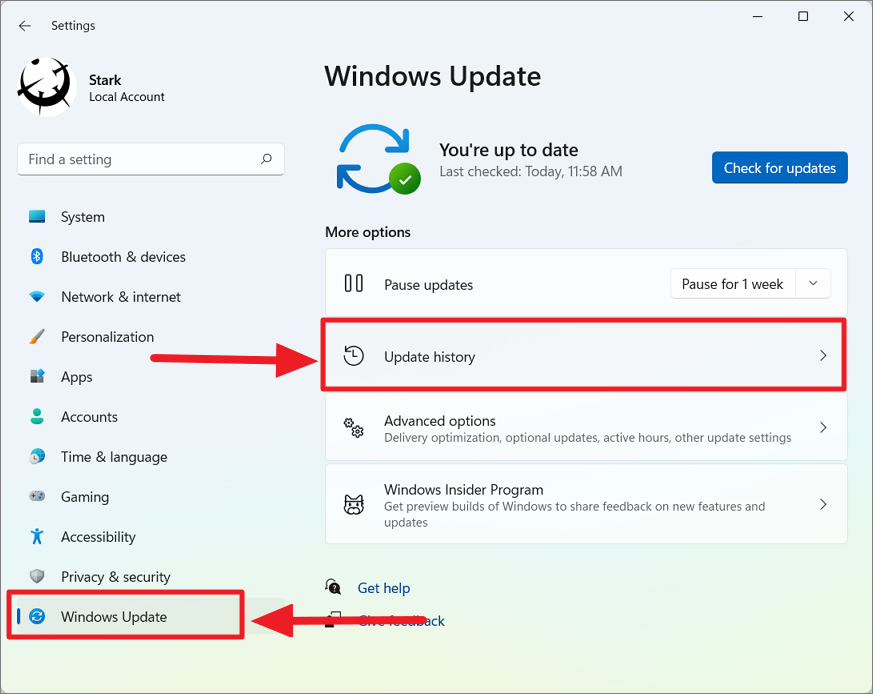
- Navigate to ‘Windows Update’ > ‘Update history’.
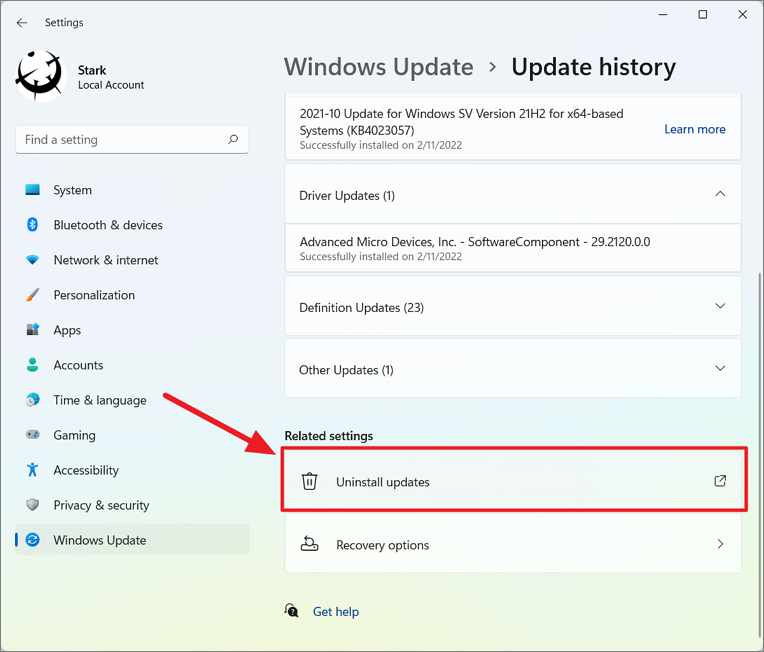
- Scroll down and click ‘Uninstall updates’ under Related settings.
- In the ‘Installed Updates’ control panel, select the problematic update and click ‘Uninstall’.
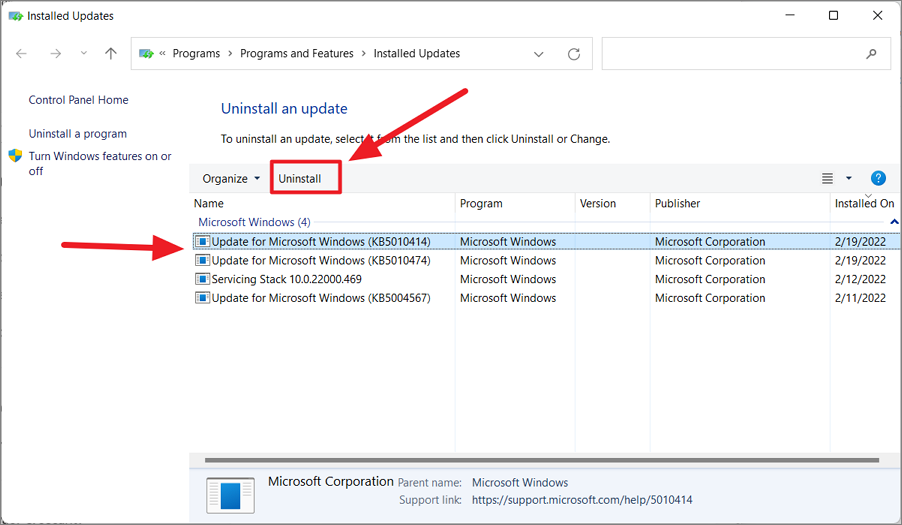
- Confirm the uninstallation by clicking ‘Yes’.

Alternative method for uninstalling updates
If the 10-day rollback period has passed or the ‘Go Back’ button is unavailable, try this alternative method:
- Open Settings and go to ‘System’ > ‘Recovery’.
- Click ‘Restart now’ under Advanced startup.
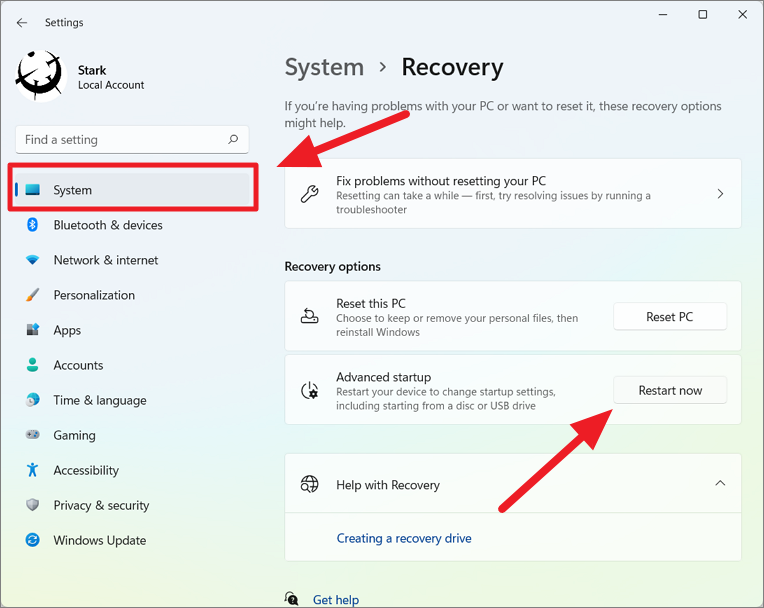
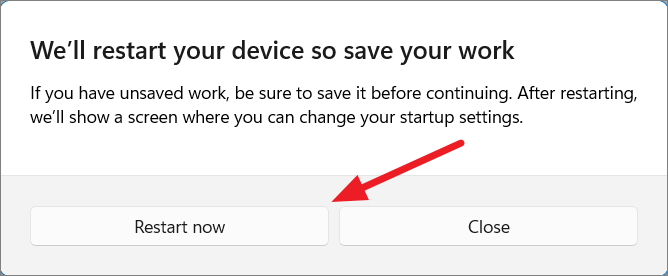
- Confirm the restart when prompted.
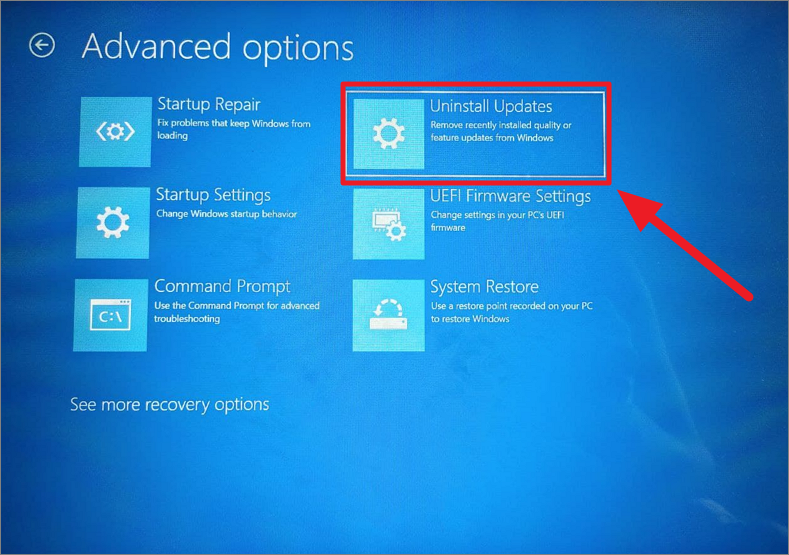
- In the Windows Recovery Environment, select ‘Troubleshoot’ > ‘Advanced options’ > ‘Uninstall updates’.
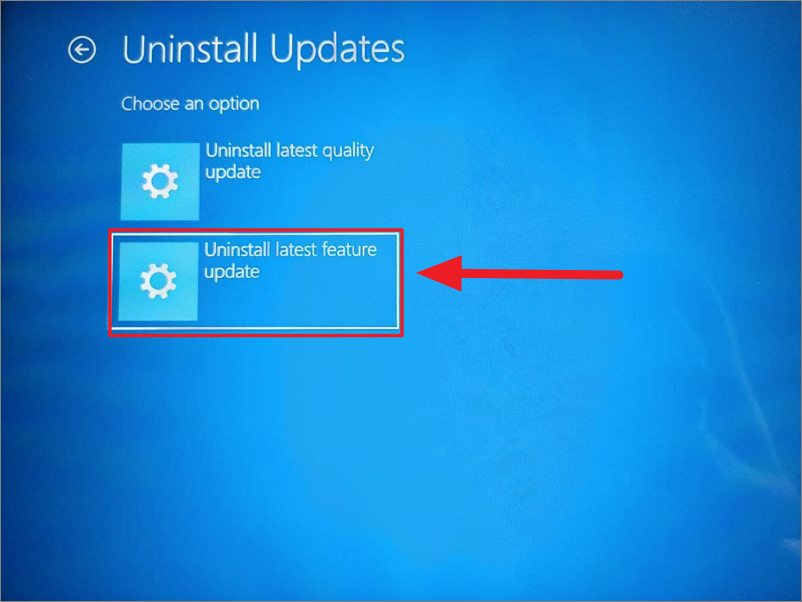
- Choose ‘Uninstall feature update’ to remove the latest build.
Block Windows 11 version/build upgrades using Group Policy Editor
To prevent automatic updates to newer Windows 11 versions, use the Group Policy Editor (available in Pro, Enterprise, and Education editions):
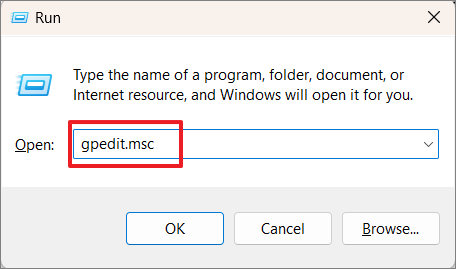
- Open the Run window, type
gpedit.msc, and press Enter.
- Navigate to:
Computer Configuration>Administrative Templates>Windows Components>Windows Update>Manage updates offered from Windows Update.
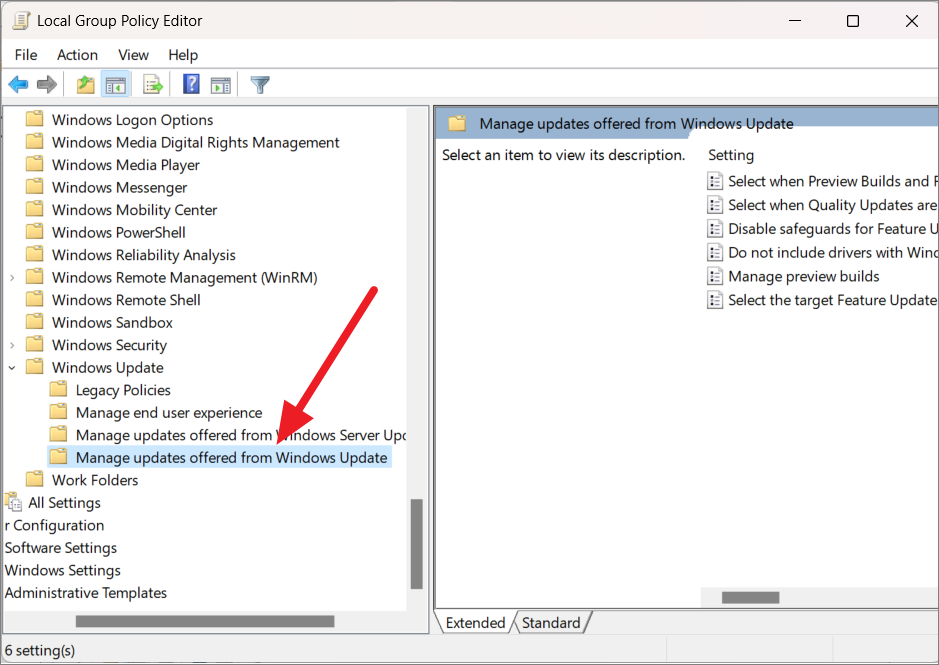
- Double-click ‘Select the target Feature Update version’.
- Set the policy to ‘Enabled’.
- Enter ‘Windows 11′ for the product version and your desired version (e.g., ’21H2’) for the target version.
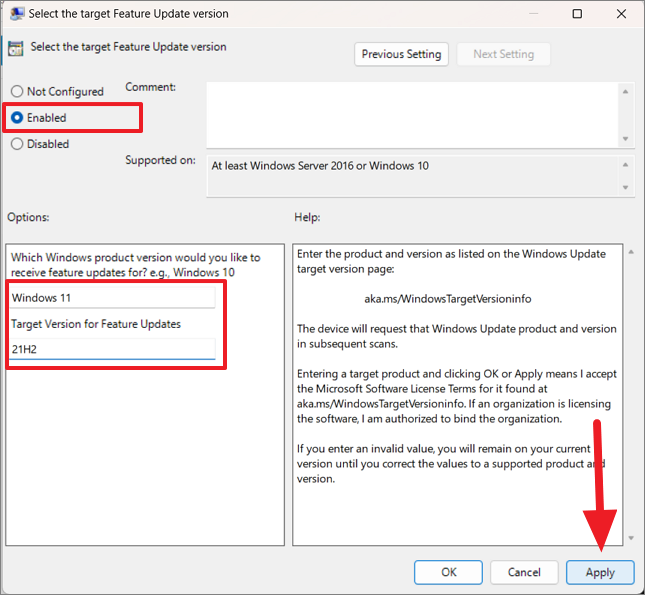
- Click ‘Apply’ and ‘OK’, then restart your computer.
Extend Windows 11 build/version rollback period
To extend the default 10-day rollback period:
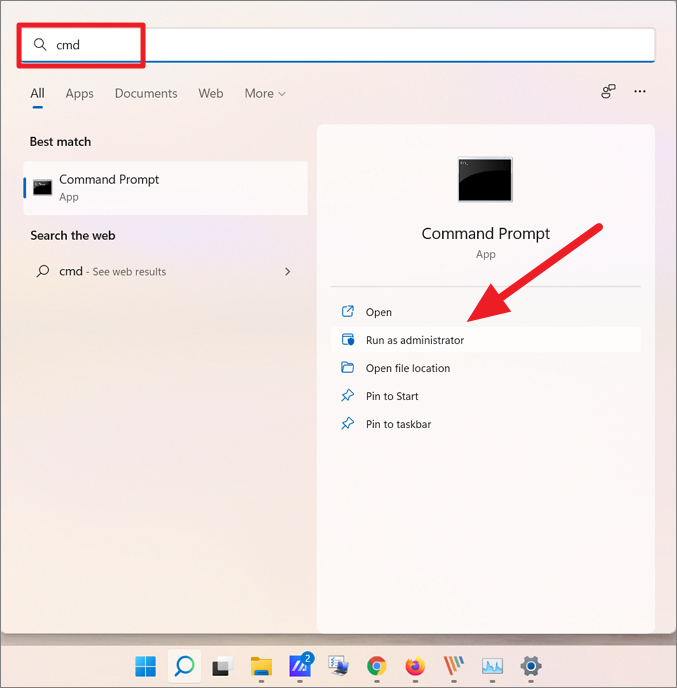
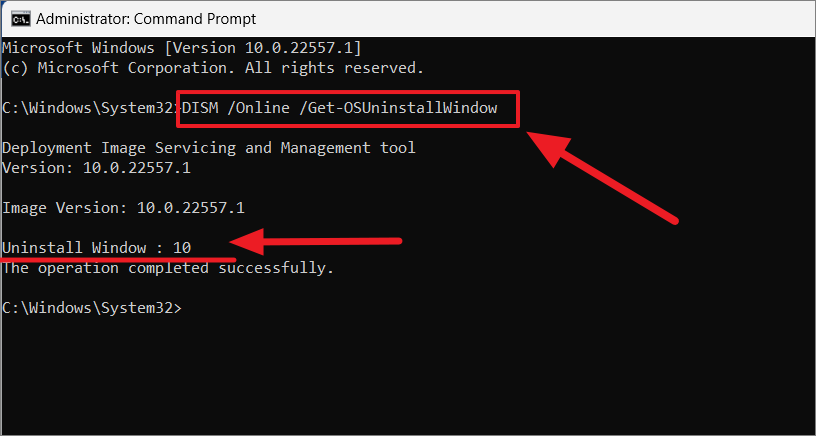
- Open Command Prompt as administrator.
- Check the current rollback period with:
DISM /Online /Get-OSUninstallWindow
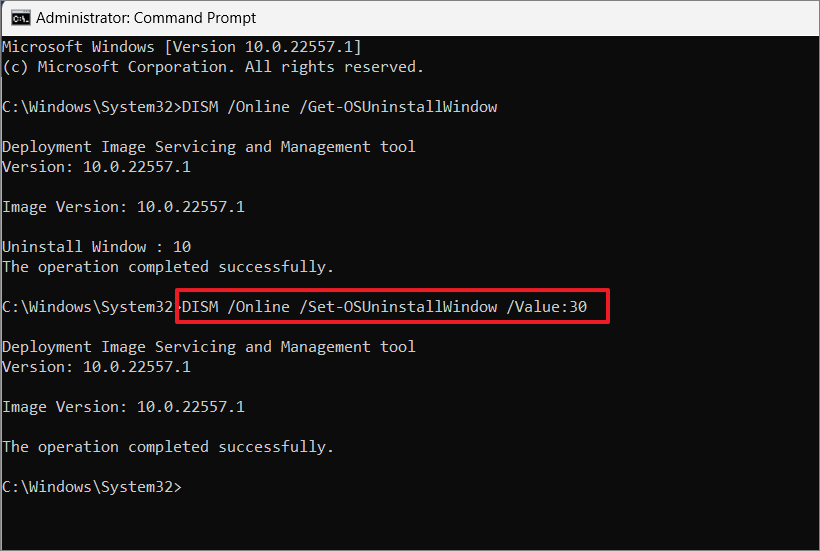
- To extend the period to 30 days, use:
DISM /Online /Set-OSUninstallWindow /Value:30
- Verify the change with the Get-OSUninstallWindow command again.
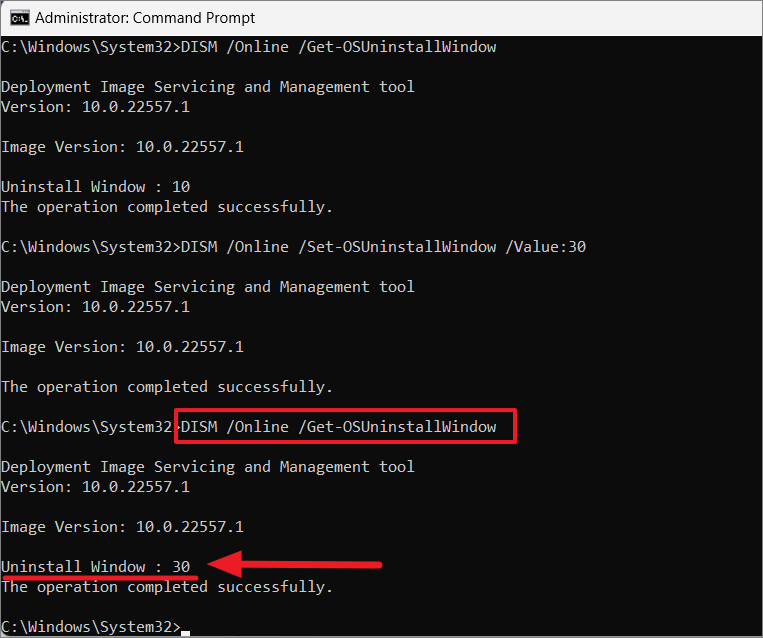
You can extend the period up to 60 days by changing the value in the command.


