
There are times when you want to rotate the text inside a cell for appearance purposes or to best fit the column, especially for column and row headers. If you have a column heading that is longer than the cell size, it will flow into the next cell or part of the text will be hidden if the next cell has data.
Normally you would resize the column size to its largest content to fit the text. However, it will take too much screen space and give your dataset an awkward look especially if the column heading is too big and the rest of the contents of the column is too small (numbers). And it will cost you a lot of paper space if you were to print that data.
So, rotating the text to a certain angle either diagonally or vertically can make your column compact and visually pleasing. Excel allows you to rotate text clockwise, counterclockwise, vertical, up, or down as well as to an exact degree of angle. There are several ways to rotate text or change the direction of the font in Excel and we will cover them all in this post.
Rotate Text using Pre-Defined Orientation Options
By default, all values are stored horizontally in an Excel cell, but rotating text diagonally or vertically is the best way to accommodate any lengthy text in a small space.
Excel’s Orientation feature offers 5 different alignment options to quickly rotate text or change the direction of a cell’s content to fit your column.
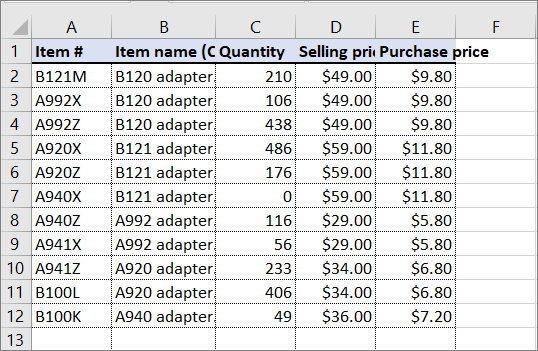
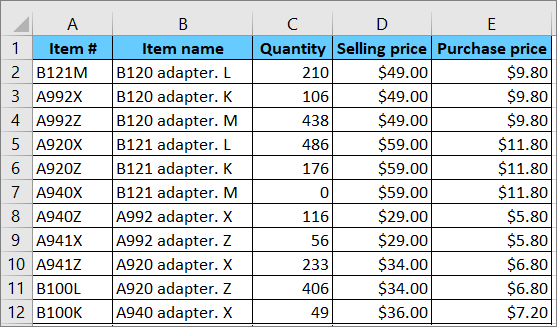
Let’s assume you have the below dataset where column headers are bigger than the column values and you want to rotate the headings in the first row.
Follow the below instructions to rotate text in cells:
First, select the cells with the text that you want to rotate. You can select a cell, range of cells, row, or column.
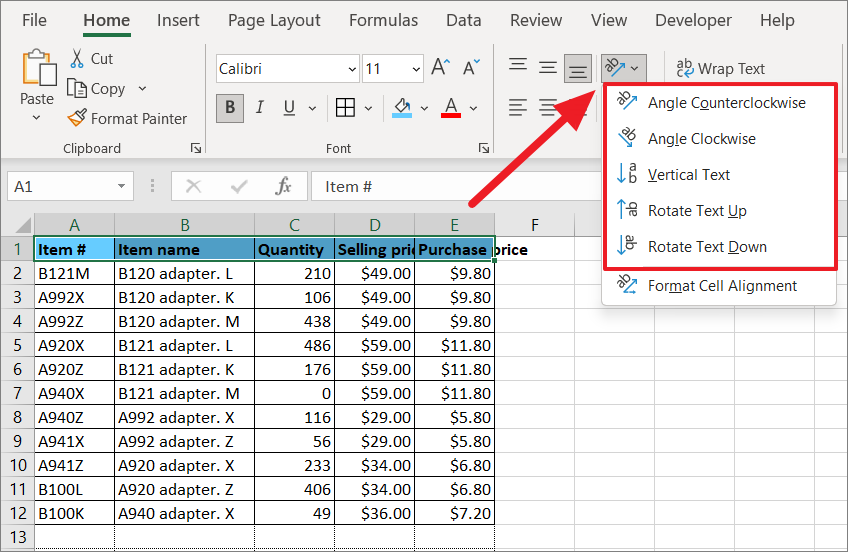
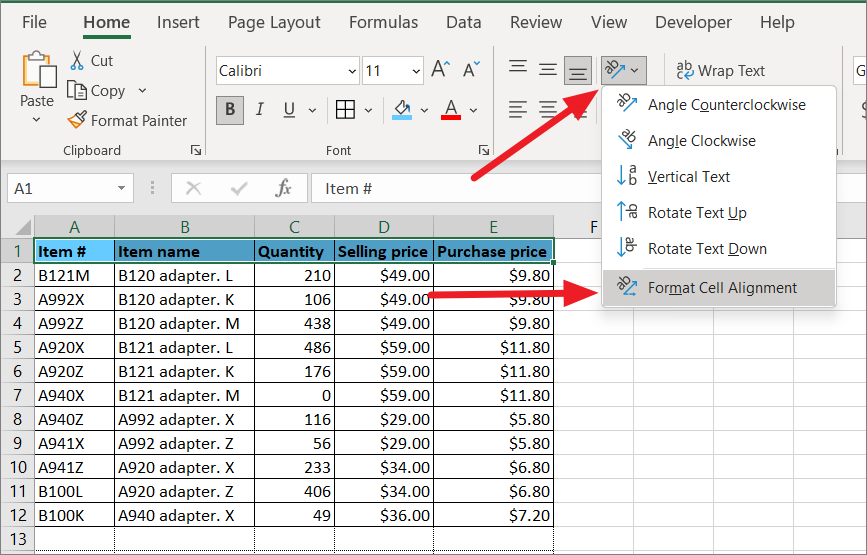
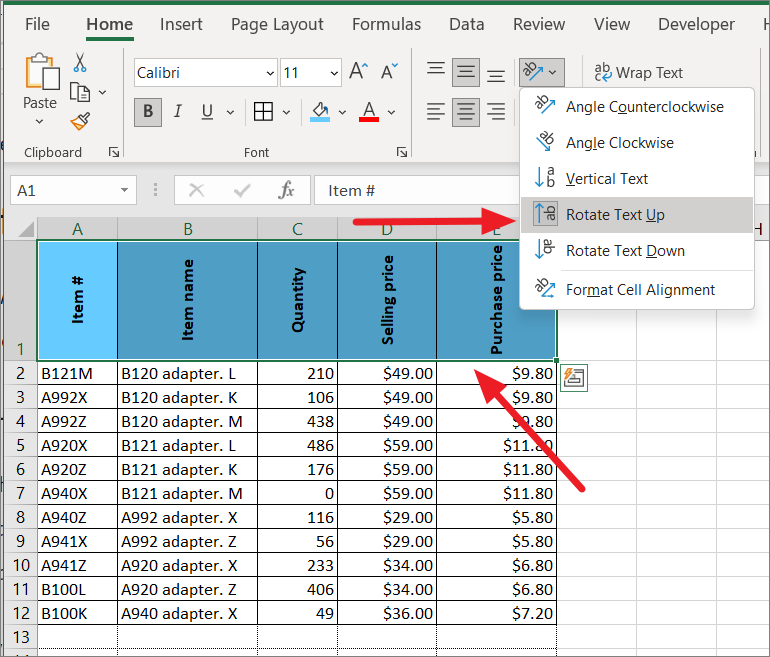
From the ‘Home’ tab, in the Alignment section, click the ‘Orientation’ button (icon with ‘ab’ on an incline). Then, select one of the alignment options from the menu.
- Angle Counterclockwise
- Angle Clockwise
- Vertical Text
- Rotate Text Up
- Rotate Text Down
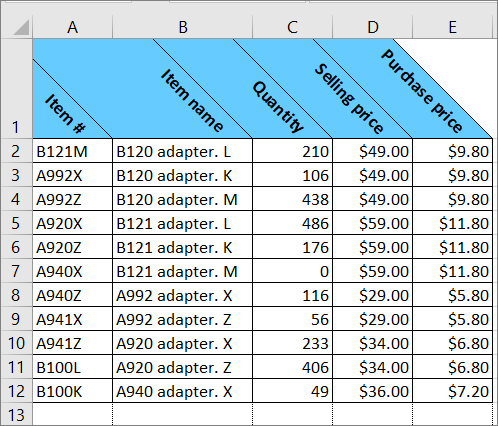
Angle Counterclockwise
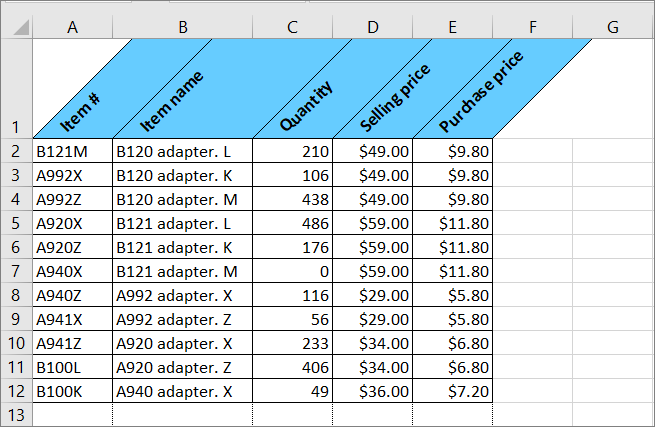
If you select the ‘Angle Counterclockwise’ option, will rotate the text (counterclockwise) in the selected cells by 45 degrees.
Angle Clockwise
This option will rotate the text at a -45 degree angle in a clockwise direction as shown below.
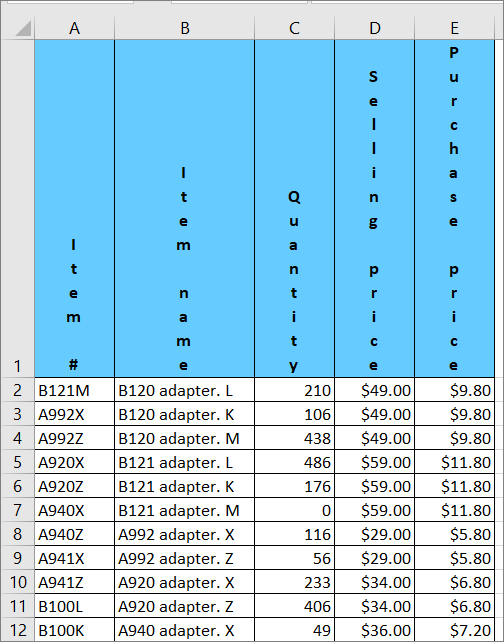
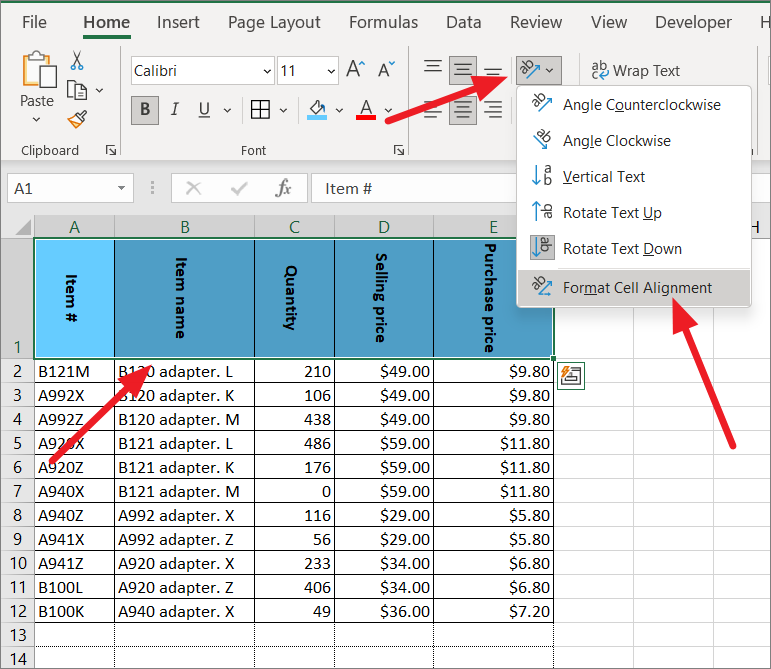
Vertical Text
This will display the text vertically from the top of the cell to the bottom cell (places one letter top of another vertically) instead of the usual left to right.
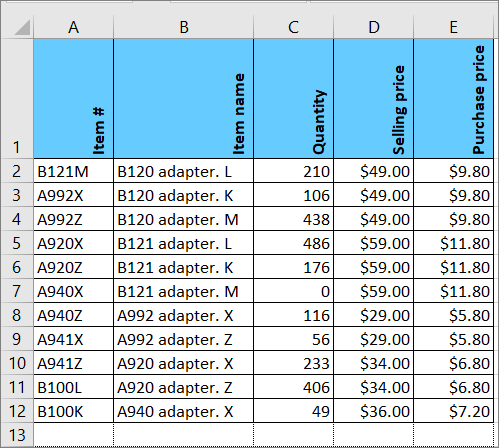
Rotate Text Up
This alignment will rotate the text and display it, starting at the lower-right side of the cell and going all the way to the top at a 90 degrees angle.
Rotate Text Down
This is opposite to the previous option. It will position the text starting at the top of the cell and runs all way to the bottom of the cell at a 90 degrees angle.
Choose the rotation option that fits your requirement.
If you are not happy with any of the above 5 preset alignment options, you can use the next method to choose exactly how much you want the text to rotate.
Rotate Text using Format Cells Dialog Box
Although the above method helps you quickly rotate text within the cell, it gives you limited orientation options. If you want to rotate your text to a precise angle to help you get the angle and spacing of the text right, you can do that from the Format Cell dialog window. Here’s what you need to do:
First, select a cell or a range of cells with text that needs rotation. In the ‘Home’ tab, click the ‘Orientation’ button in the Alignment section and select the ‘Format Cell Alignment’ option.
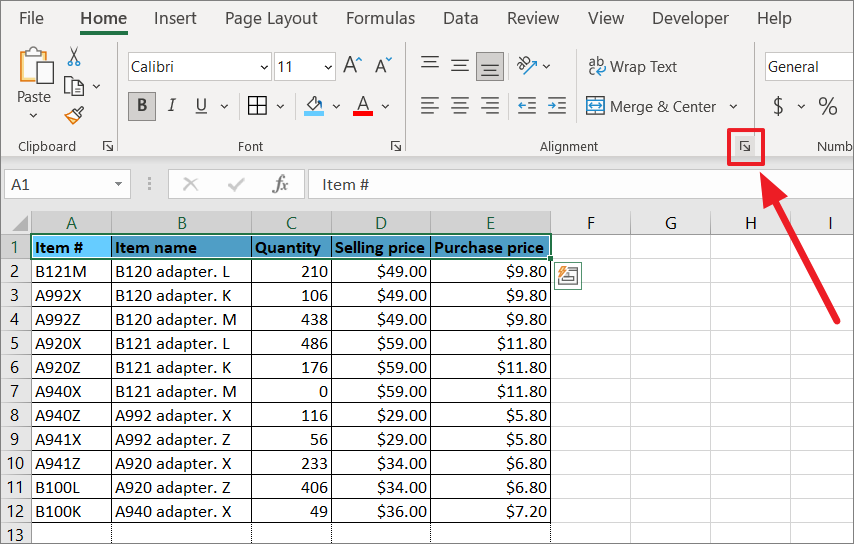
Alternatively, you can also click on the arrow icon (Alignment Settings) from the bottom right corner of the Alignment group or press Ctrl+1.
In the Alignment tab of the Format Cells windows, you will have an Orientation box and an editor box below.
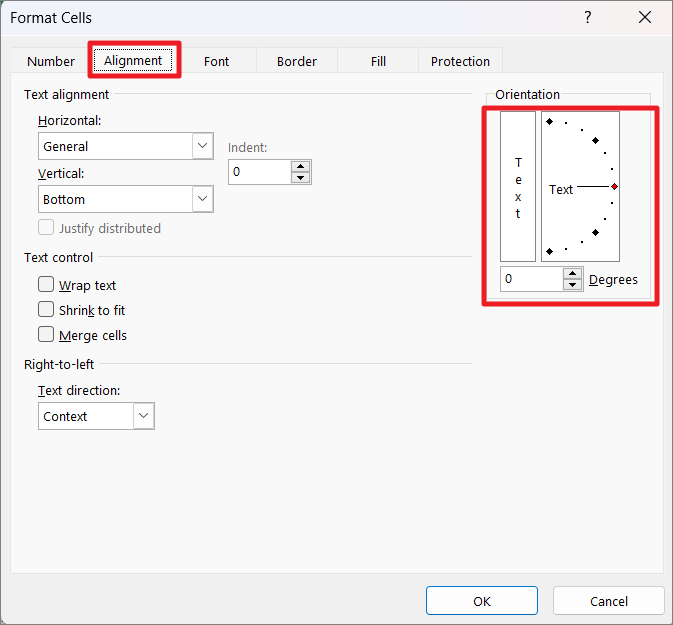
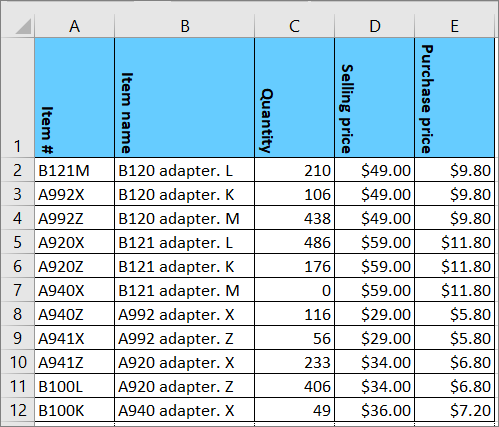
Now, you can change the angle of rotation by clicking and dragging the dial or clicking on any point along the semicircle inside the orientation box. Alternatively, you can enter the exact degrees (in the box below) by which you want the text to be rotated. Here, we are setting the angle to ’30’ degrees. After that, click ‘OK’.

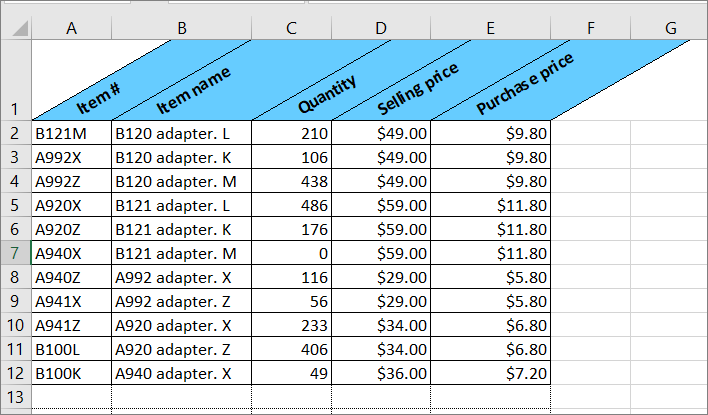
Here’s what the rotated text at 30 degrees looks like.
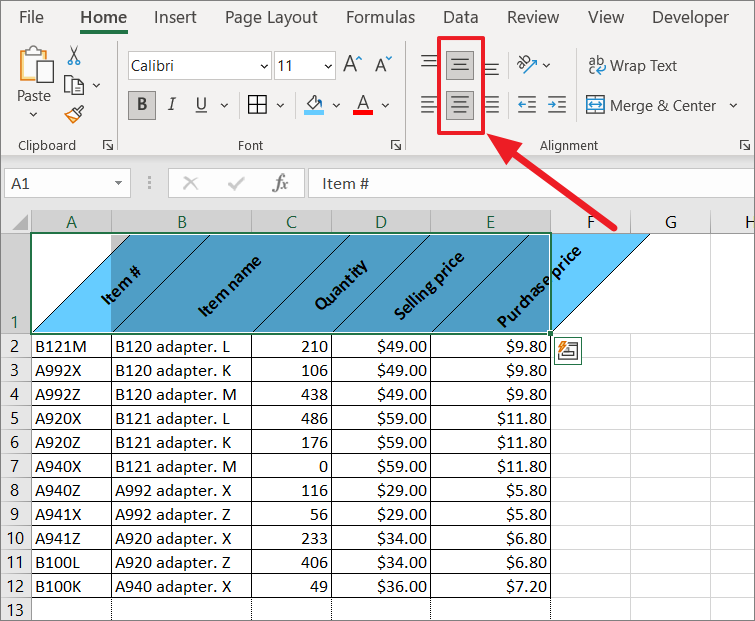
Either if you use the preset Orientation options or Format Cell dialog box to rotate your text, the text will always align to the bottom corner of the cell. However, sometimes, when your rotate header text, aligning it to the center of the cell will make it more attractive.
To do that, select the rotated text and select ‘Middle Align’ or ‘Center’ or both options in the Alignment group of the ribbon to align the text to the center of the cell.
Rotate Text using the Keyboard Shortcuts
If your texts often need rotating or if you prefer to use keyboard, you can use keyboard shortcuts to save time and effort. Excel has shortcuts keys to access all orientation options as well as the Format cell dialog box. These keyboard shortcuts are easy to remember and use, plus they are all almost identical except for a single key difference between them. Let’s get to it:
First, select a cell or a range of cells in which we want to apply the rotation of the text. Then, use the following shortcuts to rotate text in the selected cells.
Unlike other keyboard shortcuts, you don’t have to press all the keys at once. Instead, press each key one after another in a sequence.
- ALT+H+F+Q – This shortcut opens up the ‘Orientation’ drop-down menu from the ribbon. You need to press this shortcut to access all other options (shortcuts). When you press this, it will also show you indications of other shortcut keys.
- ALT+H+F+Q+O – To rotate the text in angle counterclockwise by 45 degrees.
- ALT+H+F+Q+L – To rotate the text in angle clockwise direction by -45 degrees.
- ALT+H+F+Q+V – To position the text vertically from top to bottom.
- ALT+H+F+Q+U – To rotate the text upward at 90 degrees (bottom to top)
- ALT+H+F+Q+D – To rotate the text downward at 90 degrees (top to bottom)
- ALT+H+F+Q+M or Ctrl+1 – To launch the Format Cells dialog box.
Rotate Text Back to the Default or Original State (Horizontal)
If you don’t like the text rotation, you can remove the rotated text and restore it back to the horizontal text (Default state), left to right.
Use Undo Command to Remove Text Rotation
If you want to undo the text rotation right after applying it or recently applied, you can just press the CTRL+Z keys or click the ‘Undo’ button from the Quick Access Toolbar.
Disable Orientation Options
If you applied one of the preset Orientation options from ribbon to rotate text, you can easily remove the text rotation by simply toggling the same option.
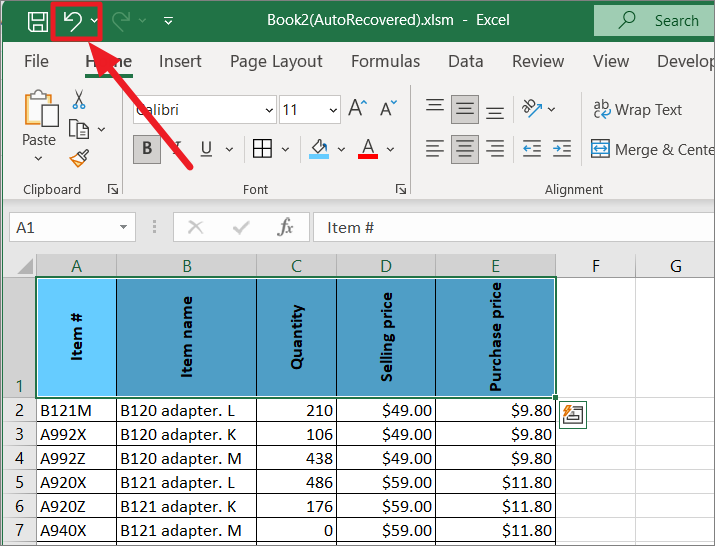
In the below example, we have applied the ‘rotate up’ rotation style for the headers. To remove this, you have to simply deselect the ‘Rotate Text up’ from the option.
Select the cells with rotated text, go to the ‘Home’, and click ‘Orientation’ in the Alignment section. Then, click on the applied rotation option again to remove it. In the example below, we need to click on the ‘Rotate Text Up’ again to get back the horizontal text.
Set Orientation Angle to ‘0’ Degrees
Another way you can restore the rotated text back to its default setting is by setting the orientation angle to 0 degrees in the Format Cells dialog box.
To do this, select the rotated text. Then, go to the ‘Home’ tab, click the ‘Orientation’ button in the Alignment section, and select the ‘Format Cell Alignment’ option or press Ctrl+1.
Under the Alignment tab, change the Orientation degrees to ‘0’ and click ‘OK’.
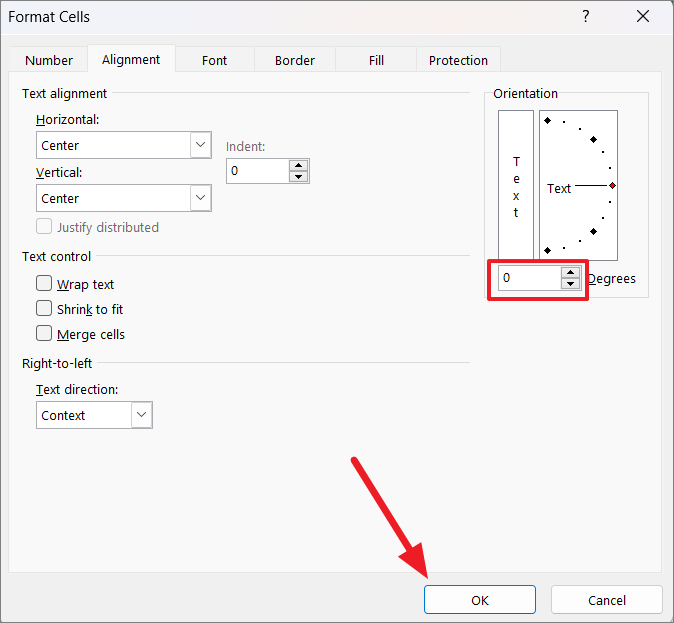
The text will return the text to its default state – horizontal left to right.
That’s it.


