
Virtual meetings can be exhausting. Everyone knows that. So as a meeting host, it’s your responsibility to smooth the process as much as you can. A huge part of that comes down to not having impromptu meetings all the time.
Everyone has a lot of things on their calendar. And getting a heads-up in advance is not only considerate but professional, as well. Fortunately, it is extremely easy to invite people to a Microsoft Teams meetings. When you schedule a meeting in Microsoft Teams, you can invite people to the meeting right away.
Note: For Microsoft Teams Free and Personal accounts, there is no option to add attendees when scheduling a meeting. You have to send the meeting link manually. The option to send meeting invites is available only for Microsoft 365 accounts.
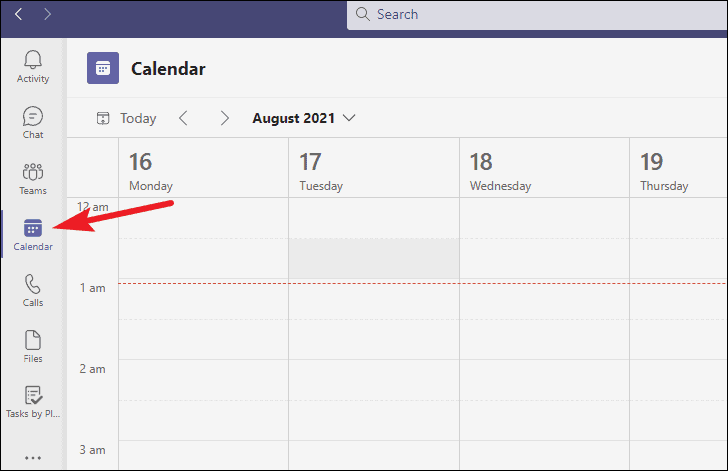
Go to the ‘Calendar’ tab from the navigation panel on the left.
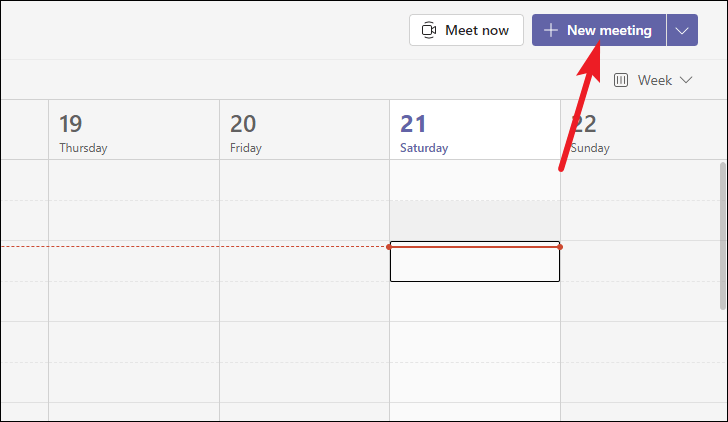
Click the ‘New Meeting’ button on the top-right corner of the screen. The scheduling window will open.
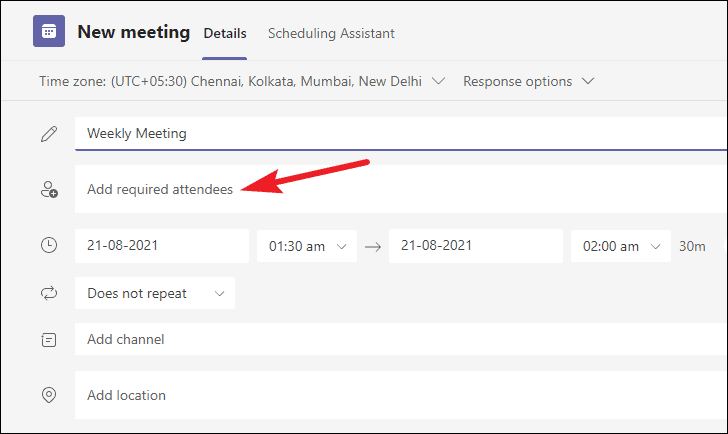
Give the meeting a title, and select the time and date for the event. Then, go to ‘Add required attendees’ to add the people you want to invite to the meeting. You can invite users from both within and outside your organization.
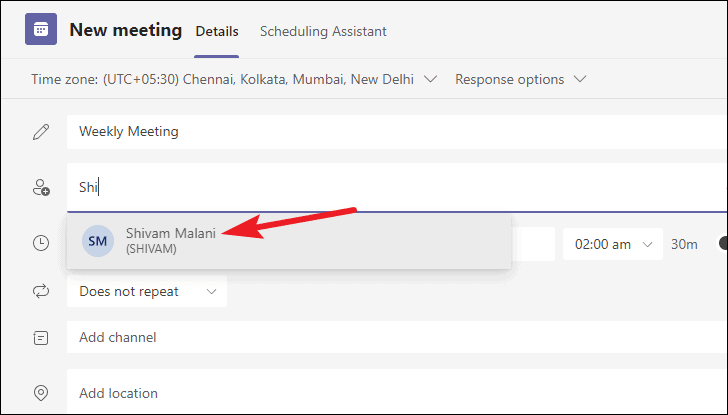
To invite users from your organization, type their names. Teams will provide suggestions from the members within your organization. Click their name to add them.
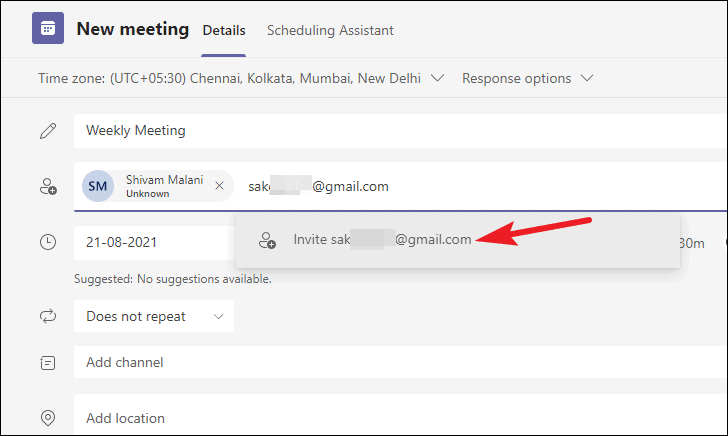
To invite users from outside your organization, you’d have to enter the complete email address of the person. Press the enter key after entering their email address or click the ‘Invite’ suggestion to add them as attendees to the meeting.
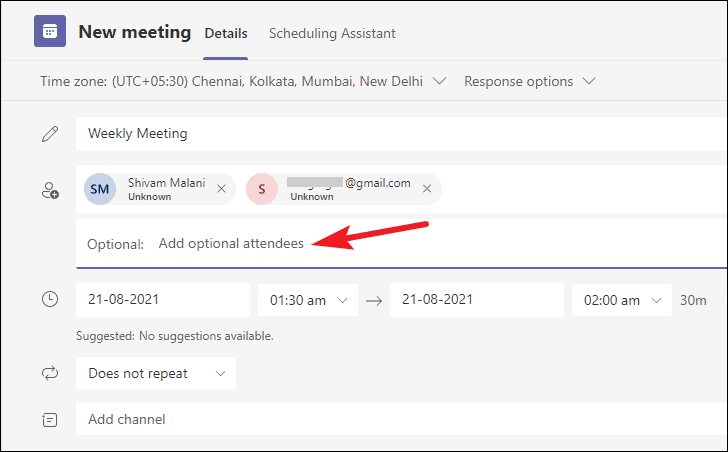
For users whose presence is not required, click the ‘Optional’ button at the end of the textbox.

A new field will expand. Enter the optional participants here similarly as you did with required attendees. For organization members, enter their name and then select it from Teams suggestions. For members outside of your organization, enter the complete email address.
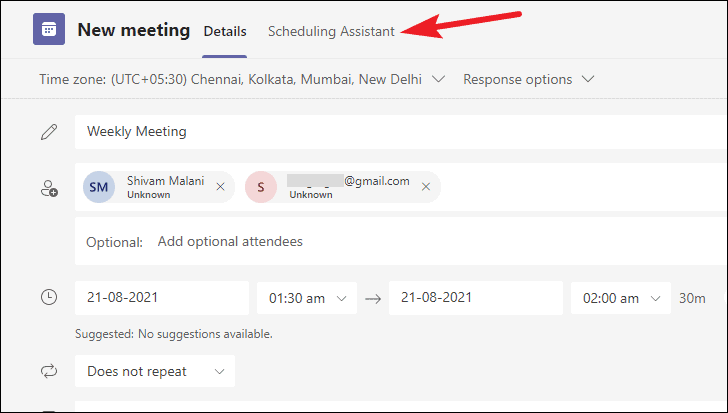
Teams also has a scheduling assistant that lets you compare your calendar with other attendees’ calendars (for whom it’s available, anyhow) to find a time that suits everyone. Go to the ‘Scheduling Assistant’ tab to get help from Teams to find an appropriate time.
After entering all the details in the meeting scheduler window, click the ‘Send’ button.
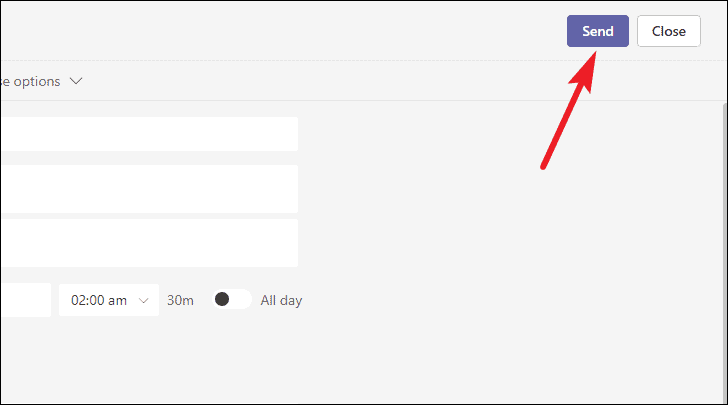
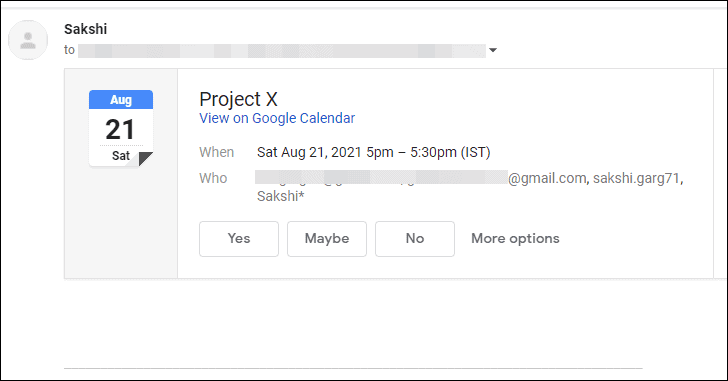
An invite will be sent to all the meeting attendees (required as well as optional) either to their Outlook mailbox (for people within the organization) or their email address (for outsiders). Users can RSVP to the meeting and add it to their calendar using the invite you sent.
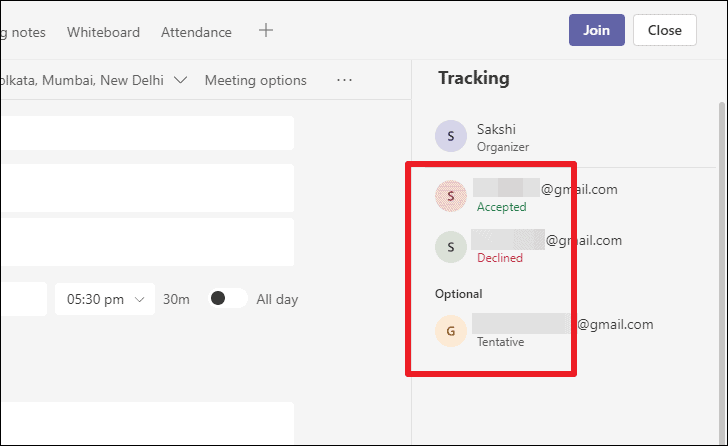
You can see their RSVPs in the meeting details. To see the meeting details, double-click the meeting from the calendar. The panel for ‘Tracking’ is on the right that shows everyone’s RSVP status.
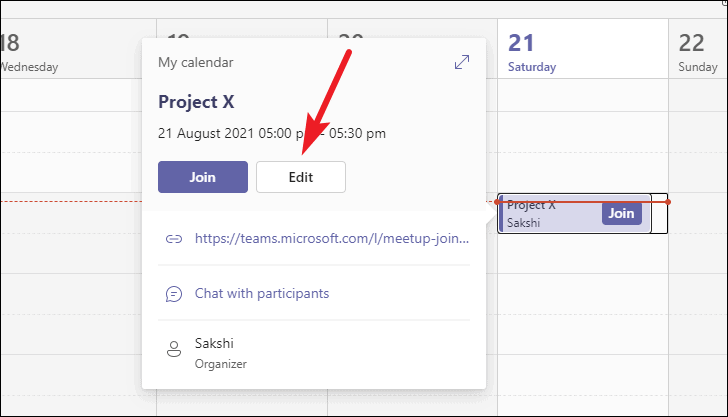
You can also invite more people to the meeting after initially scheduling the meeting. Open the meeting details from the calendar by either double-clicking it, or selecting ‘Edit’ from the overlay menu.
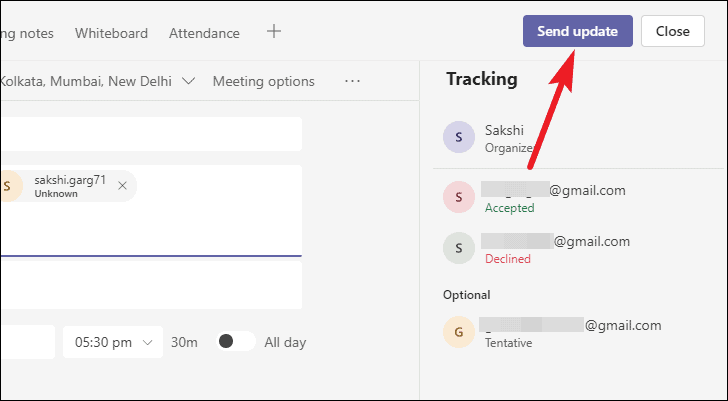
Then, add the name or email addresses of the attendees in the ‘Required’ or ‘Optional’ attendees section and click the ‘Send Update’ button. The users who were already added will also get an invite again.
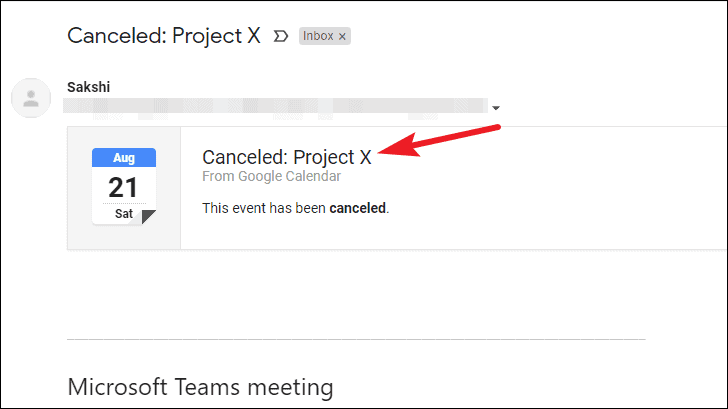
You can also cancel the meeting and everyone will get an email with the update the meeting is canceled.
Open meeting details and click the ‘Cancel Meeting’ button on the top left corner of the meeting details toolbar.

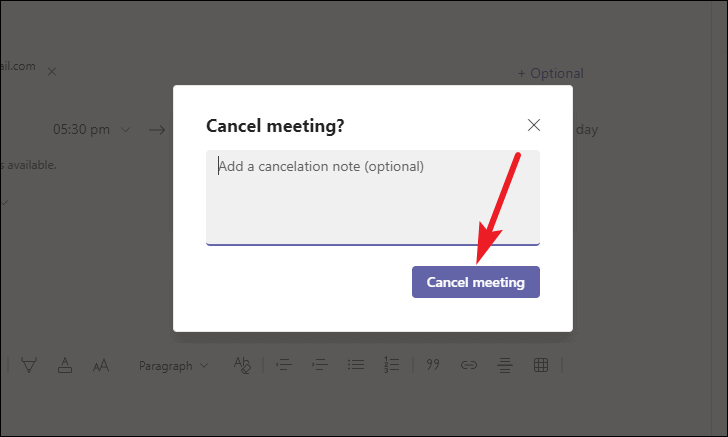
A dialog box will appear. You can add a cancelation note if you have a message to relay to the attendees. Otherwise, simply click the ‘Cancel meeting’ button.
And there you go. It’s a piece of cake to send out invites to a Microsoft Teams meeting. All you need to do is add the users you want to invite to the meeting scheduler. Microsoft also makes it extremely easy to track the status of your invites or cancel the meeting altogether.