
Windows offers power plans like Balanced, Power Saver, and High Performance to suit different user preferences. However, for users seeking the highest level of performance from their system, there’s an option called the Ultimate Performance power plan.
What is the Ultimate Performance power plan?
The Ultimate Performance power plan is designed to maximize performance on high-end systems by reducing micro-latencies associated with power management techniques. Micro-latencies are small delays between the operating system recognizing the need for power and the actual delivery of that power to hardware components. By disabling certain power-saving features, this plan enhances system responsiveness and efficiency.
Building upon the High Performance power plan, the Ultimate Performance plan further minimizes power management to extract every bit of performance possible. While this can boost system performance, it may also increase power consumption and heat generation.
How the Ultimate Performance plan works
The Ultimate Performance plan enhances performance by disabling specific power management features, including:
- Processor throttling: Sets both the minimum and maximum processor states to 100%, ensuring the CPU runs at full capacity continuously.
- Hard disk spin-down: Prevents the hard drive from spinning down during idle periods, keeping it ready for immediate data access.
It may also disable other features such as:
- Display dimming: Keeps the screen brightness constant, even when idle.
- USB power management: Stops USB devices from entering low-power states when not in use.
This plan is ideal for users running resource-intensive applications like video editing software, 3D rendering programs, or scientific computing tools. If maximum performance isn’t crucial, the Balanced or High Performance plans provide a better balance between performance and energy efficiency.
How to turn on Ultimate Performance plan
If your system has the Ultimate Performance plan available, you can enable it by following these steps:
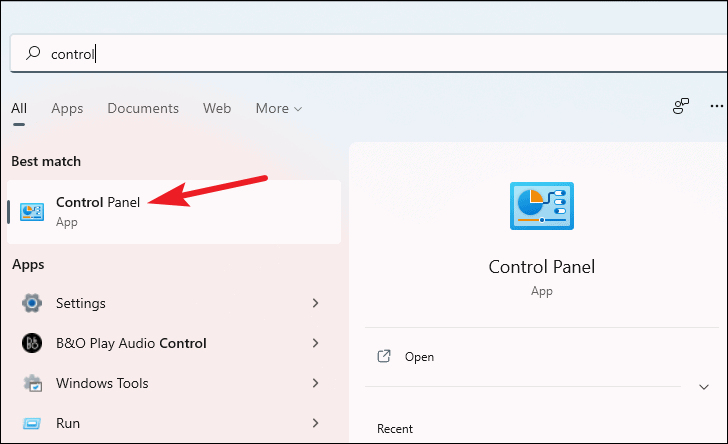
- Open the Control Panel by searching for it in the taskbar.
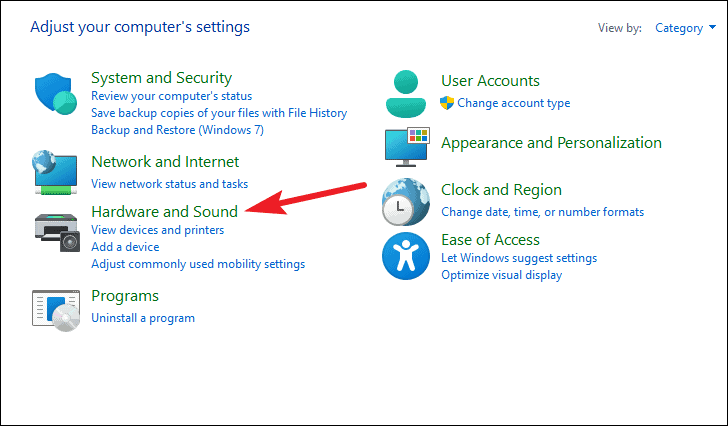
- Click on ‘Hardware and Sound’.
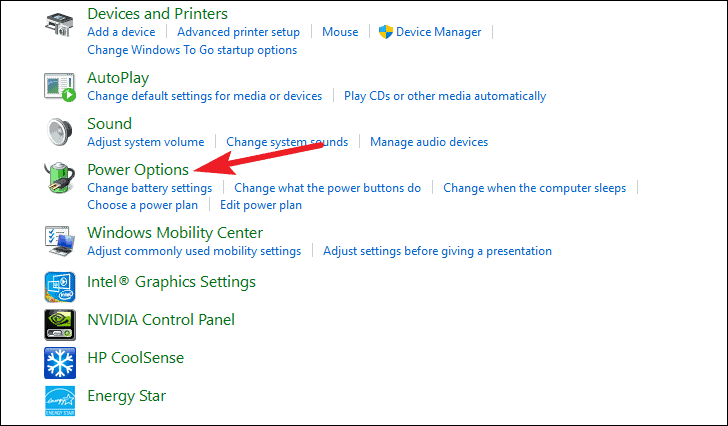
- Select ‘Power Options’.
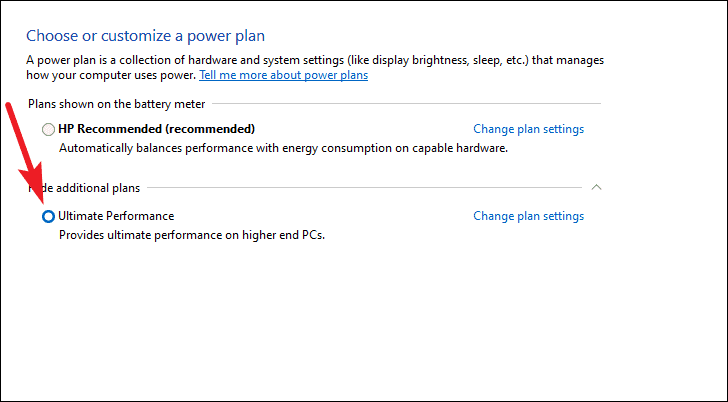
- Look for the ‘Ultimate Performance’ plan among the available options.
- If it’s not visible, click on ‘Show additional plans’ to reveal more options.
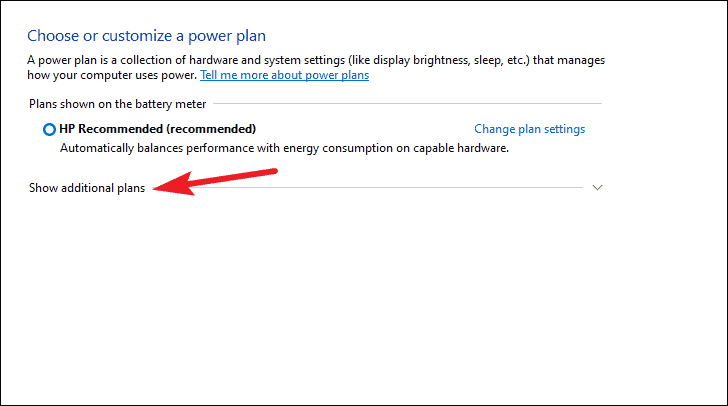
- Select the ‘Ultimate Performance’ plan by clicking the radio button next to it.
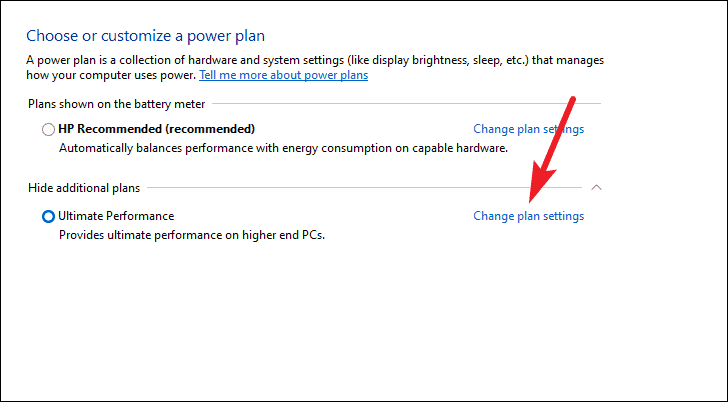
You can adjust the plan settings by clicking ‘Change plan settings’, but doing so might affect its performance benefits.
How to add Ultimate Performance plan to any Windows 11 PC
If the ‘Ultimate Performance’ plan isn’t available on your system, you can add it manually:
- Open Command Prompt or Windows PowerShell as an administrator. Search for ‘Command Prompt’ or ‘Windows PowerShell’ in the taskbar, then choose ‘Run as administrator’.
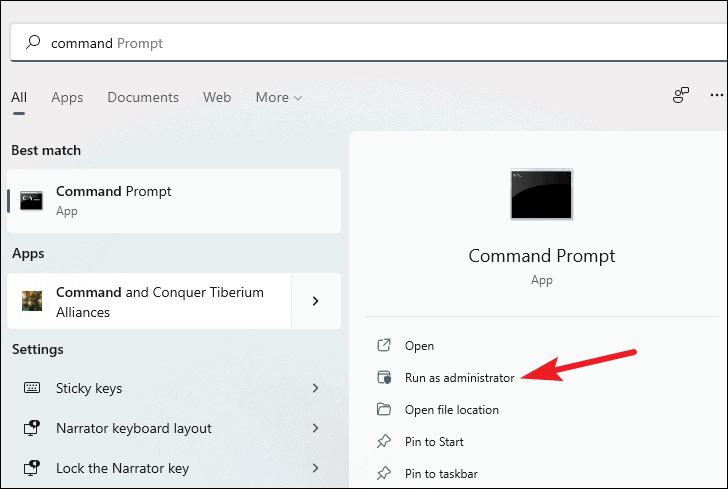
A User Account Control prompt may appear; click ‘Yes’ to continue.
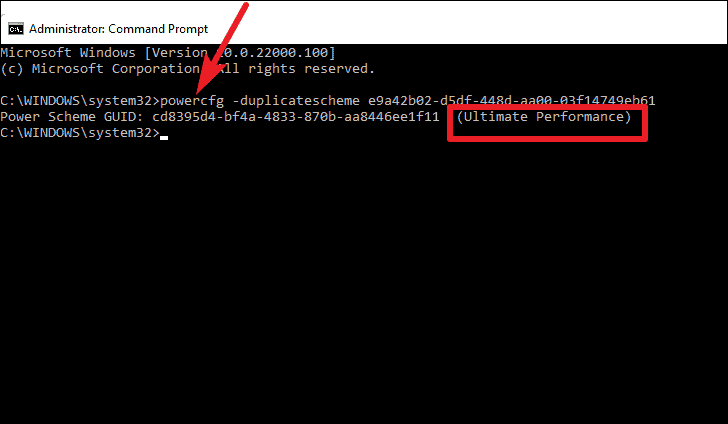
- Enter the following command and press
Enter:
powercfg -duplicatescheme e9a42b02-d5df-448d-aa00-03f14749eb61
- After executing the command, you’ll see confirmation in the console.
- Reopen the Power Options in the Control Panel. If it’s already open, refresh the window.
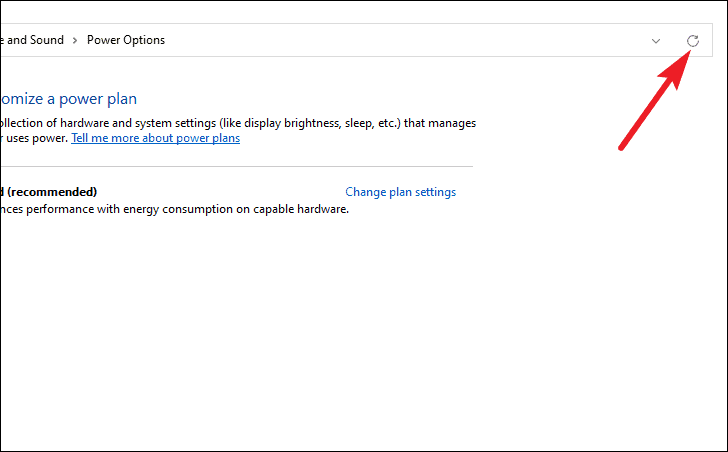
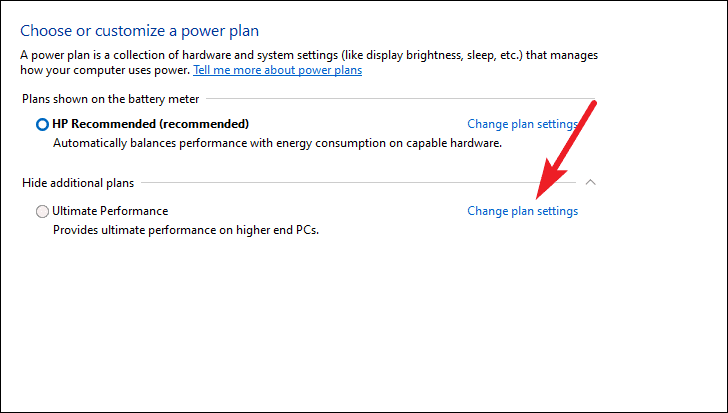
- Click on ‘Show additional plans’ to display more power plans.
- The ‘Ultimate Performance’ plan should now appear. Select it by clicking the radio button next to it.
Deleting the Ultimate Performance plan from your system
If you’ve added the ‘Ultimate Performance’ plan manually and want to remove it, follow these steps. Make sure to switch to a different power plan before deleting it to avoid system issues.
- In Power Options, choose a different power plan to use.
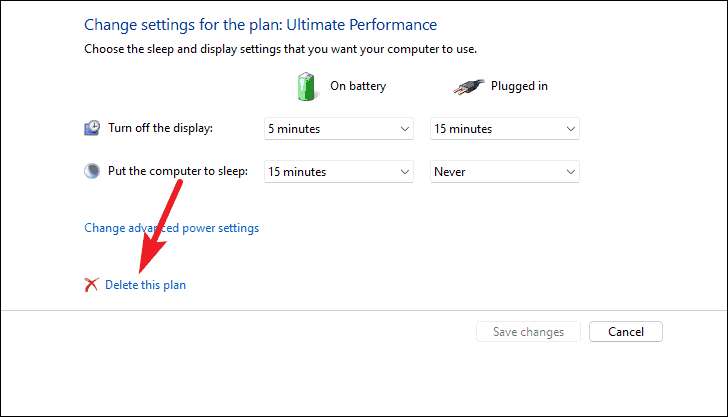
- Click on ‘Change plan settings’ next to the ‘Ultimate Performance’ plan.
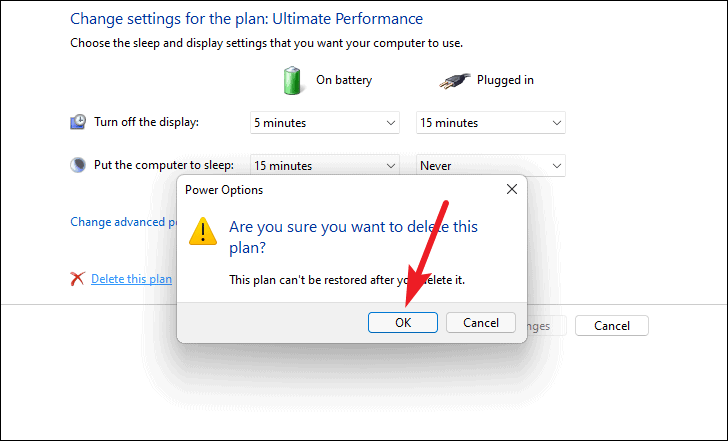
- Select ‘Delete this plan’.
- Confirm the deletion by clicking ‘Yes’ in the prompt.
The Ultimate Performance power plan can significantly boost your system’s performance, but it’s essential to consider the increased power usage and potential impact on hardware longevity. If you’re unsure about using it, the Balanced or High Performance plans might be more suitable for your needs.


