No one is spared from the consistent and continuous annoyance created by spam emails, they are very rarely sent with malicious intent and are typically harmless marketing emails, clogging your inbox.
However, recently, even harmless marketing emails have started collecting IP addresses of the receiver, tracking if and when they have read the email through something called tracking pixels. These pixels are embedded into the images in the body of the email and relay the information to the sender.
We all know how Apple loves to create a walled garden and protect its users’ privacy. In regards to that direction, Apple had taken steps to eliminate this problem in earlier iOS versions as well, but the roll-out of the feature was very limited in terms of supported apps and websites.
That being said, with the introduction of iOS 15, Apple has increased this feature’s capabilities to a whole new level. Thus, let’s understand a bit more about its day-to-day usability and its impact before moving on to setting it up.
What is Hide My Email?
Hide My Email will basically generate a unique and random email address and will use it on the behalf of your original email address to sign up on any website or app to safeguard your email addresses from winning a lottery ticket should ever be that particular database of emails gets leaked online.
It will also protect you from tracking pixels and ad trackers since the random email address would be forwarding the received emails and deleting the originally received copy, which will completely eradicate the possibility of a spam sender approximating your location via your IP address.
Apple will provide complete control to the user to generate as many email addresses under the Hide my Email feature, which in turn will enable you to control over who can contact you. For instance, if you signed up for a newsletter on a website using the Hide My Email option and you don’t want to receive the newsletter anymore, simply delete the unique address associated with that website and you shall stop receiving it henceforth.
In iOS 15, Apple has rolled out the Hide My Email feature along with Private Relay, HomeKit Secure Video, and Custom Email Domain as a part of its new service package called ‘iCloud+’, which offers various subscription models for users to choose from according to their needs.
Hide My Email feature will work on any app or website supporting ‘Sign in with Apple’ services. With already all of the major apps and websites supporting it, all the relatively small and independent developers will also be joining in soon.
Moreover, you can also use the Hide My Email feature when sending out e-mails shall you ever need to send one without displaying your email address.
However, the catch is Hide My email feature will only work on the Safari browser and the native mail application. In the case you like to use any other of the alternatives on your iPhone, you will have to make that switch to use the feature to its full extent.
Since now you are familiar with Hide My Email feature, let’s learn how to set it up.
Note: This is a beta feature and won’t be available generally until the public release of iOS 15 or macOS 12 later in fall 2021.
Setting up Hide My Email on iPhone
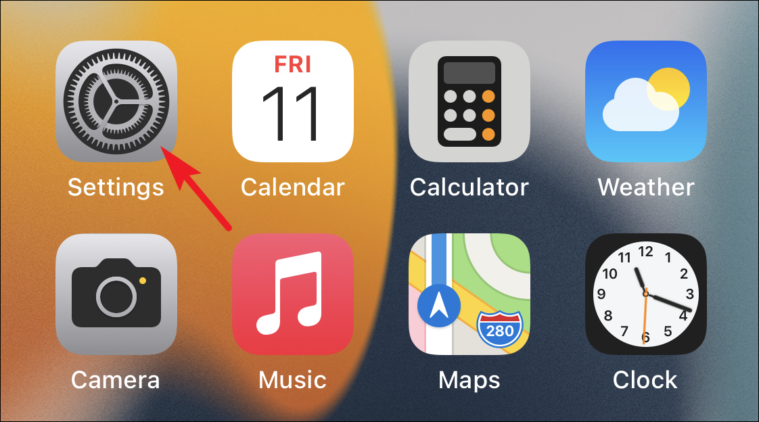
First launch the settings app from the home screen of your iPhone.

Next, tap your Apple ID card from the top section of the settings screen.

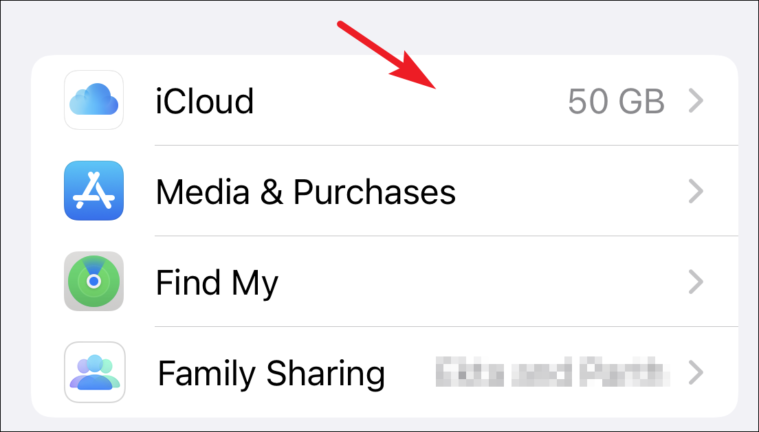
After that, tap on the iCloud option from the available list of options present on the screen.

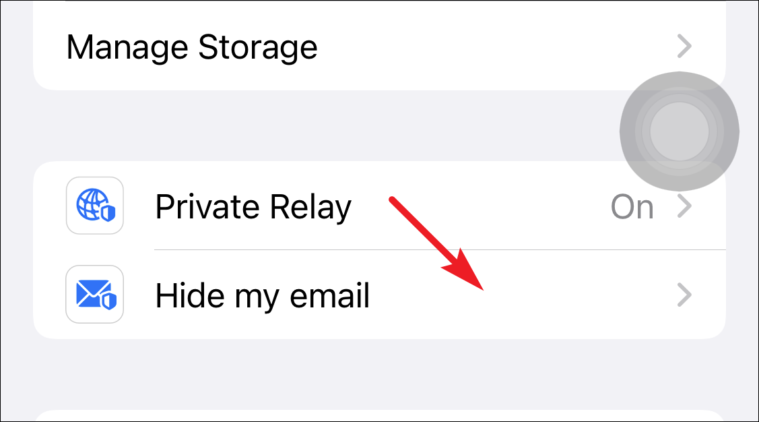
Then, tap on to the Hide My Email option, sitting right under the Private Relay option.

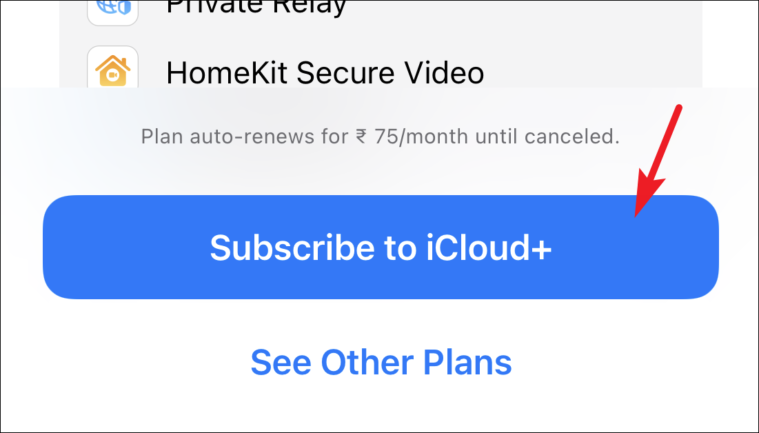
In the case, you have not subscribed to the iCloud+ service, a window will pop up to let you subscribe to iCloud+. Tap on the ‘Subscribe to iCloud+’ to subscribe to the recommended plan, otherwise tap on the ‘See Other Plans’ to browse and choose a plan according to your requirement.
Note: If you are already an iCloud+ subscriber, please hop on to the next step.
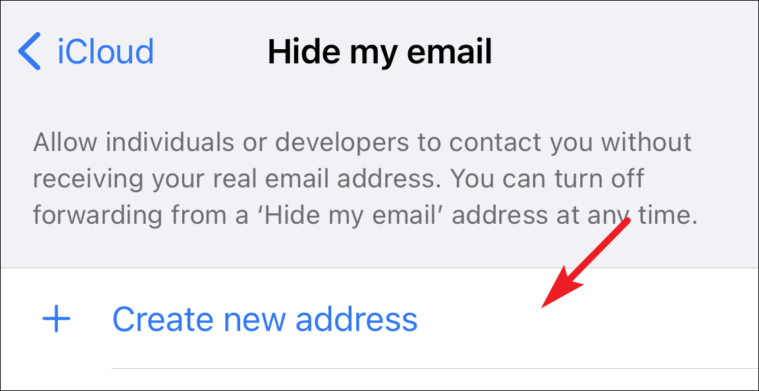
Now, tap on the Create new address option.
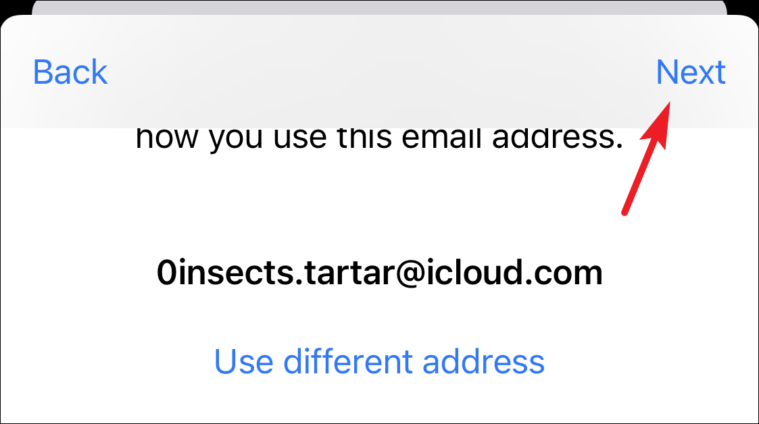
After that, a unique email address will be generated, if you would like to change the address, tap on the ‘Use different address’ option on the screen.

You can also create email addresses for categories instead of using a unique email address for every website. For instance, give out a single email address for all the websites asking you to sign up for newsletters just to view their content, which you can delete later to stop receiving unnecessary newsletters from all websites at once.
Once you have chosen the desired address, add a label for your address from ‘Label your address’ text field. Also, you can add a note if you wish to do so.
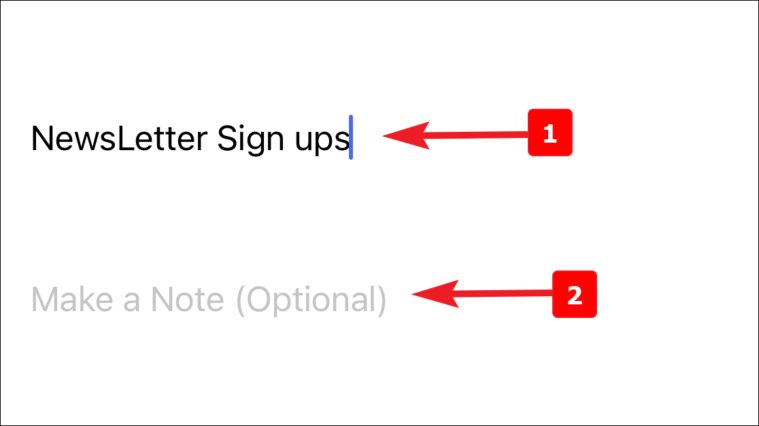
After entering all relevant details, tap on the ‘Next’ button from the top right corner of the screen.
How to Use ‘Hide My Email’ on iPhone
This is where it all boils down to, since Hide My Email can be used with Safari, third-party apps, and even for sending emails, let’s explore each of the options.
Using ‘Hide My Email’ in Safari
Even in this digital age where almost every piece of information is available online free of cost. We have been paying its price by providing our digital imprints to websites forcing us to sign-up just to view their content.
Well, with Hide My Email you can beat them at their own game.
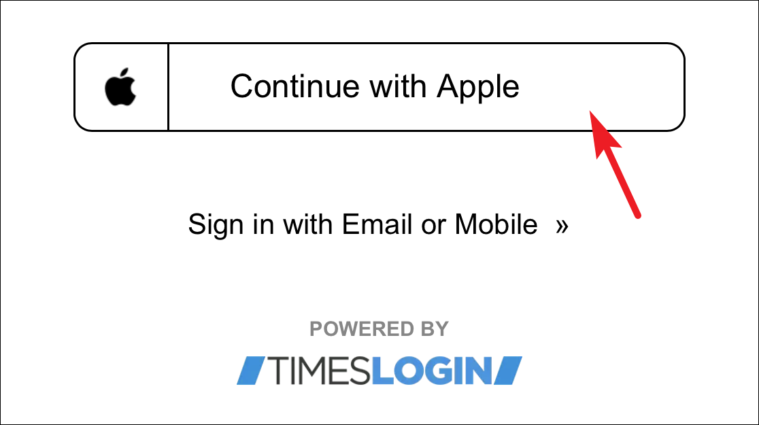
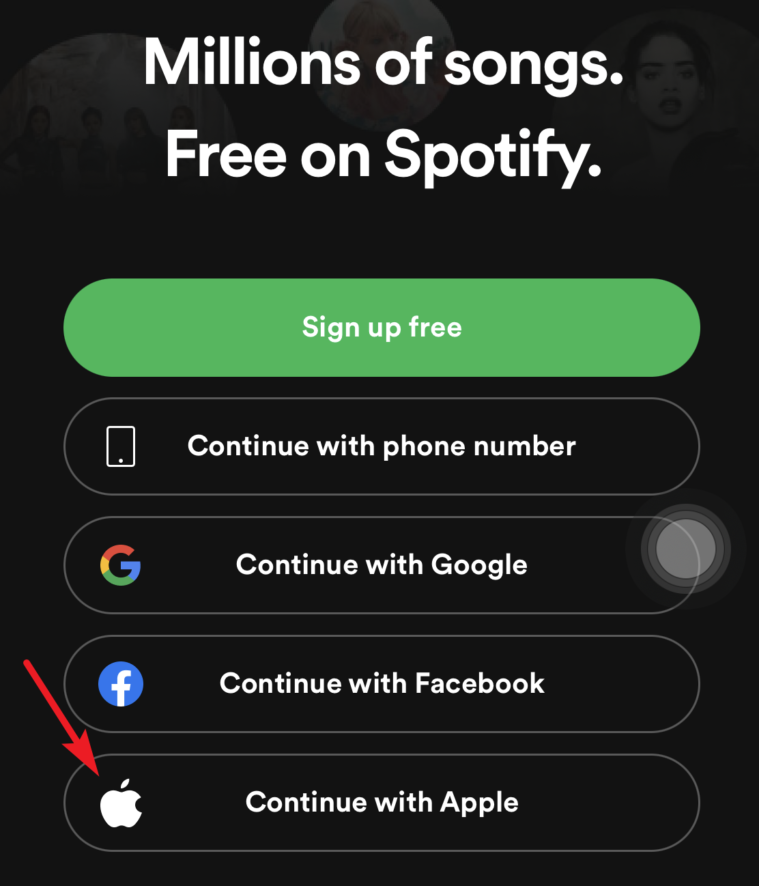
To do so, choose the ‘Continue with Apple’ option from the sign-up screen of the website open in the Safari application of your iPhone.
Note: If you are unable to locate the ‘Continue with Apple’ option on the website, there is a possibility it is still not a participating website under the ‘Sign in with Apple’ program.
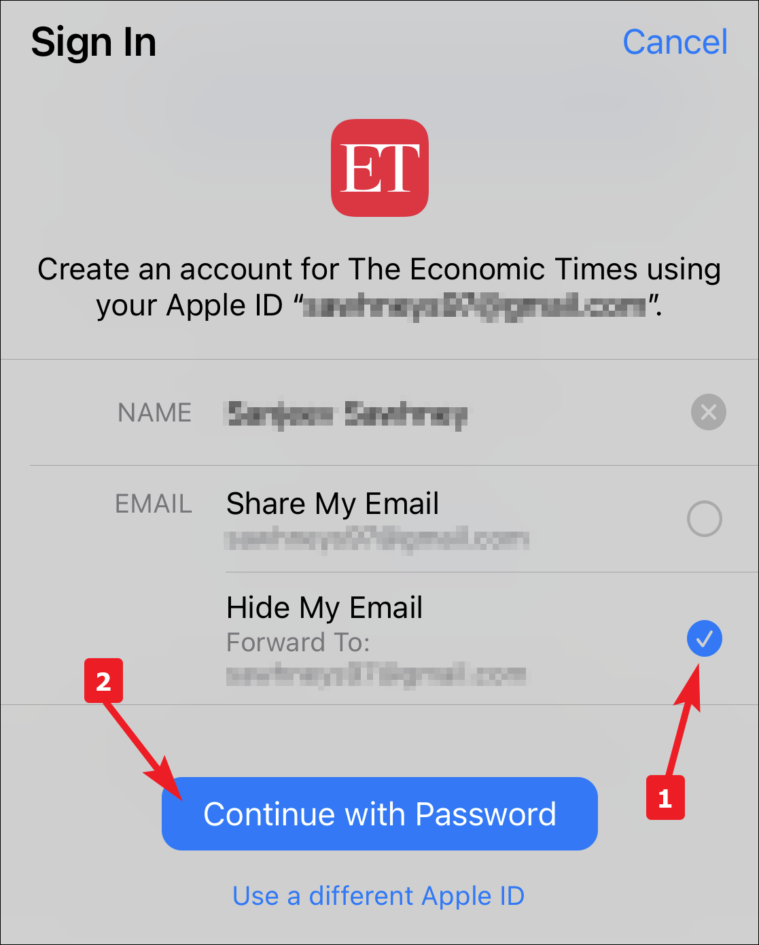
After that, a pop-up screen overlay would appear to let you sign in on the website. Tap on the ‘Hide My Email’ option from the list. Then, Tap on the ‘Continue Password’ button to continue.
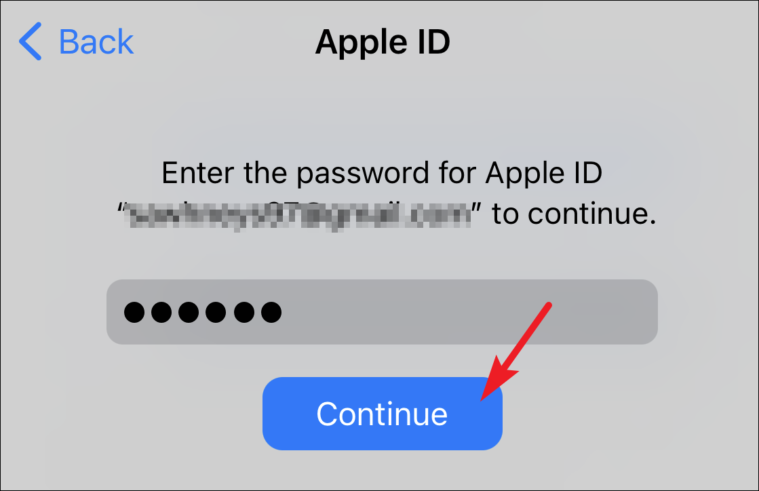
Next, either use your Touch ID, Face ID or use the old way to type in your Apple account password to provide authentication. Then, tap the ‘Continue’ button.

Using ‘Hide My Email’ in Third-Party Apps
No surprises here, every application collects your email address and uses it to send you promotional offers or other information, which quite frankly we would be happy not to receive.
To do so, tap on the ‘Continue with Apple’ option from the sign-up screen of the third party application.
Now, tap on the ‘Hide My Email’ option from the list available on the screen overlay pop-up. Then tap on the ‘Continue’ button.

After that provide authentication using either Touch ID, Face ID, or typing in your Apple account passcode.
Managing Hide My Email on iPhone
It is imperative to know how to manage all the email addresses created using Hide My Email feature, as you might need to remove or change preferences for these emails from time to time.
Stop Receiving Emails from Specific App/Website
First, launch the Settings application from the home screen of your iPhone.
Next, tap your Apple ID card from the top section of the settings screen.

After that, tap on the iCloud option from the available list of options present on the screen.
Then, tap on to the Hide My Email option, sitting right under the Private Relay option.
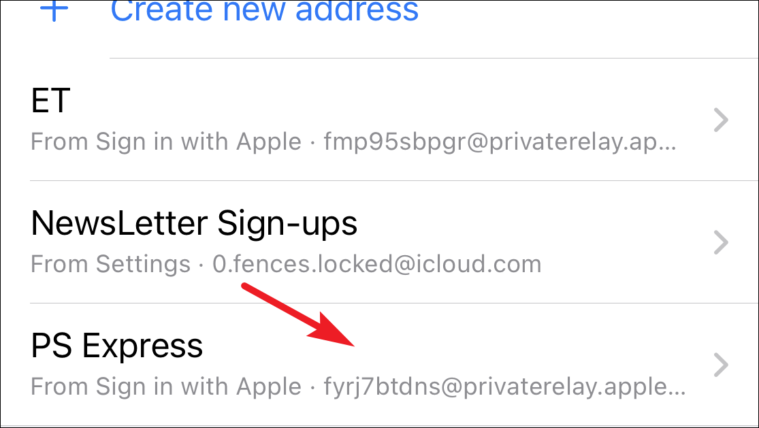
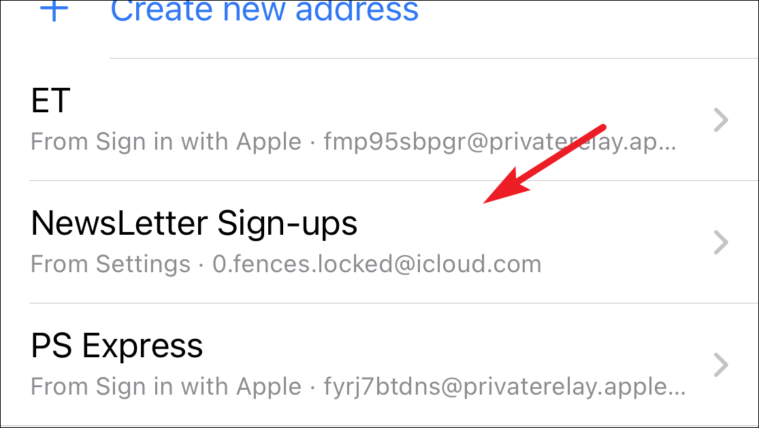
On the next screen, you will be able to see all the apps, websites, and the number of email addresses manually created in a list.
Now tap on the desired app/website name name from the list of available options.
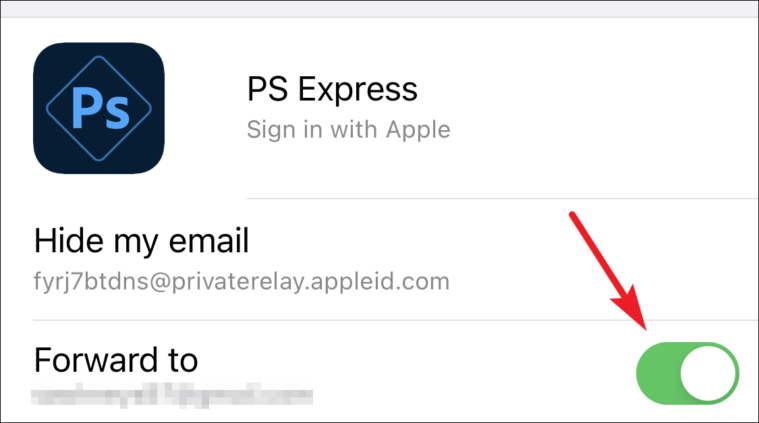
Then, toggle the switch to the ‘Off’ position preceding the ‘Forward To’ option present on the screen.
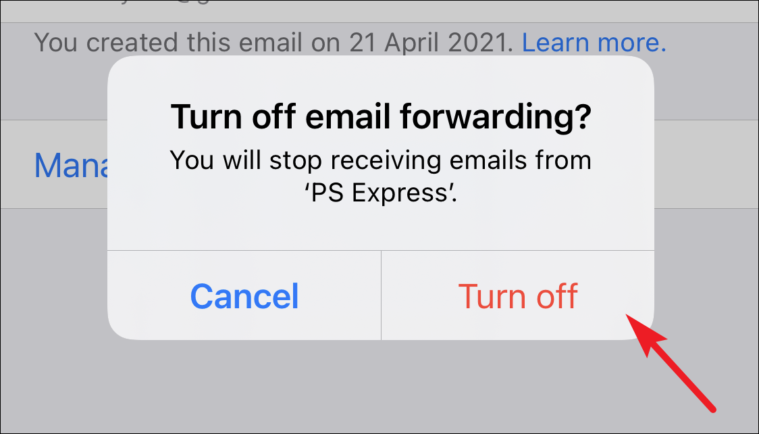
After that, tap on ‘Turn off’ from the pop up alert to confirm.
In case, you want to stop receiving mail from a manually created email address. Tap on its label name from the list.
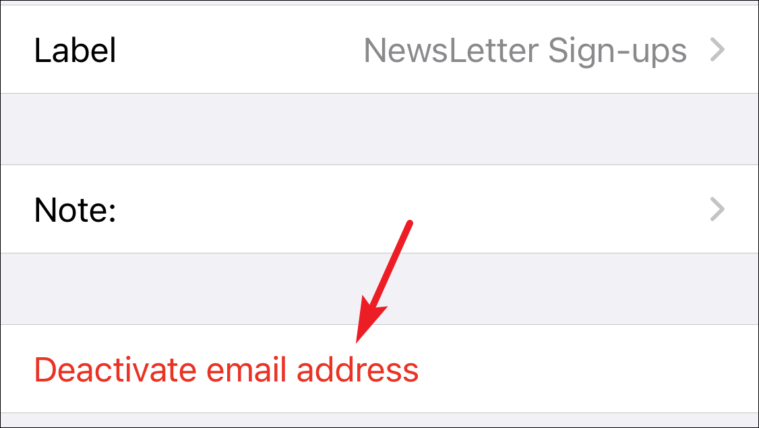
After that, tap on ‘Deactivate this email address’ option present on the screen.
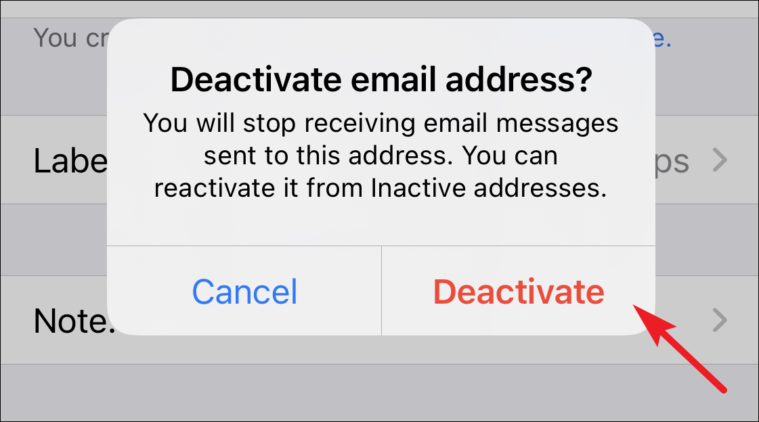
Then, tap on ‘Deactivate’ from the pop up alert to confirm.
Remove Apple ID Authentication
There can be times when you might need to remove your Apple ID authentication from some apps. Read along to know how to do that.
First, launch the Settings application from the home screen of your iPhone.

Next, tap your Apple ID card from the top section of the settings screen.

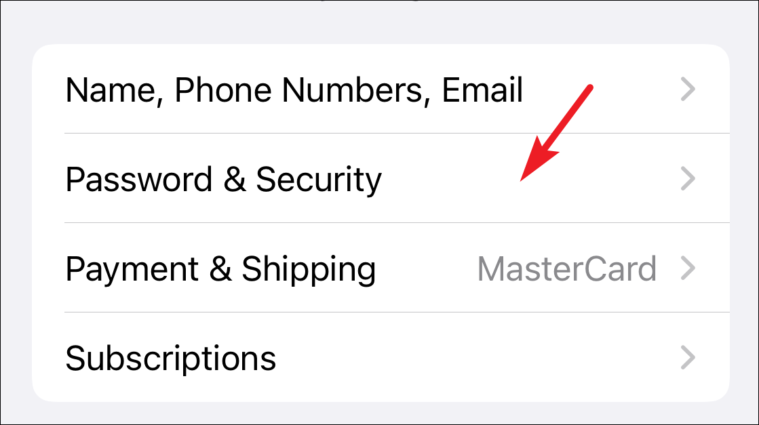
After that, tap on Password & Security option on the screen.
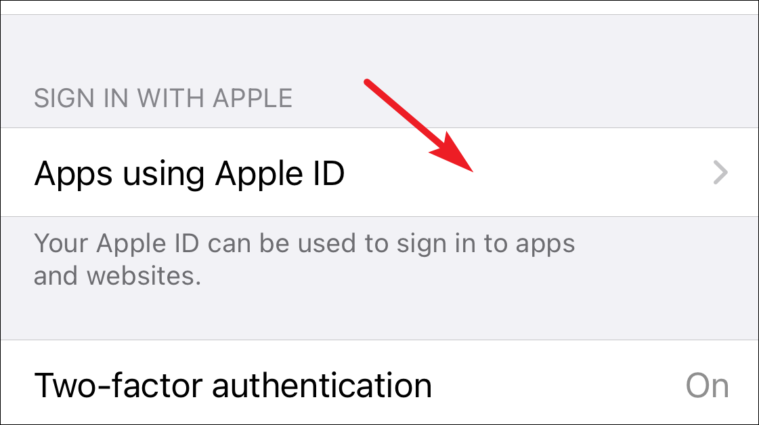
Then, tap on the ‘Apps Using your Apple ID’ option.
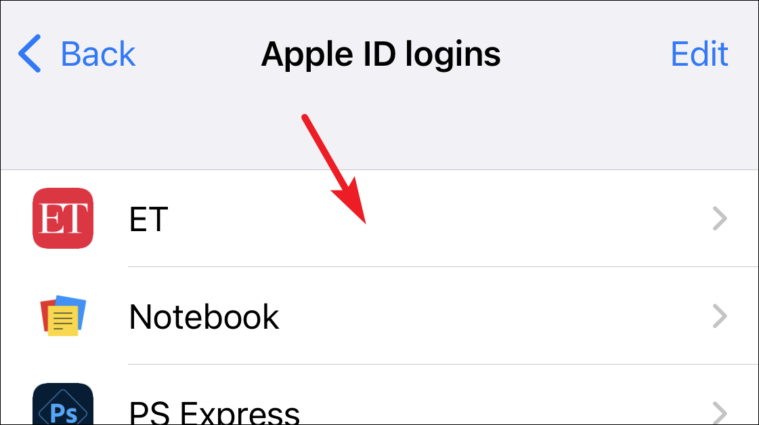
Now, tap on the desired application from the list present on the screen.
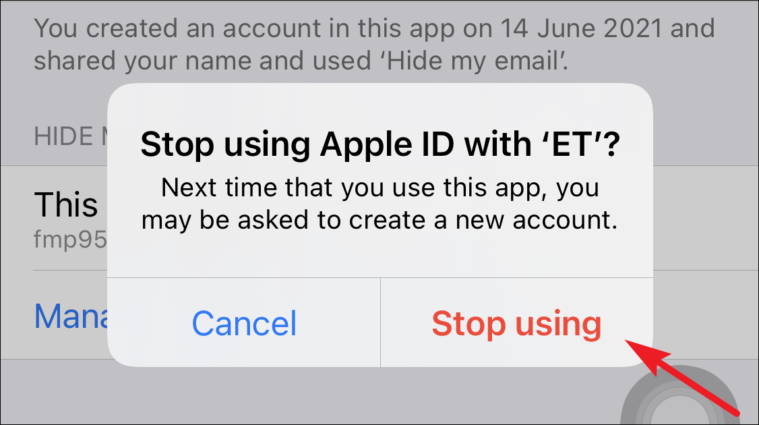
After that, tap on ‘Stop using Apple ID’ option.
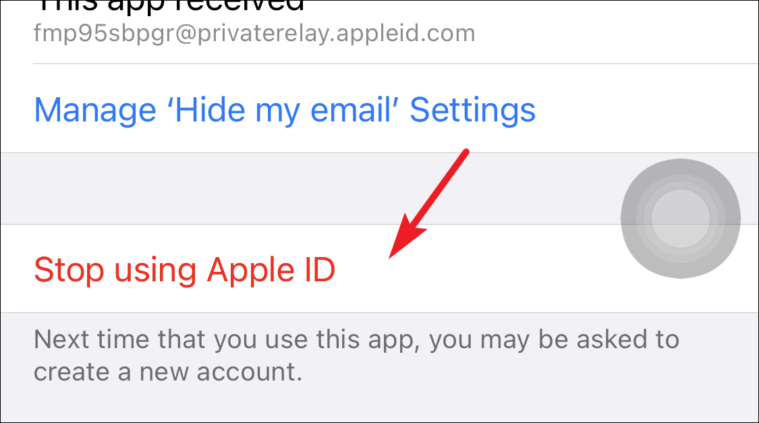
Finally, tap on ‘Stop Using’ button from the alert to confirm.