
As technology advances, it’s crucial to ensure that it remains accessible to everyone, including our elderly loved ones. iPhones, known for their user-friendly design, offer a range of features under Assistive Access that can make the device more accessible and easier to use for the elderly.
What is Assistive Access and How Does It Work?
Assistive Access is a new Accessibility feature of iOS 17 that makes it easy for users with cognitive disabilities to use their iPhones autonomously. It provides an alternate user interface. With Assistive Access enabled, apps and experiences on iPhone are optimized; onscreen items are bigger, some features are more focused, and actions are easier to navigate to understand.
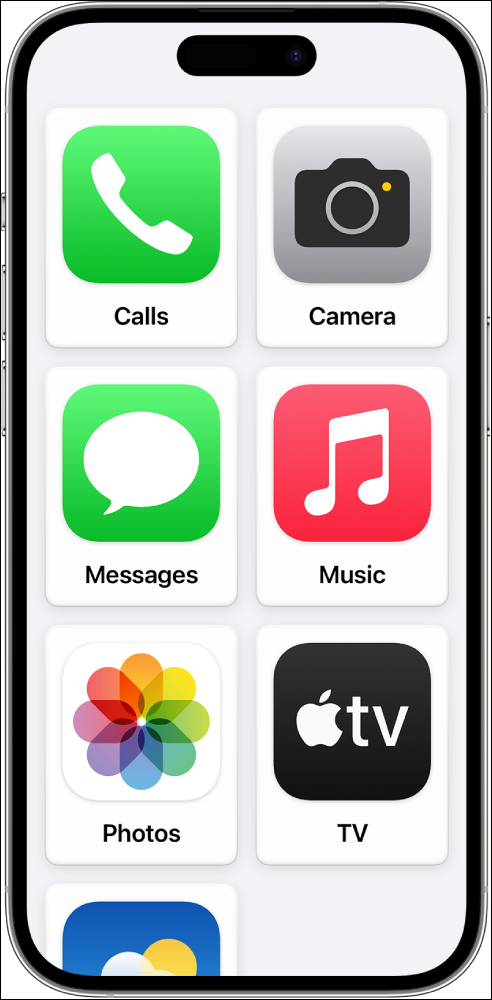
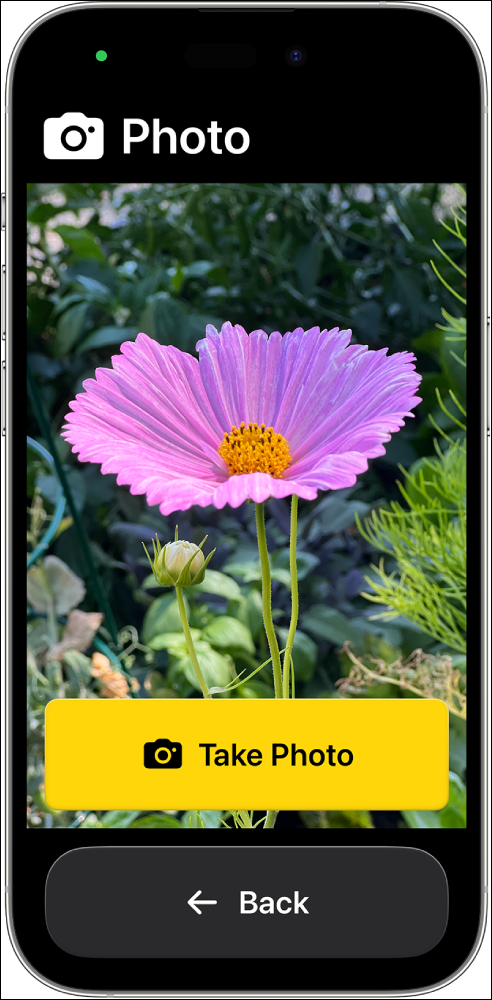
A preview of the Home Screen and Camera app in Assistive Access. Source: Apple
Apps in Assistive Access:
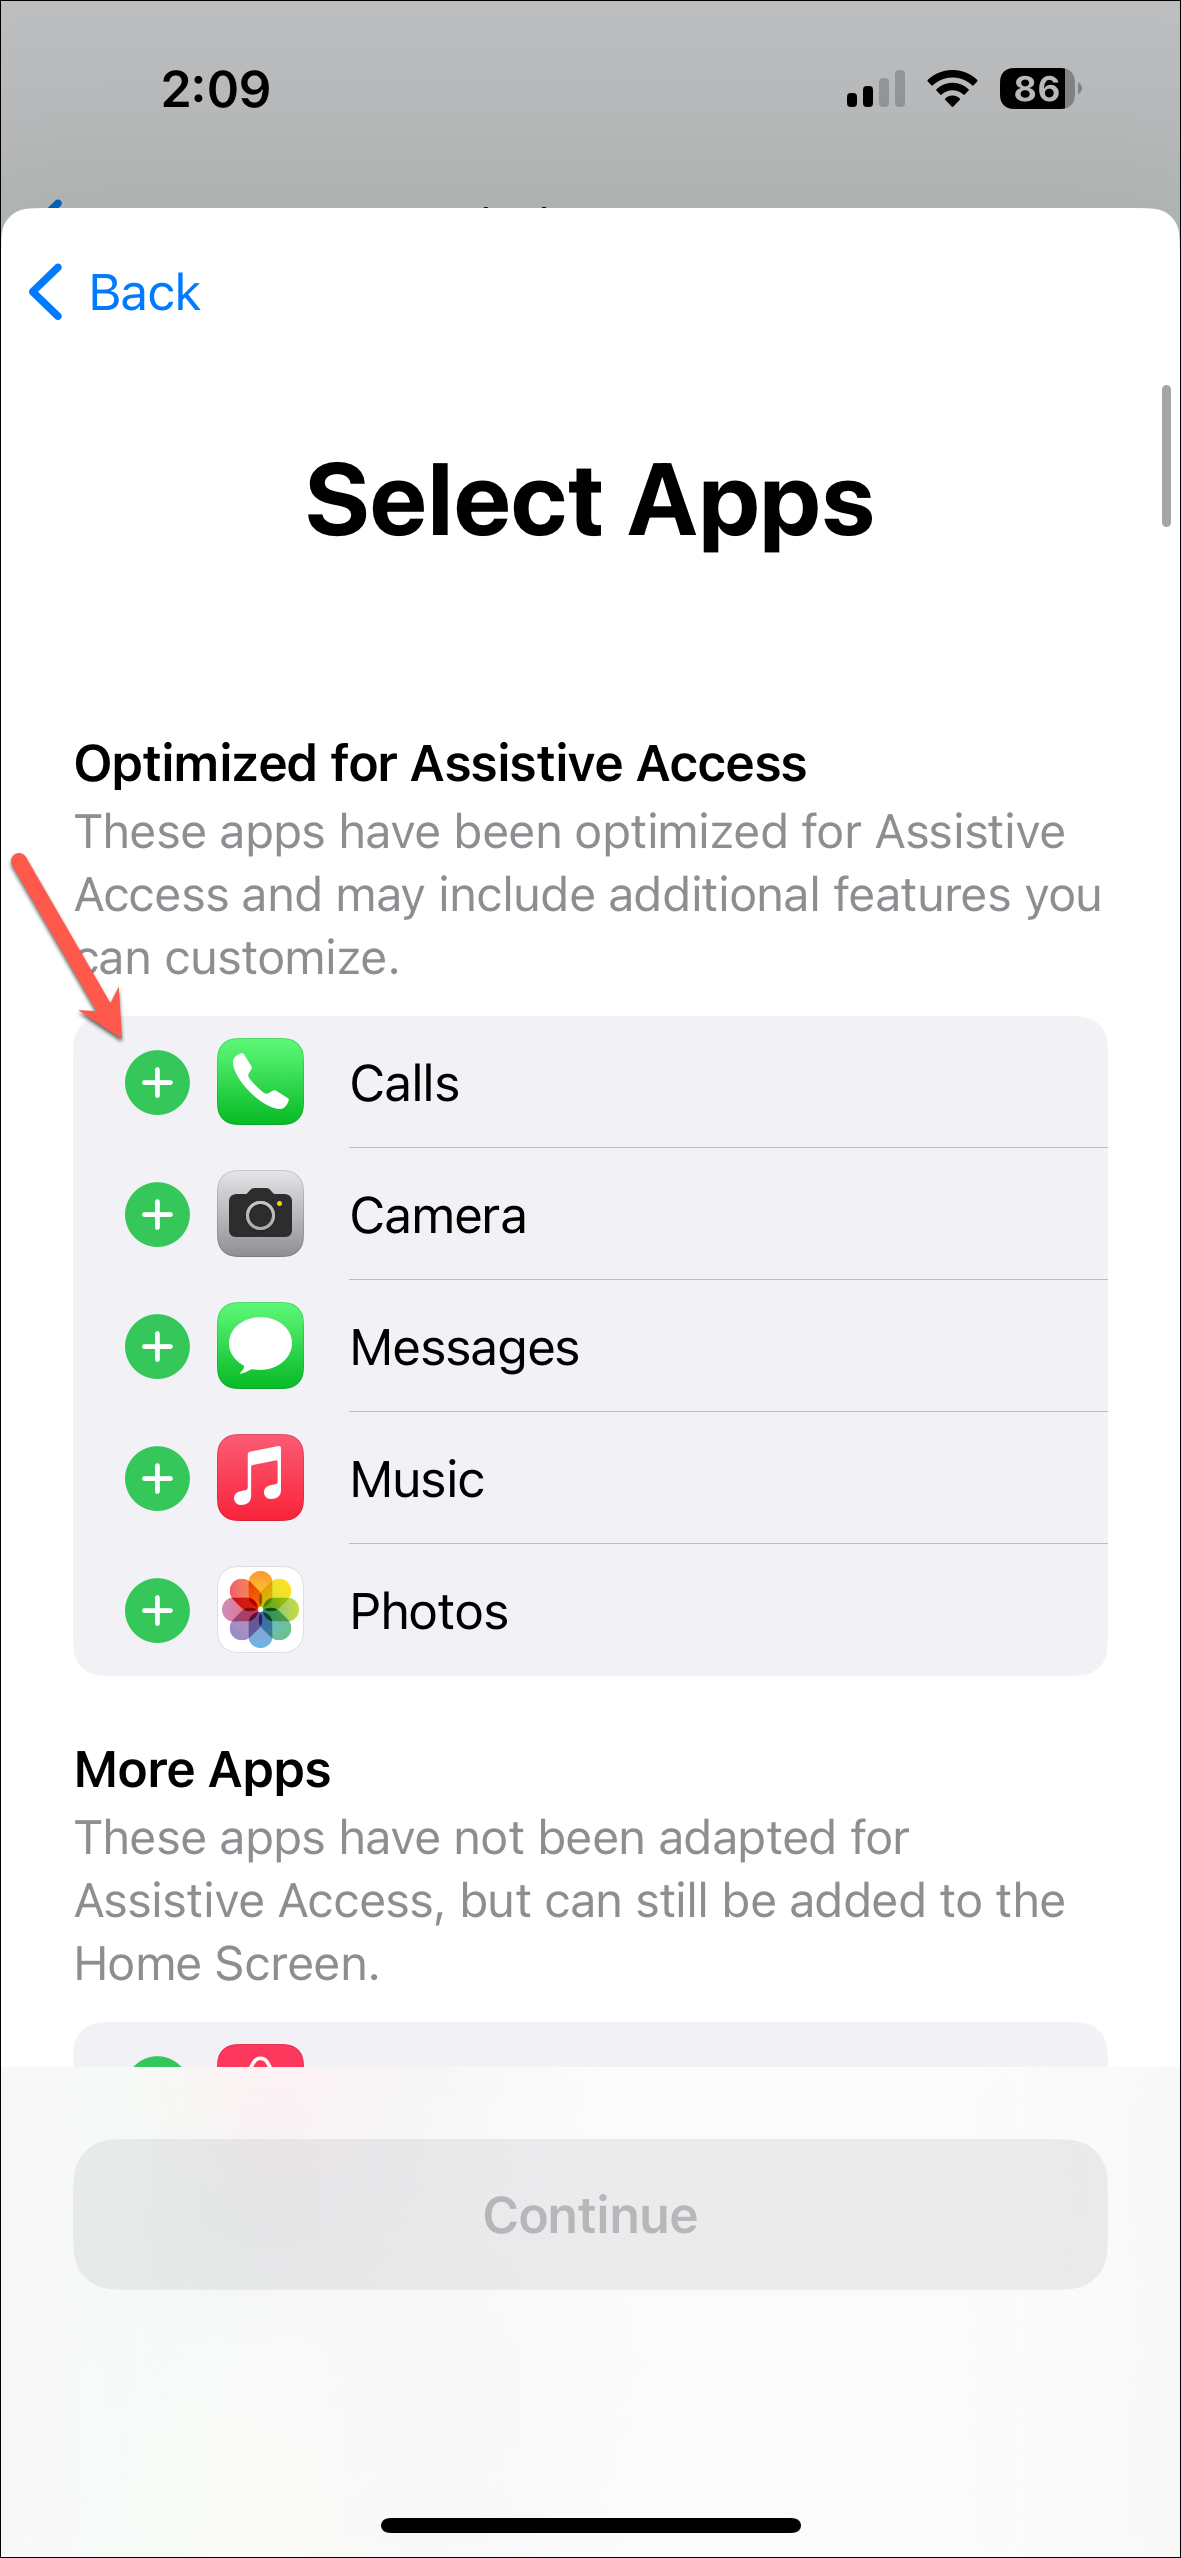
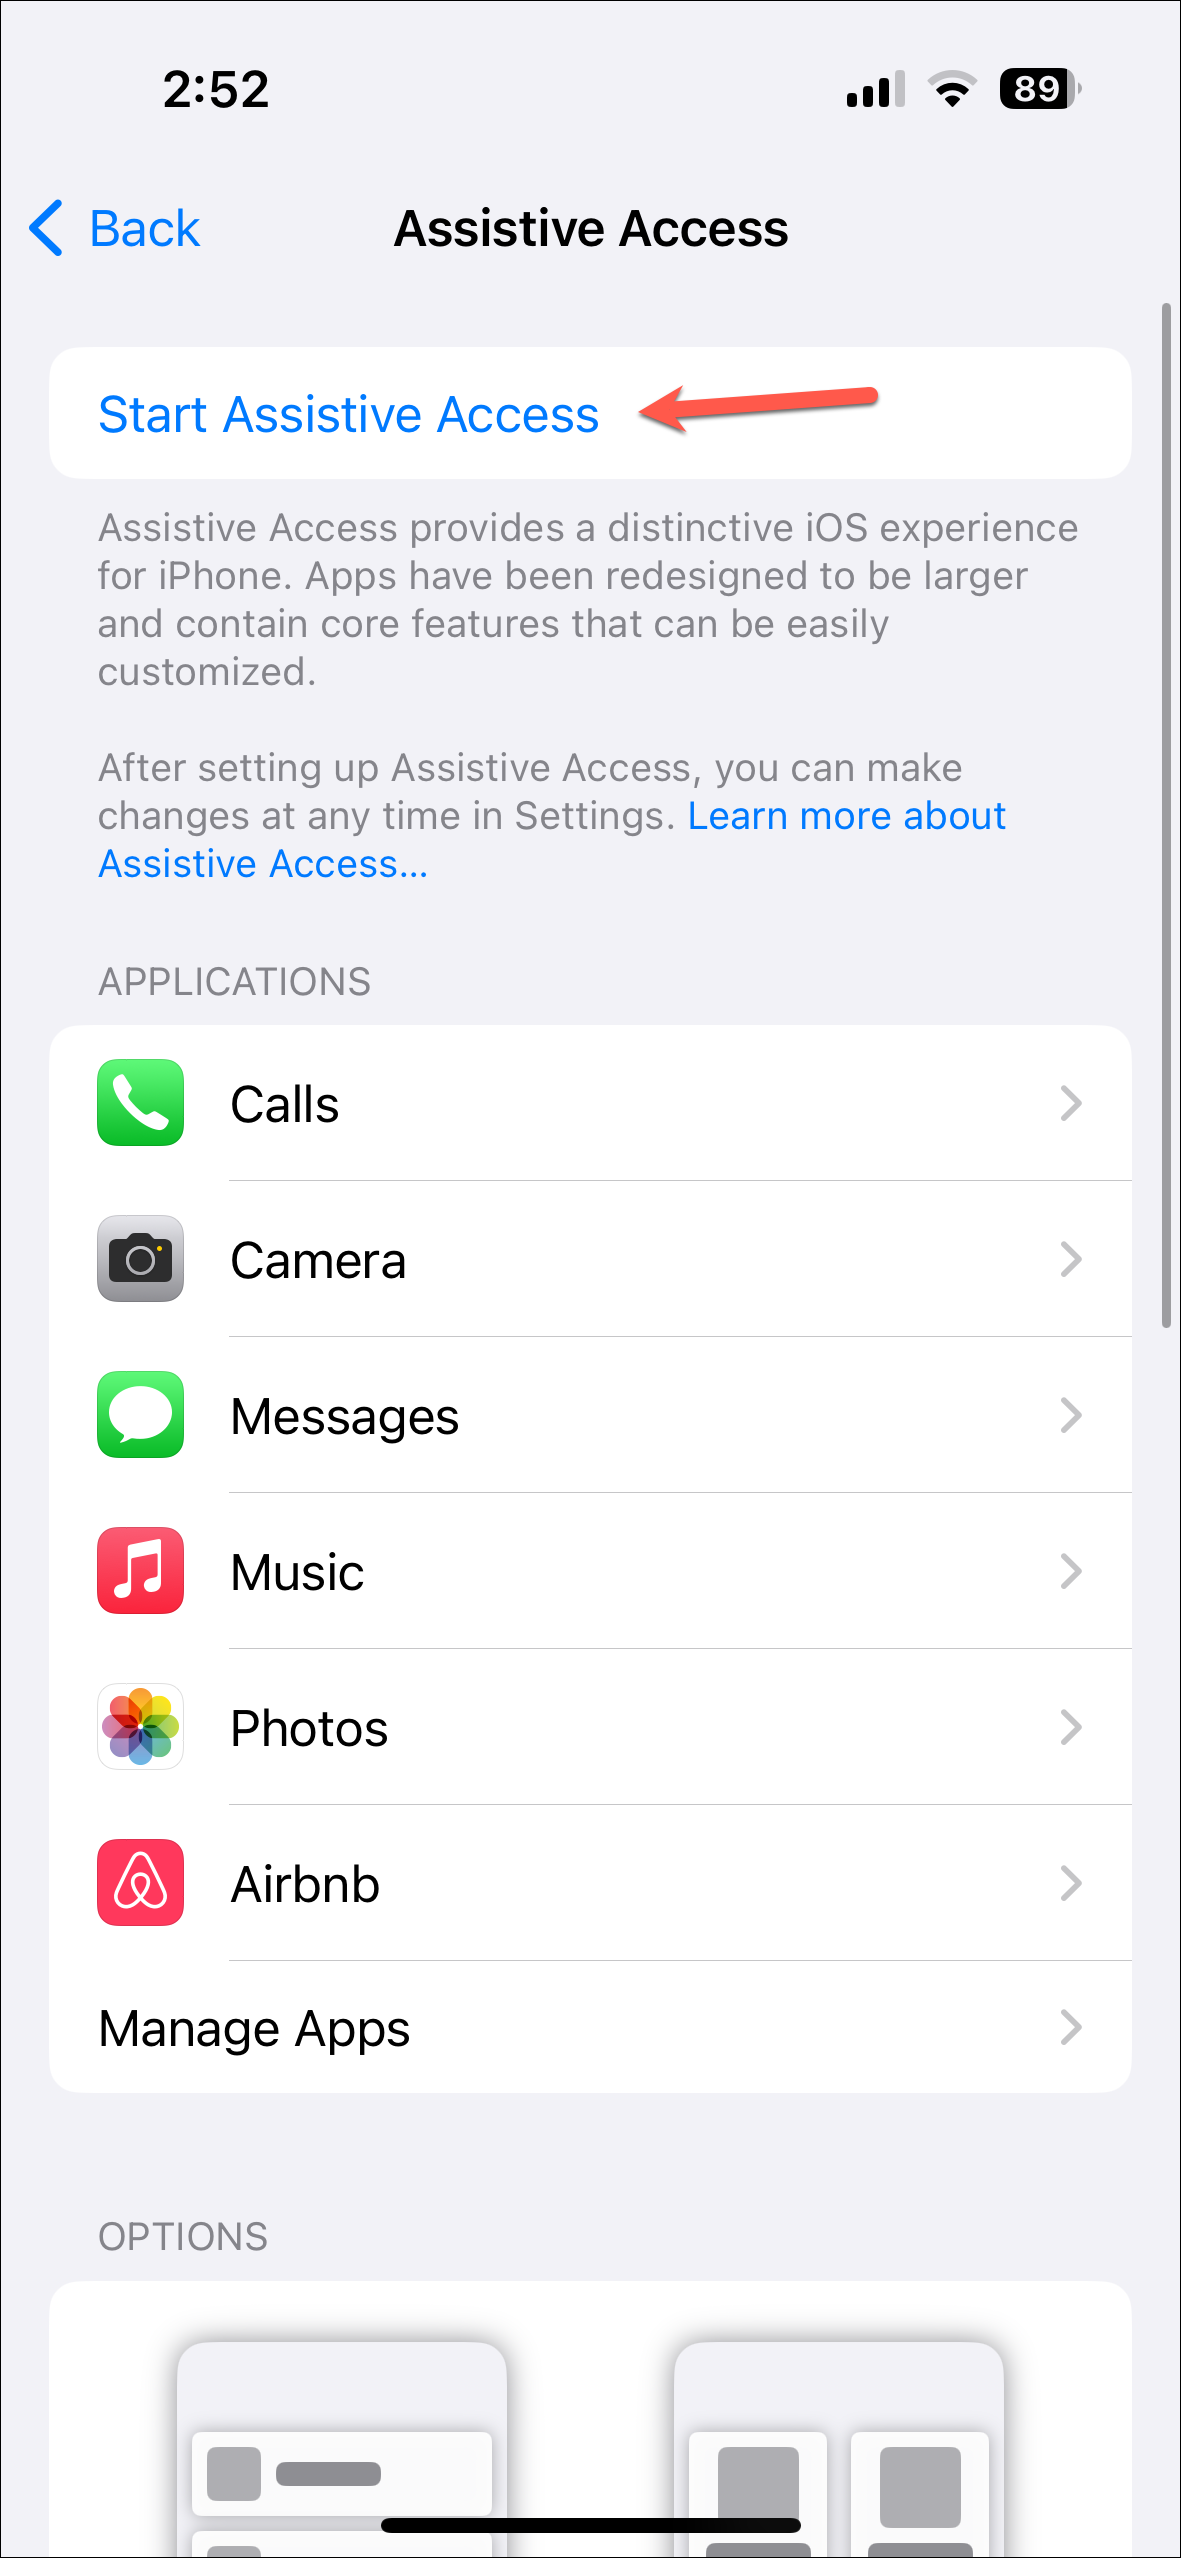
There are a few system apps that have been optimized for Assistive Access. These include Calls, Camera, Messages, Music, and Photos.
Calls and Messages work rather differently in Assistive Access. You can choose to allow incoming calls from everyone, only your contact list, or specific contacts. To receive calls from anyone else who’s not an allowed contact, you’ll have to exit Assistive Access.
You also have to set up which contacts you can make calls to. To make calls to anyone else, you’ll either need to exit Assistive Access or add the dialer keypad to the Phone app during setup. It works the same for Messages as well.
The rest of the system apps and third-party apps can also be added, but they have not been optimized for Assistive Access and will appear in their original design.
Interface in Assistive Access:
The interface of Assistive Access keeps things simple. You can only see the apps you have allowed in the mode. Things like the Notification Center, Control Center, Status Bar, etc. are not available.
Even the lock screen has been stripped of everything, even the wallpaper, and only shows the time. You can set up a wallpaper for Assistive Access by exiting Assistive Access, but the option is not available during setup.
You also cannot see the phone battery by default, but the option can be configured from the Assistive Access settings.
Notifications in Assistive Access:
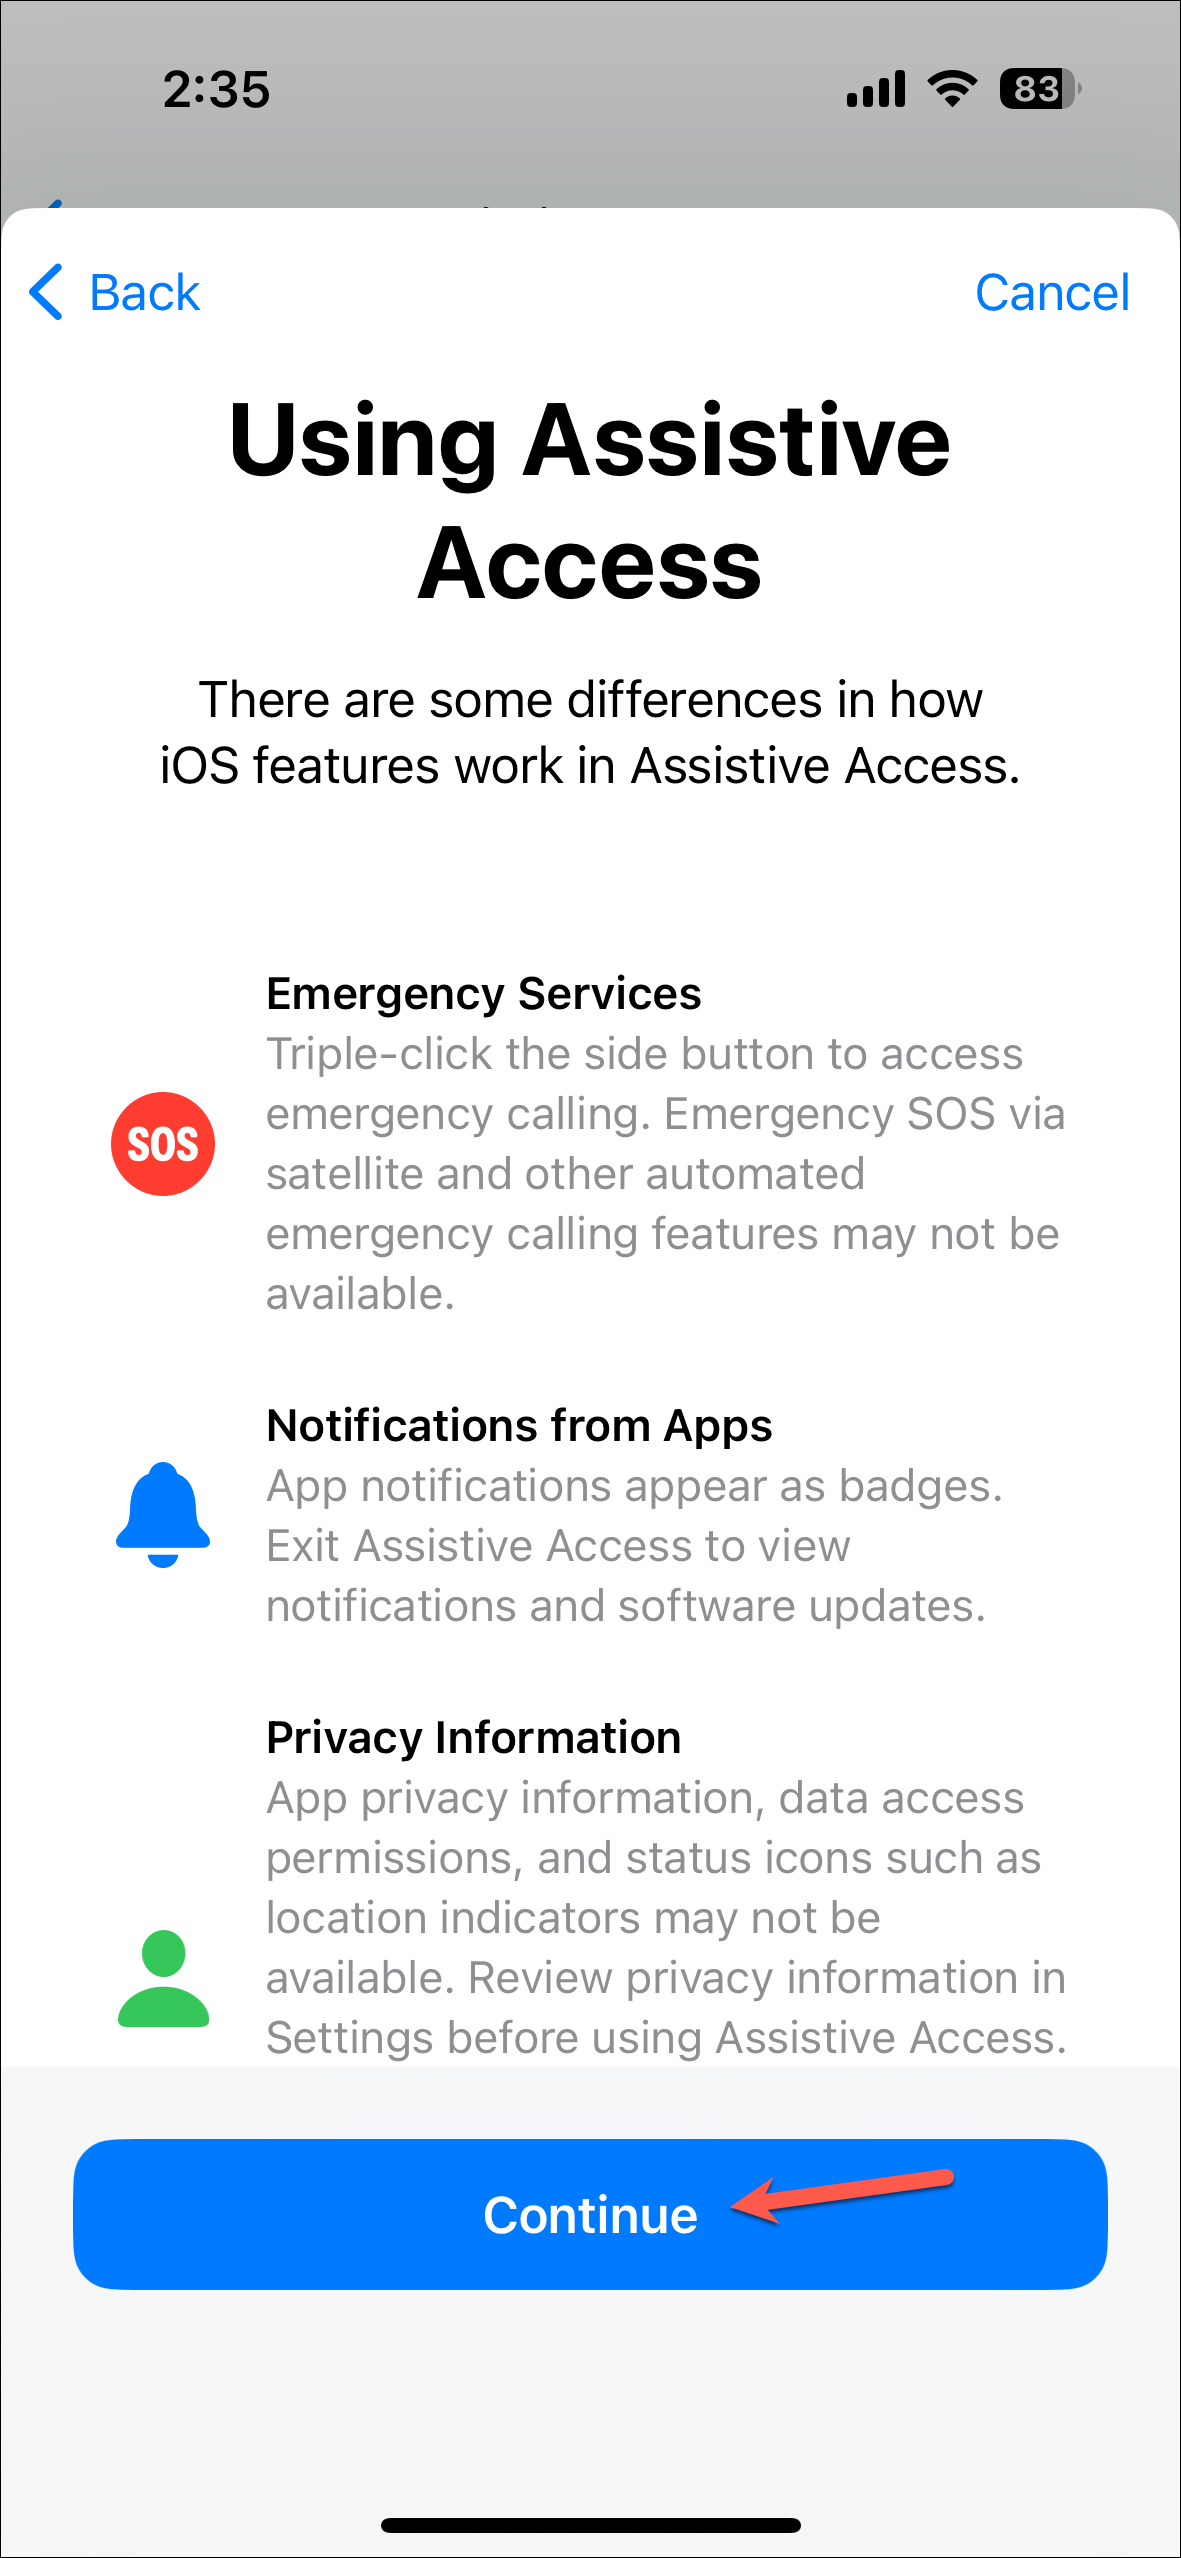
App notifications also work differently in Assistive Access. Notifications only appear as badges. To view notifications and software updates, you’ll have to exit Assistive Access.
In fact, you’ll need to exit Assistive Access to be able to perform a lot of actions, such as:
- Change the Assistive Access or system settings.
- Add, remove, or customize Assistive Access apps.
- Download apps from the App Store.
- View notifications and install software updates.
- View status icons and symbols, such as network availability, Wi-Fi, Bluetooth, Airplane mode, Focus mode, etc.
Setting Up Assistive Access
Before proceeding, make sure that the iPhone you want to set up Assistive Access on is upgraded to iOS 17.
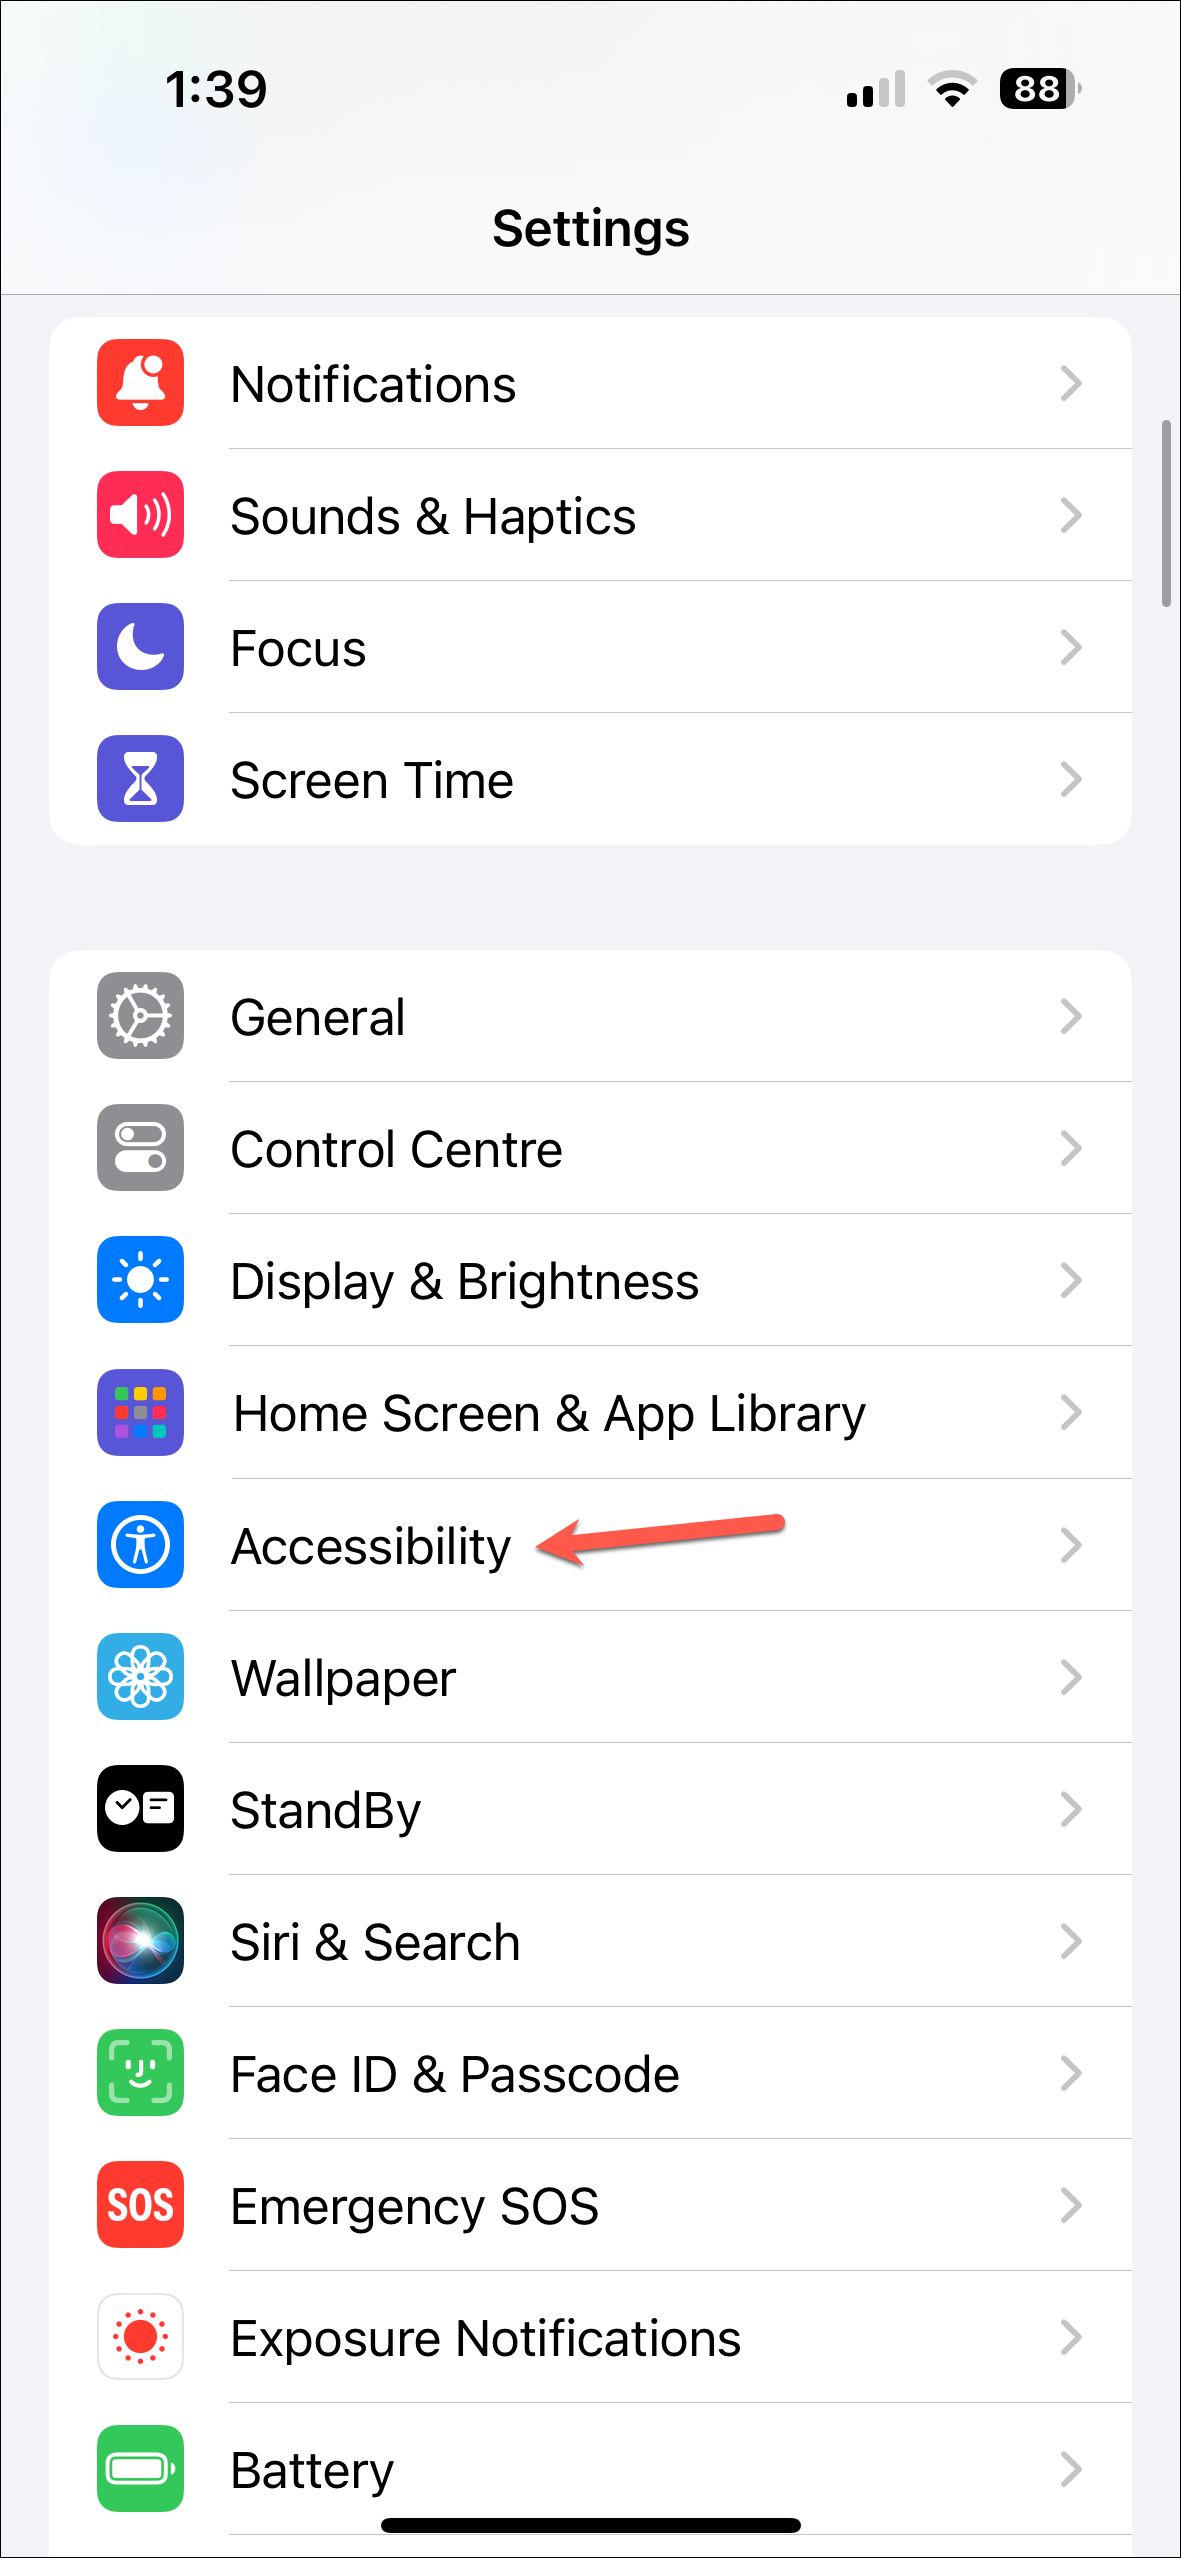
- Now, open the Settings app on the iPhone.
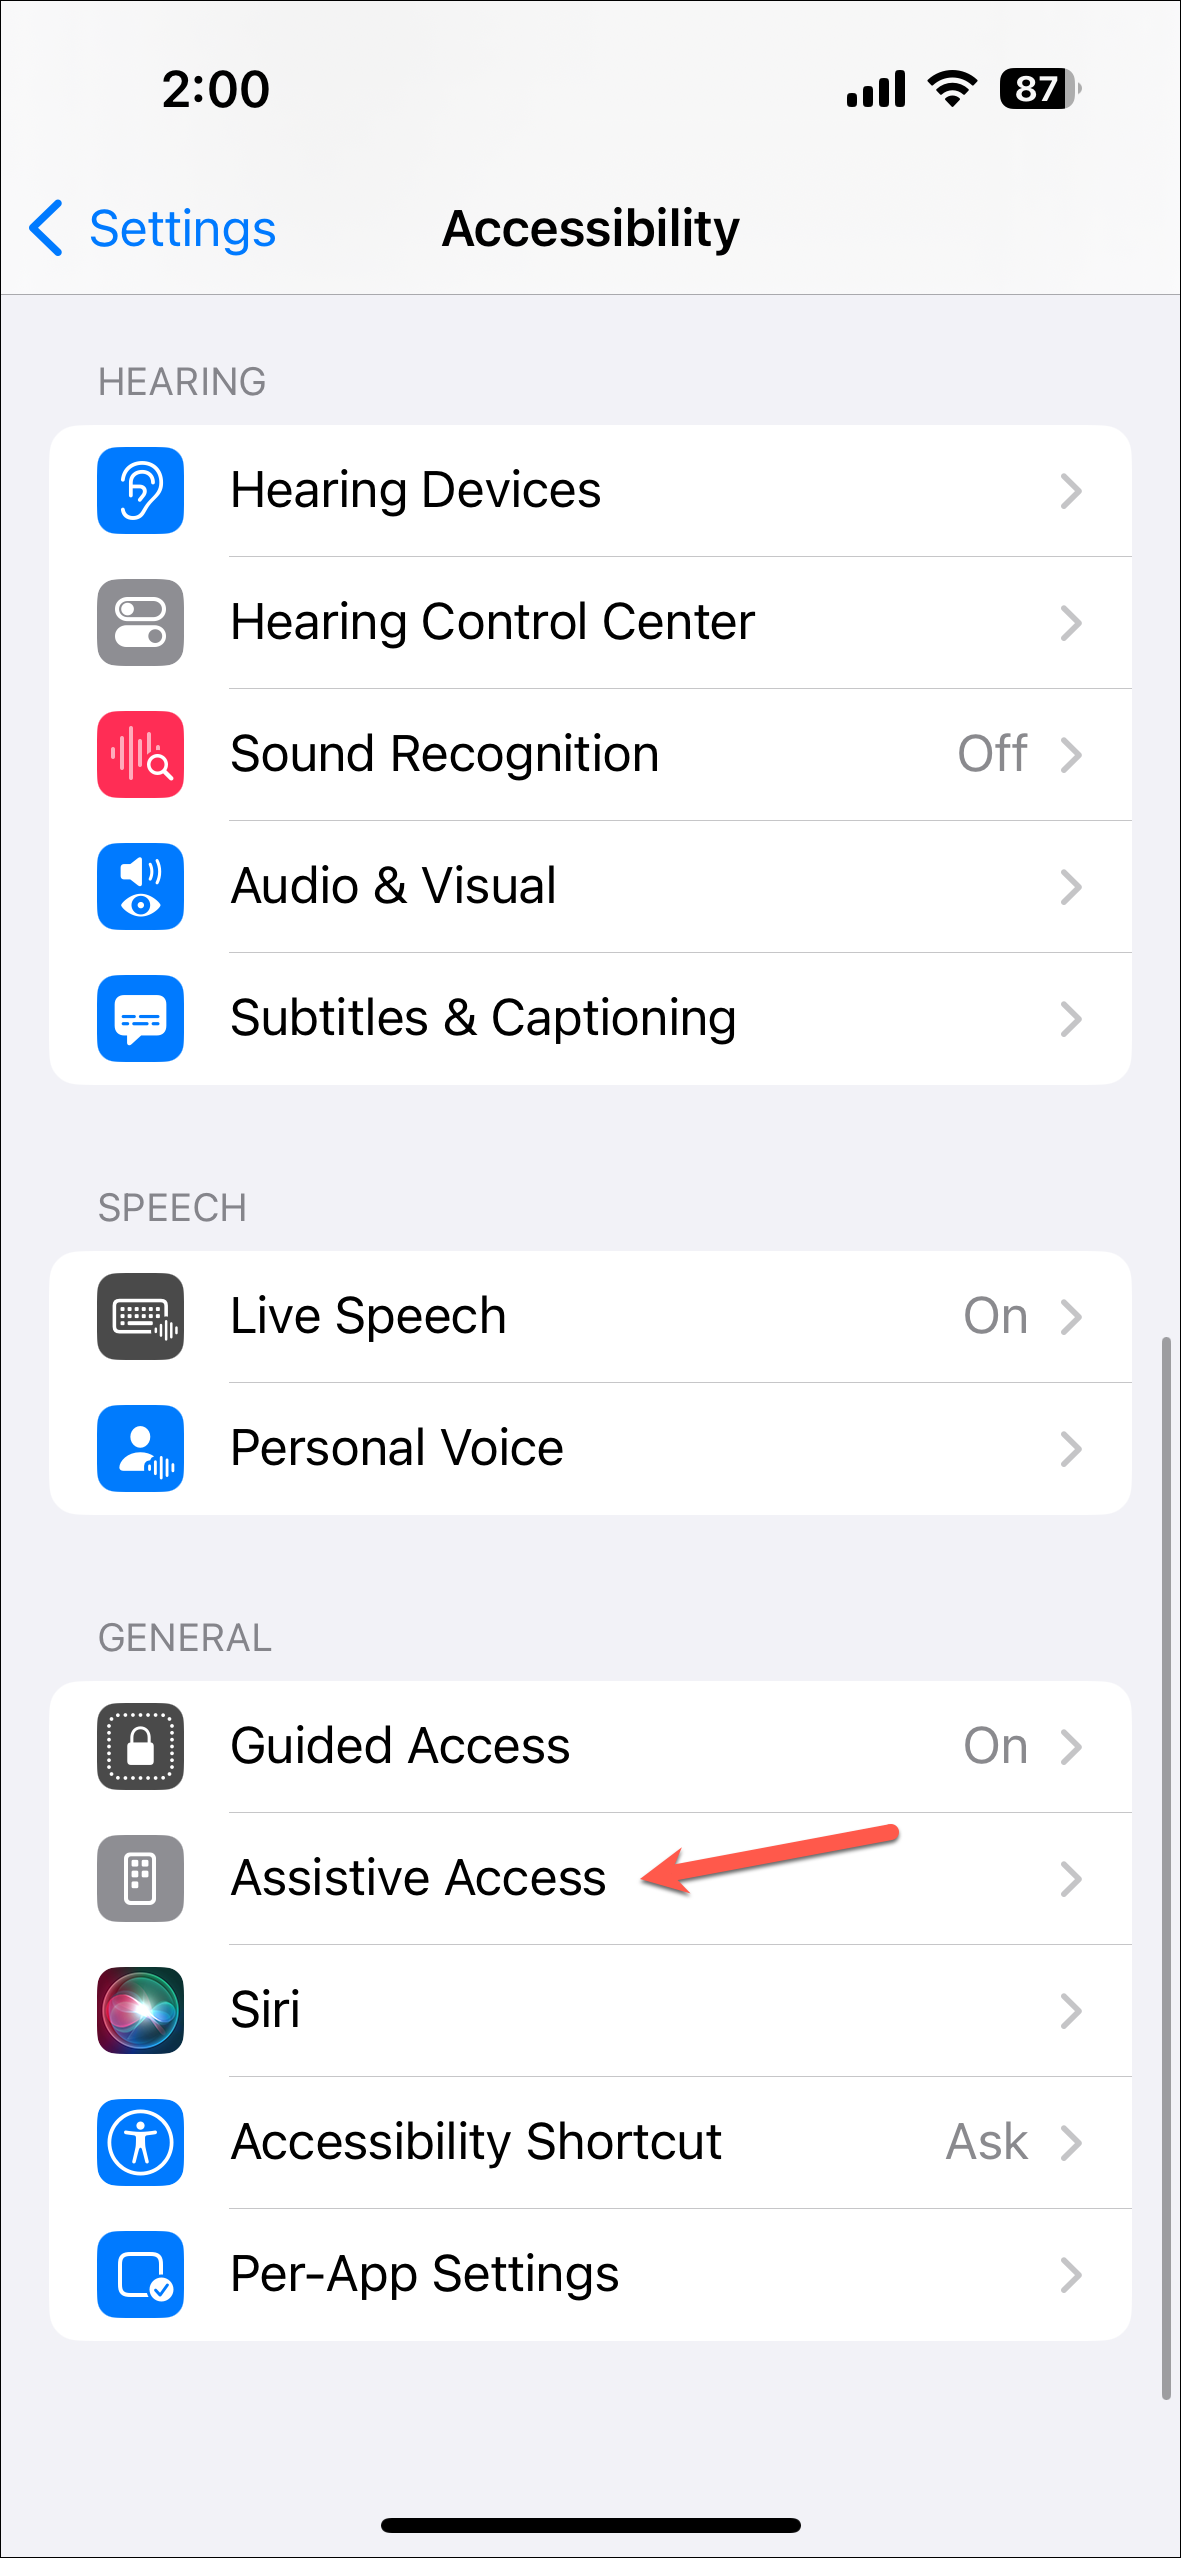
- Navigate to ‘Accessibility’ from the settings.
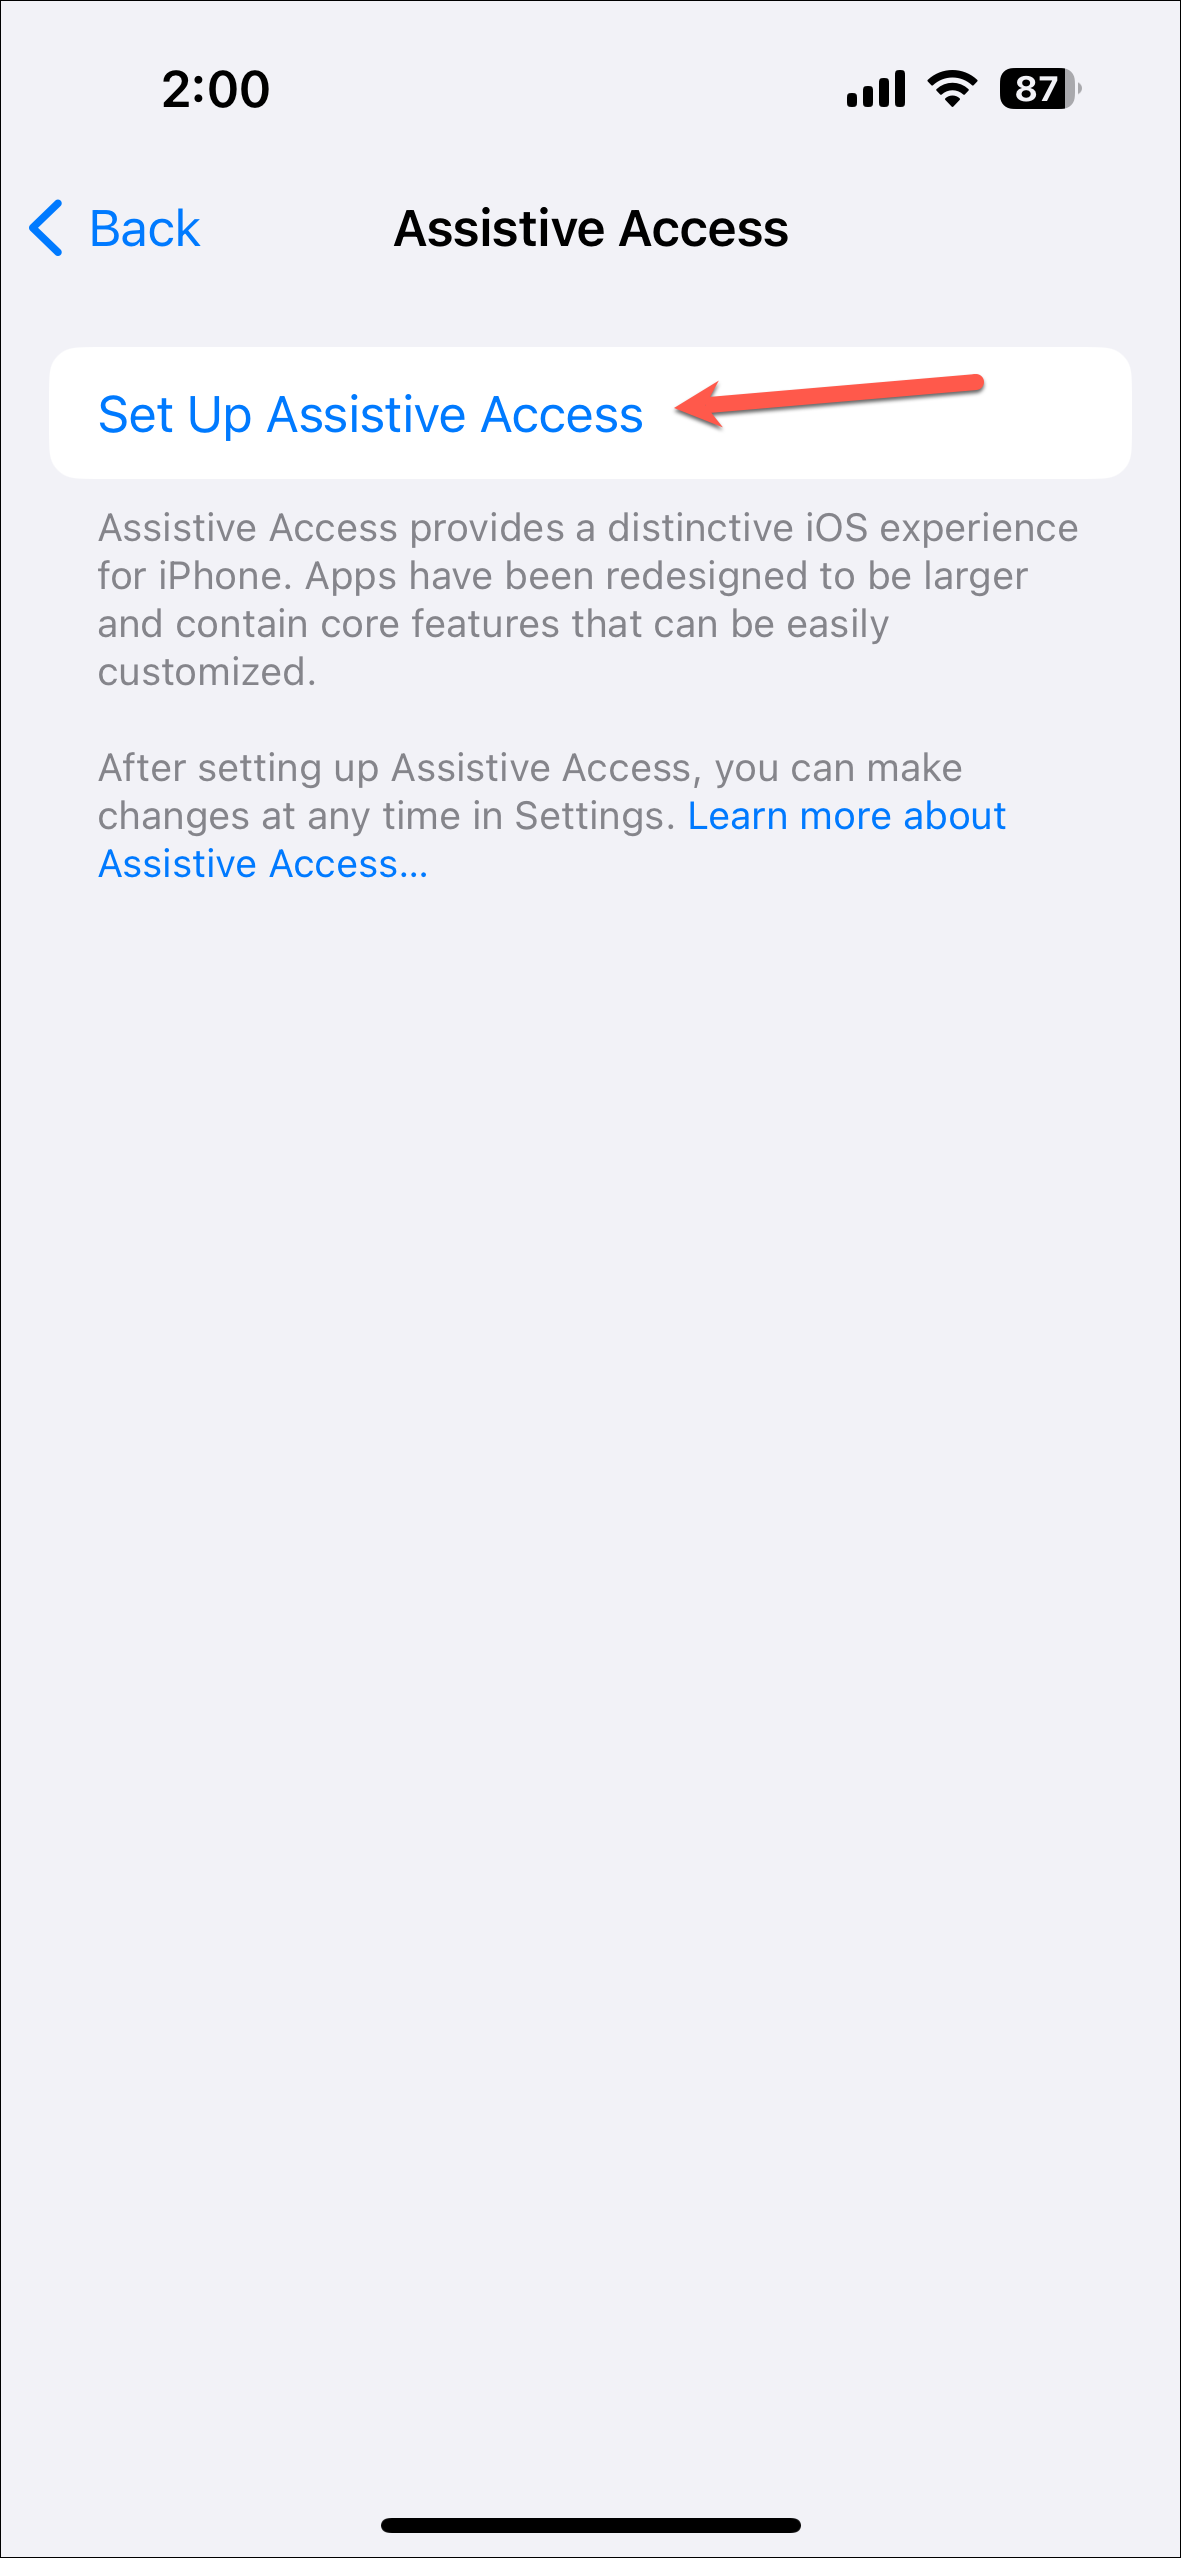
- Scroll down in the Accessibility settings, and you’ll find the option for ‘Assistive Access’; tap on it.
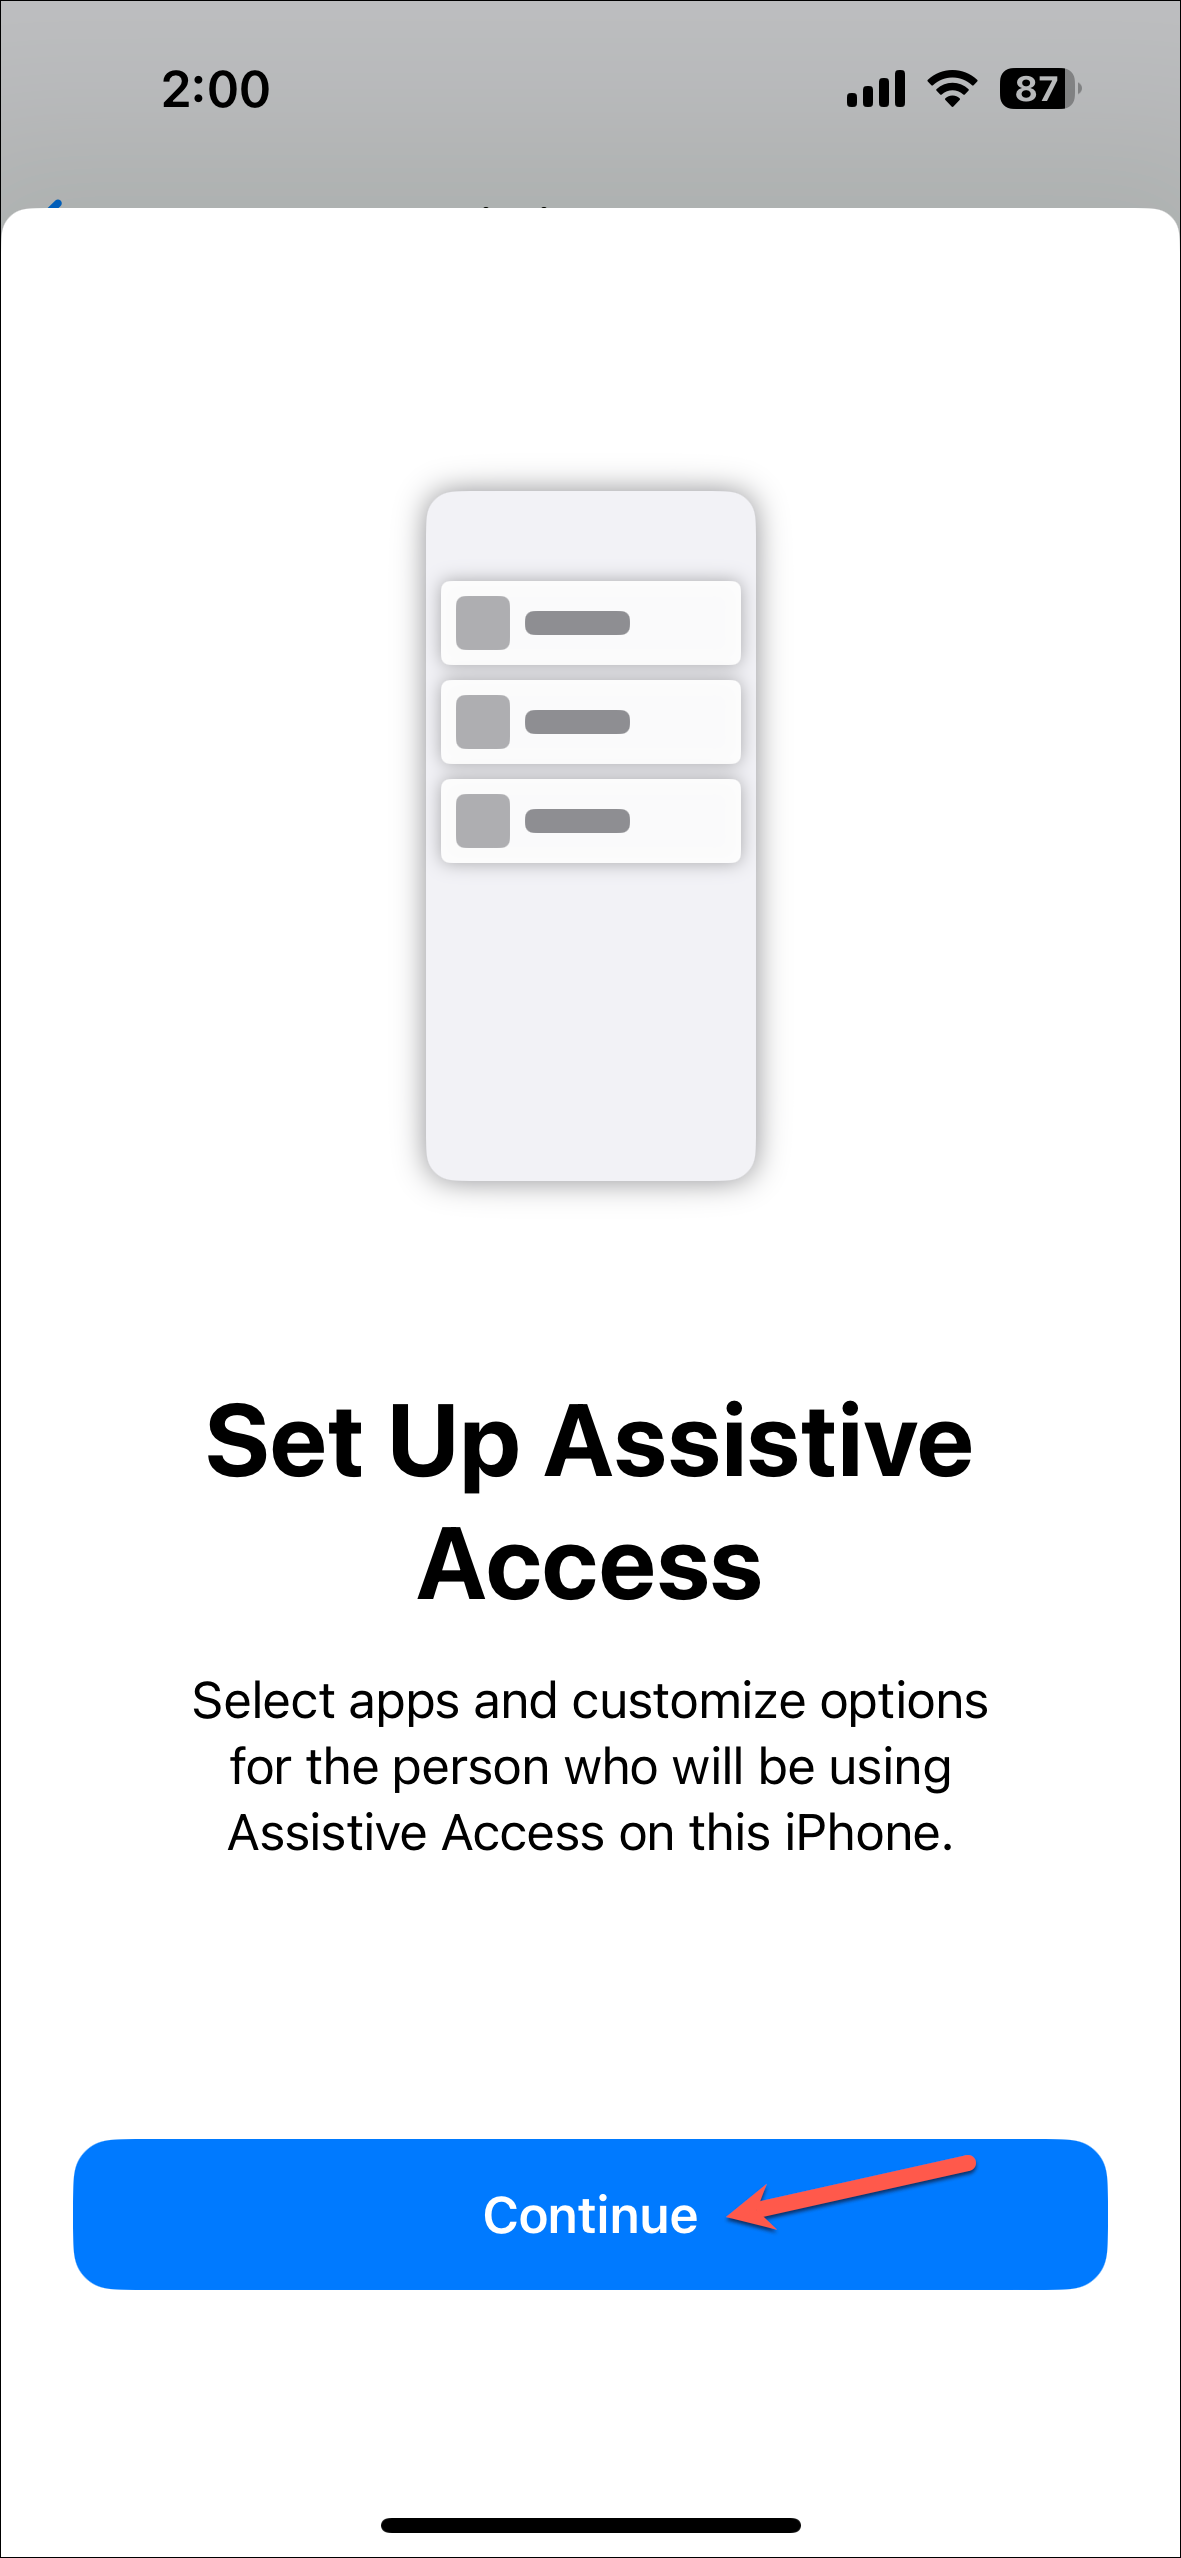
- Tap on ‘Set up Assistive Access’ on the next screen.
- Next, tap on ‘Continue’ to proceed.
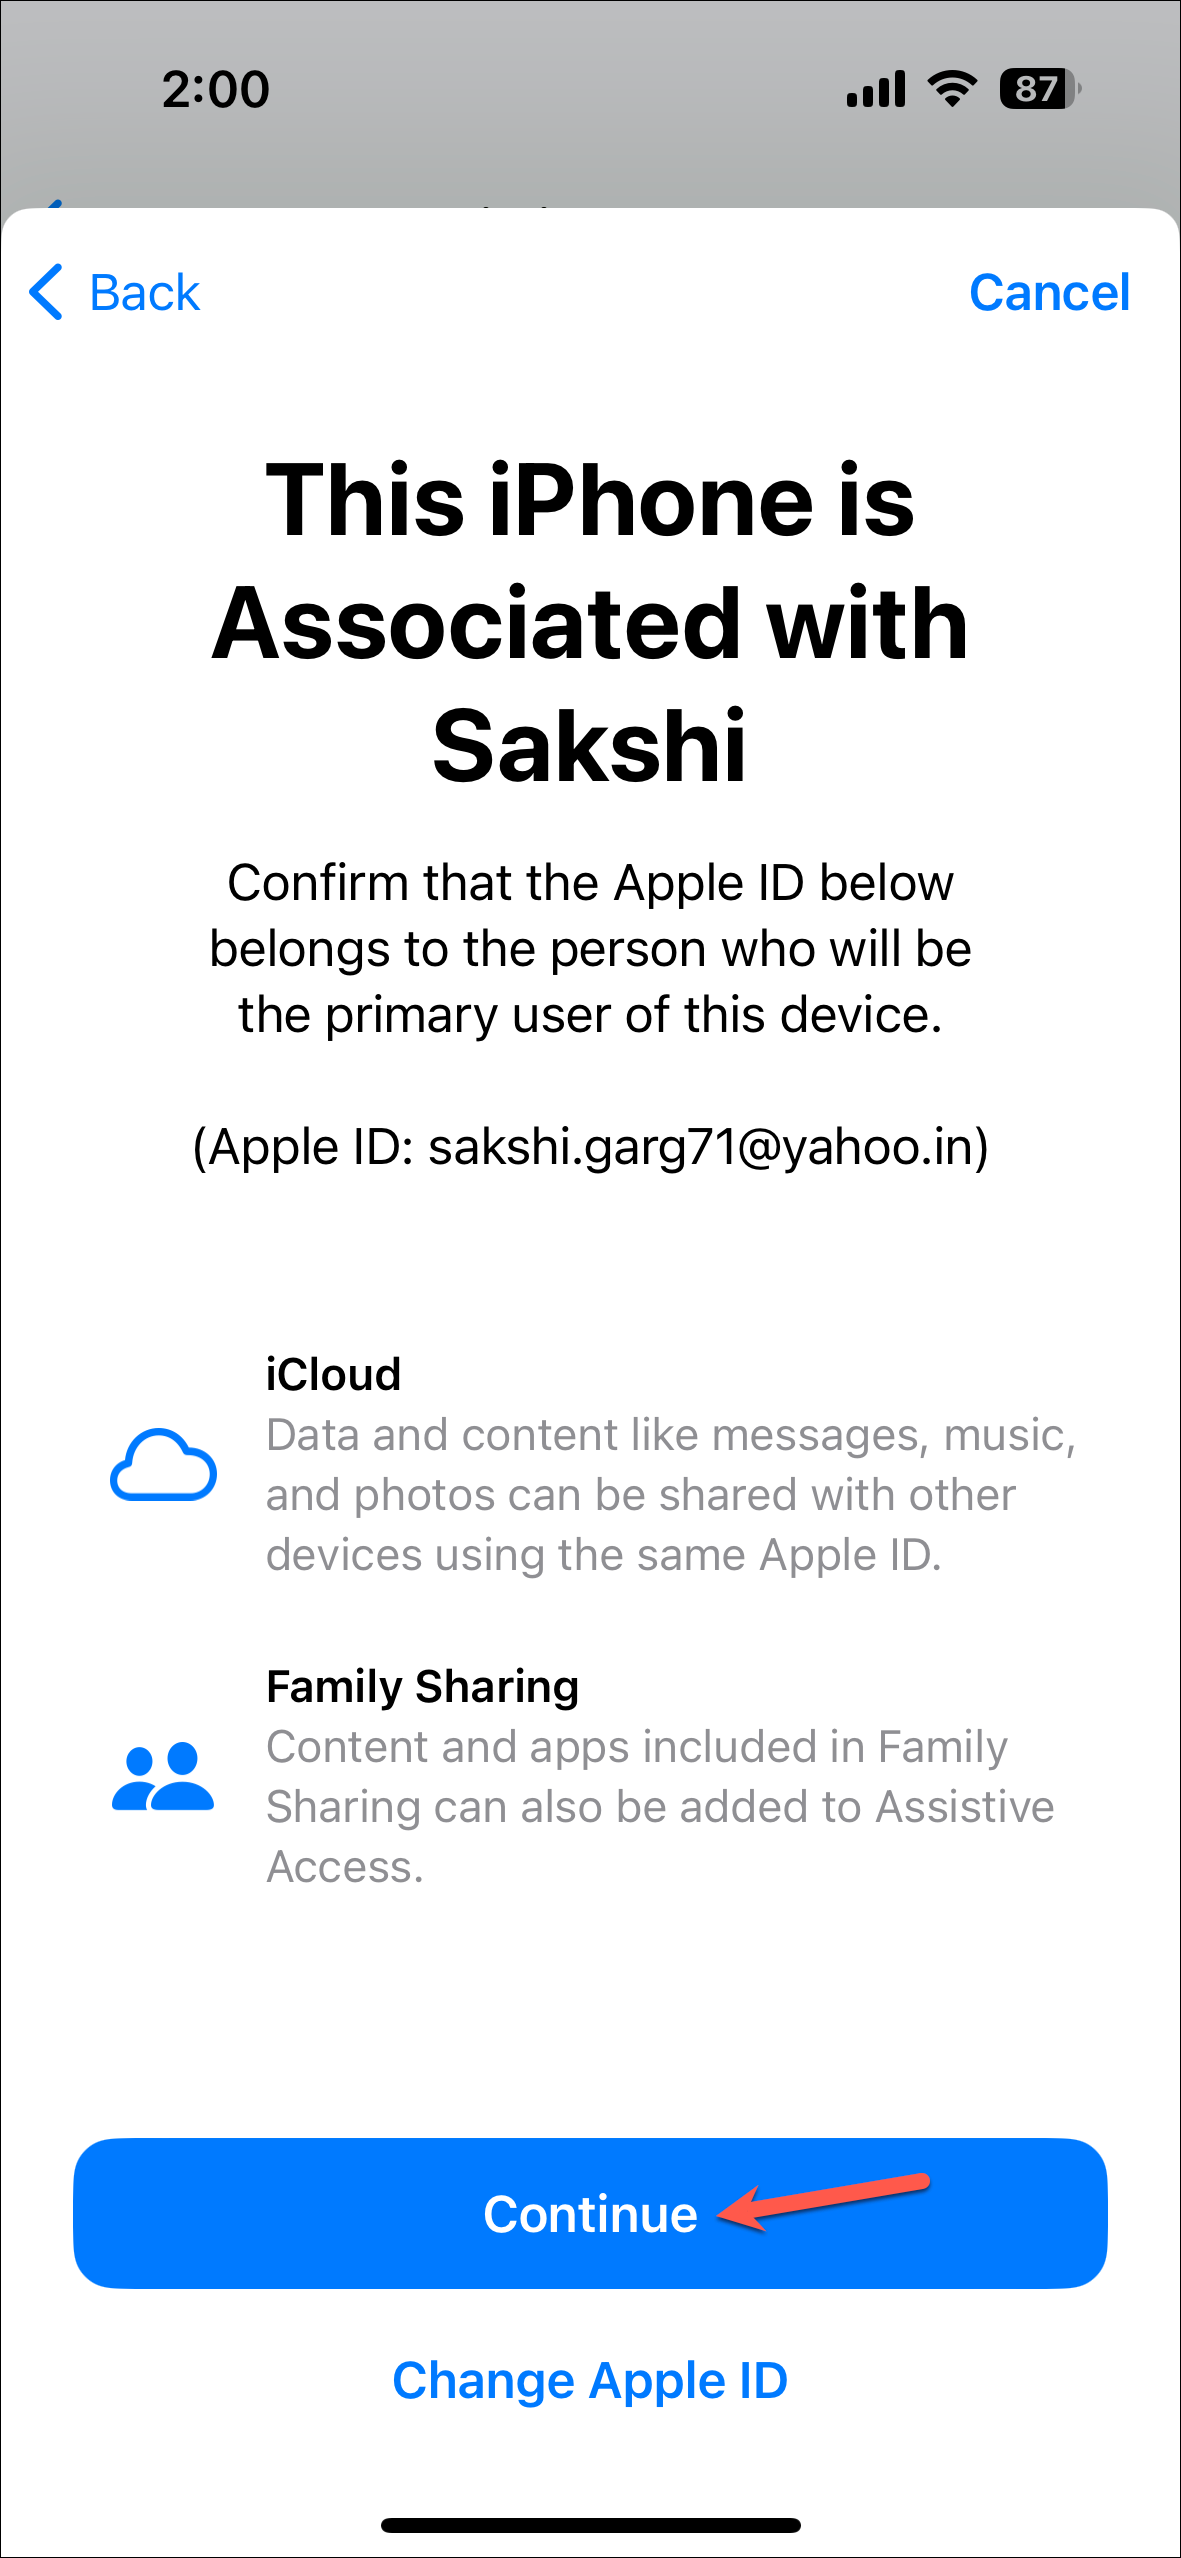
- On the next screen, you’ll need to confirm the Apple ID of the person who’ll be using the iPhone with Assistive Access since the Apple ID will be used for iCloud and Family Sharing.
If the Apple ID shown is incorrect, tap on ‘Change Apple ID’ at the bottom. Otherwise, tap ‘Continue’ to proceed. - Now, choose the appearance of apps in Assistive Access. There are two layouts to choose from: ‘Rows’ and ‘Grid’. While the names are pretty self-explanatory, you can also get an idea of how the apps will appear in each layout from the preview on the screen.
In the Rows layout, items will be arranged in the list format, and the names of the apps will appear in increased size. Whereas in the Grid layout, the icons of the apps will be emphasized in a prominent fashion.

Adding Apps to Assistive Access:
Next, choose the apps you want to allow in Assistive Access. This is the part that’ll take the most time, depending on how many apps you want to add. But you can exit the setup at any time and come back to it later. You’ll be able to continue from where you left off.
- Tap on ‘+’ next to each app that you want to add. You can always add, remove, or customize the apps later after you’ve already set up Assistive Access.
- For each app that you choose, you’ll first need to customize how you want that app to be available while the Assistive Access mode is on. This might include allowing certain permissions or choosing which app features should be available.
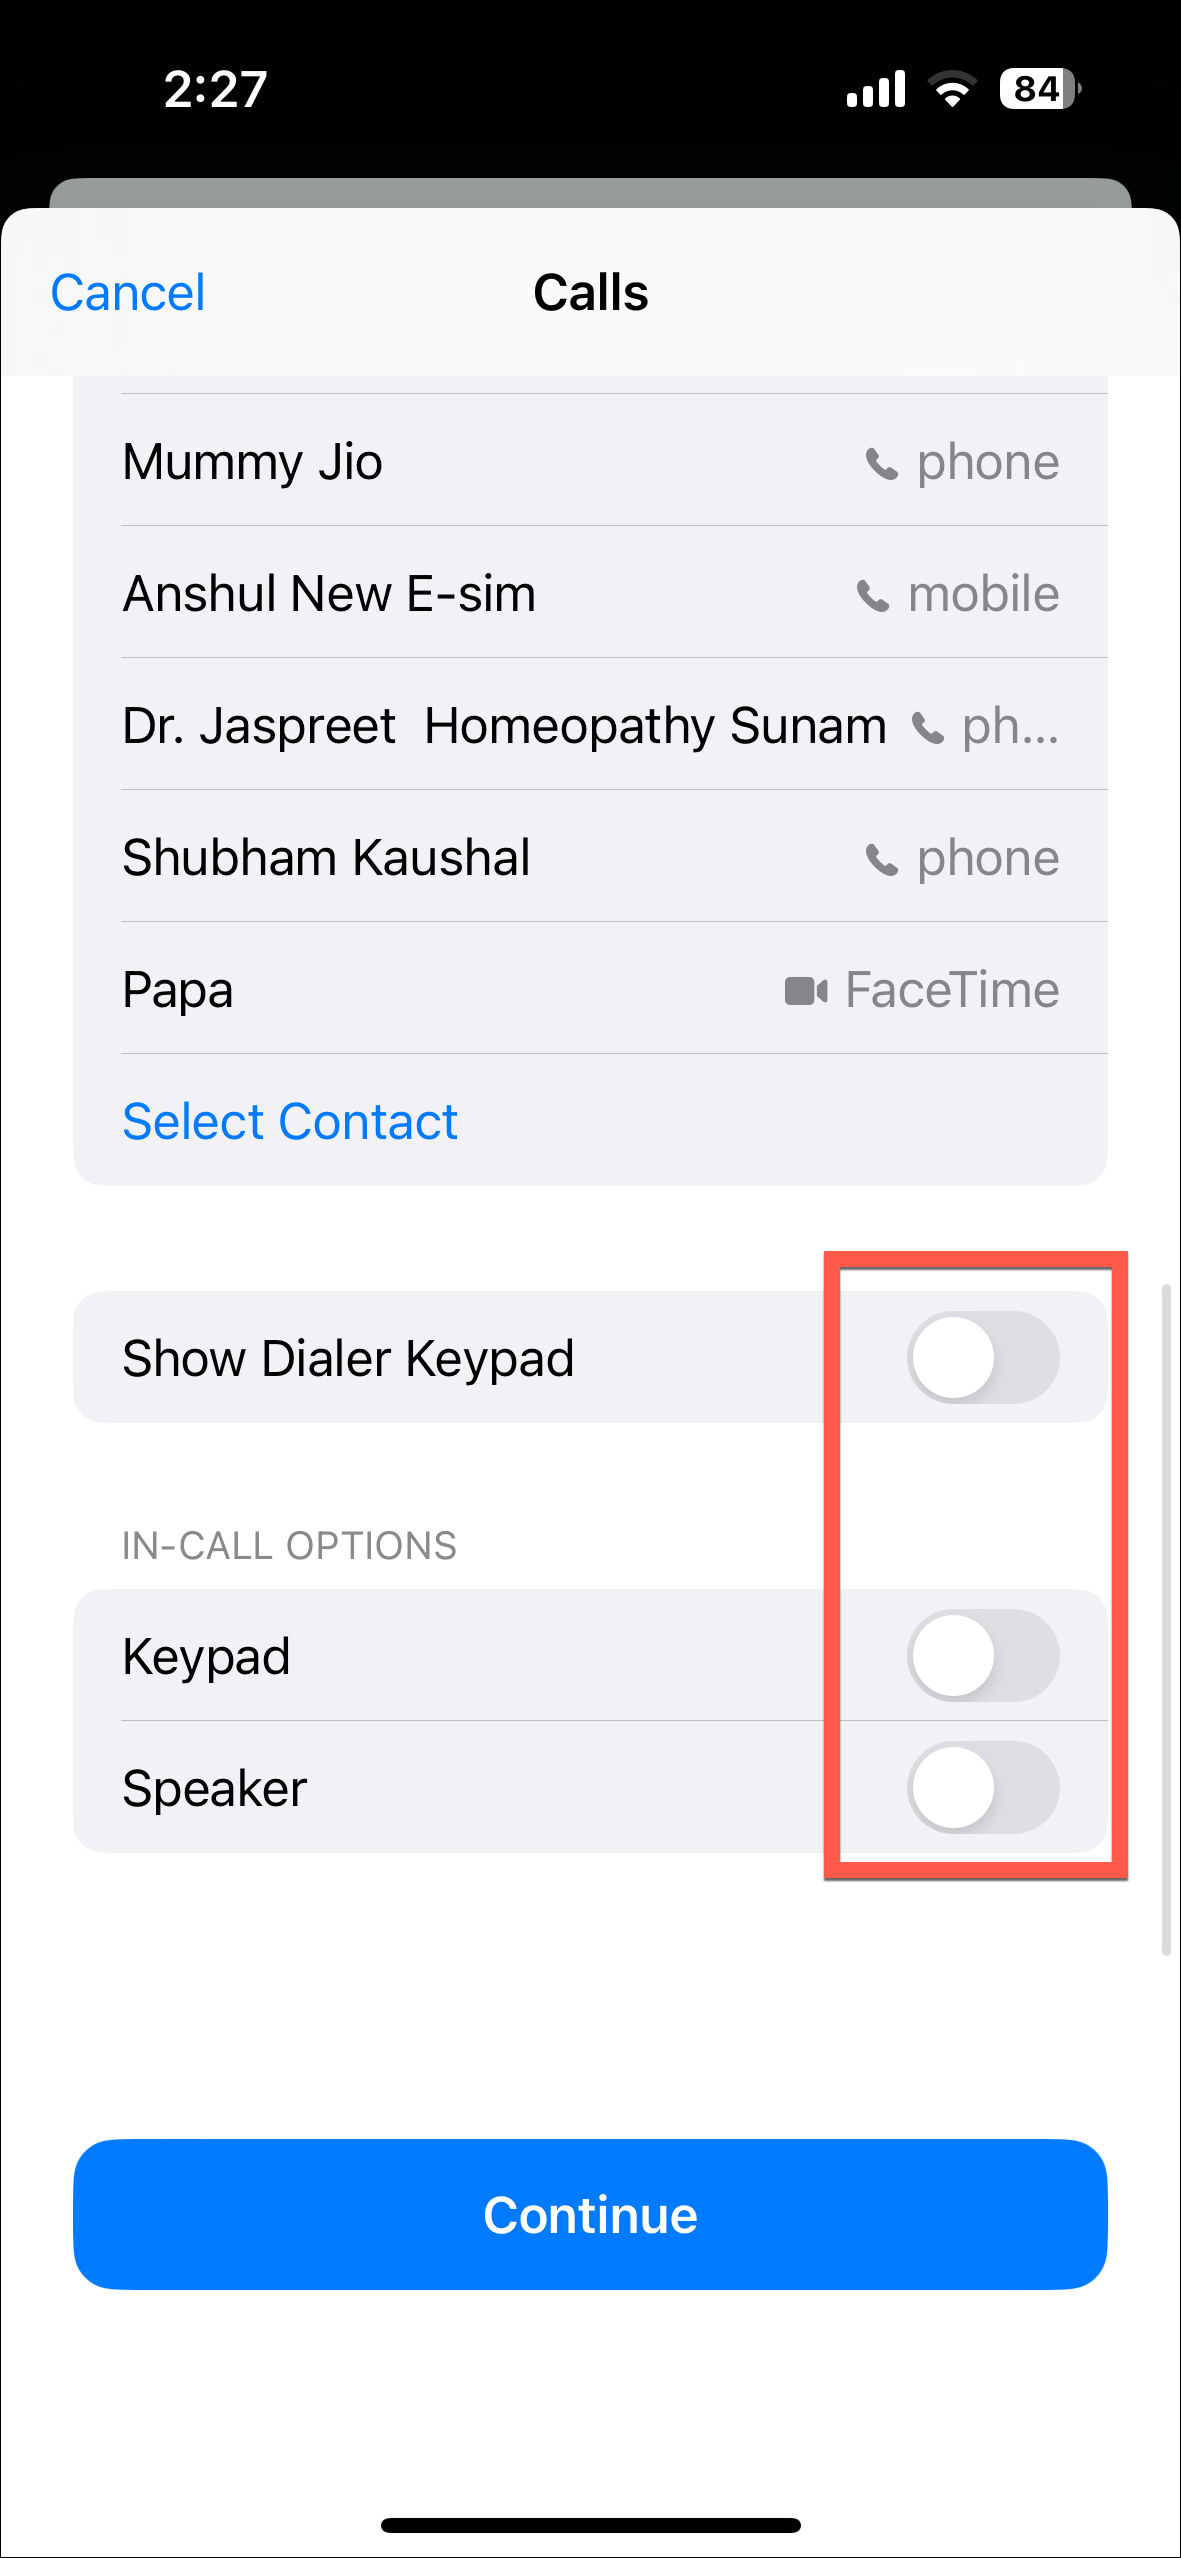
- For example, if you choose ‘Calls’, first, you’ll need to choose who you want to receive calls from.
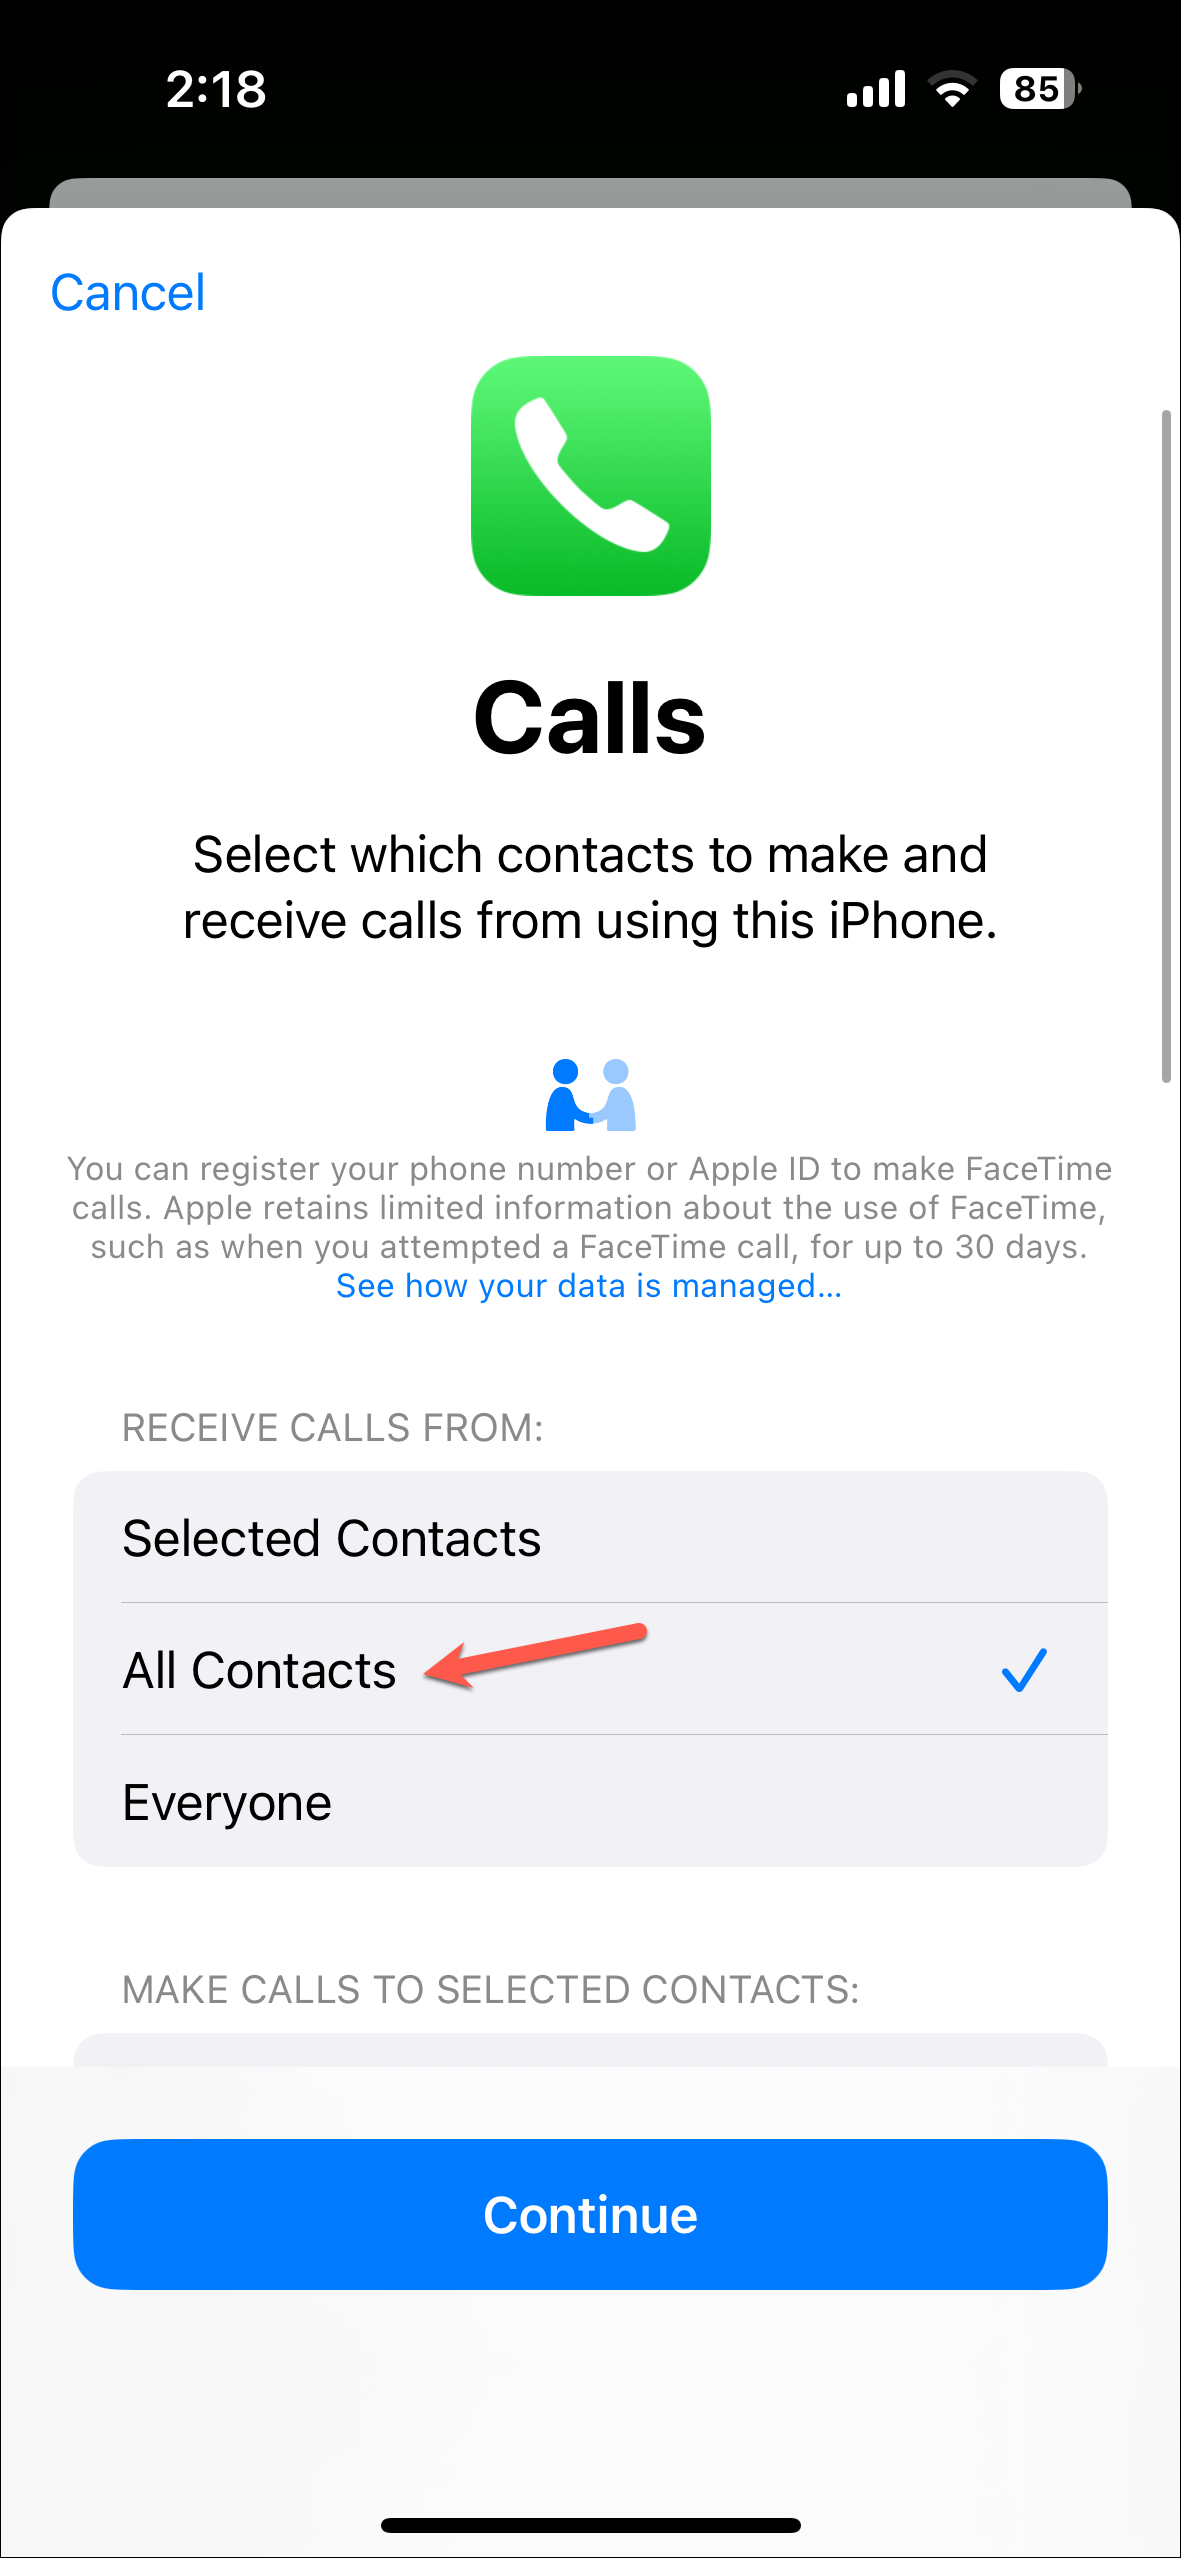
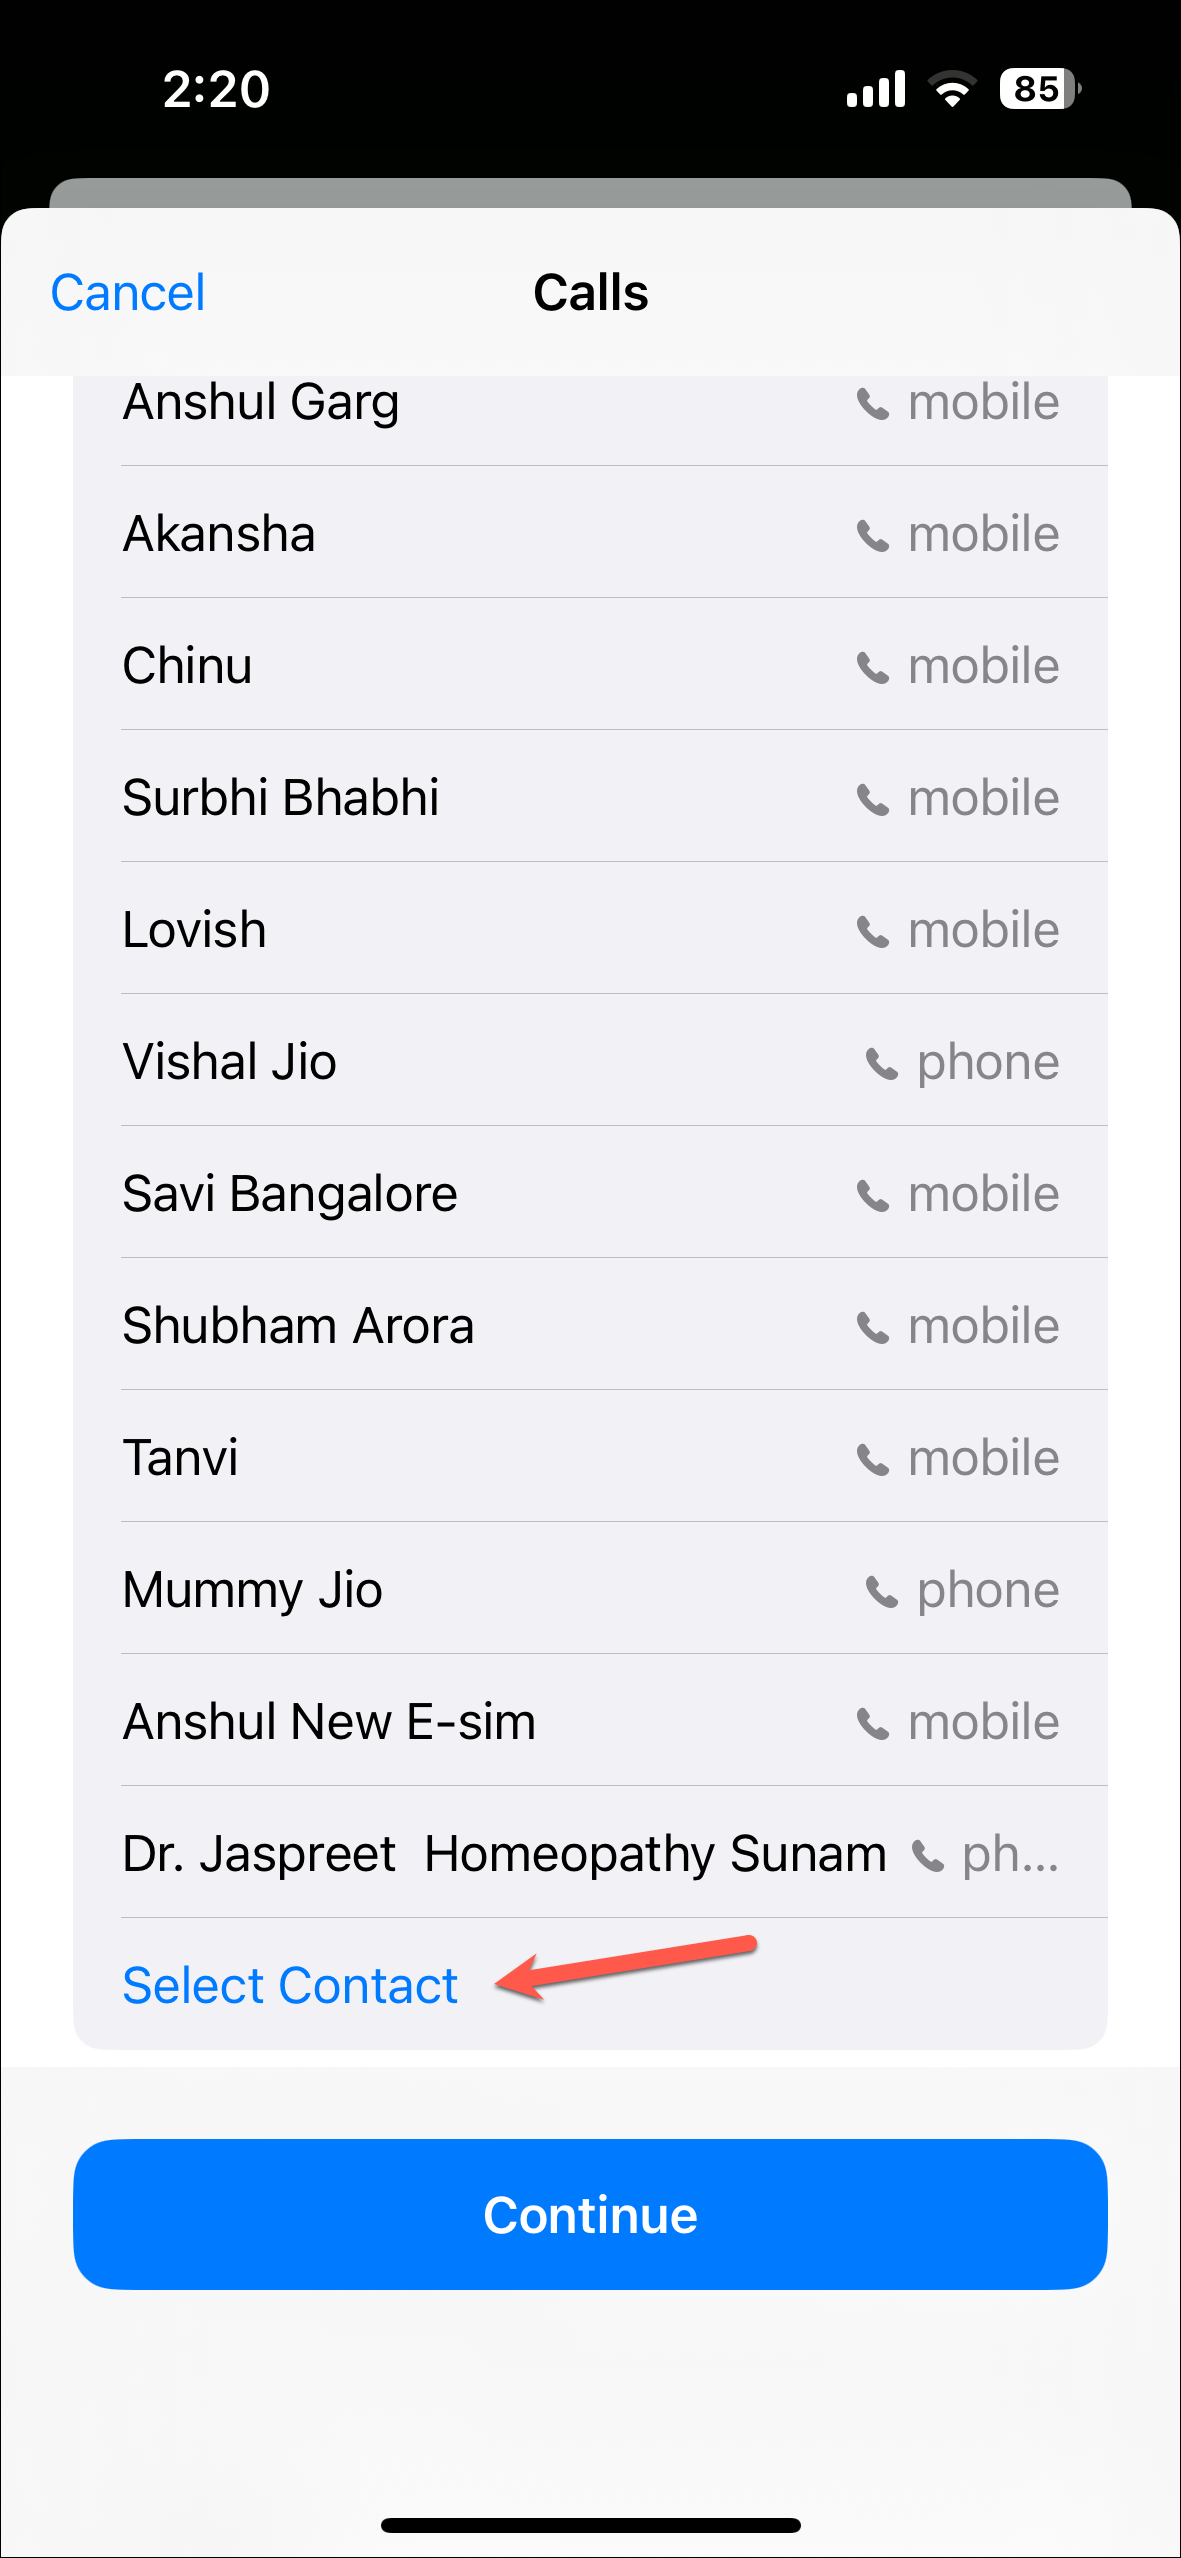
- Then, you need to select the contacts that you can make calls to. Contacts from your Favorites will already appear on the list. To add more contacts, scroll down and tap on ‘Select Contact’.
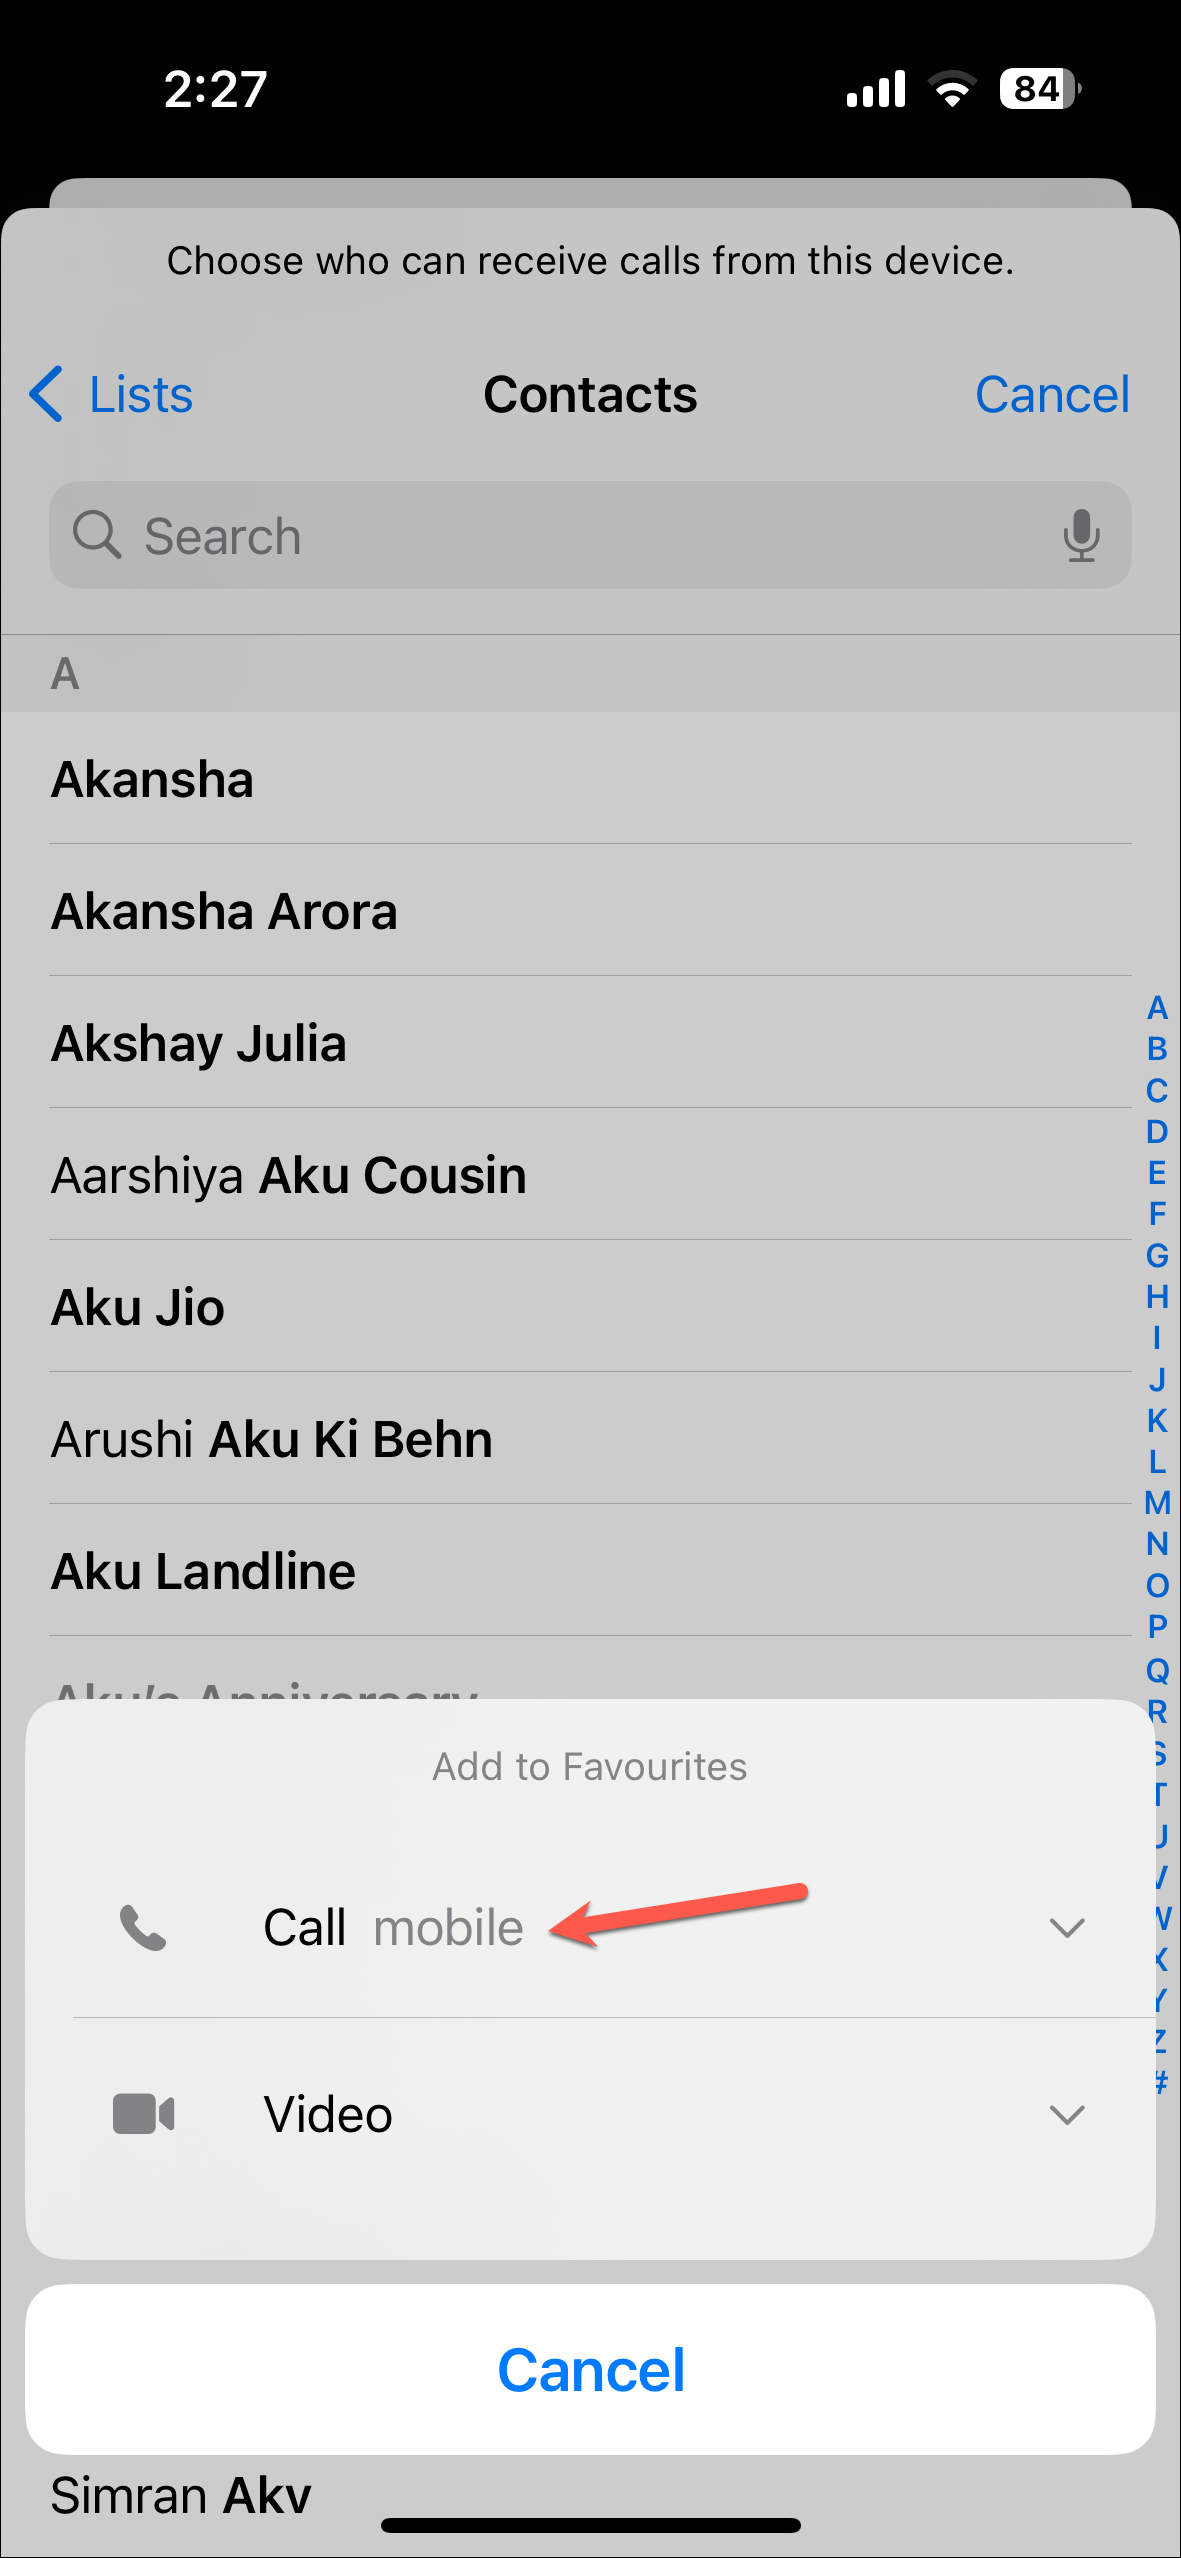
- Your Contacts list will open. Search for the contact you want to add.
- Then, select whether you want to add ‘Call’ (audio) or ‘Video’ for that contact. Unfortunately, you’ll have to manually add each contact. (Contacts you add here will be added to your Favorites even outside of Assistive Access).
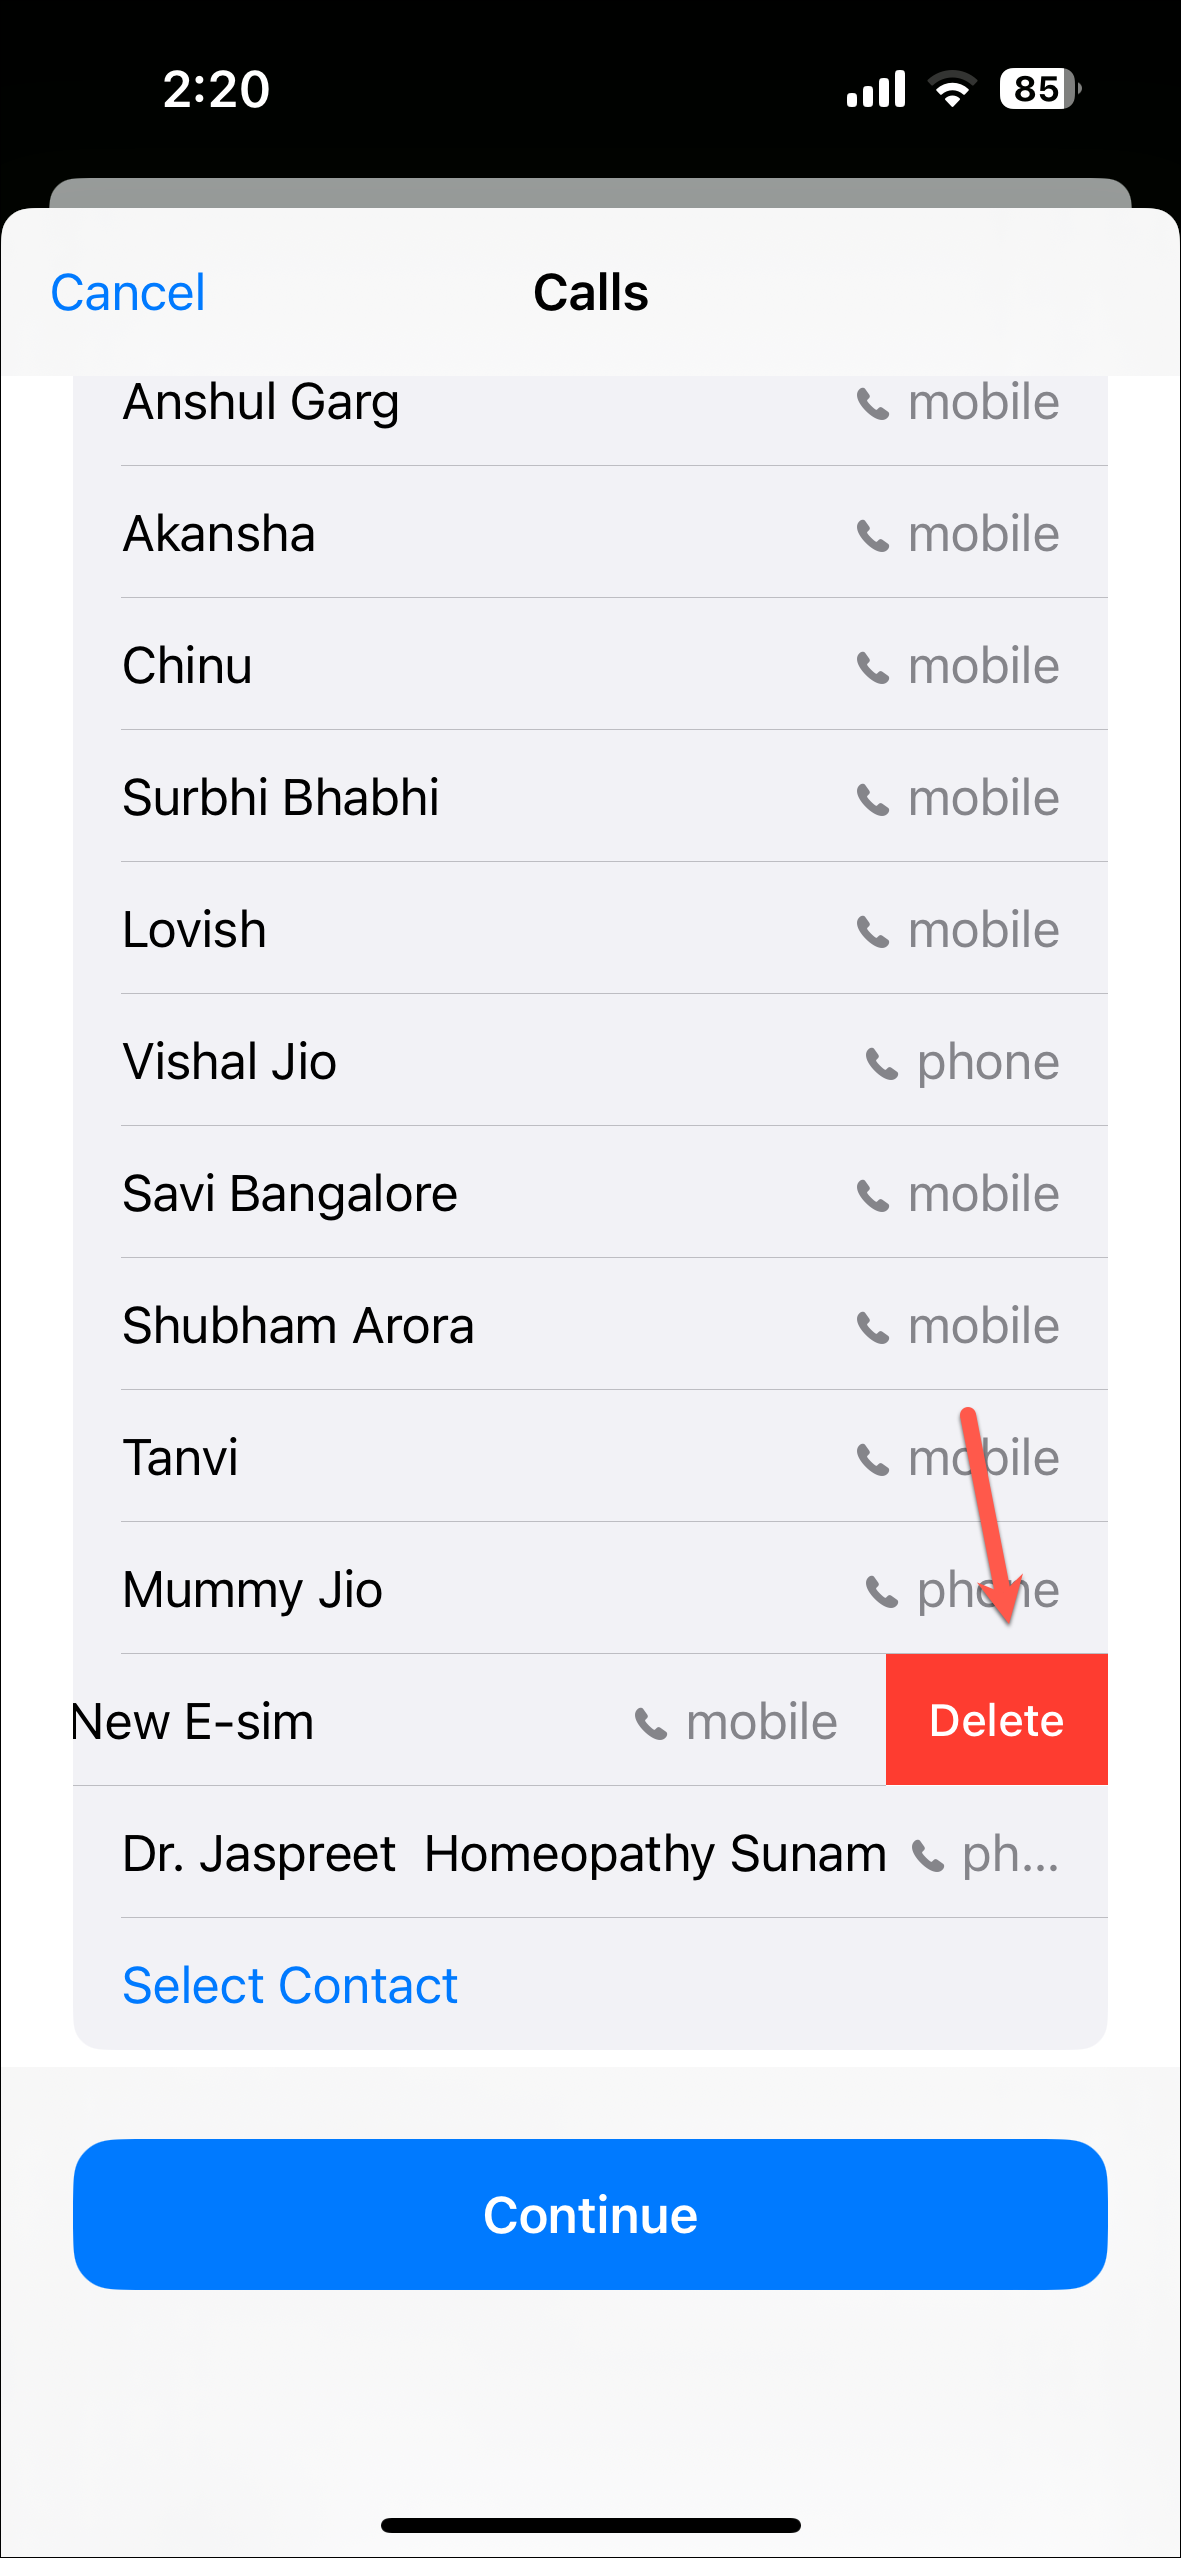
- To delete a contact, swipe left on its tile and tap on ‘Delete’.
- Scroll down more, and you’ll be able to customize settings for whether you want the dialer keypad to be available and whether in-call options like speaker and keypad should be available. Then, tap on ‘Continue’.
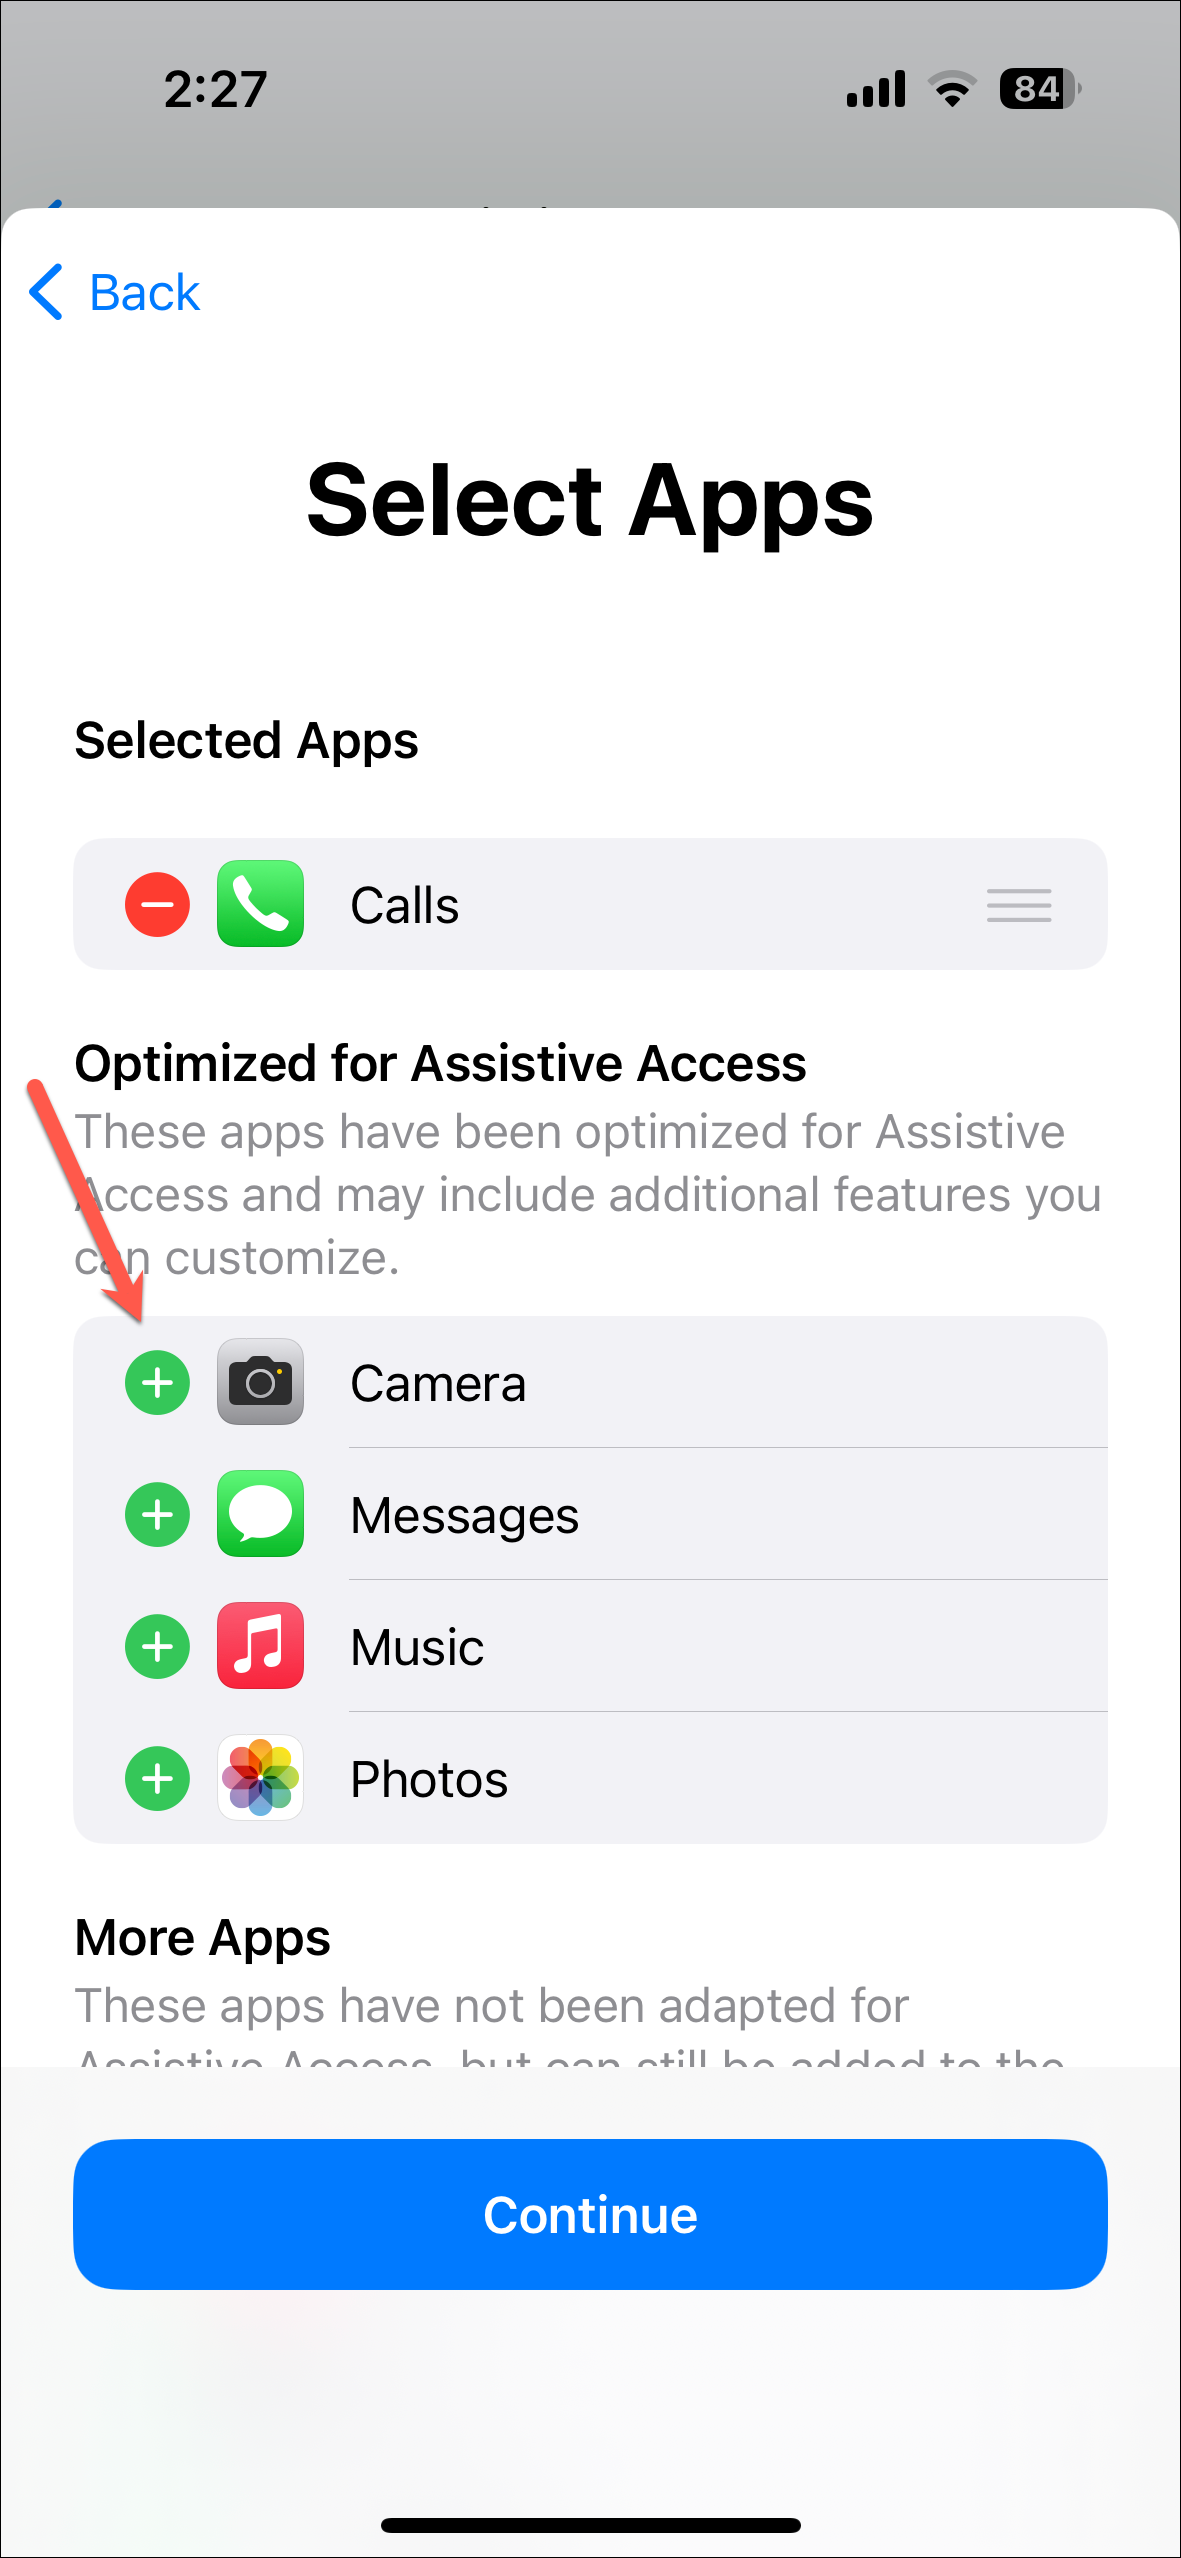
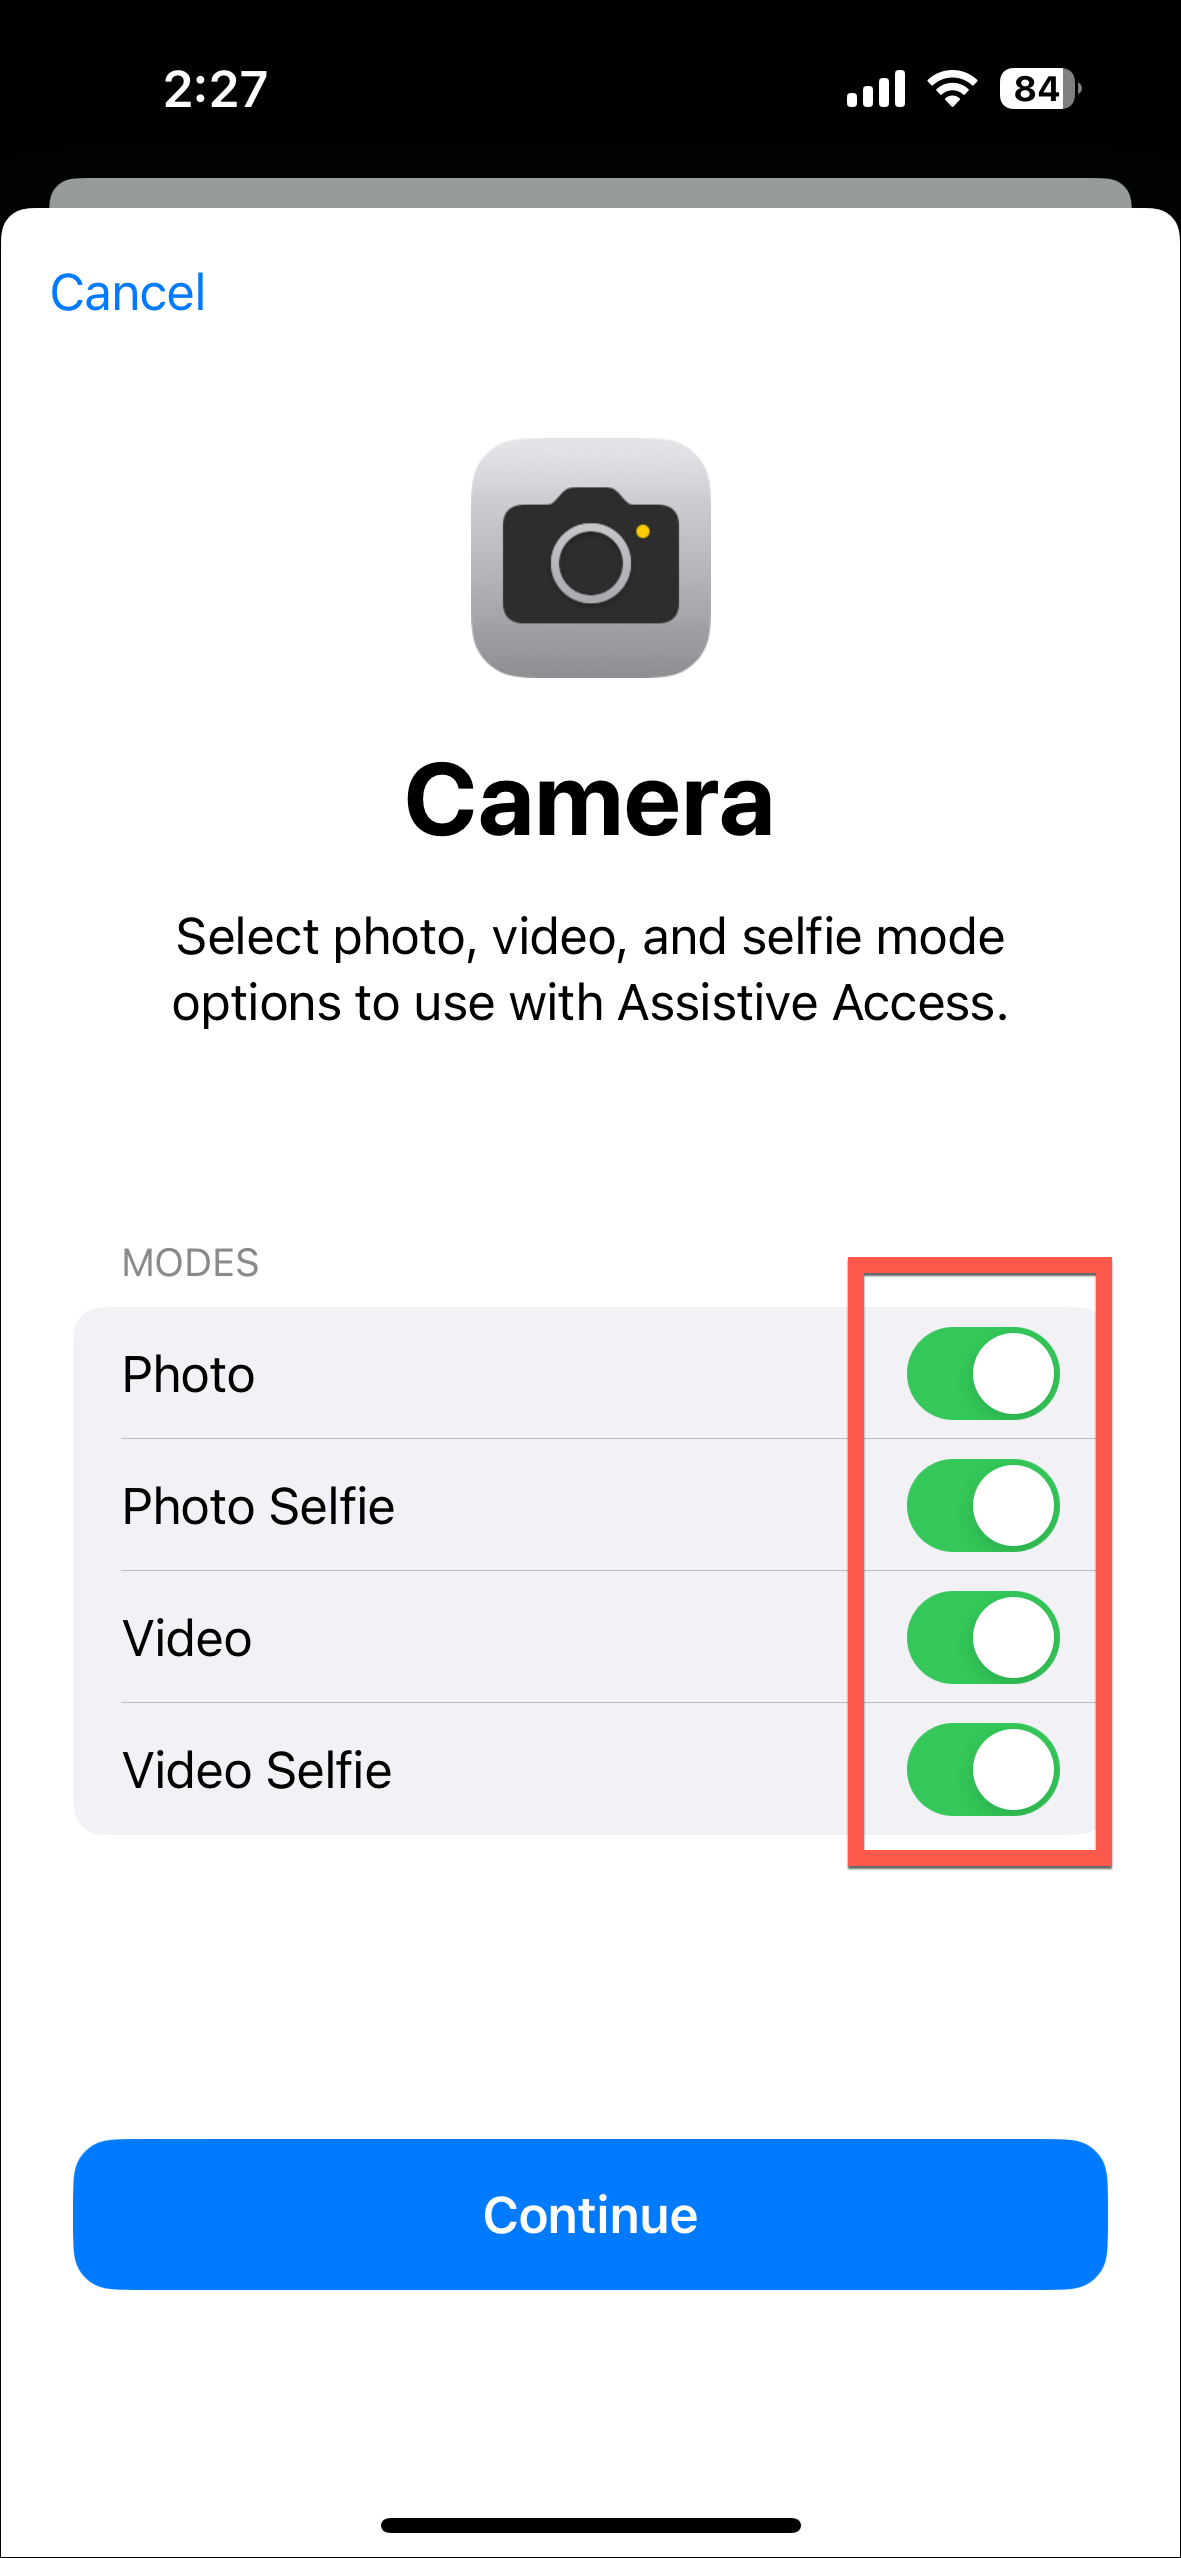
- Selecting features like this is only available for optimized apps. Let’s see another example. Tap on the ‘+’ button next to Camera.
- Then, on the next screen, you can choose which features you want to be available from ‘Photo’, ‘Photo selfie’, ‘Video’, and ‘Video selfie’. You’ll see that it won’t have any other bells and whistles that the Camera app normally does.
- Repeat the app-specific steps for each optimized app that you want to allow.
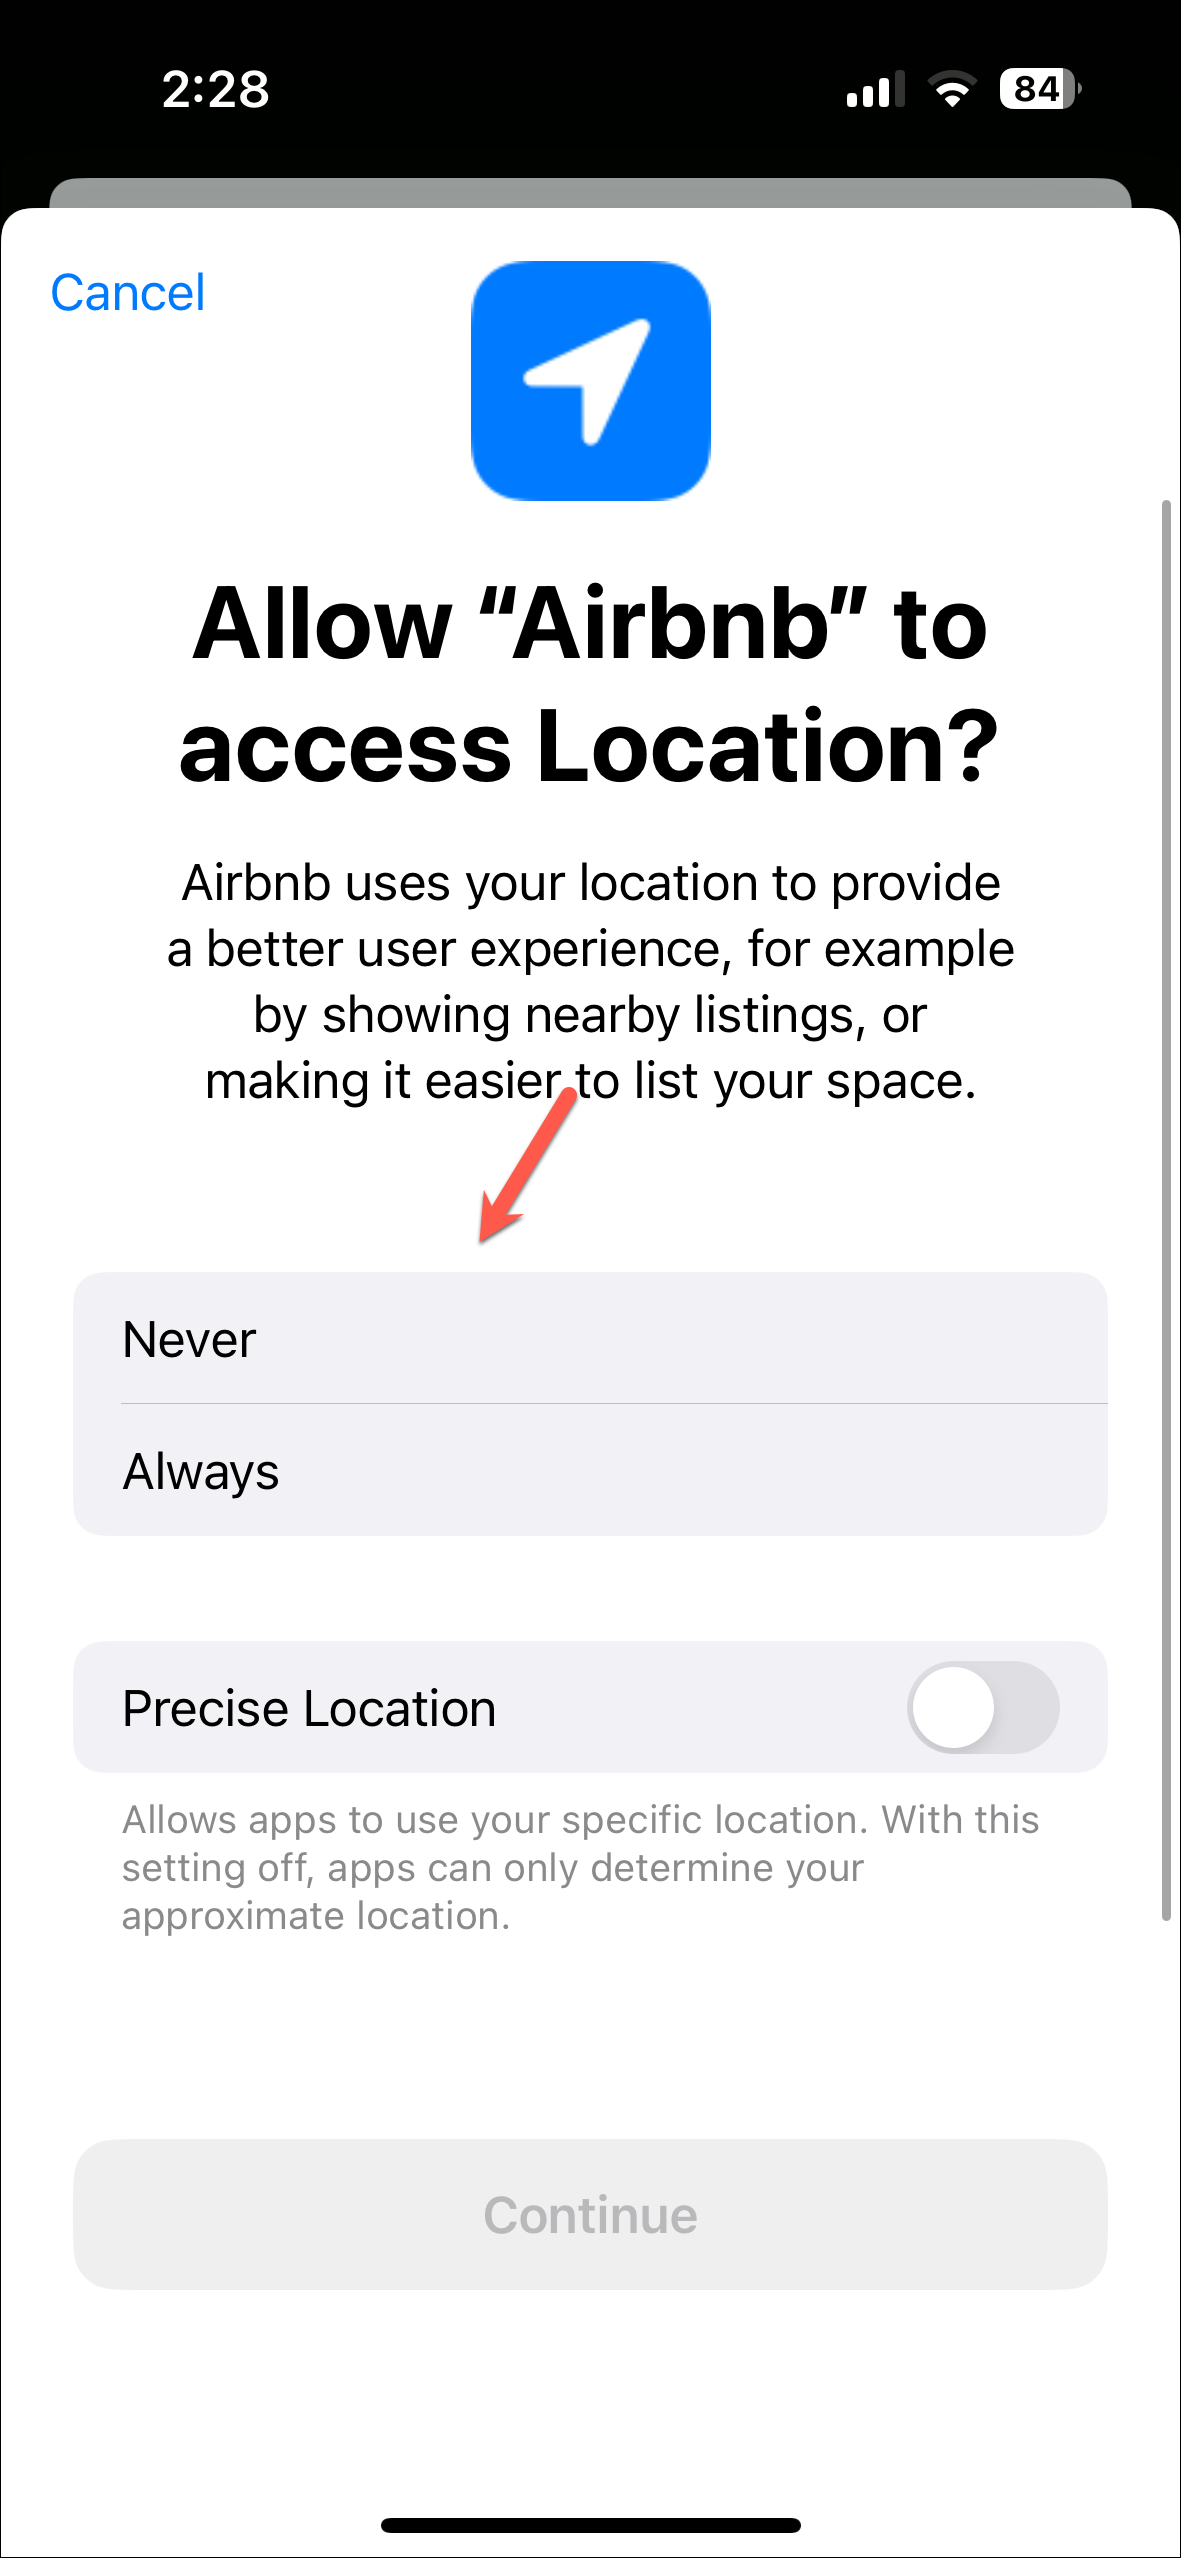
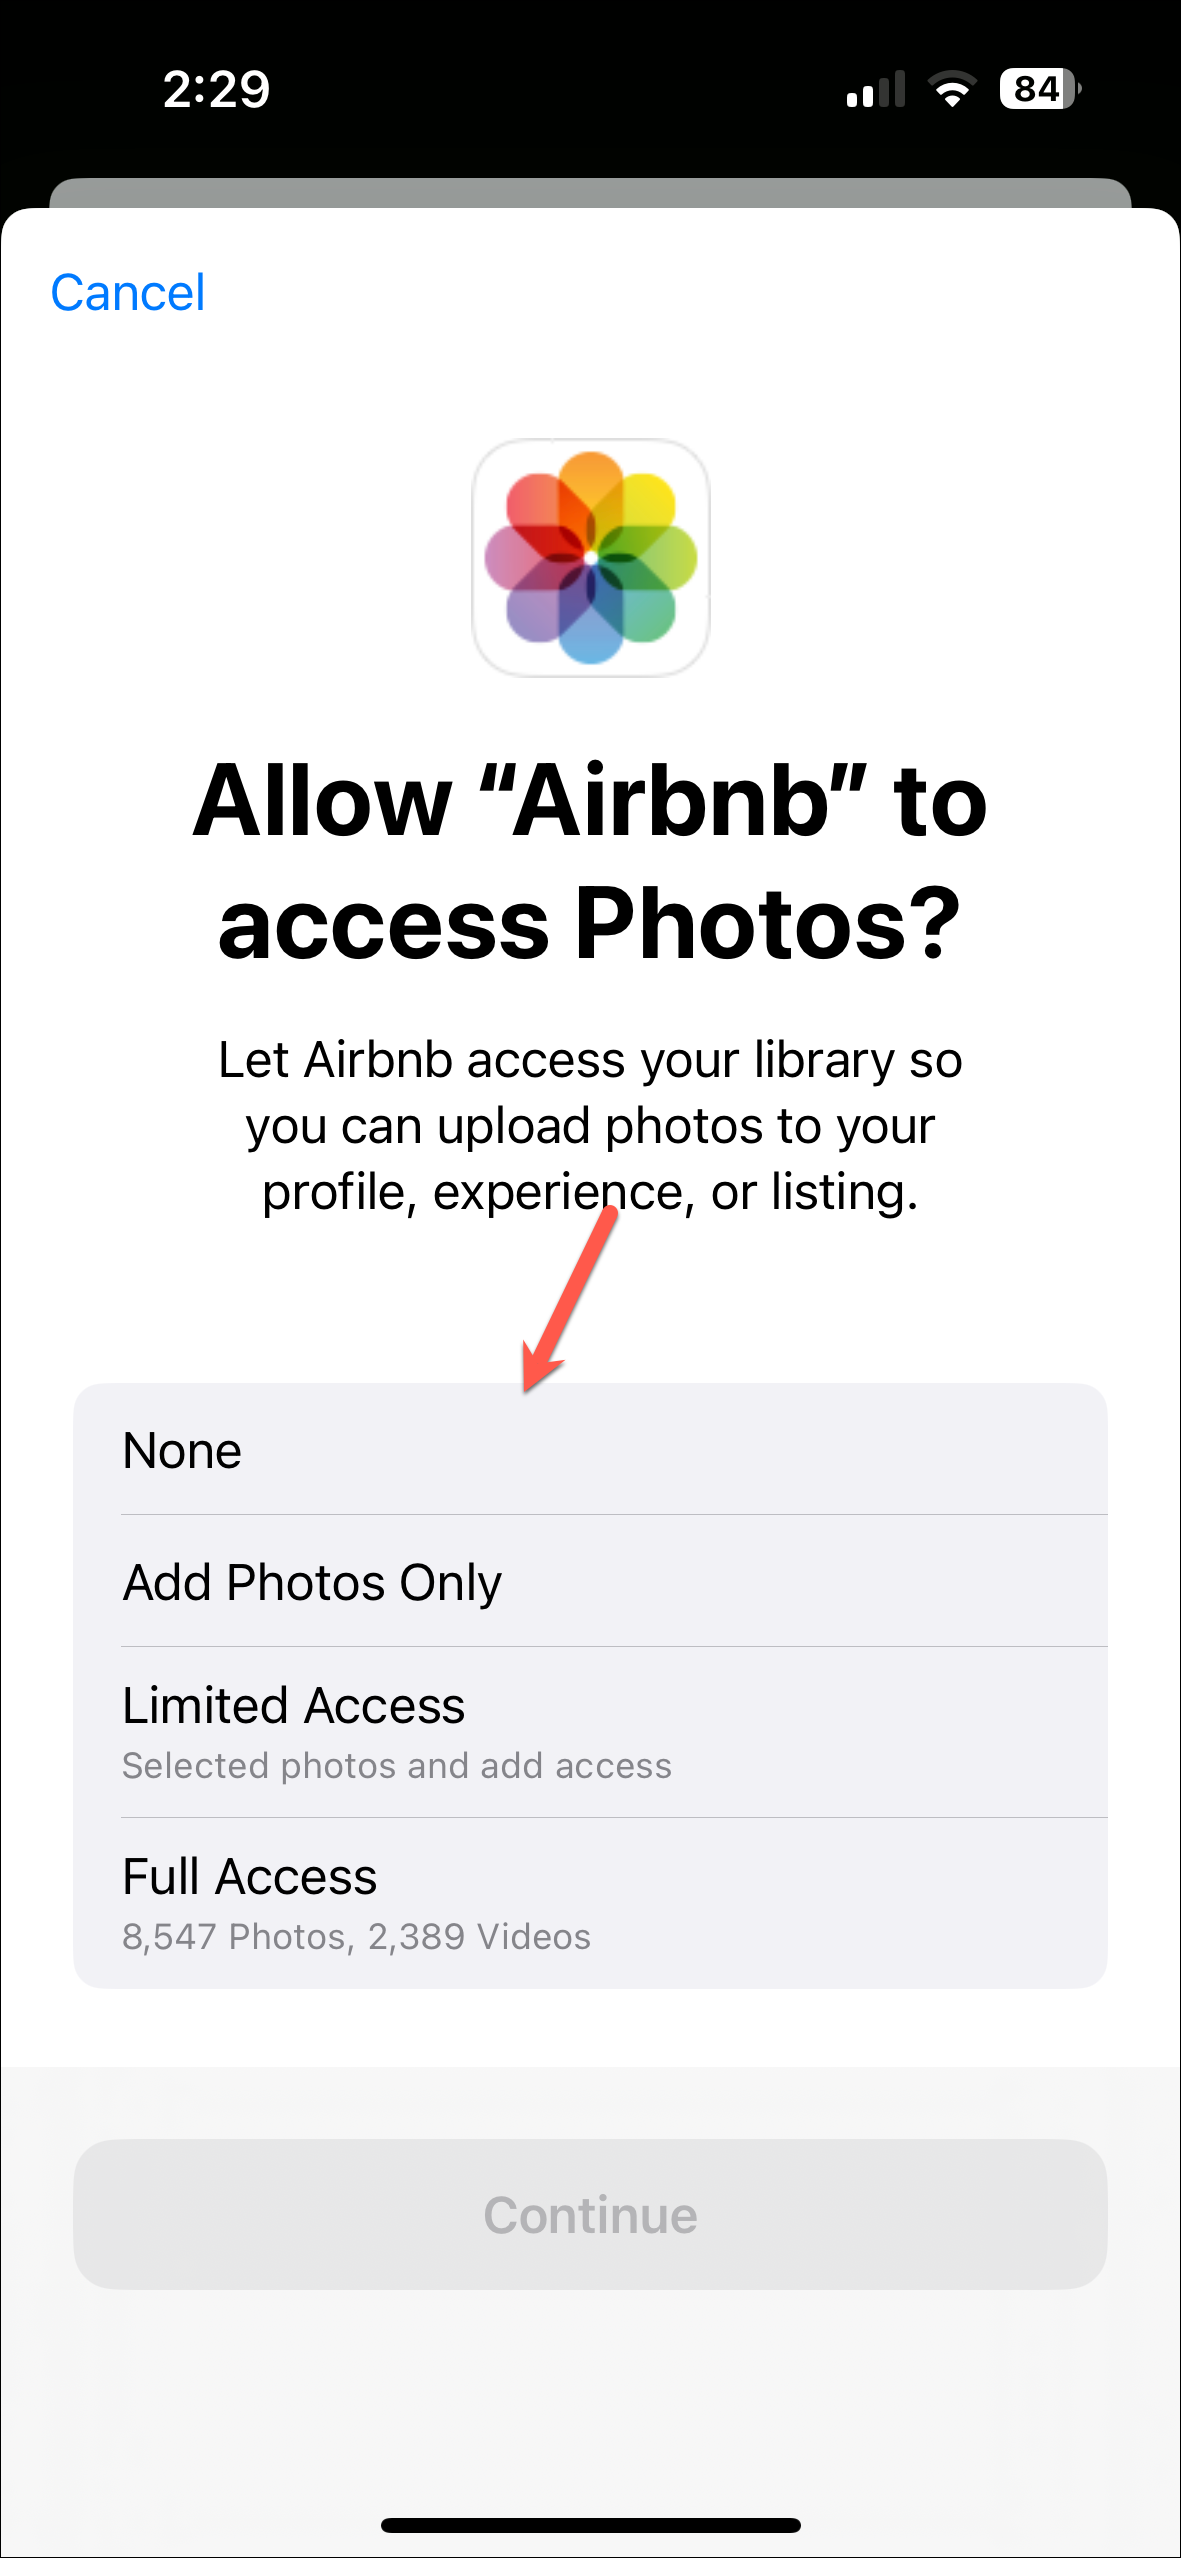
- For other apps, there are no features that you can allow or disallow since they aren’t optimized. But you’ll have to set up permissions for each app.
- These permissions might include access to location, camera, microphone, photos, contacts, etc., and will vary for each app.
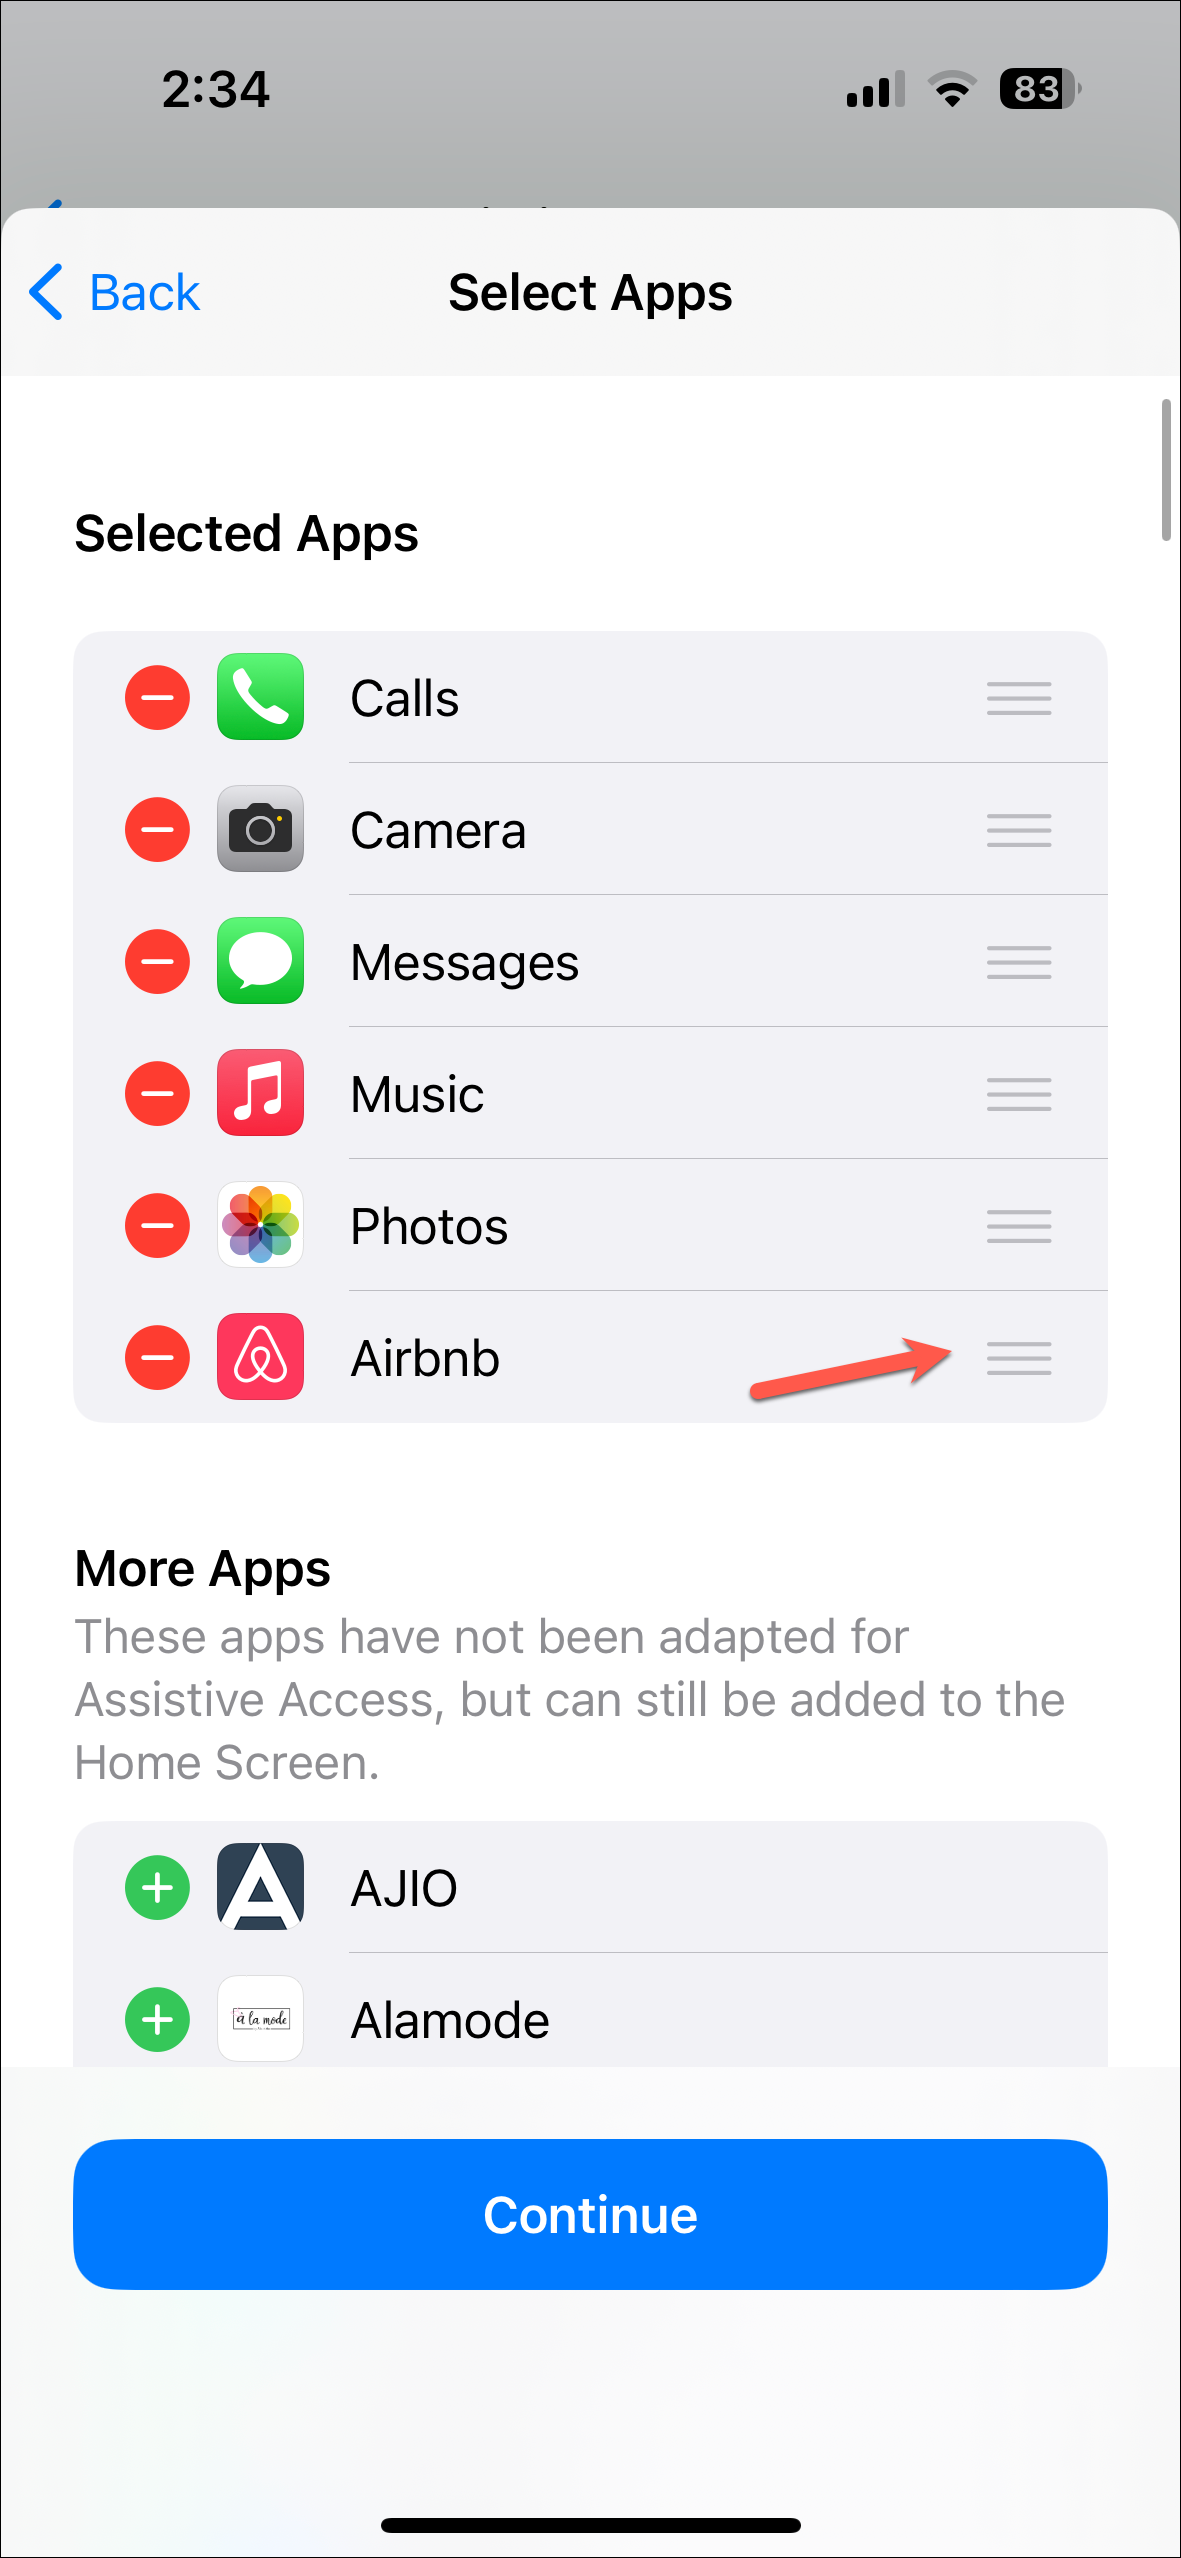
- The apps that you have added will appear in the ‘Selected Apps ‘ section. You can also rearrange them by tapping and holding the three stacked lines and moving the apps up and down. To remove an app, simply tap the ‘–’ button.
- Tap on ‘Continue’ to proceed once you’ve added all the apps.

Finish Setting Up Assistive Access:
Apps are the part that takes the most time to set up. Once you’re done with it, the rest is a walk in the park.
- Tap ‘Continue’ on the next screen again.
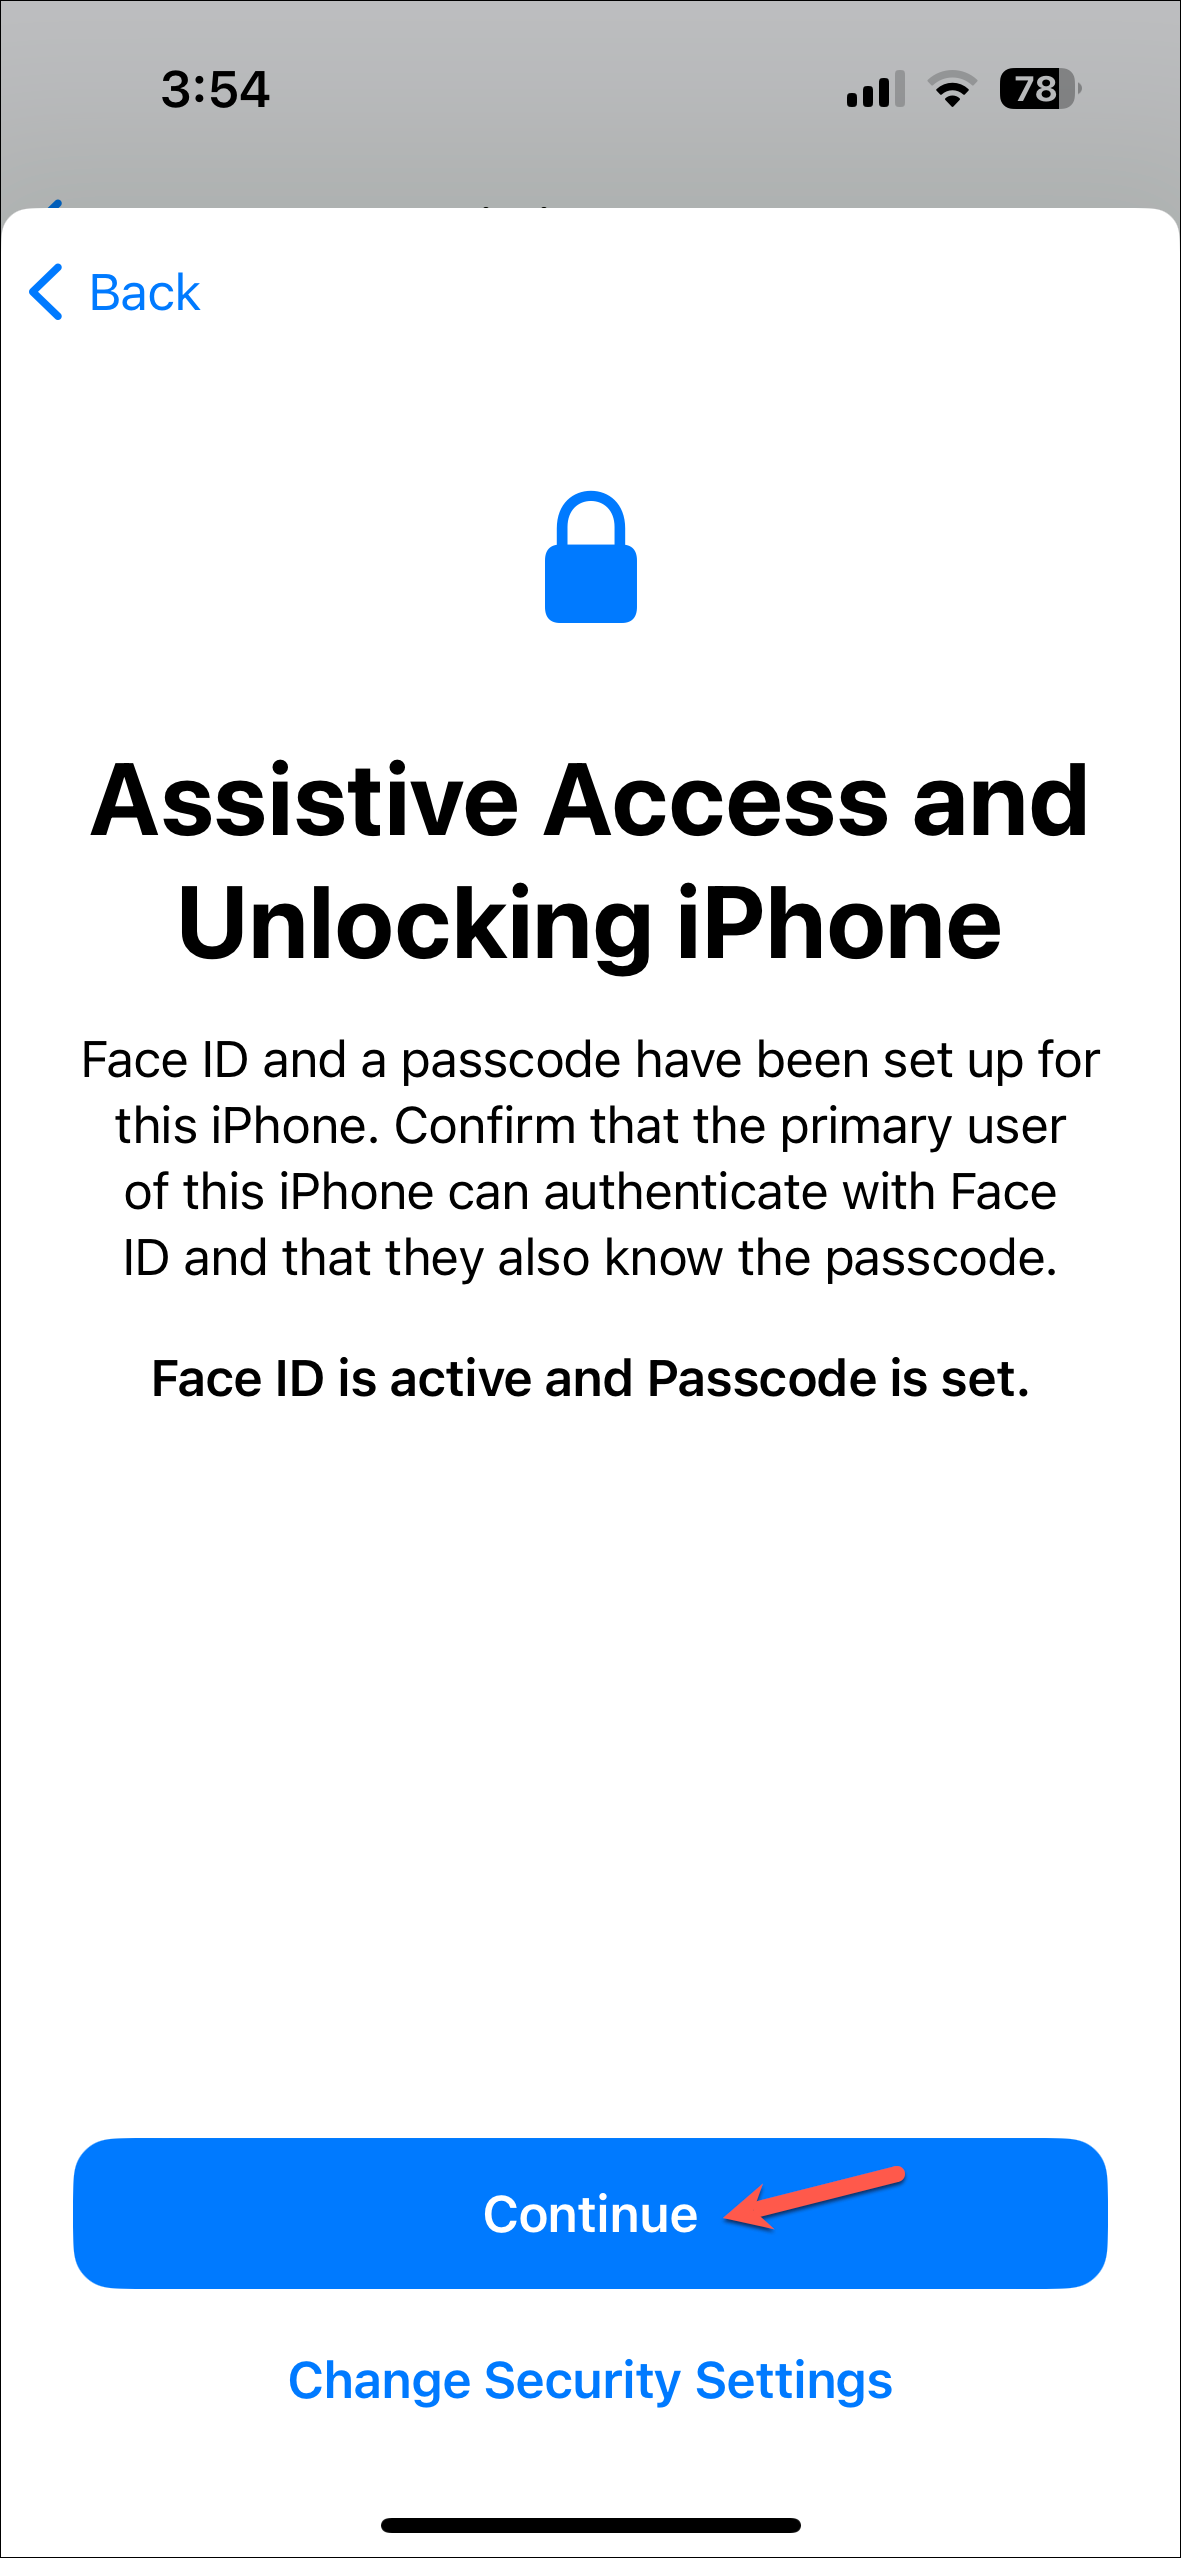
- Then, confirm that the person who will be using the iPhone with Assistive Access can unlock the iPhone with Face ID and passcode.
If not, tap the ‘Change Security Settings’ option, which will allow you to change the passcode or Face ID and come back to the onboarding screen for Assistive Access later. Otherwise, tap on ‘Continue’.
- Next, set up a passcode for exiting Assistive Access. It’s important that you remember this passcode, as things will get unnecessarily complicated without it.
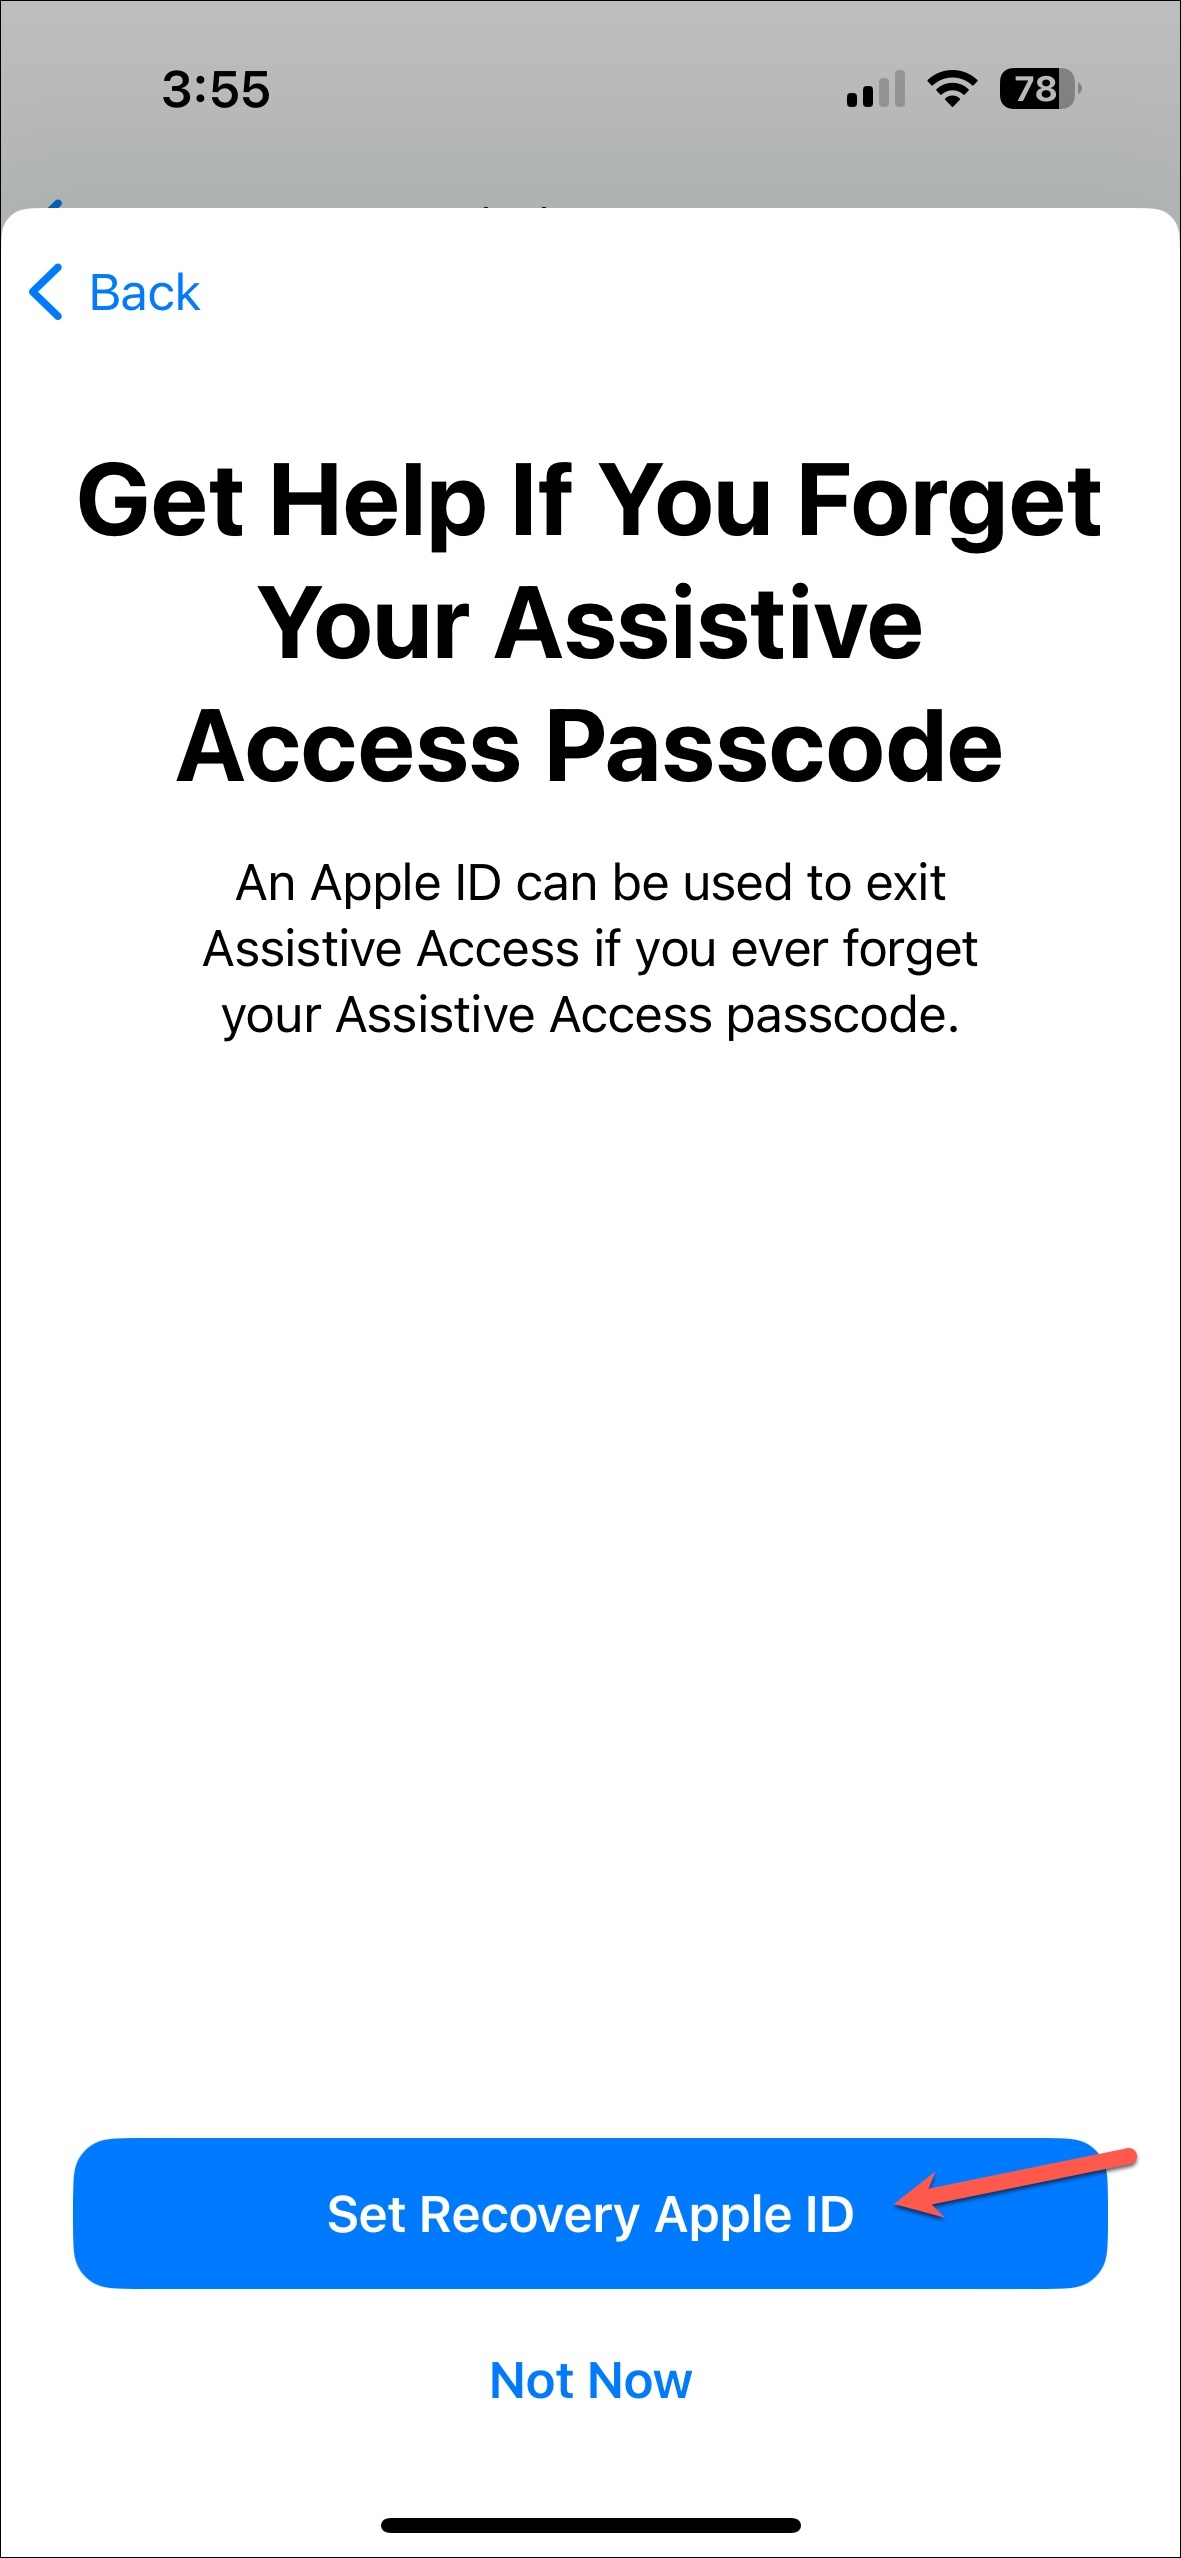
- On the next screen, tap on ‘Set Recovery Apple ID’ and enter your Apple ID details so you can reset the exit passcode if you forget it.

- Then, tap ‘Continue’.
- Finally, Assistive Access is completely set up and ready to use. You can choose to enter it now or later.

Entering and Exiting Assistive Access
- To enter Assistive Access once it has been set up, navigate to
Settings>Accessibility>Assistive Access. - Then, tap on ‘Start Assistive Access’.
- Then, enter the Assistive Access passcode.
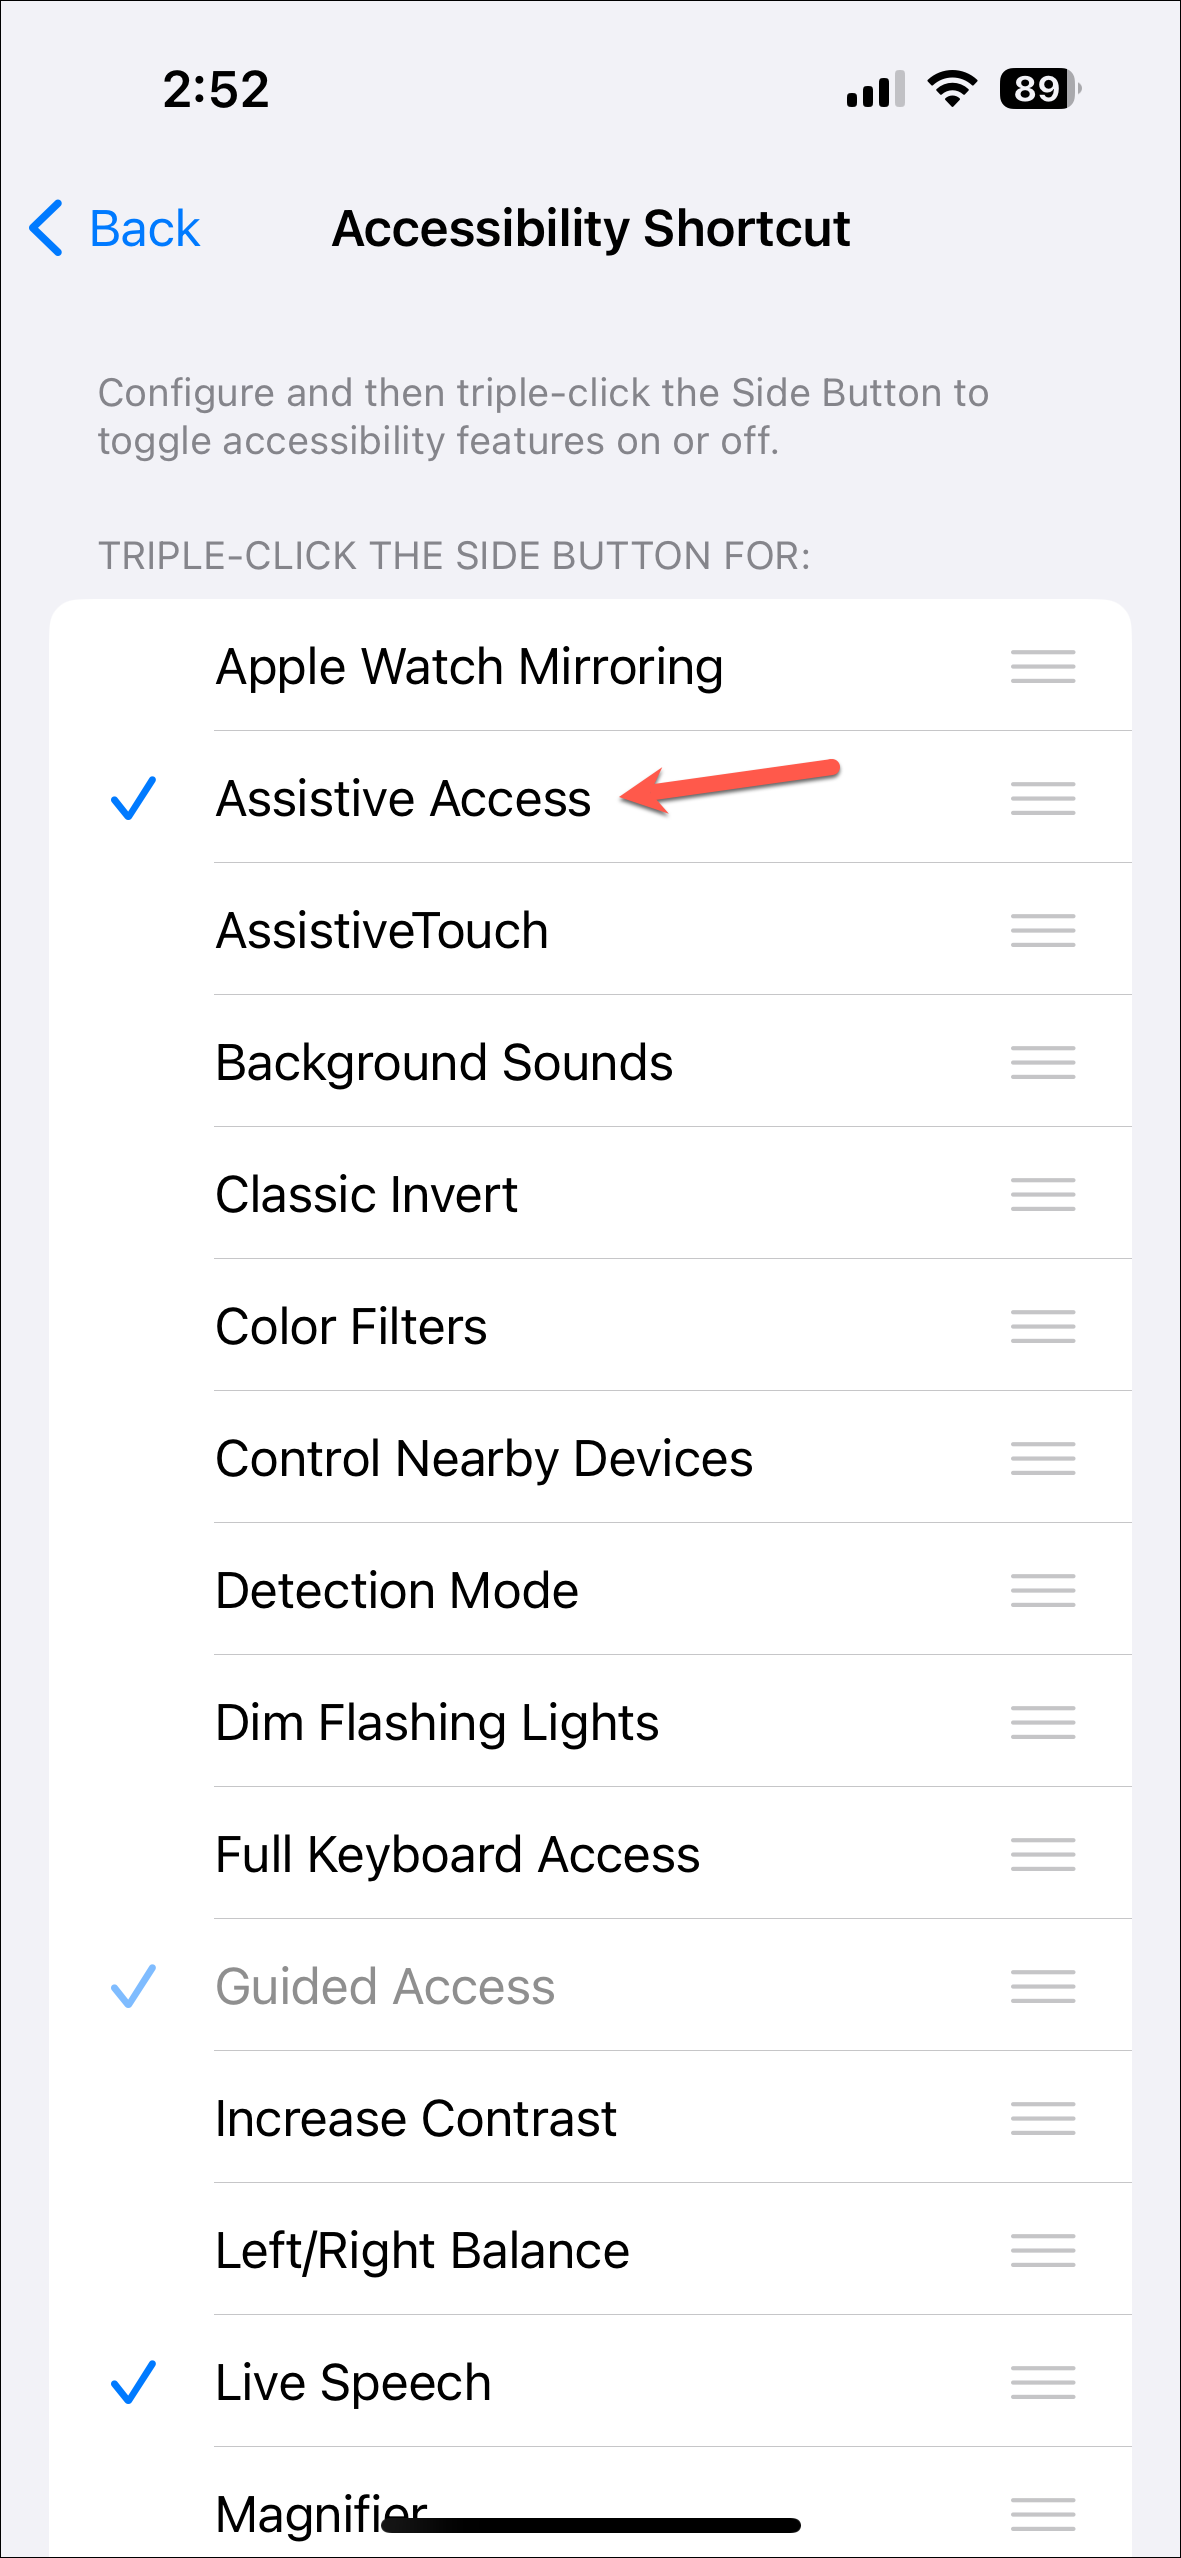
- You can also set up the triple-click Accessibility shortcut to quickly enter Assistive Access. Go to ‘Accessibility Shortcut’ from Accessibility Settings.
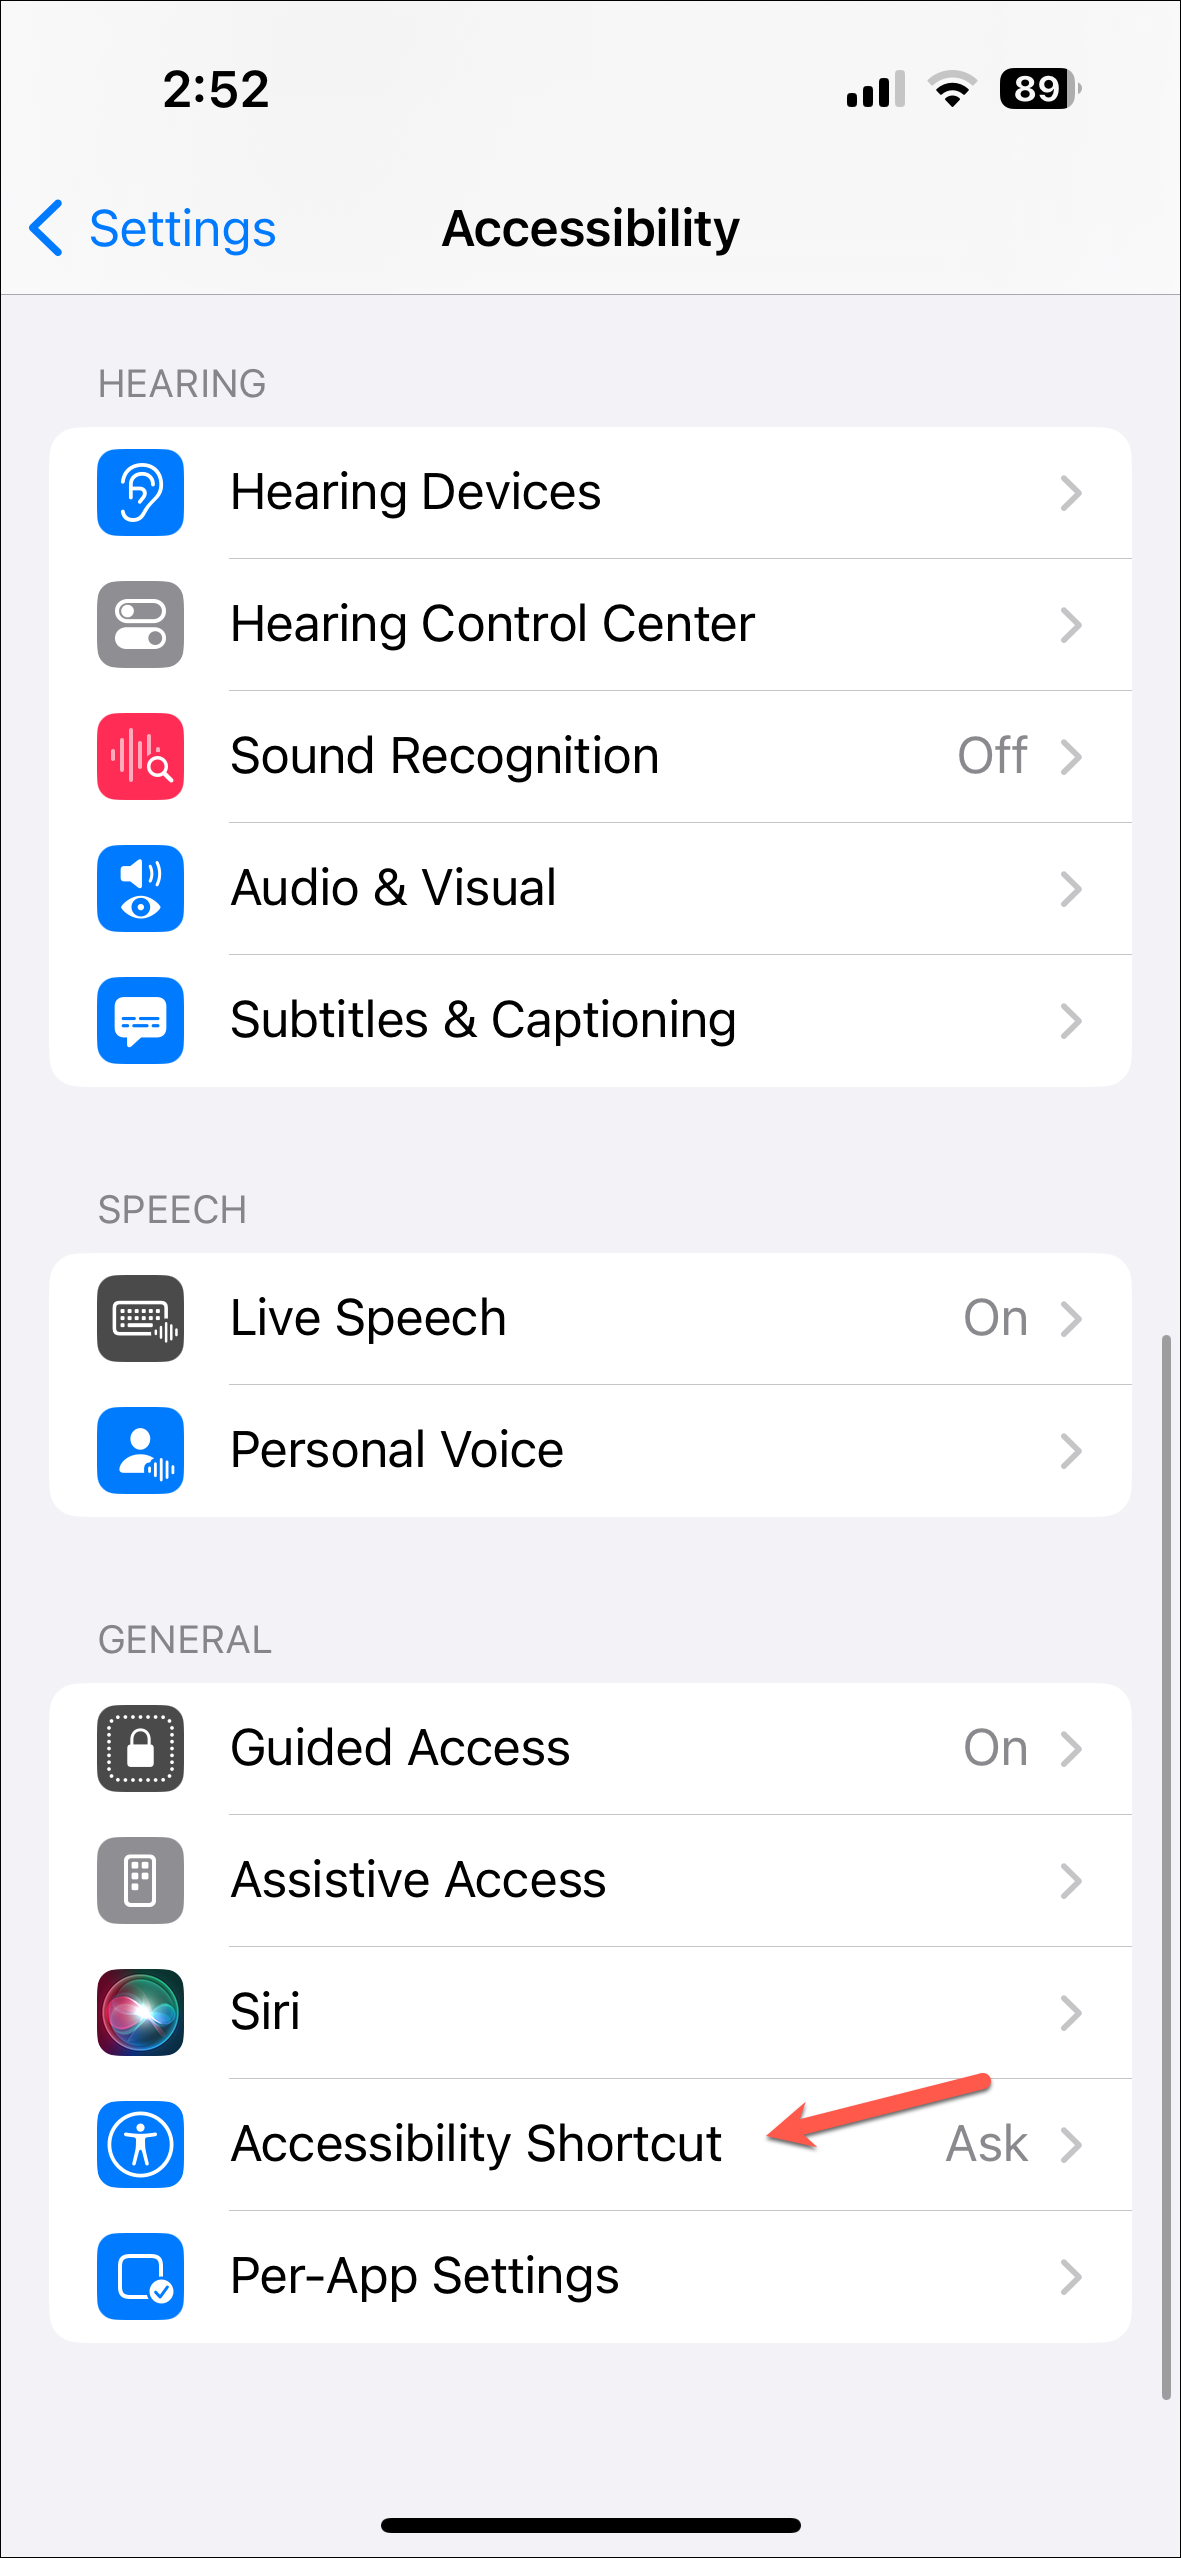
- Then, tap ‘Assistive Access’ to select it.
- Next time you want to enter Assistive Access, triple-click the side button on your iPhone.
Then, depending on how many Accessibility shortcuts you have set up, you’d either automatically enter Assistive Access, or you’ll get options asking which shortcut you want to trigger.
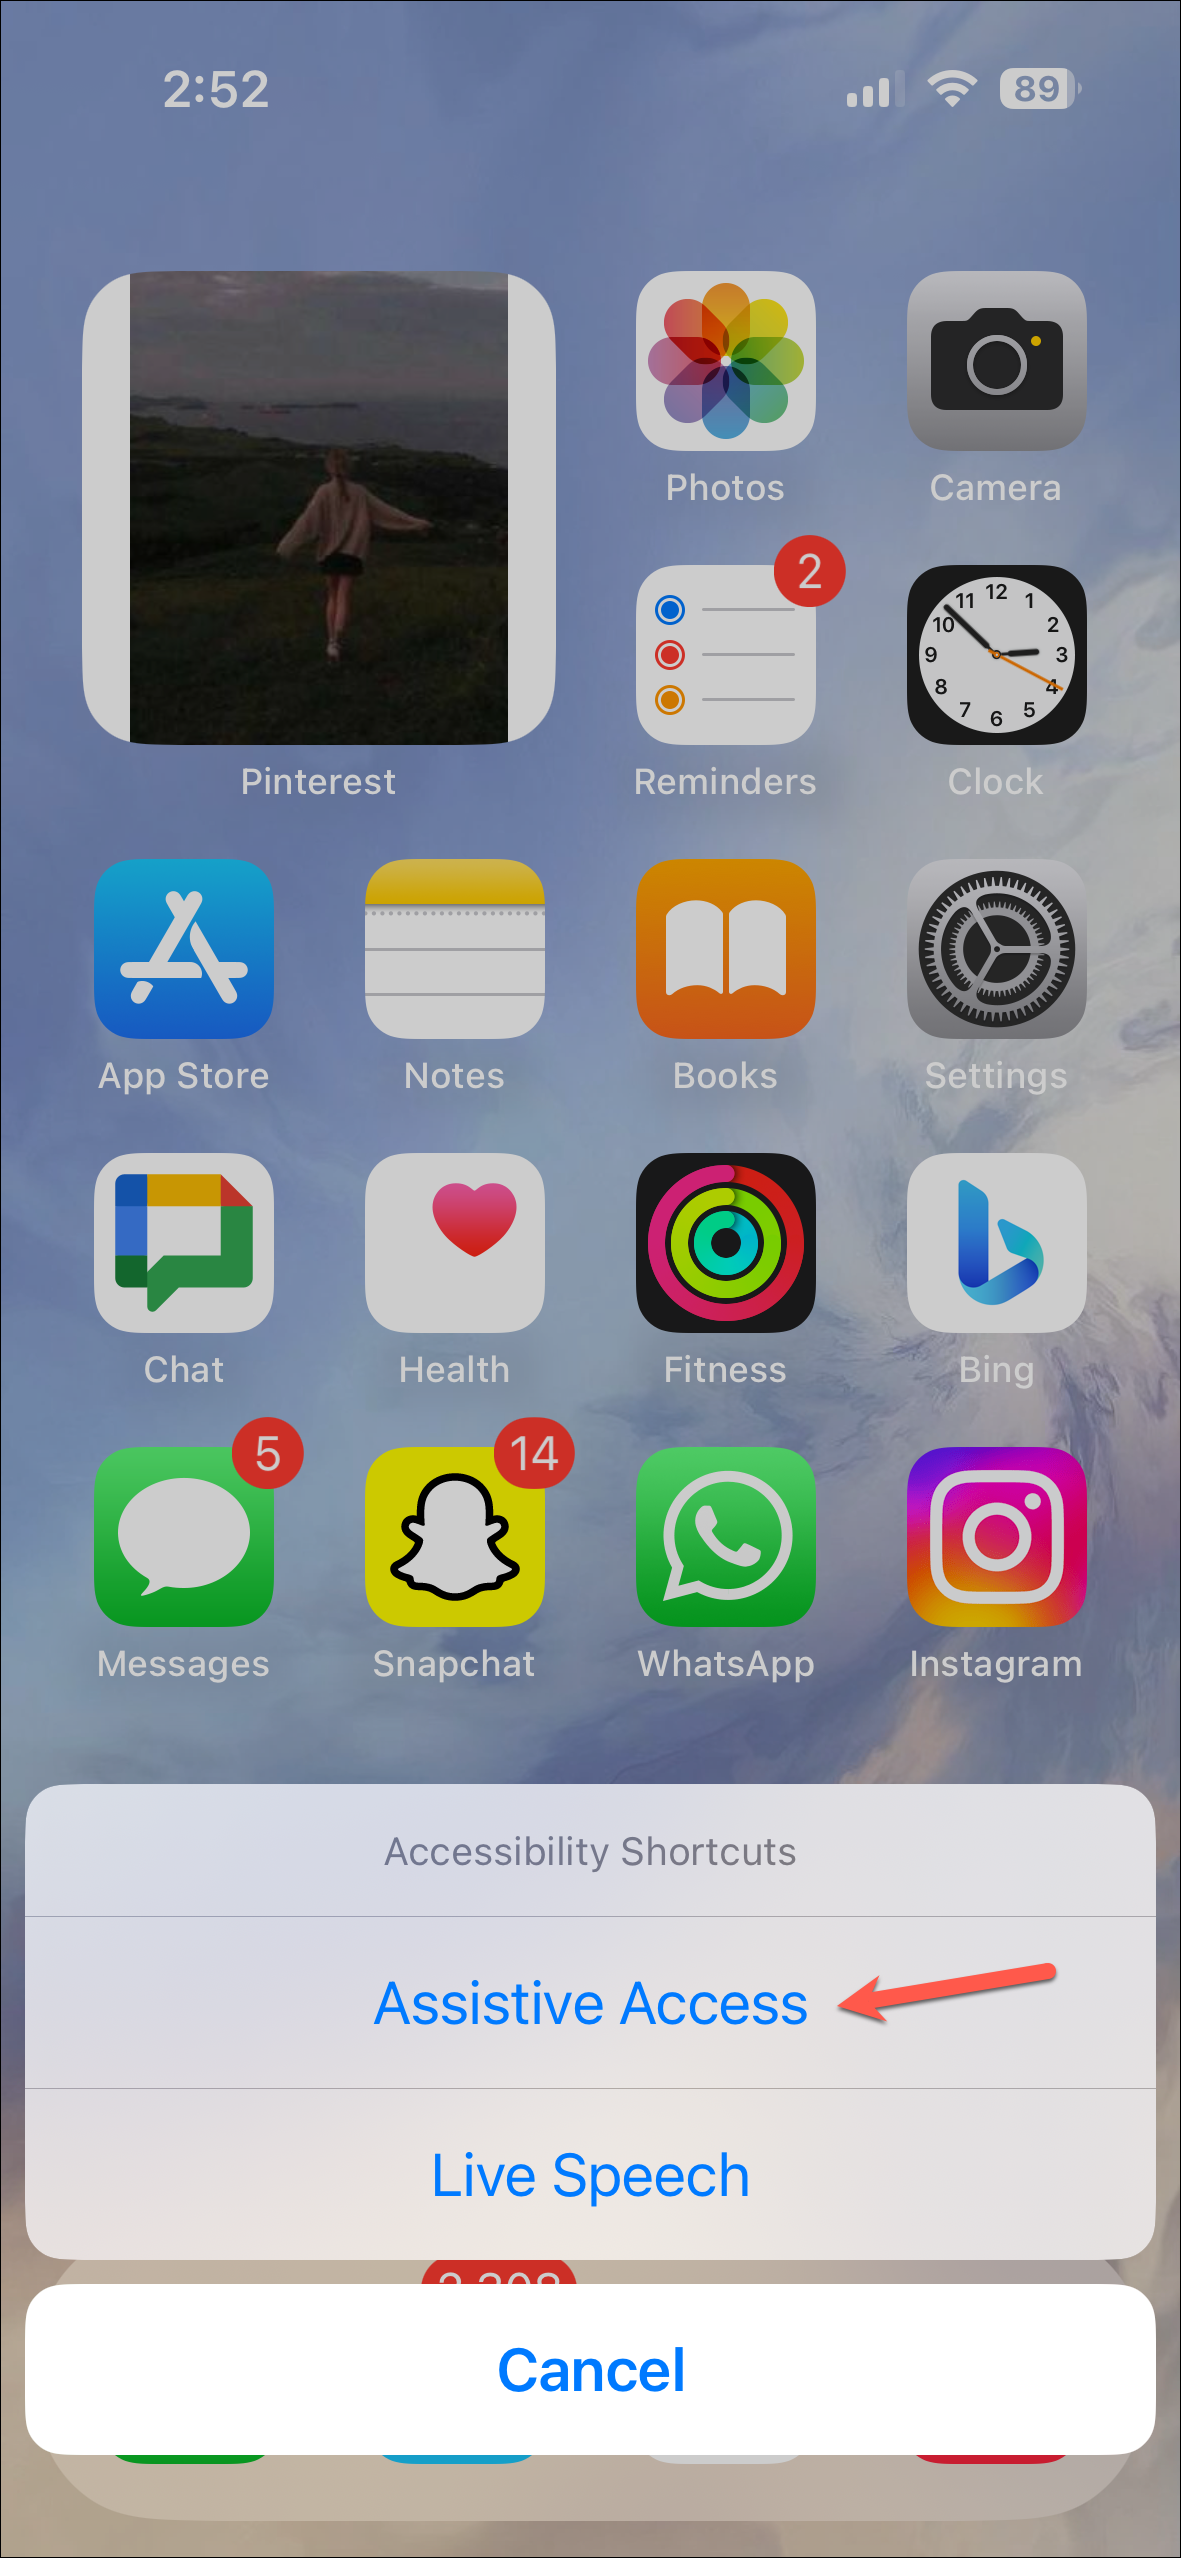
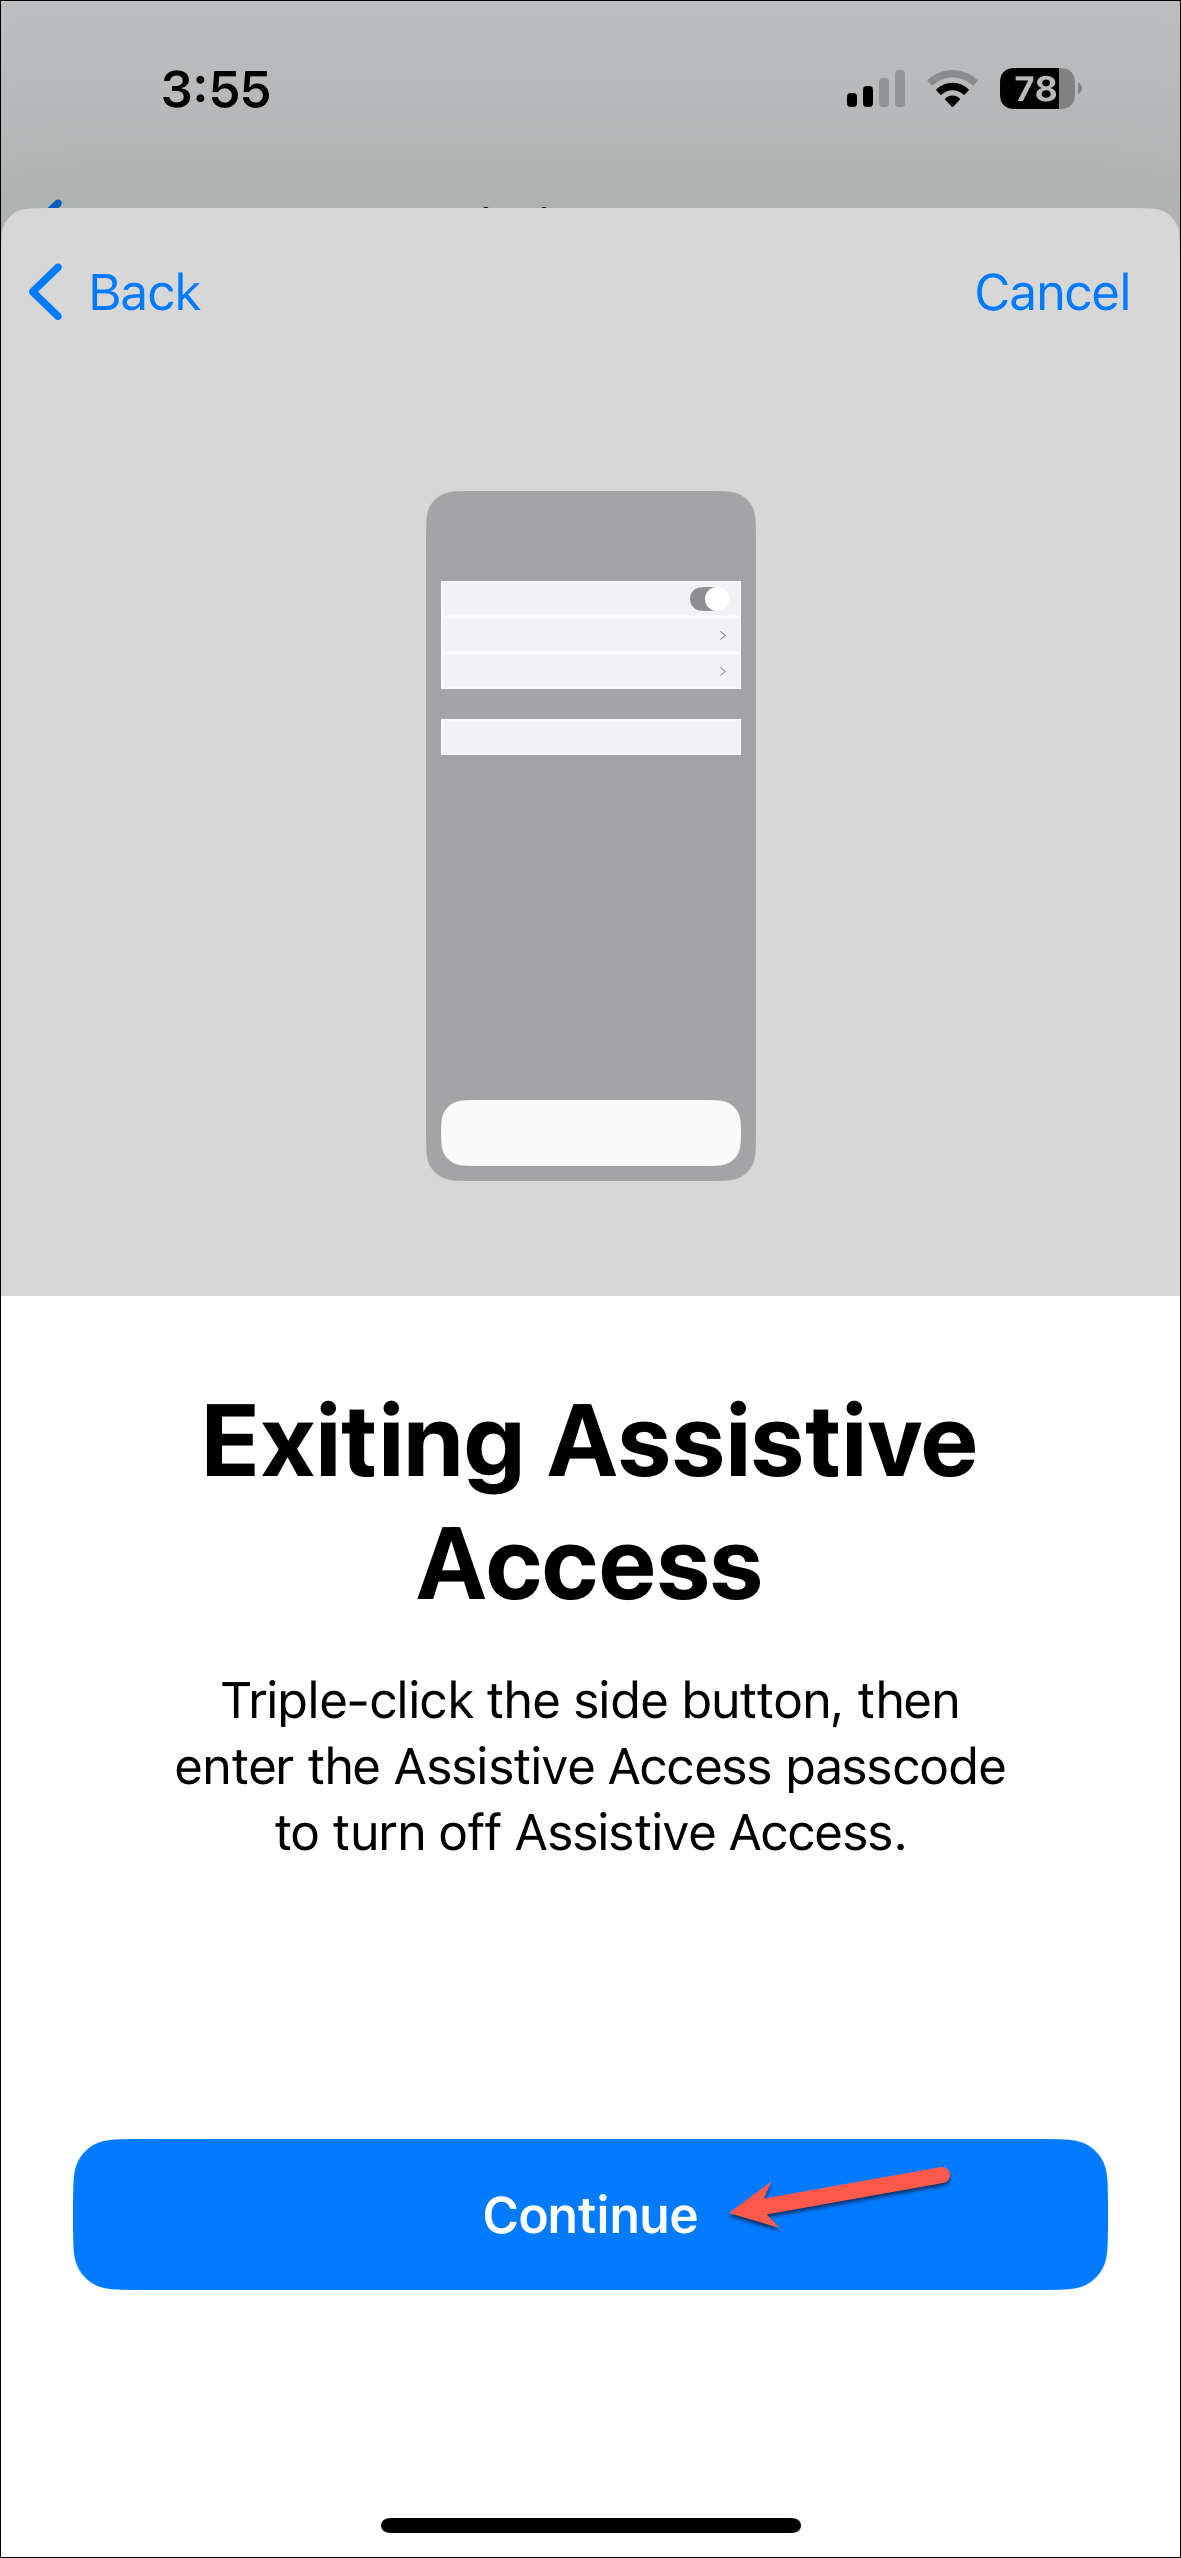
- To exit Assistive Access, triple-click the side button (or the home button on an iPhone with Touch ID).
- Then, tap on ‘Exit Assistive Access’ from the options.
- Enter the passcode for exiting Assistive Access.
Using Assistive Access
Once you’re in Assistive Access, using it is easy since that’s the objective of the mode.
- Allowed apps will be front and center on the Home Screen. Once you open an app, actions you can take will be highlighted as well.
- There’s no Control Center. But you can access a few settings. Triple-click the side button (or home button).
- Then, select ‘Settings’ from the options and enter the Assistive Access passcode.
- Here, you can change the text size, enable Airplane Mode and Dark Mode, change the volume and brightness, and shut down the iPhone. But that’s about it.
Assistive Access is a powerful feature that makes iPhones more accessible for elderly users and those with cognitive disabilities. By simplifying the interface and optimizing key apps, it allows independent use of important functions like calls, messages, photos and more. While it limits some advanced features for safety, caregivers can customize it to each user’s needs and preferences.


