
The calendar app on your iPhone helps you keep your events and important dates on schedule so that you never miss them. But that’s not all it can do. You can also share a calendar with your contacts which enables them to follow a series of events.
This setup is particularly helpful when you create a calendar for your team in the organization or when a particular project requires a couple of people to collaborate as it helps keep track of the upcoming schedule and events.
What are the Requirements and How does Cloud Sharing Work?
There are two requirements for calendar sharing. First, you need to have iCloud enabled for the calendar on your account and second, the receiver should also have an iCloud account that will be used to share the calendar.
When you share the calendar with other users who also have an iCloud account, they can not only view but also edit the calendar, if you allow that option.
You can also make the calendar public to enable contacts without an iCloud account to view the events. These users can only view the calendar, though, and not make any edits.
Moreover, iOS also allows you to create a whole new calendar that only includes events and schedules that you wish to share so your main calendar is not shared and/or disturbed. Though this is common knowledge, a gentle reminder cannot hurt.
In case you are not familiar with how to create a separate calendar on your iPhone or just need a refresher, just follow the below-mentioned steps and you will be good to go. Otherwise, you can skip to the next section that illustrates how to share the calendar.
Create a Separate iCloud Calendar on your iPhone
Though creating a calendar might sound like a technical or tedious task, it is a very simple and straightforward process that just requires a couple of taps from you.
First, head to the Calendar app, either from the Home Screen or the app library of your device.
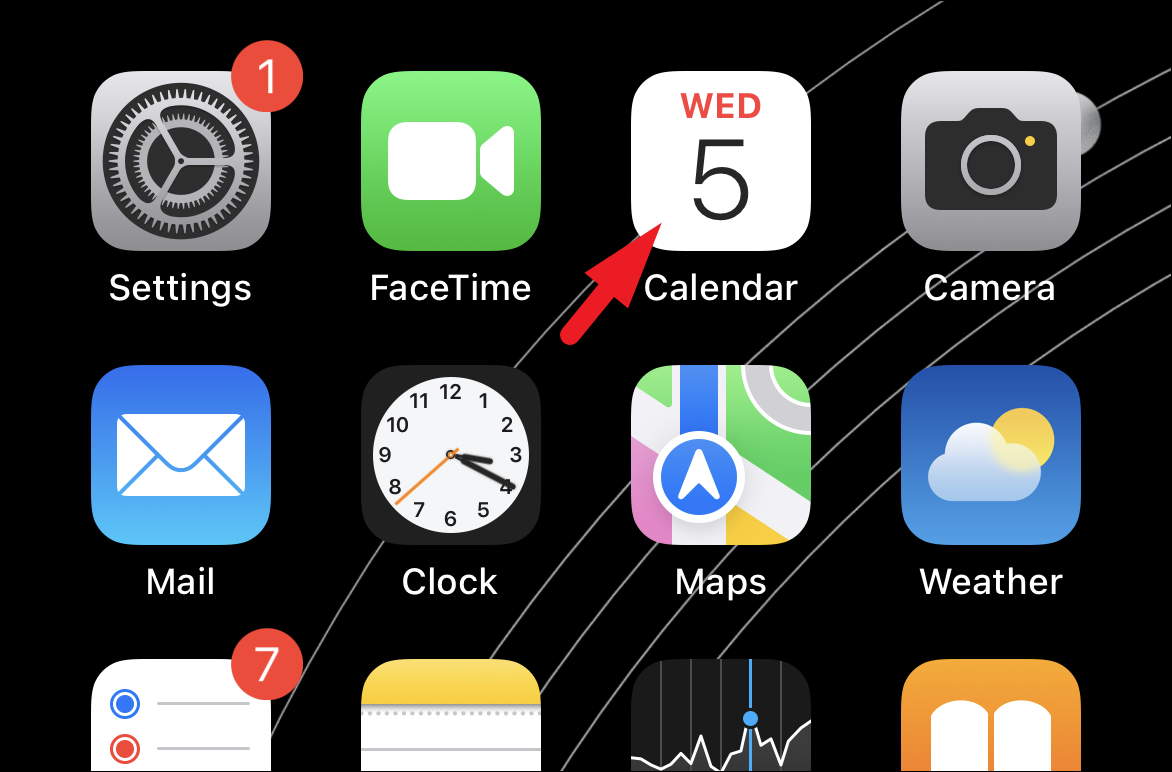
After that, tap on the ‘Calendar’ option from the bottom center to proceed. This will bring an overlay window to your screen.

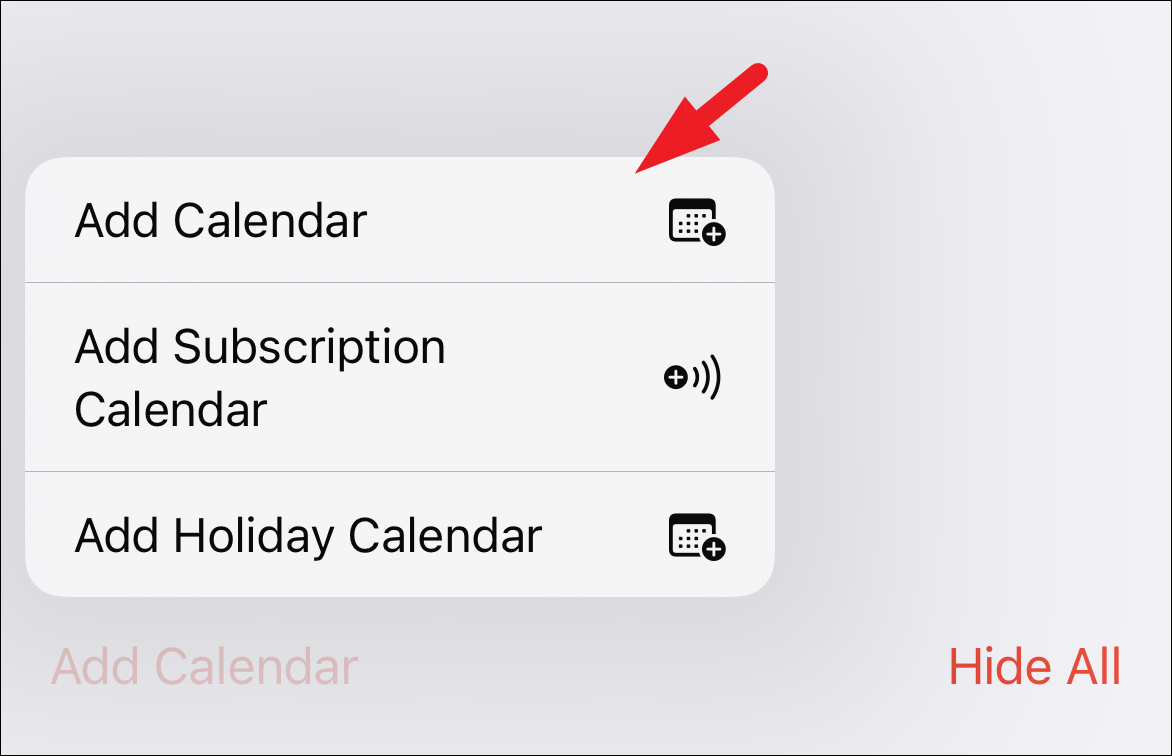
Now, tap on the ‘Add Calendar’ option from the bottom left to continue.

Next, tap on the ‘Add Calendar’ option from the context menu. This will again bring an overlay pane to your screen.
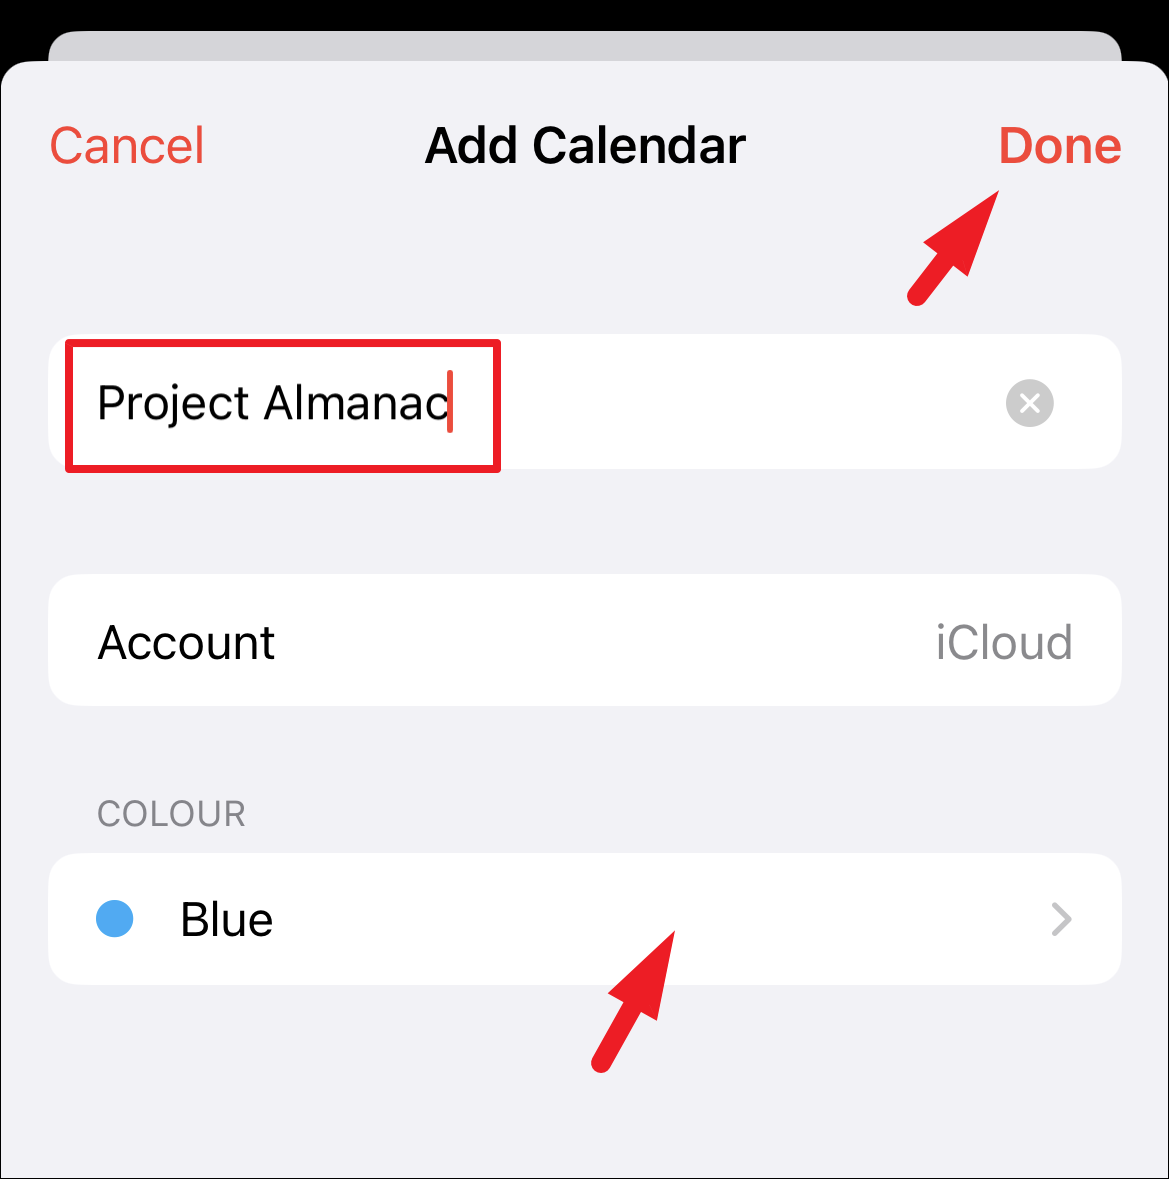
Now, provide an appropriate name for the calendar using the ‘Calendar Name’ field. The ‘Account’ files should display ‘iCloud’ in order for sharing to work. If it doesn’t, make sure you have enabled iCloud for the Calendar on your device.
Finally, choose a color tag of your choice and then tap on the ‘Done’ button to create it.
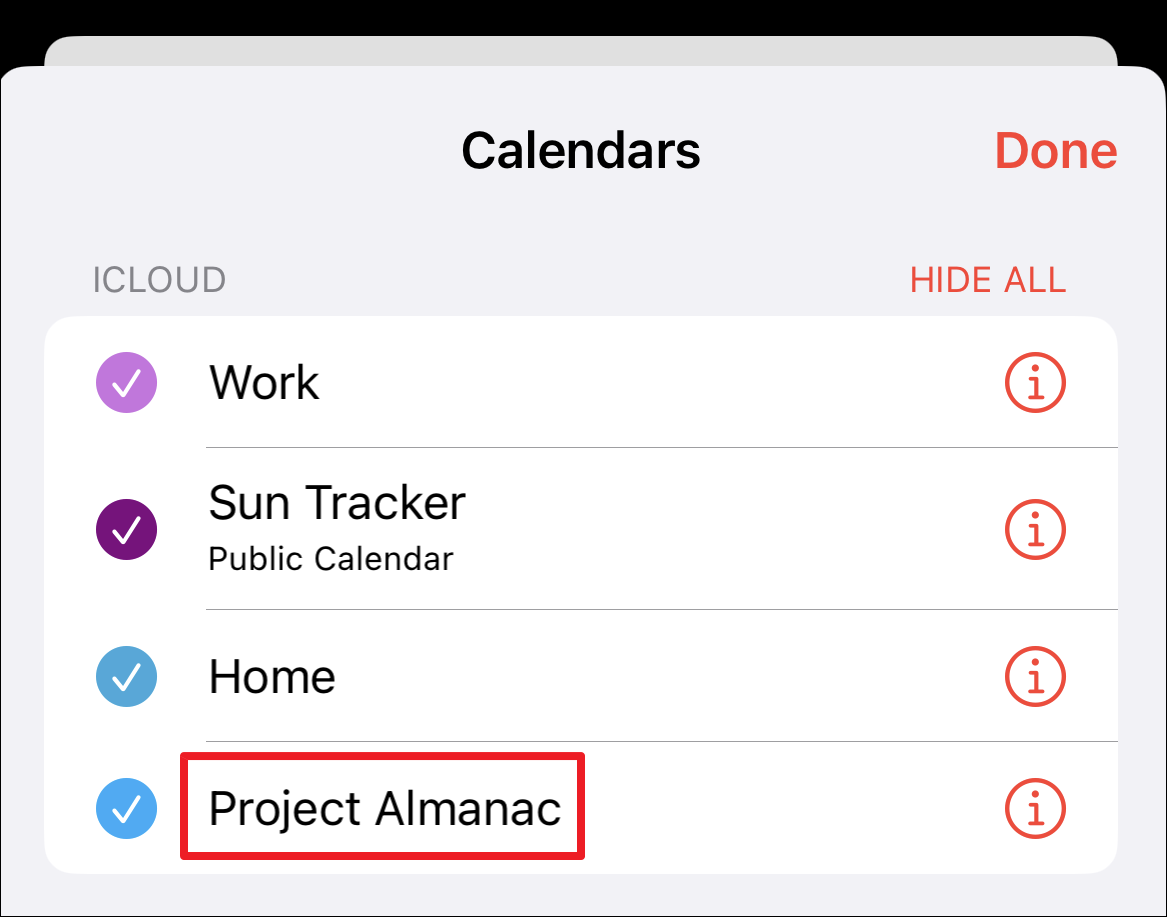
And that’s it you have successfully created a calendar on your iPhone. You will be able to see it in the calendar list view.
Share Existing iCloud Calendar With your Contacts
Whether you have an existing calendar or you just created one using the steps mentioned earlier, sharing it is just as easy as creating it.
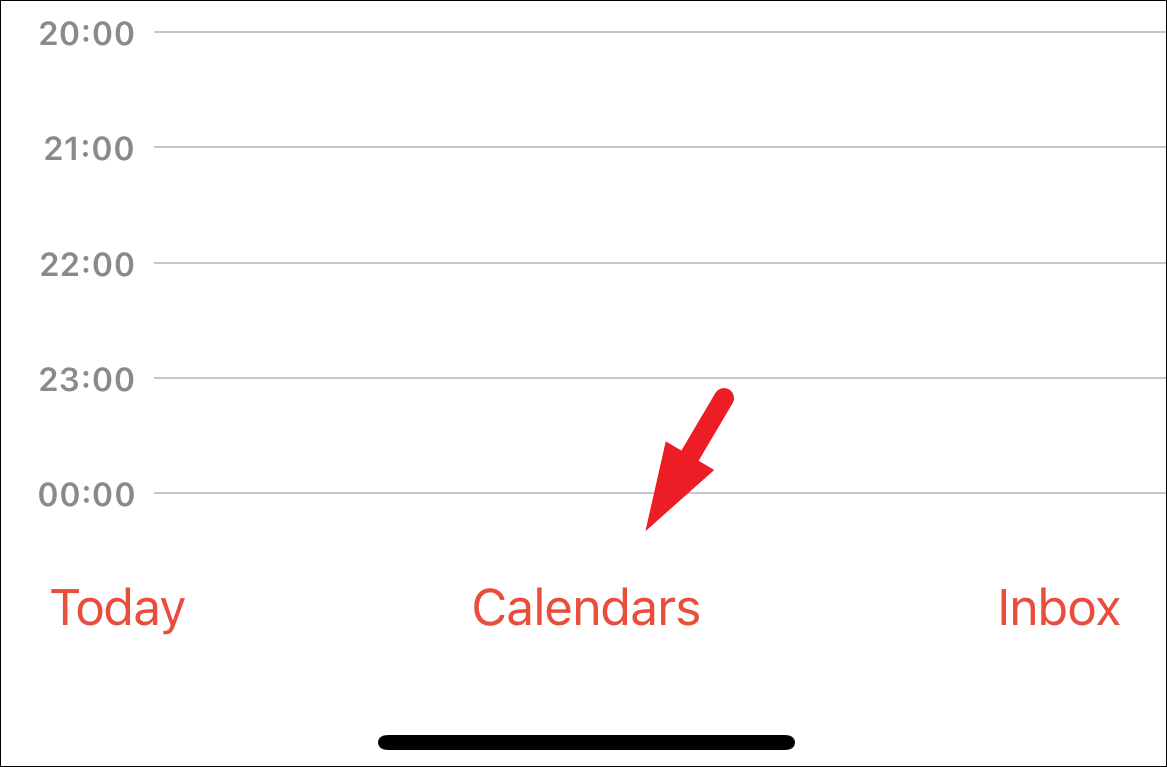
First, head to the calendar on your device if you have not already launched it. After that, tap on the ‘Calendars’ option from the bottom center to proceed.
Next, tap on the ‘i’ button following the calendar you wish to share from the list. This will bring an overlay pane to your screen.

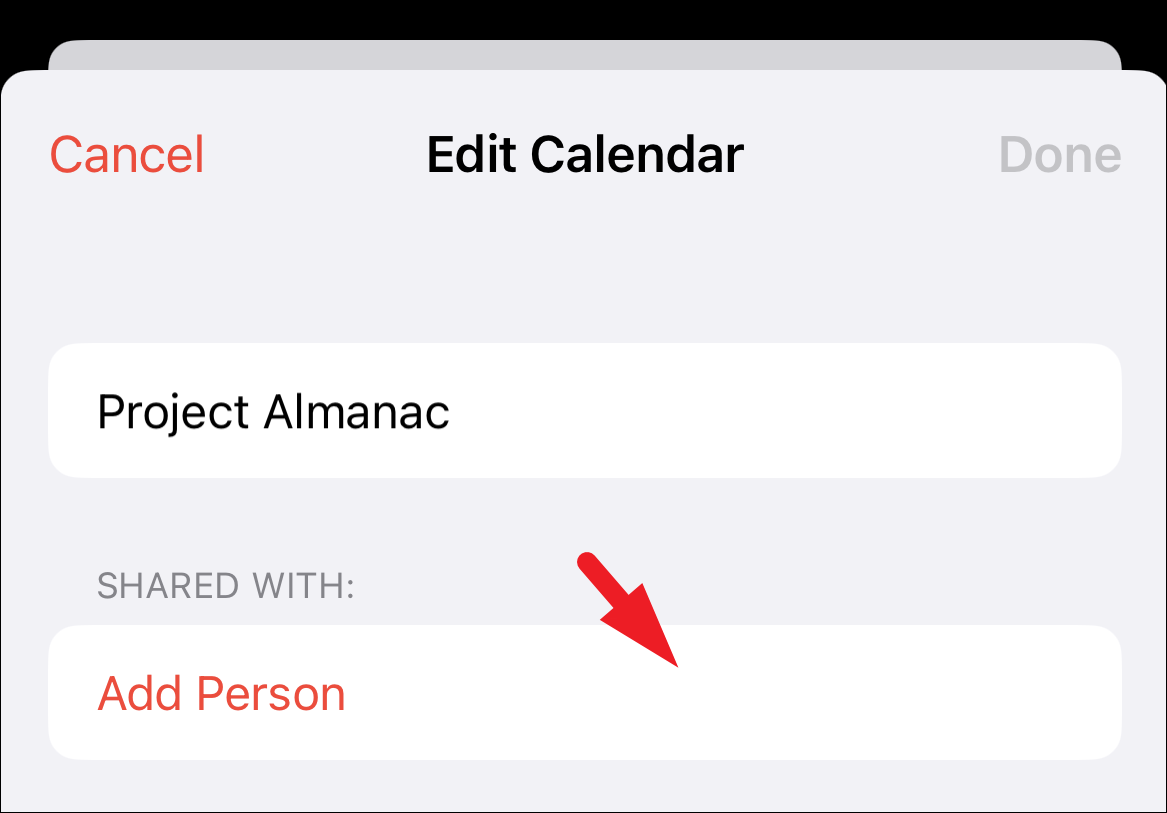
After that, tap on the ‘Add Person’ option.
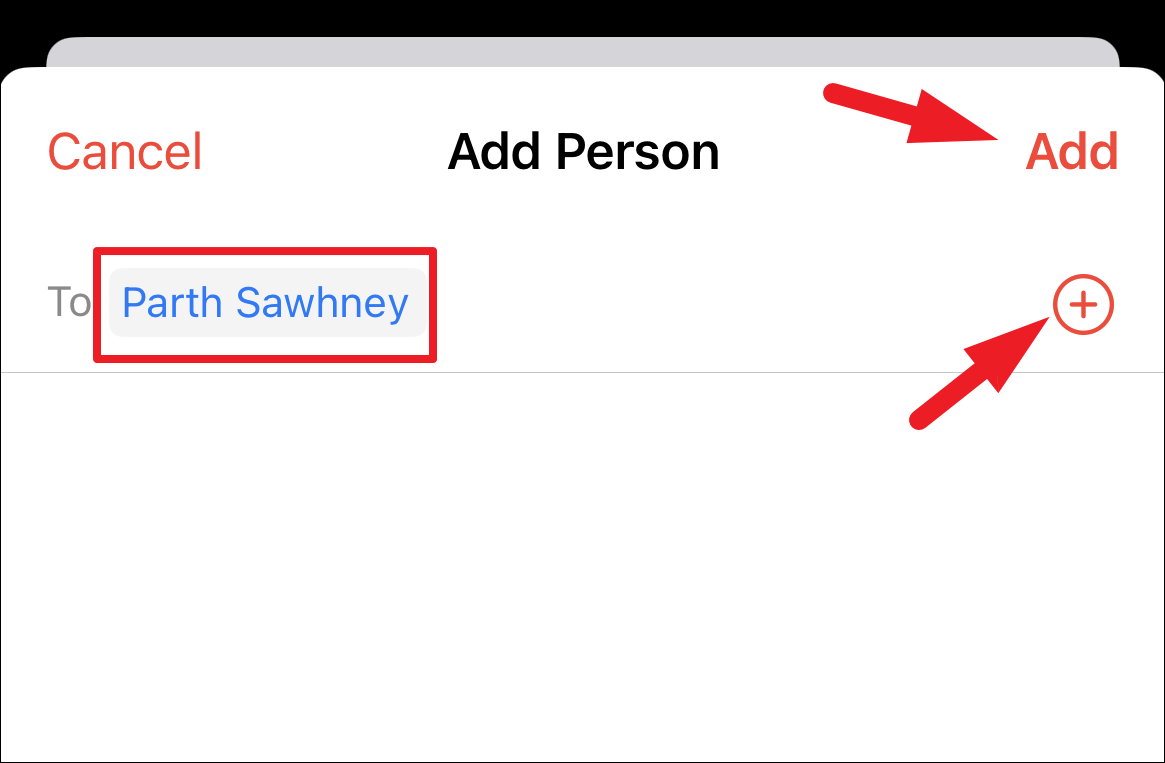
Now, from the overlay window, type the email address of the person you wish to share the calendar with. Otherwise, you can also tap on the ‘+’ button to add people from your contacts. Once you have added all the people you wish to share it with, then tap on the ‘Add’ button to send them an invitation. The other person will have to accept your invite to be added to the calendar.
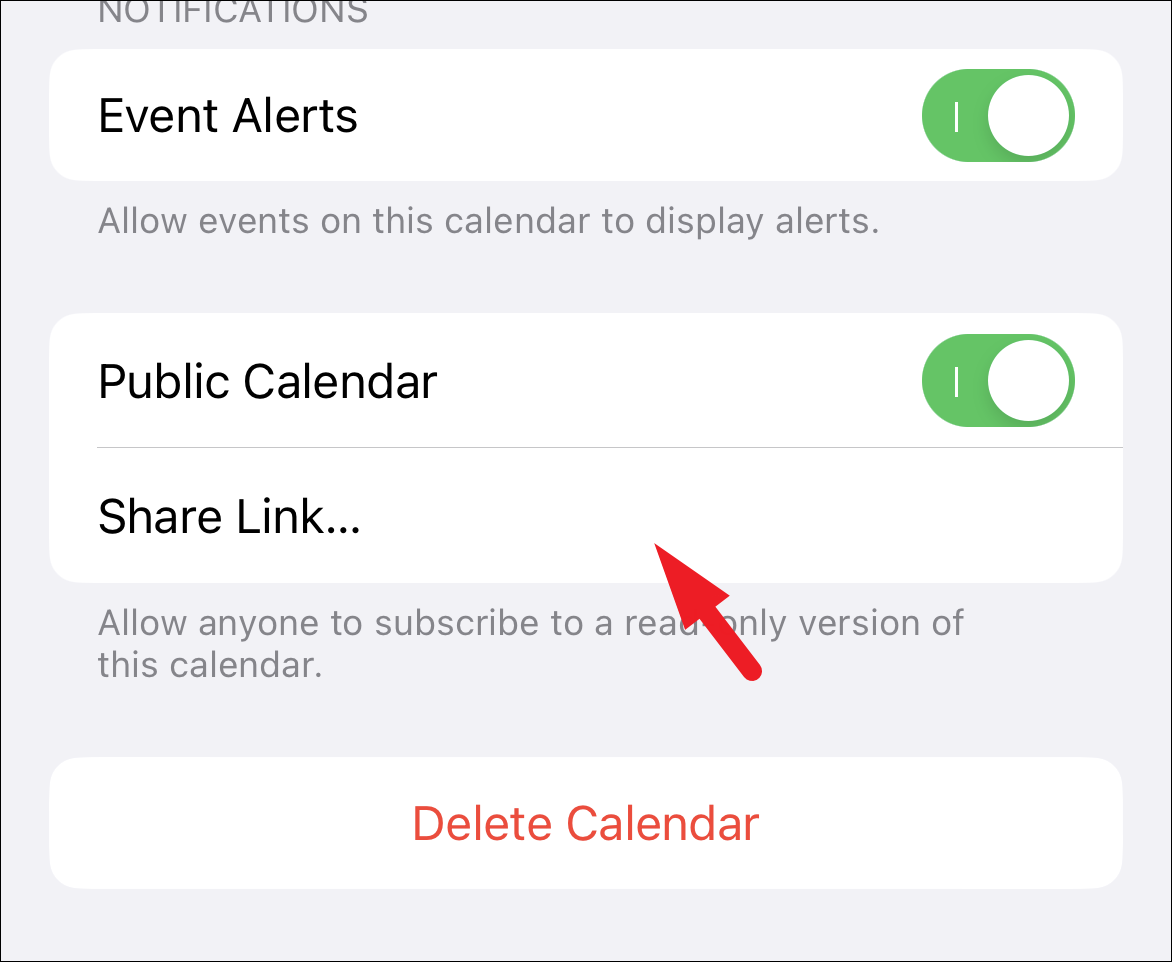
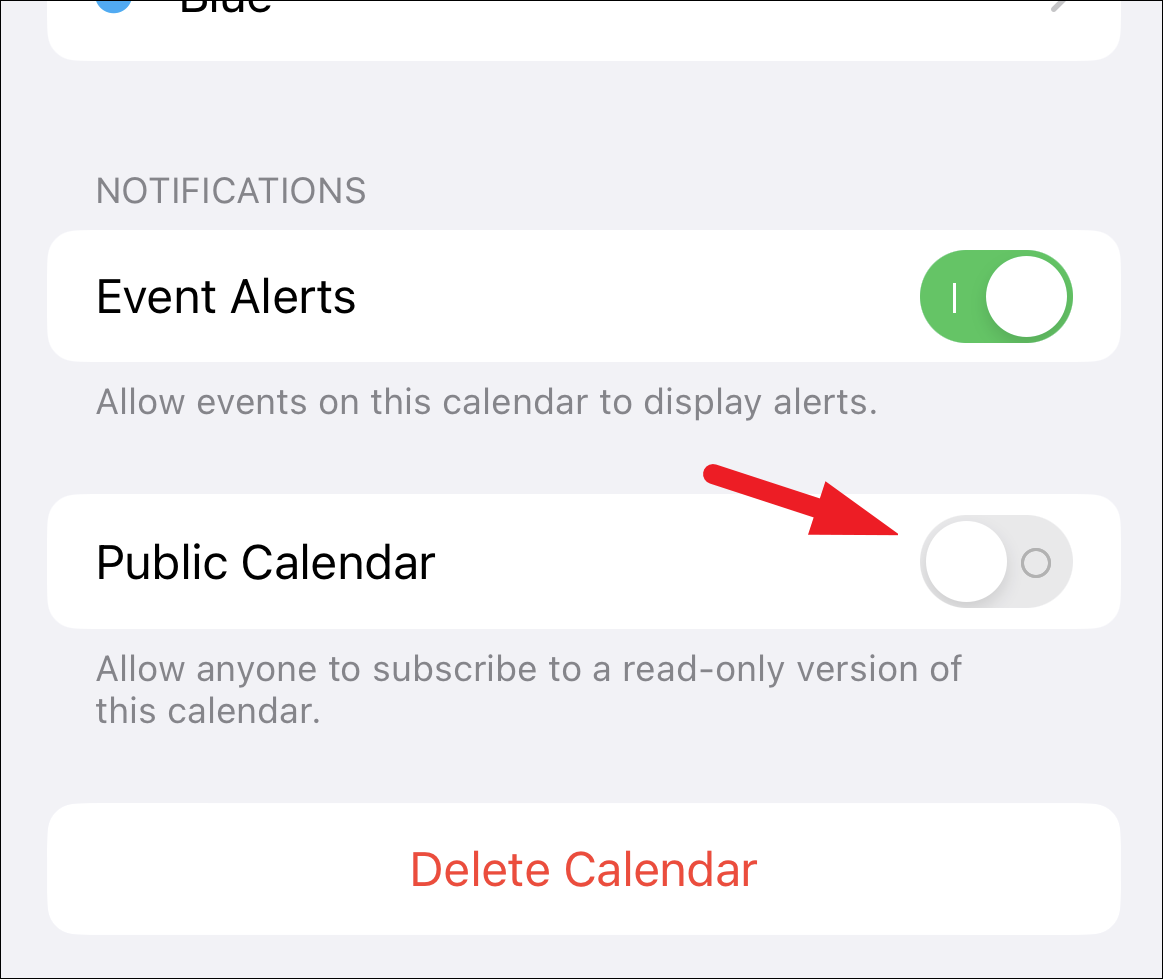
If you wish to make a calendar public in order to share it with people who do not have an iCloud account, tap on the toggle following the ‘Public Calendar’ option to turn it on.
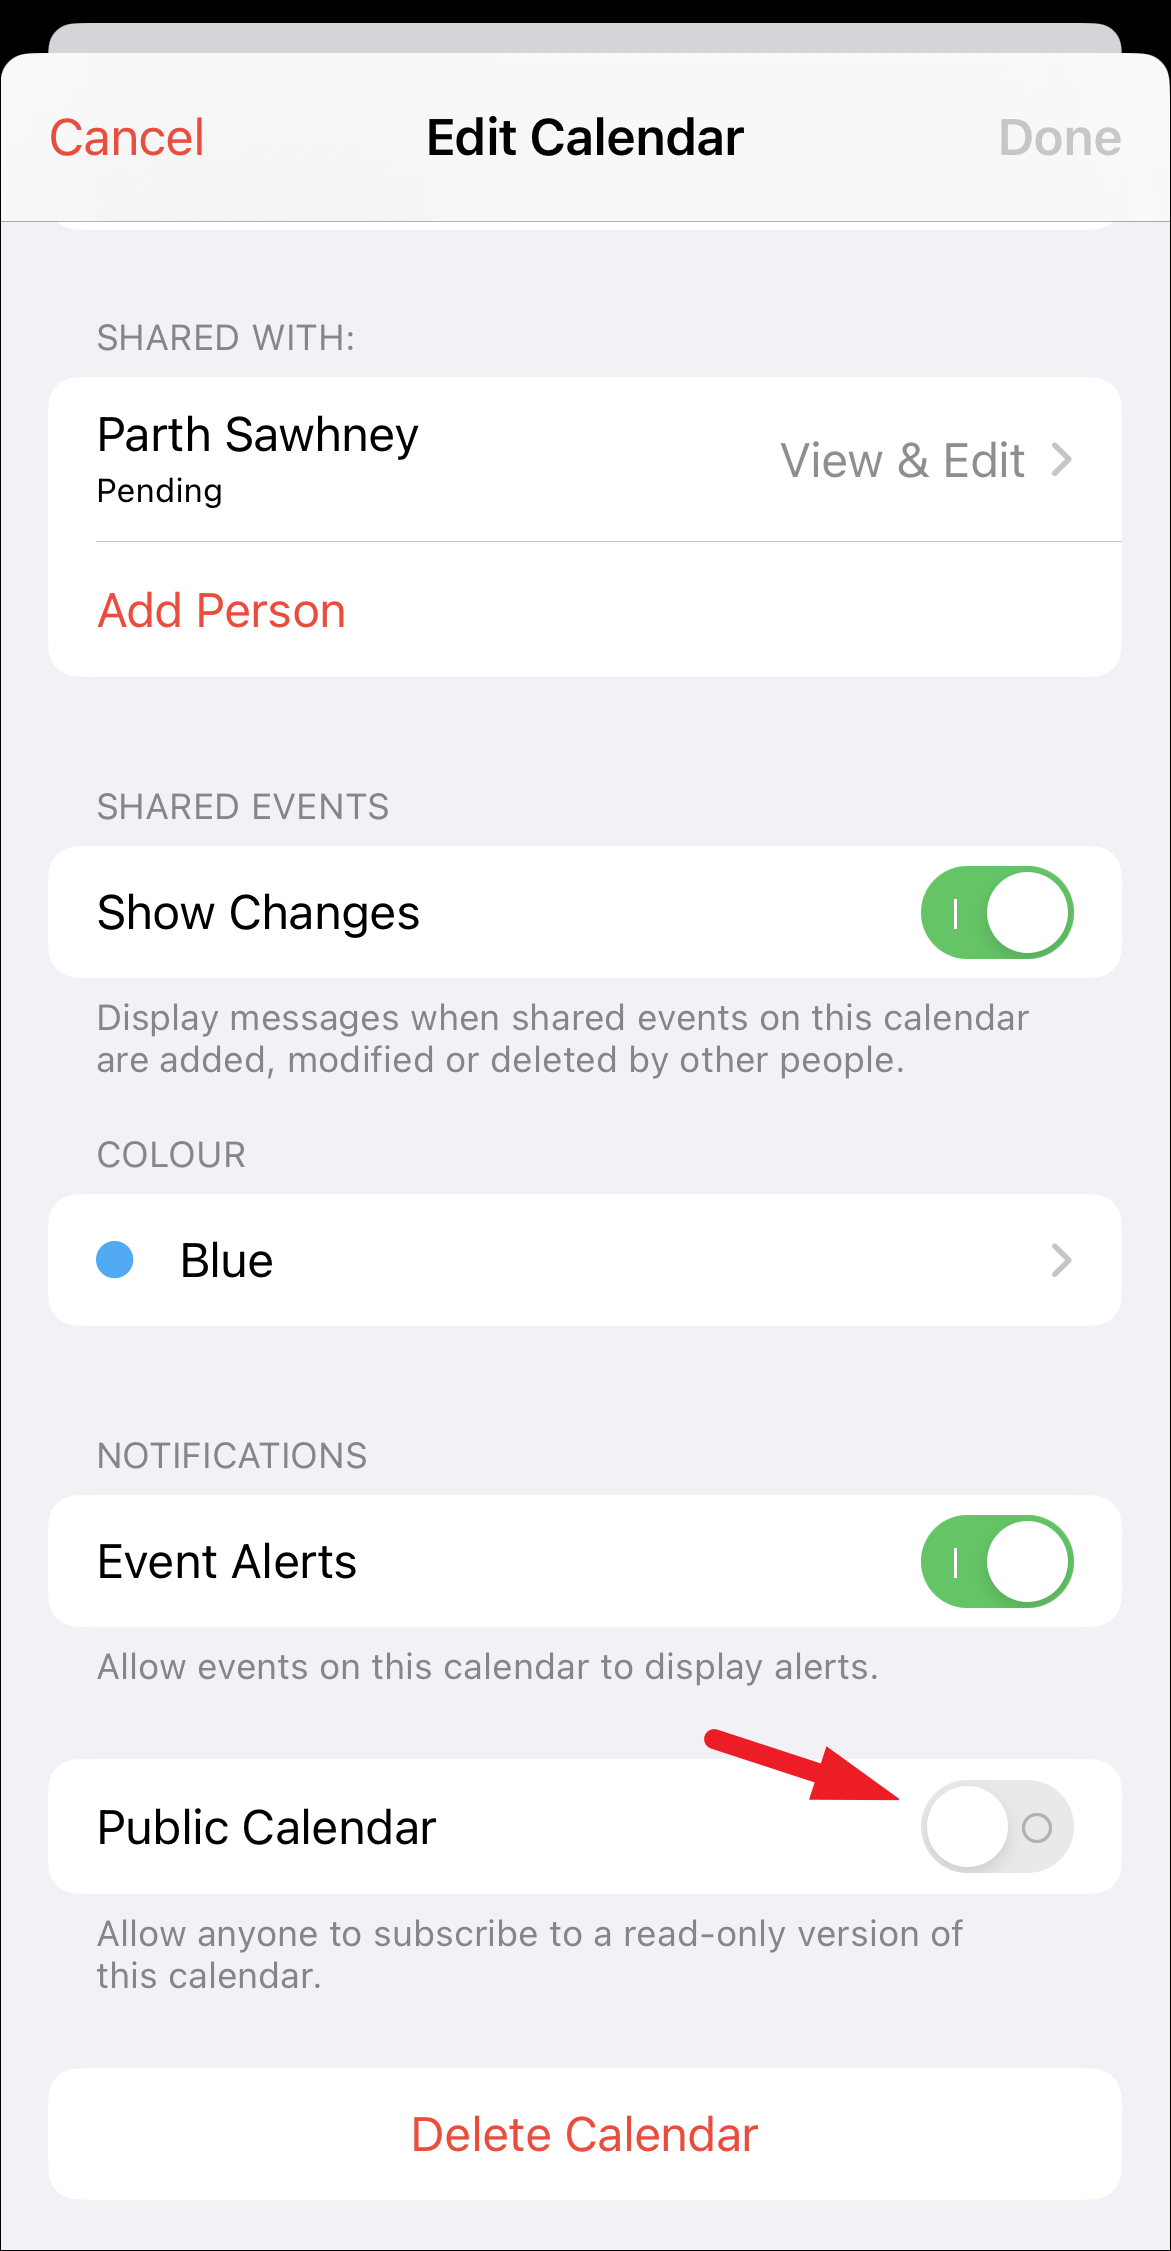
It’ll take a few seconds to enable this option. As soon as it is enabled, a ‘Share Link’ option will appear underneath it; tap it. This will bring an overlay pane to your screen.
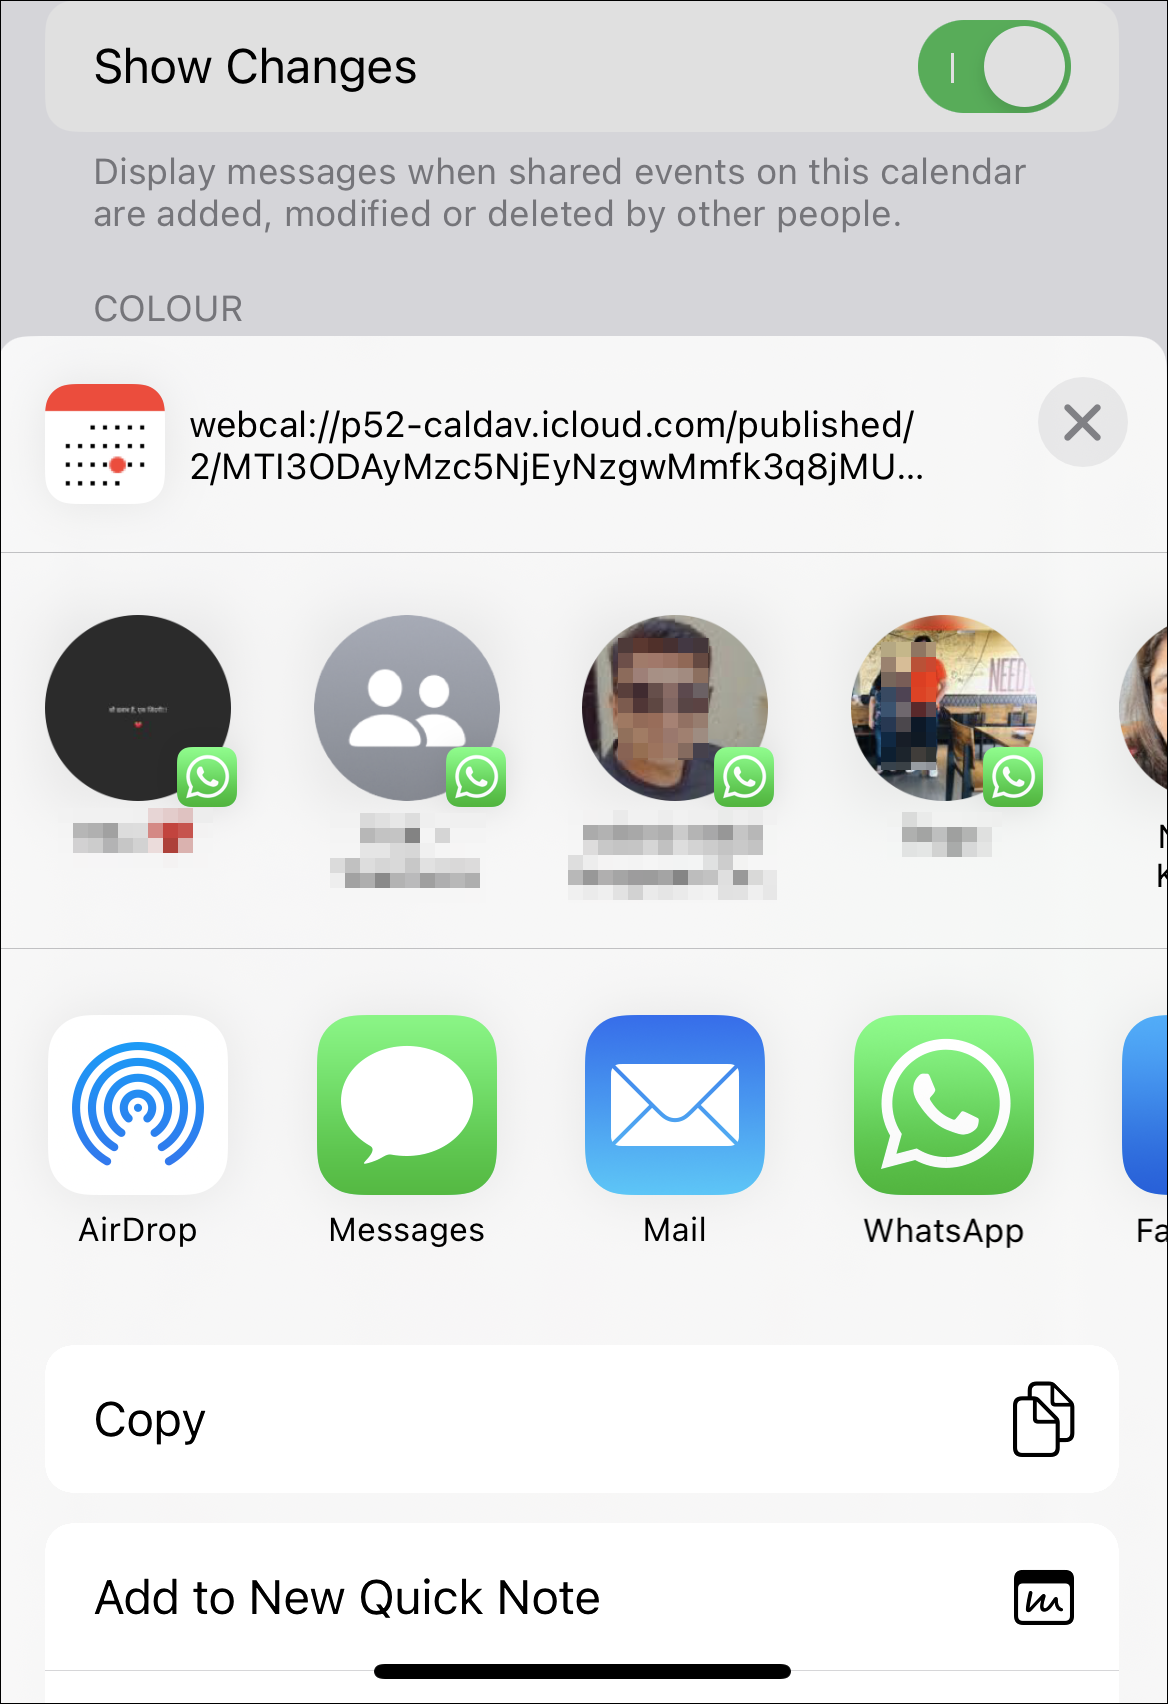
Now, use your preferred medium to share the link to the calendar.
Manage Calendar Sharing
By default, when you share a calendar with someone, they can edit the event. You can choose to remove this access. Moreover, if you ever wish to stop sharing the calendar entirely with someone, it’s also easy to do it.
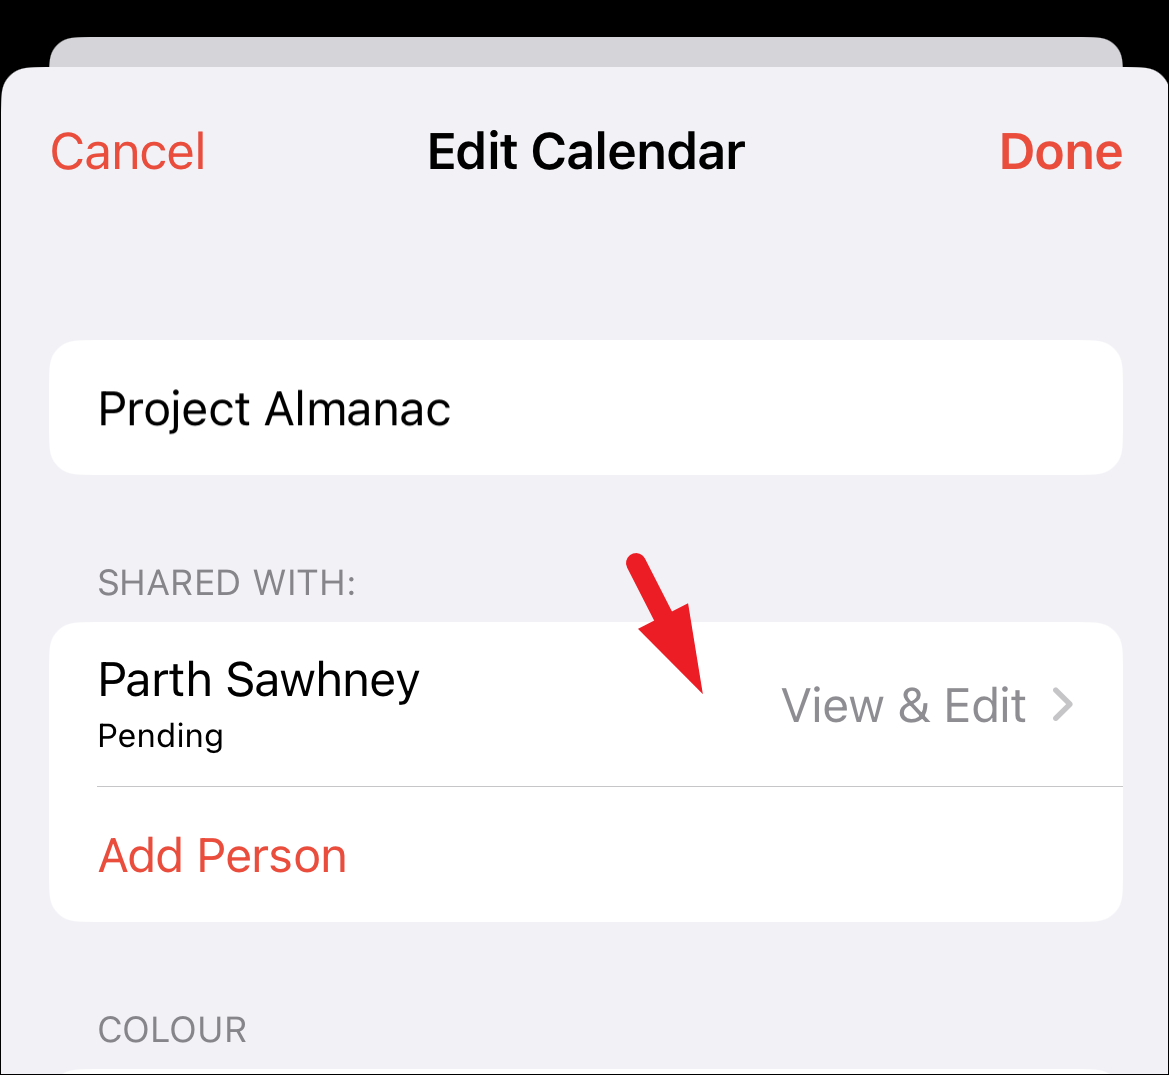
To remove the edit access for a specific person, from the Calendar list view, tap on the ‘i’ button following the calendar you wish to edit.

Next, tap on the person tile you wish to revoke the access for.
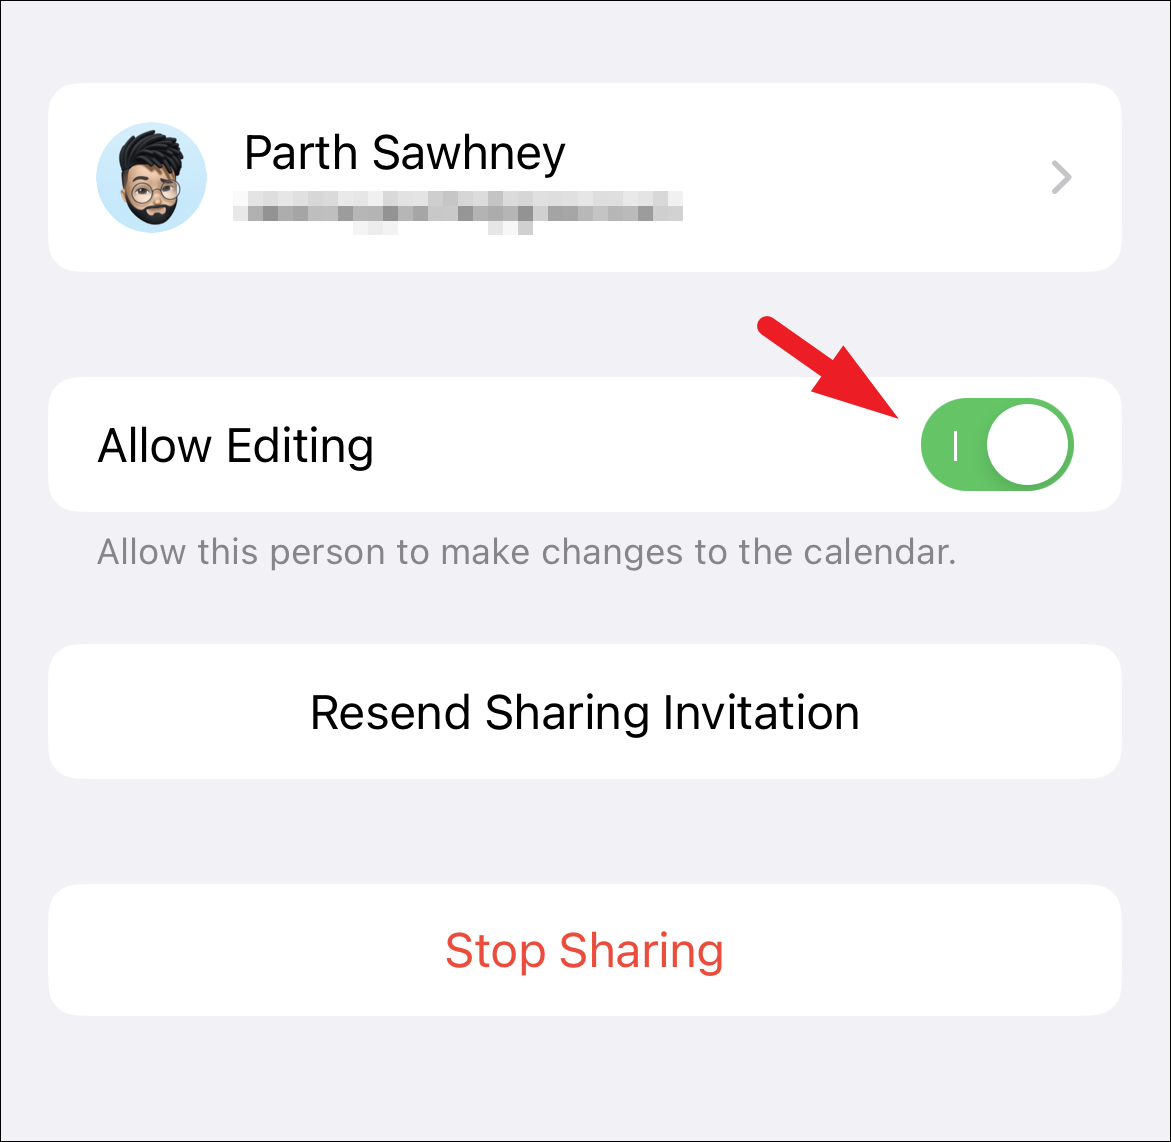
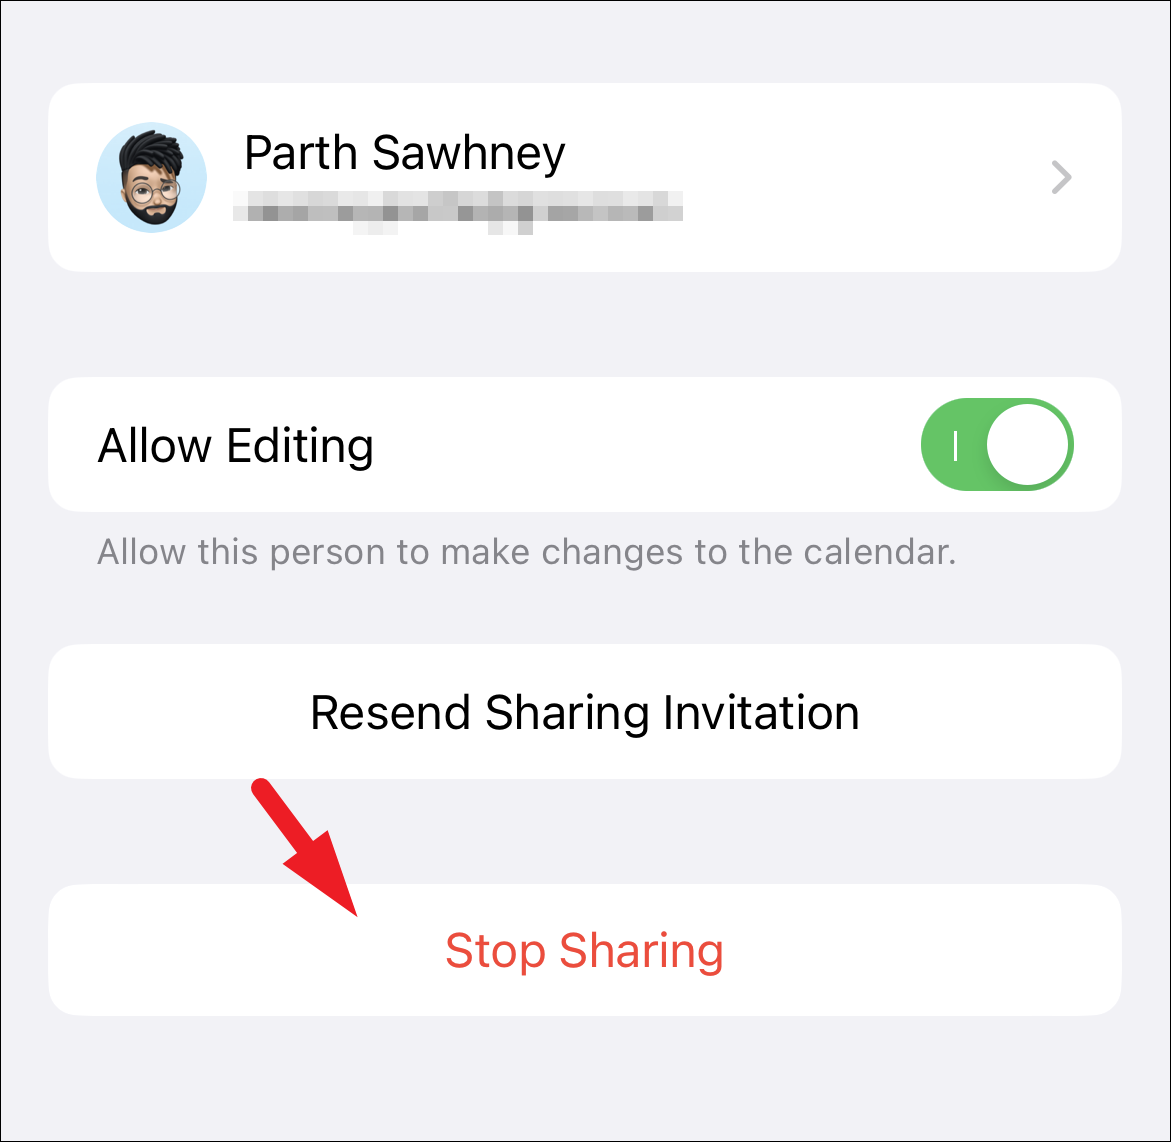
After that, tap on the toggle switch following the ‘Allow Editing’ option. When disabled the person will only be able to read the events.
If you wish to stop sharing the calendar with a person, from the ‘Edit Calendar’ screen, tap on the person’s name you wish to stop sharing.
After that, tap on the ‘Stop Sharing’ button to continue. This will bring an overlay pane to your screen.
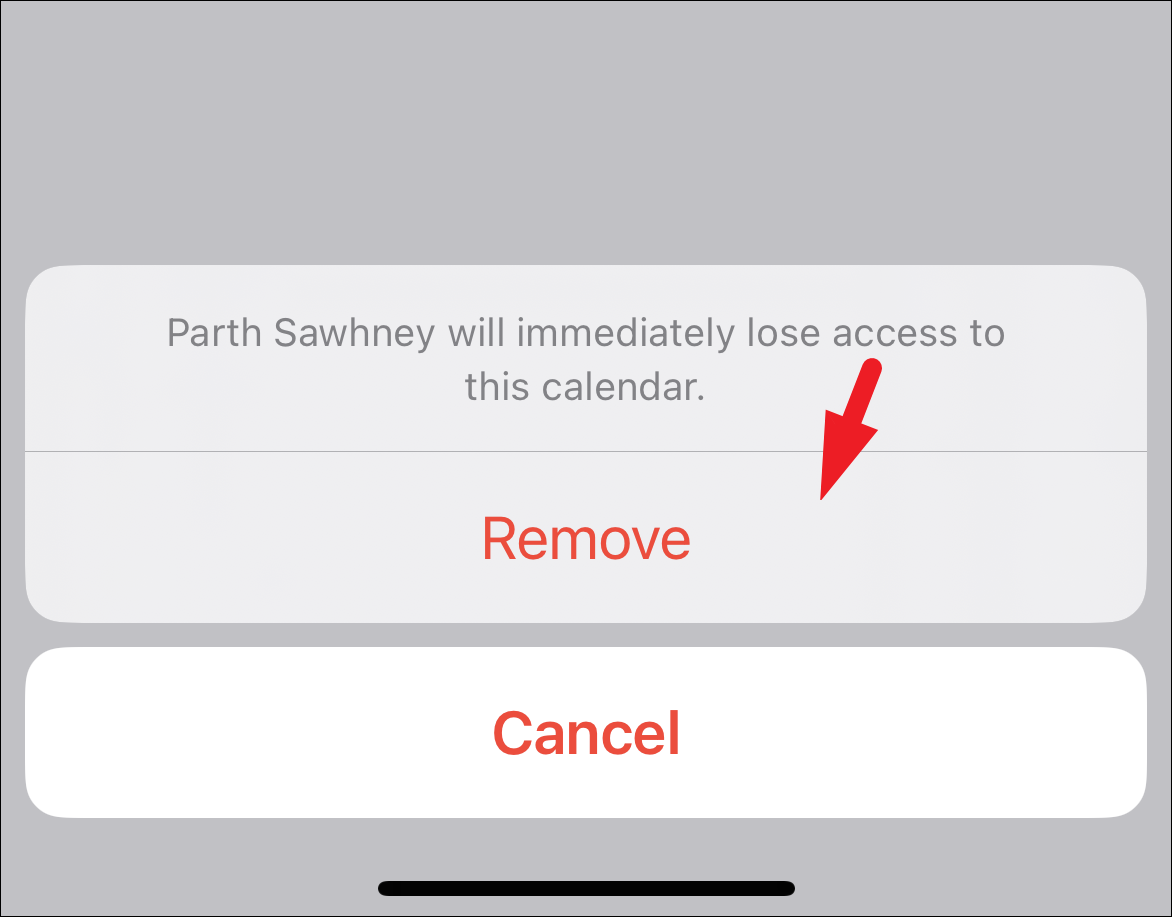
Now, tap on the ‘Remove’ option to stop sharing the calendar immediately.
If you made the calendar public, simply turn off the toggle for the ‘Public Calendar’ option to stop sharing it.
Sharing the calendar is very helpful when you have a team collaborating and need to be up to date on important dates and schedules. Fortunately, it’s extremely easy to share calendars on iPhone.


