iPhone’s Health app has always been a great way to keep an eye on your health and track your fitness goals. Now, with iOS 15, it’s also becoming a means of keeping an eye on other’s health.
It will now let you share your health data with others, be it a doctor, partner, or other caregivers. It’s a great way to share data without any hassle. Moreover, you have complete control over the data you’re sharing at all times. The person with whom you’re sharing the data will receive the data separately from their own. It’ll be presented neatly with important insights and trends highlighted.
You can also choose to share health alerts with others. They’ll receive notifications for any health alerts you receive. These include high or low heart rate and irregular rhythm notifications. You can also share notifications for any significant changes that occur in the categories you share with them, like a drastic decline in your activity, etc. So, without any further ado, let’s dive straight into the complete details regarding this feature.
Who Can Share You Share Health Data With?
You can share your health data with potentially anyone as long as the other person is also an iPhone user with iOS 15 installed. Other iPhone users who haven’t yet upgraded to iOS 15 won’t be available in the app to share your data with.
Additionally, the person should be in your contact list. It won’t matter if you have their number or email address memorized and can enter it directly. As long as they aren’t in your Contacts, you can’t share your data with them. So, before you open the Health app to start the sharing process, go to your Contacts and add them if they aren’t already there.
Sharing the Health Data and Notifications
Open the Health app on your iPhone and go to the ‘Sharing’ tab from the navigation bar at the bottom.
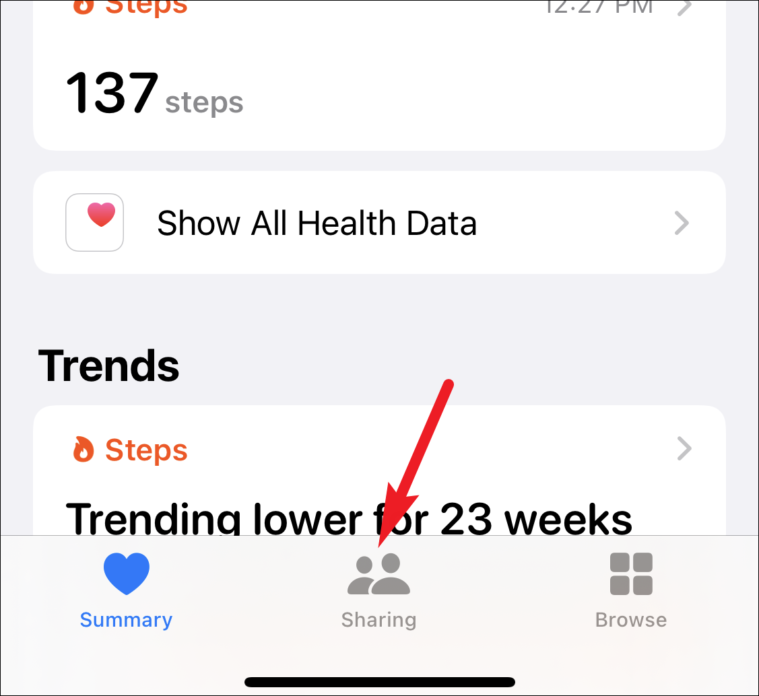
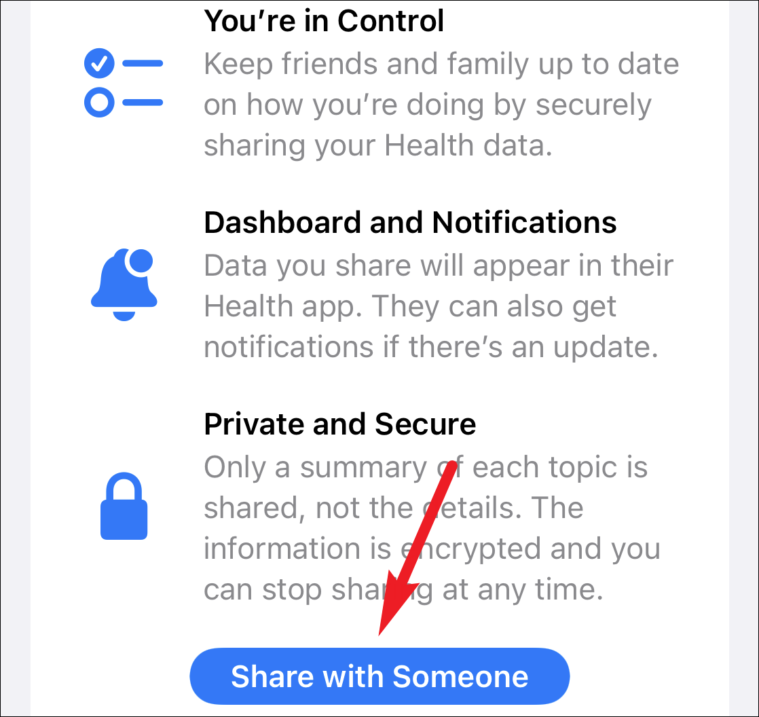
When you’re sharing for the first time, tap the ‘Share with Someone’ button from the Sharing tab.
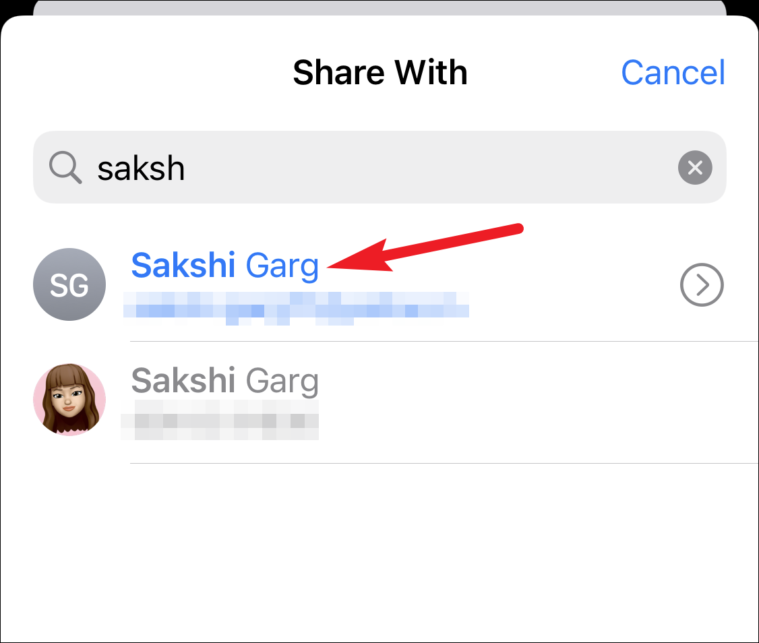
Then, search the person’s contact under ‘Share With’ by either entering their number, Apple ID or their name as saved in your contacts. If the person meets the conditions required for sharing health data, their contact will appear in blue, otherwise, it’ll appear grayed out.
Now, the Health app will ask you whether you want to manually select what to share or see the suggested topics that the app can show you based on the data you have available. If you’re not sure of which data to share, tap ‘See Suggested Topics’ to speed up the process. Or else, click ‘Set up Manually’.
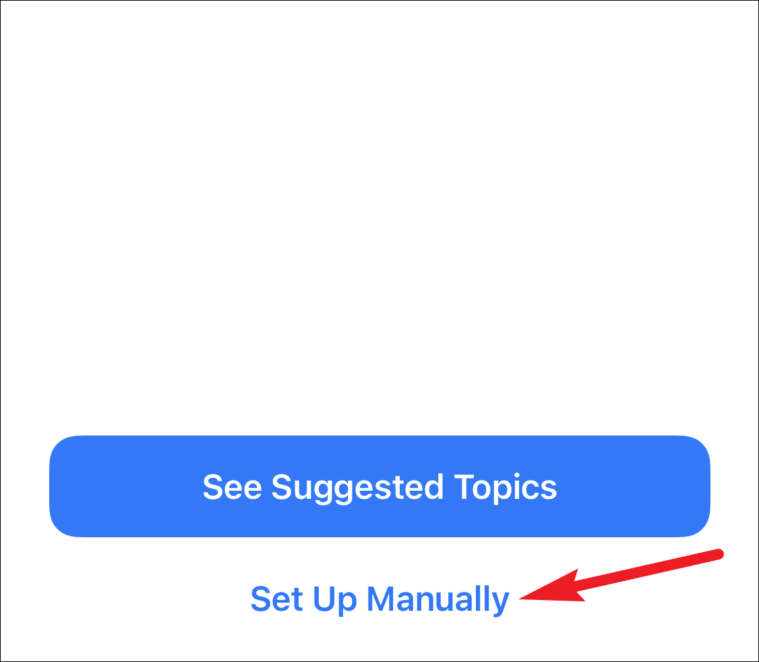
In the next few steps, you can choose exactly what you want to share, hence, giving you complete control over what the other person sees.
First, choose which health alerts you want to share the notifications for with them. The categories available will be based on your devices. You can individually turn on the notifications for categories available, or tap ‘Turn On All’ to turn on notifications for all categories in one go. After choosing your preferences, tap ‘Next’.
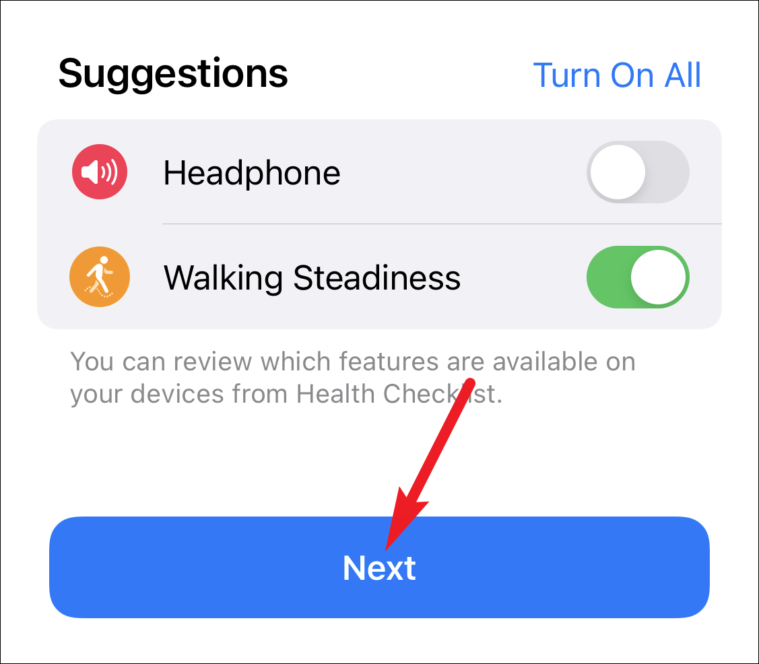
Note: Notifications aren’t immediate and might take some time to appear on the other person’s phone.
Then, under ‘Topics’, choose which data you want to share. Turn on the toggle next to the categories you want to share.
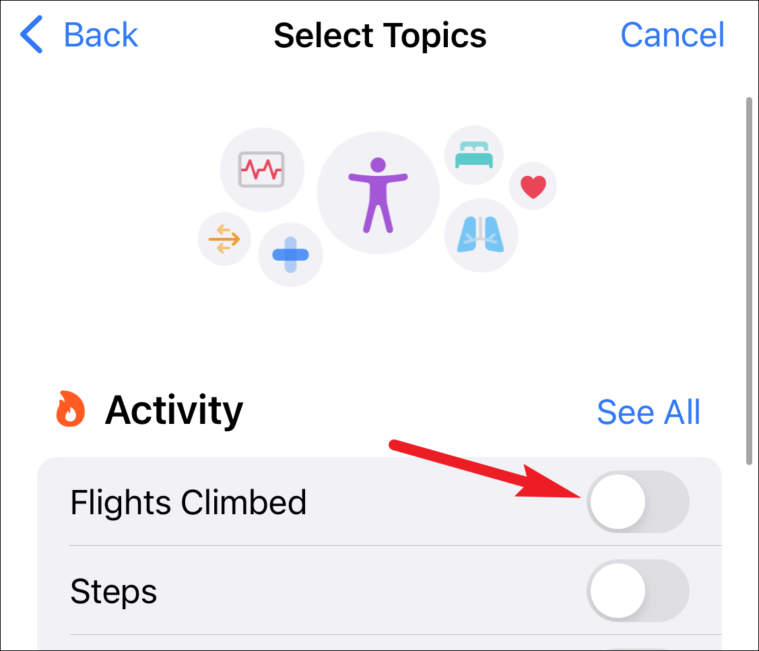
If you don’t see a particular metric on the Topics screen, tap ‘See All’ to see all available categories within a topic.
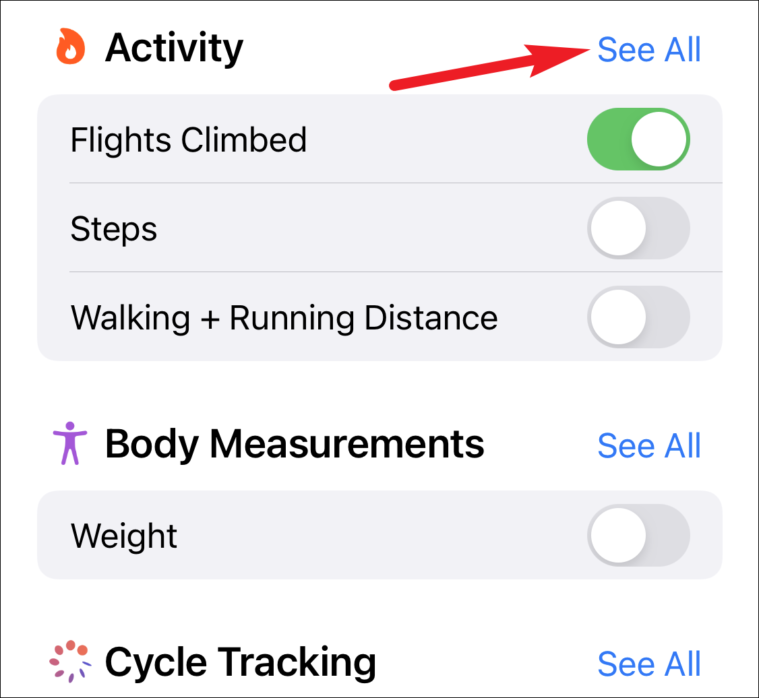
Enable the categories individually or tap ‘Turn On All’ to enable all the categories within a topic. Then, tap ‘Done’ to return to the topics screen.
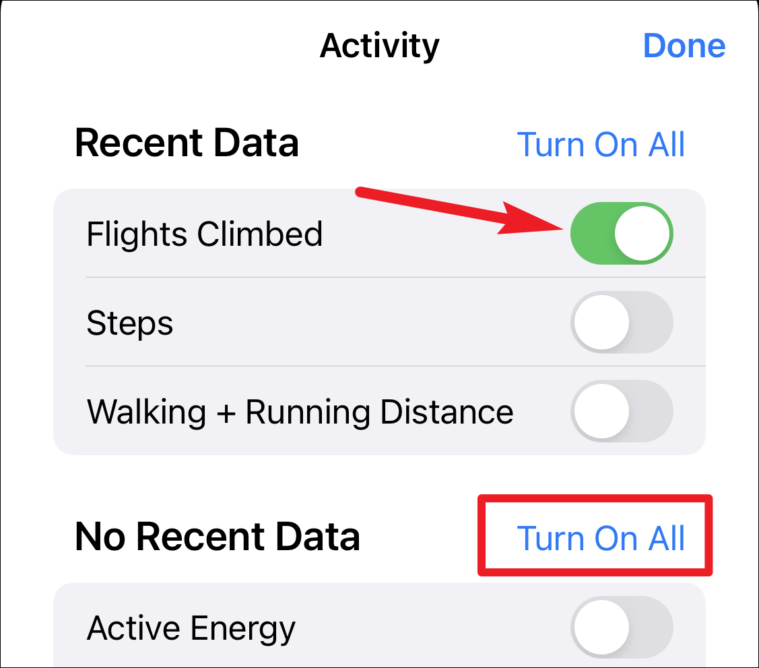
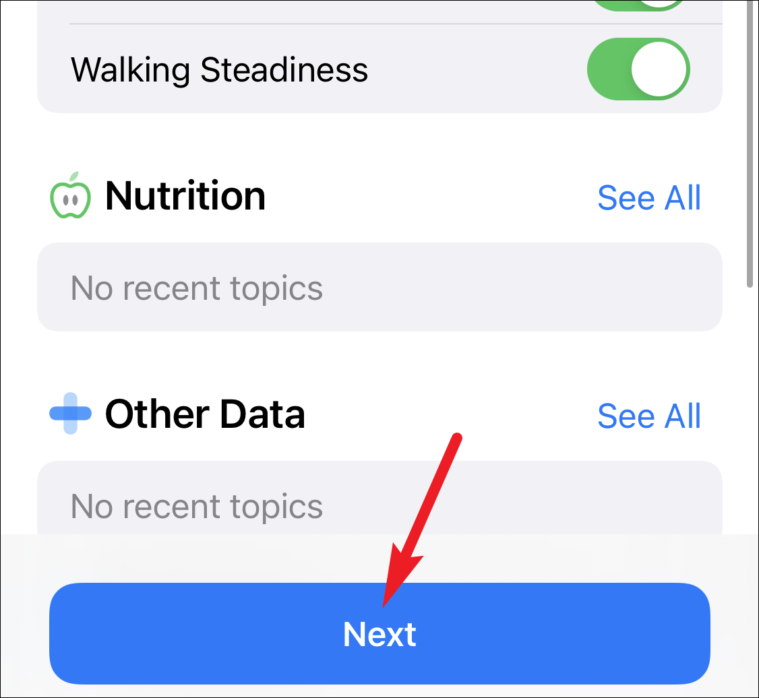
Go through all the available topics and carefully enable the metrics you want to share. Finally, tap ‘Next’.
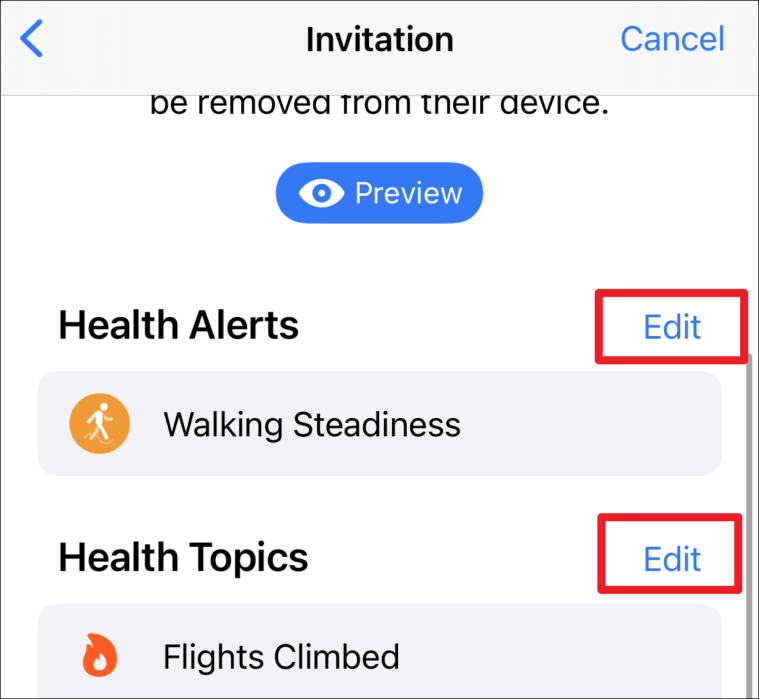
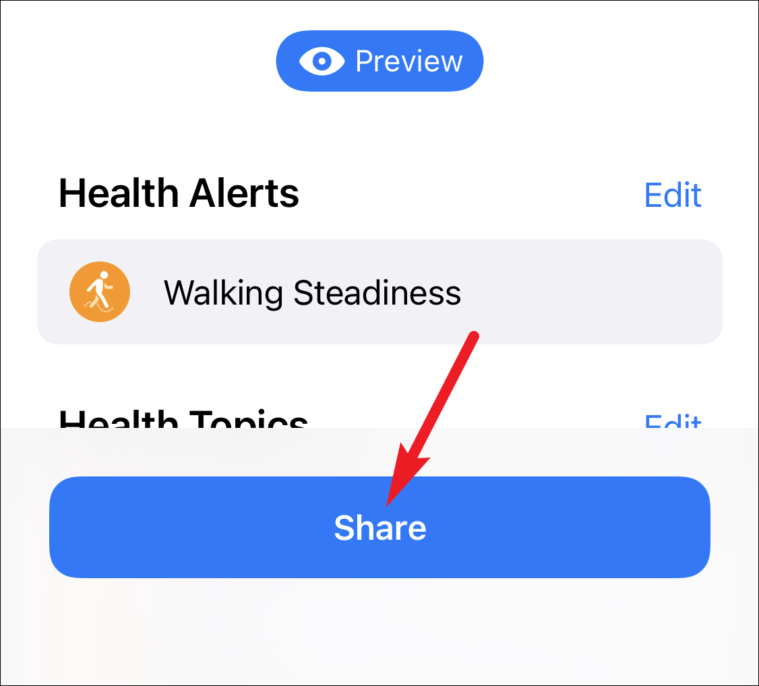
You’ll reach the Invitation screen. It’ll show all the health alerts (notifications) and topics you’ve chosen to share. You can still go back and edit these categories. Tap the ‘Edit’ option next to Alerts and Topics to edit either of these.
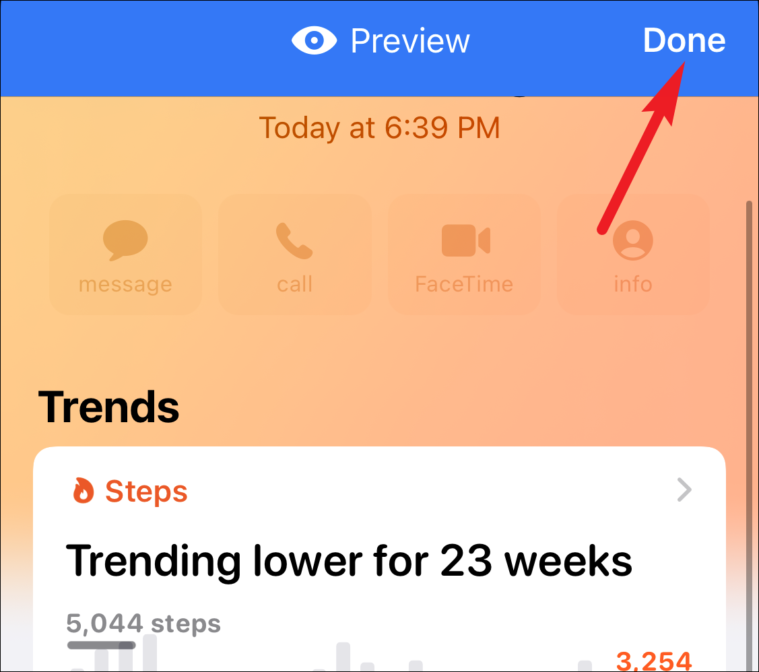
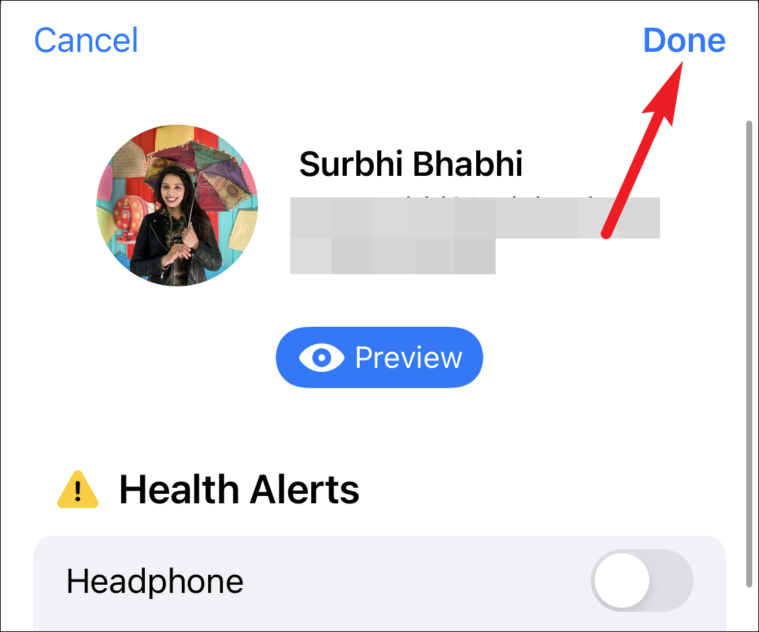
To see how the other person will see your information, tap ‘Preview’.
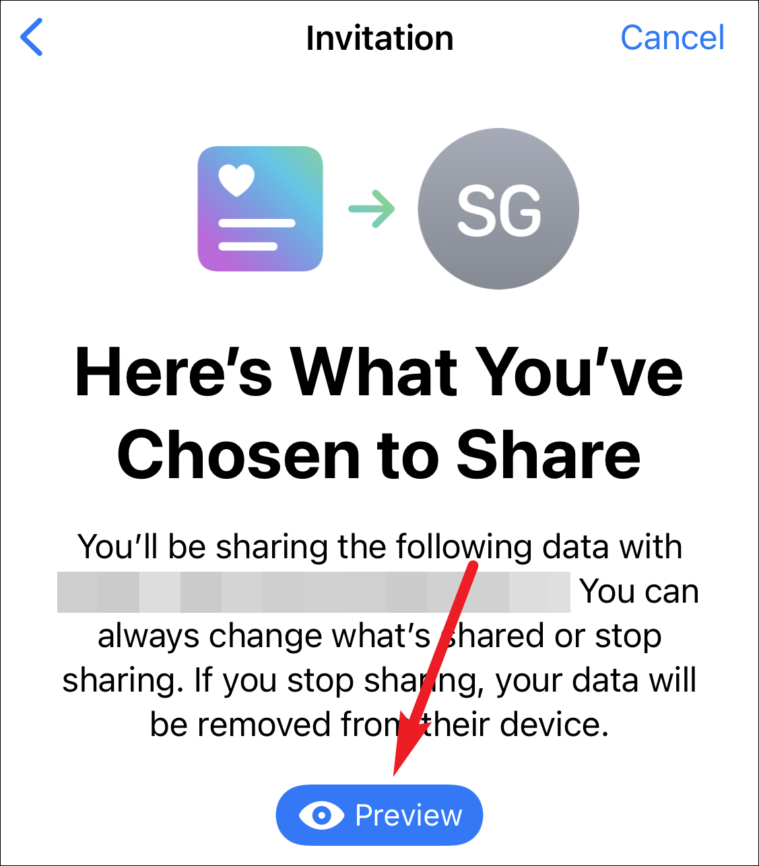
The Preview screen will provide you an exact glimpse into how your data will appear on the other person’s phone. Tap ‘Done’ to return to the invitation.
Finally, tap ‘Share’ to send the invitation.
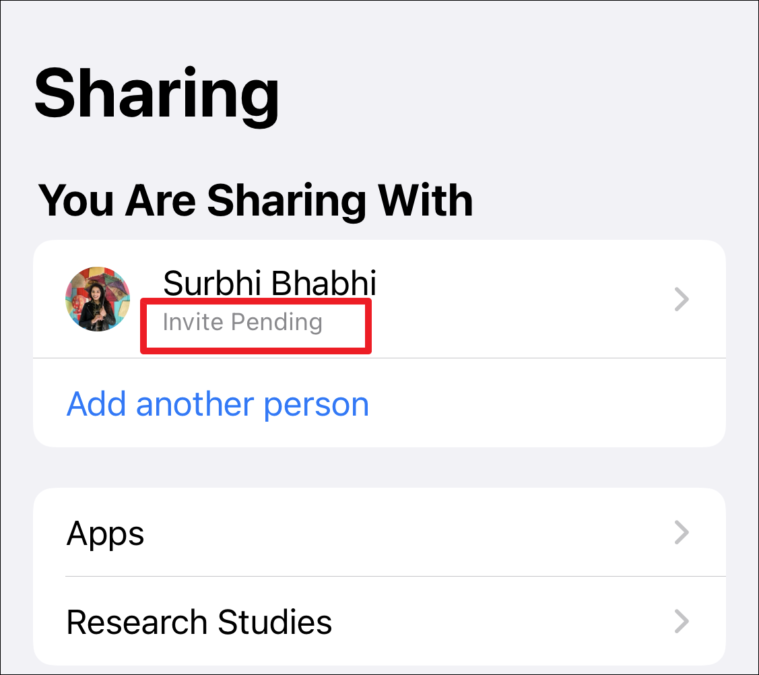
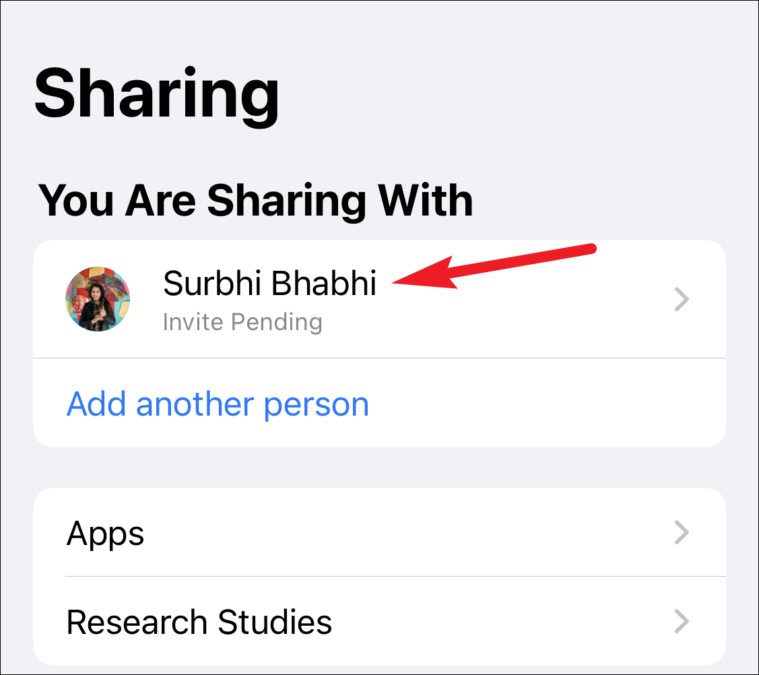
If the invitation is sent successfully, the person will appear in your ‘Sharing’ tab in the Health app. You’ll also be able to see the status of their invitation here. Until they accept the invitation, it’ll indicate ‘Invitation Pending’ under their name.
They’ll receive a notification regarding your invitation. It’ll be available to see in the Sharing tab of their Health app from where they can accept or decline your invitation.
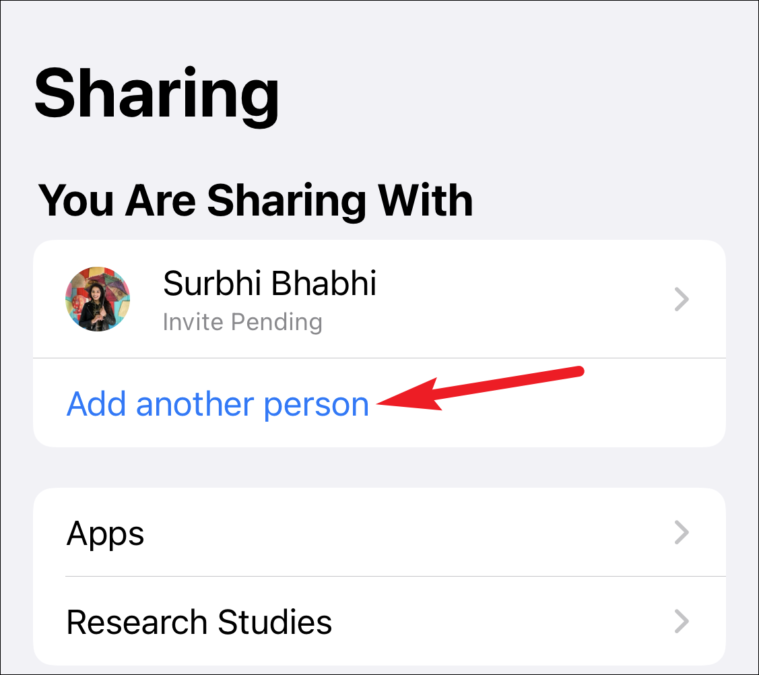
You can share your health data with as many people as you want. Go to the Sharing tab again and tap ‘Add another person’. Then, the process for adding them is the same as above.
Stop Sharing or Edit your Health Data
You can stop sharing the health data at any time, whether the invitation is pending or they’ve accepted your invitation already. You can also edit the categories you’ve shared, disable some or enable new ones instead of completely stop the sharing of the data.
Go to the ‘Sharing’ tab and tap the person’s name from the list of people you’re sharing the data with.
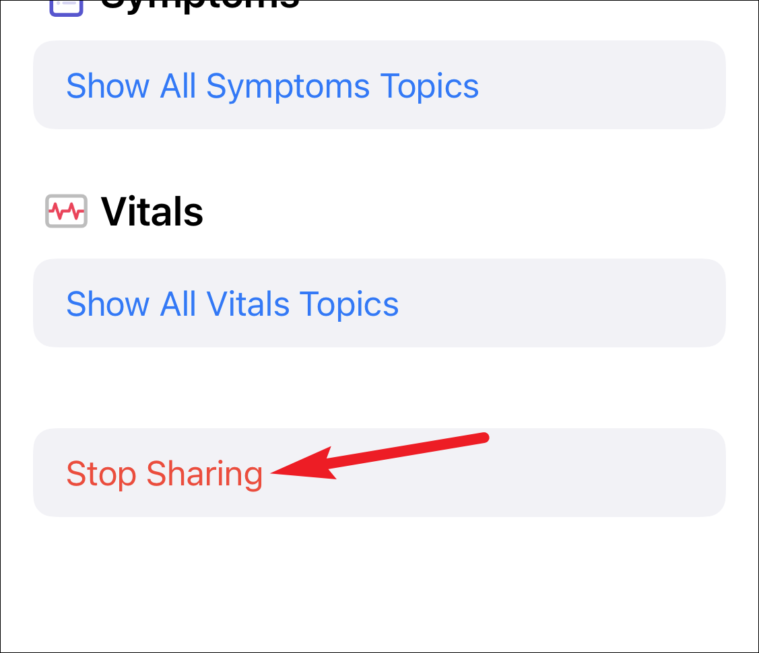
To stop sharing the data, scroll down to the bottom and tap ‘Stop Sharing’.
A confirmation prompt will appear on the screen. Tap ‘Stop Sharing’ from the prompt to confirm your decision.
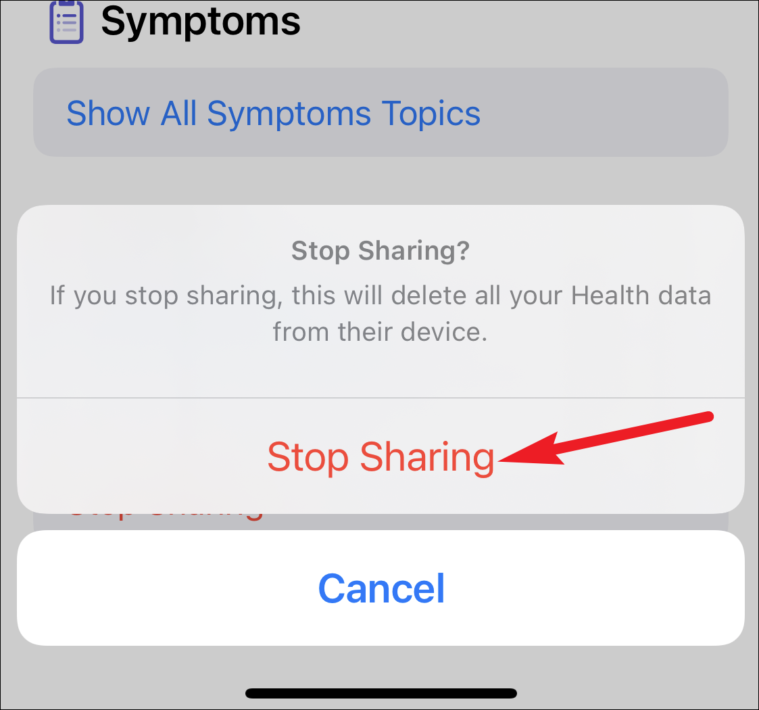
This will delete all your health data from their device.
You can also change the health data to share. The categories you’re sharing will all appear on the details screen. To disable any of them, simply turn off the toggle for them.
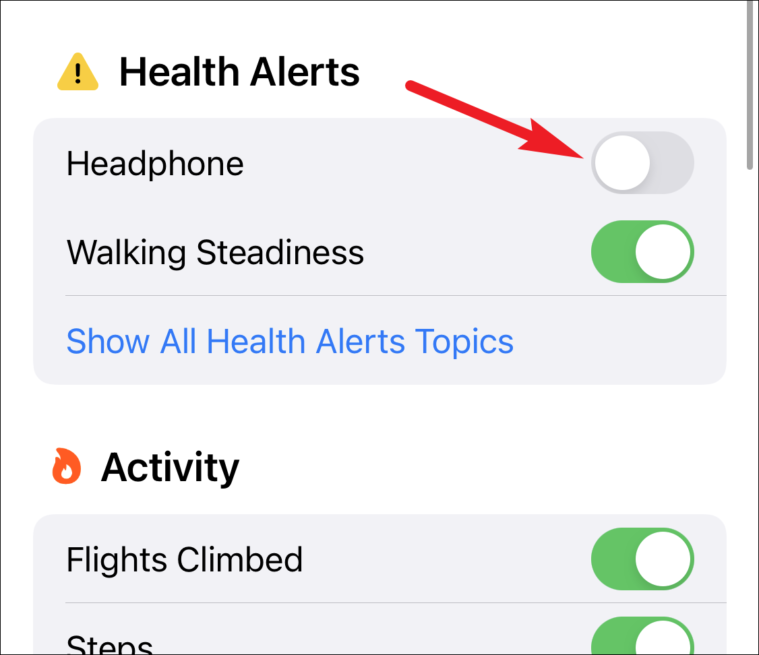
To share more categories, tap the option for ‘Show all’ under topic and enable the toggle for the categories either individually or tap ‘Turn On All’.
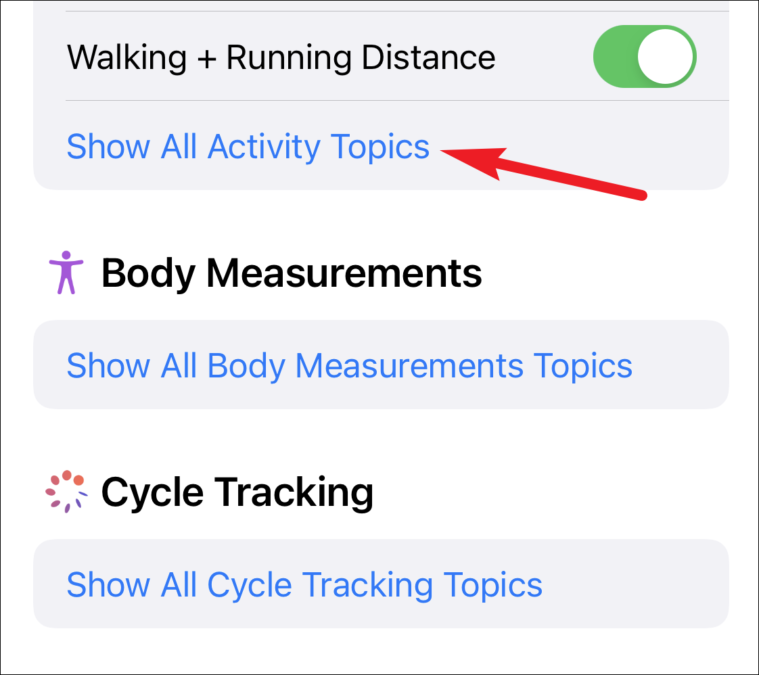
Then, tap ‘Done’ to save the changes.
Being able to share your health data with such ease will be a game-changer, especially for people who need others to care for them. It can also help you monitor everyone’s health in your family with ease, whether it’s your elderly parents or kids.

