
Windows 11 brings numerous improvements to system performance, but there’s always room for optimization. Whether you’re experiencing sluggishness or simply want to squeeze every ounce of speed from your PC, these methods can help boost your Windows 11 experience.
Adjust power settings for optimal performance
Your power plan significantly impacts system performance. Windows 11 offers three main power options: Balanced, Power Saver, and High Performance. To maximize speed, especially for desktop PCs or laptops connected to power, switch to the High Performance plan.
To modify your power settings:
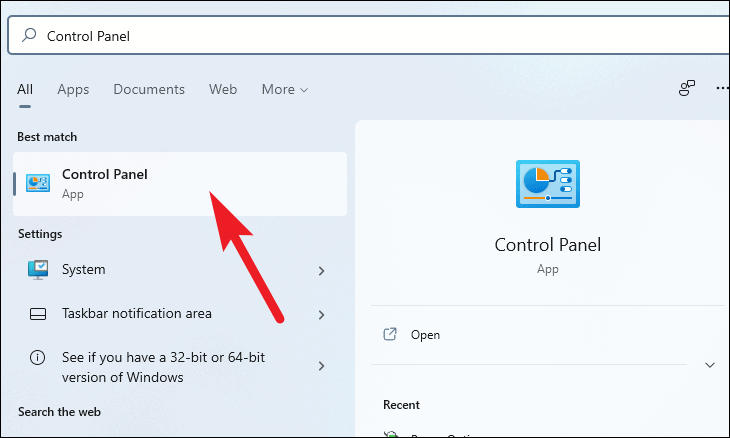
- Click the search icon on the taskbar and type “Control Panel”.
- Select the Control Panel app from the results.
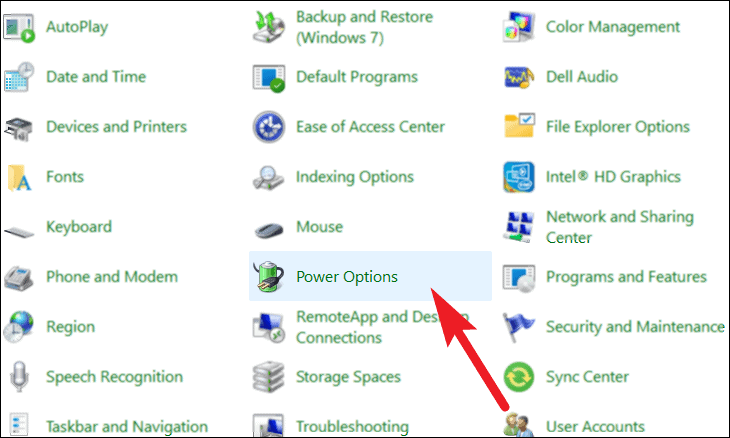
- In Control Panel, click on “Power Options”.
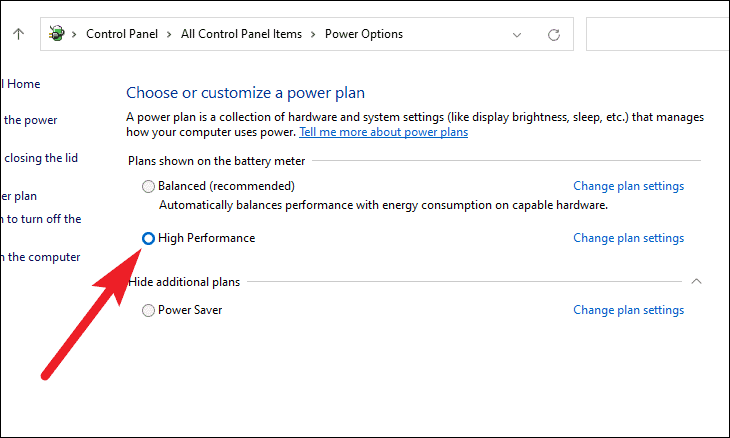
- You’ll see the available power plans. Select “High Performance” by clicking the radio button next to it.
This change can provide an immediate performance boost, particularly for resource-intensive tasks.
Disable unnecessary background apps
Many applications run in the background, consuming system resources even when not in use. Disabling non-essential background apps can free up memory and processing power.
To manage background apps:
- Open the Settings app by pressing Windows key + I.
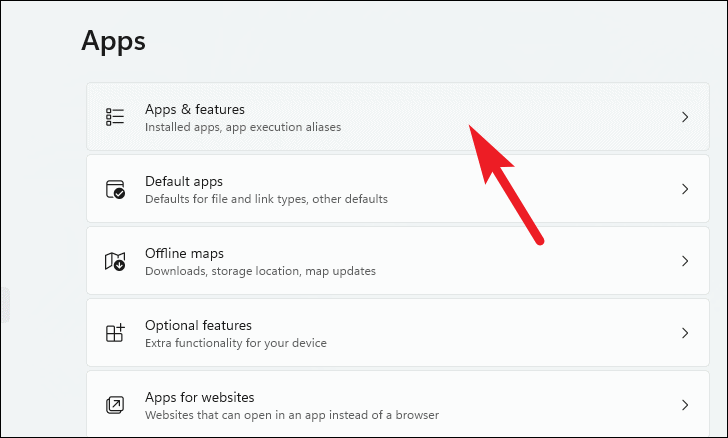
- Navigate to System > Apps > Apps & features.
- Scroll through the list or use the search box to find specific apps.
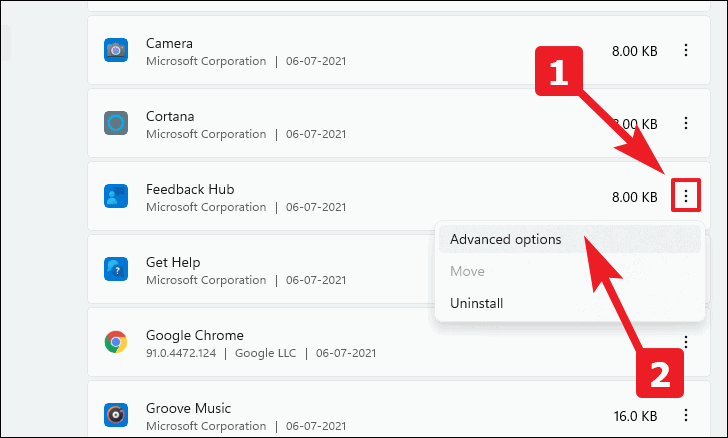
- Click the three-dot menu next to an app and select “Advanced options”.
- Under “Background apps permissions”, click the dropdown and select “Never”.

Repeat this process for all non-essential apps to reclaim system resources.
Turn off visual effects
Windows 11’s visual effects enhance aesthetics but can impact performance, especially on older hardware. Disabling these effects can speed up your system.
To adjust visual effects:
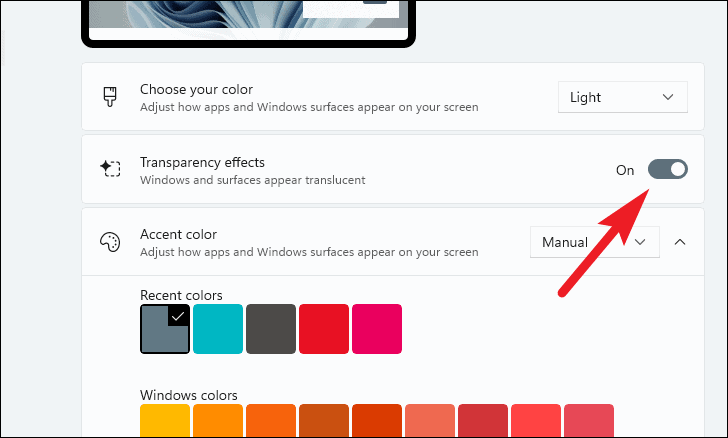
- Open Settings and go to Personalization > Colors.
- Toggle off “Transparency effects”.
For more comprehensive visual adjustments:
- Type “sysdm.cpl” in the search box and press Enter.
- In the System Properties dialog, click the “Advanced” tab.
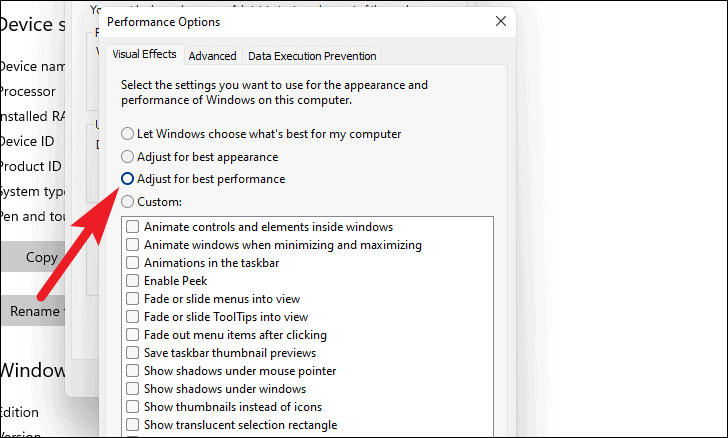
- Under Performance, click “Settings”.
- Select “Adjust for best performance” or manually uncheck effects you don’t need.
- Click “Apply” and then “OK” to save changes.
Optimize startup programs
Programs that launch at startup can significantly slow down your boot time and overall system performance. Disabling unnecessary startup items can lead to faster boot times and improved responsiveness.
To manage startup programs:
- Press Ctrl + Shift + Esc to open Task Manager.
- Click the “Startup apps” tab.
- Review the list of programs that start with Windows.
- Right-click on items you don’t need at startup and select “Disable”.
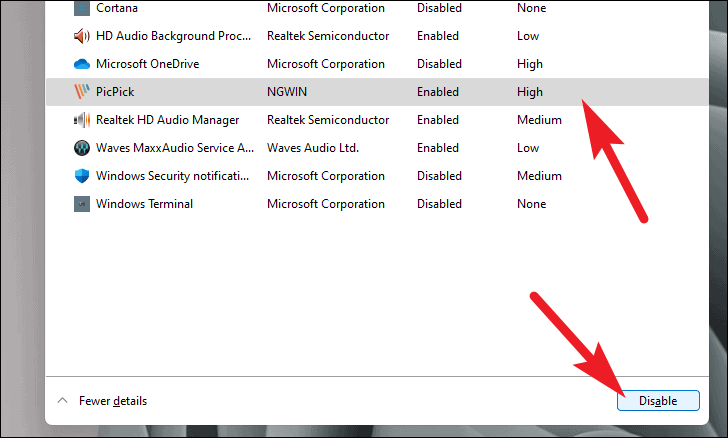
Focus on disabling programs with a “High” startup impact for the most noticeable improvement.
Use Storage Sense to free up disk space
A cluttered hard drive can slow down your system. Windows 11’s Storage Sense feature automatically frees up space by removing unnecessary files.
To enable and configure Storage Sense:
- Open Settings and navigate to System > Storage.
- Toggle on Storage Sense.
- Click “Storage Sense” to customize its behavior.
You can set it to run automatically when your disk space is low or on a schedule. This helps maintain optimal disk space without manual intervention.
Defragment your hard drive
For traditional hard disk drives (HDDs), regular defragmentation can improve read and write speeds. Windows 11 typically handles this automatically, but you can manually initiate the process:
- Open Settings and go to System > Storage.
- Click on “Advanced storage settings”, then “Drive optimization”.
- Select your drive and click “Optimize”.
Note that SSDs don’t require traditional defragmentation and are automatically handled by Windows.
Utilize ReadyBoost for older systems
If you’re using an older PC with limited RAM, ReadyBoost can use a USB drive to supplement your system memory.
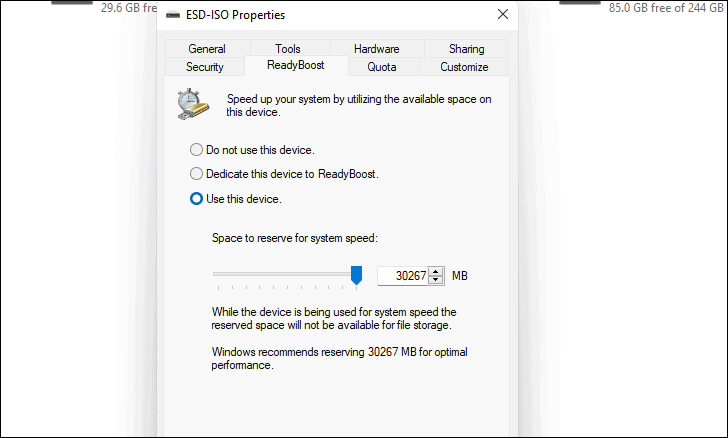
To set up ReadyBoost:
- Insert a USB drive with at least 500MB of free space.
- Open File Explorer and right-click on the USB drive.
- Select “Properties” and go to the ReadyBoost tab.
- Choose “Dedicate this device to ReadyBoost” and click “Apply”.
This can provide a performance boost on systems with limited RAM, though the impact on modern PCs with SSDs is minimal.
Update device drivers
Outdated or faulty drivers can cause performance issues. Keeping your drivers up-to-date ensures optimal hardware performance.
To update drivers:
- Right-click the Start button and select “Device Manager”.
- Expand categories and right-click on devices to update drivers.
- Choose “Search automatically for updated driver software”.
Alternatively, use Windows Update to check for driver updates:
- Go to Settings > Windows Update > Advanced options.
- Select “Optional updates” to see available driver updates.
Regular driver updates can resolve performance issues and improve system stability.
By implementing these optimization techniques, you can significantly enhance your Windows 11 performance. Remember to restart your PC after making changes to ensure they take effect. Regularly maintaining your system using these methods will help keep your Windows 11 experience smooth and responsive.


