
Capturing the perfect screenshot can be a vital part of documenting online information, creating tutorials, or even sharing interesting content. Arc Browser, among other groundbreaking features, also has an efficient and integrated approach to taking screenshots, which should not be overlooked.
With a built-in screenshot tool called Capture, taking a screenshot in Arc Browser is a straightforward and versatile process without the need for any other software. Here’s how it works.
Taking the Screenshot
There are several ways you can take a screenshot using the Capture tool in Arc Browser.
1. Use the Camera Button
The simplest way to take a screenshot in the Arc Browser is by using the Camera button.
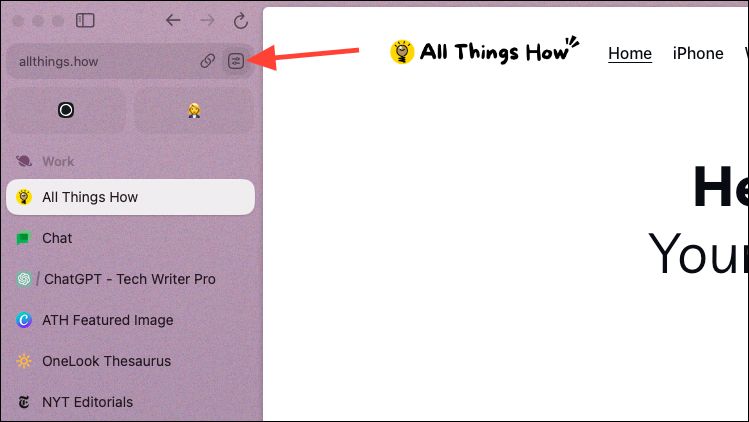
- Click the ‘Site Controls’ icon to open the Site Control Center.
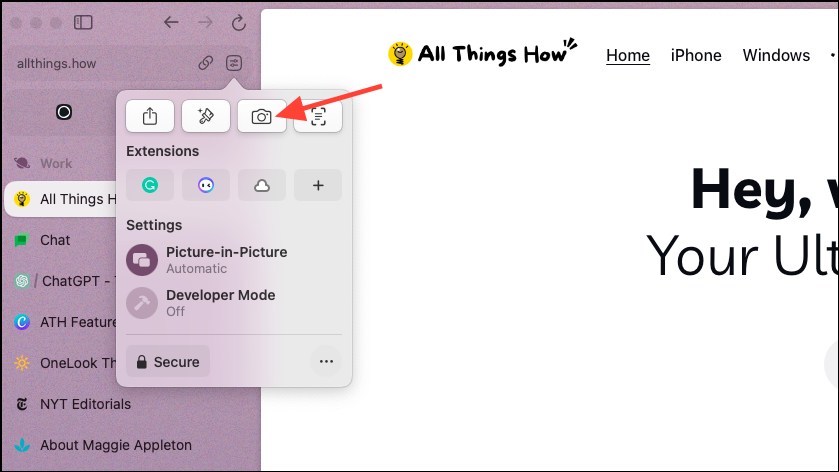
- Next, locate and click the ‘Camera’ button from the menu.
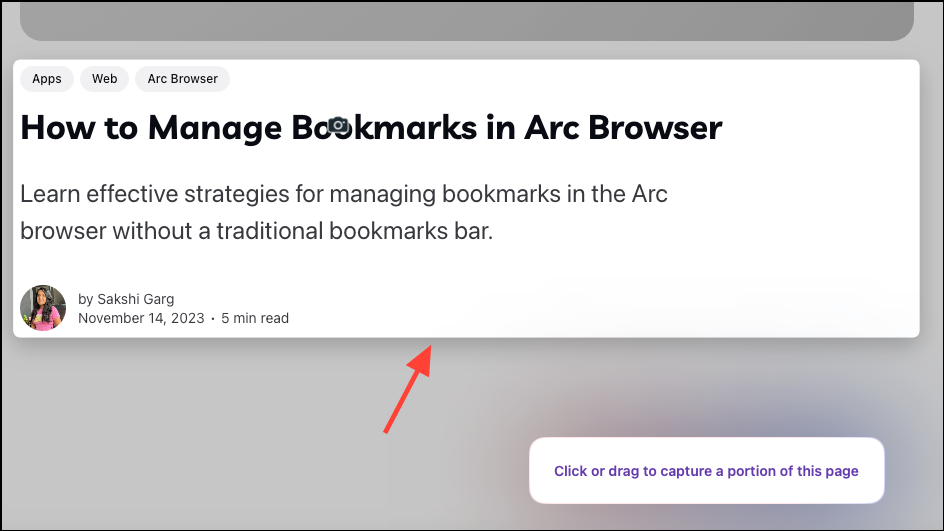
- Drag your mouse over the portion of the page you want to capture.

- You can also hover over the different parts of the page; it’ll automatically highlight the related portion of the page. Click your mouse button to take the screenshot.
2. Use the Keyboard Shortcut
You can also use the keyboard shortcuts to take a screenshot in the Arc Browser.
- Hold down the
Cmd+Shiftkeys while dragging your mouse over the portion of the page you want to capture. - You can also press the
Cmd+Shift+2keyboard shortcut, which will activate the Capture tool. - Then, drag your mouse over the portion you want to capture or hover over the portion, wait for it to get selected, and click the mouse button.
3. Use the Command Bar
You can also use the trusty old Command Bar to initiate a screenshot.
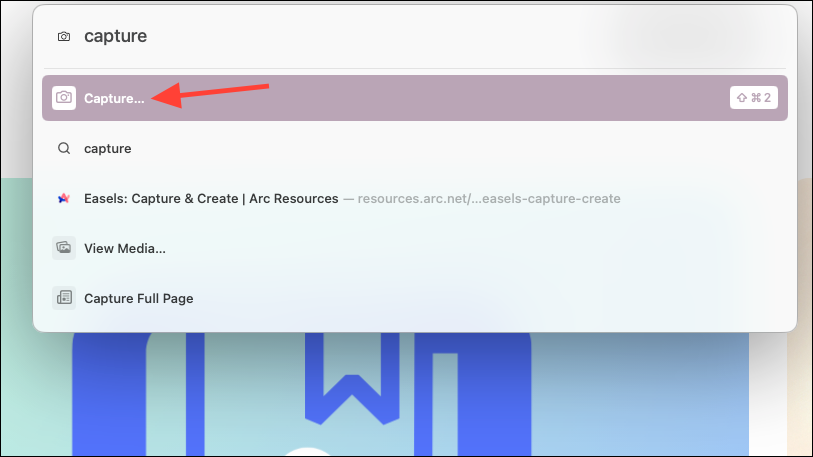
- Press the
Cmd+Tkeys to open the Command Bar. - Then begin typing ‘Capture’ and press ‘Enter’ on it to activate the Capture tool.
Managing the Screenshot
Once you’ve captured the screenshot, select what you want to do with the screenshot.
- A menu will appear as soon as you capture the screenshot. You’ll find options to copy it, save it to your Mac, send it via iMessage, or retake it, among other things.
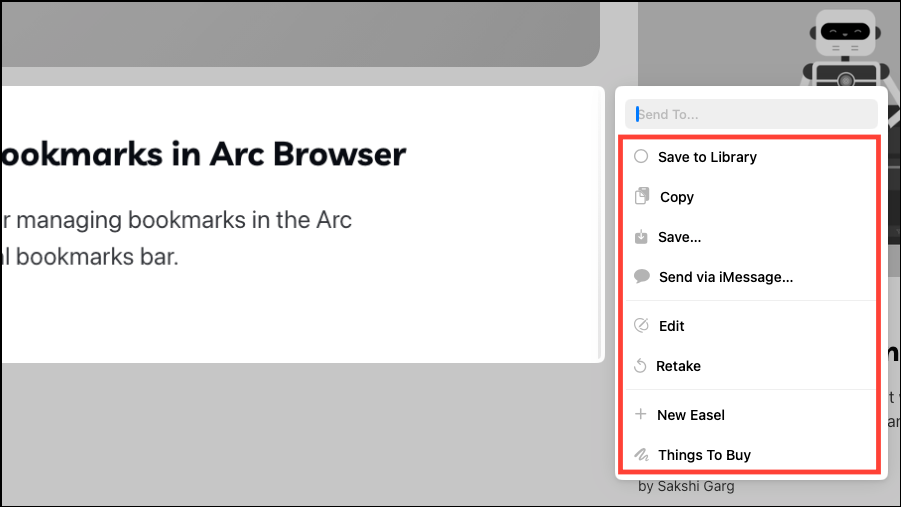
- You can also send it to a new or existing Easel.

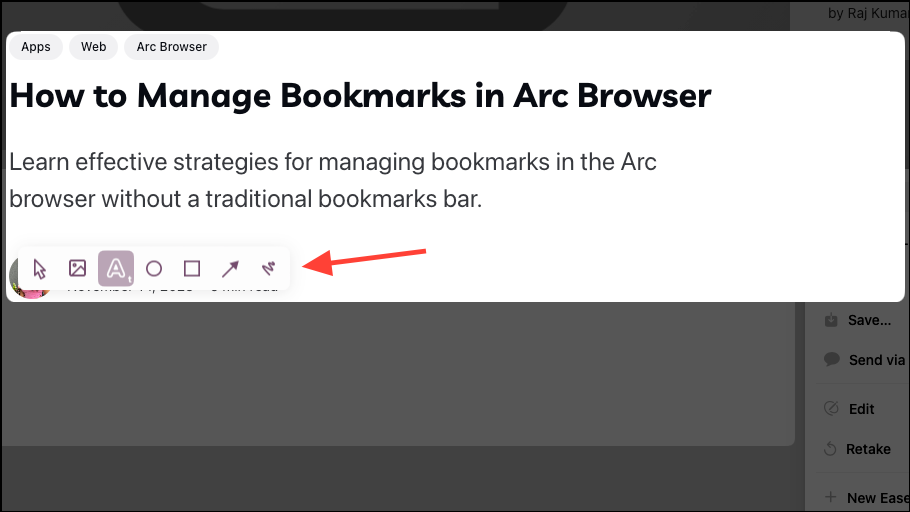
- You can also edit the screenshot. A toolbar similar to the one in an Easel will open, which has options to annotate the screenshot, add images, add text to it, etc.
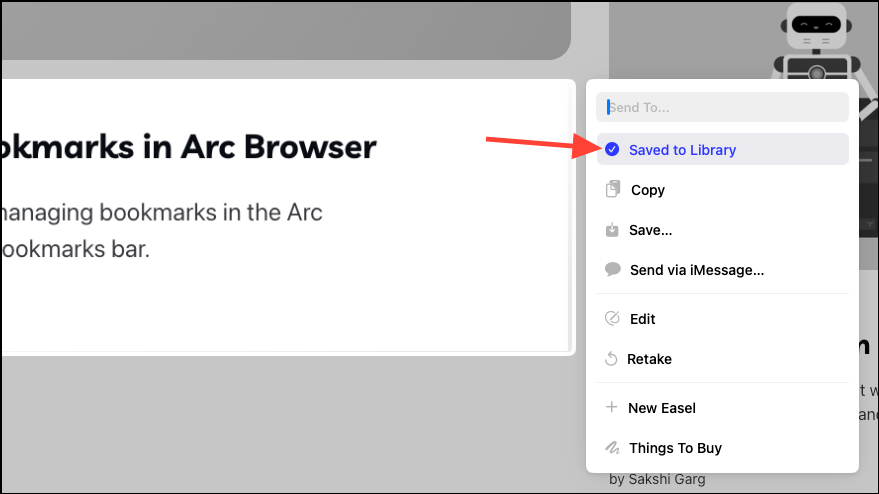
- You can also select the ‘Save to Library’ option. When selected, all future screenshots will be automatically saved to your Arc Library, until you deselect this option.
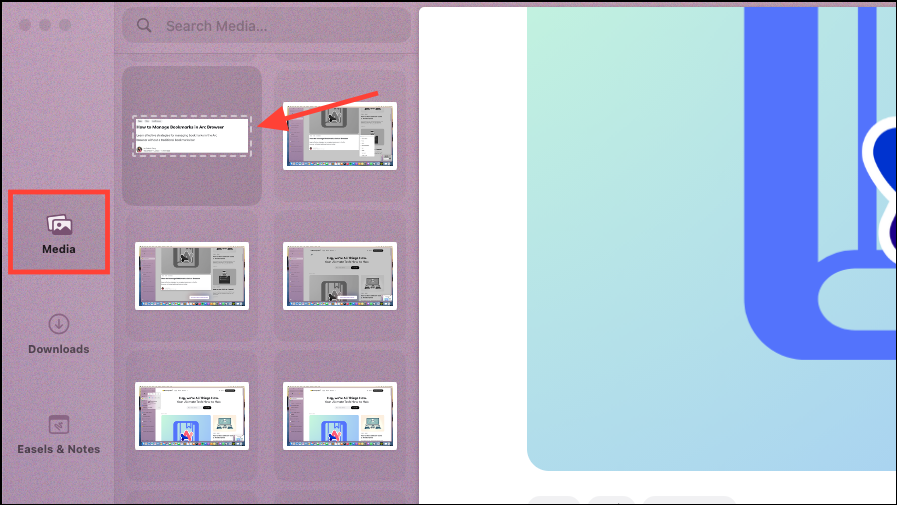
- To find saved screenshots, click the ‘Library’ button in the bottom left corner of the sidebar.
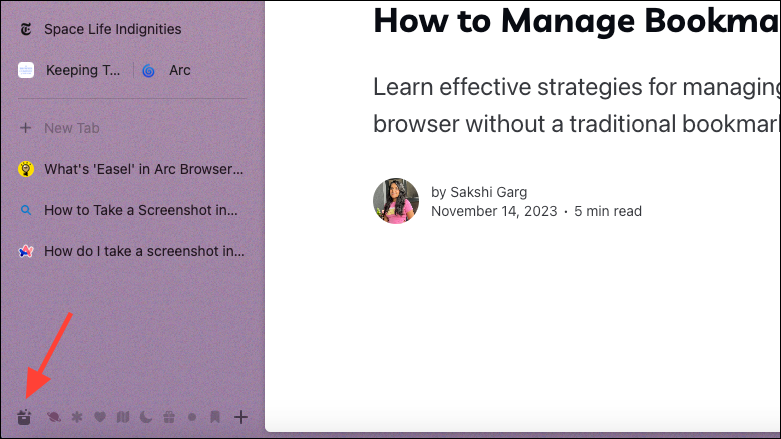
- Then, go to the ‘Media’ tab. You’ll find the screenshots there.
Capture the Full Page
You can also capture the full webpage using the Arc Browser, but it doesn’t provide as many options as the Capture tool. The screenshot is directly saved to your default Downloads directory.
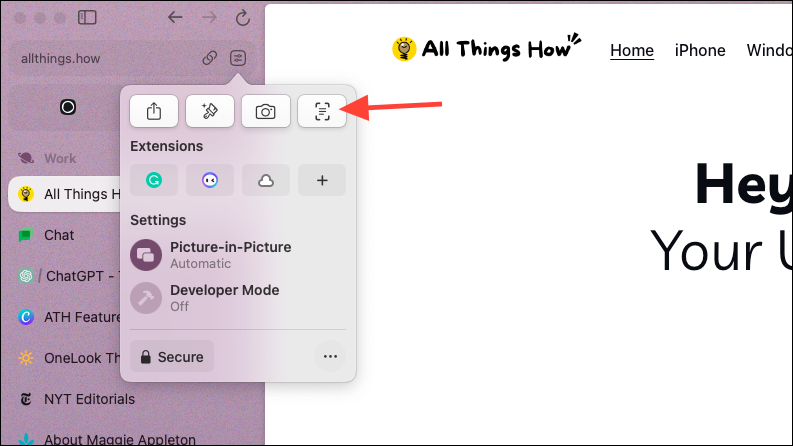
- Click the ‘Site Controls’ icon and then select the ‘Capture Full Page’ icon from the menu.
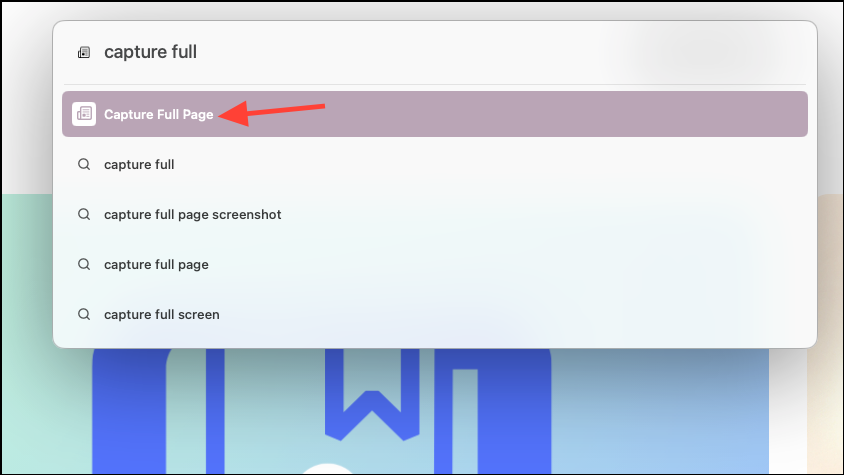
- You can also select ‘Capture Full Page’ from the Command Bar (
Cmd+T) to take the screenshot.
The built-in screenshot tool in Arc Browser simplifies the process of capturing web content. Whether it’s for professional documentation, educational purposes, or personal use, this feature enhances your browsing experience by providing a quick and easy way to save and share what’s on your screen.


