Taking a screenshot comes in very handy on various occasions, you might need to send someone a screenshot of where a particular browser setting is located, you could wish to save some information displayed on the screen for the future, or it could just be another hilarious meme you wish to share with a friend who is not on the social media bandwagon.
The use-cases are limitless, but often opening a separate app to take screenshots gets us procrastinating or leaving it altogether. Fortunately, if you use Microsoft Edge as your daily driver, you can use the built-in ‘Web Capture’ feature in the browser to effortlessly capture screenshots.
The ‘Web Capture’ feature allows you to capture fullscreen screenshots along with tools to annotate the picture if you need to do so. However, do keep in mind, since the Web Capture feature is facilitated by the browser, you will not be able to take screenshots out of the browser.
Use the ‘Web Capture’ Feature in Edge to Click a Screenshot
You can easily access the Web Capture feature from the overflow menu present in the Microsoft Edge browser. Moreover, you can also add it to the toolbar for easy access if you wish to use the feature frequently.
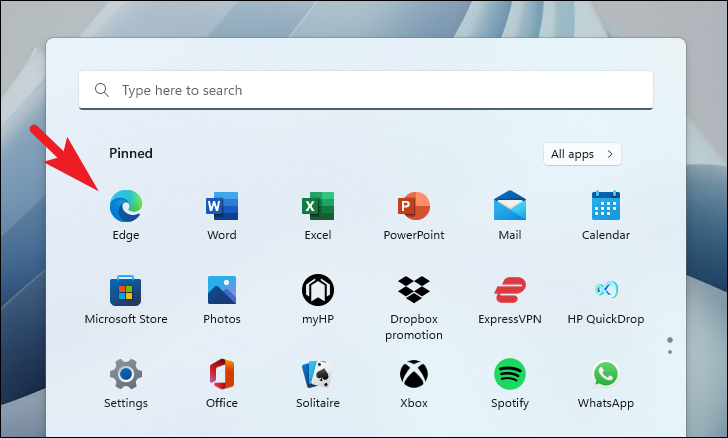
To click a screenshot using the web capture, head to the Start Menu and click on the ‘Edge’ tile present under the ‘Pinned apps’ section. Otherwise, type Edge in the menu to perform a search for the app.
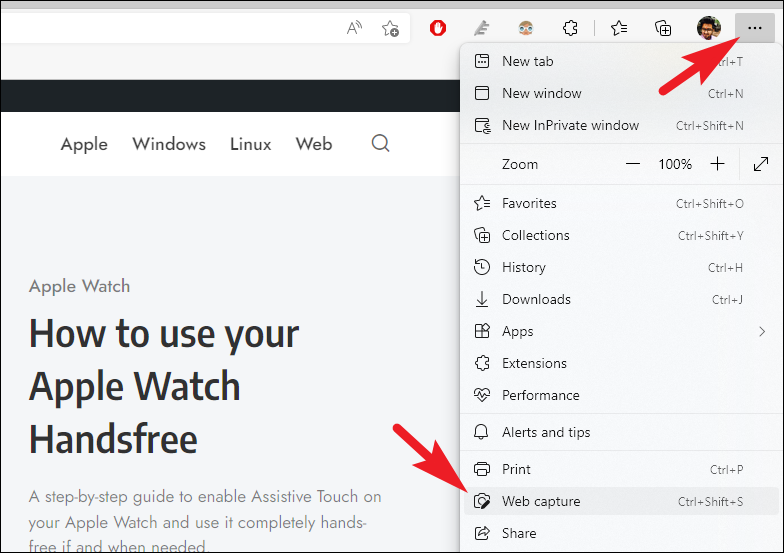
Next, once you are on the webpage you wish to take the screenshot of, click on the ‘Ellipsis’ icon present at the top right section of the browser window to reveal the overflow menu. Then, from the overflow menu locate and click on the ‘Web Capture’ option. Alternatively, you can also press the Ctrl+Shift+S keys together on your keyboard to summon it. This will bring up the Web Capture toolbar on your screen.
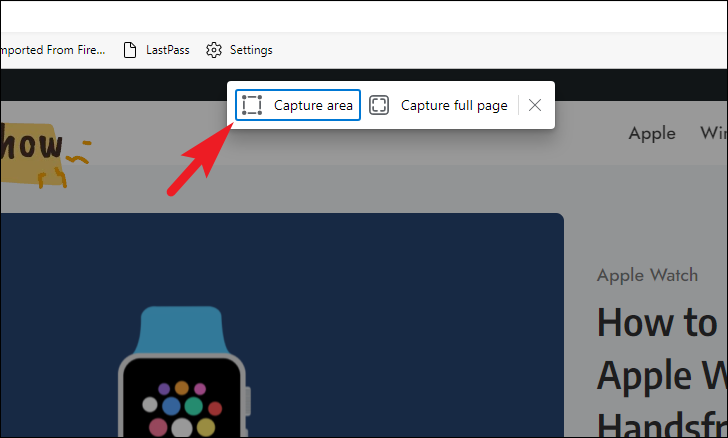
Now, if you wish to click on a selected portion of the screen, click on the ‘Capture area’ button. Otherwise, if you wish to take a full-screen screenshot, click on the ‘Capture full page’ button to proceed.
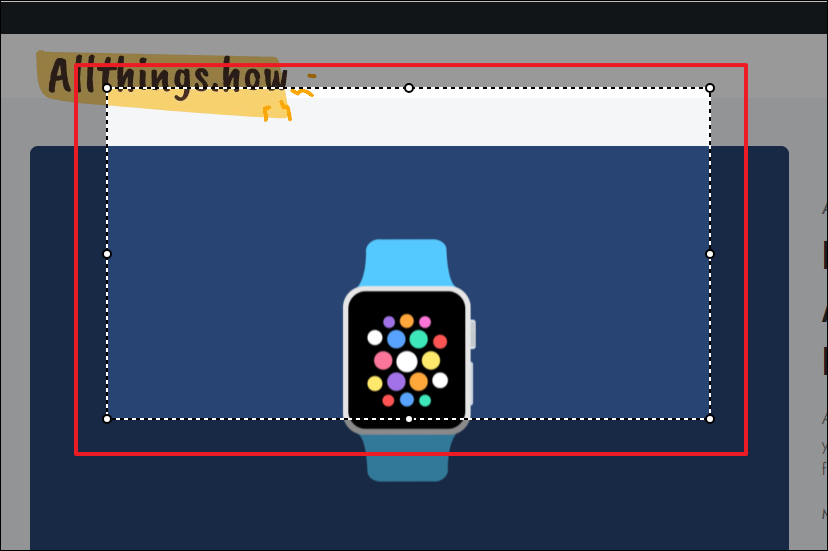
If you chose to click a selected portion of the screen, a crosshair will appear on your screen. Now, click and hold the left mouse button and drag it across your screen to select the desired area. Release the button once the area is selected.
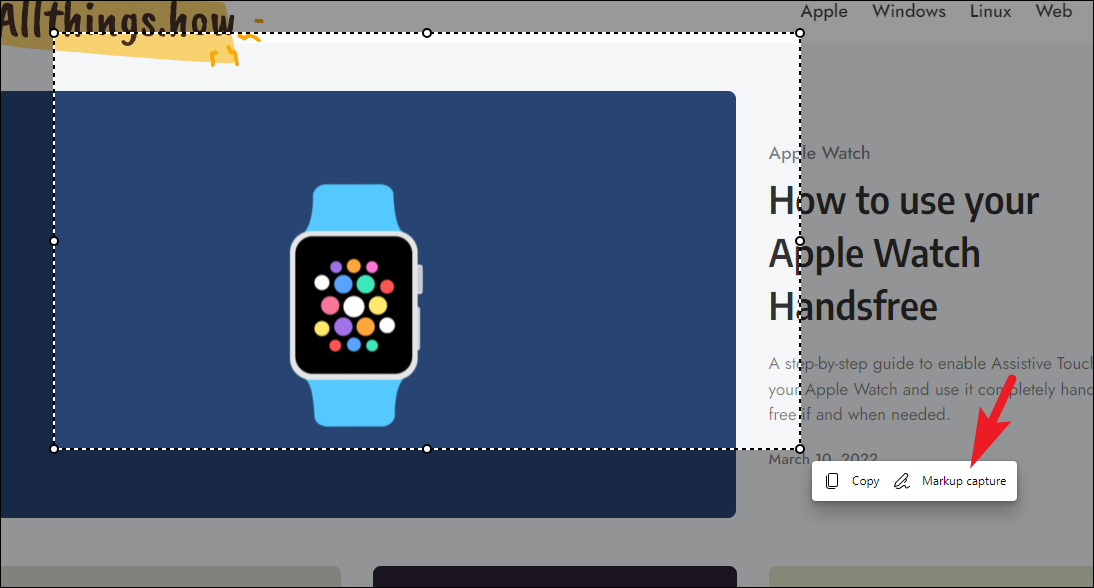
As you will release the mouse button, an overlay prompt will appear on your screen. In case you directly wish to copy the screenshot and share it using your preferred method, click on the ‘Copy’ button. Otherwise, if you wish to annotate the screenshot, click on the ‘Markup Capture’ button to proceed. If selected ‘Markup Capture’ option, will open a separate window on your screen.
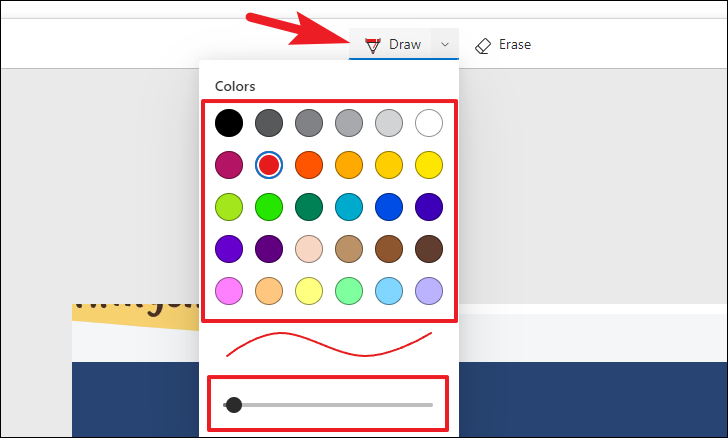
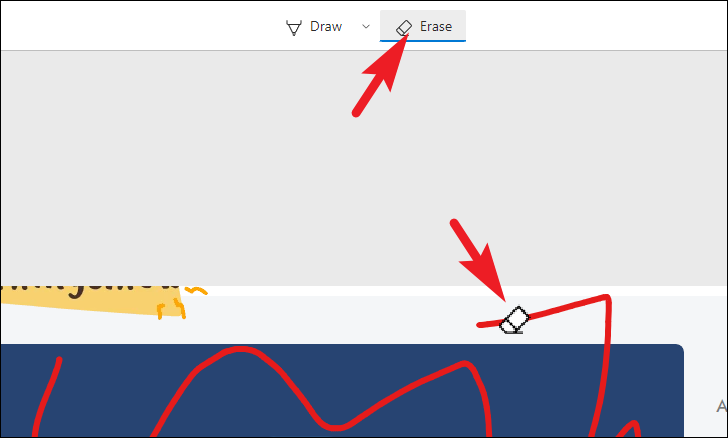
From the separately opened window, click on the ‘Draw’ button to reveal the list of colors. Then, click to select your desired color from the palette. Next, drag the slider across to increase the thickness of the markup tool.
You can also select the erase tool by clicking on the ‘Erase’ button. Then, to use the erase tool, click and hold the left mouse button and drag it across the markup line you wish to erase.
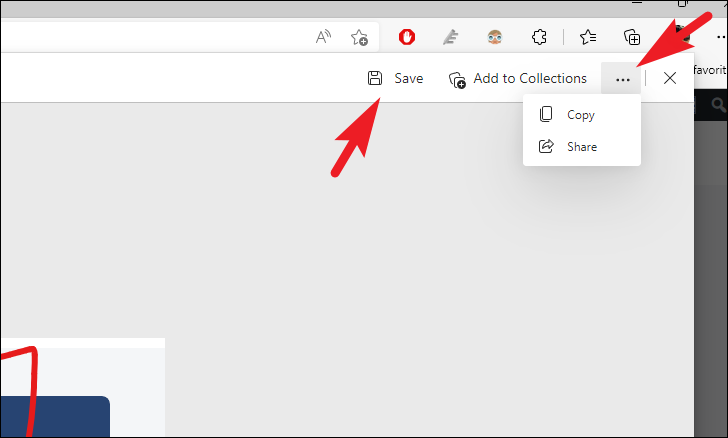
Once you have annotated to your desire, click on the ‘Save’ button to save the picture in your default ‘Downloads’ directory. Otherwise, click on the ‘Ellipsis’ icon present at the top right section of the window to reveal the overflow menu. Then, click on the copy to copy the image to the clipboard, or click on the ‘Share’ button to share the image using your preferred method.
And that’s it, this is how you can click a screenshot using Edge and then share it according to your preference.
In case your routine requires you to constantly take screenshots, you can also pin the ‘Web Capture’ feature to your Edge toolbar for your ease of convenience.
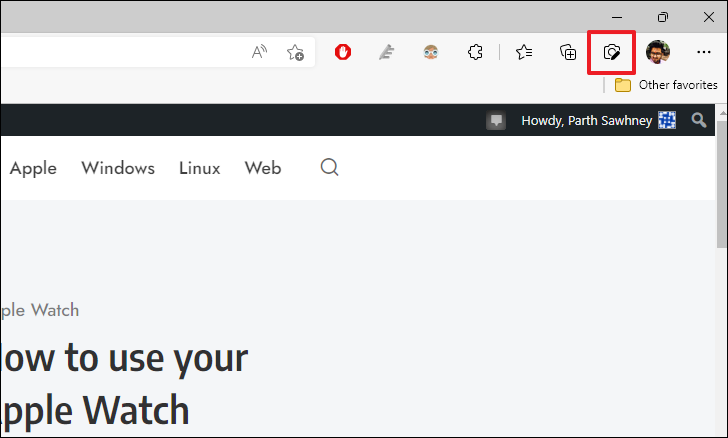
To pin the ‘Web Capture’ to Edge toolbar, click on the ‘Ellipsis’ icon present in the top right section of the browser window to reveal the overflow menu. Then, from the overflow menu, locate the ‘Web Capture’ option and right-click on it, then, click on the ‘Show in toolbar’ option to pin it to the toolbar.

The ‘Web Capture’ will be now pinned to the toolbar, and you can access it much more conveniently now.