There’s nothing more frustrating than when you’re on an important call, and your microphone and camera won’t work properly. One can still make do without the camera, but the microphone is an entirely different story. I think we all agree that it’s not at all pretty when you end up thinking that everyone on the call is ignoring what you have to say.
By the time you realize the problem is with your microphone, a lot of important discussions might be over without your input. And others in the meeting might even end up thinking that you are not paying attention as you haven’t said a word. It’s a sticky situation to be in.
Now, you could avoid all that hassle by testing your camera and microphone before you join the meeting.
Join a Test Call
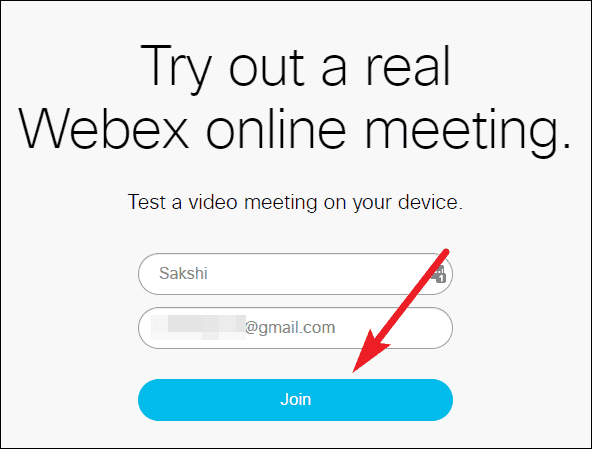
Joining a test call on Cisco Webex has to be the simplest way to determine whether there’s a problem with your microphone or camera. Go to webex.com/test-meeting to join a test call. Enter your name and email address and click on the ‘Join’ button.
It will ask you to open the Cisco Webex Meeting app on your desktop.
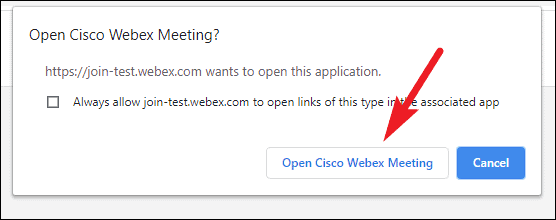
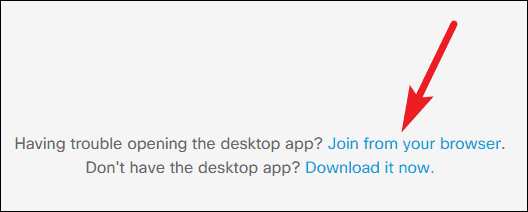
Now, if you have the app installed, continue to it. Otherwise, click on ‘Join from your browser’ if you don’t have the app and don’t want to download it either.
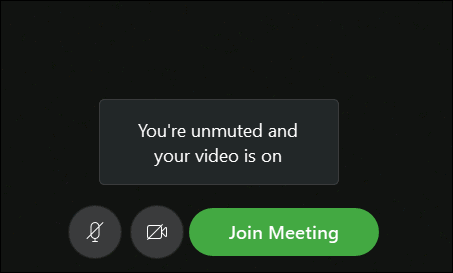
A preview screen will open. It should say that “You’re unmuted and your video is on.” If the message isn’t displayed or displayed partially, check the camera and microphone button and make sure they are not red, i.e., your microphone and camera are not off.
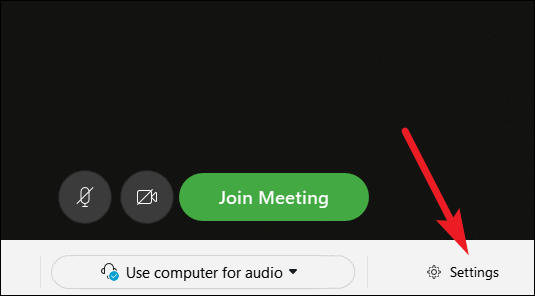
Now, if your camera is working, you’ll be able to see your picture clearly. For the microphone, click on the ‘Settings’ option on the bottom right corner of the screen.
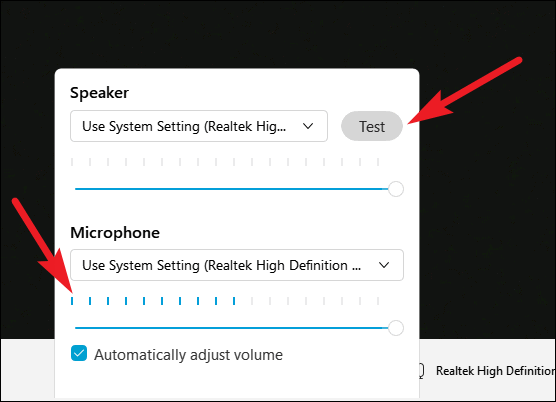
You can test both your speaker and the microphone from here. For the speaker, click on the ‘Test’ option next to the speaker. It will play a sound for you. If you can hear it, all is well. Now, if your microphone is working fine too, the meter below the microphone will light up when it detects sound. Keep an eye on it and say something. If it doesn’t light up, you have a problem with the microphone you need to fix.
Now go ahead and join the test meeting to make sure everything works even after you’ve joined the meeting.
Note: If you didn’t have time to join a test call before the meeting, you can also perform these checks in the ‘Preview’ screen of the actual meeting you have to join.
Testing During a Meeting
Well, you checked your camera and microphone before joining the meeting and everything was fine, but what if problems occur during the meeting. A faulty camera is easy to figure out: your self-view window will go blank. But how do you decide if it’s your microphone or other people ignoring you?
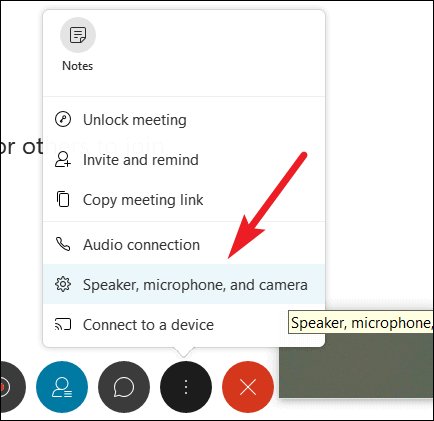
It’s easy. You can test your microphone (and speaker, too) during a meeting. Click on the ‘More options’ icon (three dots) on the meeting toolbar.
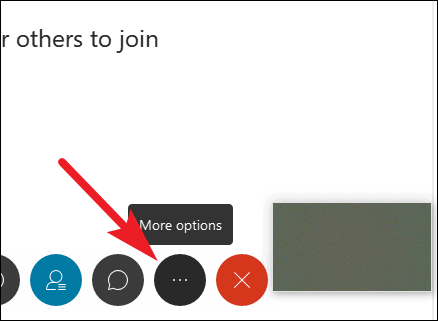
Select ‘Speaker, microphone, and camera’ from the menu.
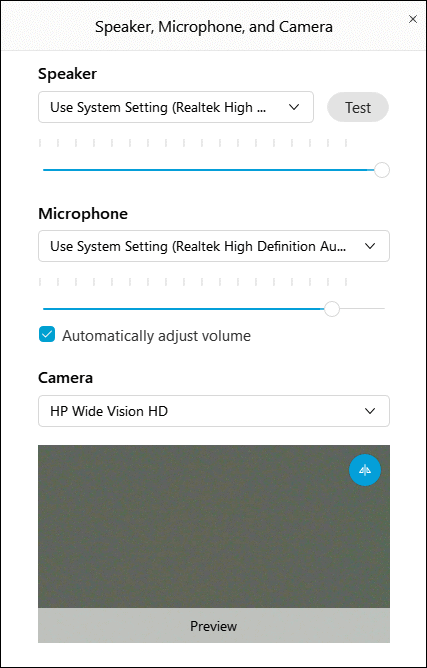
The dialog box opens. You can test the speaker, and microphone to see everything is in working order. You can also check your camera here in case you have your self-view window minimized.
A working camera and microphone are the heart and soul of an online meeting, so it’s really annoying when they start creating problems during a meeting. To ensure that everything works like clockwork during a meeting, it’s important to check it beforehand and fix any problem there might be.


