
Whether you’re gearing up for a crucial online meeting or simply want to video chat with friends and family, it’s important to ensure your webcam is working properly. Testing your webcam on a Windows 11 PC is straightforward and can help you troubleshoot any potential issues before they arise.
Test your webcam on Windows 11 via the Settings app
One of the most efficient ways to test your webcam is through the Settings app on your Windows 11 computer. This method is quick and doesn’t require any additional software.
Settings tile from the pinned apps section. If you don’t see it, type Settings into the search bar and select it from the results.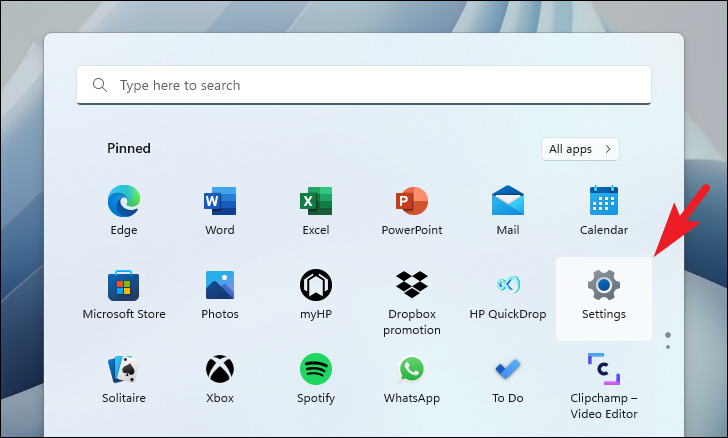
Bluetooth & devices tab on the left sidebar to access device-related settings.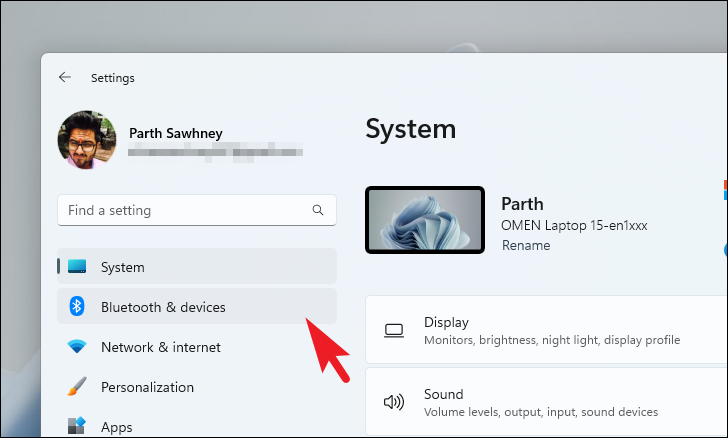
Camera option, and click on it to proceed.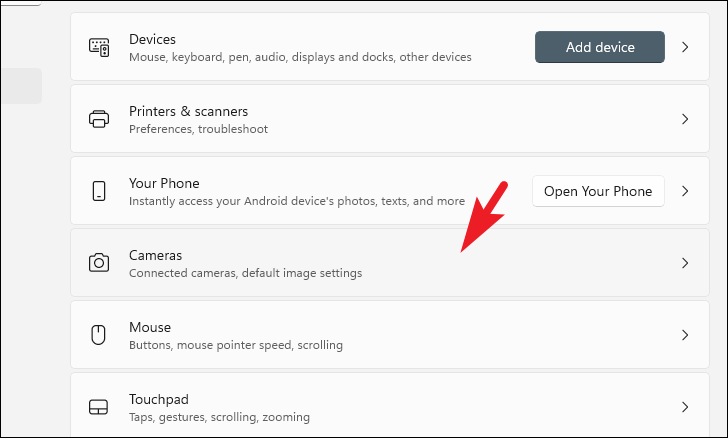
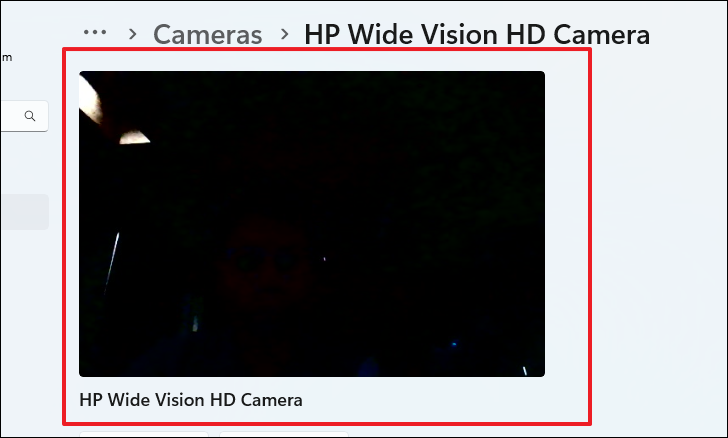
Connected cameras section, you’ll see a list of cameras connected to your PC. Click on your webcam to access its settings.
Enable button located on the right side of your webcam’s name to turn it on.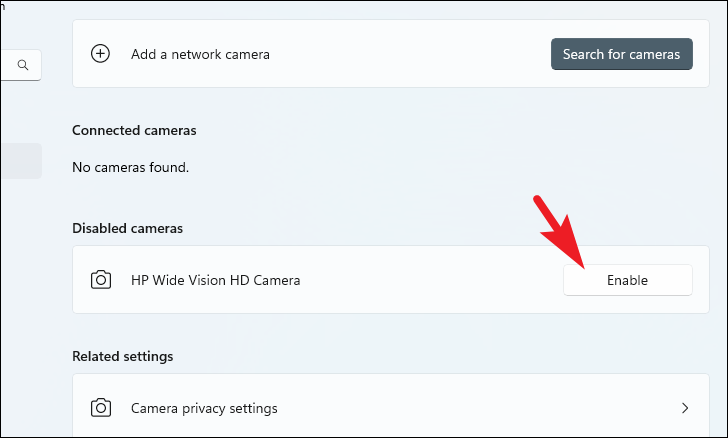
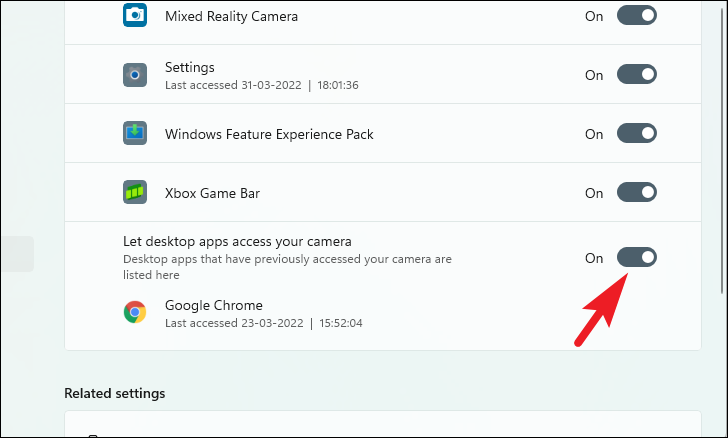
Camera privacy settings link under the Related settings section.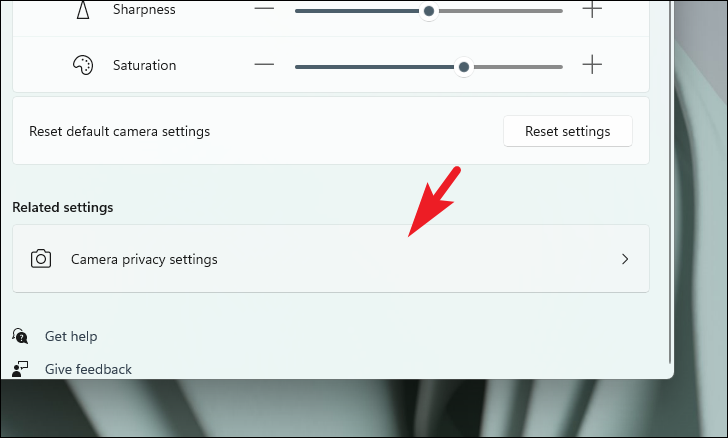
Camera access is turned On. This setting allows apps to access your webcam.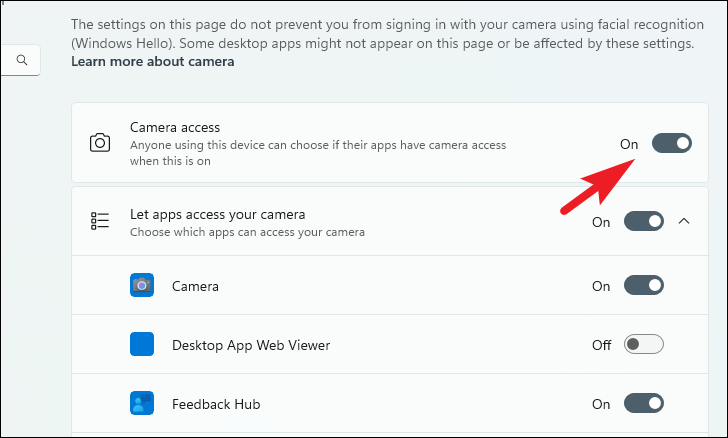
Note: If you’re using a web-based platform for video conferencing, such as Google Meet, Zoom, or Microsoft Teams through a browser, ensure that your browser has permission to access the webcam.
By following these steps, you can easily test your webcam and make sure it’s ready for use whenever you need it. If you’re still encountering issues, consider checking out our dedicated guide on fixing webcam problems in Windows 11.


