
Utilizing iMessage to send messages to yourself on your iPhone can be a convenient way to keep track of personal notes, reminders, or important information. This method turns your messaging app into a versatile tool for your daily needs.
Before you start messaging yourself, it's important to ensure that iMessage is properly set up on your device.
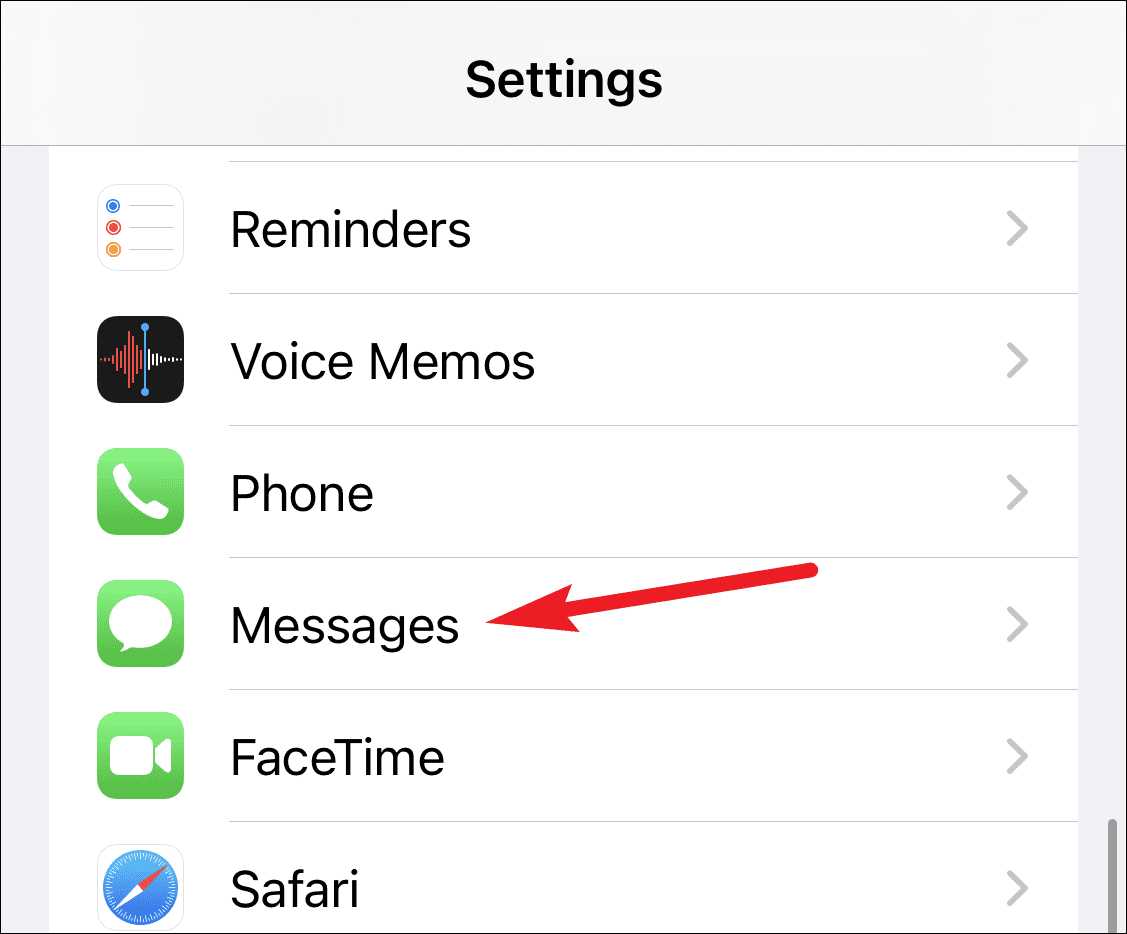
Step 1: Open the Settings app on your iPhone and scroll down to tap on Messages.
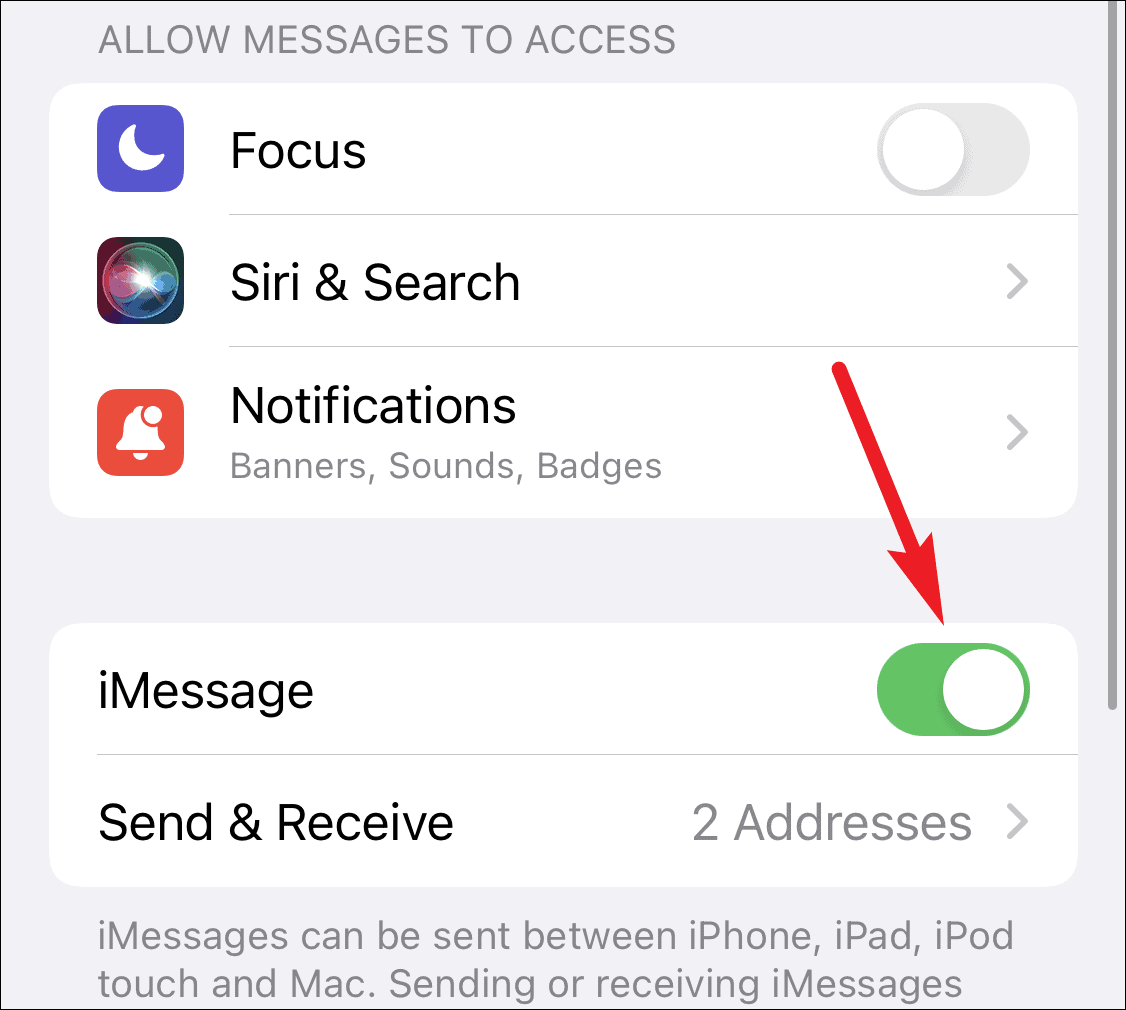
Step 2: Make sure that the toggle next to iMessage is turned on. If it's not enabled, tap the toggle to activate iMessage.
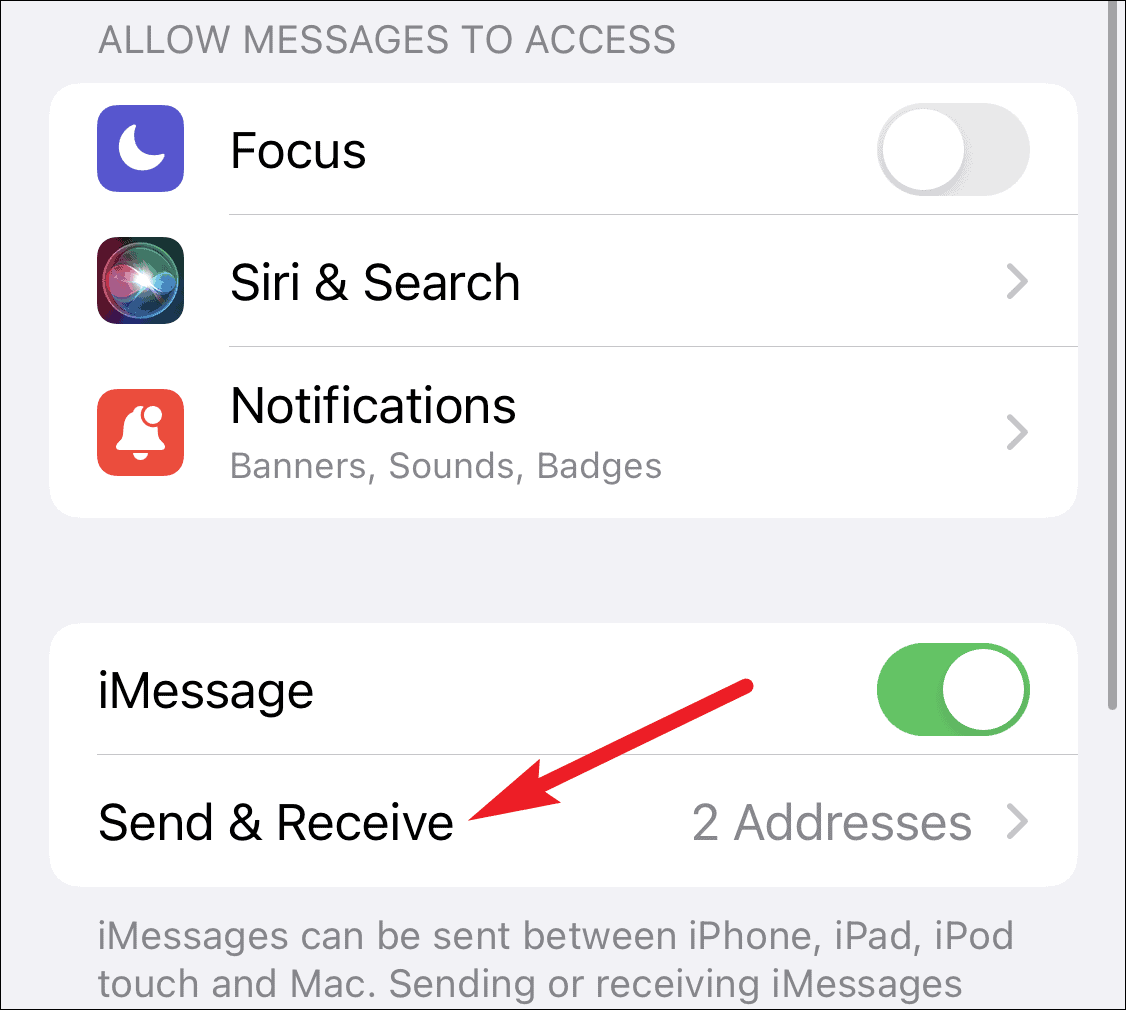
Step 3: While still in the Messages settings, tap on Send & Receive to verify the addresses you can use for iMessage. Ensure that all your desired phone numbers and email addresses are listed and selected here.
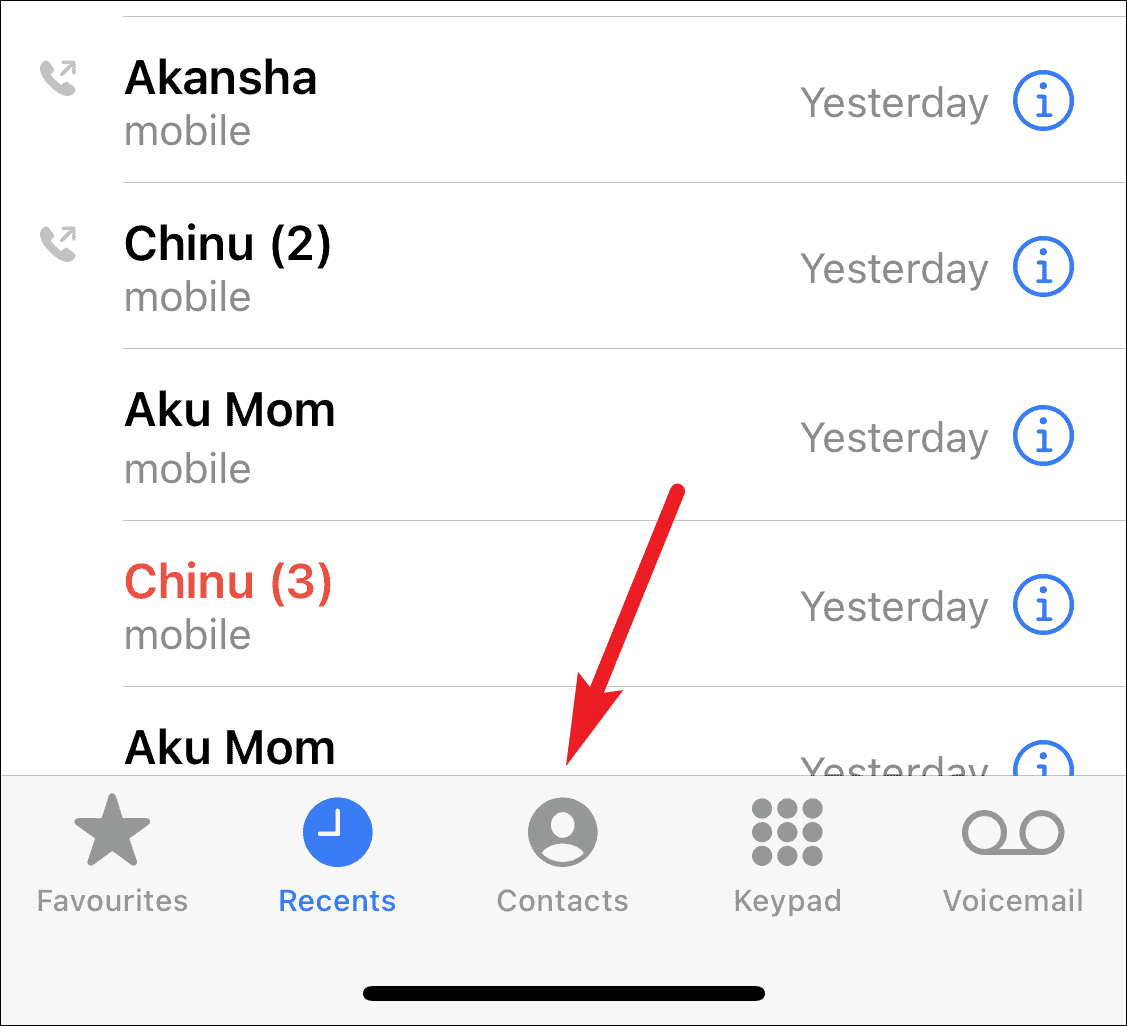
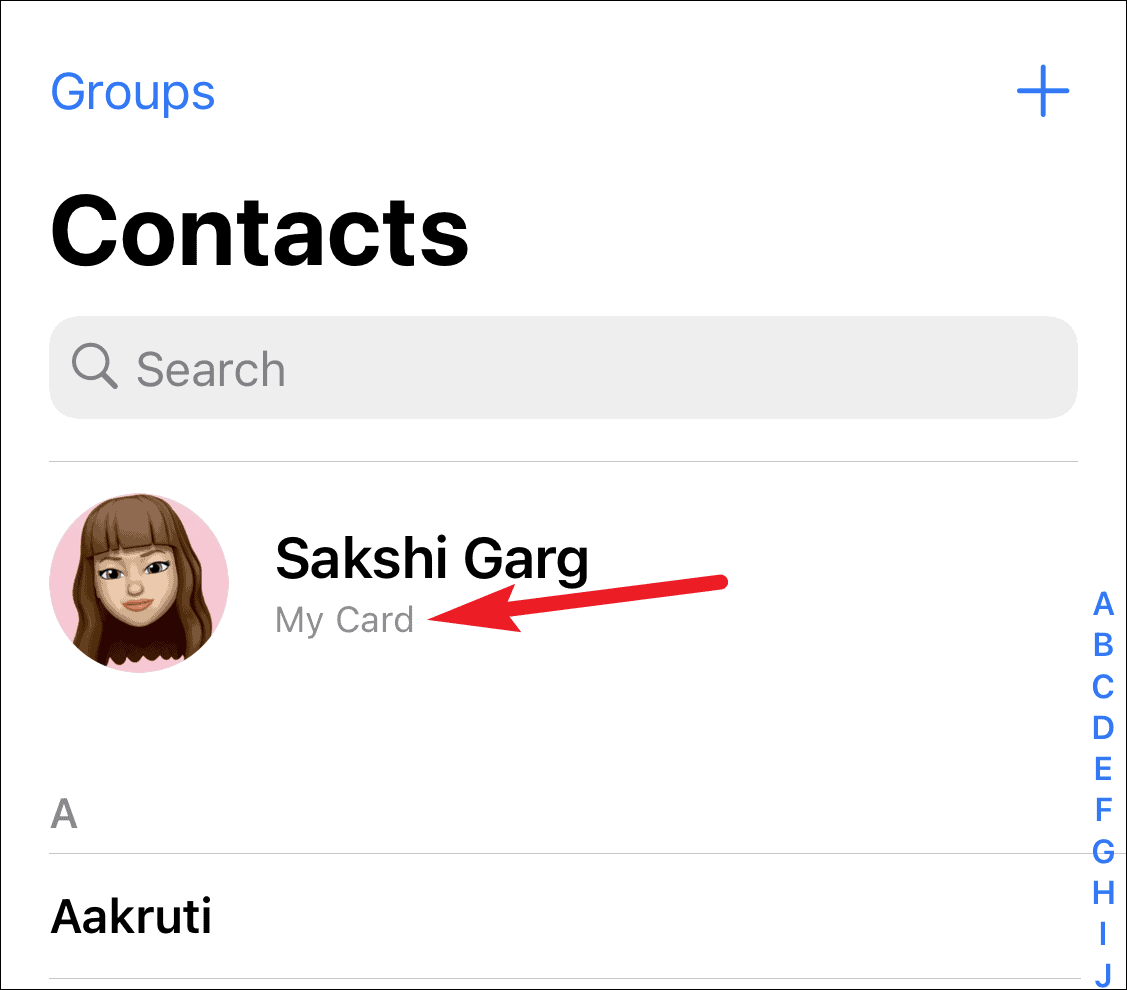
Step 4: Next, go to the Phone app and tap on the Contacts tab at the bottom of the screen.
Step 5: Locate your own contact card, which may be labeled with your name or as My Card, and tap on it.
Step 6: Ensure that all the phone numbers and email addresses you use with iMessage are included in your contact information. Having all your iMessage addresses in one contact allows messages to appear in a single conversation thread when you text yourself.
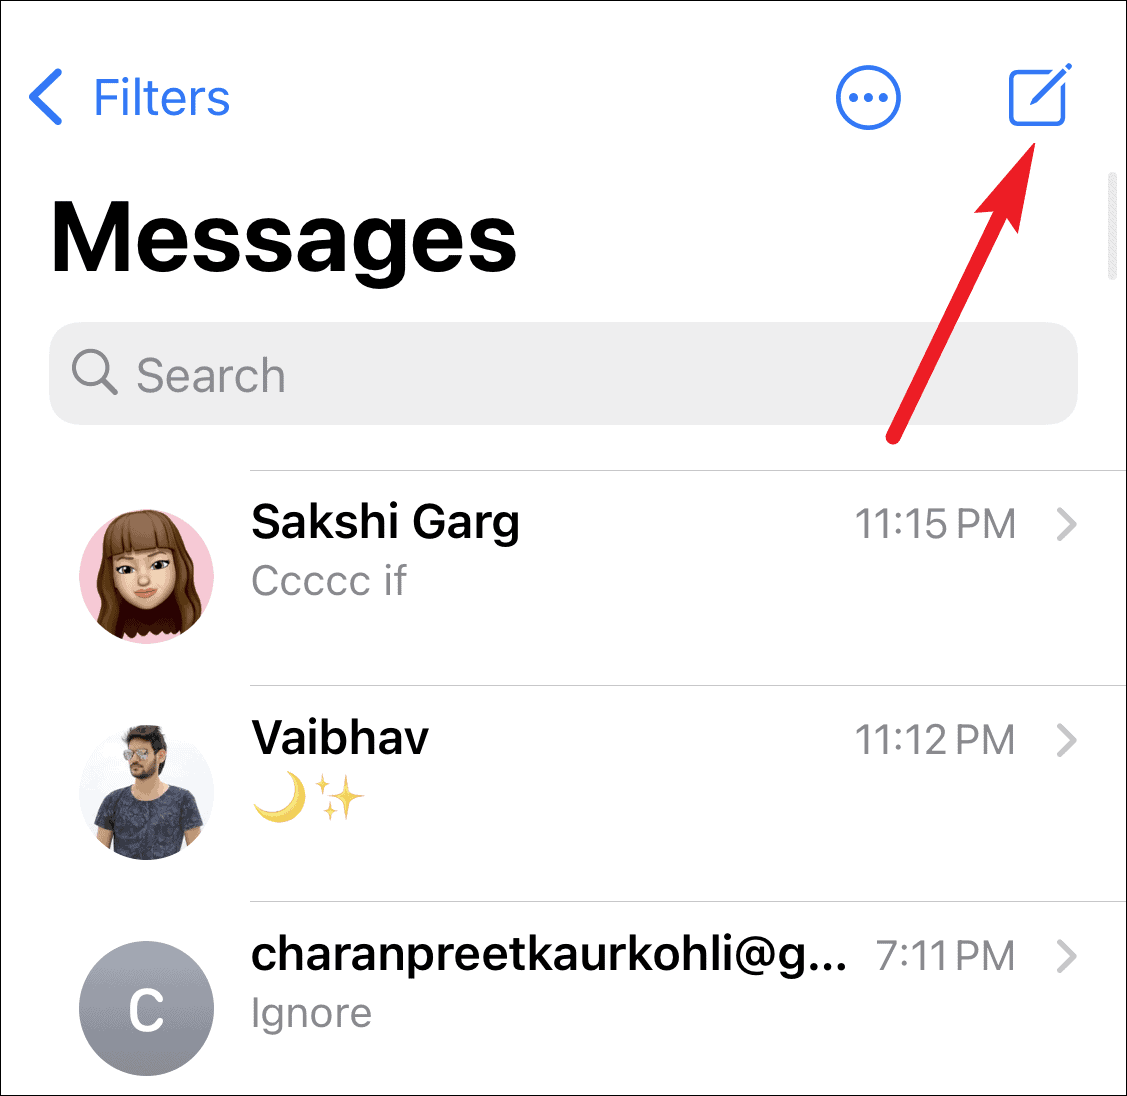
Step 7: Open the Messages app and tap on the New Message icon located in the top-right corner of the screen.
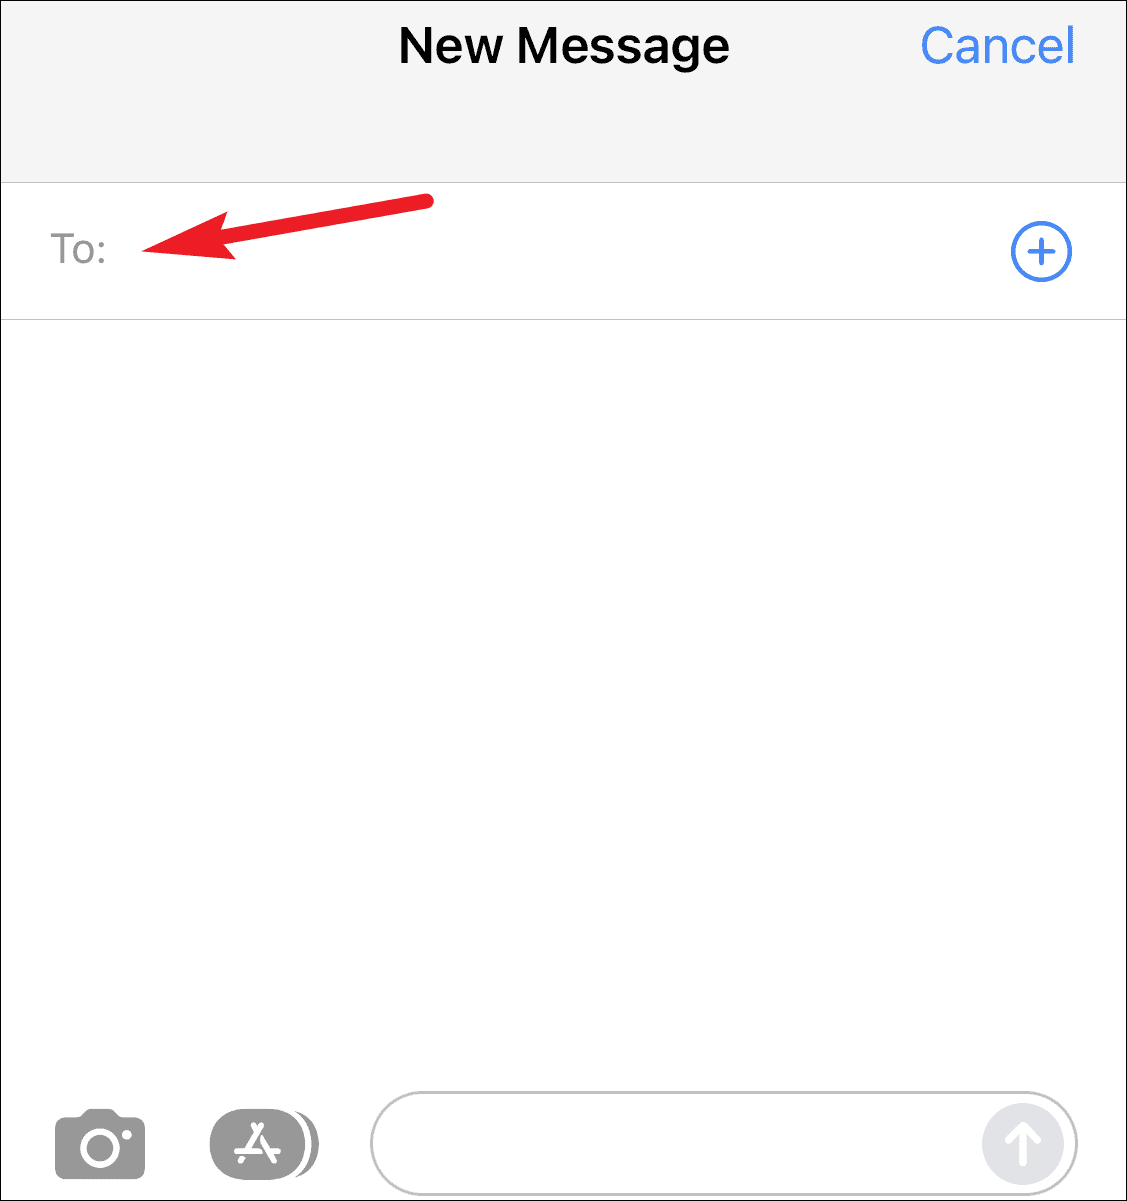
Step 8: In the To: field, enter your own contact name. Compose your message in the text field as you normally would, and send it.
When you send a message to yourself, you'll notice that the message appears twice in the conversation: once in a blue bubble (sent message) and once in a gray bubble (received message).
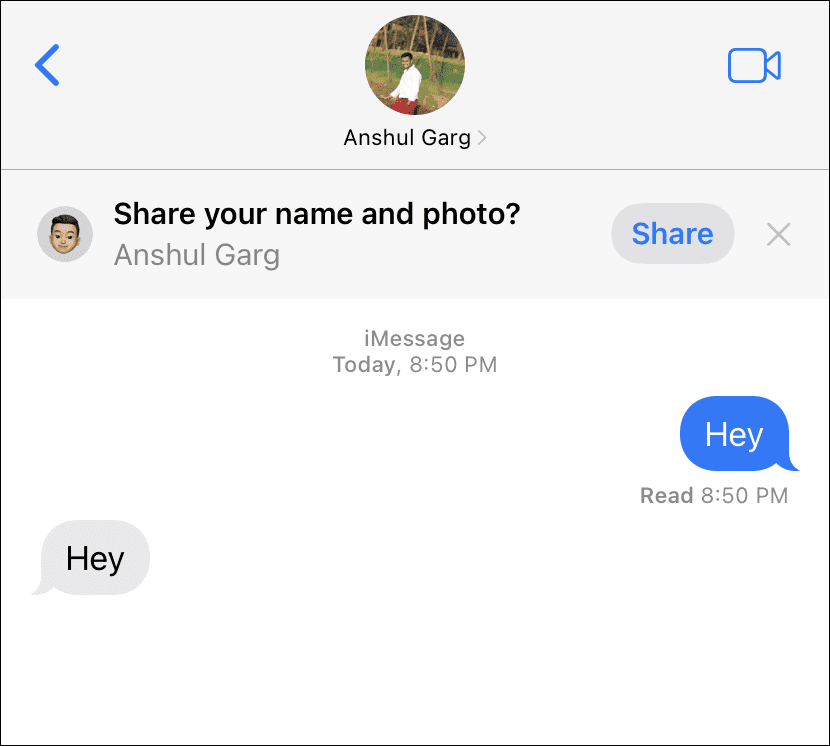
This dual appearance happens because you're both the sender and the recipient. This feature can also be used to simulate a conversation if needed. To curate the conversation view, you can delete messages from either the sent or received side.
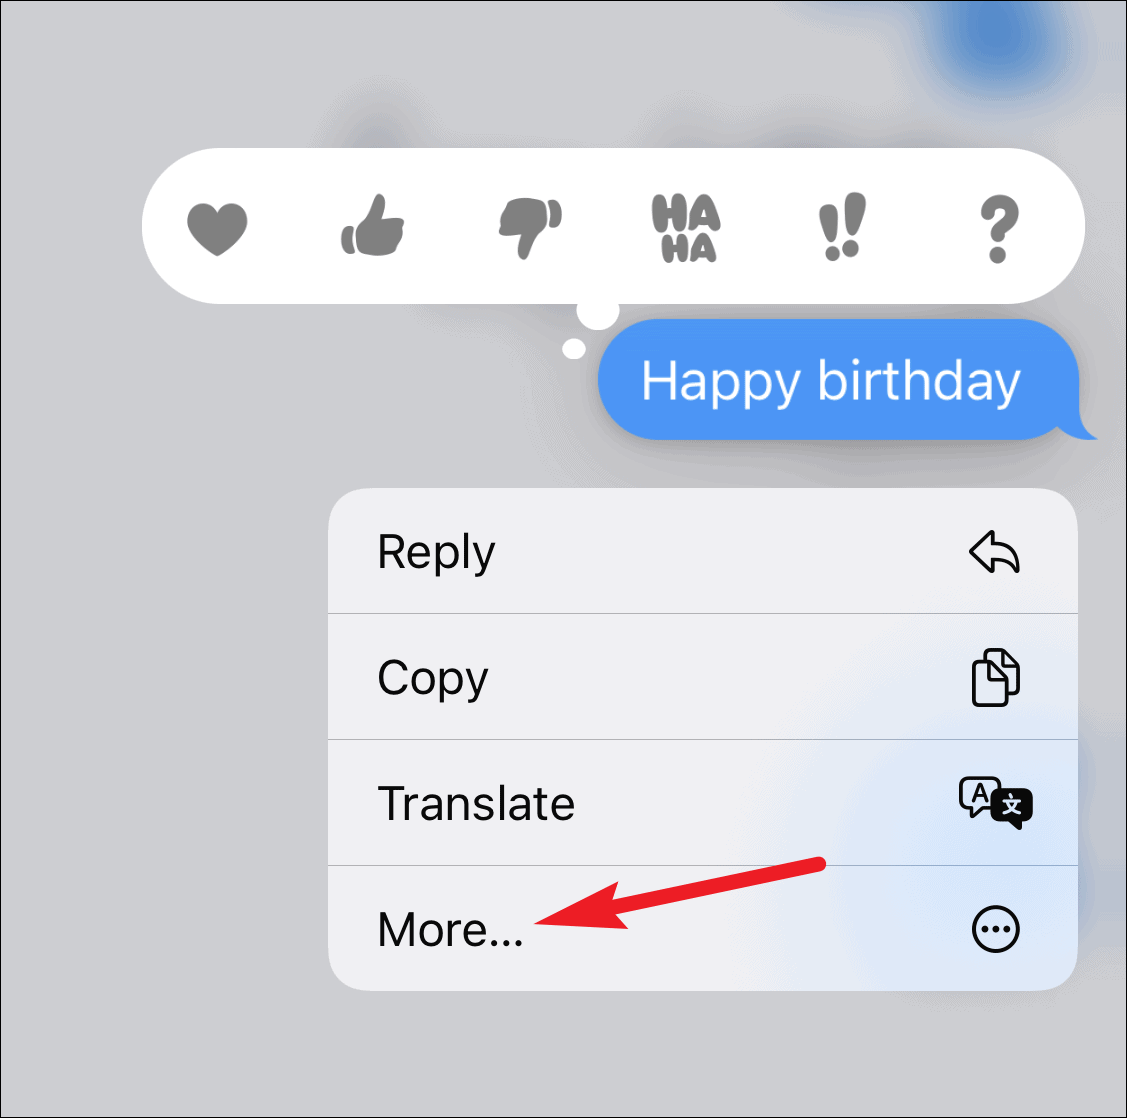
Step 9: To delete specific messages, tap and hold on the message you wish to remove, then select More from the menu that appears.
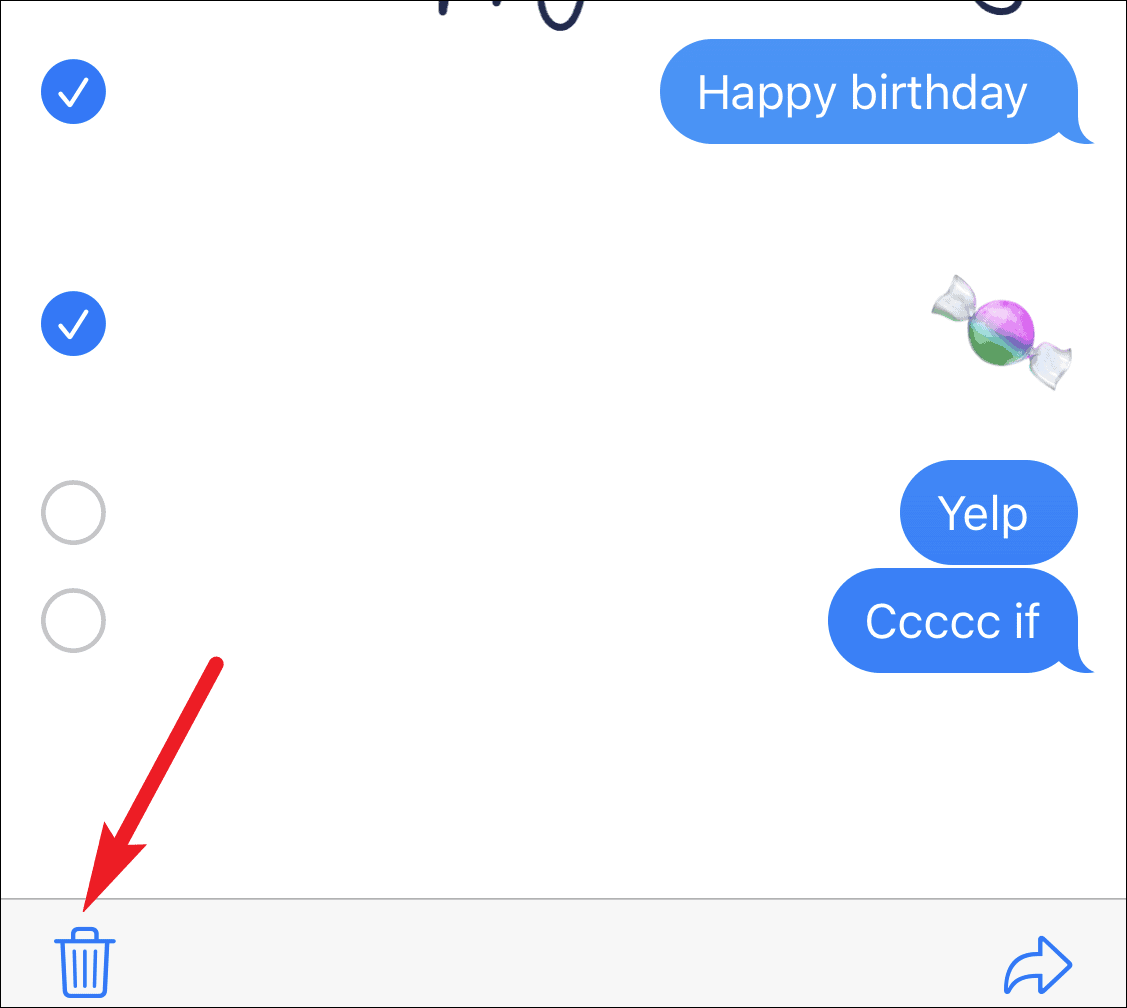
Step 10: Select the messages you want to delete by tapping the circles next to them, then tap the trash can icon in the lower-left corner of the screen.
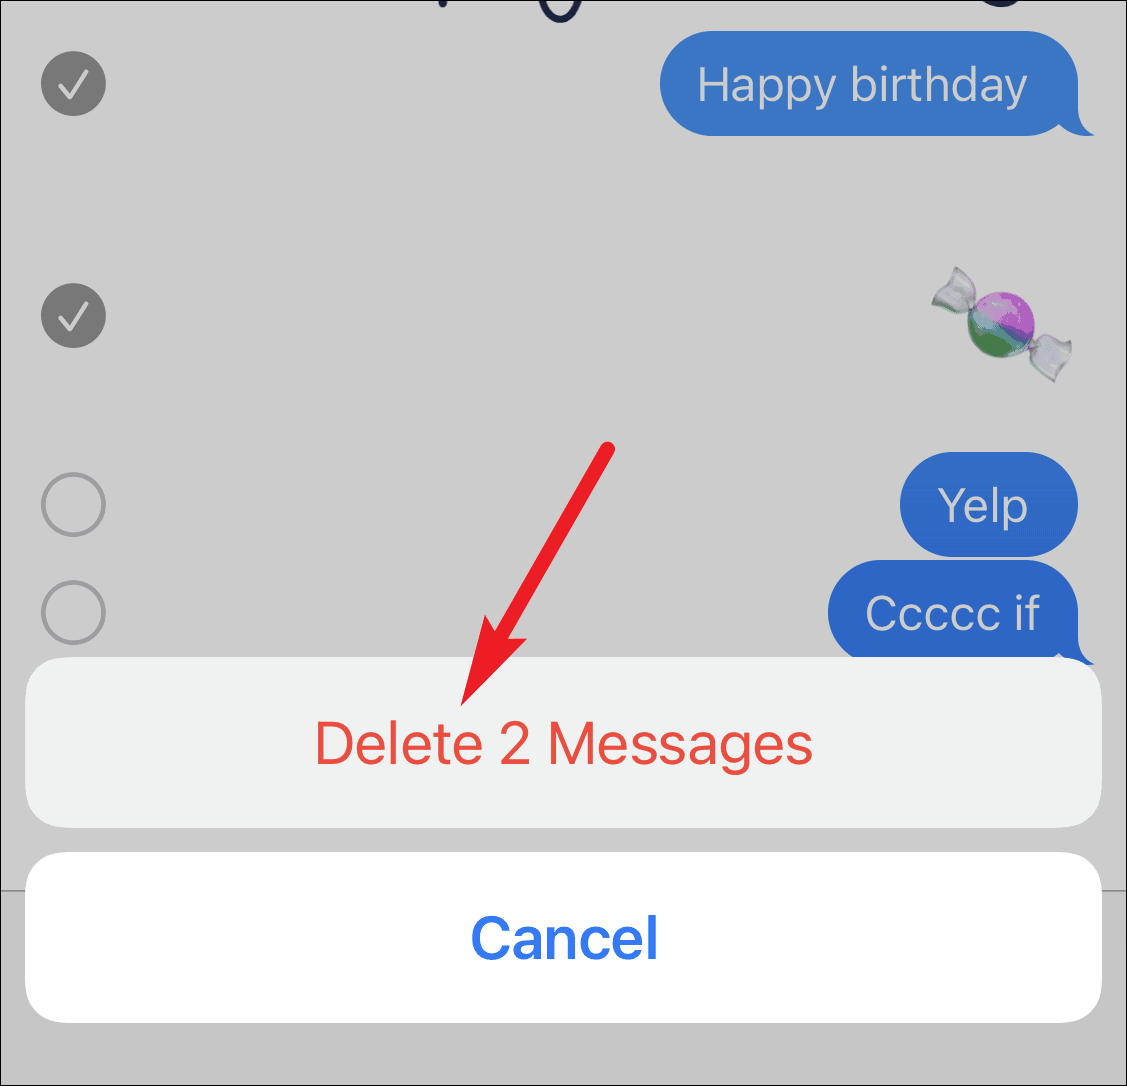
Step 11: Confirm the deletion by tapping Delete Message or Delete [n] Messages in the prompt that appears.
Messaging yourself in iMessage is a straightforward process that doesn't require any additional apps or complicated steps. It's an effective way to keep personal notes and reminders synced across all your Apple devices using the same iMessage account.