
Auto HDR in Windows 11 automatically upgrades the color range and brightness of supported games, delivering richer visuals and more detail—especially in titles originally designed for standard dynamic range (SDR). This feature is available for users with HDR-capable monitors and compatible hardware, and it works with many DirectX 11 and DirectX 12 games. Activating Auto HDR allows older games to display with the expanded contrast and color depth of HDR, making dark scenes clearer and bright scenes more vivid.
Turn On Auto HDR Using Windows 11 Settings
Step 1: Open the Windows Settings app by pressing Windows + I on your keyboard. Alternatively, right-click the desktop and select Display settings from the context menu.
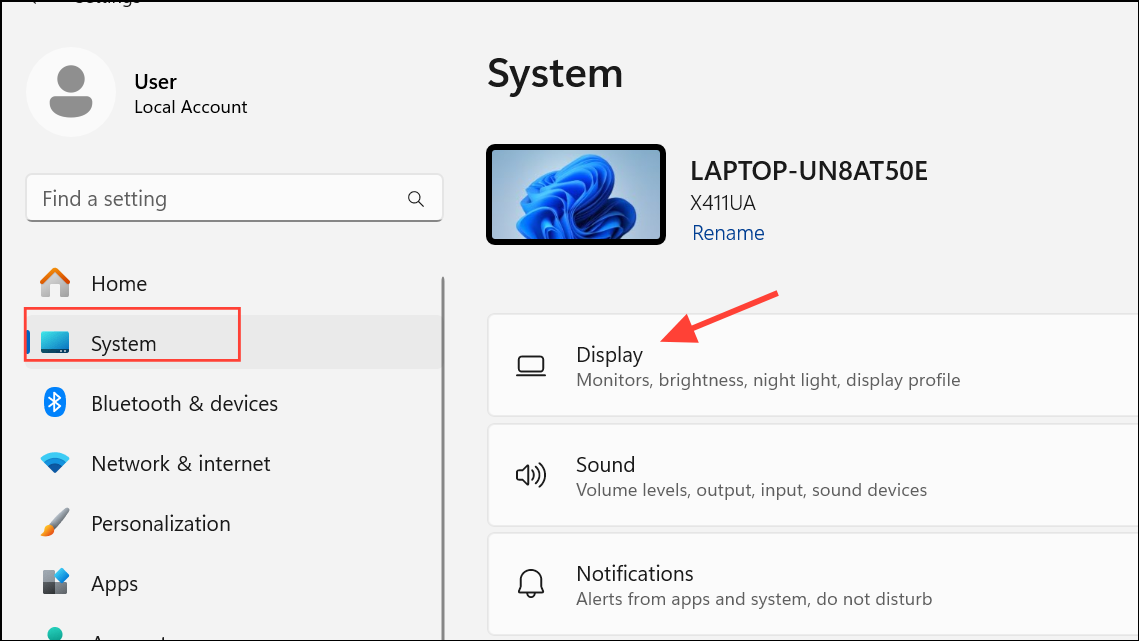
Step 2: In the Settings window, select System from the left sidebar, then click Display on the right.
Step 3: If you have multiple monitors, select your HDR-capable display at the top of the page. Only displays that support HDR will offer the necessary options.
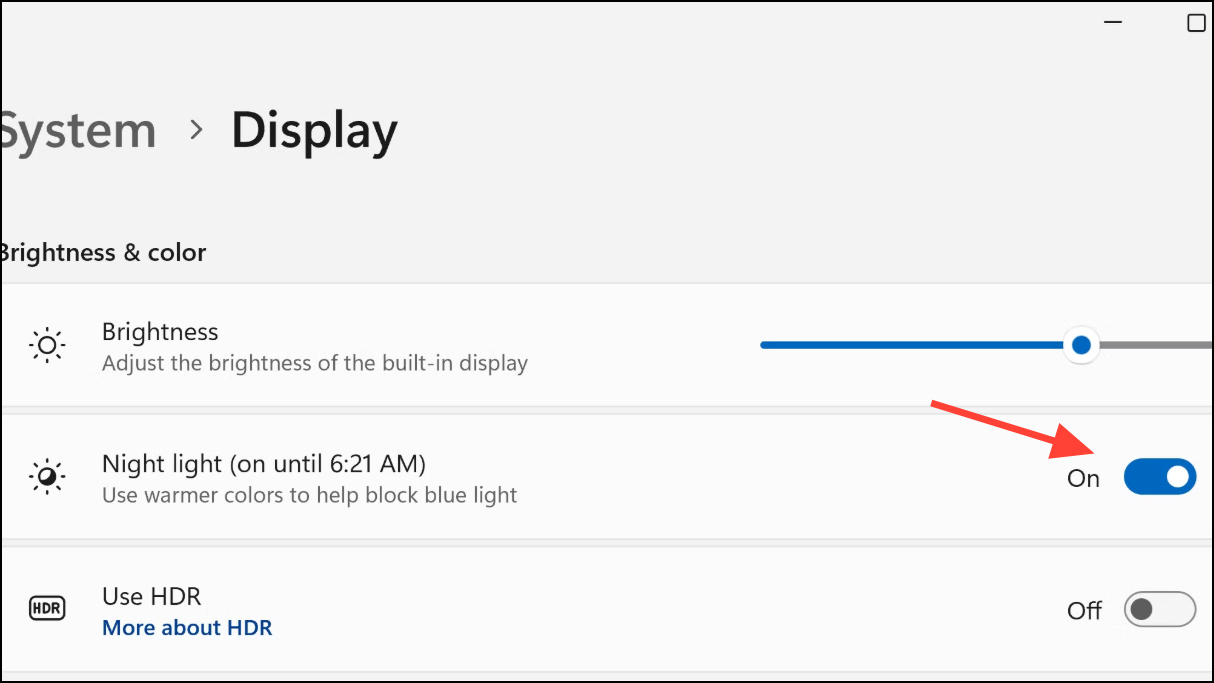
Step 4: Find the Use HDR toggle and switch it on. Your screen may briefly go blank as Windows applies the HDR profile to your display.
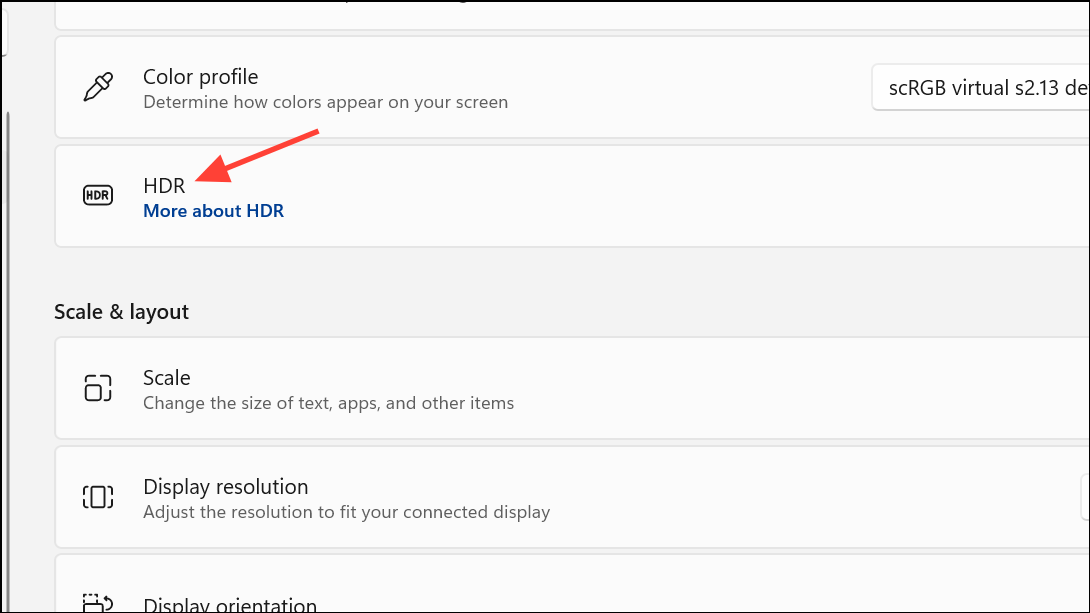
Step 5: After enabling HDR, an expanded section or link for HDR settings will appear. Click this to access additional options.
Step 6: Locate the Auto HDR toggle within the HDR settings. Turn it on. This will activate Auto HDR for all supported games on your HDR display.
With Auto HDR enabled, Windows will automatically apply HDR tone mapping to compatible SDR games, providing a broader color spectrum and improved brightness without manual game configuration.
Enable or Disable Auto HDR Using Xbox Game Bar
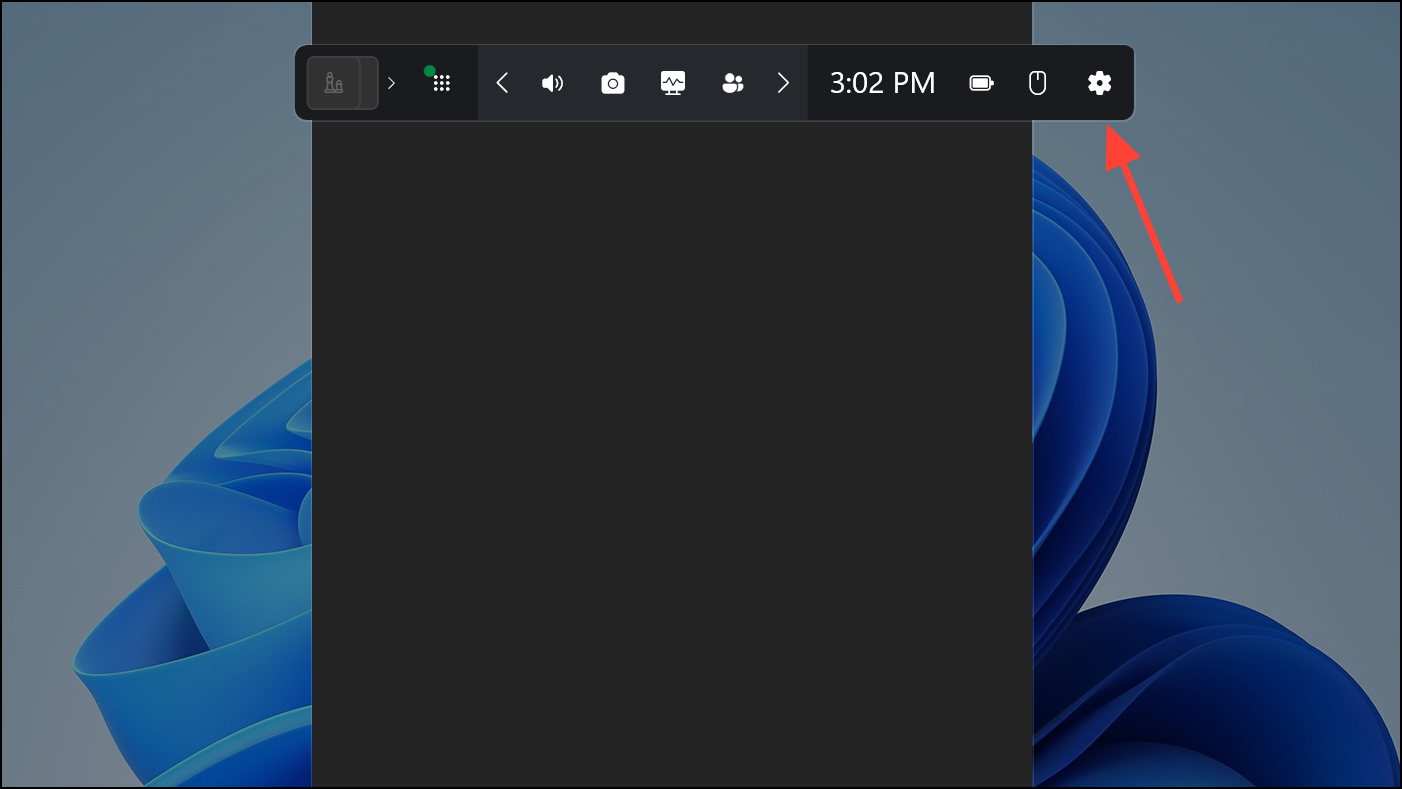
Step 1: Open the Xbox Game Bar by pressing Win + G on your keyboard.
Step 2: Click the Settings (gear) icon in the Game Bar interface.
Step 3: Select Gaming features from the menu.

Step 4: Check or uncheck Use Auto HDR with supported games to turn the feature on or off. This provides a quick way to manage Auto HDR while gaming.
Adjust Auto HDR Per-App in Graphics Settings (Advanced)
Windows 11 also allows you to control Auto HDR for individual apps and games, which can be useful if you prefer the feature only for certain titles.
Step 1: Open Settings (Windows + I), navigate to System > Display, then select Graphics further down the page.
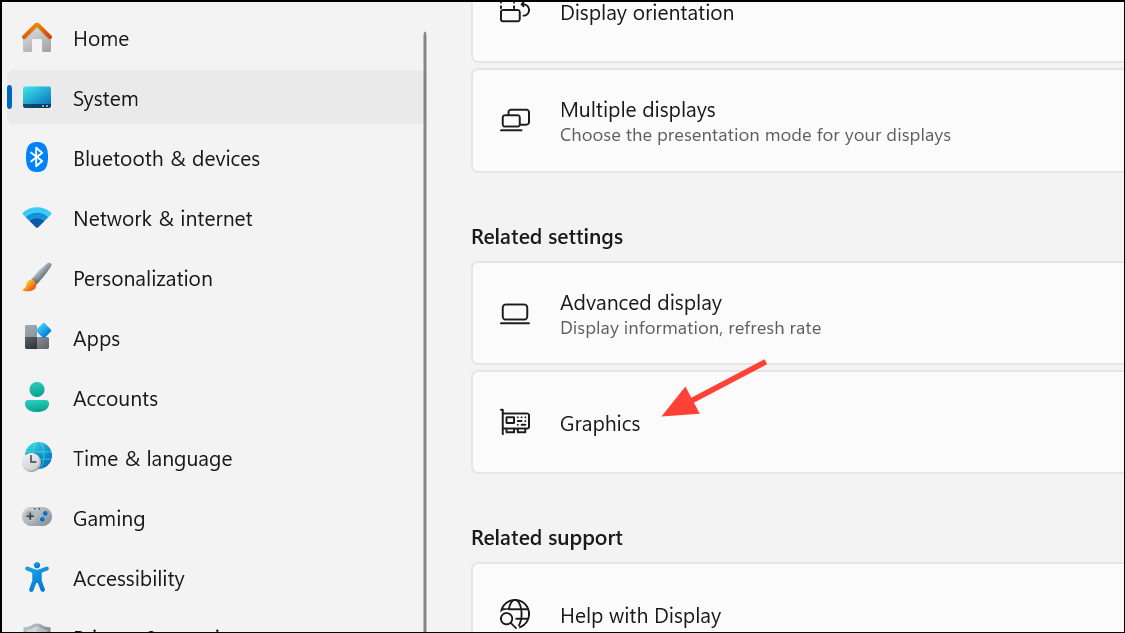
Step 2: Under Custom options for apps, select the app or game you want to adjust, then click Options.
Step 3: In the dialog that appears, check or uncheck Don't use Auto HDR as desired, then click Save. This lets you exclude specific apps from Auto HDR if needed.
Tips for Optimal HDR Experience
- Use DisplayPort 1.4 or HDMI 2.1 cables for best compatibility and performance with HDR monitors.
- Calibrate your HDR display using the Windows HDR Calibration app, available from the Microsoft Store. This step helps correct washed-out colors or brightness issues that may appear after enabling HDR.
- If you notice SDR content appears too bright or too dark, adjust the SDR content brightness slider in the HDR settings menu.
- For laptops, HDR may turn off automatically when unplugged to preserve battery life. You can change this behavior in the HDR settings if continuous HDR is needed.
Activating Auto HDR in Windows 11 is straightforward and brings noticeable improvements to supported games. Make sure your monitor and graphics hardware support HDR, and consider calibrating your display for the best results.