
Searching for files in Windows 11 can feel slow or incomplete when the default settings only cover specific folders like Documents, Pictures, Music, and the desktop. By switching to Enhanced Search mode, Windows 11 indexes your entire PC, allowing you to find files no matter where they’re stored. This adjustment significantly accelerates search speed and accuracy, especially for users who save files in various locations outside the default folders.
Turn On Enhanced Search Mode in Windows 11 Settings
Step 1: Open Settings by pressing Win + I on your keyboard. This shortcut brings up the main configuration panel for your system.
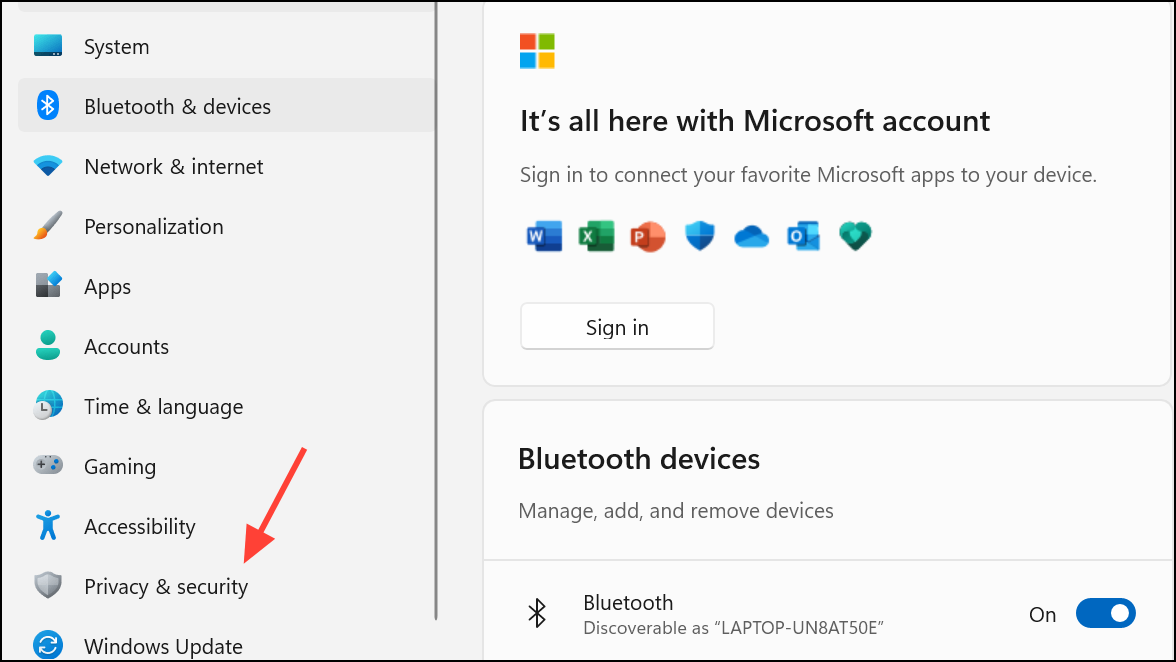
Step 2: In the left sidebar, click Privacy & security. This section houses controls related to your device’s privacy, permissions, and search features.
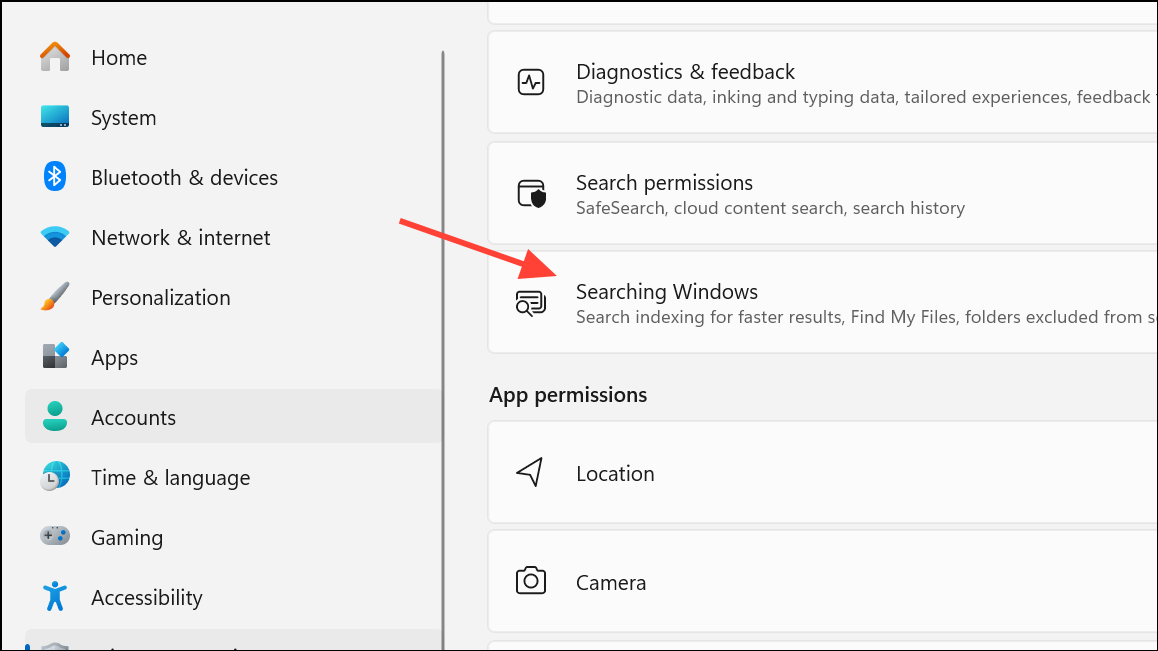
Step 3: On the right, select Searching Windows. Here, you’ll see options that determine how and where Windows indexes your files for search.
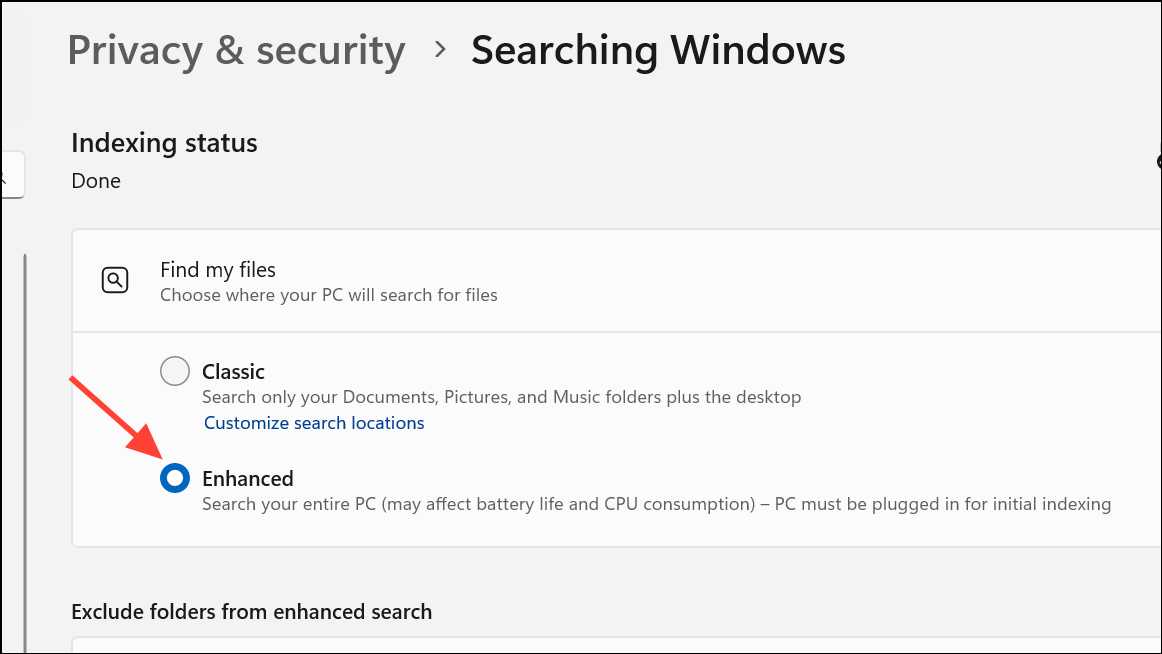
Step 4: Under the Find my files heading, choose the Enhanced option. This instructs Windows to index all user folders and files across your PC, not just the default locations.
Step 5: After selecting Enhanced, Windows will begin indexing additional files. Initial indexing can take anywhere from several minutes to several hours (or longer on large drives). For best results, keep your PC powered on and plugged in during this process. You can monitor the indexing status on the same page.
Step 6: Optionally, you can adjust power settings for indexing. If you want indexing to proceed even when your device is on battery, disable the “Respect power settings when indexing” option—just be aware this may drain your battery more quickly.
Switching to Enhanced Search mode means you’ll be able to locate files stored in any folder on your PC, not just the standard ones. This is especially useful for users who organize files in custom directories or across multiple drives.
Configure Advanced Indexing Options
To further refine how Windows indexes files, you can use the advanced options available in the legacy Control Panel:
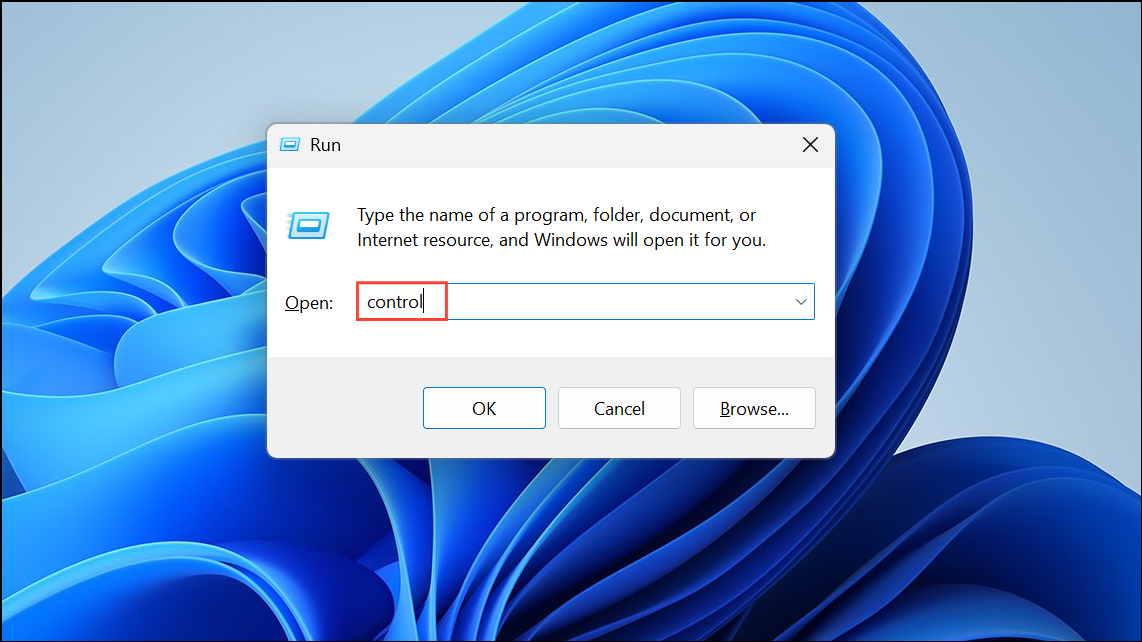
Step 1: Right-click the Start button and select Run. In the dialog box, type control and press Enter to open the Control Panel.
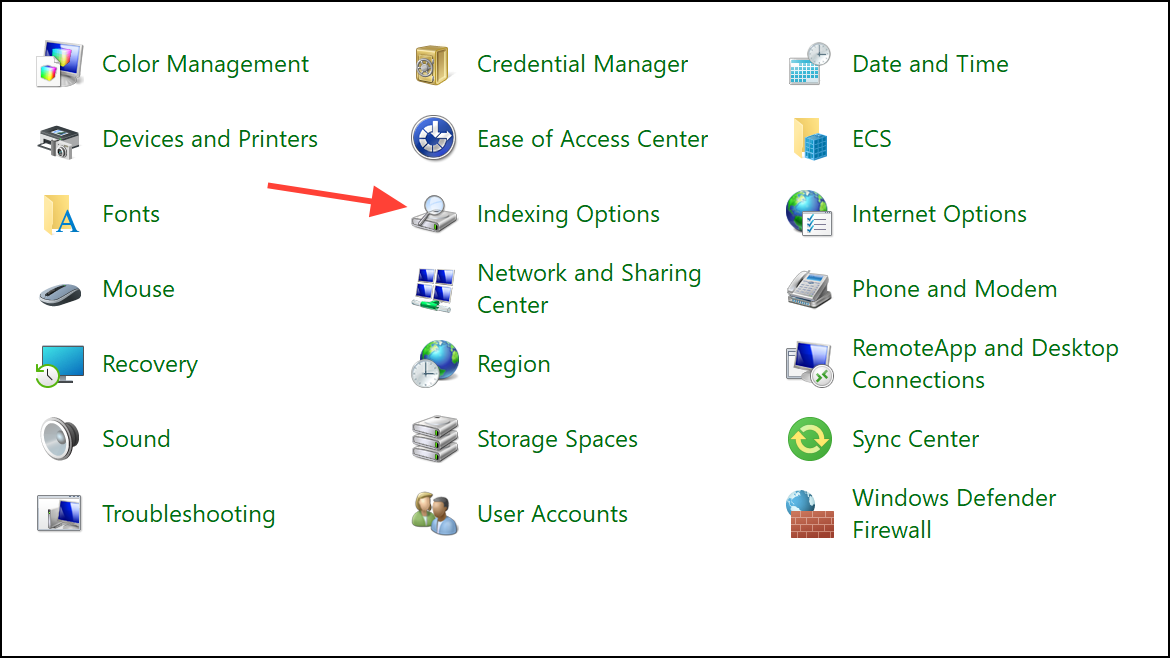
Step 2: Set the “View by” option to Large icons. Click on Indexing Options to access the indexing configuration window.
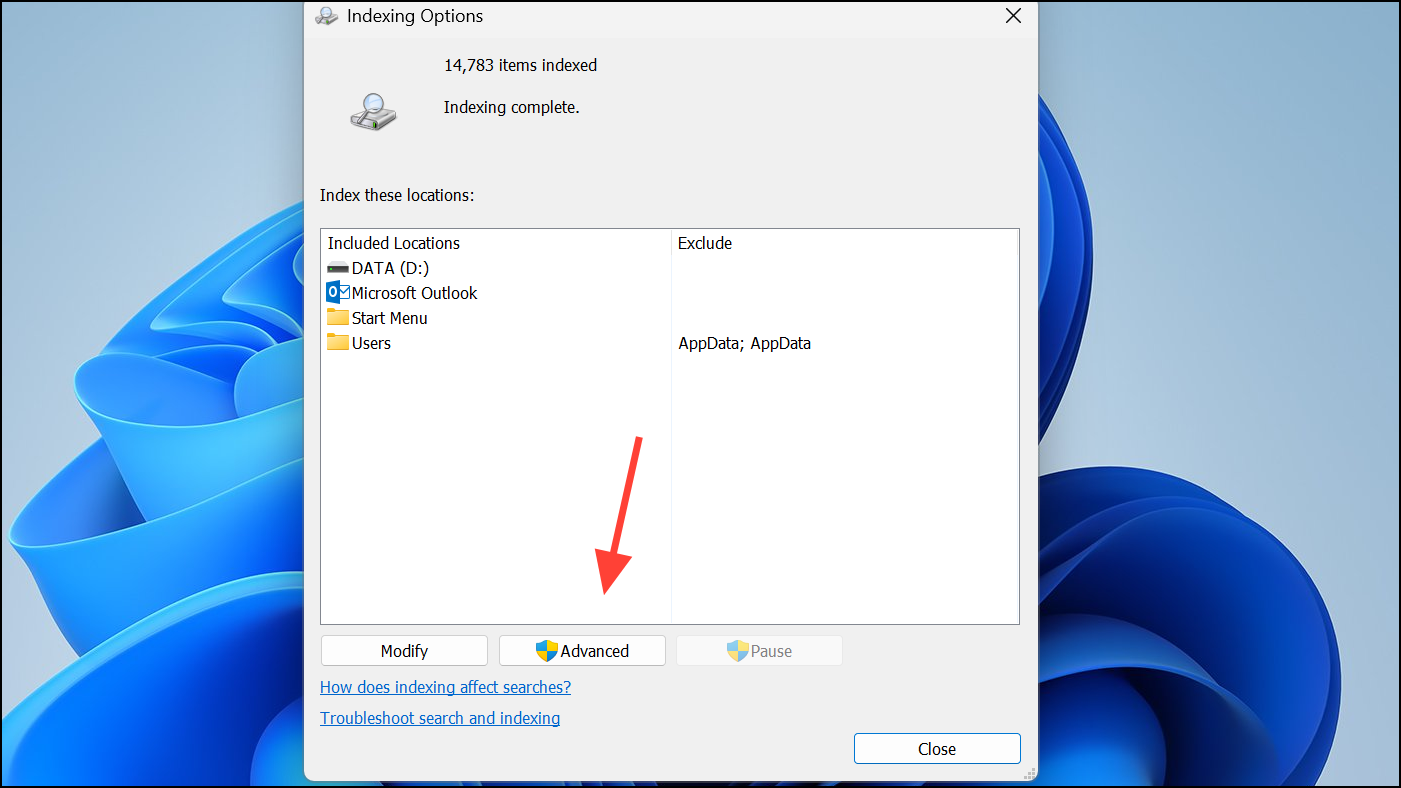
Step 3: Click the Advanced button. Here, you can:
- Choose specific file types to be indexed and whether to index file contents or just properties.
- Rebuild the search index if you experience search issues or if results seem incomplete.
- Change the location where the index database is stored (useful for managing disk usage).
- Include or exclude encrypted files from the index for privacy or security reasons.
Advanced indexing options provide granular control, allowing you to optimize search performance and minimize unnecessary indexing of system or application files. This is particularly helpful for users with large data sets or those concerned about privacy and disk space.
Rebuild the Search Index to Fix Problems
If search results are missing files or seem slow even after enabling Enhanced Search, rebuilding the index can resolve lingering issues:
Step 1: Open Indexing Options via the Control Panel as described above.
Step 2: Click Advanced, then select the Rebuild button under the Troubleshooting section.
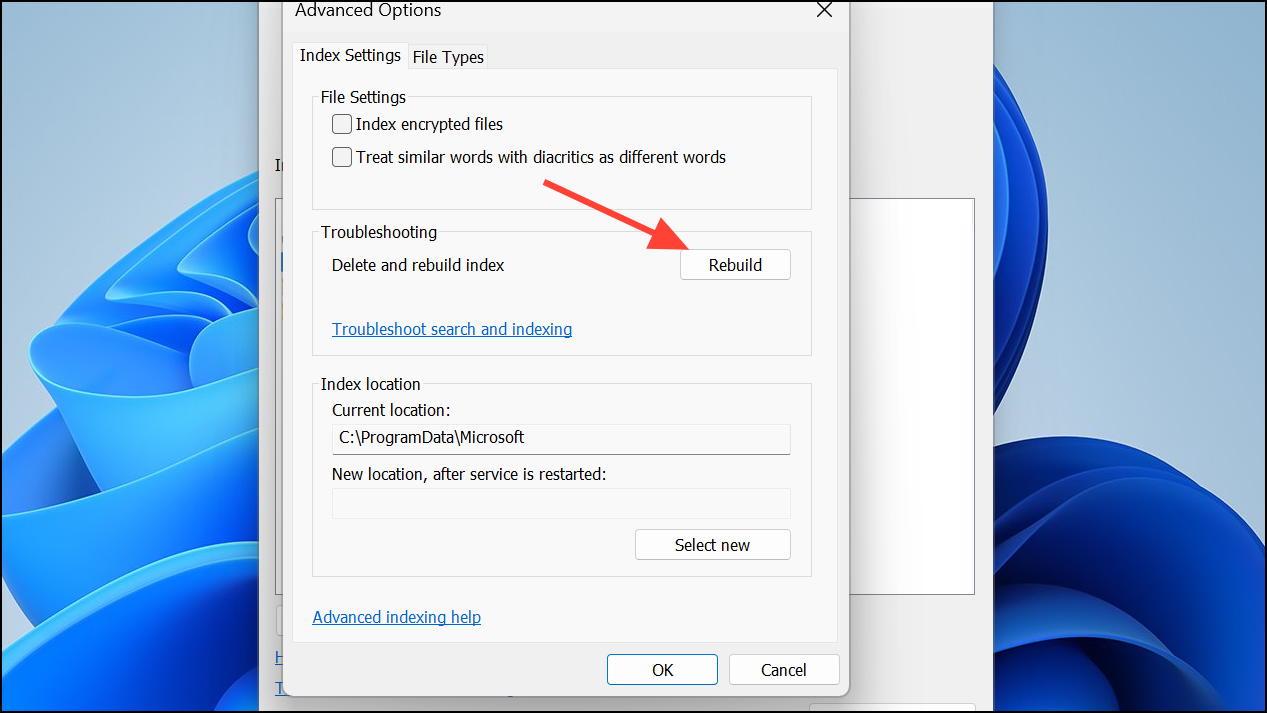
Step 3: Confirm your choice when prompted. Windows will delete the current index and start building a new one from scratch. Search functionality may be temporarily limited until the process completes.
Rebuilding the index is especially helpful if previous changes to search settings haven’t produced the desired results, or if you notice that certain files or emails (for example, in Outlook) aren’t being found by Windows Search.
Optional: Use Registry Editor to Switch Search Modes
For advanced users or IT administrators, you can switch between Classic and Enhanced search modes using the Windows Registry. This method is effective for deploying settings across multiple devices or when Settings is unavailable.
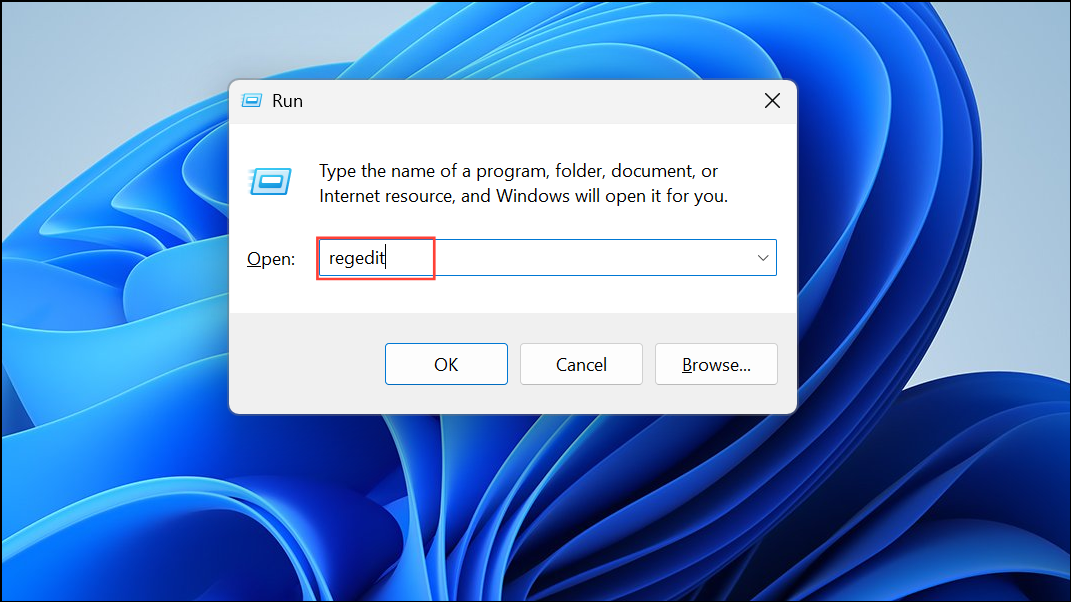
Step 1: Press Win + R to open the Run dialog, type regedit, and press Enter. Accept the User Account Control prompt if it appears.
Step 2: Navigate to the following key:
HKEY_LOCAL_MACHINE\SOFTWARE\Microsoft\Windows Search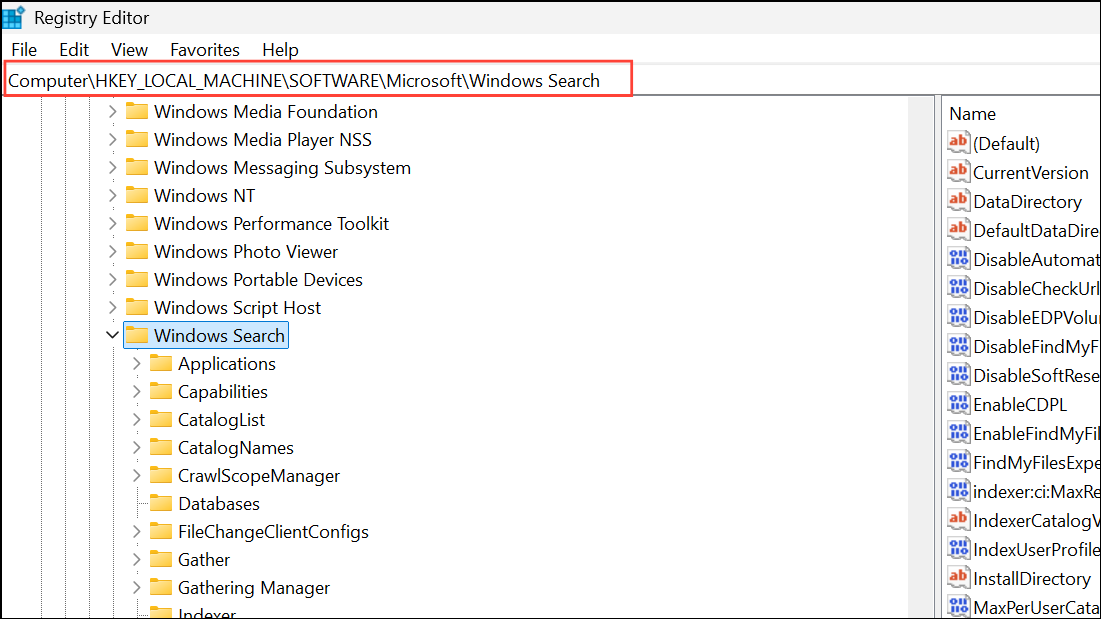
Step 3: Locate the EnableFindMyFiles DWORD value. Set its value to 1 for Enhanced mode or 0 for Classic mode.
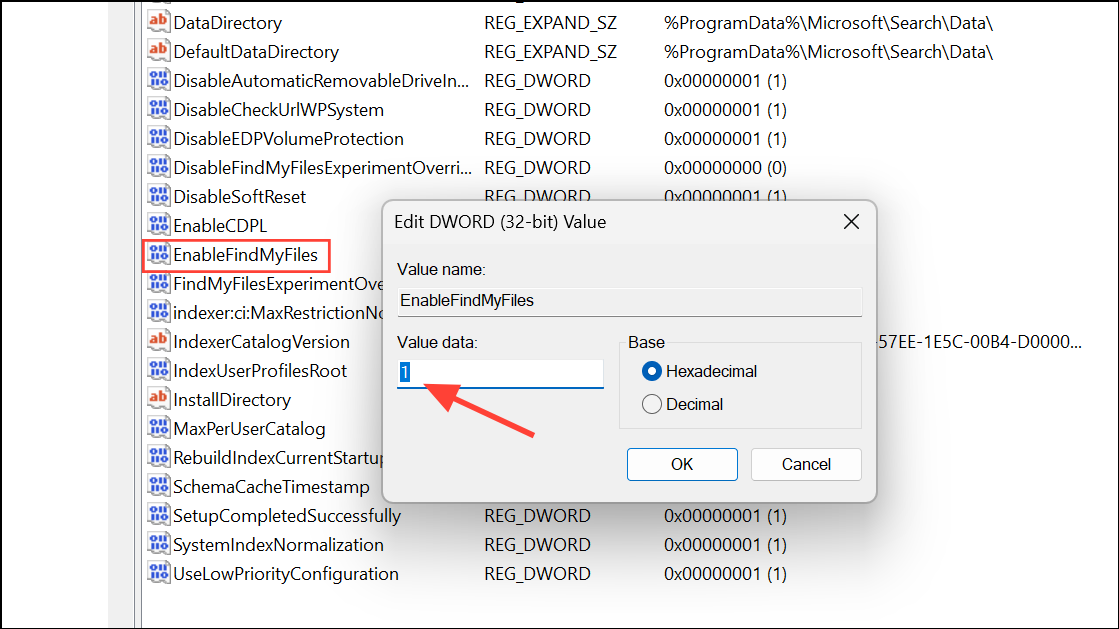
Step 4: Restart the Windows Search service or reboot your PC for the change to take effect.
Editing the registry allows for precise control but should be done carefully. Always back up your registry or create a system restore point before making changes.
Switching to Enhanced Search mode in Windows 11 streamlines file discovery and reduces the time spent searching for documents across your PC. With advanced and troubleshooting options available, you can further refine or repair search performance as your needs evolve.