
Enabling Network Discovery on your Windows 11 computer allows you to seamlessly share files and printers with other devices on your local network. This feature helps you transfer data without the need for external storage devices, making file sharing more efficient and secure.
Turn on Network Discovery Using the Settings App
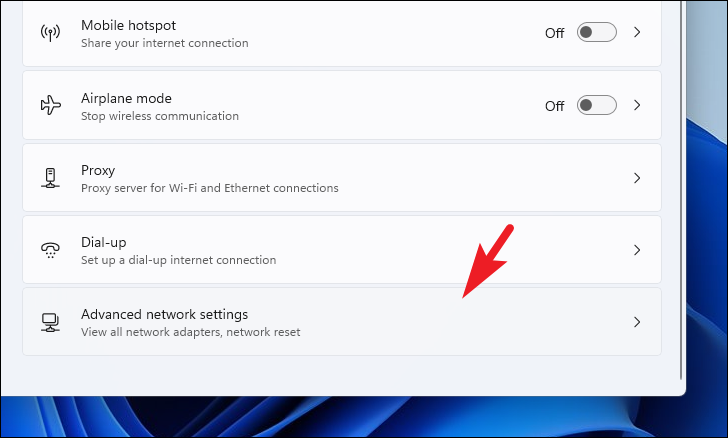
By default, Network Discovery is enabled on private networks but disabled on public ones to protect your privacy and security. If you’re unable to find other devices on your network, you may need to manually enable this feature.
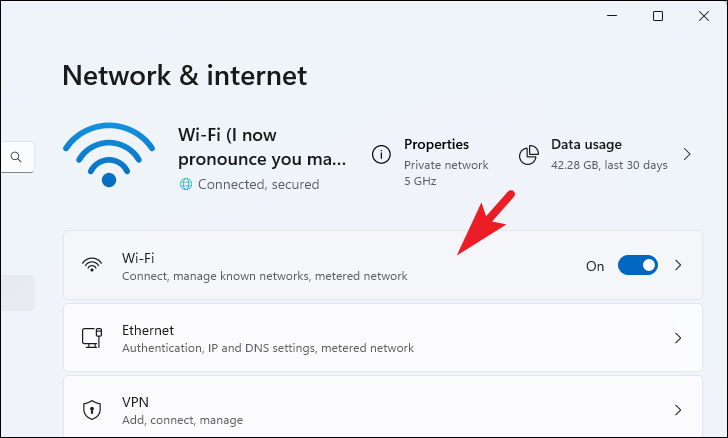
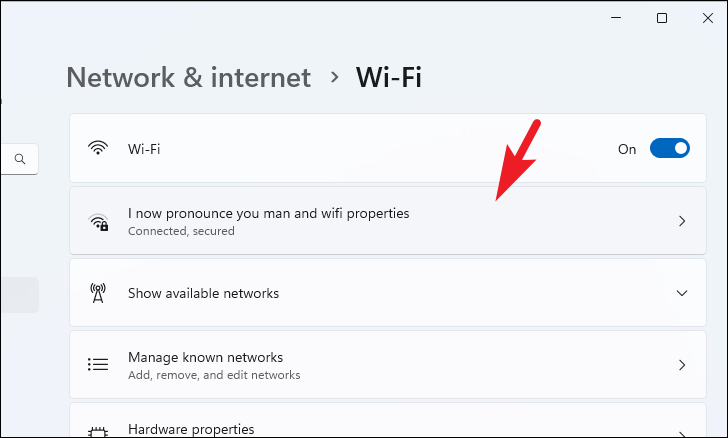
For Wi-Fi Connections:
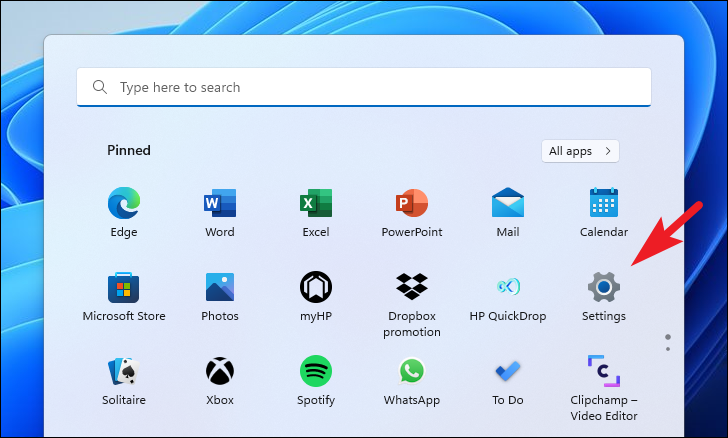
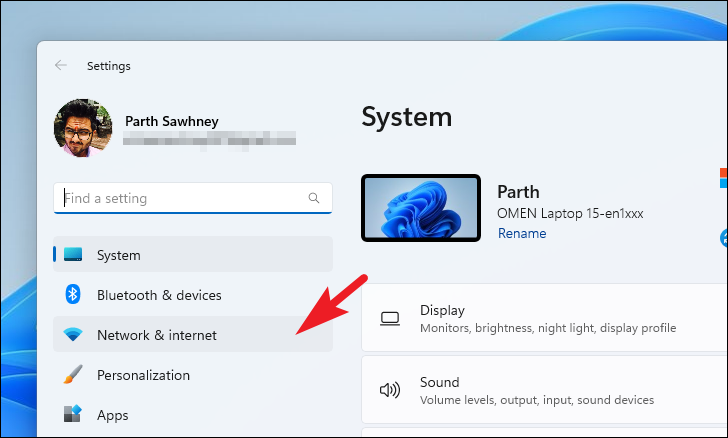
Start menu and select the Settings icon from the pinned apps. Alternatively, you can search for Settings using the search bar.
Network profile type section and select Private network. This setting makes your PC discoverable to other devices on the same network.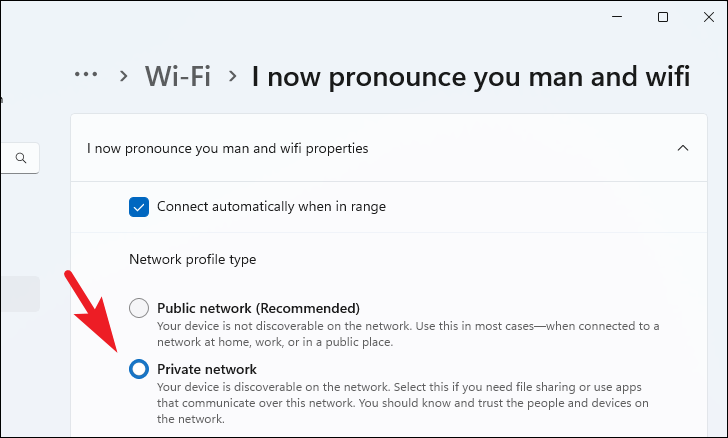

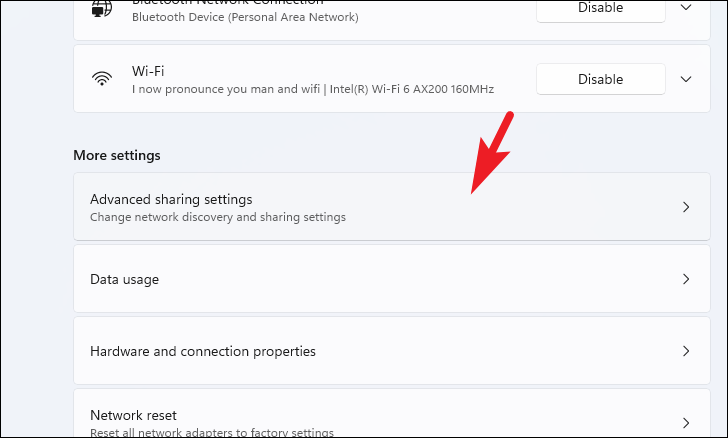
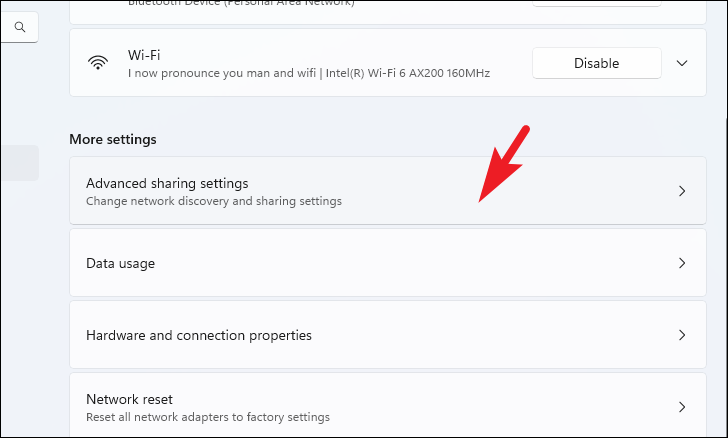
Private networks section, turn on the toggles for both Network discovery and File and printer sharing. This ensures your computer can see and be seen by other devices on the network, and allows file and printer sharing.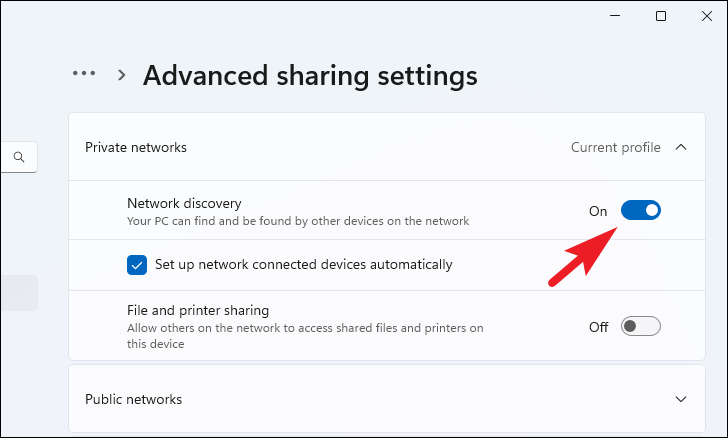
For Ethernet Connections:
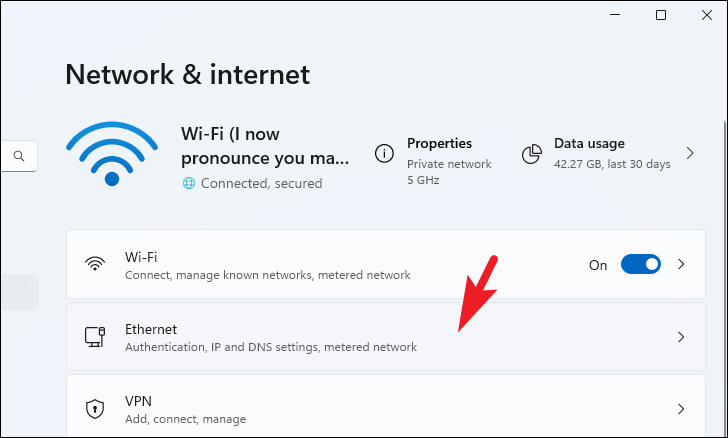
Network profile type, select Private network. This setting enables your PC to be discoverable over the Ethernet connection.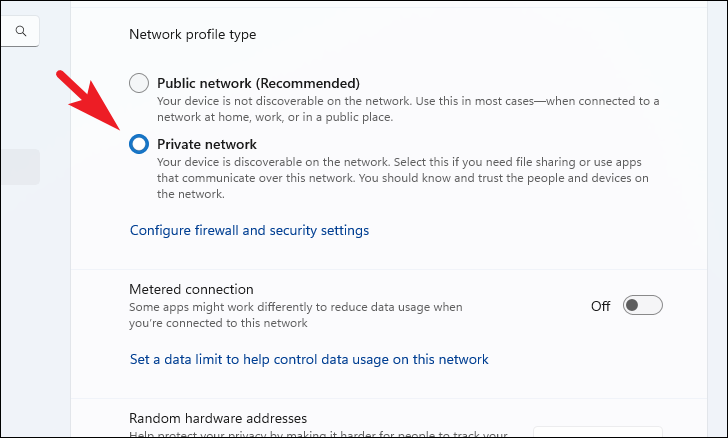
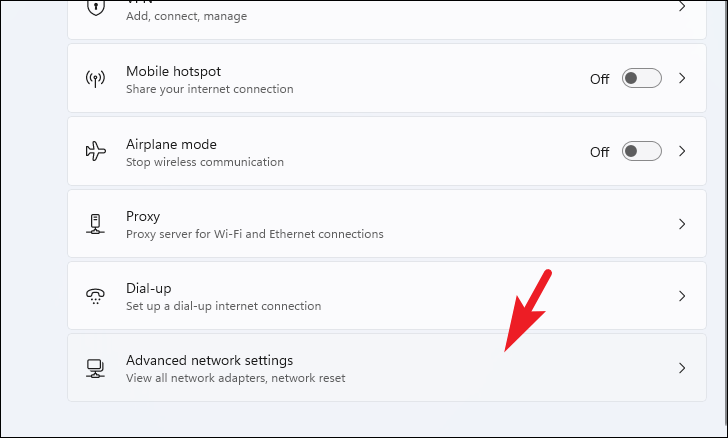
Make sure that you have also enabled Network discovery and File and printer sharing in the Advanced sharing settings for private networks, as described in the Wi-Fi section above, to fully enable network sharing features.
Turn on Network Discovery for Public Networks
In certain situations, you may need to enable Network Discovery on a public network, such as when you’re in a shared workspace or need to access devices without changing the network type. Be aware that doing so may pose security risks.

Public networks section. Turn on the toggles for Network discovery and File and printer sharing. This action makes your computer visible on the public network and allows file sharing.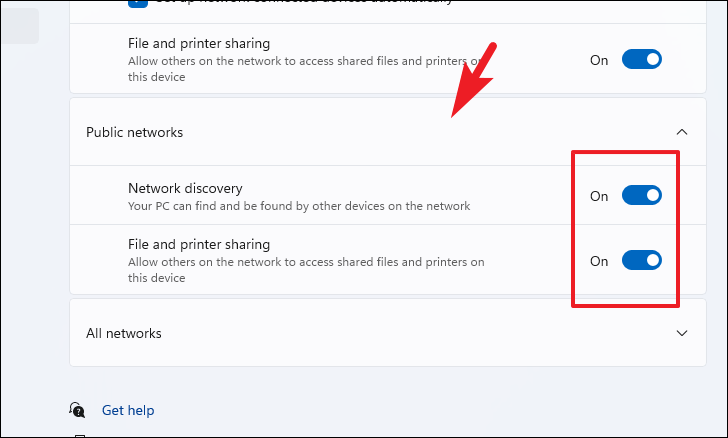
After completing these steps, your PC will be discoverable on public networks. Remember to disable these settings when they’re no longer needed to maintain your system’s security.
How to Share a Folder on a Local Network
With Network Discovery enabled, you can easily share folders with other users on the same network. This process allows you to control who can access your files and what they can do with them.
Properties from the context menu. Alternatively, press Alt+Enter on your keyboard to open the Properties window.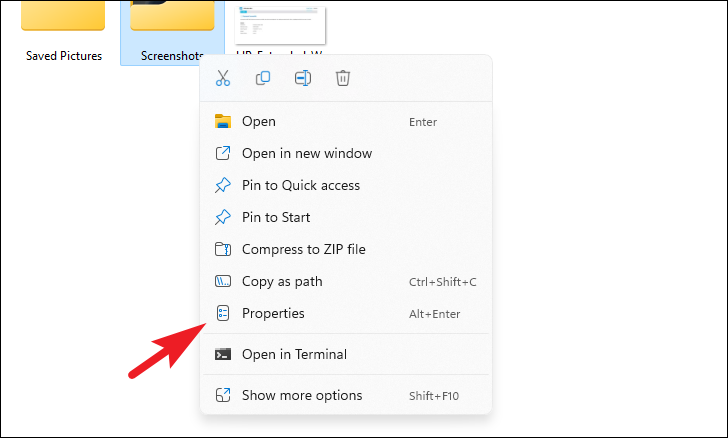
Sharing tab and click on the Share... button to open the Network access window.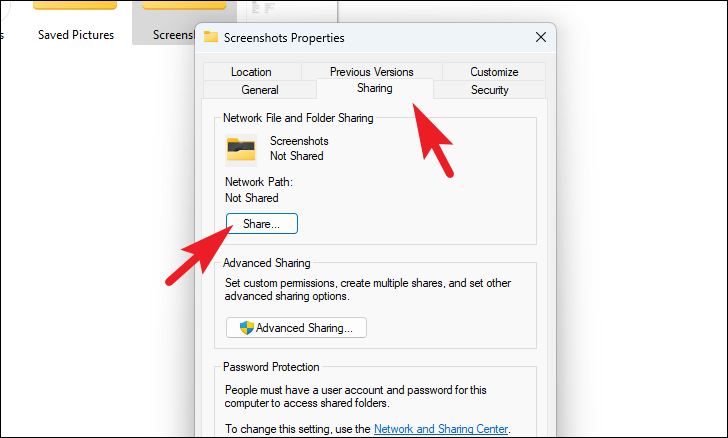
Choose people to share with and select Everyone. This option allows all users on the network to access the folder. Click Add to include them in the list.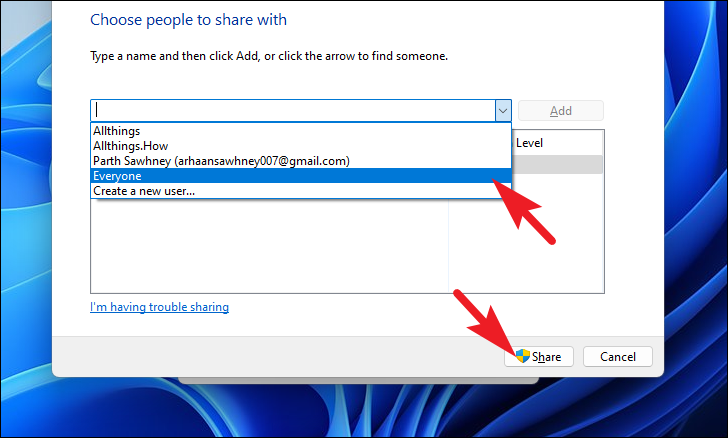
Read to allow viewing only or Read/Write to permit editing. Once configured, click on Share to proceed.Done to close the window.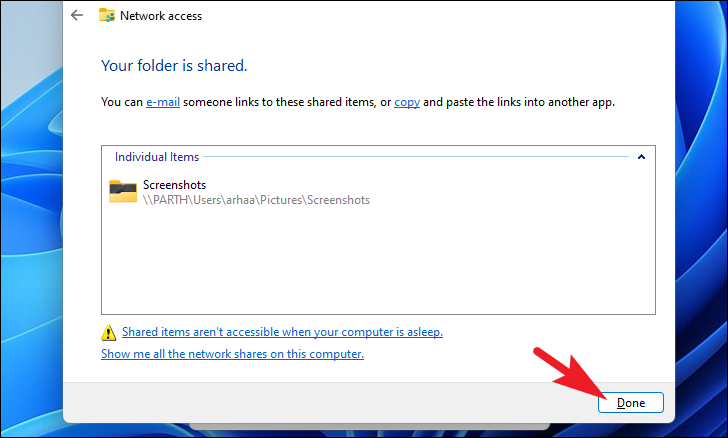
By following these steps, you can enable Network Discovery and share files or folders on your Windows 11 PC, streamlining collaboration and file management within your local network.


