
Hibernation in Windows 11 allows your computer to save the current state to the hard drive, enabling it to power off completely while preserving your open applications and documents. While this feature is useful for saving power, especially on laptops, you might prefer to disable it to save disk space or prevent potential issues with certain applications. This guide provides several methods to turn off hibernation on your Windows 11 device.
Method 1: Disable hibernate from the Command Prompt
If you’re looking for a quick and efficient way to disable hibernation, using the Command Prompt is the most straightforward method.
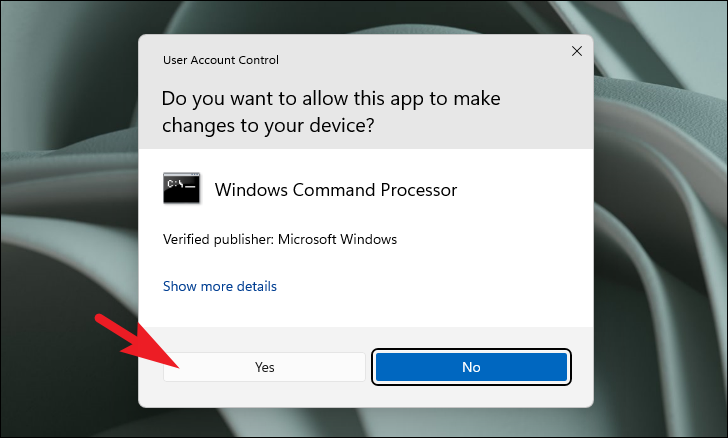
Start menu and type Command Prompt in the search bar. Right-click on the Command Prompt app and select Run as administrator.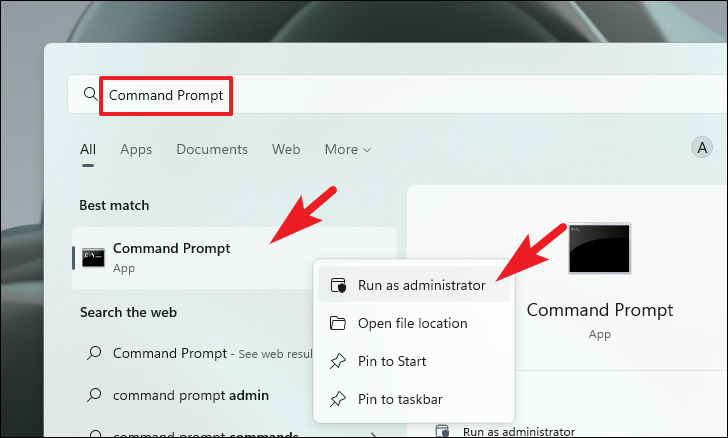
powercfg.exe /hibernate off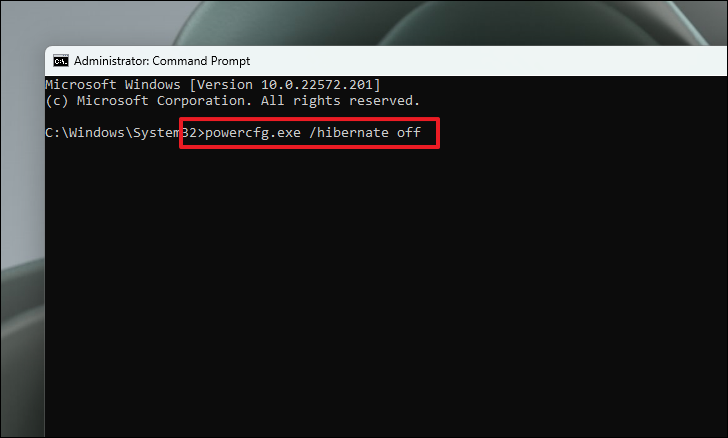
Hibernation is now disabled on your Windows 11 system.
Method 2: Disable hibernation by changing the Power Plan settings
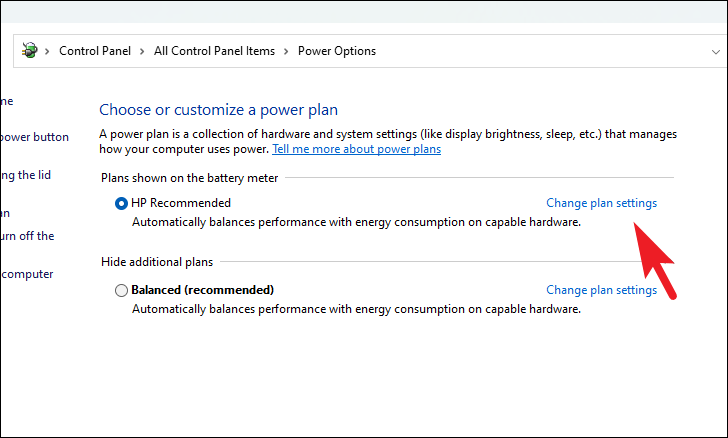
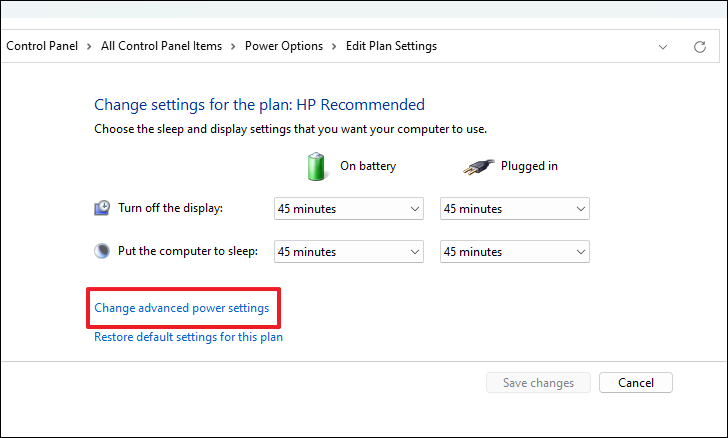
You can also turn off hibernation through the Power Plan settings in the Control Panel, which allows you to configure various power options.
Start menu and type Control Panel in the search bar. Click on the Control Panel app from the search results.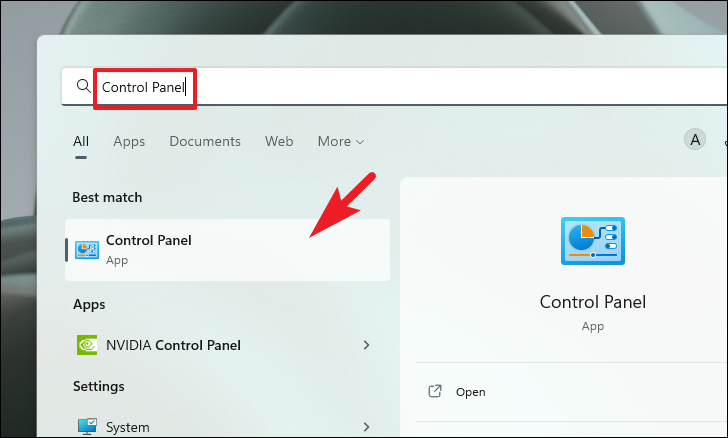

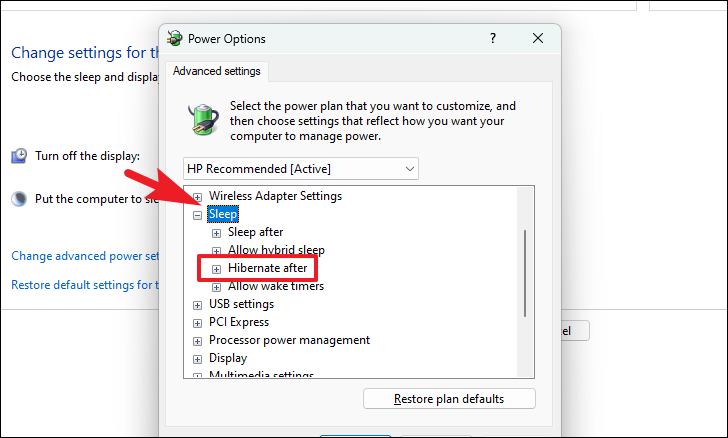
Never by typing it into the field. This disables automatic hibernation.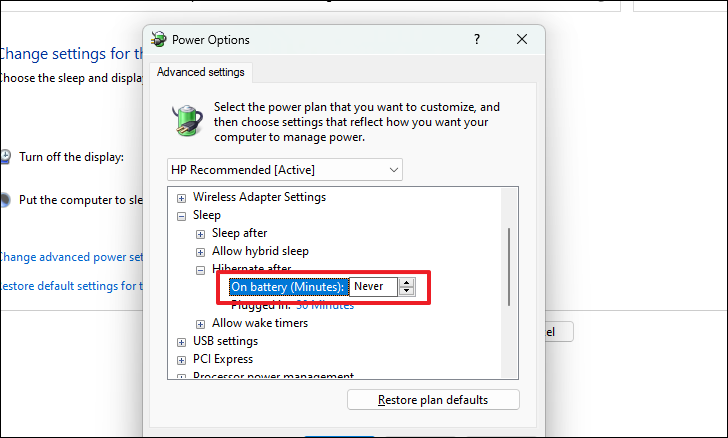
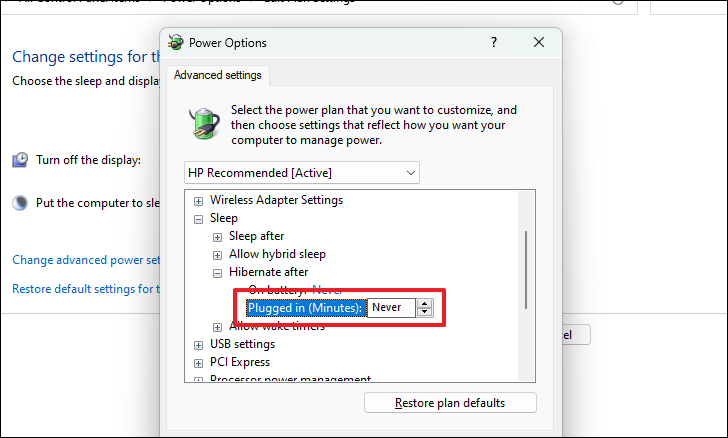
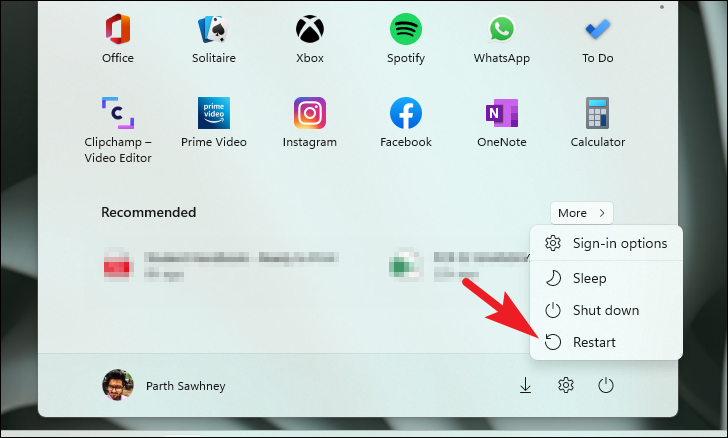
Your computer will no longer enter hibernation mode automatically.
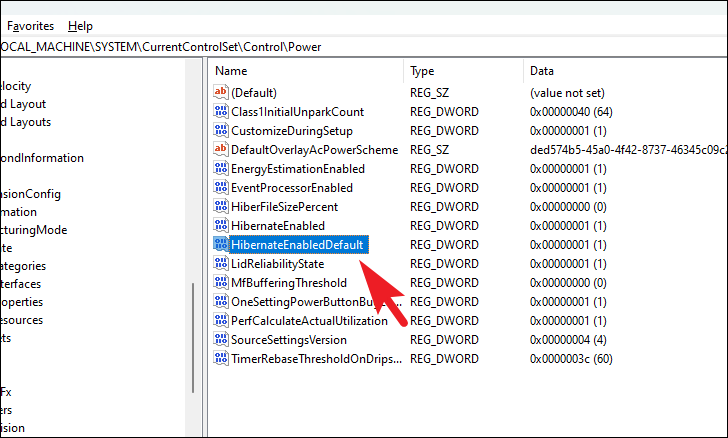
Method 3: Disable hibernate by tweaking the registry
For advanced users, editing the Windows Registry provides another method to disable hibernation. Be cautious when modifying the registry, as improper changes can affect system stability.
Start menu and type Registry Editor. Click on the Registry Editor app in the search results.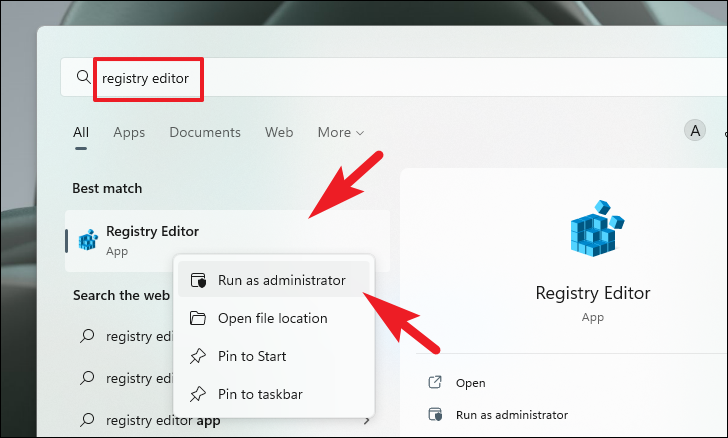
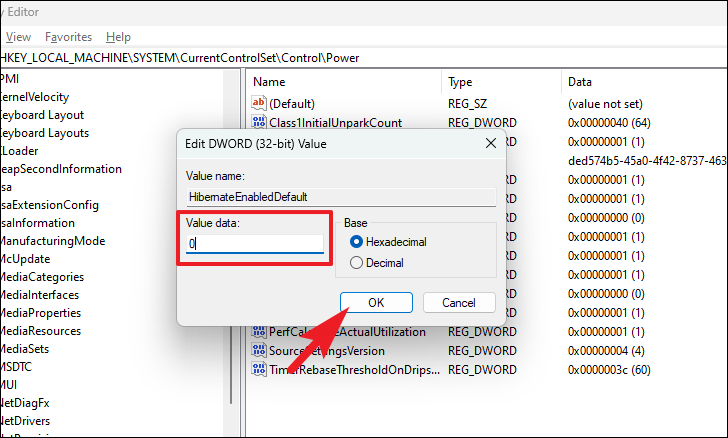
Computer\HKEY_LOCAL_MACHINE\SYSTEM\CurrentControlSet\Control\Power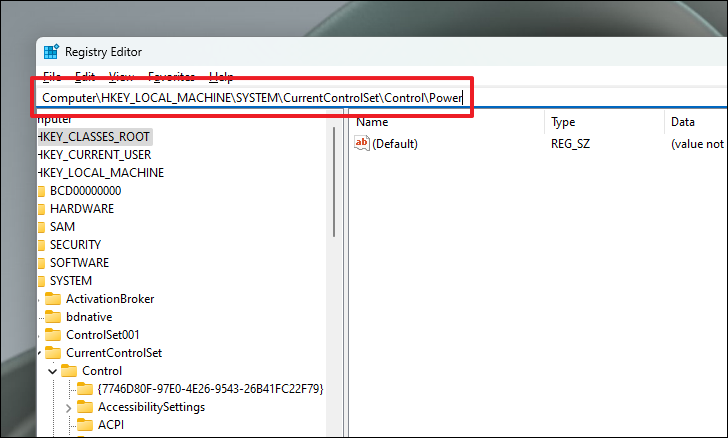
Note: You can overwrite any existing value in the field.
By following these methods, you can easily disable hibernation on your Windows 11 device according to your preferences.


