
Software installations and updates on Windows 11 depend on the Windows Installer Service (also known as msiserver). When this service is disabled or not running, applications packaged as MSI files may fail to install or uninstall, leading to error messages and incomplete setups. Adjusting the service state can resolve installation problems or prevent unauthorized software changes. Here’s how to turn the Windows Installer Service on or off using several reliable methods.
Method 1: Using the Services Tool
Step 1: Open the Run dialog by pressing Windows + R on your keyboard. In the dialog box, type services.msc and press Enter. This launches the Services management console, where background processes and system services are listed.

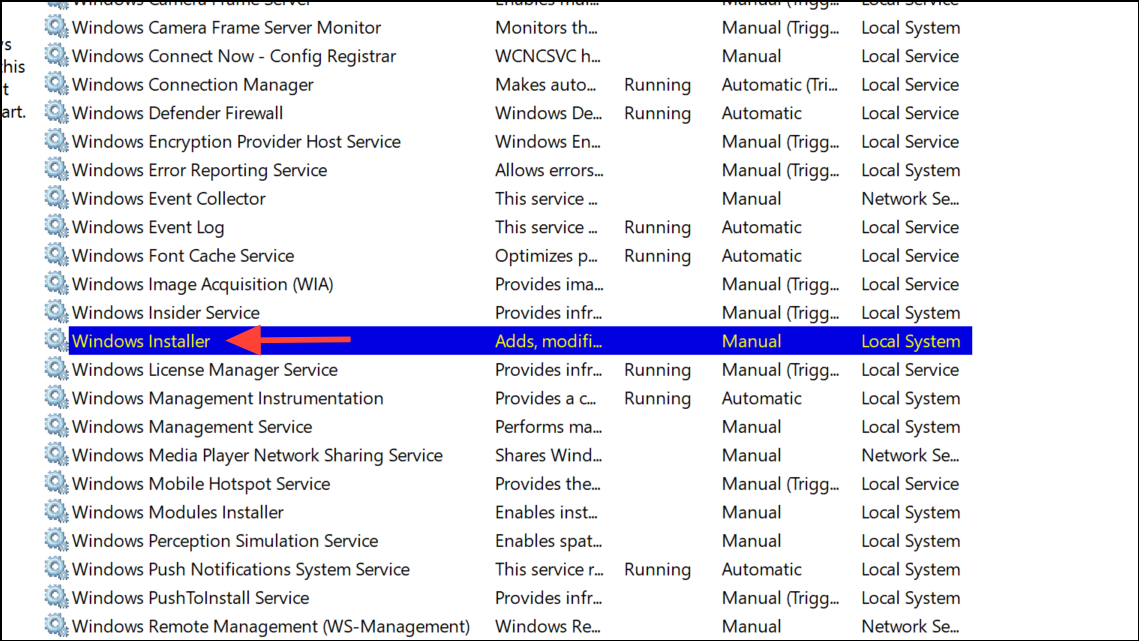
Step 2: Scroll through the list to locate Windows Installer. Double-click the entry to open its Properties window. Here, you can view the current status and configure how the service starts.
Step 3: To turn the service on, set the Startup type dropdown to Automatic or Manual and click the Start button under Service status. To turn the service off, click Stop and set the Startup type to Disabled. Click Apply and then OK to confirm your changes.

Changing the Startup type to Automatic ensures the service starts with Windows, while Manual requires it to be started as needed. Disabled prevents the service from running entirely.
Method 2: Using Command Prompt
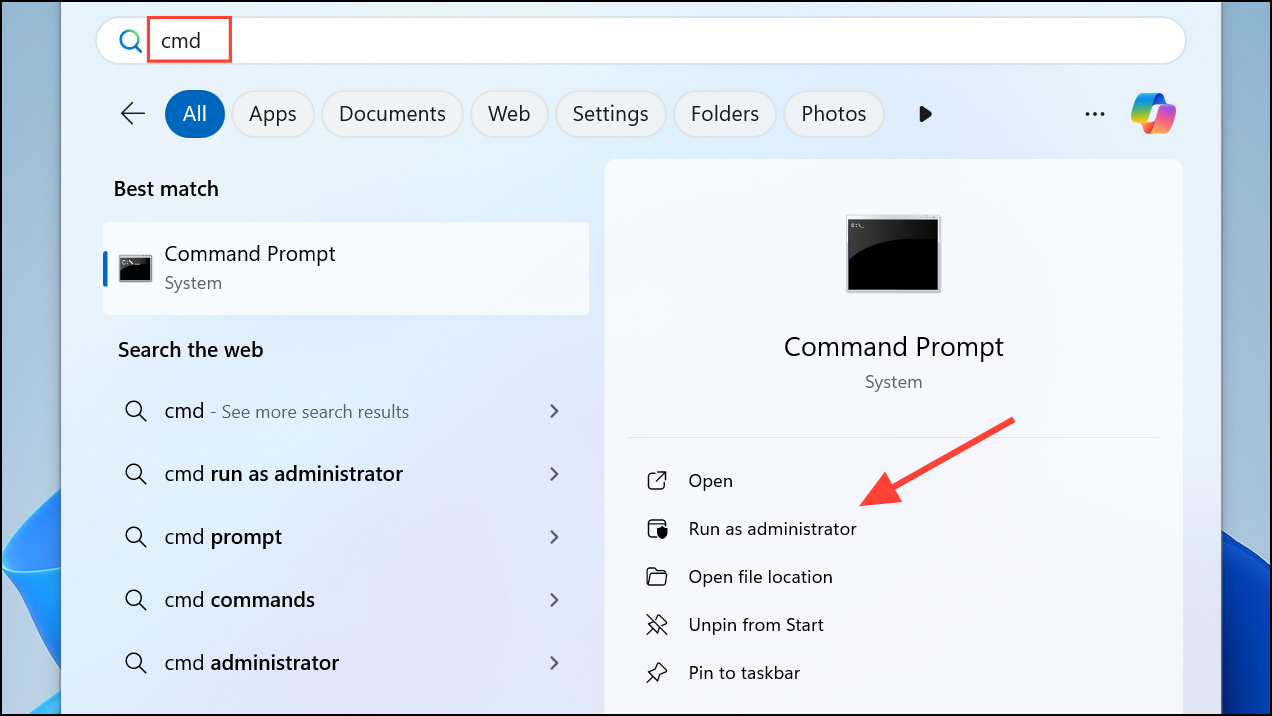
Step 1: Press Windows + R, type cmd, then press Ctrl + Shift + Enter to open Command Prompt as an administrator. Approve any User Account Control prompts.
Step 2: To start the Windows Installer Service, enter:
net start MSIServer
This command immediately starts the service for the current session.
Step 3: To change the service’s startup behavior, use the following commands:
- Set to Automatic:
REG add "HKLM\SYSTEM\CurrentControlSet\services\MSIServer" /v Start /t REG_DWORD /d 2 /f - Set to Manual:
REG add "HKLM\SYSTEM\CurrentControlSet\services\MSIServer" /v Start /t REG_DWORD /d 3 /f - Set to Disabled:
REG add "HKLM\SYSTEM\CurrentControlSet\services\MSIServer" /v Start /t REG_DWORD /d 4 /f
These registry commands control whether the service starts automatically, manually, or is disabled entirely. Restart your computer for changes to take effect.
Method 3: Using Registry Editor
Editing the registry allows for direct control of service startup states, but incorrect changes can cause system instability. Always back up your registry before proceeding.
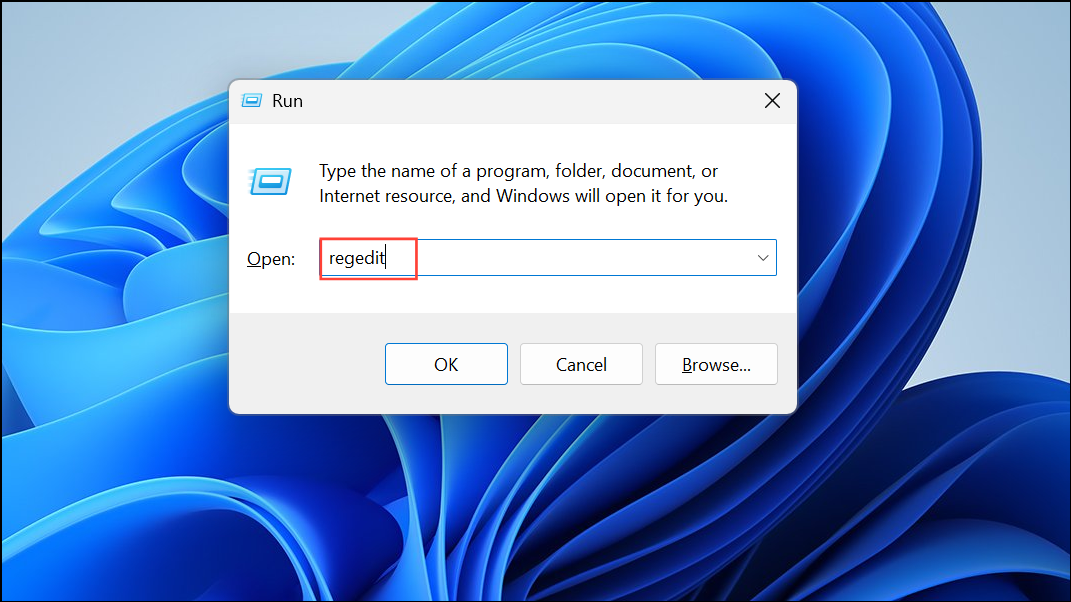
Step 1: Press Windows + R, type regedit, and press Enter. Approve the User Account Control prompt to open Registry Editor.
Step 2: Navigate to:
HKEY_LOCAL_MACHINE\SYSTEM\CurrentControlSet\Services\msiserver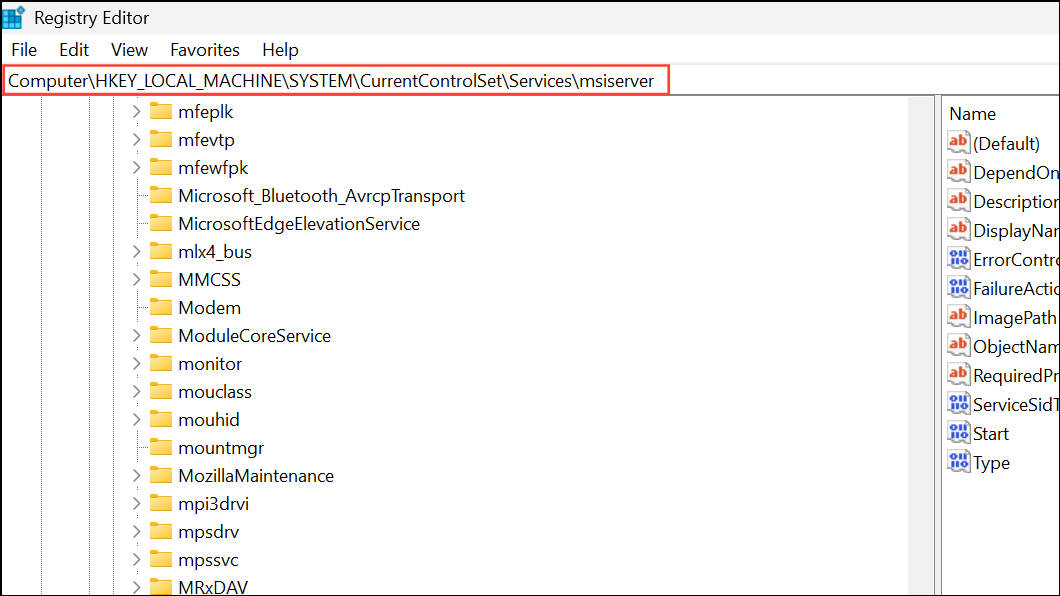
Step 3: In the right pane, double-click the Start value. Change the Value data according to your needs:
- 2 – Automatic
- 3 – Manual
- 4 – Disabled
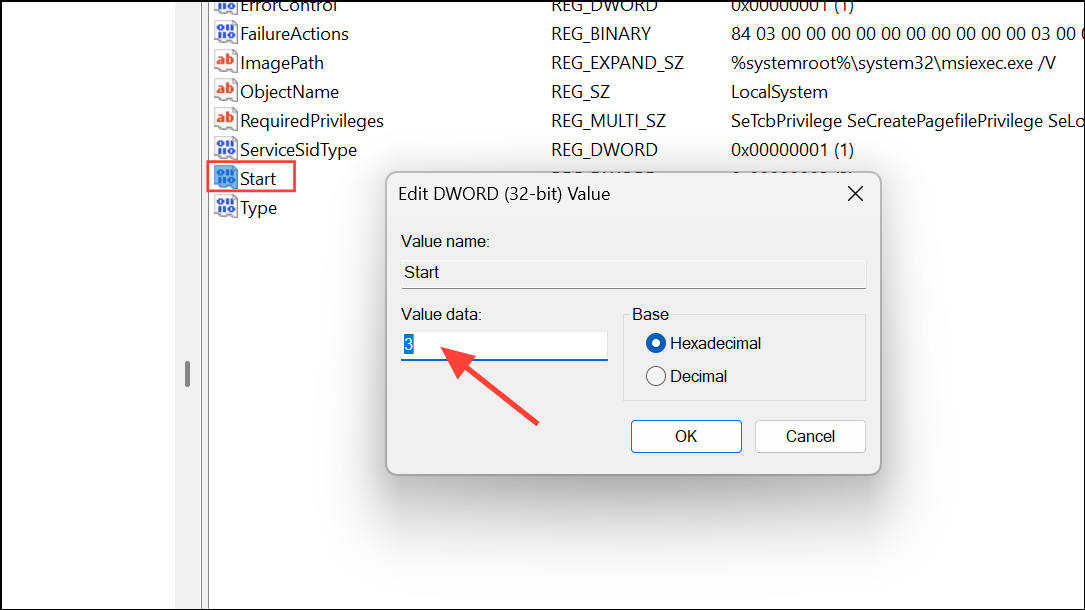
Ensure the Base is set to Hexadecimal, then click OK. Close Registry Editor and restart your PC for changes to take effect.
Method 4: Using Local Group Policy Editor (Windows 11 Pro/Enterprise Only)
This method is available only on Windows 11 Pro and Enterprise editions. It provides centralized control over service behavior through policy settings.
Step 1: Open the Start menu, type gpedit.msc, and press Enter to launch the Local Group Policy Editor.

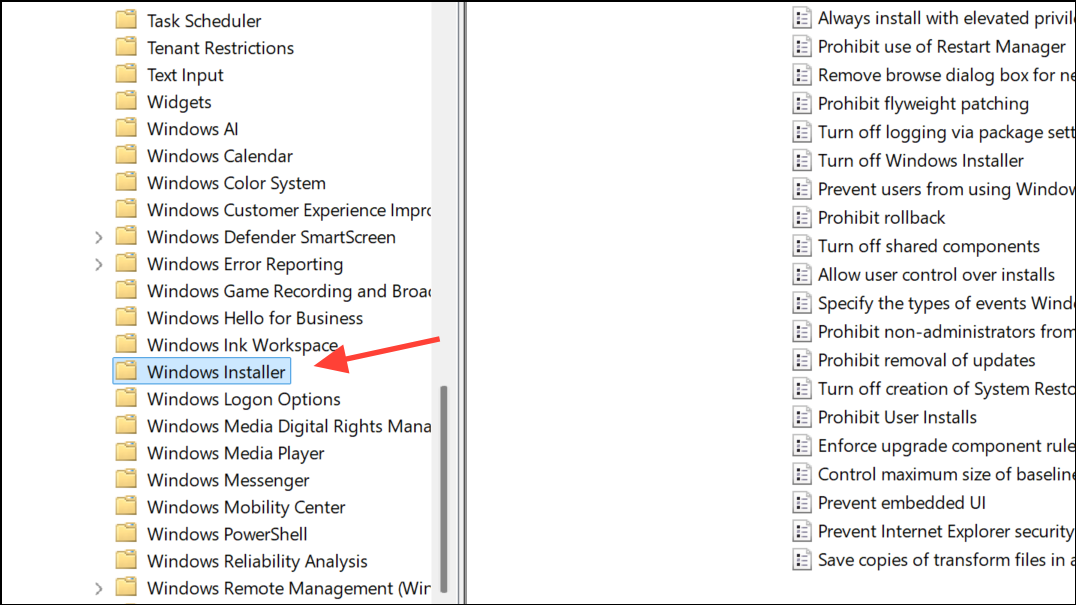
Step 2: Go to Computer Configuration > Administrative Templates > Windows Components > Windows Installer.
Step 3: On the right, double-click Turn off Windows Installer. To disable the service, set the policy to Enabled and select Always under Options. To re-enable, set the policy to Not Configured.
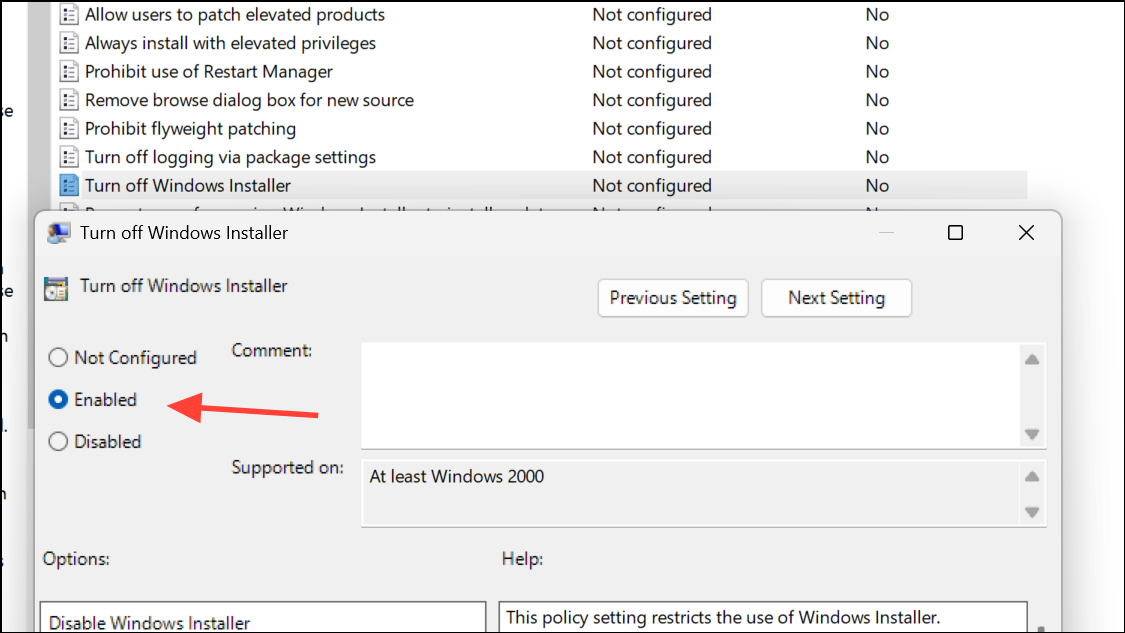
Click Apply and OK to save changes. Group Policy changes may require a restart to take effect.
Extra: Running Windows Installer Service in Safe Mode
Windows Installer Service does not run in Safe Mode by default, which can block installation or removal of software when troubleshooting. To enable it in Safe Mode:
Step 1: Start Windows 11 in Safe Mode.
Step 2: Open Command Prompt as administrator. For Safe Mode with Networking, run:
REG ADD "HKLM\SYSTEM\CurrentControlSet\Control\SafeBoot\Network\MSIServer" /VE /T REG_SZ /F /D "Service"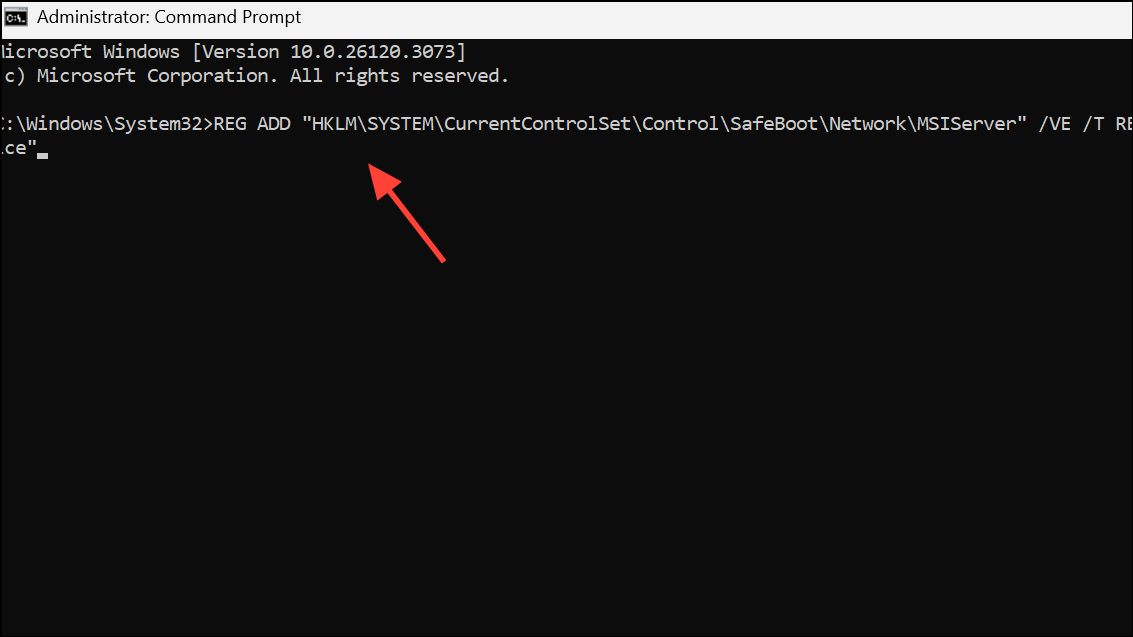
For Safe Mode without Networking, run:
REG ADD "HKLM\SYSTEM\CurrentControlSet\Control\SafeBoot\Minimal\MSIServer" /VE /T REG_SZ /F /D "Service"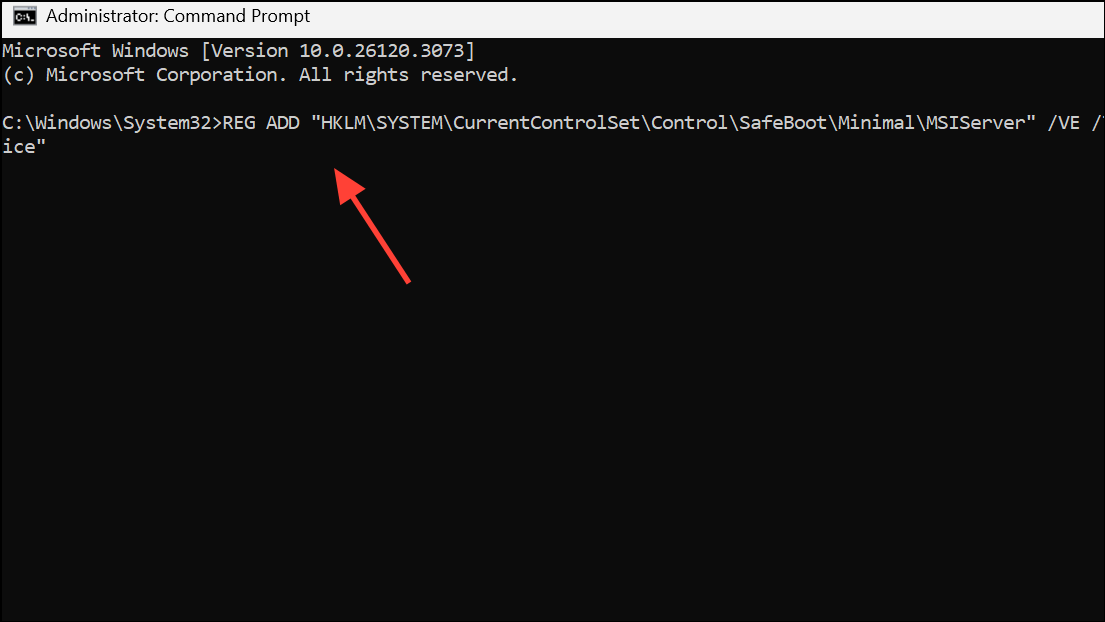
Step 3: Start the service with:
net start msiserver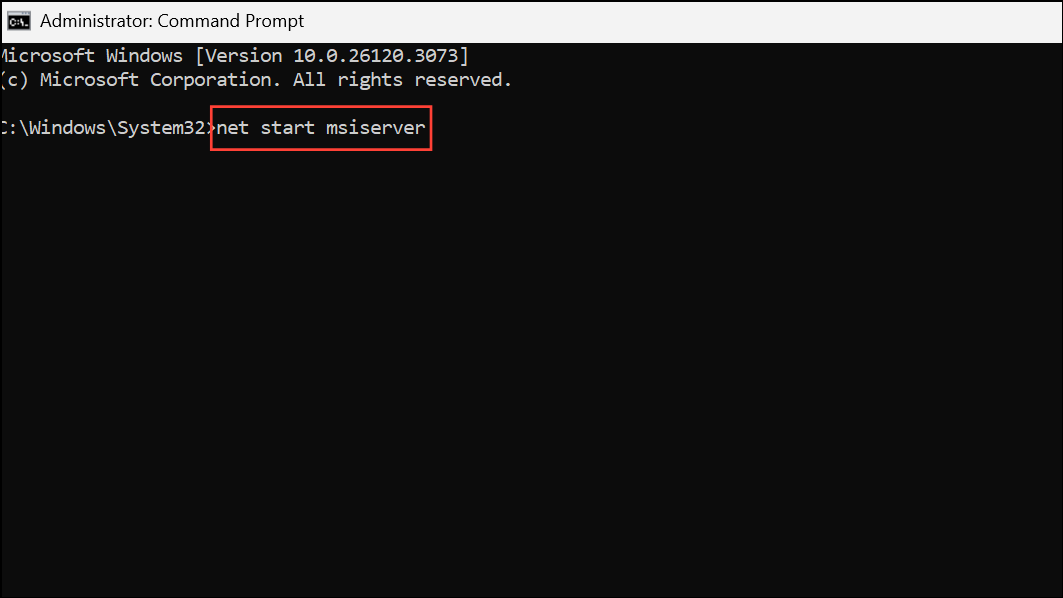
After finishing your tasks in Safe Mode, stop the service and remove the registry entry to restore original settings:
- Stop the service:
net stop msiserver - Remove registry entry for Safe Mode with Networking:
REG DELETE "HKLM\SYSTEM\CurrentControlSet\Control\SafeBoot\Network\MSIServer" /F - Remove registry entry for Safe Mode without Networking:
REG DELETE "HKLM\SYSTEM\CurrentControlSet\Control\SafeBoot\Minimal\MSIServer" /F
Managing the Windows Installer Service on Windows 11 streamlines software installations and helps resolve stubborn setup issues. Adjust the service using the method that best fits your technical comfort level and Windows edition.