
Windows 11 introduced the ability to run Android apps natively via the Windows Subsystem for Android (WSA). While this feature enhances accessibility to mobile applications on desktop, it may not be necessary for everyone. If you prefer not to have the Windows Subsystem for Android installed on your system, you can remove it using several methods. This guide provides step-by-step instructions to uninstall WSA from your Windows 11 PC. ## Uninstall Windows Subsystem for Android from Settings Removing WSA through the Settings app is straightforward and efficient, especially if you want to manage multiple apps or adjust other system settings simultaneously.
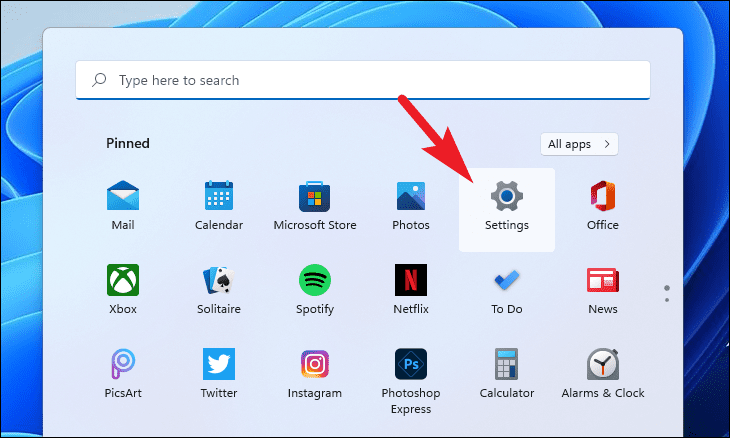
- Click on the Start button in the taskbar and select the Settings app from the pinned apps. You can also type
Settingsin the Start menu search bar and open it from the results.
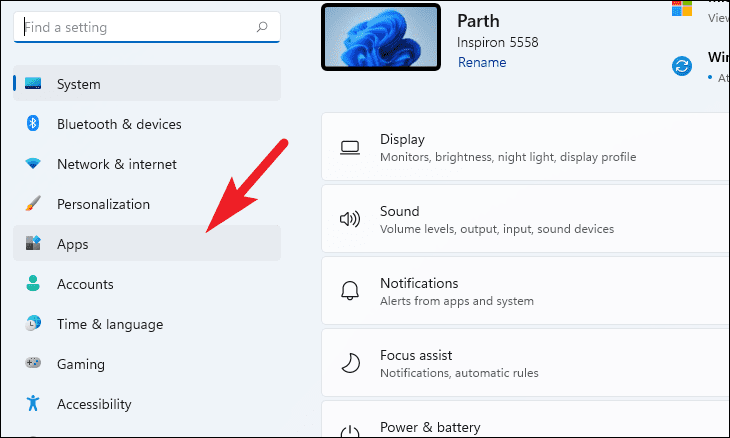
- In the Settings window, click on the Apps tab located on the left sidebar.
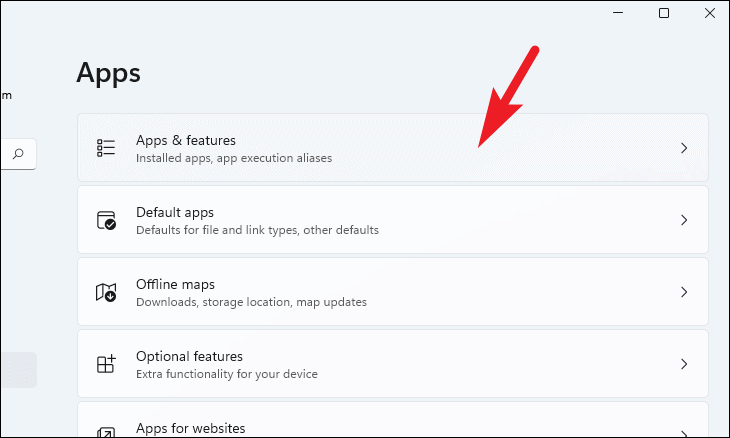
- On the right side, select Apps & features.
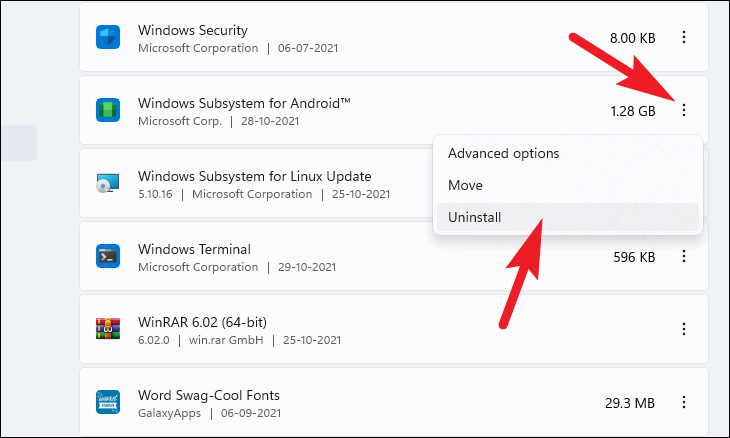
- Under the App list section, type
Windows Subsystem for Androidin the search bar to find the app.
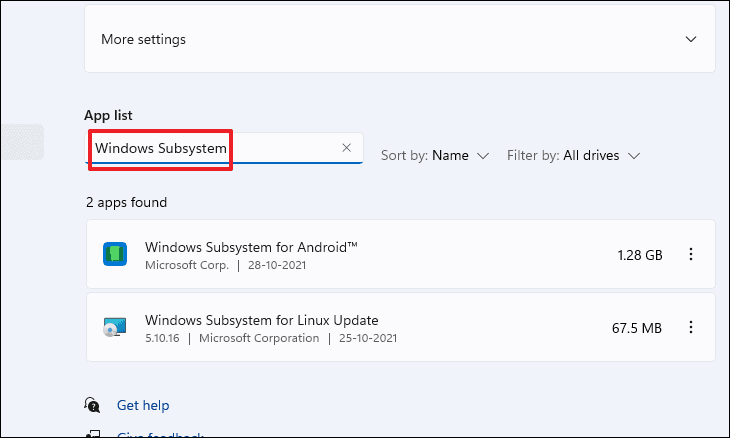
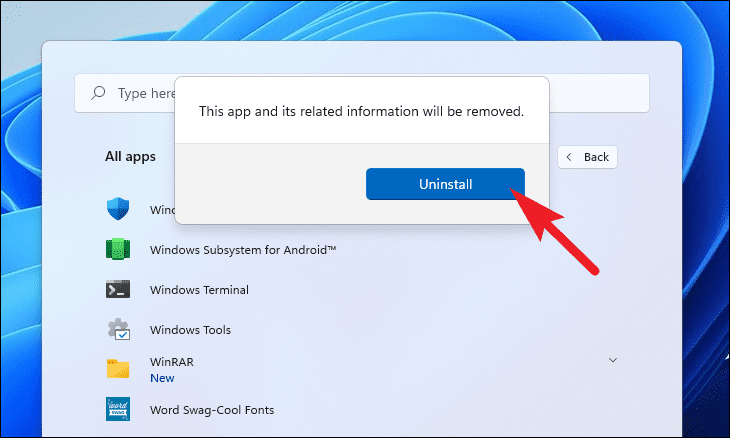
- Once you locate it, click on the three-dot menu (ellipsis) next to it and choose Uninstall. A confirmation prompt will appear.
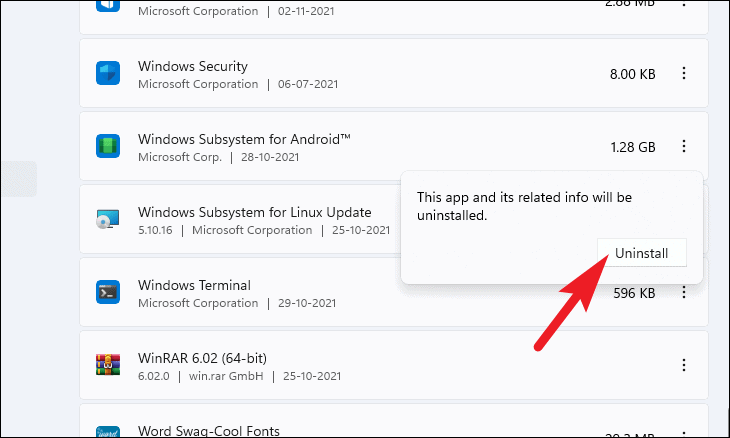
- Confirm the action by clicking on Uninstall in the prompt to begin removing WSA from your system.
## Uninstall Windows Subsystem for Android from Start Menu Another quick method to remove WSA is through the Start Menu.
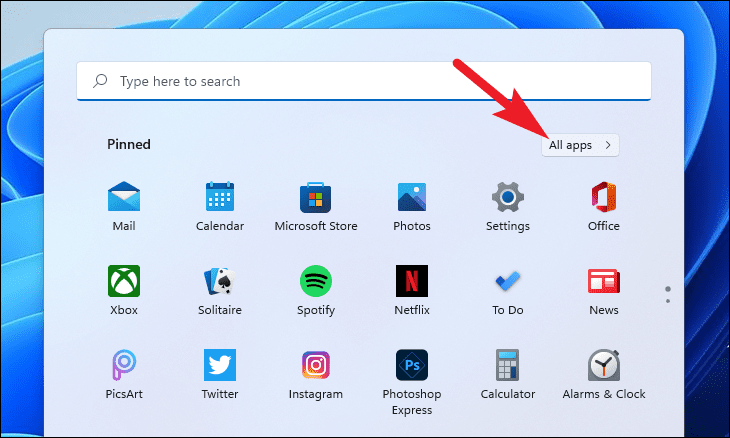
- Open the Start Menu and click on All apps at the top-right corner.
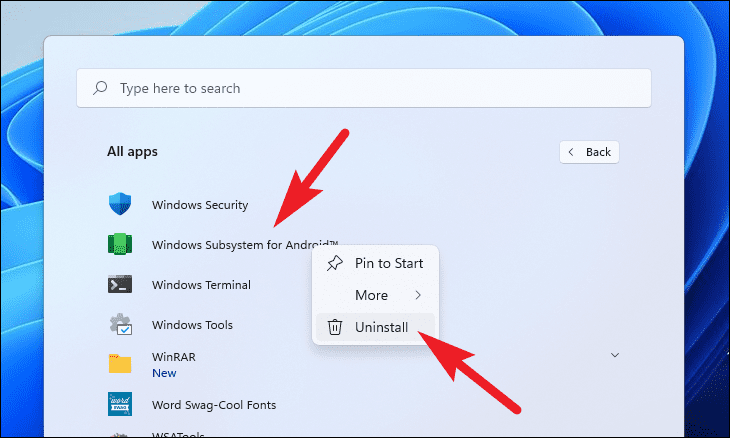
- Scroll down to find Windows Subsystem for Android, right-click on it, and select Uninstall from the context menu. A prompt will appear.
- In the prompt, click on Uninstall to proceed with removing WSA from your computer.
## Uninstall Windows Subsystem for Android Using PowerShell For those who prefer using command-line tools, you can uninstall WSA via PowerShell in Windows Terminal.
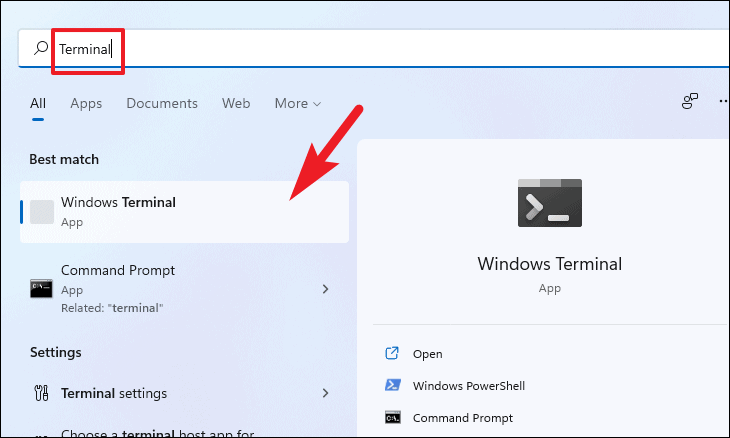
- Open the Start Menu and type
Terminalin the search bar. Click on the Windows Terminal app from the results to launch it.
- In Windows Terminal, ensure you are in a PowerShell tab. Type the following command and press
Enterto display all installed programs:
winget list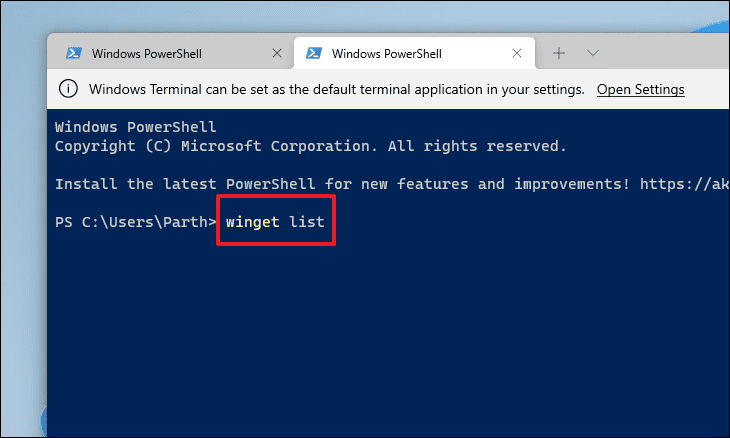
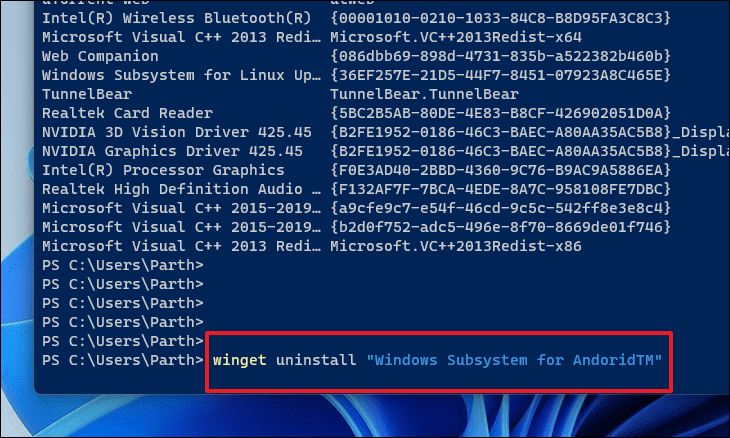
- Scroll through the list to find Windows Subsystem for Android. Note down the exact name as it appears.
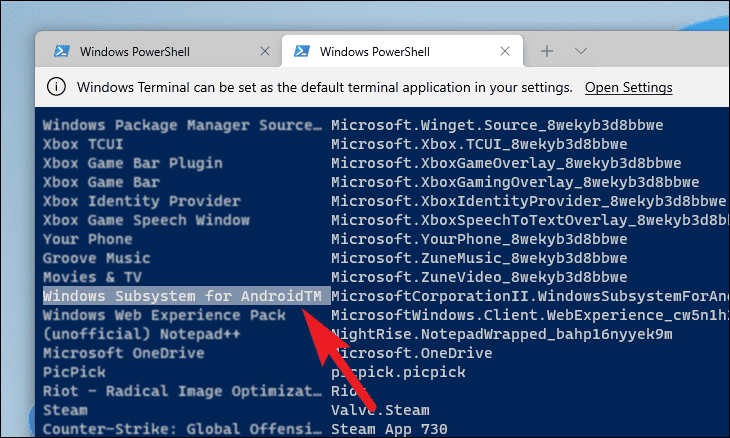
- Use the following command to uninstall WSA, replacing <app name> with the exact name you noted:
winget uninstall "<app name>"Note: Ensure you include the quotation marks around the app name.
By following these methods, you can effectively remove the Windows Subsystem for Android from your Windows 11 PC if you no longer require it.


