Sending an email by mistake is a common issue—maybe you forgot an attachment, included incorrect information, or sent it to the wrong recipient. Thankfully, Outlook provides a built-in feature to undo sending an email, allowing you to recall or replace the message before the recipient reads it. Here are detailed instructions for recalling emails using Outlook on Windows 11.
Recall a Sent Email in the New Outlook for Windows 11
Shortly after initiating the recall, you’ll receive a Message Recall Report email. Click the link inside this report to view the recall status, showing whether the recall succeeded, is pending, or failed.
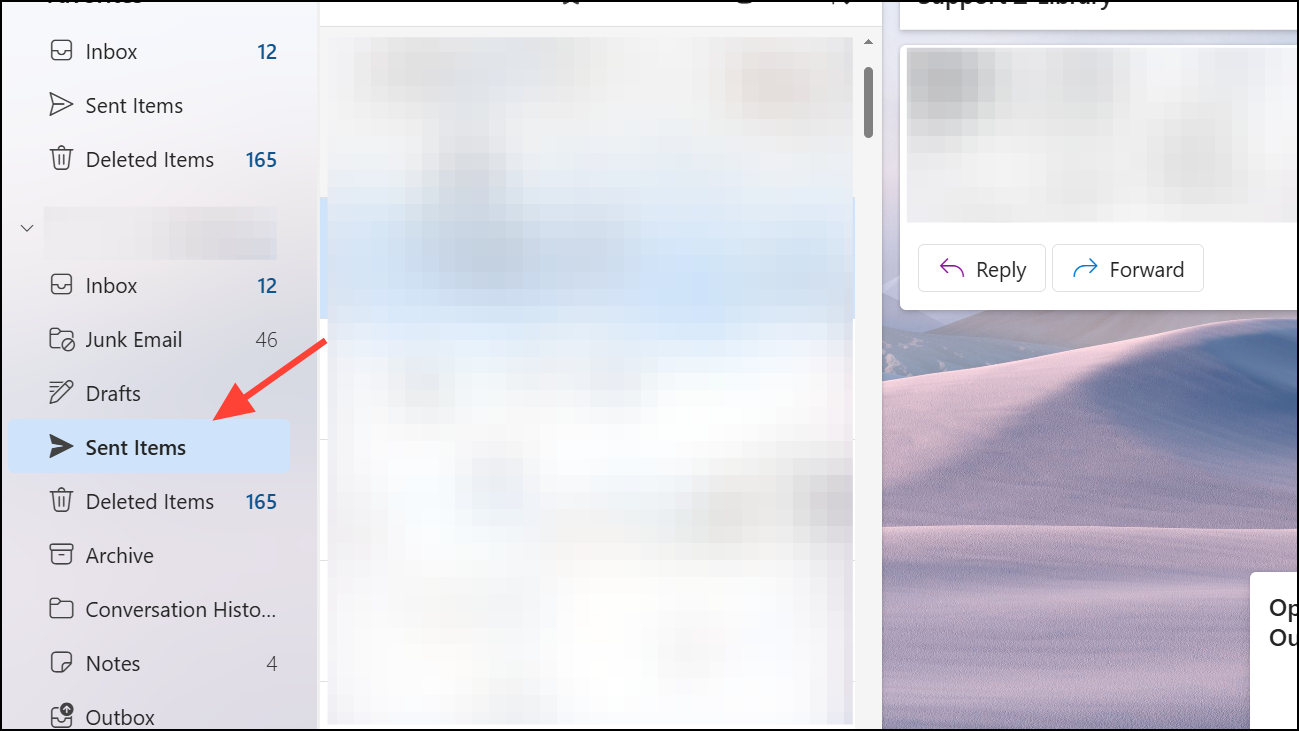
Recall and Replace a Sent Email in Classic Outlook
If you need to correct or replace an email sent in error, you can use the recall and replace option in classic Outlook:
After completing these steps, you’ll receive a recall report indicating whether the replacement was successful or not.
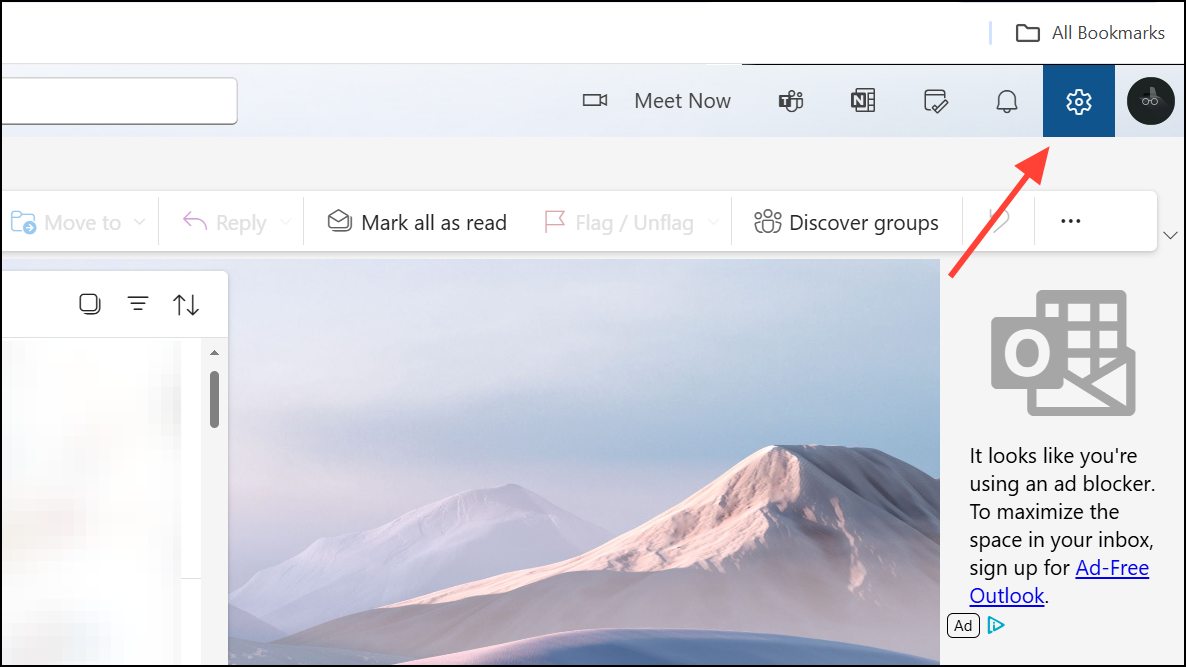
Undo Send in Outlook Web App (Outlook.com)
Unlike the desktop version, Outlook.com doesn’t have a recall feature. However, it provides an “Undo Send” option that temporarily delays sending emails, giving you a brief window to cancel the sending process:
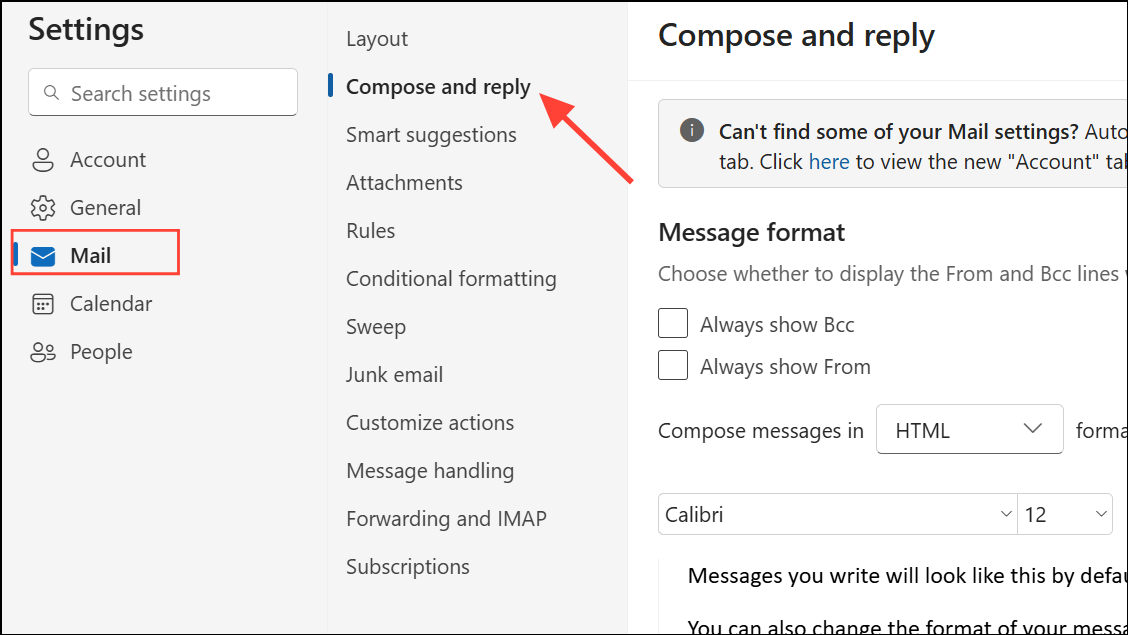
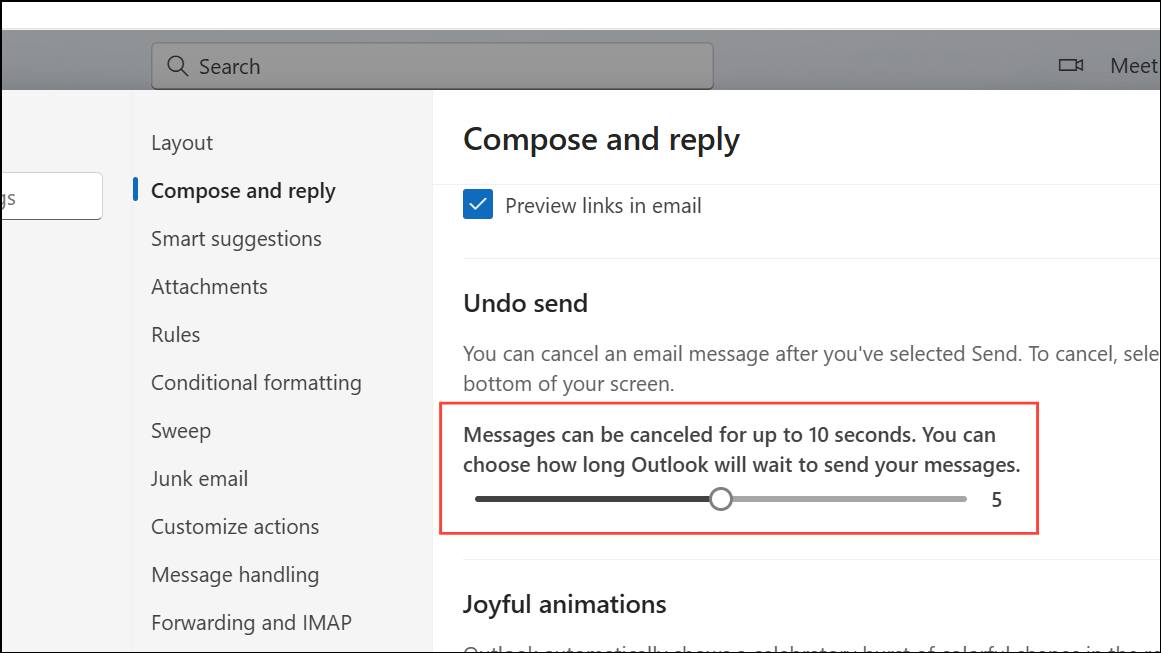
After enabling this feature, whenever you send an email, an Undo button will appear at the bottom of the screen for the selected delay period. Clicking Undo will cancel the sending and allow you to edit or delete the message.
Common Reasons Why Outlook Recall May Fail
While the recall feature is helpful, it doesn’t always guarantee success. Here are some common reasons why recalling an email in Outlook might fail:
- The recipient has already opened the email.
- The recipient’s mailbox is not hosted on the same Microsoft Exchange or Microsoft 365 server.
- The recipient uses a different email client (Gmail, Apple Mail, etc.) or a mobile device that doesn’t support recall.
- The email has been moved from the recipient’s inbox to another folder or processed by an email rule.
- The message is protected by Azure Information Protection or encrypted.
To maximize your chances of successfully recalling an email, initiate the recall process as quickly as possible after sending the email.
Alternative: Delay Sending Emails in Outlook
To prevent the need for recalling emails, you can configure Outlook to delay sending emails by a few minutes. This gives you time to review and correct emails before they’re actually sent:
Now, every time you send an email, it will remain in your Outbox for the specified delay period, allowing you to review or modify it before it’s actually sent.
Recalling emails in Outlook can save you from potentially embarrassing or problematic situations. By understanding how the recall and undo send features work and by setting up delayed sending, you can minimize mistakes and communicate more effectively.