
If you’ve been knee-deep in the wide world of AI art generation (or, you know, just casually dipping your toes in), you’ve probably heard of a nifty little tool called Midjourney. Like an alchemist turning lead into gold, Midjourney transforms your words into dazzling works of art.
But did you know that you can also provide image prompts to Midjourney? It would not be your fault if you didn’t. It isn’t exactly apparent right away when you go on to use Midjourney. Most instructions for the tool are centered around text-based prompts, after all, because that’s where it shines. It is a literal wizard with your words. But that doesn’t mean that image prompts deserve to be looked over. Let’s not waste any more time.
What Exactly are Image Prompts, and How Do They Work?
You know how they say a picture is worth a thousand words? Well, when you already know, nay, have the kind of output you want from Midjourney AI in the form of an image, why waste time describing it to the bot? You should simply be able to provide the image to the bot. And that’s exactly what Image Prompts are.
These prompts contain images that can be used to influence the output’s style, composition, and colors. You can use the images alone or in conjunction with text prompts. Midjourney even lets you combine images to experiment with different styles. It’s a whole new world to explore.
Alas, it can get confusing as to how to “provide” this image to this bot, as there’s no option to upload an image in the Discord message when using the /imagine prompt anywhere (whether on the server, in DMs, or on your private server).
That’s the catch. You can’t upload the image directly when you’re sending a prompt to the Midjourney Bot. You need to provide a URL to the image, i.e., the image should be stored online, and you need to provide the web address to the image (which Midjourney should be able to access).
The address must be a direct link to the image that ends in an extension like .jpg, .jpeg, .png, .webp, or .gif.
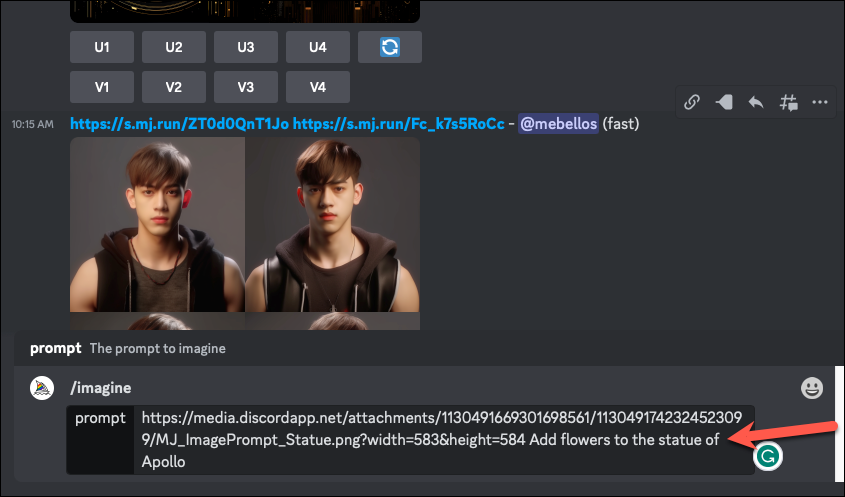
And once you have the image URL, how does the prompt work? Well, the URL of the image goes at the front of the prompt if you’re providing it with a text prompt. So, the prompt would look like this:
/imagine prompt <Image address> <Text Prompt> <Other (optional) Midjourney Parameters>For an image prompt to work, you either need to provide two or more images or an image and a text prompt.
Now, there’s no shortage of ways to upload an image online. If you already have a preferred service like Imgur, all you need to do is get the web address and use it in the prompt as described above. But if you’re scratching your head at which service to use, we’ll provide you with an easy option. Let’s get going!
Note: Do remember that the image you use can be viewed by anyone since the URL will need to be publically accessible, and prompts are visible on the Midjourney website. Even if you send the prompt to Midjourney privately, the results of the job will be available for everyone to see unless you’re using Stealth Mode.
Use Discord to Upload the Image for Image Prompts
To use Midjourney, you must join the Midjourney Discord server, as there’s currently no other way. Since you’ll already be on Discord anyway, you can use the platform itself to upload the image to further use it in an image prompt.
Whether the image is on a computer or phone, you can use Discord on the web or the Discord app to upload the image.
On the computer, go to discord.com and log in with your account.
Then, you can navigate to the chat with the Midjourney bot. Since Midjourney is not offering free trials currently, every user has to be subscribed, and subscribers can chat with the Midjourney bot privately.
Note: You can also send the image in any of the channels of the Midjourney servers to get the image URL, but sending it in Direct Messages prevents other server users from seeing the image. For anyone to see the image, they’d need to go to great lengths, such as finding your prompt on the Midjourney website and then navigating to the image URL from there.
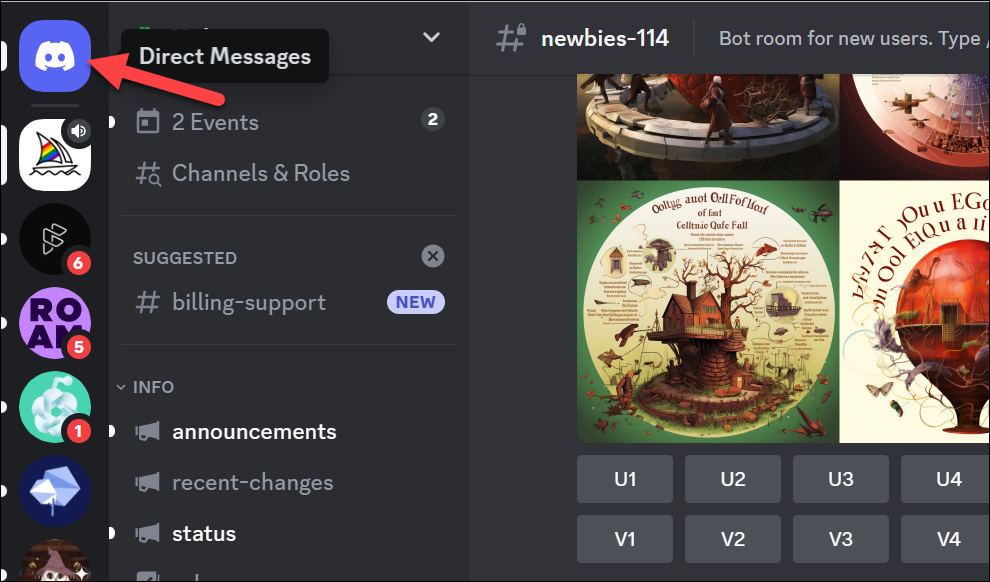
Click on the ‘Direct Messages’ option from the navigation menu on the left.
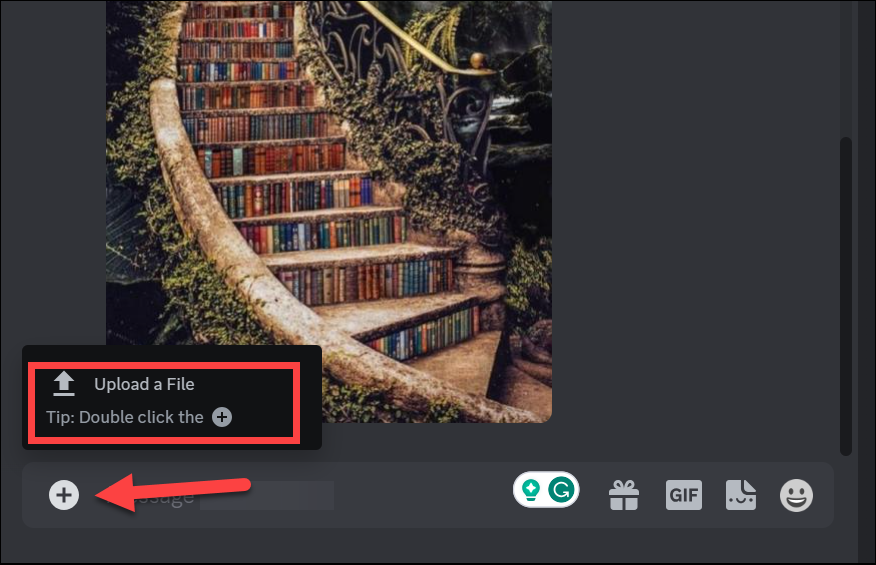
Then, paste the image in the message box or upload it using the ‘Upload’ button. Press ‘Enter’ to send it in the chat with the Midjourney bot.
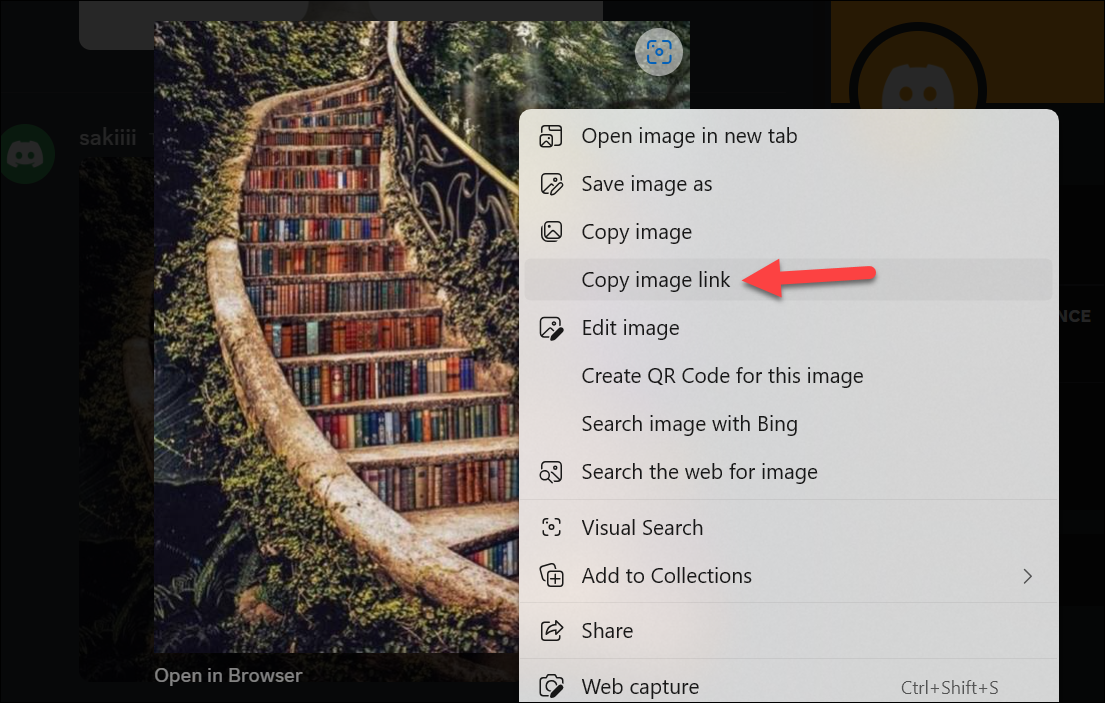
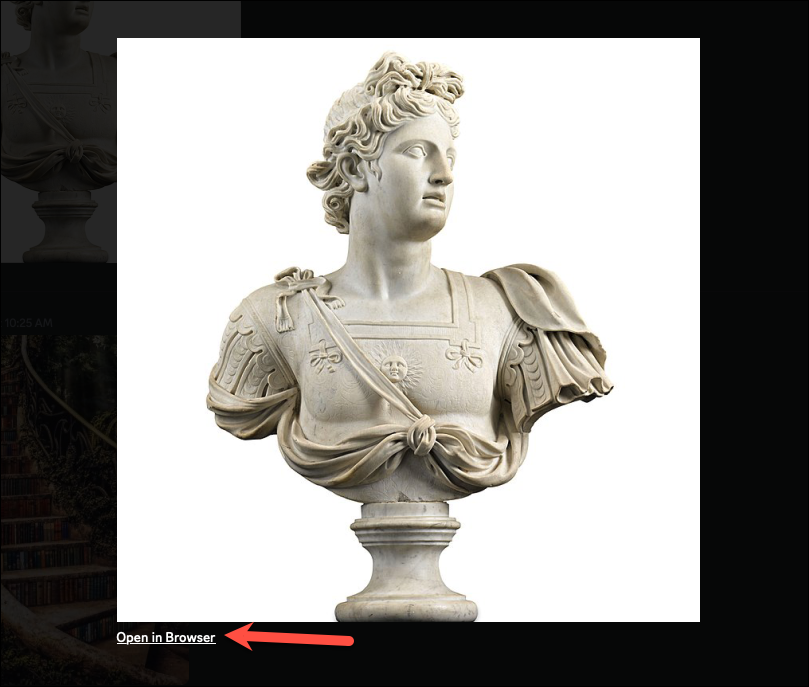
Once the image is sent, click on it to expand it.
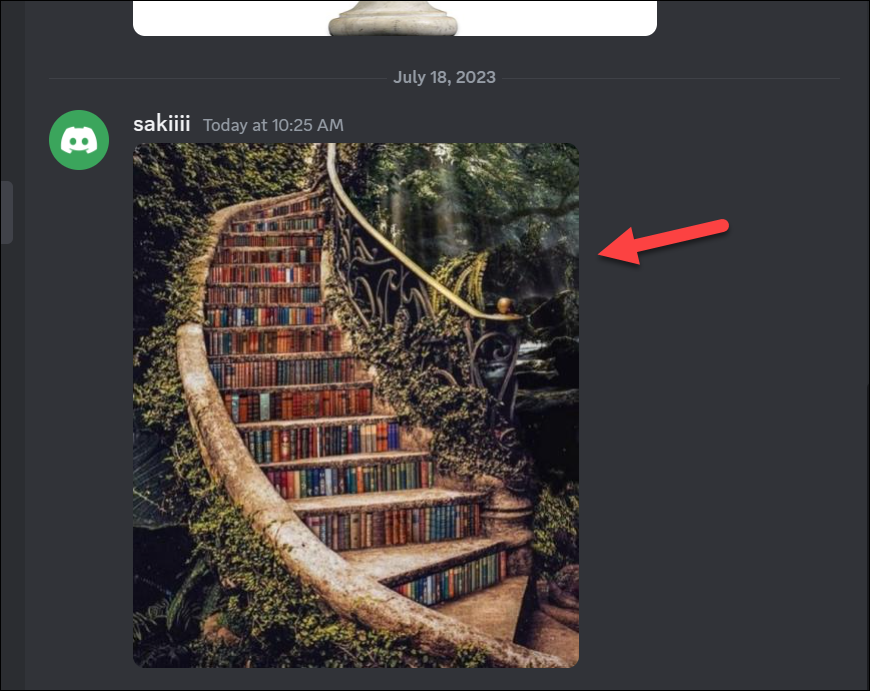
Then, right-click and select ‘Copy image address’ or ‘Copy image link’ from the options. If you’re using the Discord Desktop app, right-click on the image and select ‘Copy link’ (NOT ‘Copy Message Link’) from the menu.
If sending the image to the Midjourney bot is not desirable, you can also create a group chat with a couple of friends, remove them from the group and send the image there (which will now only include yourself) to obtain the image URL.
On your mobile phone, open the Discord app and navigate to a chat as above – with the Midjourney bot or a group chat including yourself.
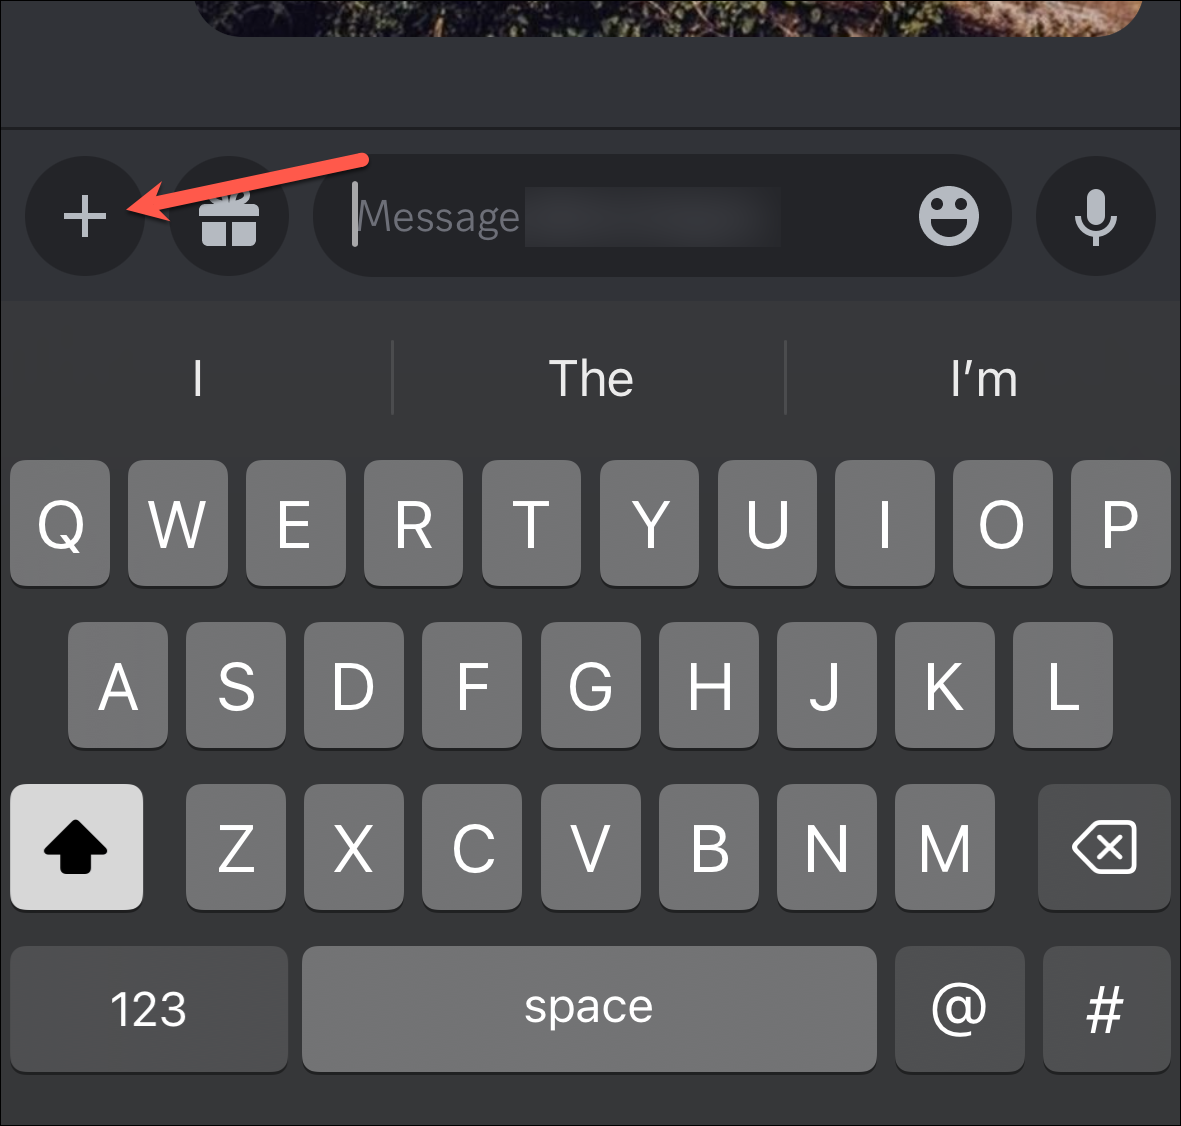
Then, tap the ‘+’ button on the left.
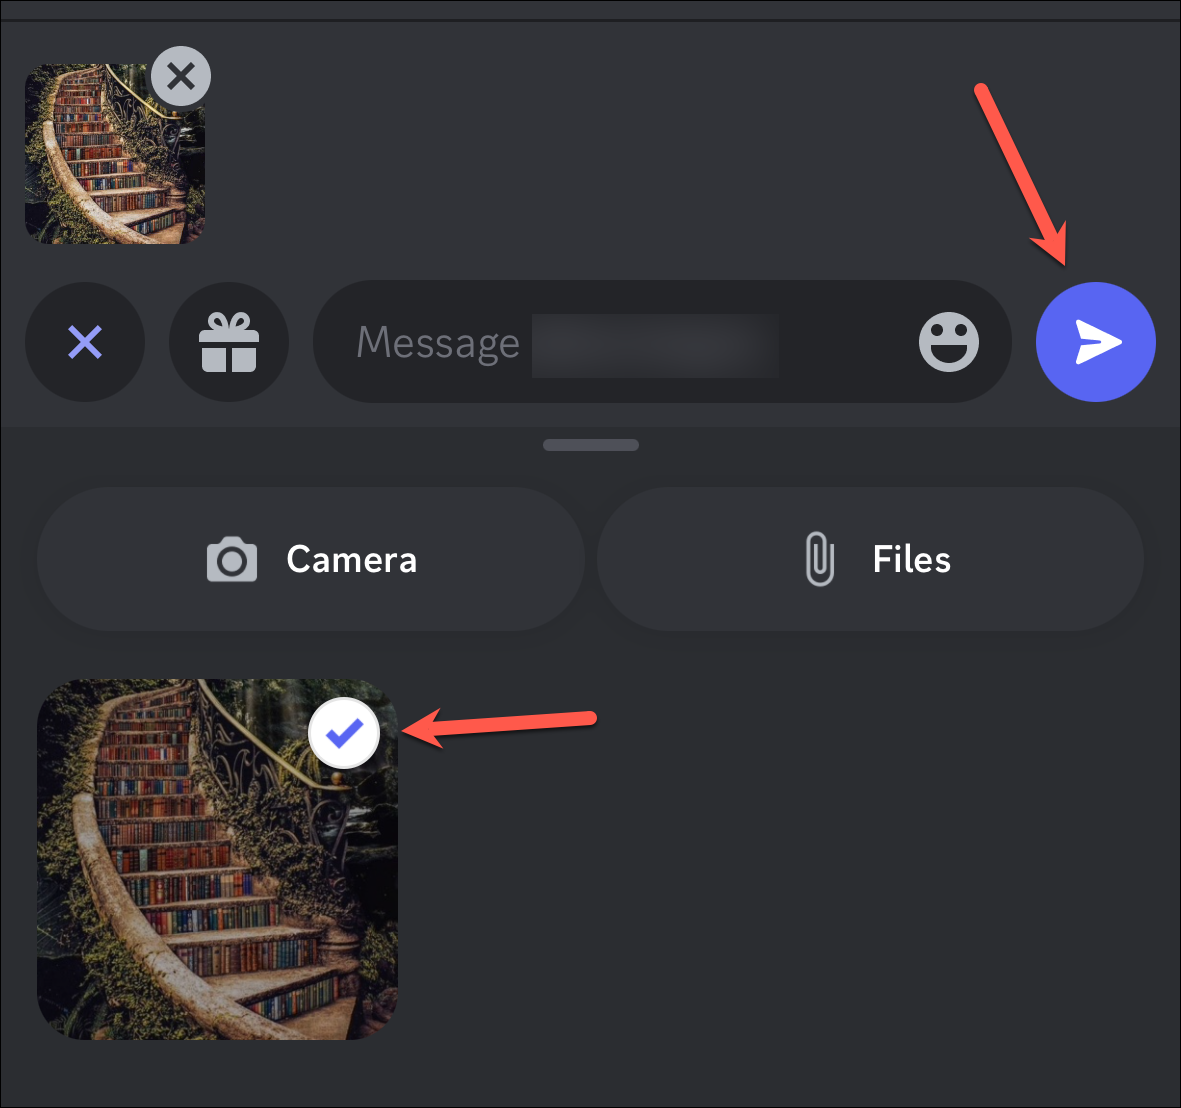
Select the photo you want to upload from your camera roll and tap the ‘Send’ button.
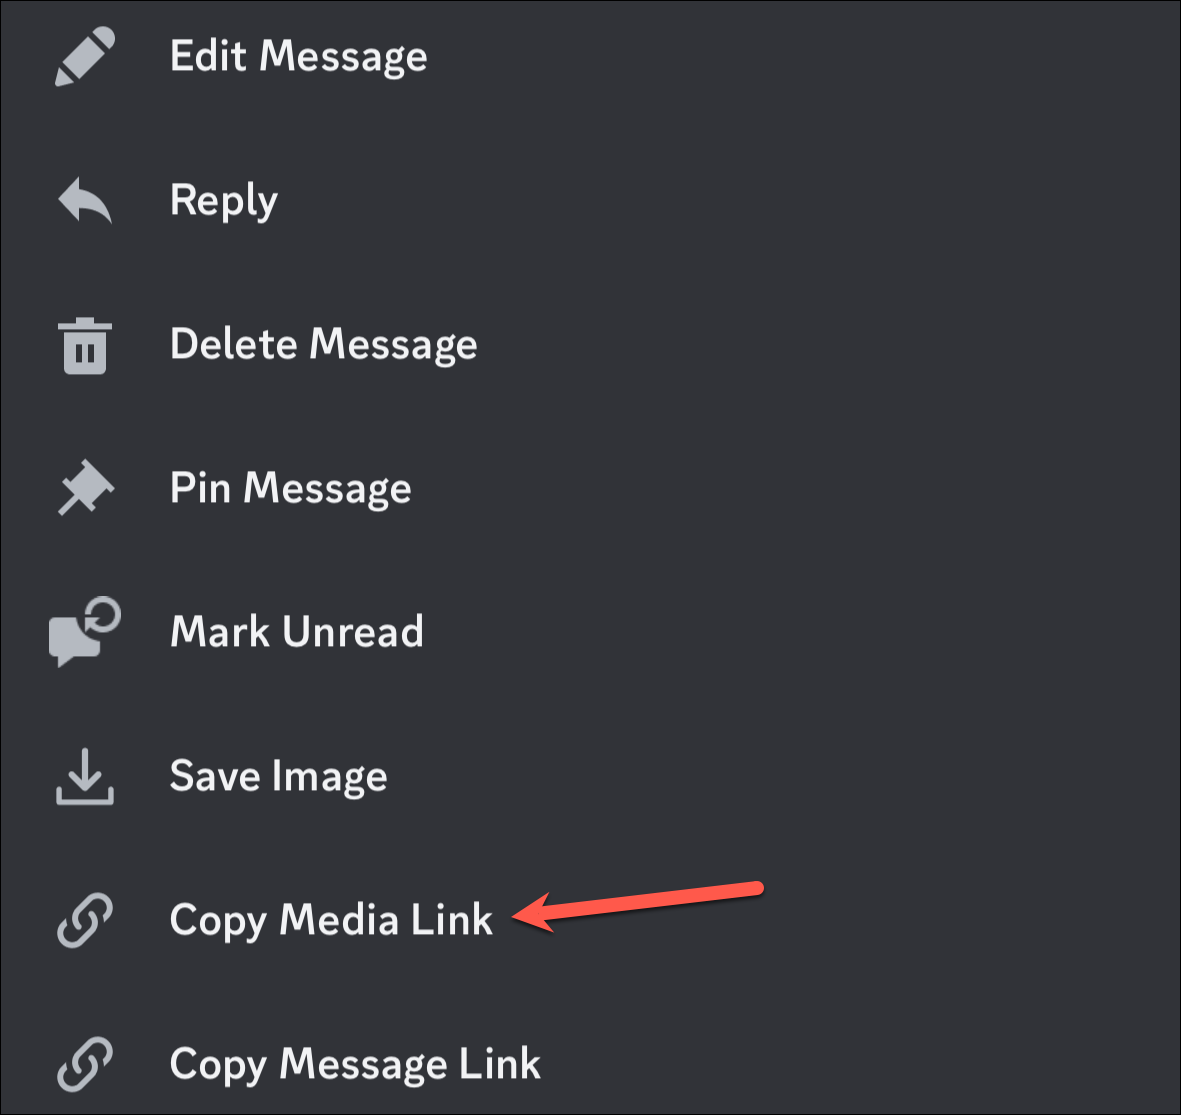
The photo will be uploaded to Discord. Tap and hold the image. From the menu that appears, select ‘Copy Media Link’.
If somehow these methods didn’t work, you can open the image in the browser (the option will be available everywhere).
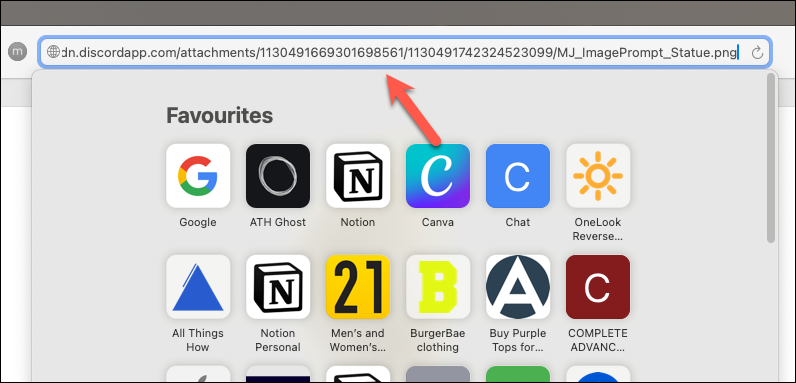
Then, copy the image URL from the address bar of the browser.
Creating an Image Prompt
Once you have the image URL, here’s how you to use it in the prompt.
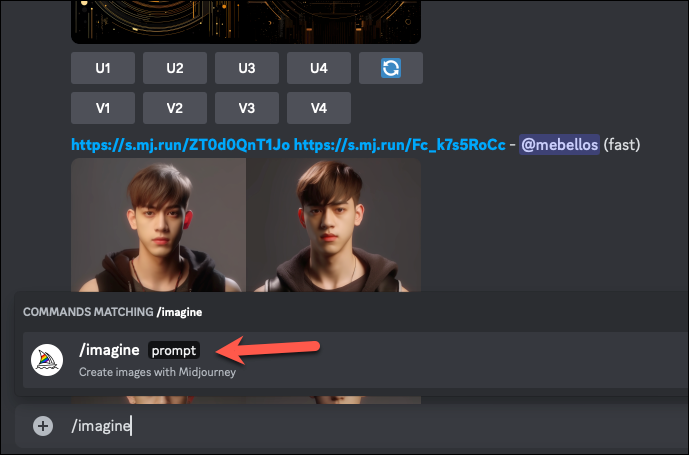
In the Direct Messages with the Midjourney Bot (or the newbie channel in the Midjourney server), type /imagine and select the ‘/imagine’ command that appears above the message box.
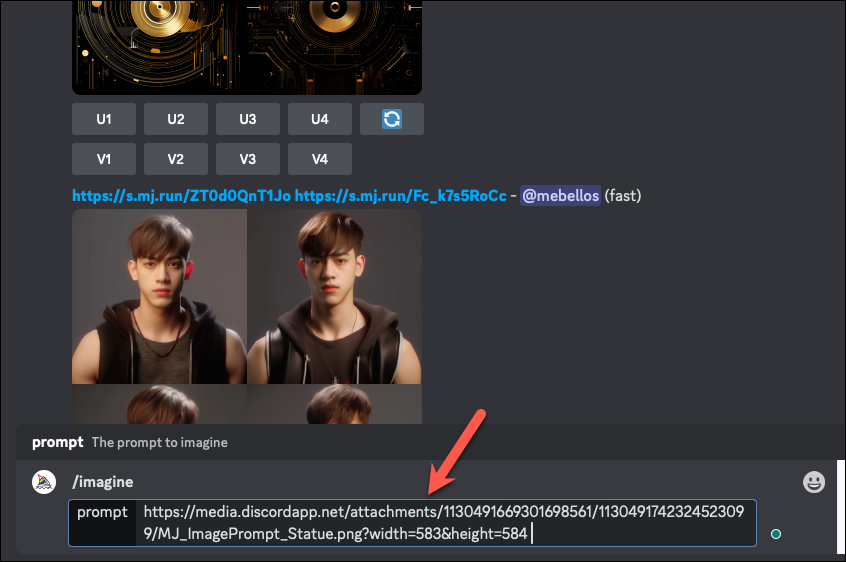
Then, copy/paste the image URL in the prompt box. If the image is just above you in the Direct Messages, you can also drag and drop the image into the prompt box, and it will automatically enter its address.
Now, enter the text prompt after a space. As mentioned before, an image prompt either requires a text prompt or another image. If you’re using images, just enter the web address of each image after the other after separating them with a comma. You can provide as many images as you like to the Midjourney bot. However, if you’re using two or more images, crop them to the same aspect ratio as you want the final image to be for the best results.
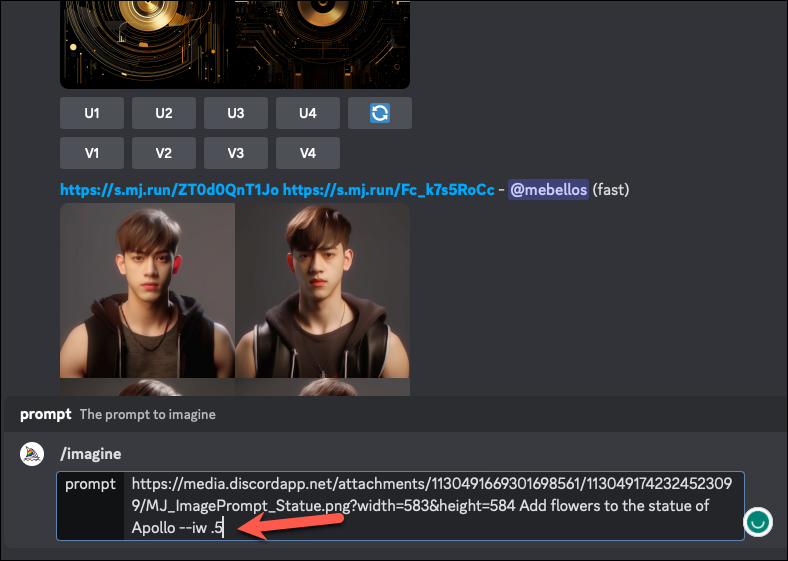
After your text prompt, you can enter the parameters for the prompt. The image prompt also has a specific parameter when using a text prompt – Image Weight Parameter --iw. It can help you adjust the importance of the image vs. the text part in the prompt. If you want the image to have more value than the text part, keep the value of the –iw parameter higher, and vice versa. If you don’t use the –iw parameter, the default value of the parameter (depending on the model) will be used.
The image weight ranges for different models are as follows:
Version 5:
Image Weight Default: 1; Image Weight Range: 0-2
Version 4:
Image Weight Default: NA; Image Weight Range: NA
Niji 5:
Image Weight Default: 1; Image Weight Range: 0-2
Example of an Image Prompt with –iw parameter:
/imagine prompt apollo.jpg add flowers to the statue of apollo --iw .5
With the above parameter, the weight of the value assigned to the image prompt is half that of the text prompt.
Click ‘Enter’ to send the prompt. As the digital cogs and gears whirl into motion, the magic begins to unfold. Witness the astonishing metamorphosis of the image as Midjourney weaves its spell of artistic brilliance upon the canvas and produces a grid of 4 new images with the original image and text prompt (or the original images) as the starting point.
Uploading an Image to Midjourney Using the /Blend Command
Midjourney also has a /blend command that lets you easily upload images and seamlessly blend them together. It does not require you to first generate an image URL.
Difference Between Blend Command and Image Prompts
With the Blend command, you can upload up to 5 images to Midjourney. Midjourney then merges them together and creates a new image similar to the concepts and aesthetics of each image.
The /blend command provides the same outputs as providing multiple images to the /imagine command. The interface of the /blend command has been optimized for use on mobile devices (but you can use it on the desktop too).
- The
/blendcommand only accepts a maximum of 5 images, whereas you can provide more than 5 images using the/imaginecommand. - The
/blendcommand does not accept text prompts but the/imaginecommand can. - It also takes longer to process as the images must first be uploaded.
How to Use the /Blend Command
To use this command, go to the Direct Messages with the Midjourney Bot or a newbie channel in the Midjourney server.
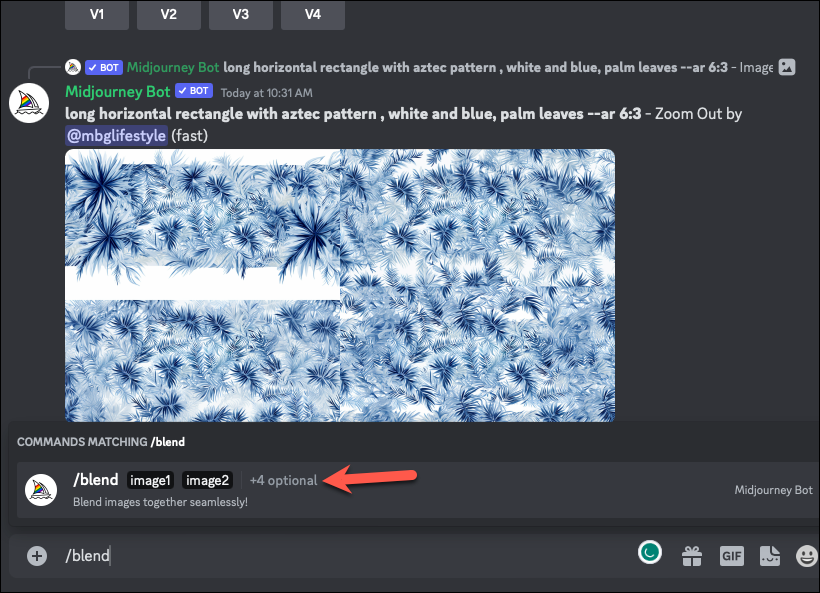
Then, type /blend in the message field and select the command that appears.
Initially, the command will only have two placeholders for two images. Now, upload two images from your hard disk (or your camera roll if you’re using it on the phone).
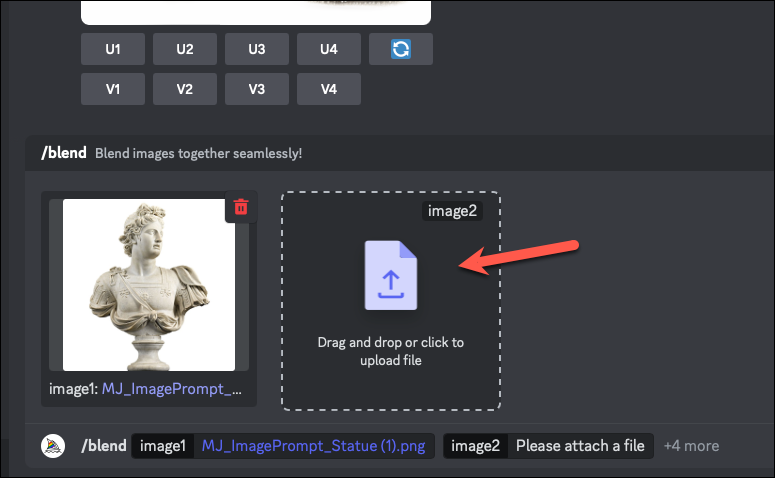
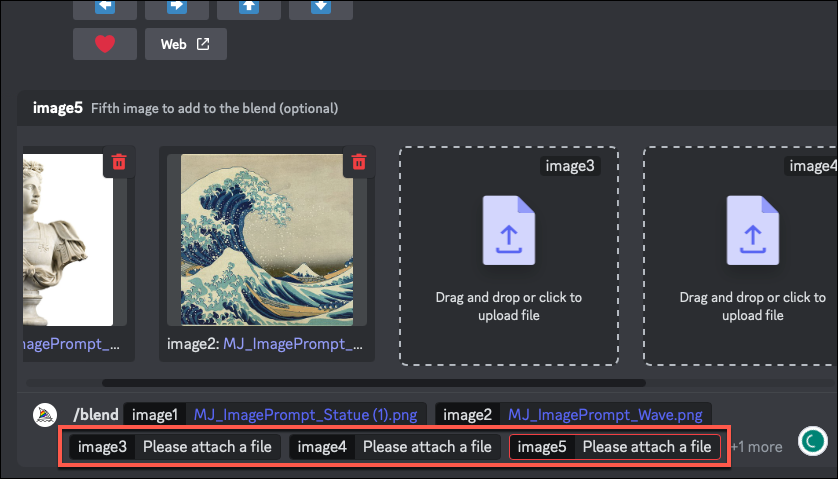
To add more images, click on the message field; a few options will appear above the already uploaded images.

Select ‘Image 3’, ‘Image 4’, and ‘Image 5’ respectively, to upload more images. You can also select the ‘Dimensions’ option and specify a dimension for the output image. If you don’t specify a dimension, the result will be square by default.
Finally, click ‘Enter’ to send the images to the bot, and it will generate a grid of 4 images with the blended images.
Uploading images to Midjourney to transform them into wonders of your imagination might not be a straightforward process. But armed with this knowledge, you are poised to explore the limitless boundaries of artistic expression.


