Arc Browser from The Browsing Company is all about redefining your browsing experience. It has a lot of innovative takes on what a browser should do, and Boosts are just another part of this package.
Boosts in Arc Browser present a creative avenue for users to customize their browsing experience by altering website appearances and sharing these customizations with others. You can tailor website interfaces to personal preferences or even remove unwanted elements. For example, you can force a dark appearance on a website that doesn’t offer it, or vice versa, you can remove the ‘Trending’ sidebar from Twitter, you can remove ‘Shorts’ from YouTube, etc. You can even share these customized websites with other Arc users.
Boosts is a really simple and easy-to-use tool, and for basic customization, it requires no knowledge of coding. But you can also customize websites further using CSS or Javascript. For security reasons, however, websites boosted using Javascript cannot be shared. It can be confusing to understand the extent of customization Boosts offer in theory, so let’s just get on with how you can use them to get the full picture.
Creating a Boost
As mentioned before, it’s fairly easy to use this tool in the Arc Browser and boost any website.
- Open the Arc Browser on your Mac and navigate to the website that you want to customize.
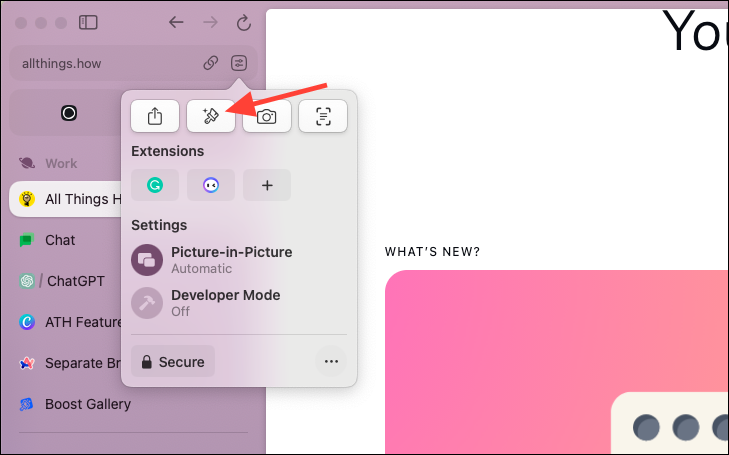
- Go to the URL bar and click on the ‘Site Controls’ icon that appears when you hover there.

- From the menu that opens, click on the ‘New Boost’ (Paintbrush) icon.
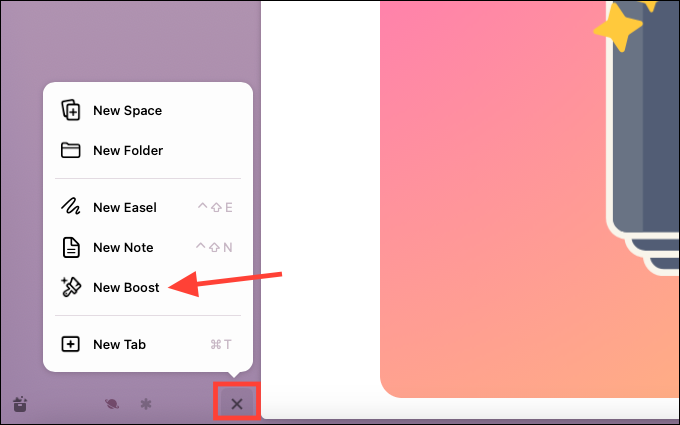
- Alternatively, you can click on the Plus (+) button (it changes to X when the menu is open) located in the bottom right of your sidebar and select ‘New Boost’ from the menu.
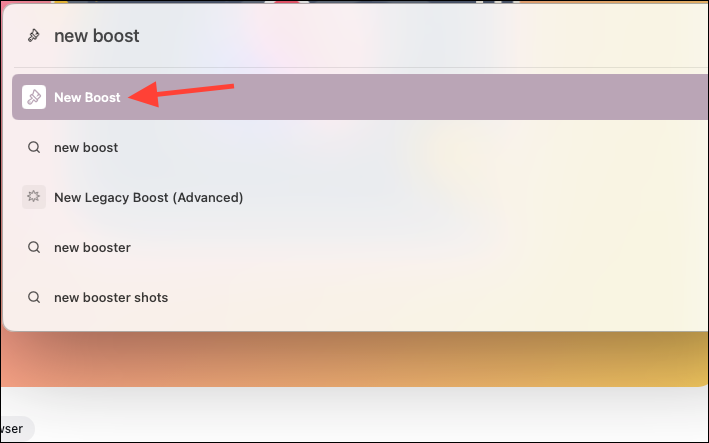
- Another way includes pressing
Cmd+Tand typing ‘New Boost’ into the Command Bar.
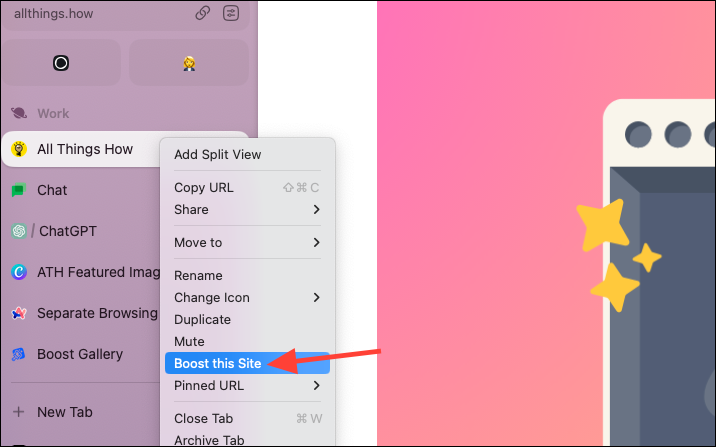
- You can also right-click on the website from the sidebar and select ‘Boost this site’ from the menu.
- Boost editor will open on top of the browser. When using Boosts for the first time, an onboarding screen will appear; click ‘Make a Boost’ to continue.
Understanding the Boost Editor
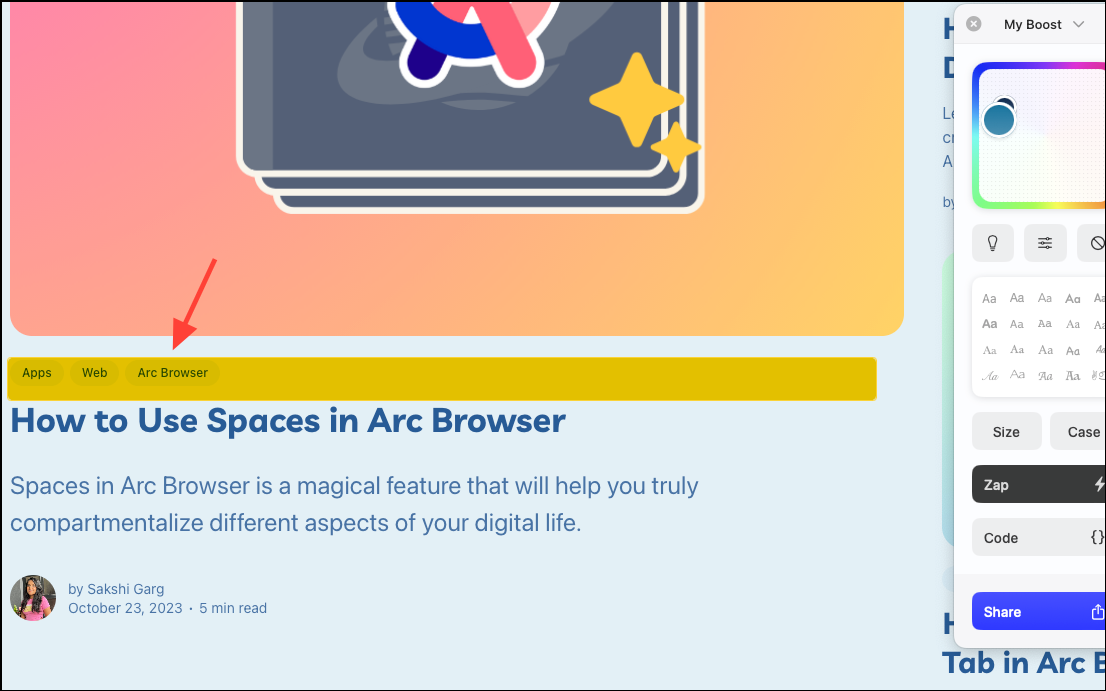
The Boost editor is responsible for creating all the customization magic in the Arc Browser. To efficiently use it, you need to understand it. Here is an overview of all the customization options it includes and how you can use each.
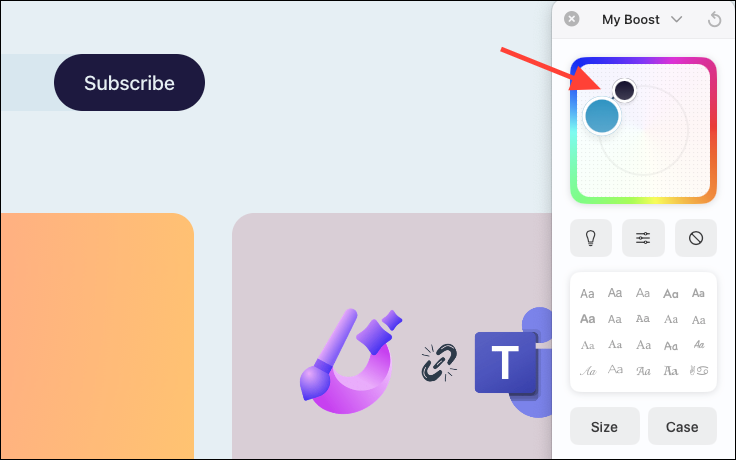
- Color Wheel: The grid and dots toward the top. Drag the colored dots to change the color scheme of the webpage.
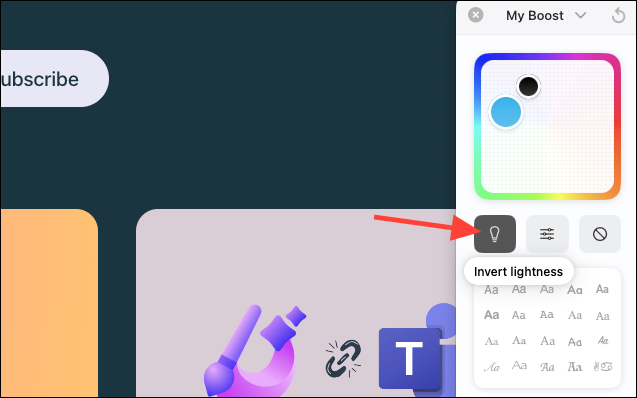
- Invert Lightness: The lightbulb icon. You can toggle ‘dark mode’ for webpages by pressing the lightbulb icon.
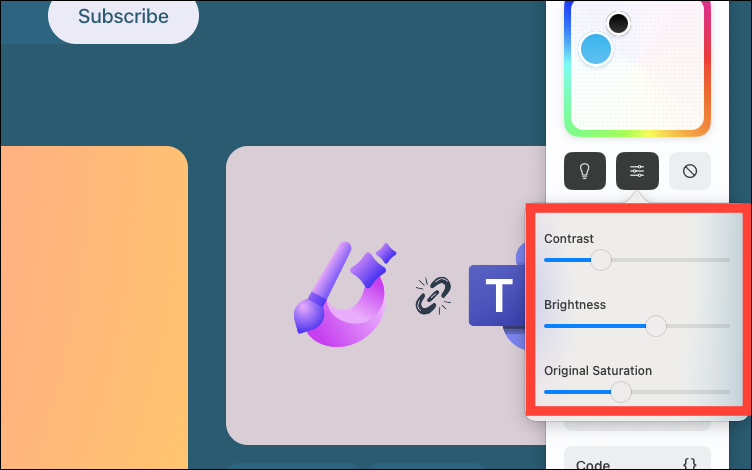
- Advanced Color Controls: The slider icon. You can adjust the Contrast, Brightness, and Original Saturation using sliders; move them to different places and experiment with them.
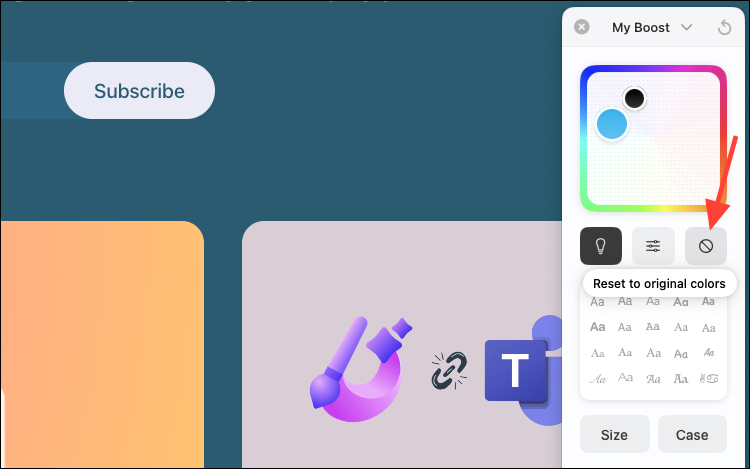
- Reset to Original Colors: The circle with a diagonal line across it. There’s not much explanation needed here; it’ll reset the color changes you implemented and bring back the original colors.
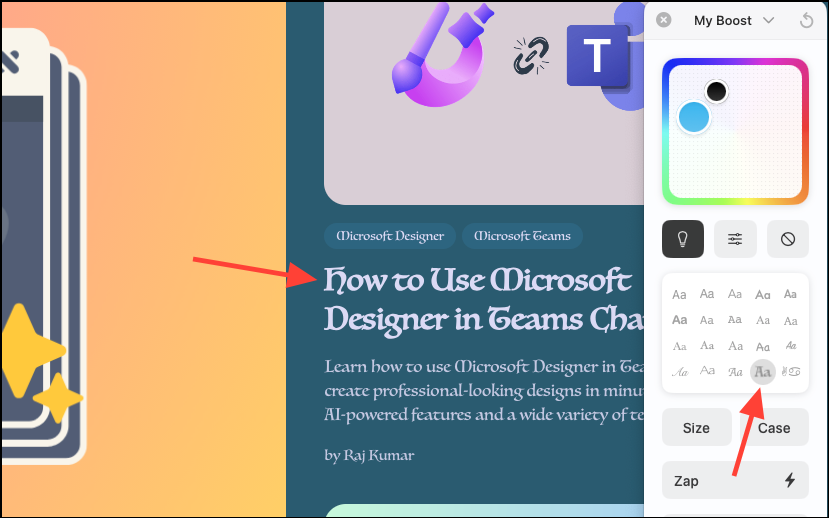
- Font Selector: The square with different Aa selectors. Select among various preset font options for text on the webpage; it’ll apply to all the text on the page.
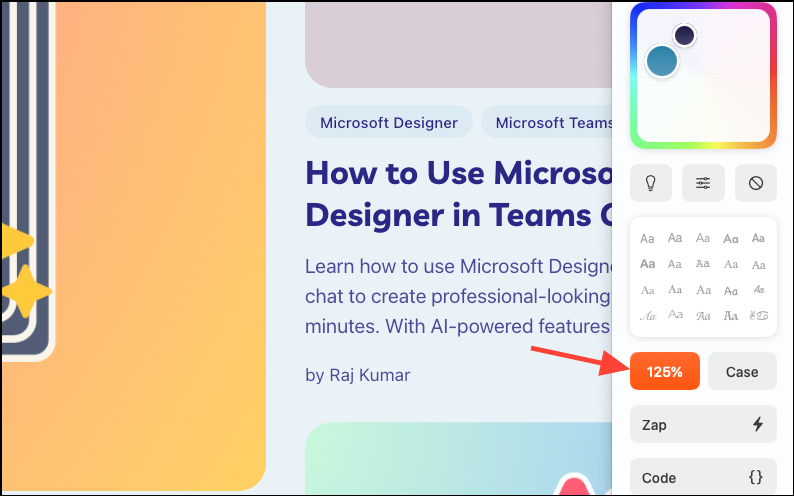
- Size: Adjust the overall size of the webpage between 90% to 150%. The option could be a little more intuitive as you have to keep clicking the button to cycle between the available options. So, if you want to go back to 110%, you need to keep clicking the ‘Size’ option until it cycles back to 110.
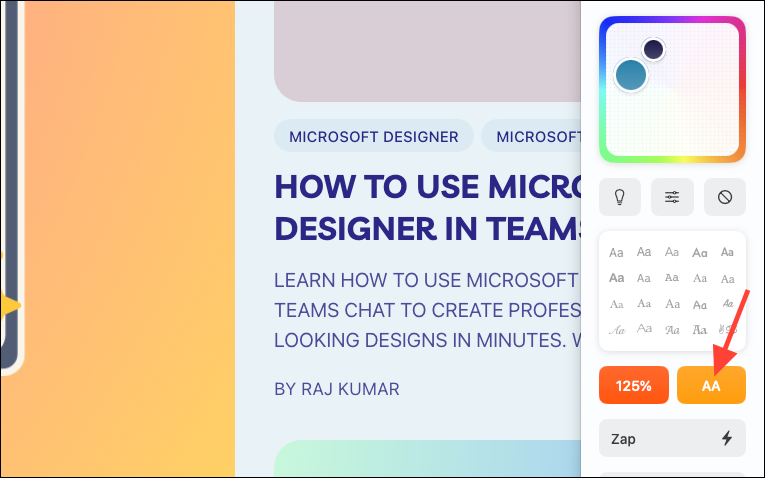
- Case: Toggle between different text capitalization settings that range from all smallcase to all uppercase to a combination of two with the first letter of each word capitalized. The setting will apply to the entire webpage.
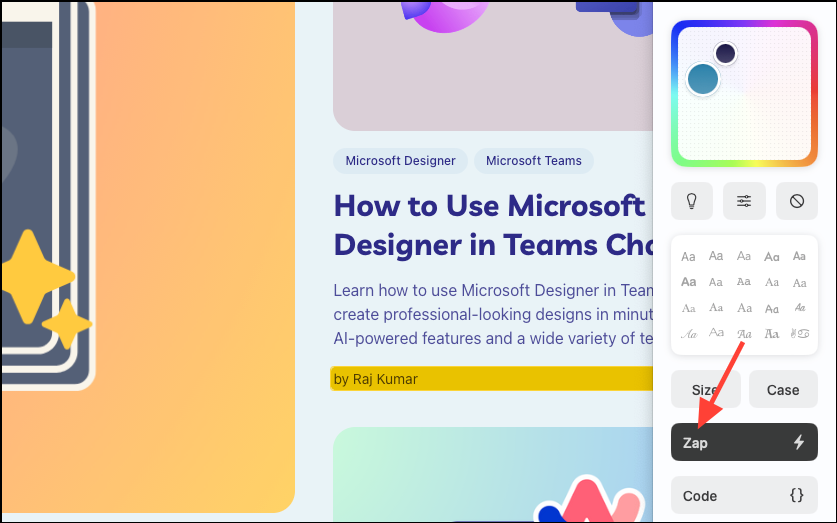
- Zap: This is probably the most interesting aspect of the Boost tool. You can remove any parts of a website that are unwanted by you by clicking highlighted areas when the Zap button is activated.
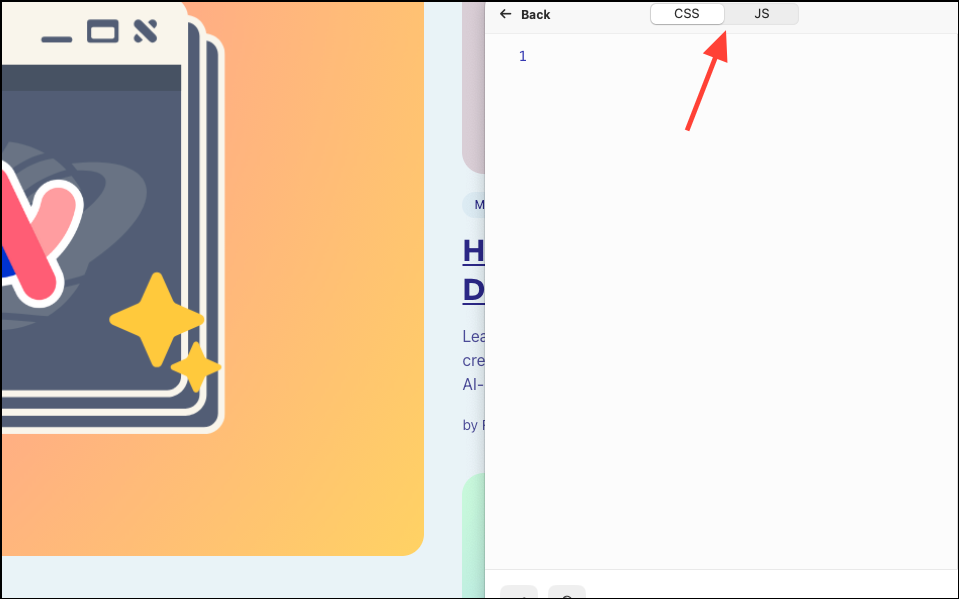
- Code: Using CSS and Javascript editors, you can further customize the webpage appearance and behavior. While you can share websites boosted with CSS, sharing is not allowed for Javascript-boosted sites.
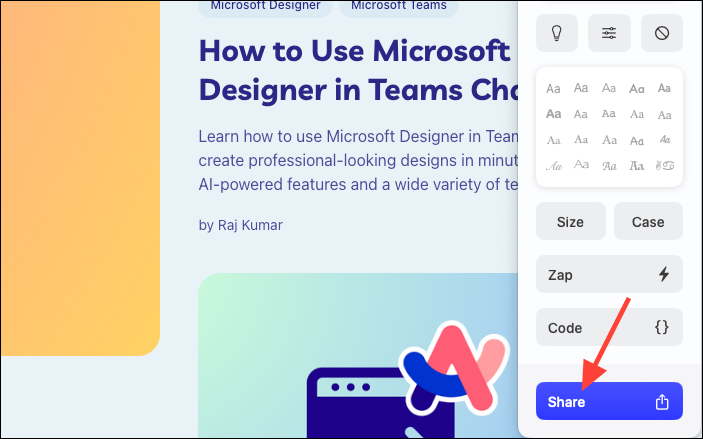
- Share: You can also share your Boosts with other Arc users using the blue Share button at the bottom of the Boost editor.
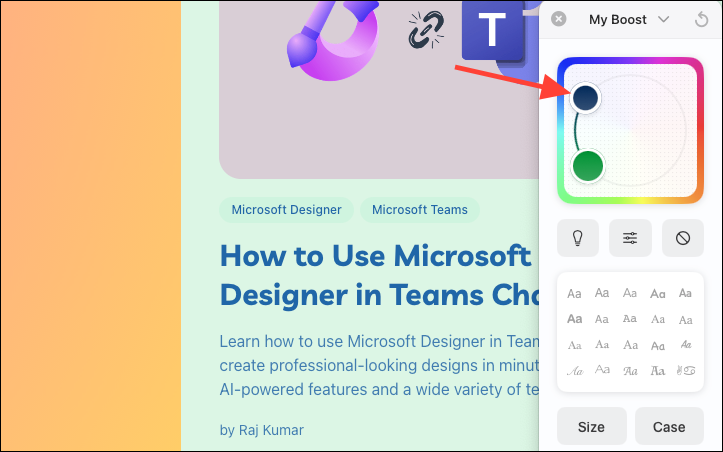
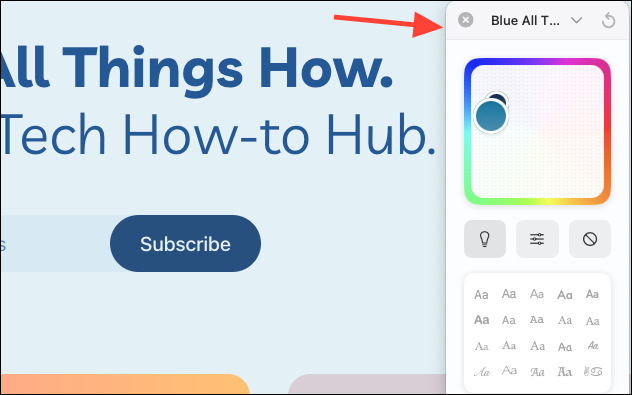
Using the Color Wheel
Using the two circles, you can change the color of the elements like the background color, text color, etc. But note that there is some limit to customization. The two colored circles always move in tandem with each other. You can move the big circle anywhere and the smaller circle can only move on its circumference. Arc is the one that decides which shade will go in that respective position, and it might not always be the best judge of that.
Using the Zap Tool
- To use Zap, click on the option to activate it.
- Then, go to the elements you want to zap. The parts that can be zapped will be highlighted. Click on an element.
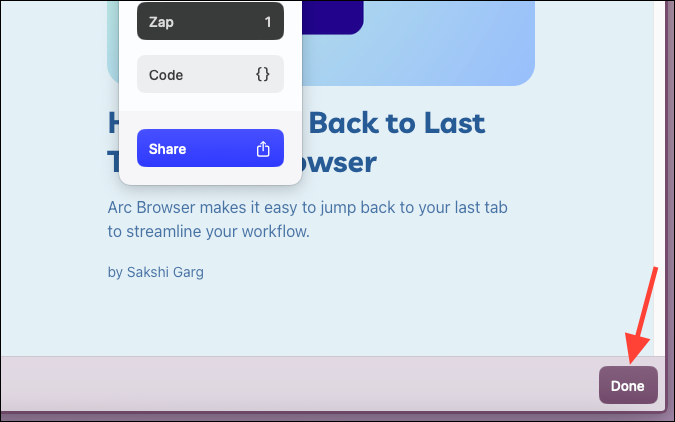
- A couple of options will appear. ‘Zap This’ will only remove the current element. ‘Zap All Related Elements’ will identify other elements related to it that you might want to remove. This button sort of works like a slider; as you move left to right on the ‘Zap All Related Elements’ button, you’ll find that the extent of related elements that’ll be zapped will keep on increasing. You can see the elements that will be removed as they will be highlighted and their number will be indicated at the bottom. Settle your cursor on the position depending on the amount of elements you want to remove and click the button.

- Click ‘Done’ in the bottom right to close the Zap tool.
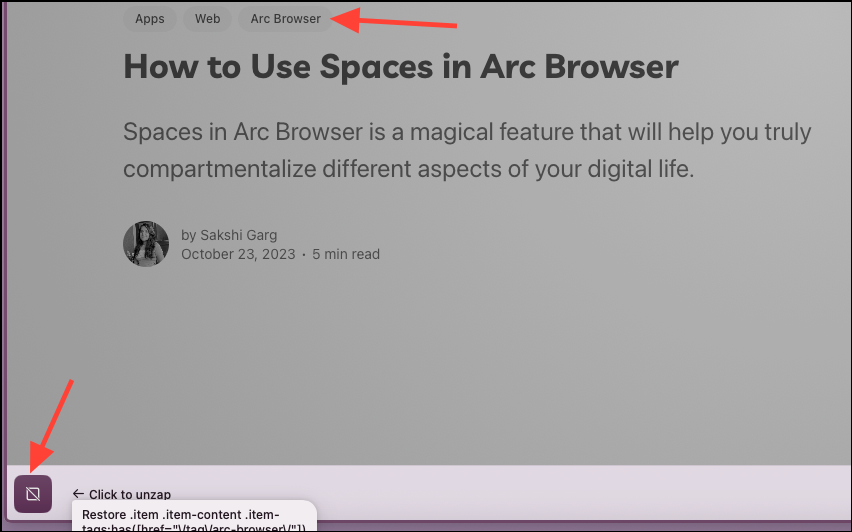
- To restore an element, click the [\] near the bottom-left when Zap is active. Depending on the number of times you zapped, you’ll find as many [\] icons there where each icon will restore the respective elements that were zapped; hovering over an icon will show which elements it will restore.
Sharing a Boost
- To share your Boosts with others, click the ‘Share’ button from the editor.
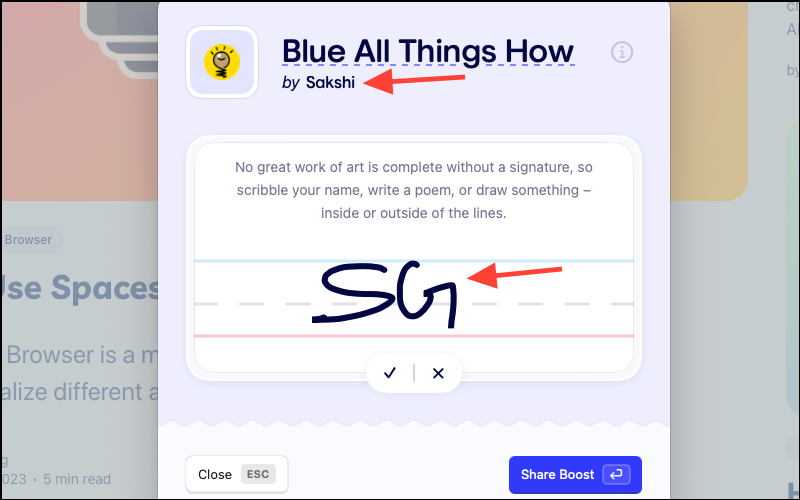
- From the Share window, give your Boost a name. The name can be anything that lets other users easily identify what you’re sharing. For example, ‘Blue All Things How’.
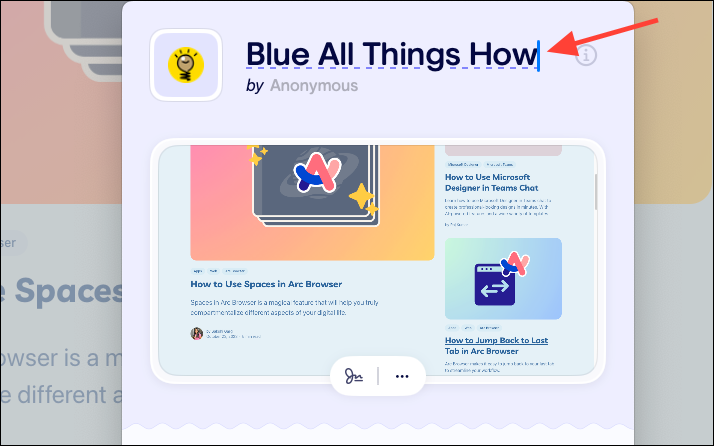
- Then, you can choose to add your name or share the boost anonymously. You can also add a signature by clicking the ‘Signature’ option.
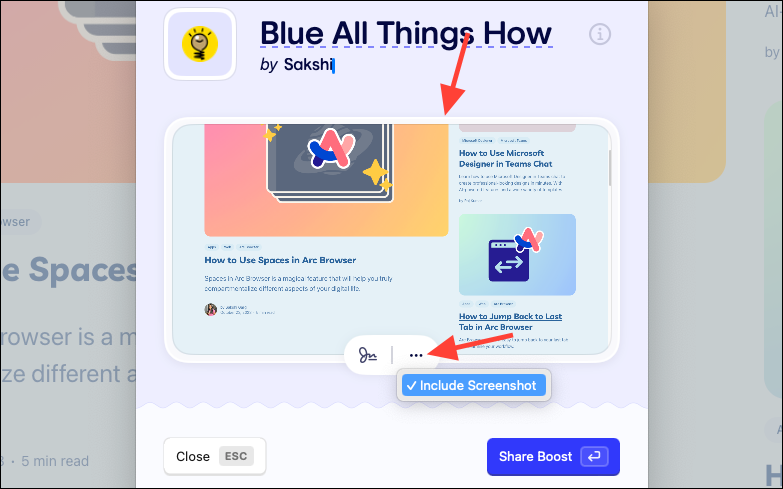
- Next, you can edit the screenshot you’re sharing. Pan and zoom on the thumbnail to edit the part of the website you want to include, and double-click for any sensitive information. You can also opt out of sharing a screenshot by clicking the ‘three-dot icon’ and de-selecting ‘Include Screenshot’.
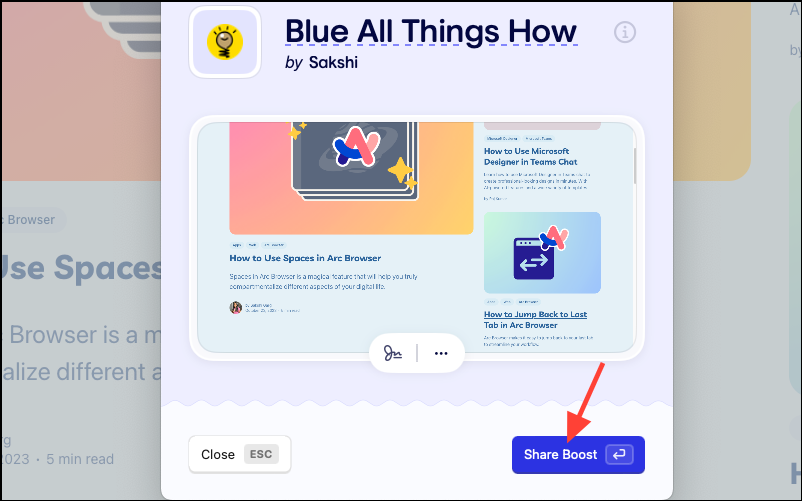
- Then, click ‘Share Boost’.
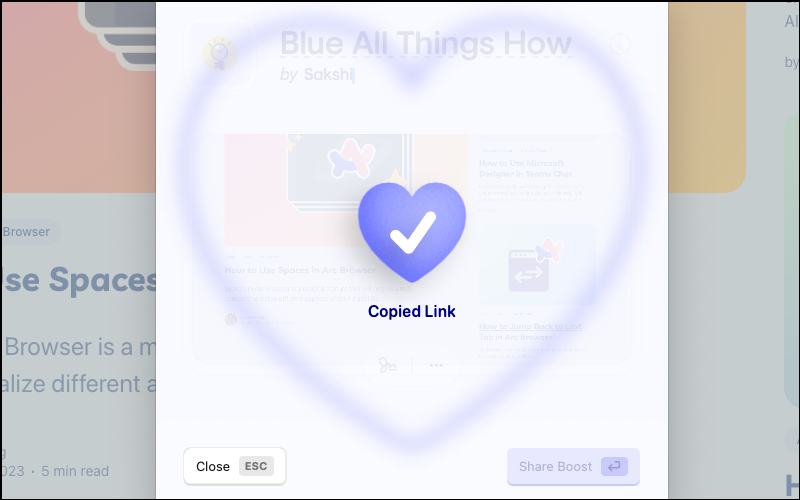
- A link will be created and copied to your clipboard. Share it with others so they can install the Boost on their Arc browser.
You can even submit your Boosts to be shared in the Boost Gallery. Any changes you make after you share the boost won’t be made in the boost already shared and will only be reflected at your end; you’ll need to reshare the boost.
Installing a Boost
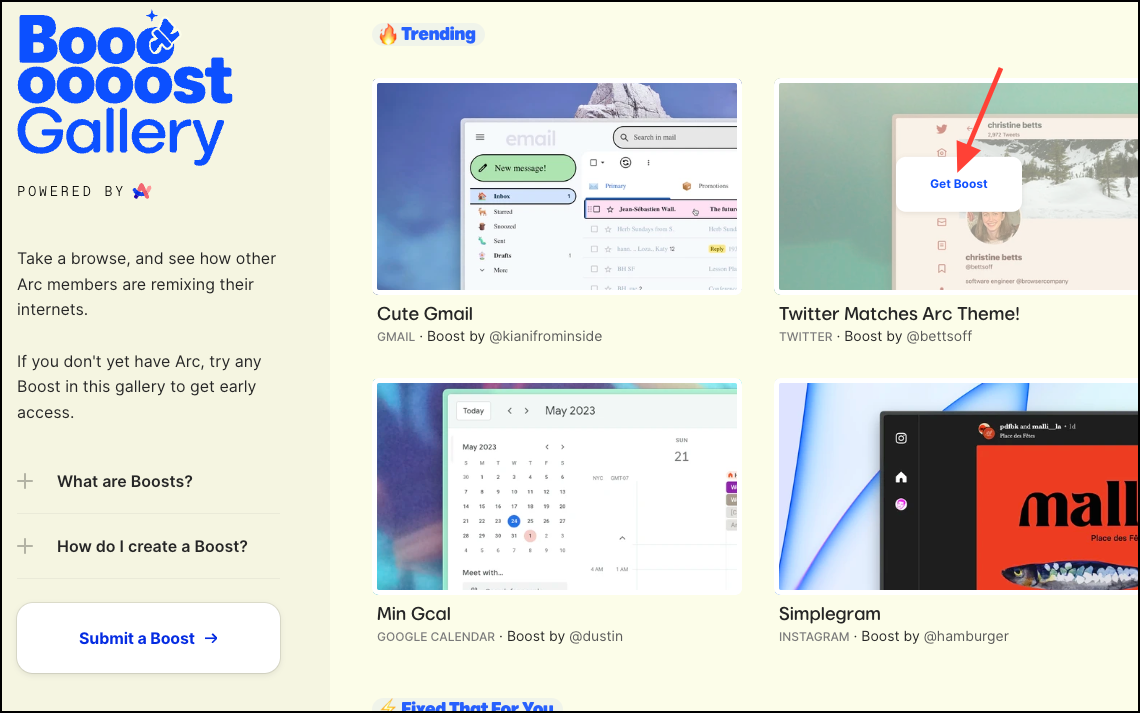
Instead of creating your own boosts, you can also install boosts that other users have created. You can find some popular boosts in the Boost Gallery, or users share it over social media. You can also install any boosts shared by your friends. For this guide, we’ll install an extension from the Boosts gallery.
- Go to Arc’s Boost Gallery and go to the boost you want to install.
- Click on ‘Get Boost’ that appears when you hover over the boost thumbnail.
- Review the name of the boost, the screenshot, and the website it’ll apply to. Then, click ‘Get Boost’.
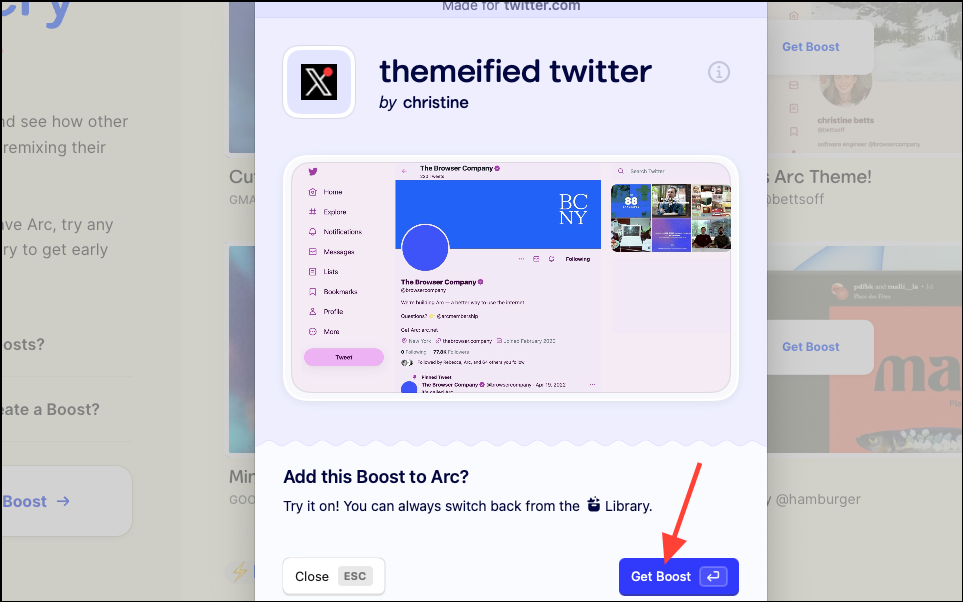
- The Boost will be applied, opening the website in a new tab to showcase the changes.

Editing a Boost
Whether you created a boost or installed it, you can edit it after it has been applied to a website.
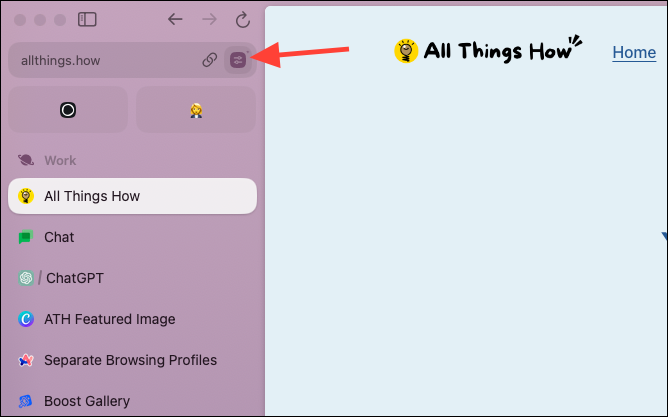
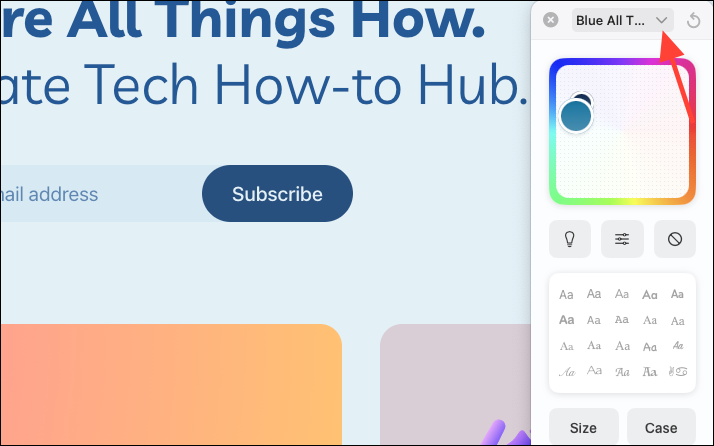
- To edit the boost, click the ‘Site Control Panel’ icon on the right of the URL bar on a page with an applied Boost.
- Go to the Boost you want to edit under ‘My Boosts’ and click the ‘>’ icon that appears.
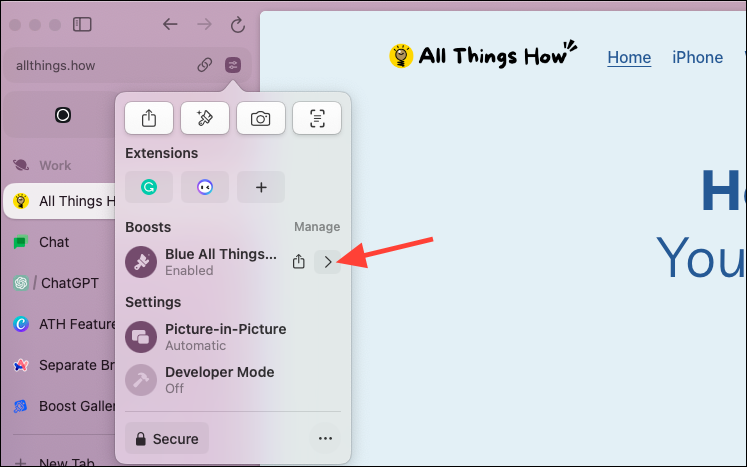
- The boost editor will reopen, and you can edit the boost as if you were creating it for the first time.
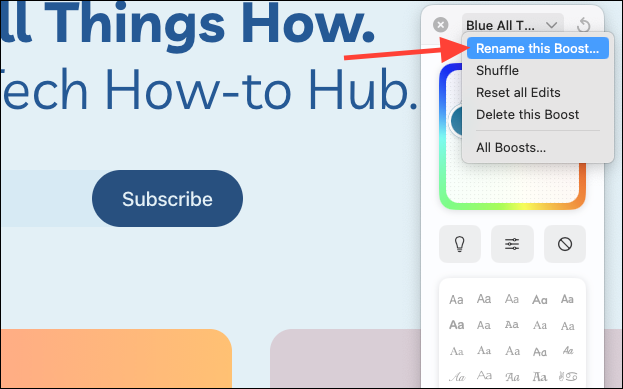
- To rename the Boost, click the ‘caret’ icon (v) next to the current Boost name in the title bar of the Boost editor.
- Then, select ‘Rename this boost’ from the menu.
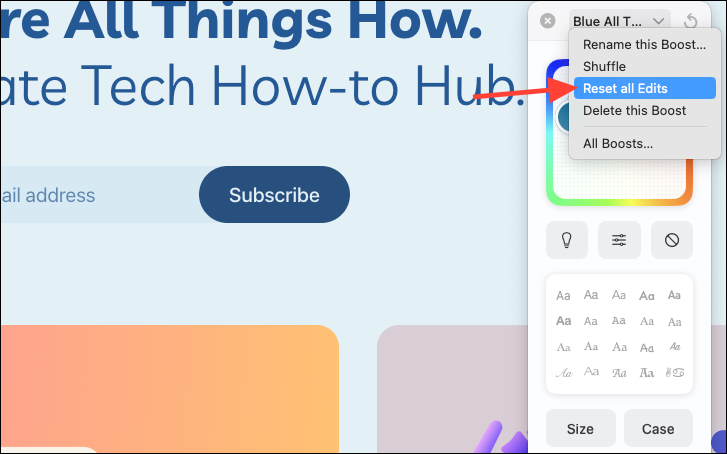
- You can also reset all the edits from this menu.
Disabling or Deleting a Boost
Whether you want to temporarily disable a boost or delete it altogether, it’s easy.
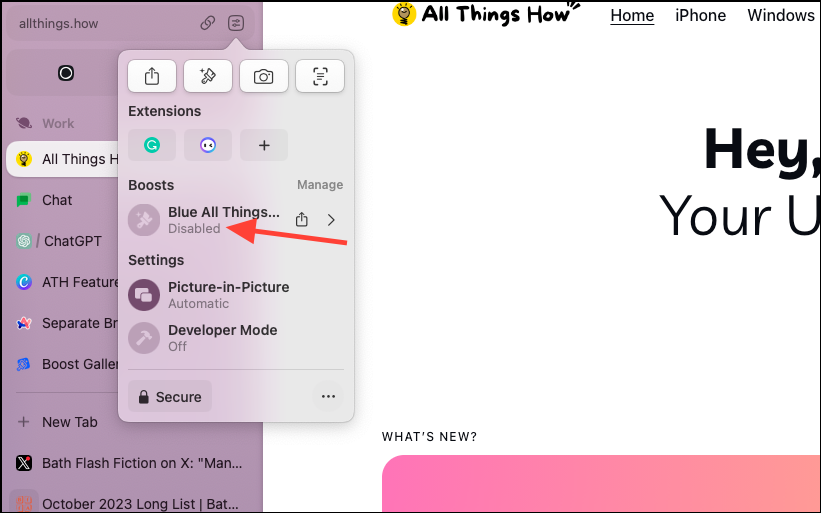
- If the site that the boost has been applied to is already open, click the Site Control Panel icon.

- Then, click the Boost name under ‘Boosts’, and it will be disabled with a greyed-out Paintbrush icon next to its name. Click it again to enable it.
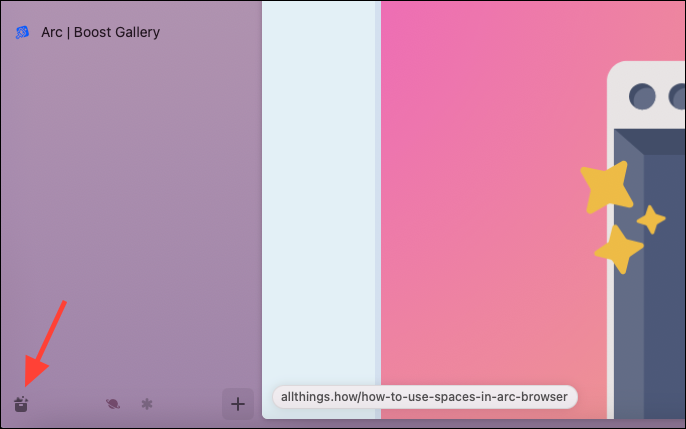
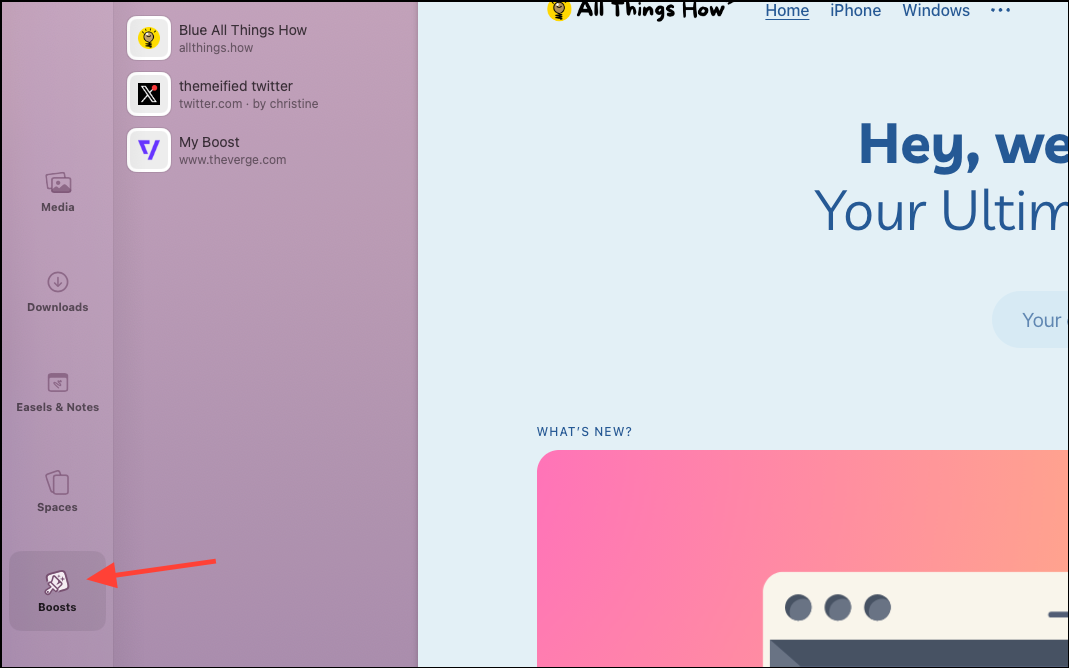
- You can also disable a boost from the Library. Click the ‘Library’ icon in the bottom left corner of the sidebar.
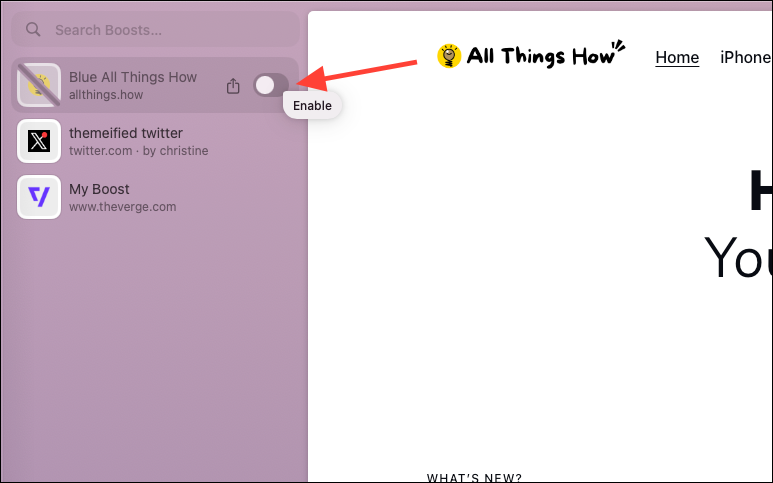
- Then, go to ‘Boosts’ from the options on the left. All the websites that you have created/ installed boosts for will appear.
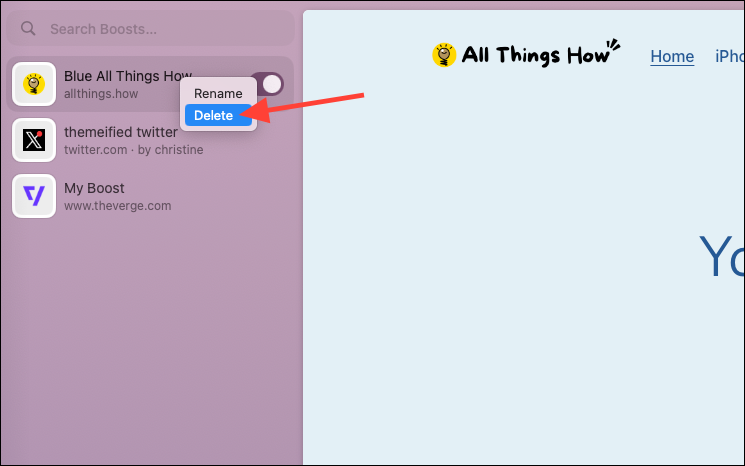
- To disable a boost, hover over the boost and then turn off the toggle.
- To delete the boost, right-click on it. Then, click ‘Delete’ from the options that appear.
That’s there is to Boosts. With the Boosts functionality in Arc Browser, you can redefine your web interactions by customizing website appearances. While they may seem complicated on the surface, they are extremely easy to use. And if you find the hassle of creating one too much, you can always browse the Boosts Gallery for some good ones.


