Canva is a great tool for designing content for all your platforms. It doesn’t matter if you have no previous experience with graphic designing. Using Canva is a walk in the park for everyone, designers and non-designers alike. It’s the reason businesses and content creators everywhere are using Canva to design content for various platforms.
Whether we’re talking about your website, YouTube, or other social media platforms, Canva is at the forefront of producing content for all these platforms. And considering the role Social Media plays these days in promoting your business, of course, your Canva designs will end up there.
But managing all these social media platforms can be harrowing. Downloading and re-uploading your designs to different platforms at the same time can be too time-consuming. Also, if you want all to publish to multiple platforms simultaneously (like to the dot), it’s impossible to do so manually. That’s where Canva’s Content Planner comes in.
What is Content Planner on Canva?
Canva Content Planner lets you schedule your posts for various social media platforms. Even if you like to plan and design your content in advance (as a good Content Strategy demands), you can use Canva’s Content Planner to schedule your posts.
All you need to do is choose the platform and date and time, and Canva will take it over from there. It will literally post those designs on your behalf, not remind you to post them.
Which Platforms Can You Schedule Posts to?
“Can Canva Post to Instagram?” is one of the most prevailing thoughts when people wonder about Canva’s scheduling feature. Well, yes, it finally can! Initially, the platform was missing from the lineup, but it’s finally a part of it.
Note: Canva Content Planner can only post to Instagram Business Accounts. If you don’t have one, you can easily set up or convert your existing account to one. Also, you cannot schedule designs to be posted as Instagram stories or reels using Content Planner from the desktop. But the Canva mobile app supports both reels and stories.
And not just Instagram, Canva’s content planner can post to a whole lot of social media platforms for you, with Canva promising to bring more in the future.
Using Canva, you can schedule posts to these social media platforms at the moment:
- Instagram Business Account
- Facebook Groups and Pages
- LinkedIn Profile and Page
- Slack
- Tumblr
Who Can Use Canva Content Planner
Canva Content Planner is only available for Canva Pro, Canva for Enterprise, and Canva for Non-Profit Users accounts. That means Canva Free users are excluded from this functionality.
Within a team, the feature is reserved for use by Administrators and Template Designers only. So, people with the role of a team member also don’t have access to this feature.
How to Schedule a Post from the Content Planner
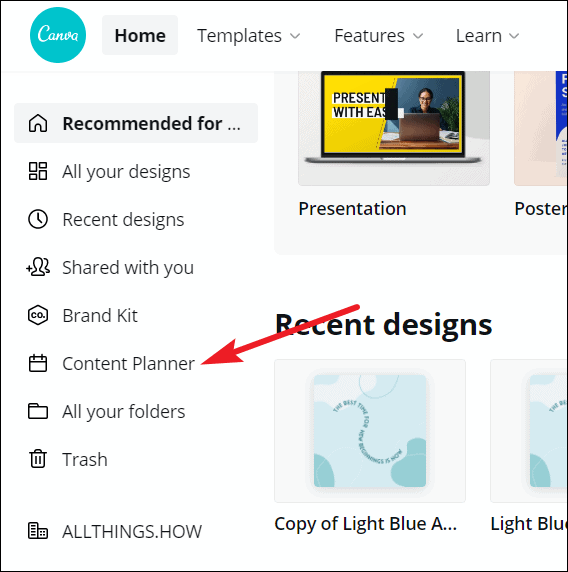
Go to canva.com and click on ‘Content Planner’ from the left panel.
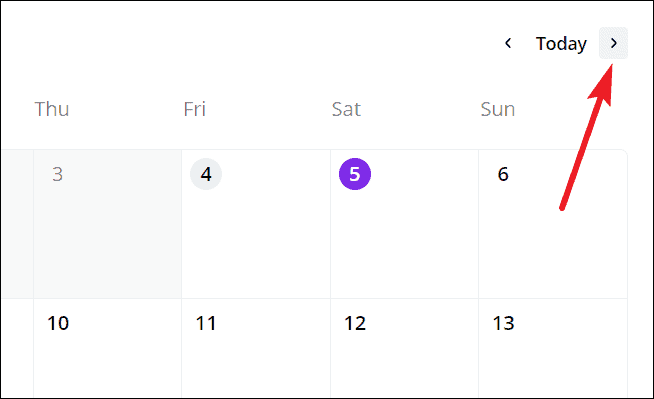
The calendar for the current month will open. To change the month, click the ‘Next’ arrow on the top-right corner of the calendar.
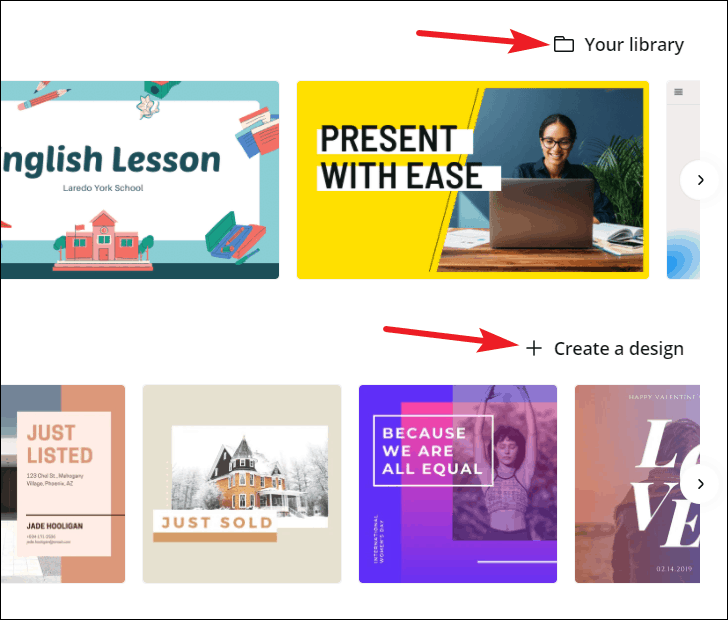
Go to the date you want to schedule the post for and a ‘+’ icon will appear; click it.

Now, select the design you want to schedule from your library or click ‘Create a Design’ to create a new one.
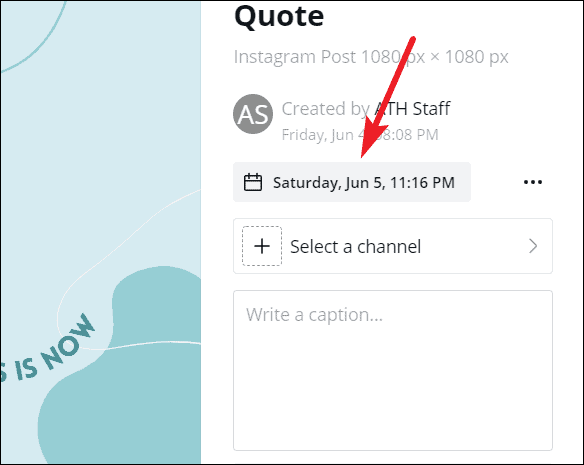
Click the ‘Date and Time’ option to set the time of scheduling.
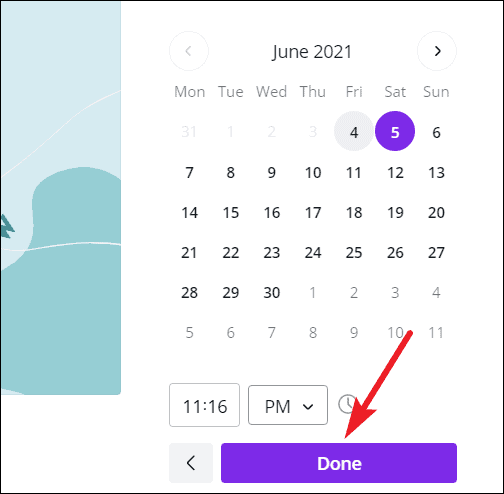
Then, select the time and you can also change the date if you want and click ‘Done’. The planner is set to your local time zone by default.
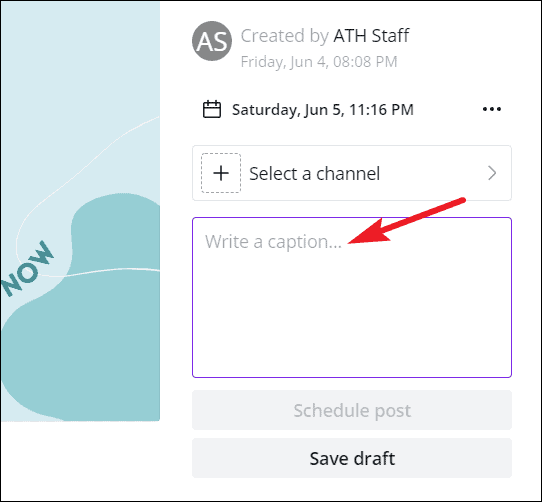
Then, click ‘Select a channel’ to choose where you want to post.
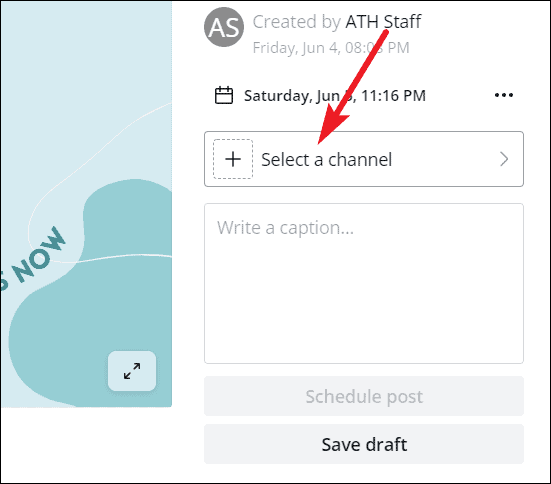
The list of available channels will open. Select where you want to publish.
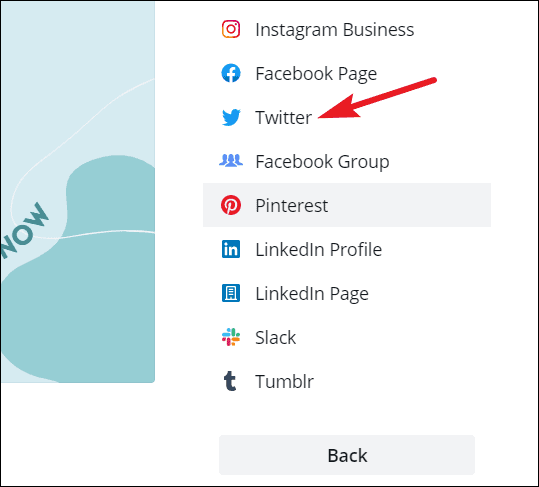
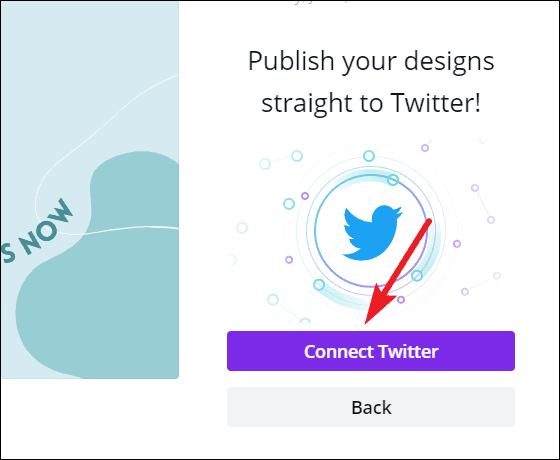
If you haven’t ever posted before to that particular social media channel, you’ll have to first connect your account to Canva. Click the ‘Connect’ button that’ll appear to achieve that.
You can also add a caption to the post if you want to. The caption will retain the spaces, and for Instagram, you can also add up to 20 hashtags. If your design has multiple pages, you can also select which pages you want to publish. You cannot post galleries or carousel posts (multiple pages) to Instagram yet.
Finally, click the ‘Schedule Post’ button.

How to Schedule a Post from the Canva Editor
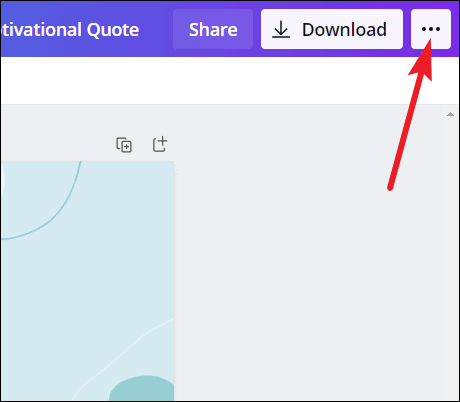
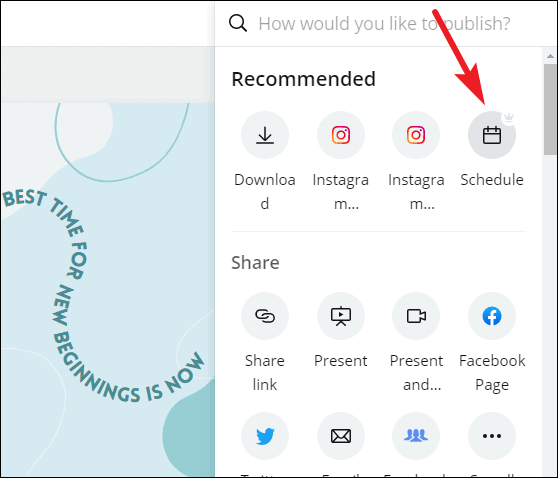
After creating your design, click the ‘three-dot’ menu in the top-right corner to open the publishing options.
Note: For Canva for Enterprise users, if approval is required, then get design approval first so you can schedule the post.
Then, click the option for ‘Schedule’. If you can’t find it, search for it from the search bar.
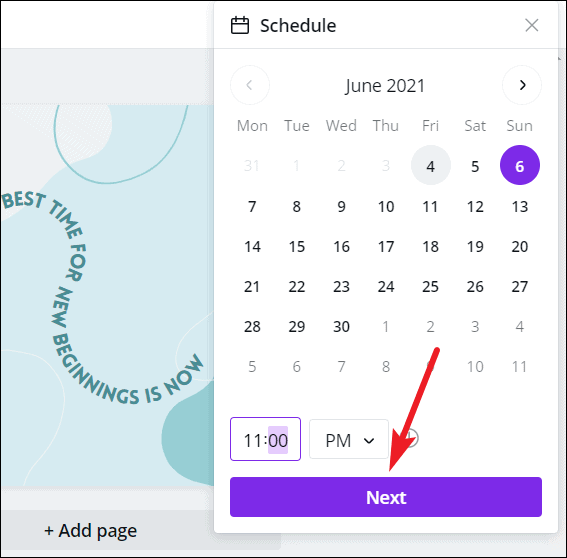
The options for scheduling the post will open, just like within the content planner. Select the date and time for scheduling the post from the menu and click ‘Next’.
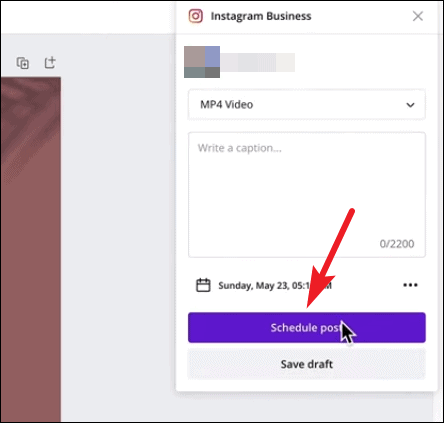
Then, select the channel you want to publish the post to and enter the caption to go along with it. Finally, click the ‘Schedule Post’ button.
Can You Schedule Posts to Multiple Platforms at Once?
You cannot schedule posts to multiple platforms from a single design. To do that, you need to make a copy of the design and repeat the steps to schedule it to the desired platform.
Note: You can schedule up to 25 posts in a rolling 24-hour period. So, you have to keep the limit in mind while scheduling multiple posts, as each separate platform will count as a separate post.
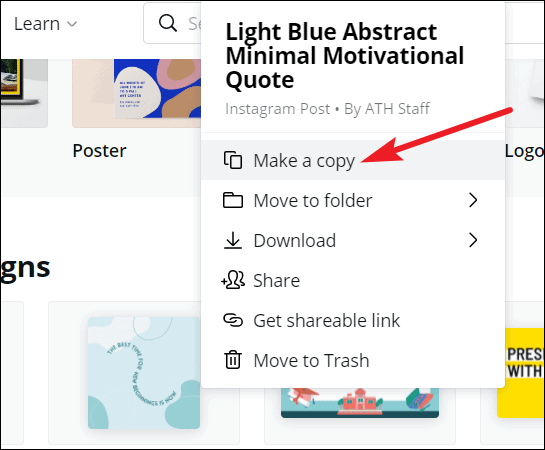
You can also resize a post according to the new platform. To copy a design, go to your designs from the Canva home page. Hover over the design, and a three-dot menu will appear; click it.
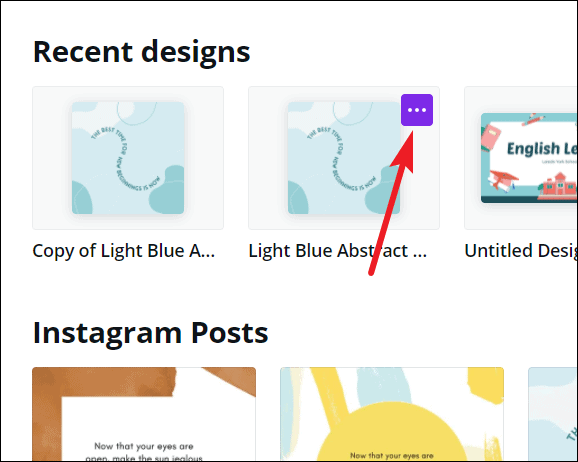
Then, select ‘Make a copy’ from the options that appear.
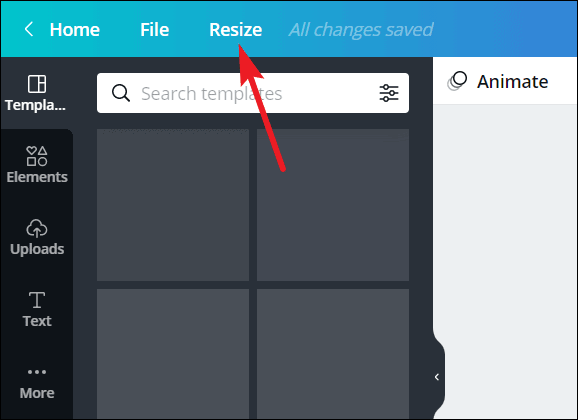
To resize the post while copying it, open the design and click the ‘Resize’ button.
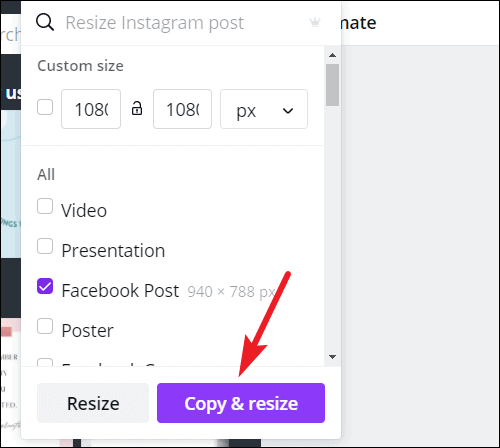
Then, select the size you want to resize it to or enter a custom size and click the ‘Copy & Resize’ button.
Note: Many users have their Instagram configured to automatically post on Facebook. If you have the setting on and are scheduling a post through Canva to Instagram, sadly, it won’t post to Facebook automatically. You’d have to either schedule another post for Facebook from Canva itself or manually share the post from Instagram to Facebook.
How to Delete or Reschedule a Post?
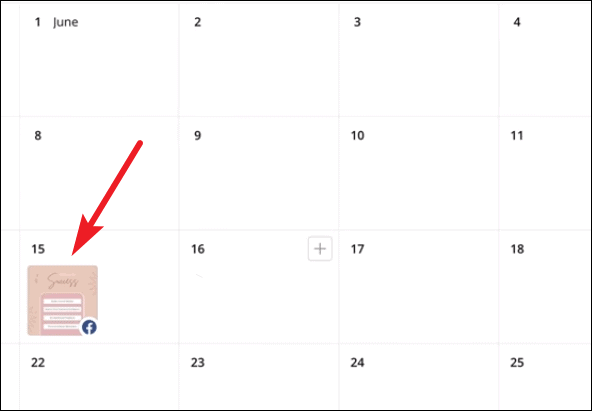
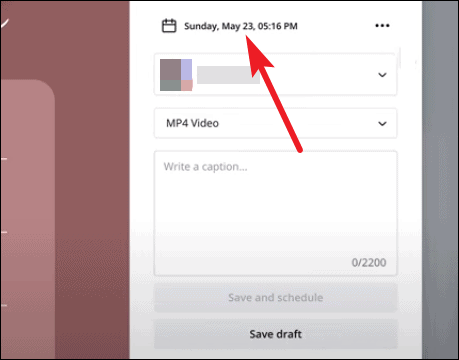
To reschedule or delete a post, click the post thumbnail from the Content Planner.
For rescheduling, simply click the date and time option and set a new one.
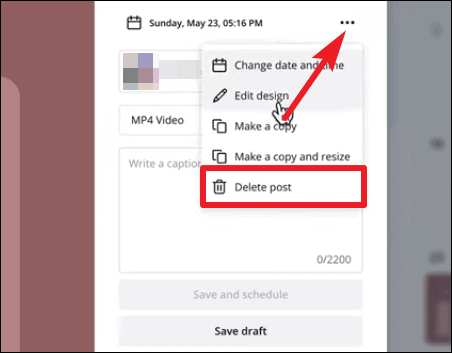
To delete the post, click the three-dot menu icon. Then, select ‘Delete Post’ from the options. Don’t worry, it’ll only delete the scheduled post from Content Planner and not your actual design from Canva.
Canva’s Content Planner is a great tool to streamline your workflow and save time and energy while doing it. It also proves a great tool to implement consistency in your publishing patterns without having to worry about doing so.