We can all agree that the human race has officially entered the era of Artificial Intelligence. Granted, it’s still the beginning, but there’s no denying AI is seeing a huge boom. New tools are popping up every day with their focus on different fields.
Curipod is one such tool that uses AI to aid in the teaching process. Teachers have had a huge adjustment period in the past couple of years, having to incorporate technology in delivering their lessons. Curipod can sweeten the deal for even the most reluctant technology users. In a very short time, it has garnered a huge user base of teachers who love how AI can help them craft lesson plans for their students. So, are you ready to jump on the bandwagon? Let’s get going.
What is Curipod
Curipod is an AI-based presentation-style tool. It has many similar tools to other presentation-based teaching tools; it uses presentation elements like polls, word clouds, drawings, Q&As, etc., to offer an interactive experience for students and teachers. But what sets it apart from other teaching tools already circulating the ether is the use of AI.
Curipod uses AI to generate lesson plans which the teachers can then edit and refine. So, it reduces the time you, the teacher, have to spend on curating the content and manually creating the lesson. Yet, you have full control over it.
You can generate content for grades 1st to 13th as well as for professional development, spanning various subjects such as math, social and emotional learning, creativity and exploration, sustainable development, etc. Curipod also features free interactive lessons that other teachers have created, which you can use for inspiration.
You can also collaborate with other teachers and share your lessons with groups or individuals. Moreover, you can also see your students’ responses on your screen.
Curipod Pricing
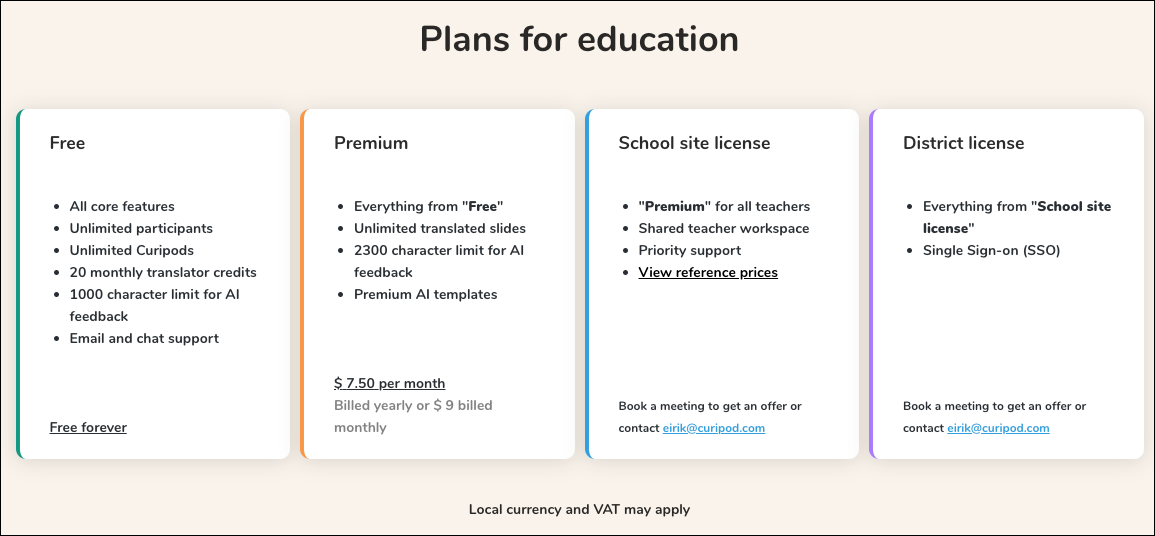
The basic version of Curipod is free to use and isn’t exactly basic. You get access to all the core features and can add unlimited participants and create unlimited Curipods with the free version. The only limits are translation credits, AI feedback character limit, and limited AI templates, which are available with the Premium plan that costs $7.50 per month.
They also offer school and district plans that you can contact Curipod for to get a quote. School and district plans also have additional features like Premium for all teachers and shared teacher workspace.
Getting Started on Curipod
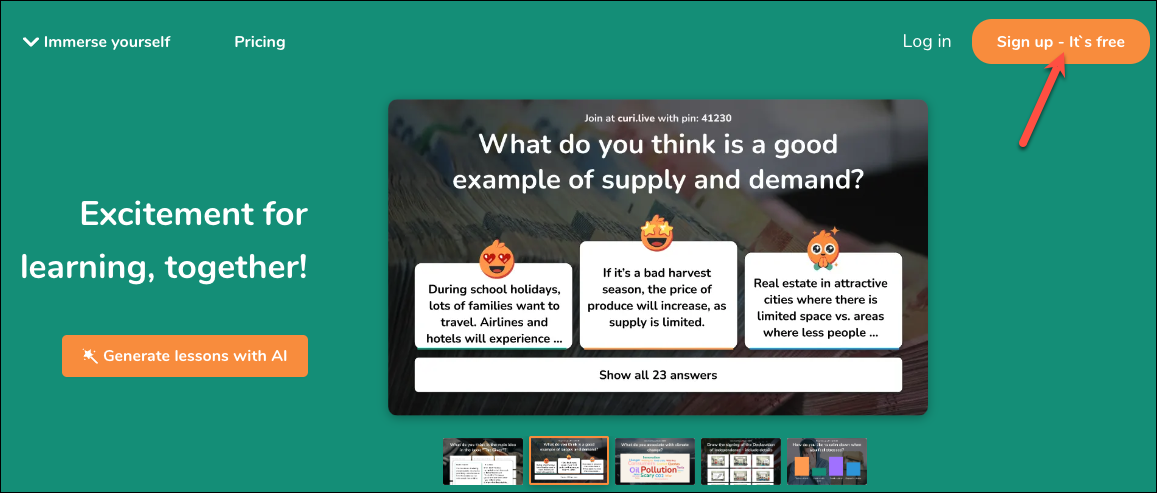
Curipod is available as a web app, so it can be used from any browser without the hassle of downloading/ installing an app. Navigate to curipod.com from your preferred browser and click on the ‘Sign Up’ button. You need to create an account to use Curipod.
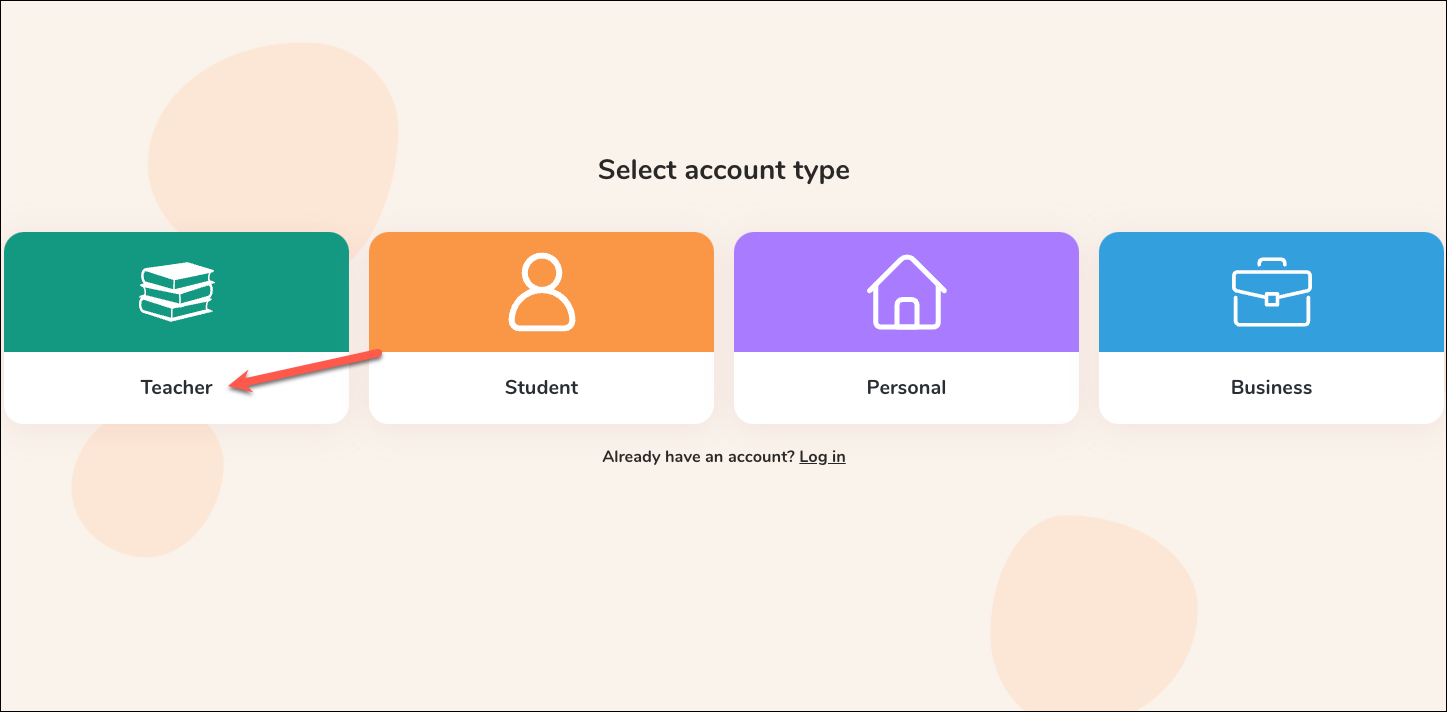
Then, select the account type. Curipod offers four options: ‘Teacher’, ‘Student’, ‘Personal’, and ‘Other’. Since you want to use Curipod for teaching, click the ‘Teacher’ option.
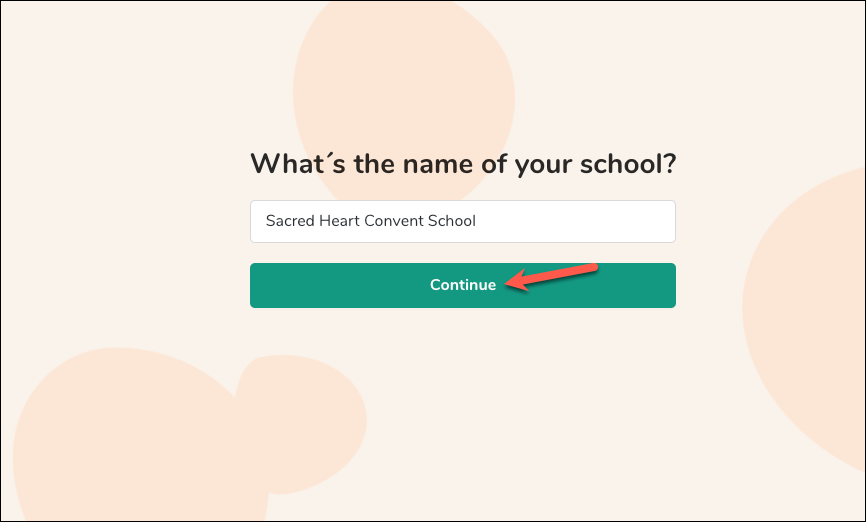
Next, enter the name of your school.
Then, you can sign up on the website using either your email address or you can use your Google account for a quick sign-up.
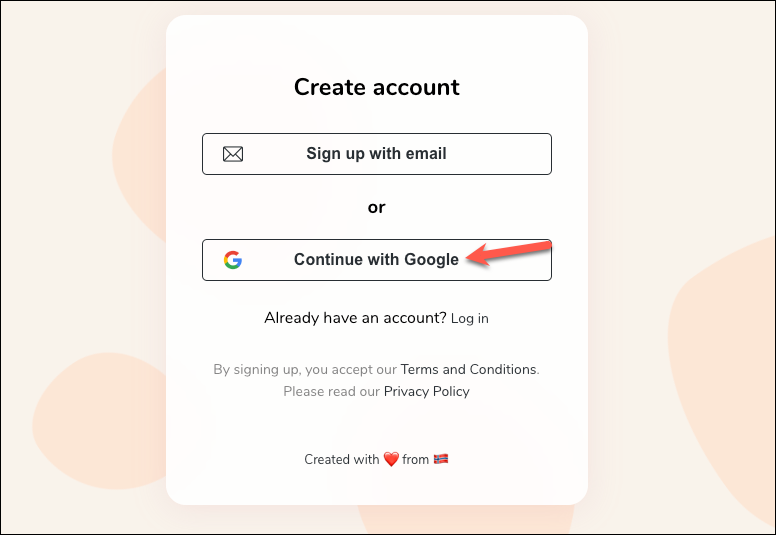
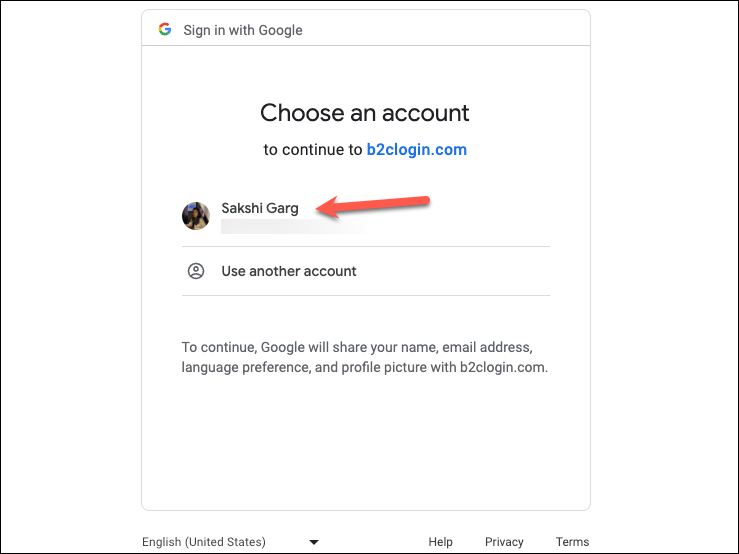
If you choose the Google account option, you’ll need to select the account you want to use. Google will share your name, email address, language preference, and profile picture with Curipod. But it will only take a second for your account to be set up.
Using Curipod for Teaching
Once your account is created, you can use Curipod to either create a complete lesson or for activities like discussion questions, polls, drawings, etc.
To create a lesson using AI, you have two options: ‘Generate Slides’ or ‘Curify my Slides’.

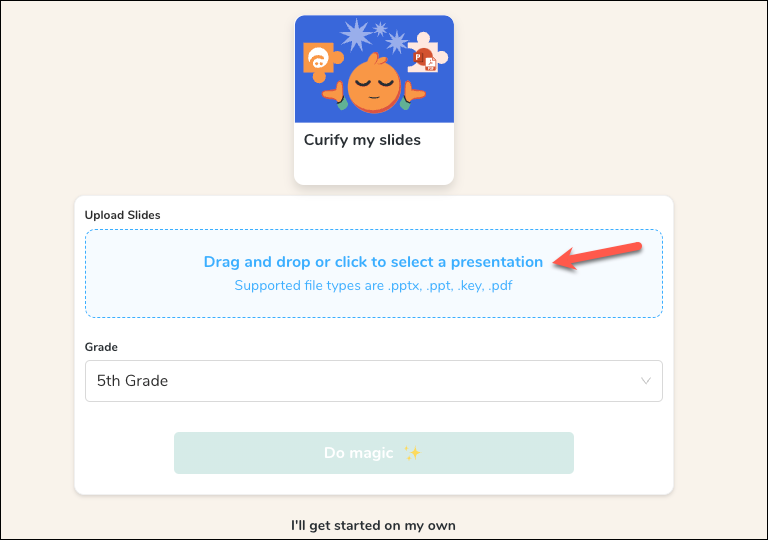
The Generate Slides option lets you generate slides with AI from scratch on any topic or question of your choosing. You can choose the type of activities you want to include and add, edit, or delete any slides. Whereas the ‘Curify My Slides’ option lets you upload your existing slides (in a PDF, PowerPoint, or Apple Keynote presentation format), and then the AI does its magic to the existing slides by adding interactive activities from Curipod. You can also curify existing slides and add them to a presentation the AI generated from scratch while editing it.
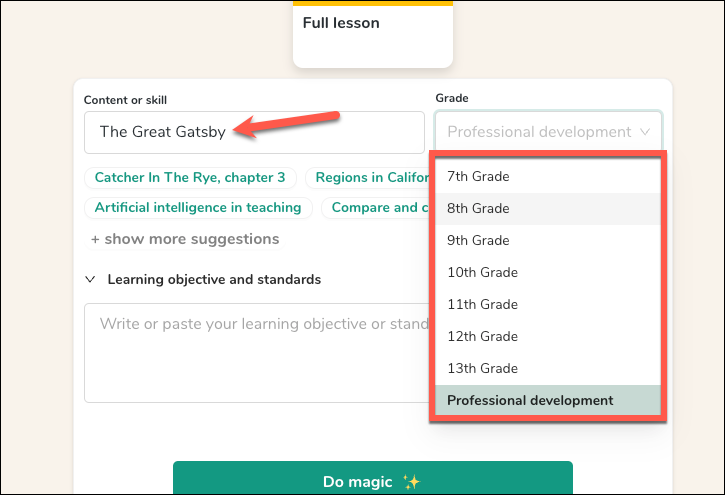
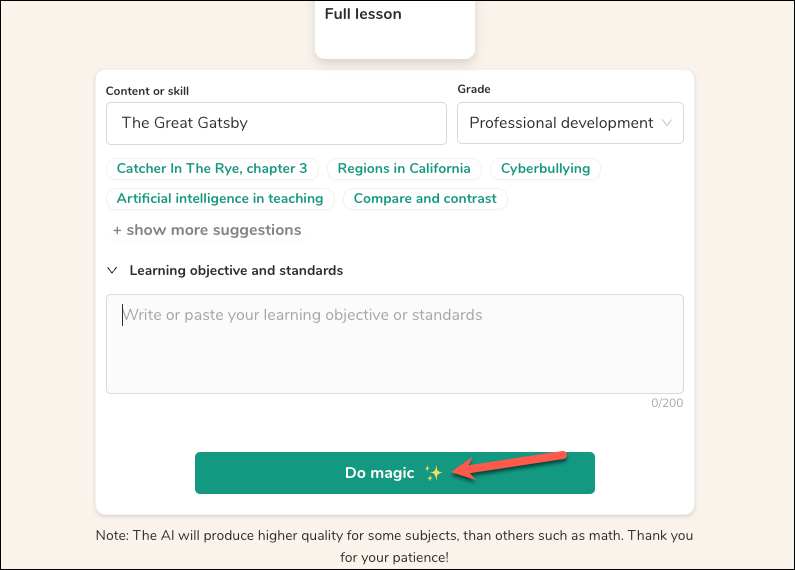
For the sake of this guide, we’re choosing the ‘Generate Slides’ option to further demonstrate the usage of Curipod. On the next window, enter the content or skill that you want to create the lesson plan around. Then, select the grade from the drop-down menu.
You can also write your learning objectives and standards, which is optional. Then, click the ‘Do magic’ button.
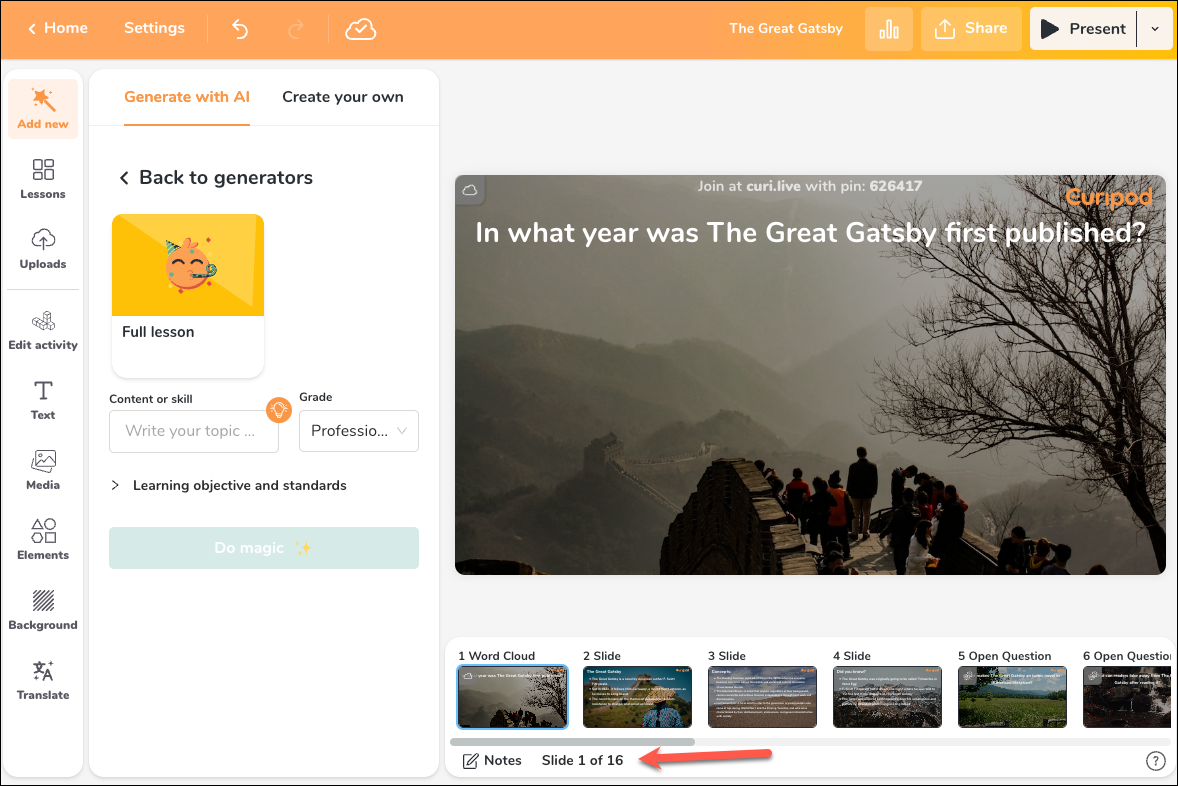
Curipod will generate your lesson, and you’ll find the presentation on the right side of the screen. For the topic we entered, Curipod generated around 16 slides which were a mix of word clouds, general information, open questions, drawings, and polls.
Editing the Lesson
Once the lesson is generated, it will load into the editor, where you can review the slides and make any changes to them. Now, the presentation was far from perfect, and it will require edits. But that’s the point; it’s easier and less time-consuming to edit a draft than it is to start from scratch.
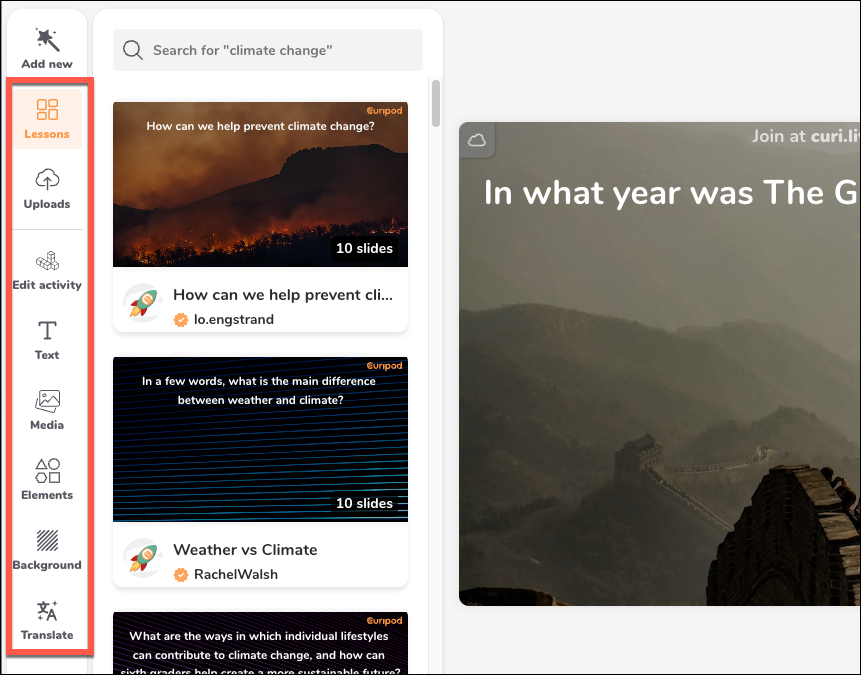
On the left side of the screen, you’ll find various tools for editing the presentation. The interface is a lot similar to Canva, which is increasingly becoming the case with a lot of online presentation tools. That is to say that if you’ve used tools like Canva or Microsoft Designer, you’ll find it very easy to navigate the Curipod editor. But even if you haven’t, the interface is easy to get used to as it doesn’t unnecessarily complicate things.
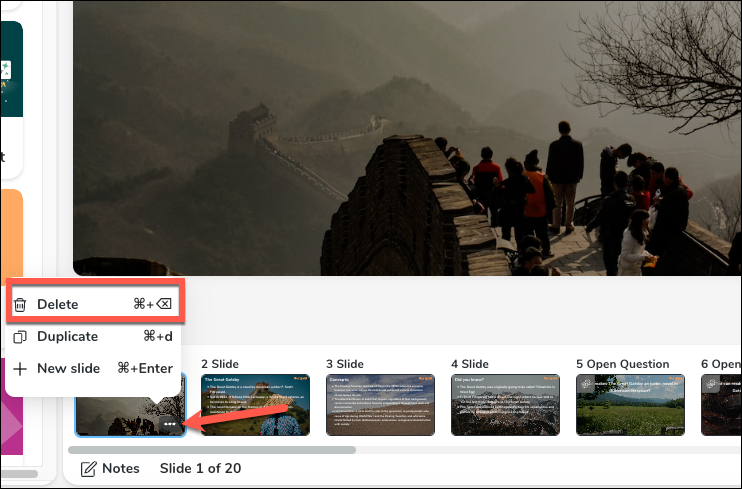
To delete a slide, hover over the slide thumbnail and click the ‘three-dot menu’ icon that appears. Then, select ‘Delete’ from the menu. You can also use the Cmd + backspace (Mac) or Ctrl + backspace (Windows) keyboard shortcut.
To change the activity type for a slide, click that slide to open it. Then, click the current activity type icon in the top-left corner of the slide.
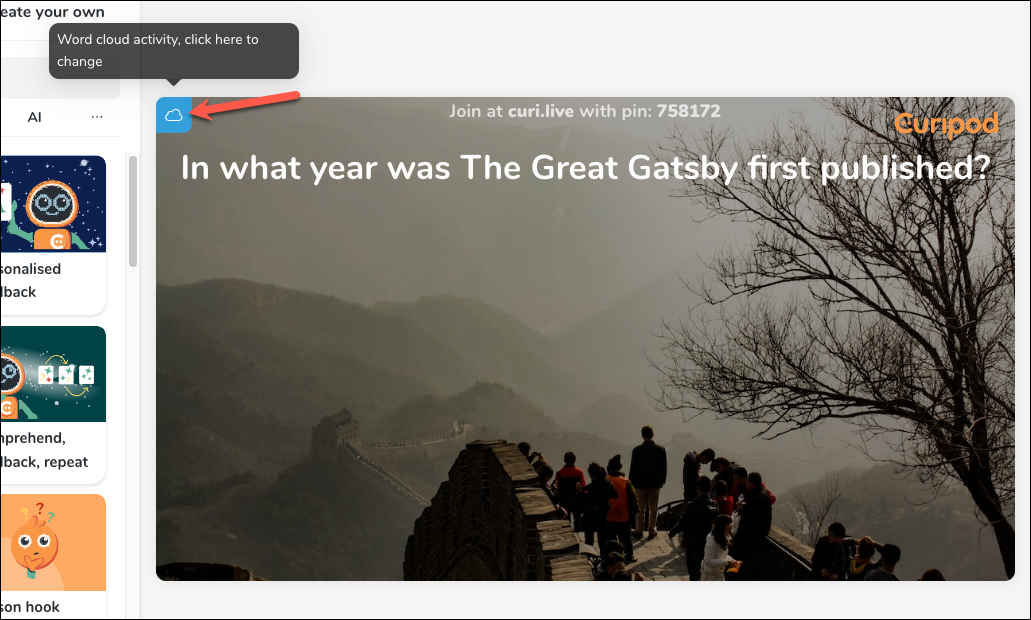
An ‘Edit activity’ panel will open on the left.
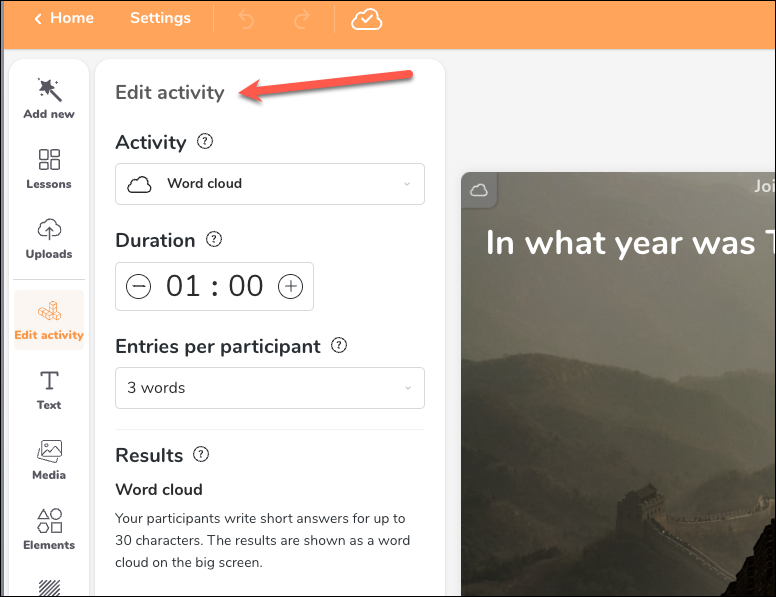
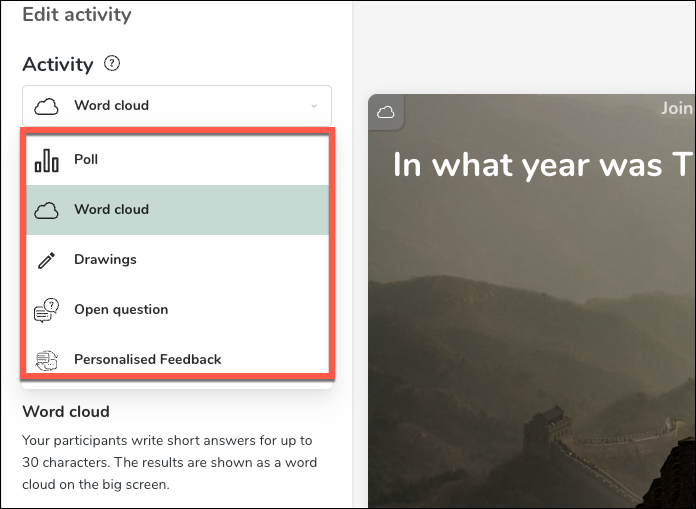
Here, you can change the activity type from the drop-down menu or change the duration (the maximum time the students will have to answer the question in the slide) and the number of entries a student has to enter for it. You’ll also be able to see how the result for this particular activity type will appear on your screen (this cannot be changed, it’s only for your reference).
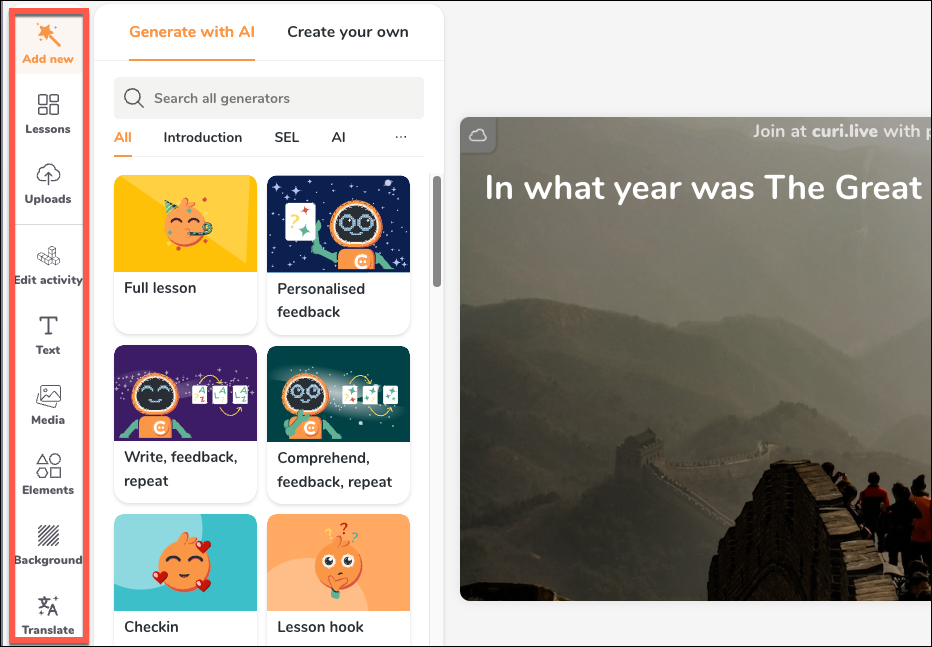
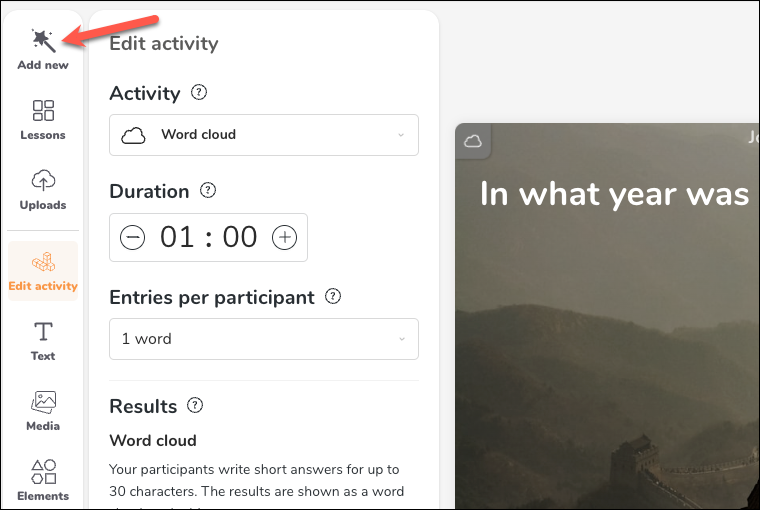
To add a new slide, go to the ‘Add new’ option from the toolbar on the left. The new slide will be added to the right of the slide currently selected. You can drag and drop the slides to rearrange them, though.
Now, for the new slide, you have two options: ‘Generate with AI’ or ‘Create your own’. Both are self-explanatory.
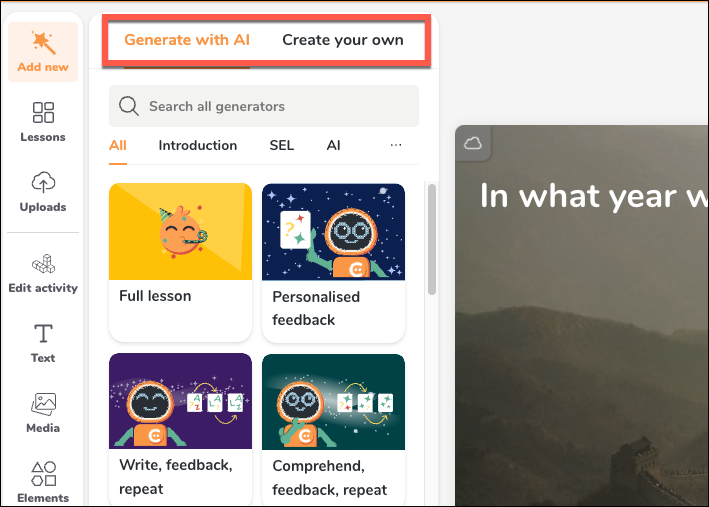
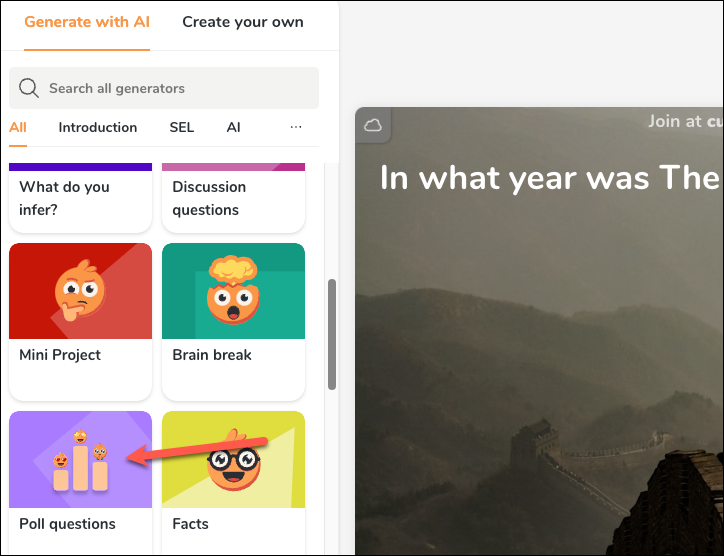
When generating with AI, choose the type of content you want to add. There are more than 20 generators to choose from; click the one you want.
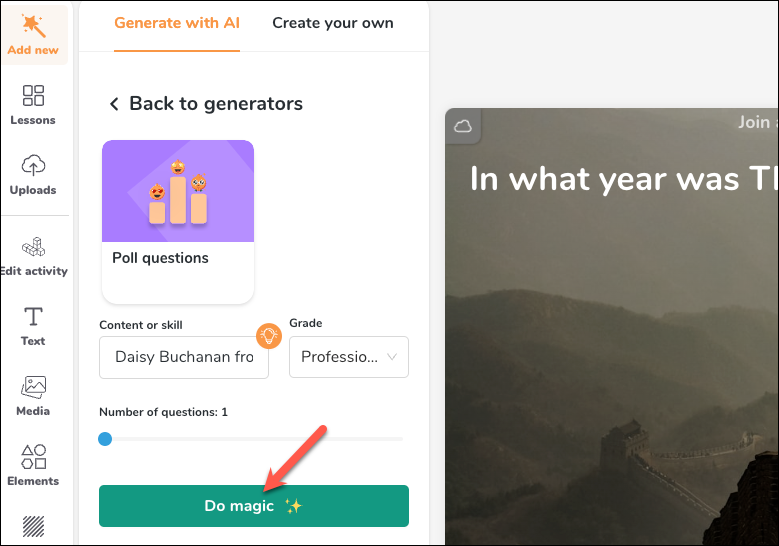
Then, enter your topic in the field provided, select the number of questions you want to generate and click the ‘Do magic’ option.
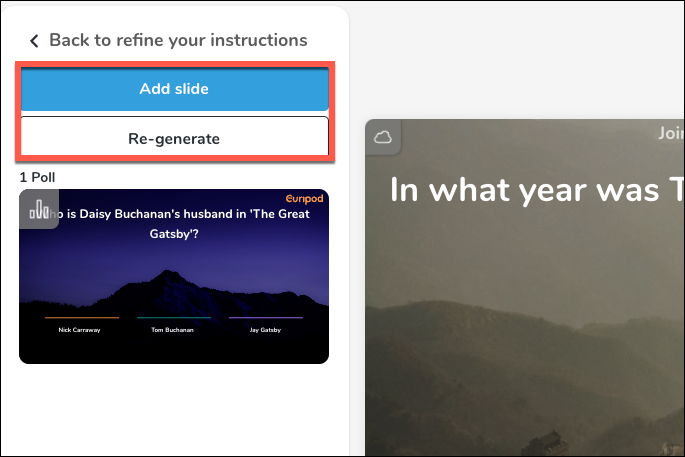
You’ll get a preview of the slide(s) Curipod has generated. If you like it, click ‘Add slide’ to add it to the lesson or click ‘Re-generate’ for a new slide.
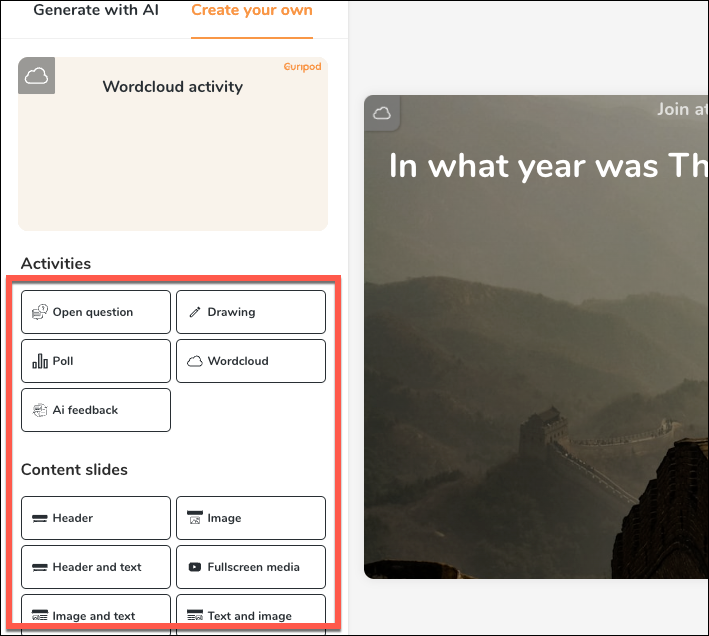
When creating your own slide, select the type of slide you want it to make. You can either choose activity cards or make it a simple slide by adding a header, text, media, etc.
When adding an activity, you can edit all the details relevant to it, just like we did before for the slide that the AI had generated.
You can also edit/ add different elements to the slide, like the text, media, background, stickers, etc., upload your own content, or discover lessons from other teachers from their respective options from the toolbar on the left. You can translate the text in your slides using the ‘Translator’ tool but remember that the free plan only gives 20 monthly translation credits.
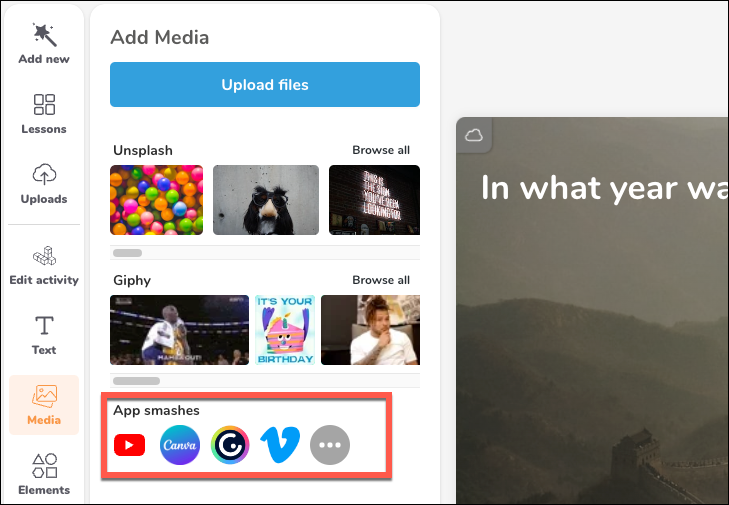
Curipod also allows you to embed videos from apps like YouTube, Canva, Vimeo, Google Drive, Genially, etc.
Once your presentation is finalized, you can share it with others or present it to your students in the class.
How to Get Your Students to Join
Now that you’ve made the lesson, half your work is done. But the other half still remains: using that lesson to successfully teach your students.
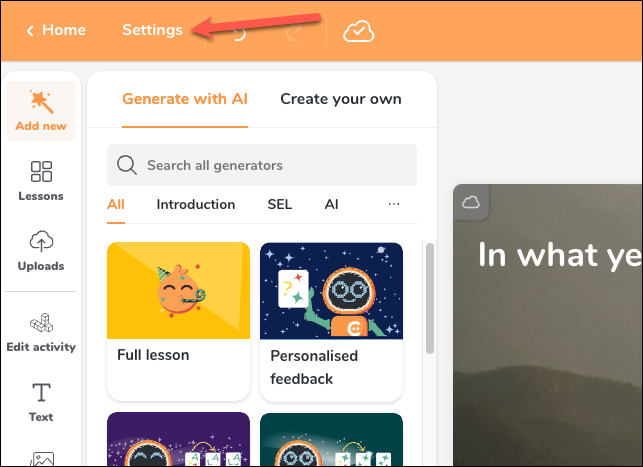
Before sharing the presentation, click the ‘Settings’ button in the top-left corner of the Curipod window.
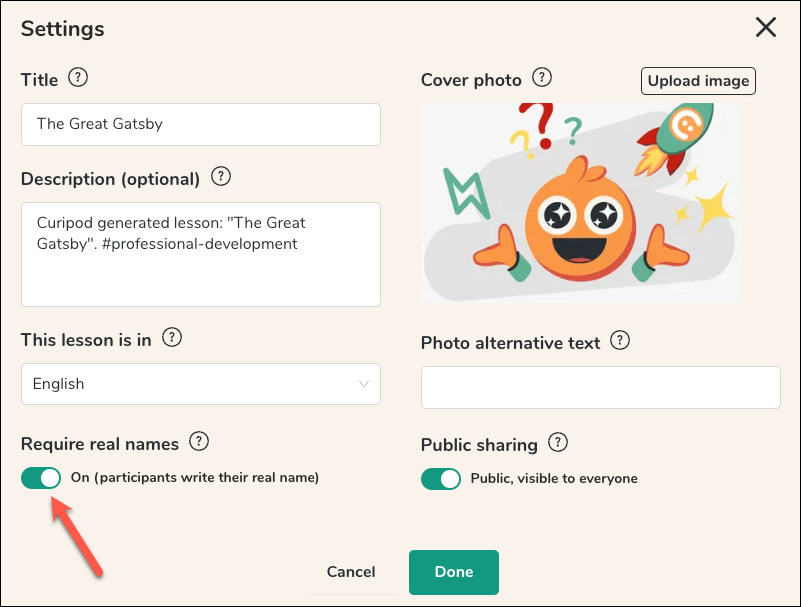
Then, select whether you want the students to use their real names. Curipod assigns nicknames to all participants by default, but if you turn this toggle off, it won’t even ask them to enter their names. However, if the toggle is on, they will need to enter their names, and while only the nicknames will be visible to others, real names will be visible to the host. You can also change this setting while presenting, but it’s better to start the presentation prepared.
Now, your students can create a free Student account on Curipod, but it’s not a necessity.
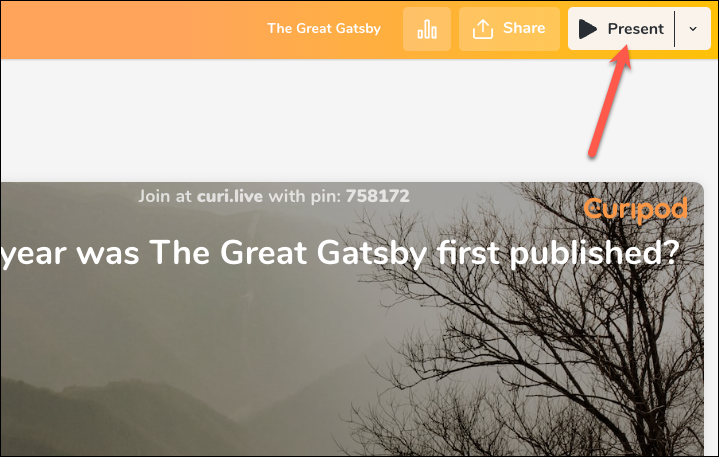
Click the ‘Present’ button in the top-right corner of the Curipod window.
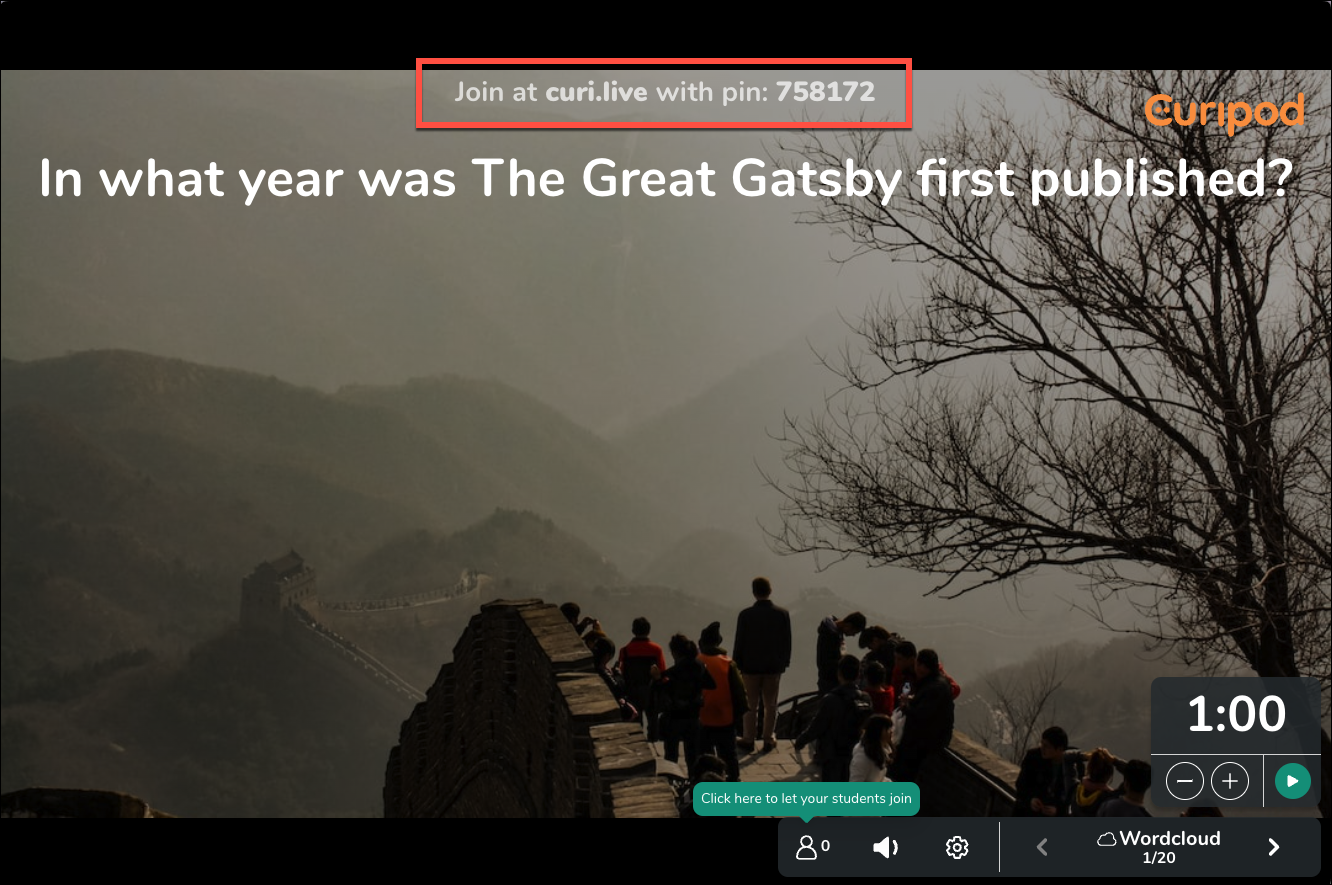
Then, share the PIN displayed on your screen with the students. Ask your students to navigate to curi.live from browsers on their PCs or phones and ask them to enter the PIN.
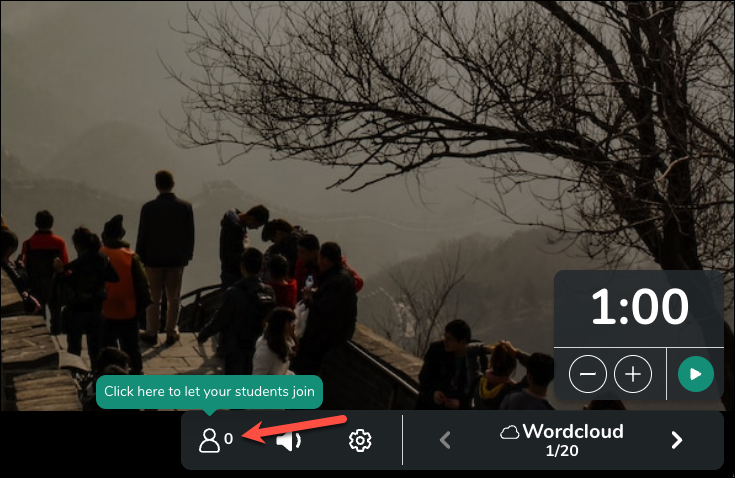
You can also share a QR code with them that they can scan to join the lesson. Click the ‘Person’ icon from the toolbar in the bottom right corner.
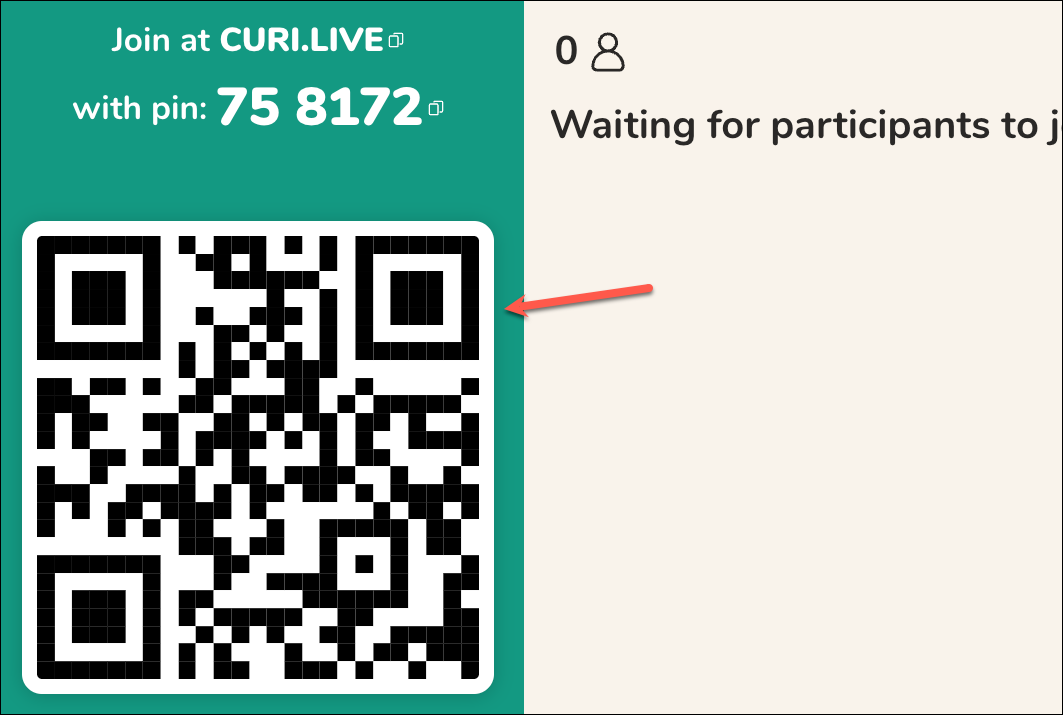
The QR code will appear on the screen. If you’re sharing the presentation on a big screen, they can easily scan the code from their mobile devices.
How Does the Presentation Work
Curipod presentations work rather nicely at the students’ end; it’s the teacher’s end that can be a bit tricky.
For students, the lessons are rather streamlined. When it is a simple slide, their screens will ask them to look at the big screen.

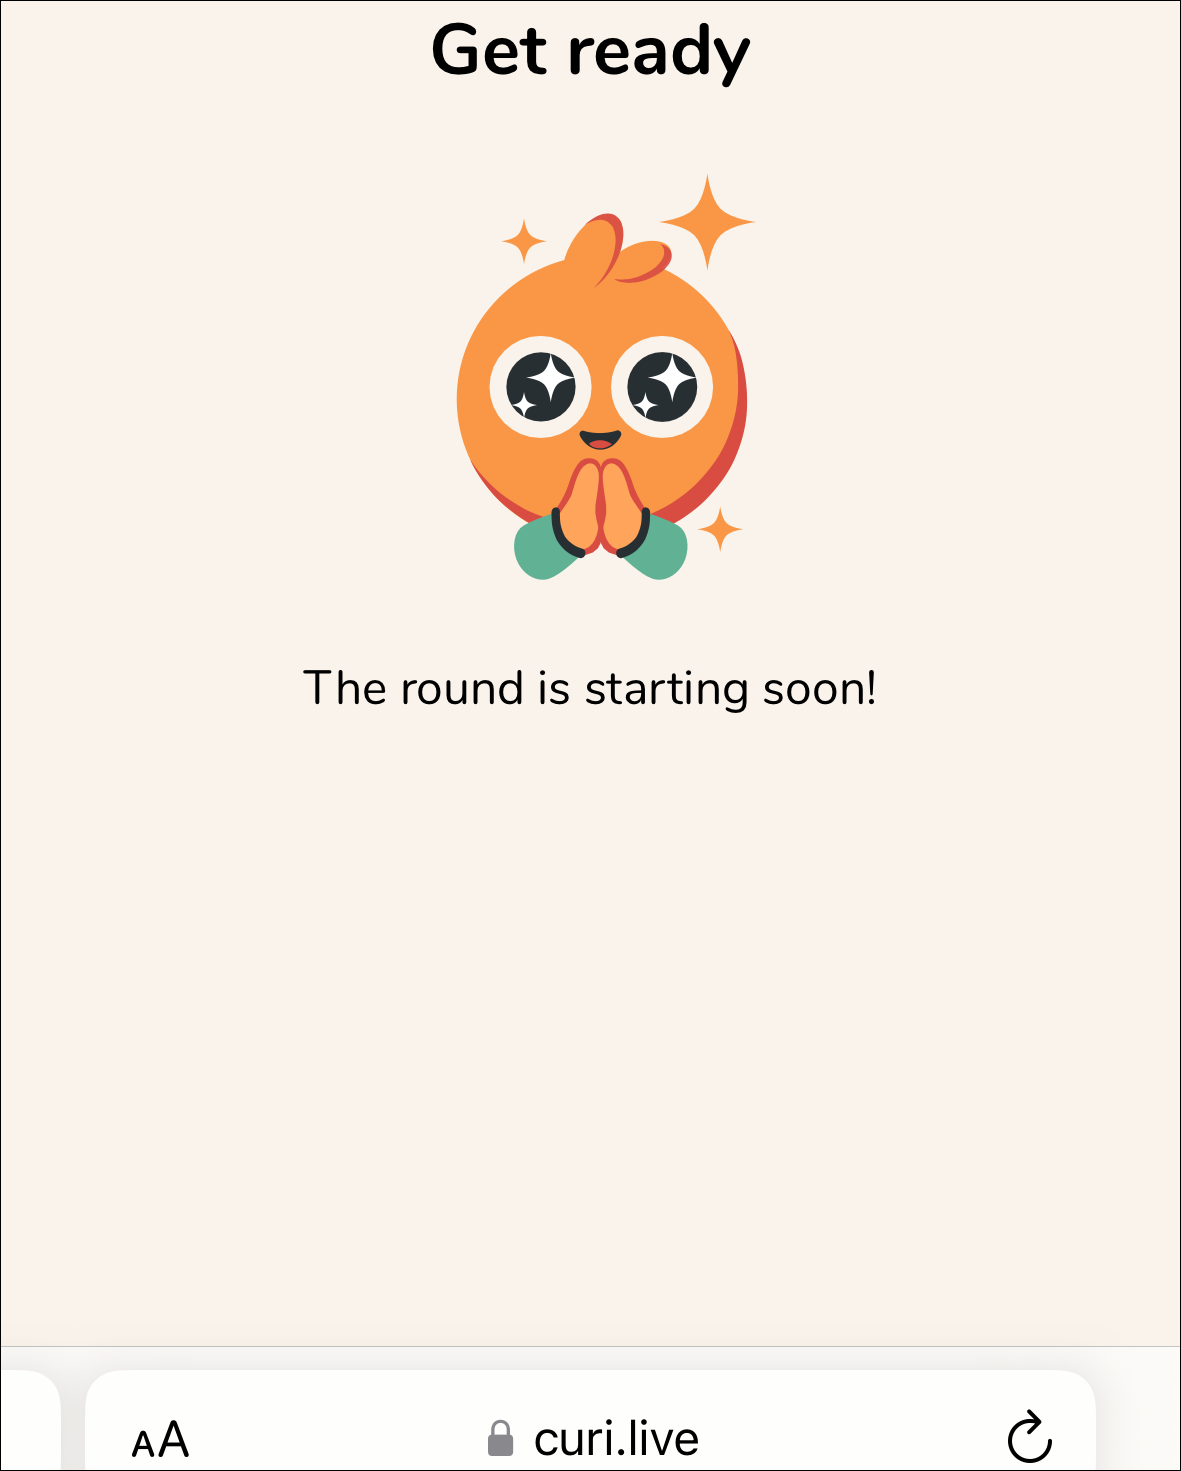
But when it is a slide with an activity that’ll need their input, their screens will tell them to get ready for that too.
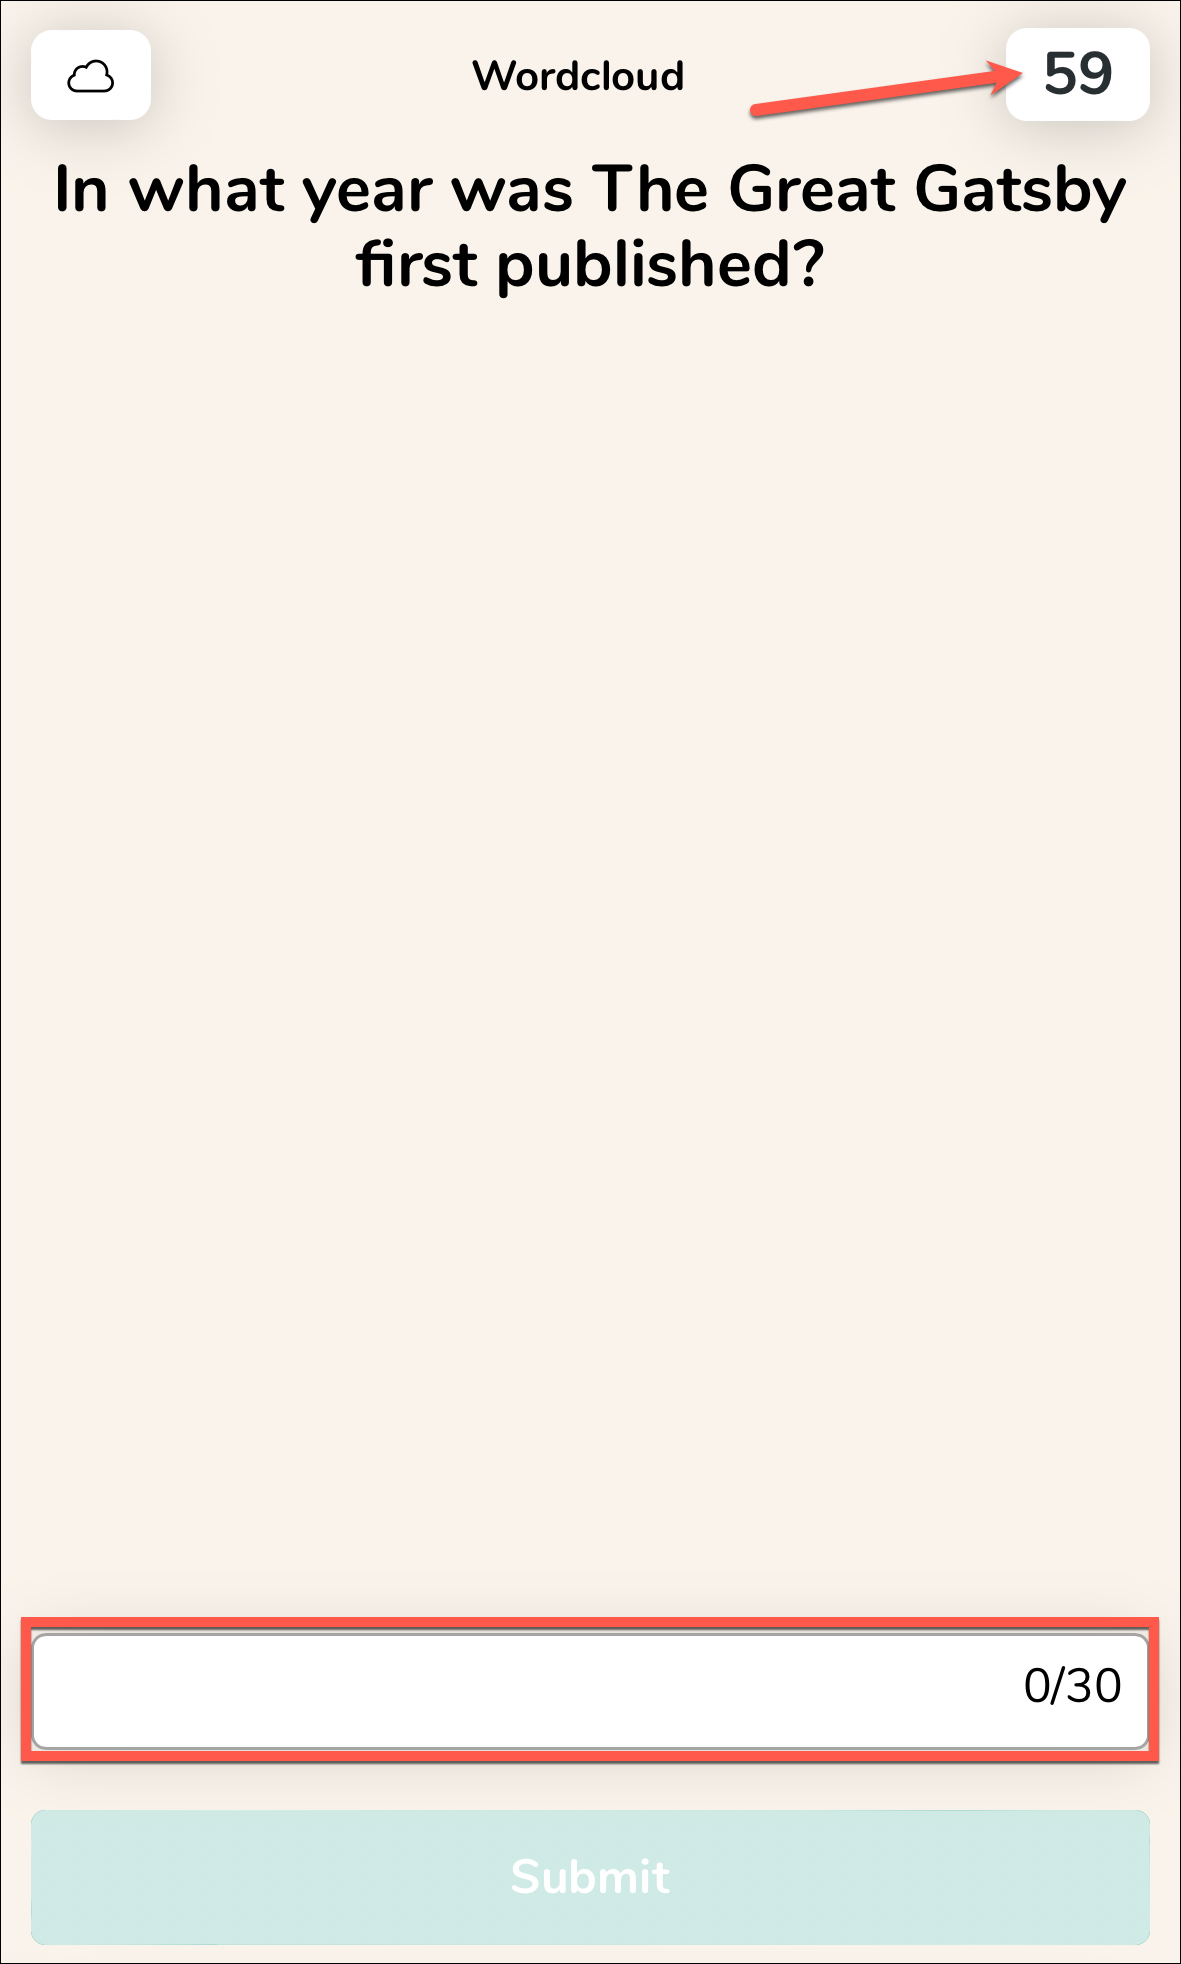
For activity-based slides, students will only get the time set by you to enter the input.
You can increase the time for any slide during the presentation to give students more time, though.
For teachers, the interface for the presentation could use some improvement, in my opinion.
For activity-based slides, click the ‘Play’ button in the bottom-right corner. This will start the timer, and the students will be able to enter and submit answers from their screens.

To increase the timer, click on ‘+30 seconds’. To stop it before the time is up, click the ‘Stop’ button.
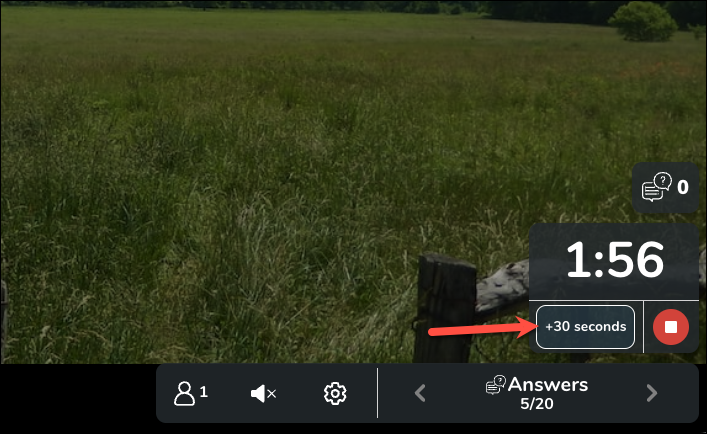
The number of answers that are submitted will appear above the timer. Once the time is up, click on ‘Show Results’ to reveal the answers.
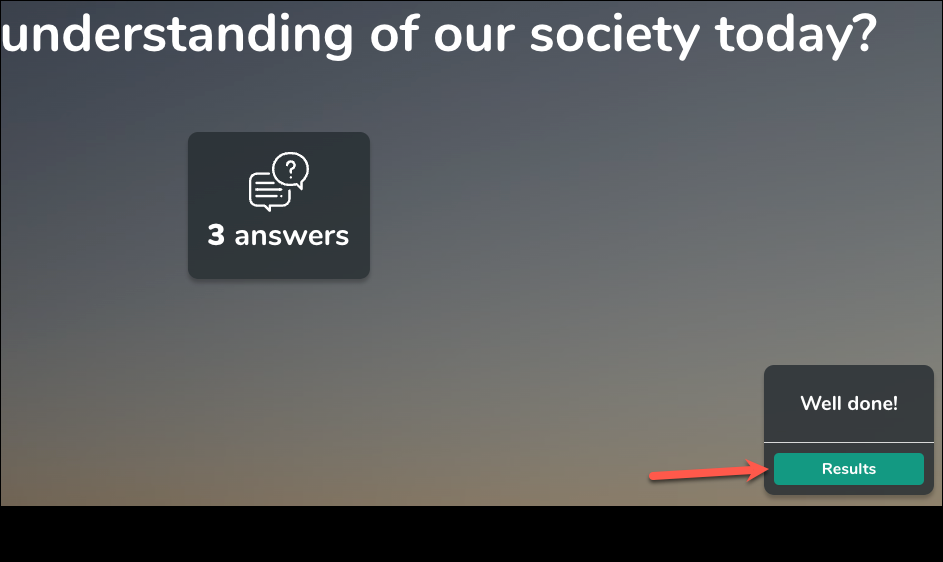
All the answers will be displayed anonymously on the screen. If you want, you can click the ‘Hide’ button on an answer to hide it.
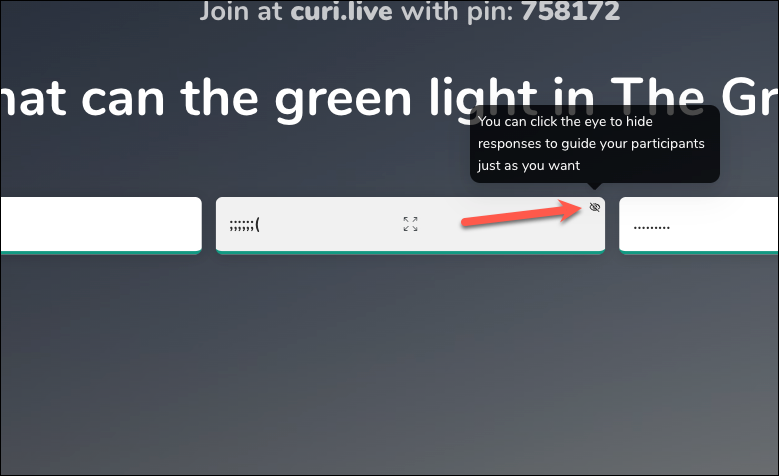
As you can see, the interface for receiving the answers isn’t too great, and it becomes more confusing as it’s different for different types of activities. That’s where moderation comes in to offer (some) relief.
How Does Moderation Work in Curipod Presentations
Moderation allows you to control which answers appear on the presentation after the timer has ended. Without the moderation tool, all answers submitted by the students appear on the screen. This can also include any inappropriate responses a kid looking to create trouble might have entered. However, with the moderation tool, you control the narrative.
Moreover, with the moderation tool, you can see the answers along with the real names of the students (as entered by students). The presentation mode in Curipod only shows answers on the screens and not any names with it (not even the nicknames). You’ll have to wait till the end of the presentation to see the names in the results section.
You can also kick someone out of the lesson using the moderation tool.
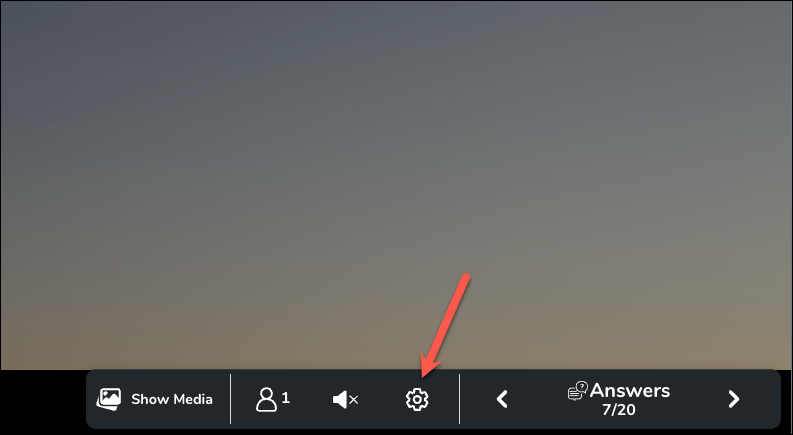
To enable moderation, click the ‘Settings’ icon from the toolbar in the bottom right corner of the screen.
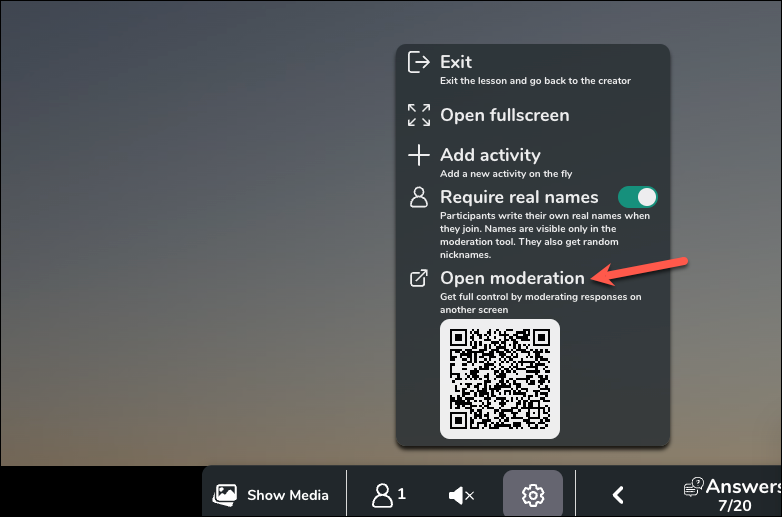
Then, click the ‘Open moderation’ option.
Now, you’ll want to open moderation on a screen that you aren’t sharing with the students. If it’s an online class and you’re only sharing the tab with the presentation in the meeting, you can easily open moderation in another tab on the same device.
But if you are presenting on the big screen, it’s best to open moderation on another device unless you don’t mind students seeing unfiltered answers.
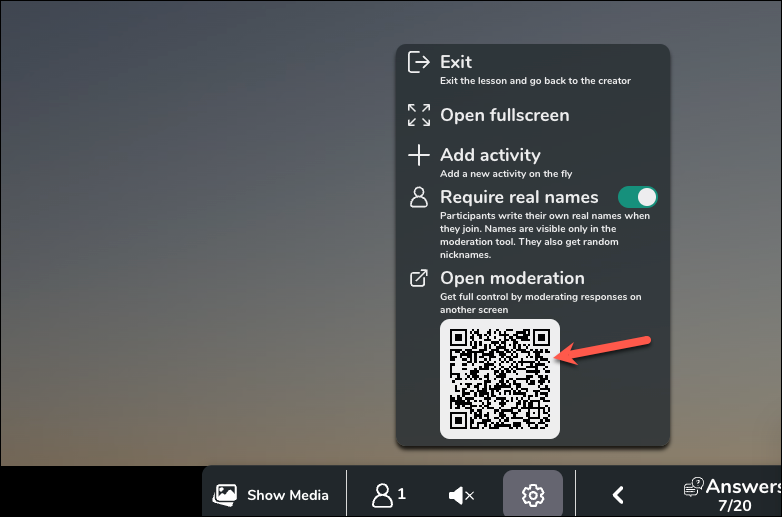
To open the moderation tool on another device, you can scan the QR code in the menu from the camera on your mobile device or manually share the link; you’ll need to sign into your account on the other device if you haven’t before.
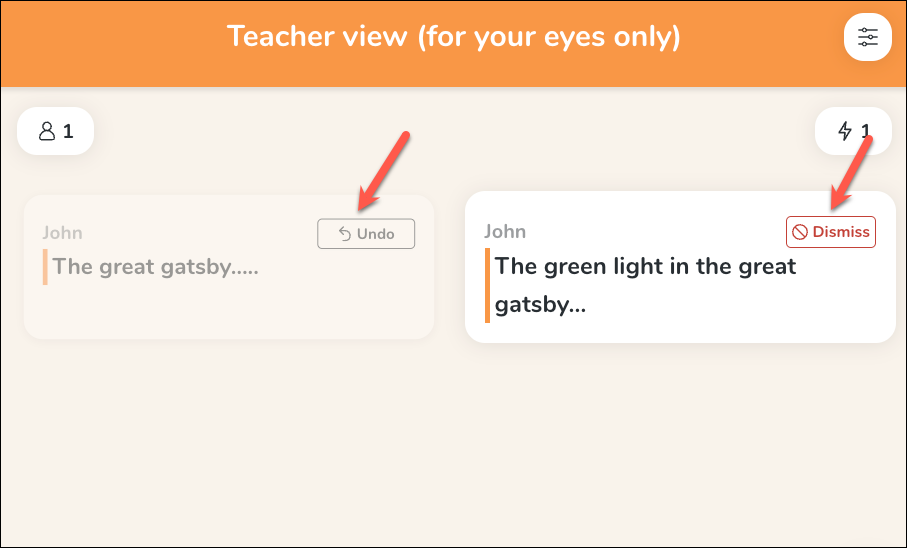
Now, when the students are submitting their answers, you’ll see them on the screen. If you don’t want to share an answer with the class, click the ‘Dismiss’ option. Click ‘Undo’ if you change your mind about hiding the answer.
For some activities, you can only moderate the answers before deciding to share them on the live screen. Once the answers are shared there, they will disappear from the moderation tool for the current slide. It all changes from activity to activity, which is why it can be confusing to get the hang of it the first time around.
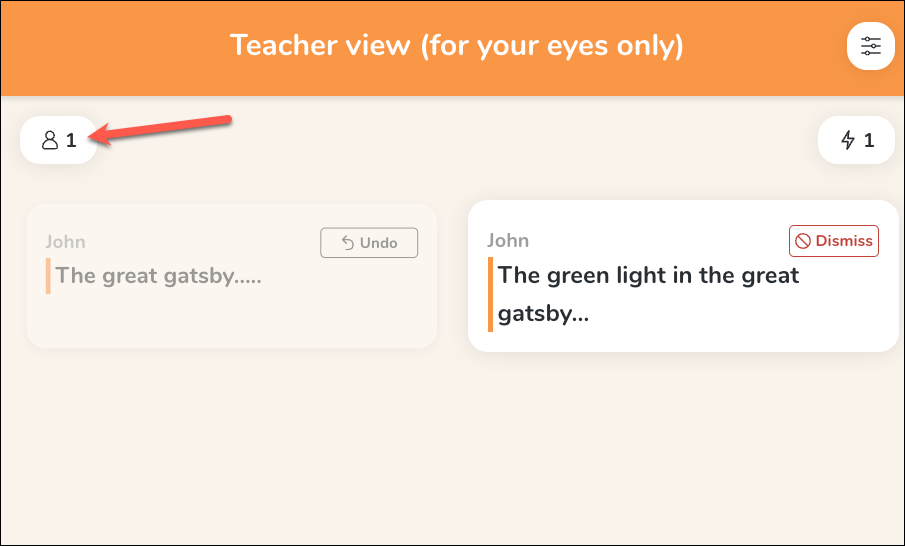
To remove a participant from the presentation, click the ‘People’ button.
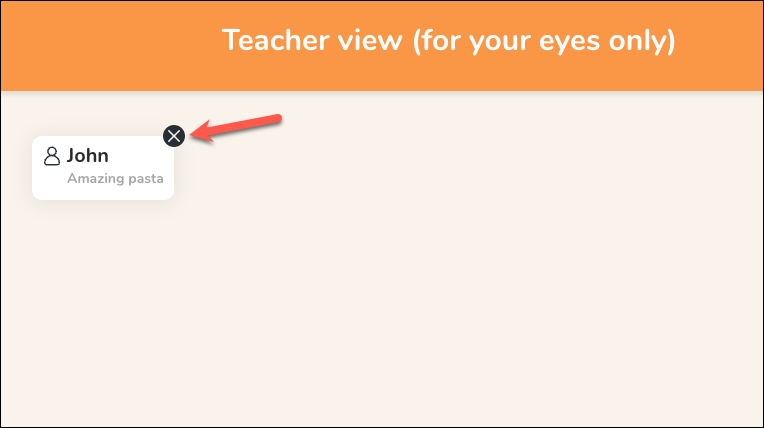
Then, click the ‘Remove’ button on the particular participant’s tile.
Viewing the Results
When the lesson is over, click on ‘End lesson’ to end it.

The results will automatically appear on your screen.

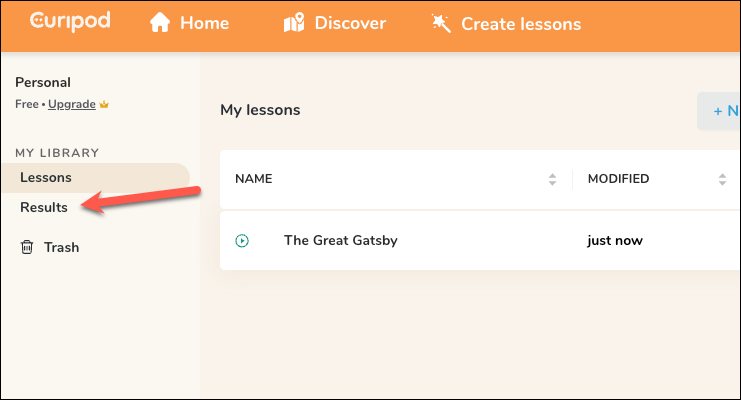
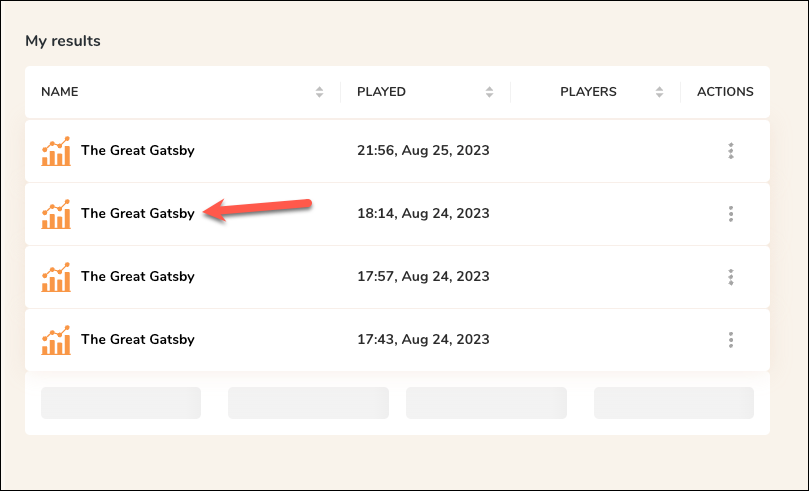
You can also access them later at any time from your Curipod home screen. Click on ‘Results’ under ‘My library’ from the navigation menu on the left.
Then, access the results for the presentation you want. It will be listed not just by its name but by the time and date you presented it (to distinguish if you presented the same lesson more than once).
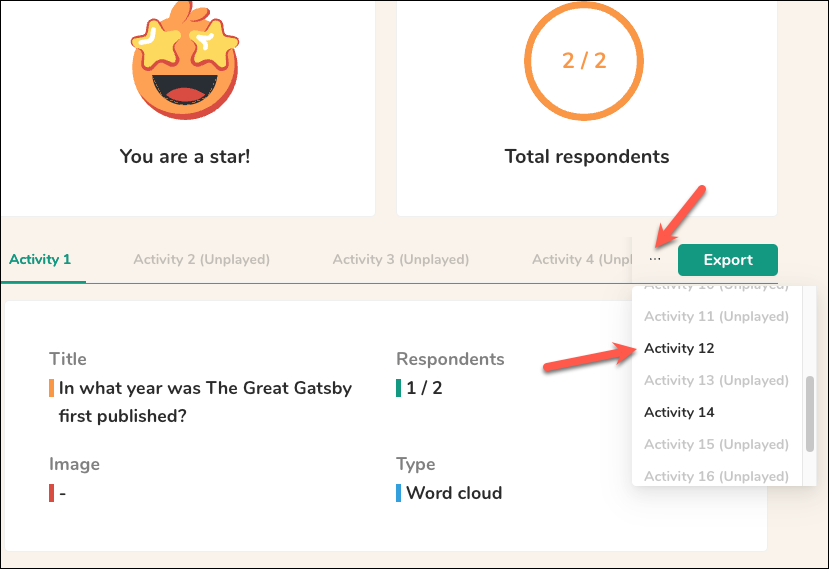
You’ll be able to see all the stats for the lesson there. Also, you can see the results for each activity by switching to it from the tabs or by clicking the ‘three-dot’ menu and selecting the activity from the overflow menu.
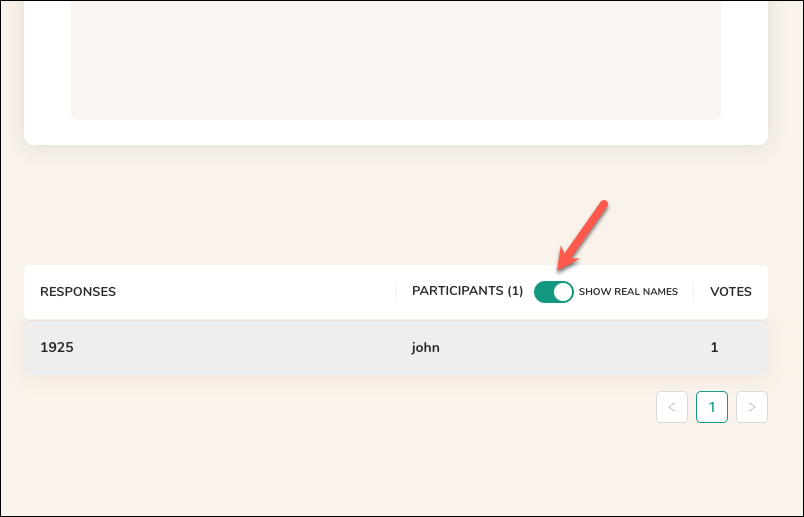
You can also toggle the ‘Show Real Names’ option to see the students’ answers.
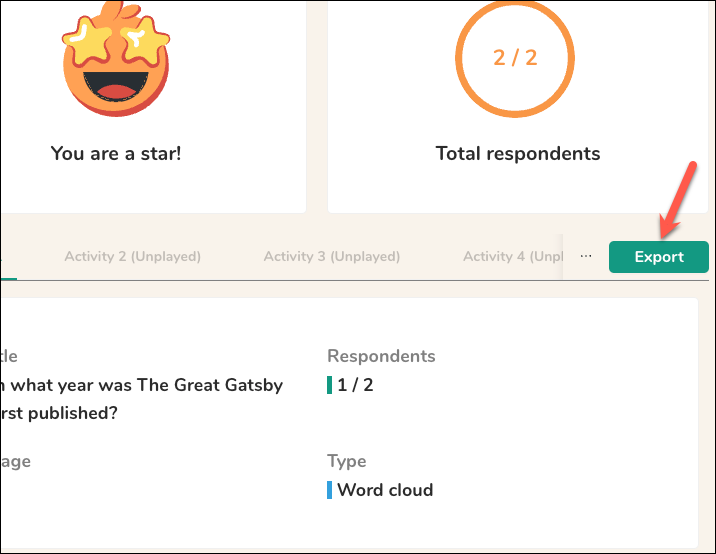
Moreover, you can also export the results as a CSV file by clicking the ‘Export’ button.
Curipod is a great tool that uses AI to create lesson plans. Though your input will still be required, it can greatly reduce the time it’ll take you to create an interactive lesson on a topic yourself.