Here are 15 settings you should change to protect your privacy in Windows 11.
Here are 15 settings you should change to protect your privacy in Windows 11.
by Raj Kumar
In today’s digital landscape, safeguarding your personal information is more crucial than ever. With tech giants like Microsoft continuously gathering data on user behavior, it’s essential to know how to protect your privacy while using Windows 11. This guide will walk you through various settings and adjustments you can make to enhance your privacy on your Windows 11 device.
Customizing Privacy Settings in Windows 11
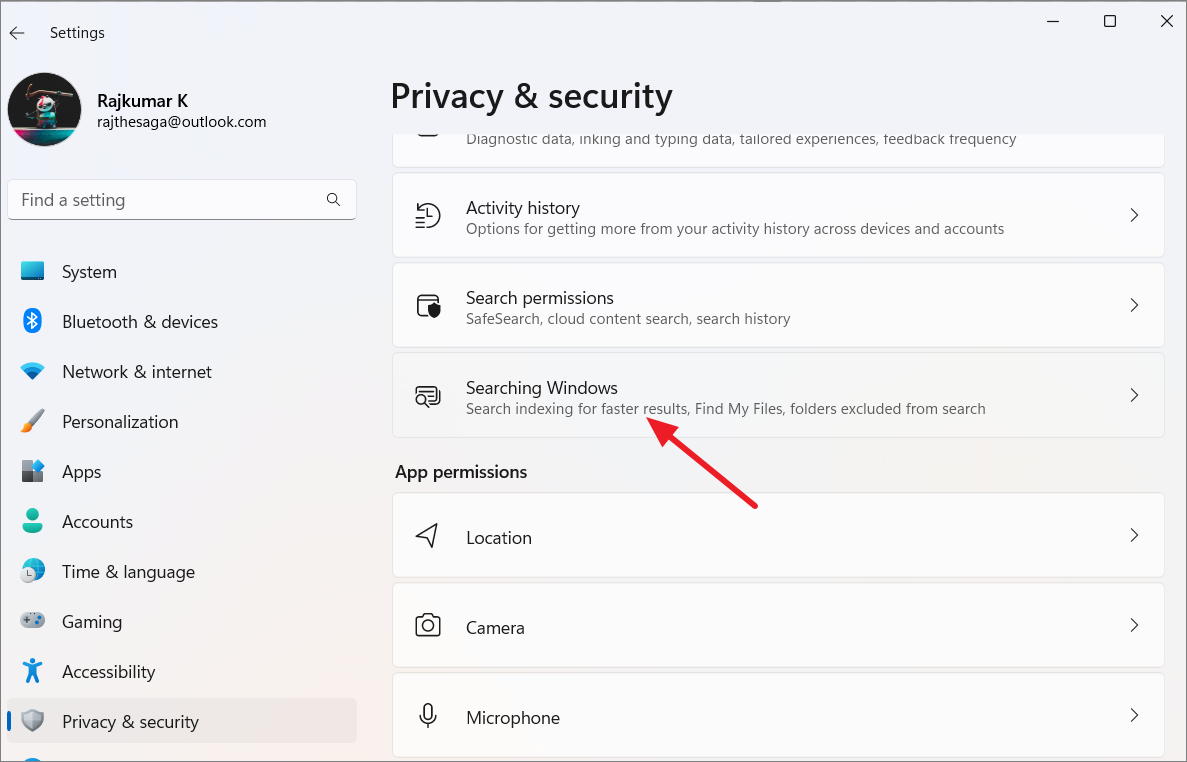
Below are several privacy settings you can modify to better protect your personal information on Windows 11.
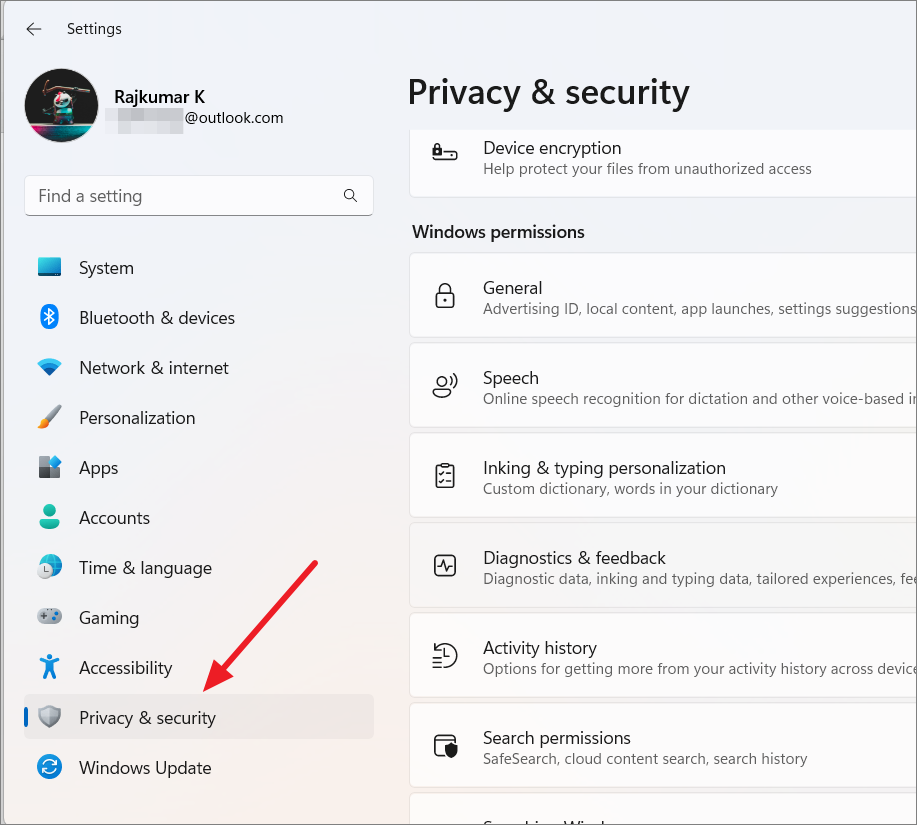
1. App Permissions
App permissions allow you to control which applications have access to sensitive system resources such as your camera, microphone, location, contacts, and more. Adjusting these settings ensures that only trusted apps can access critical data.
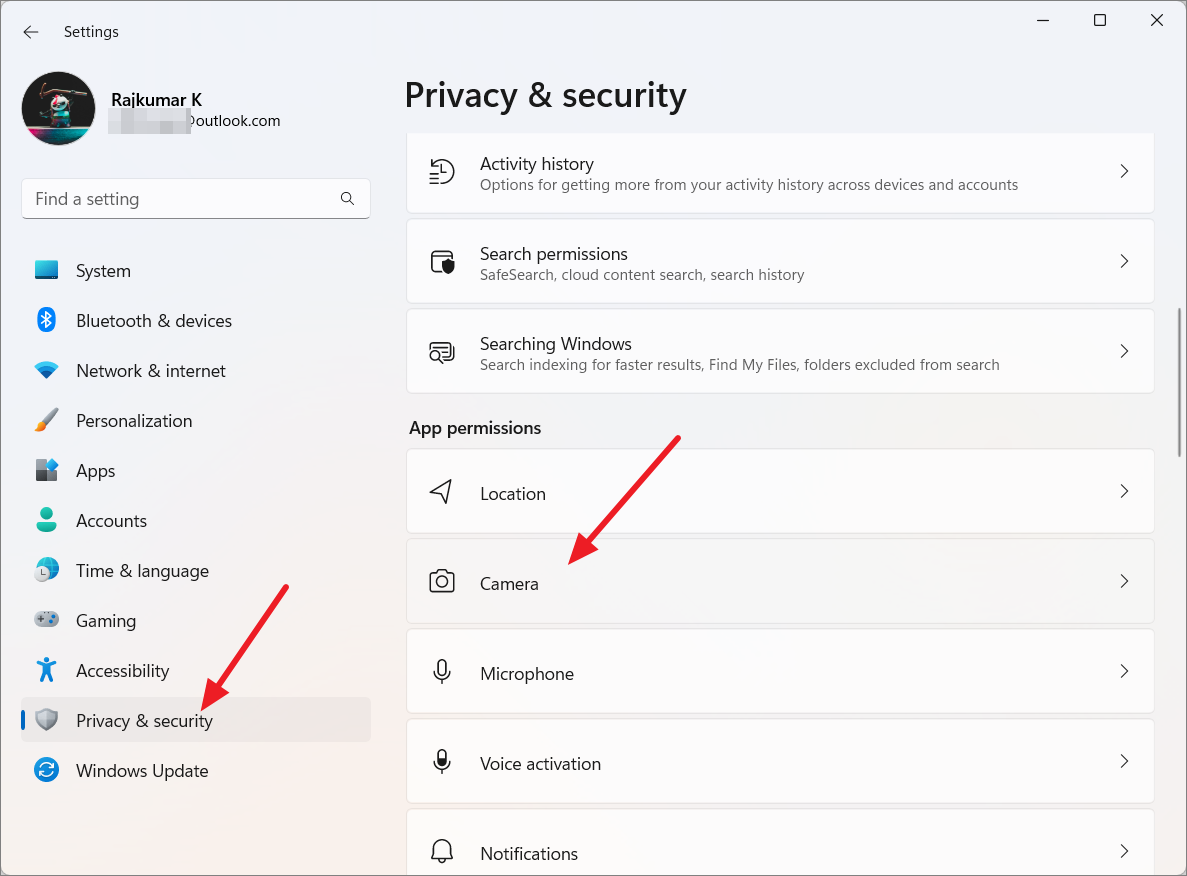
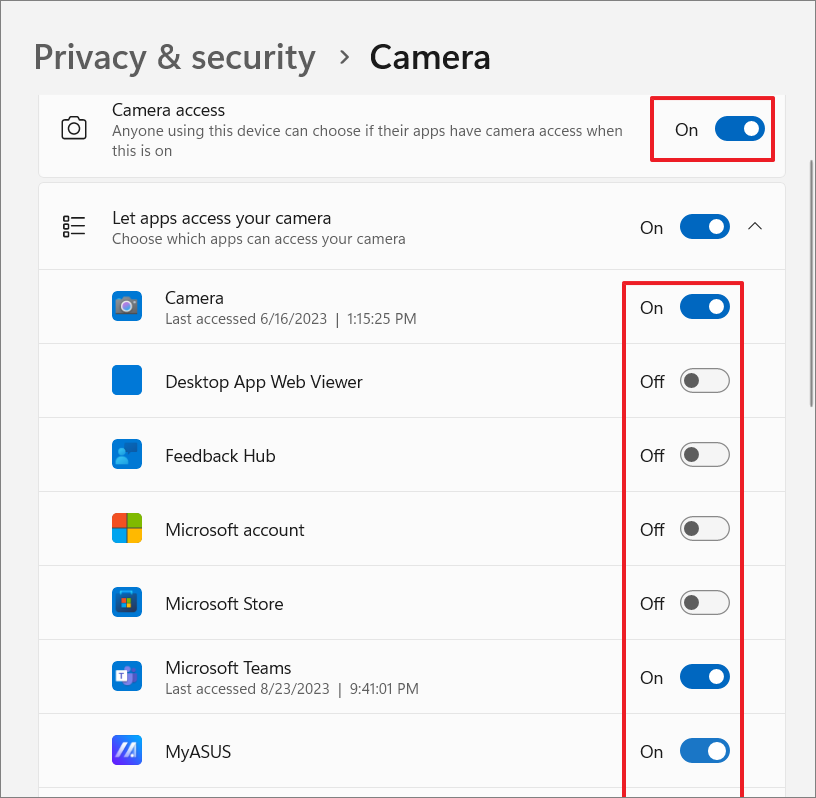
Change Camera and Microphone Permissions
Unauthorized access to your camera and microphone can pose significant privacy risks. To prevent apps from using these devices without your consent, you can modify their permissions.
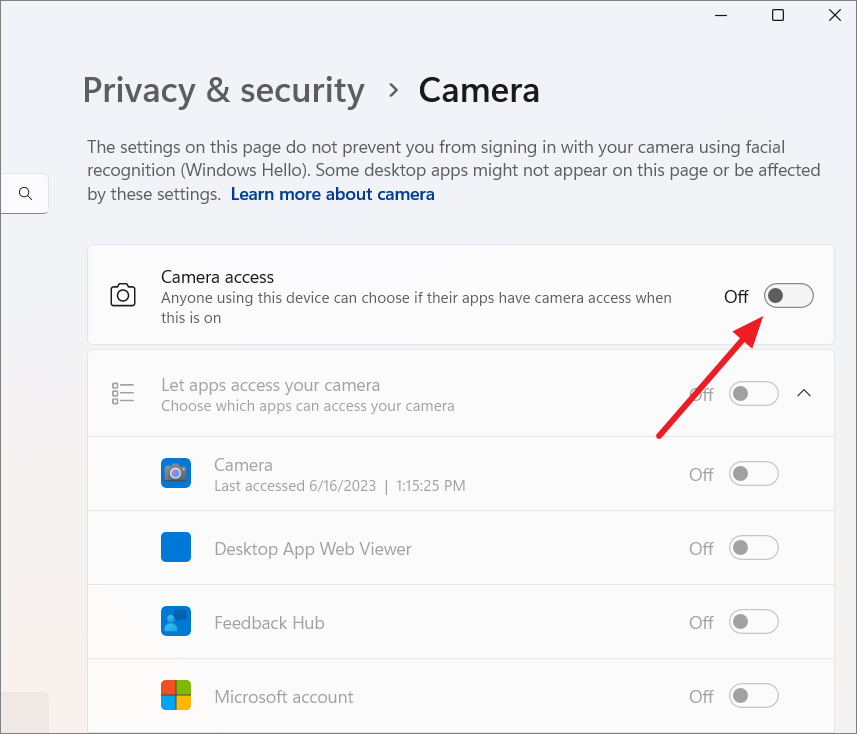
If you prefer to allow certain apps to use the camera, keep ‘Camera access’ enabled. Then, individually disable camera access for apps you don’t trust by toggling them off in the list below.
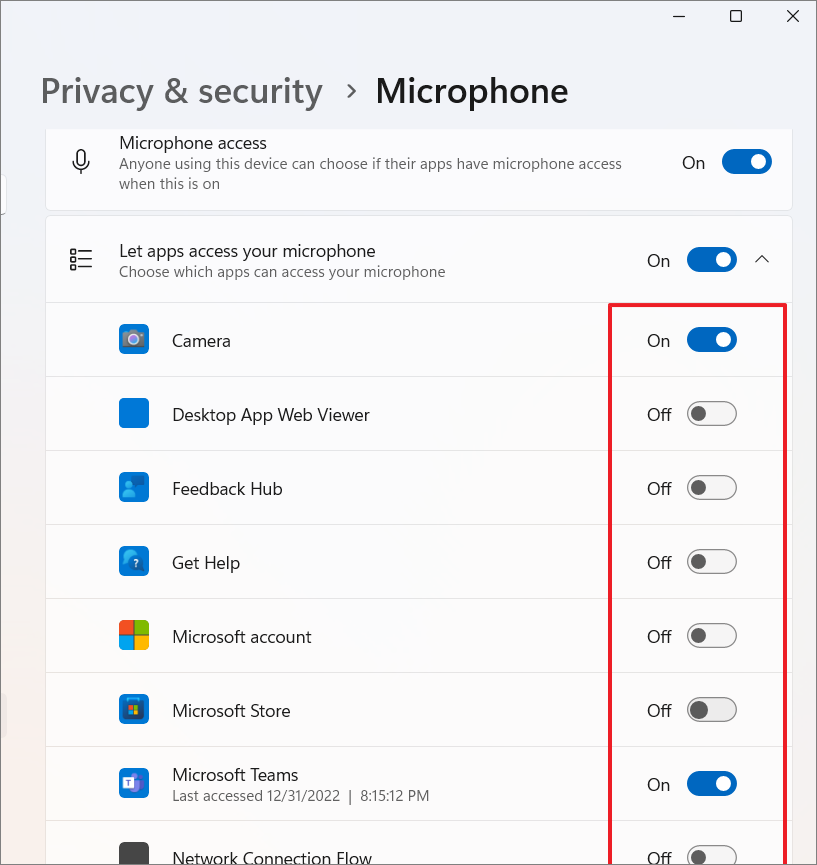
Repeat the same steps for the microphone by selecting ‘Microphone’ under ‘App permissions’ and adjusting the settings accordingly.
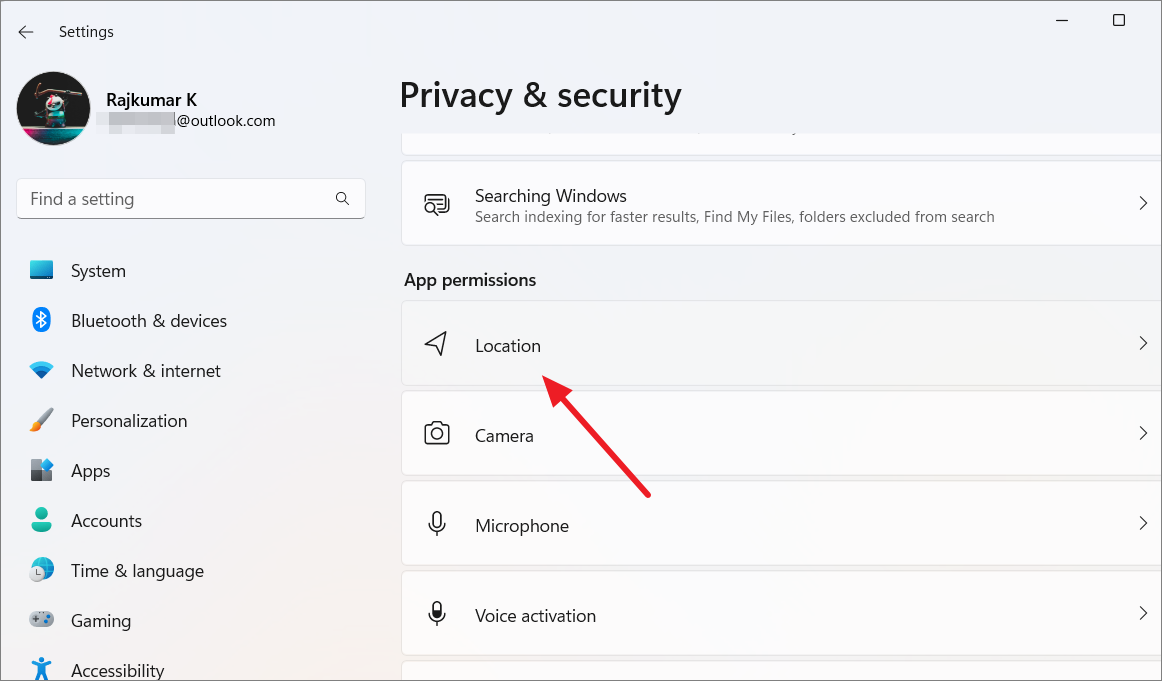
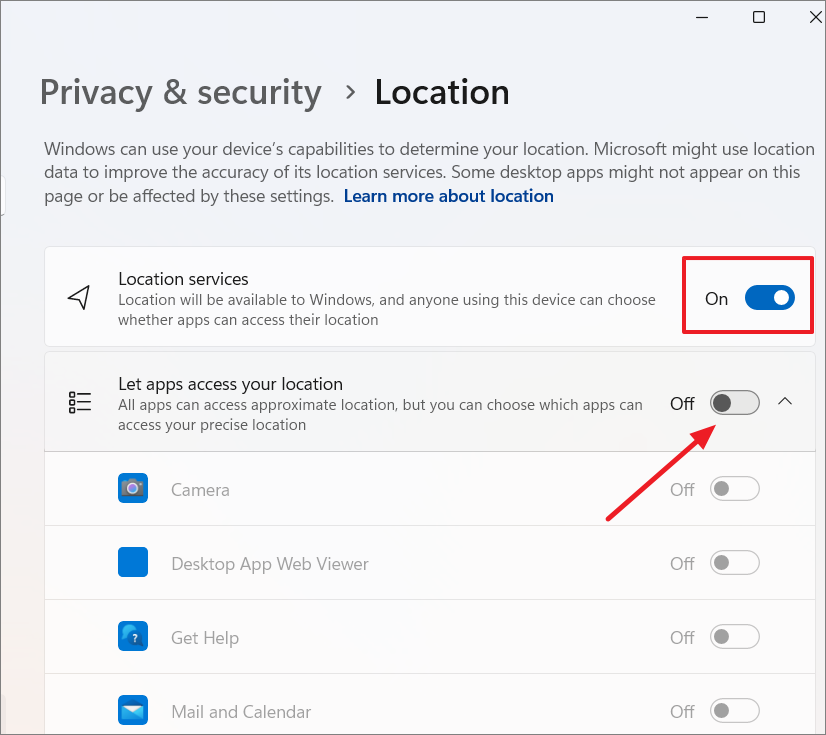
Disable Location Tracking
Windows and certain apps use your location to provide location-based services like local weather updates and map directions. If you’d rather keep your location private, you can turn off location tracking.
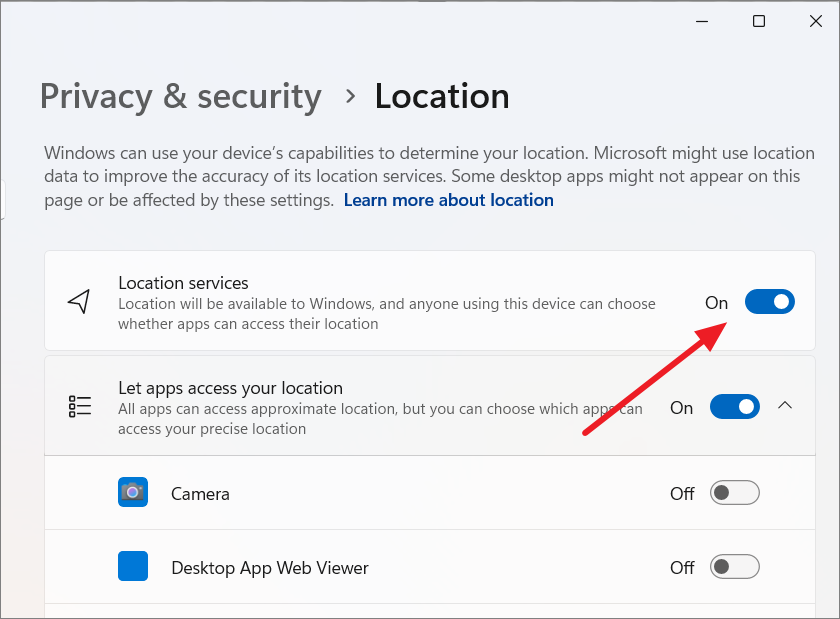
If you want Windows to retain the ability to locate your device in case it’s lost or stolen, leave ‘Location services’ on but disable ‘Let apps access your location’. This restricts apps from accessing your location while still allowing Windows to track your device.
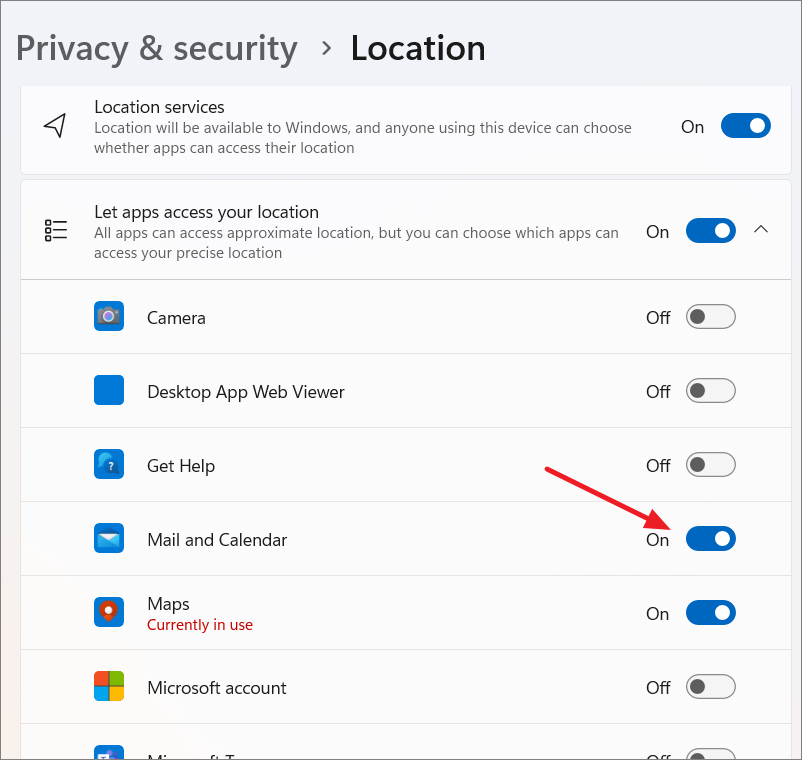
For apps that require location access to function correctly, like Maps or Weather, enable ‘Let apps access your location’ and then individually grant permission to trusted apps.
Review the list of apps and disable access for any that don’t require this permission.
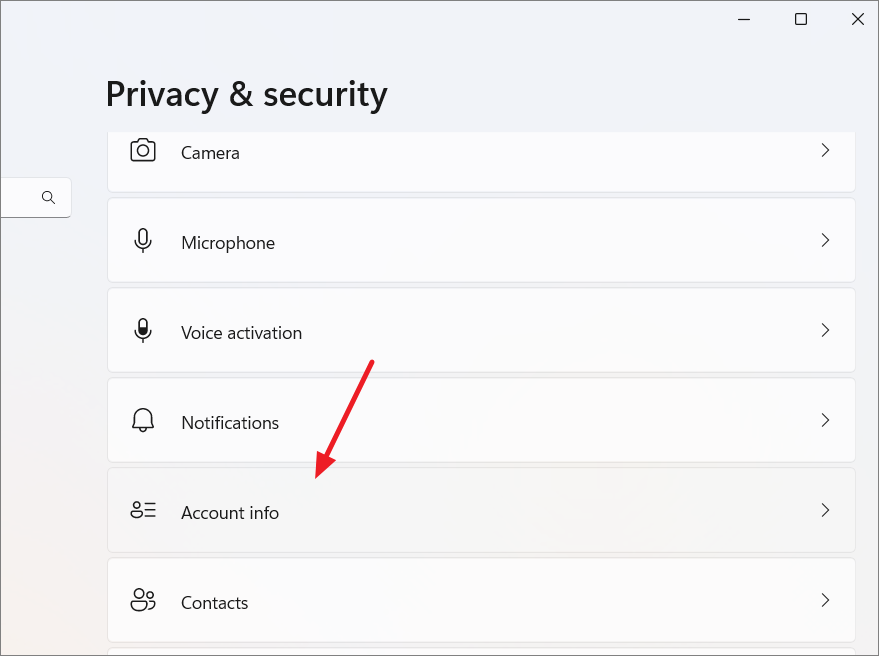
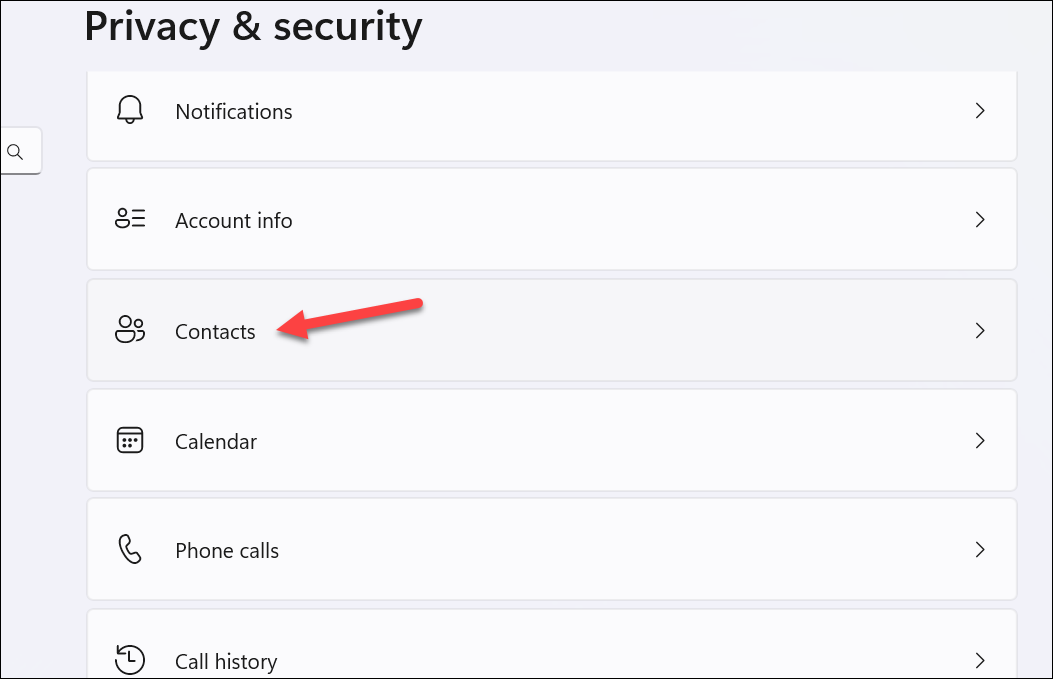
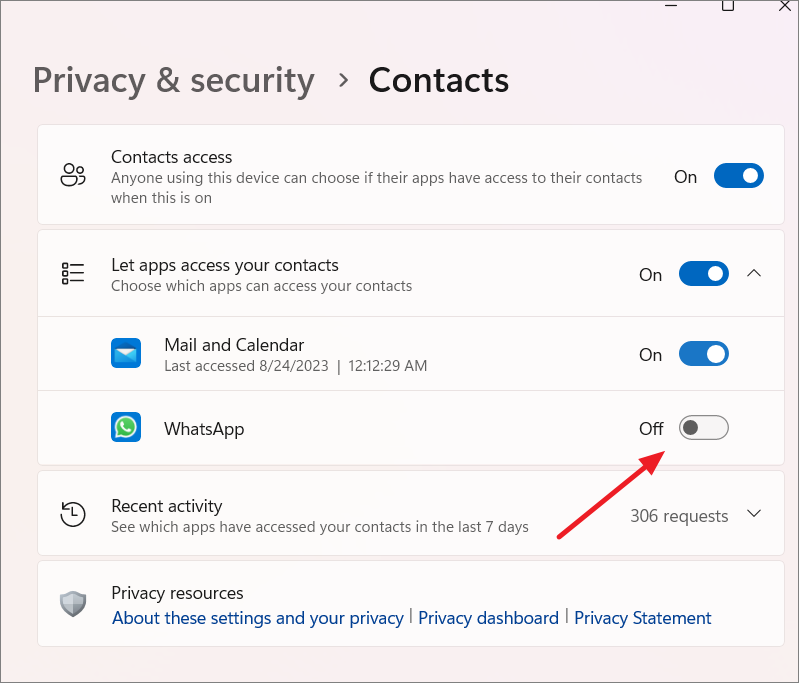
Adjust Calendar, Contact, Phone Calls, and Messaging Permissions
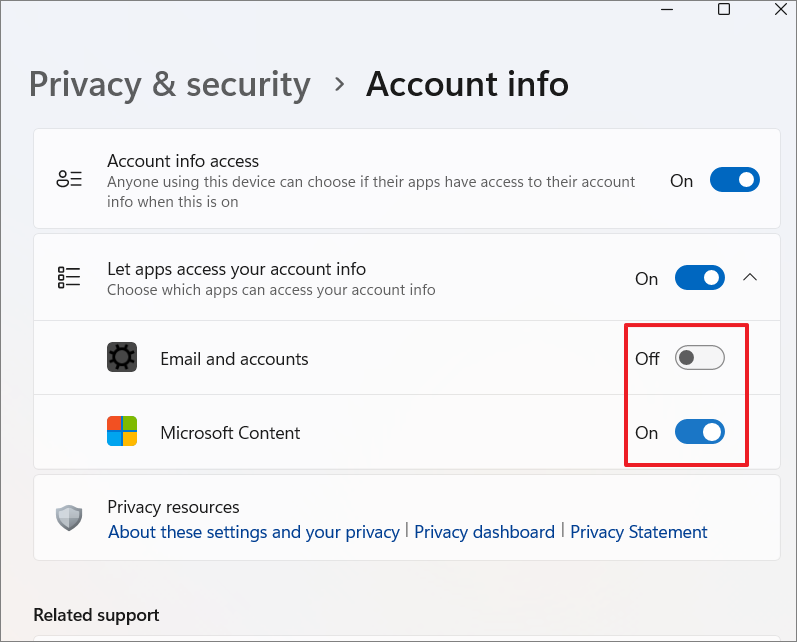
These permissions determine whether apps can access your calendar events, contacts, phone calls, and messages. It’s important to limit access to only those apps that genuinely need it.
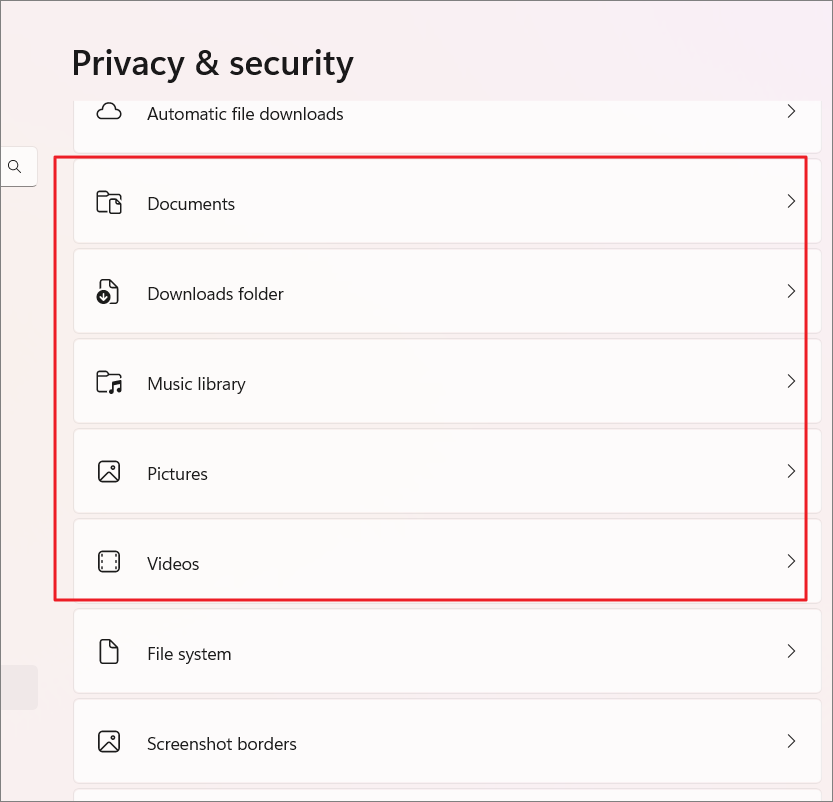
Adjust the settings to control app access to each folder as needed.
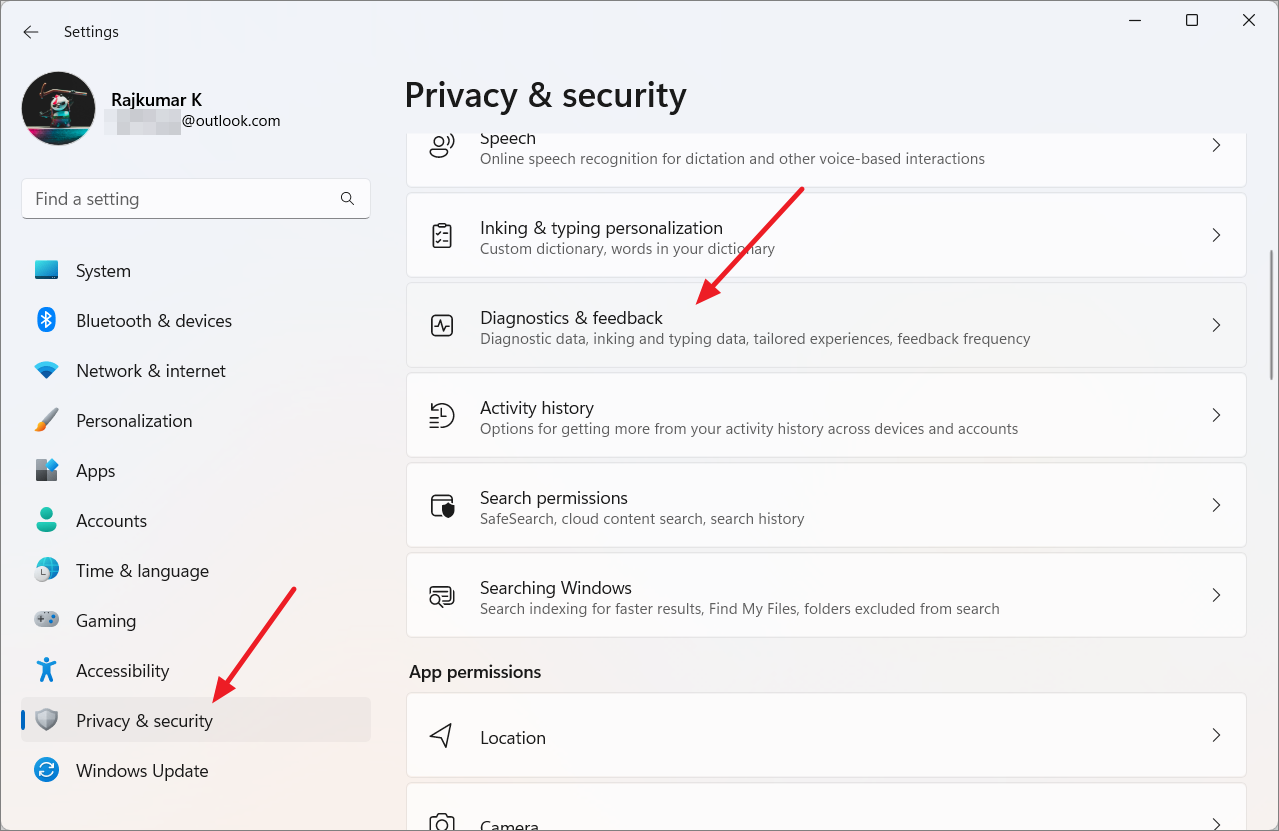
2. Disable Diagnostics and Feedback
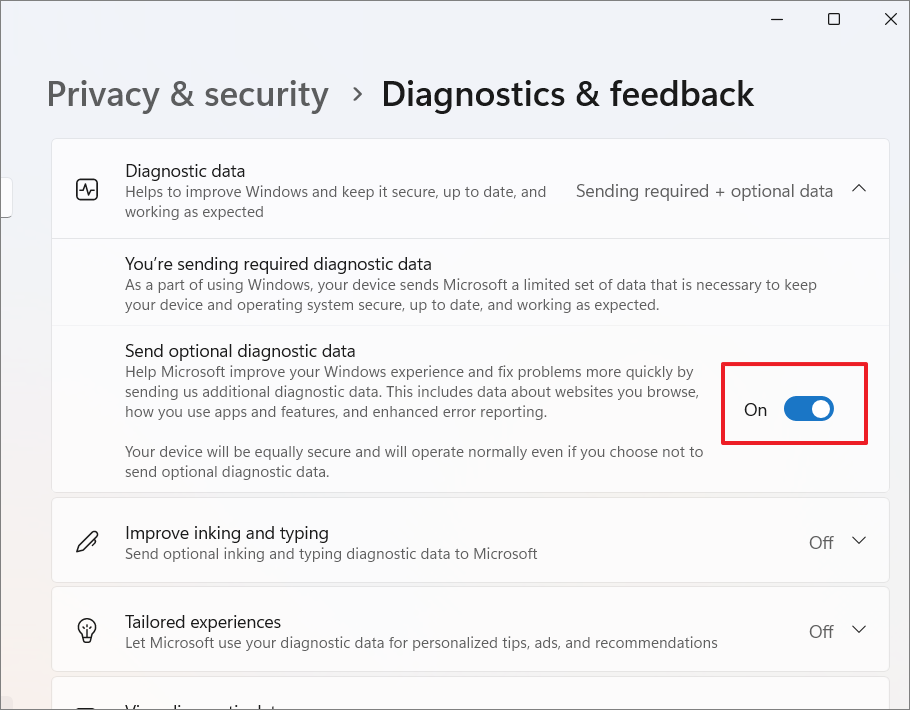
Windows 11 collects diagnostic data to improve user experience, but this includes information about websites you visit and apps you use. You can limit the data sent to Microsoft.
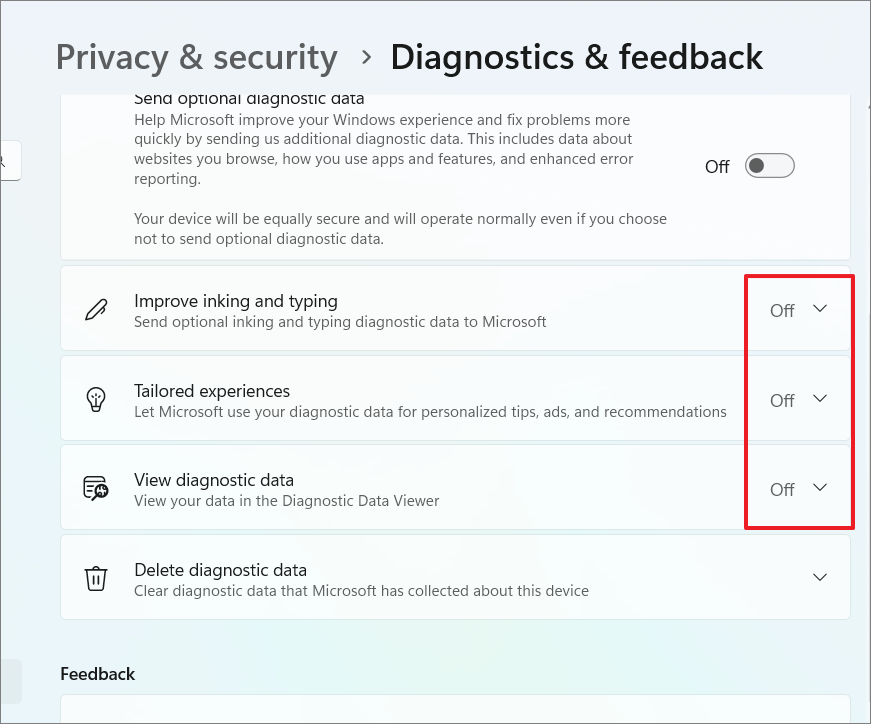
Also, disable ‘Improve inking and typing’, ‘Tailored experiences’, and ‘View diagnostic data’ to prevent additional data collection.
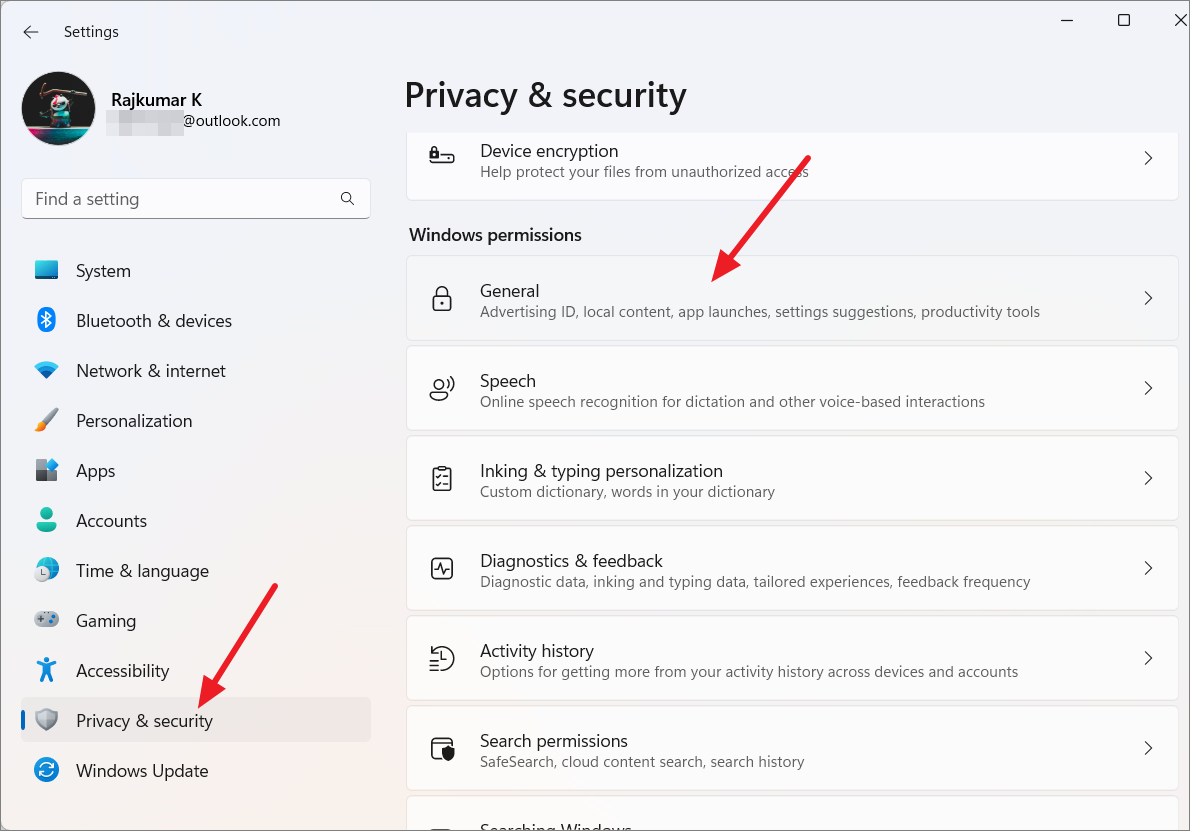
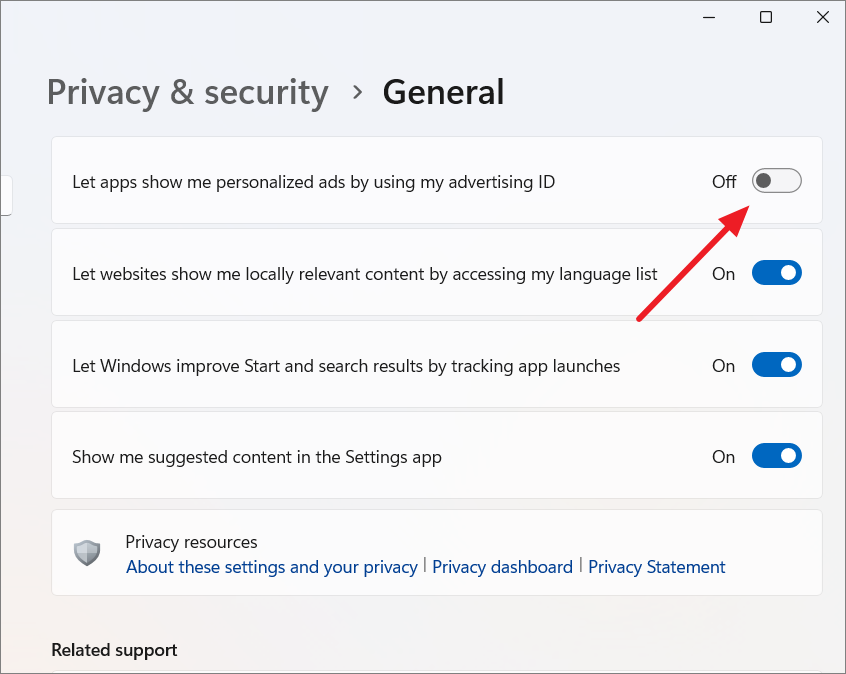
3. Turn Off Ad Tracking
Windows 11 uses an advertising ID to serve personalized ads by collecting data on your app usage and browsing habits. You can turn this off to enhance your privacy.
Disable the ‘Let apps show me personalized ads by using my advertising ID’ option.
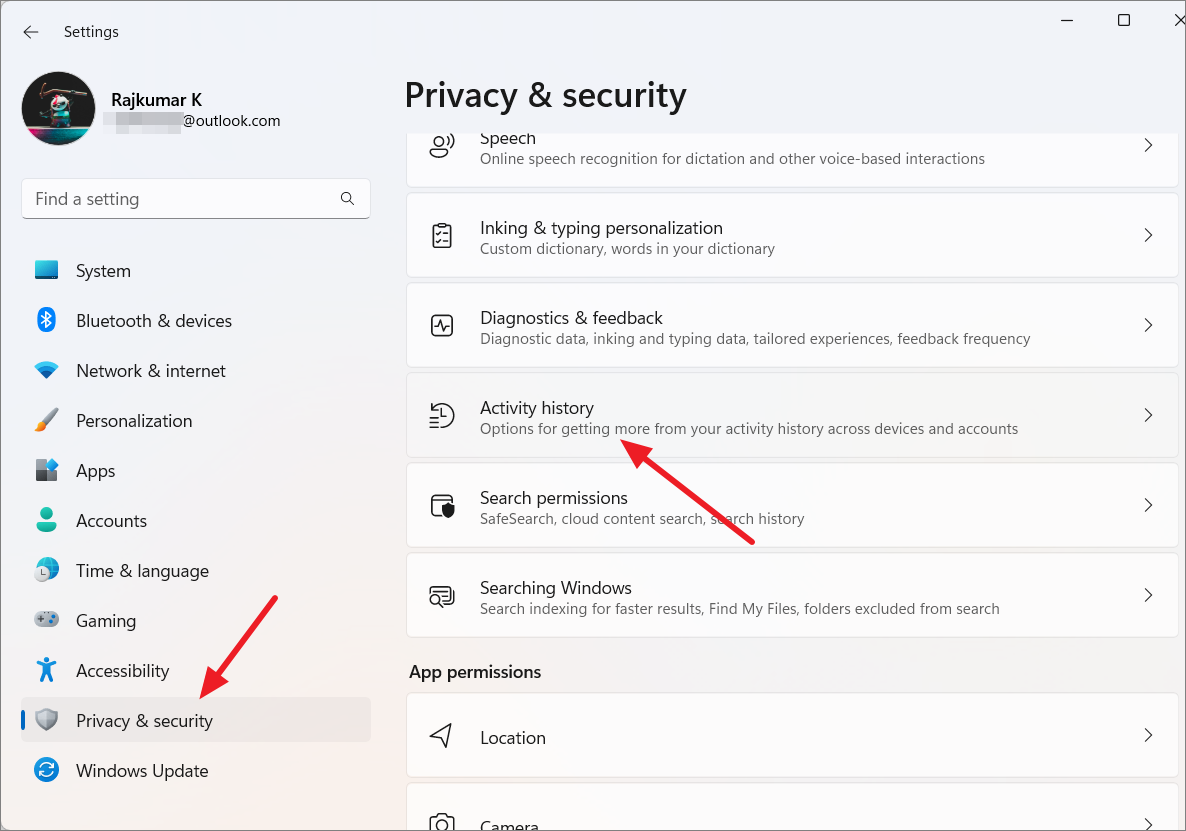
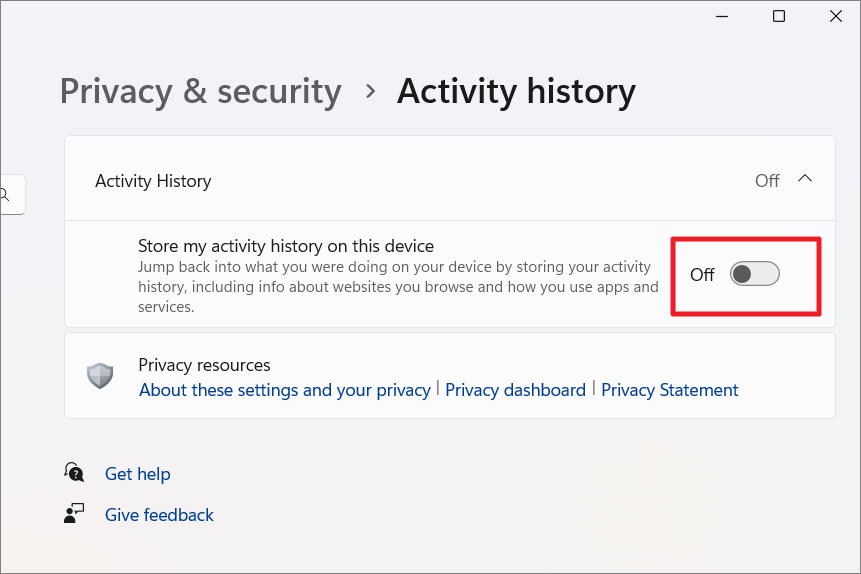
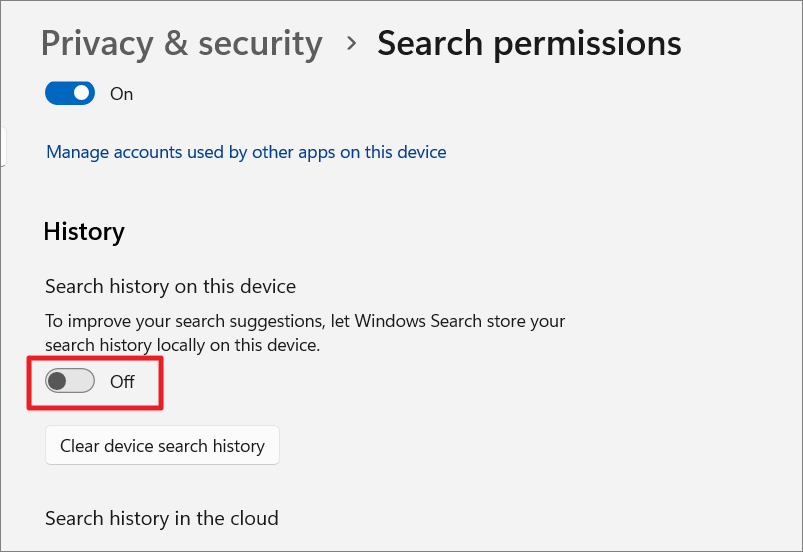
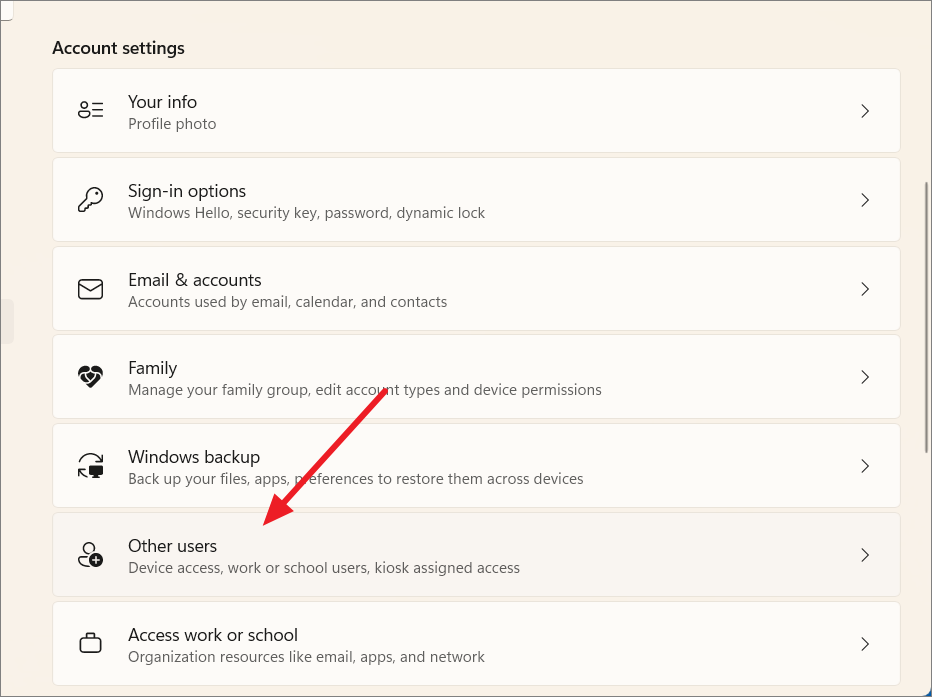
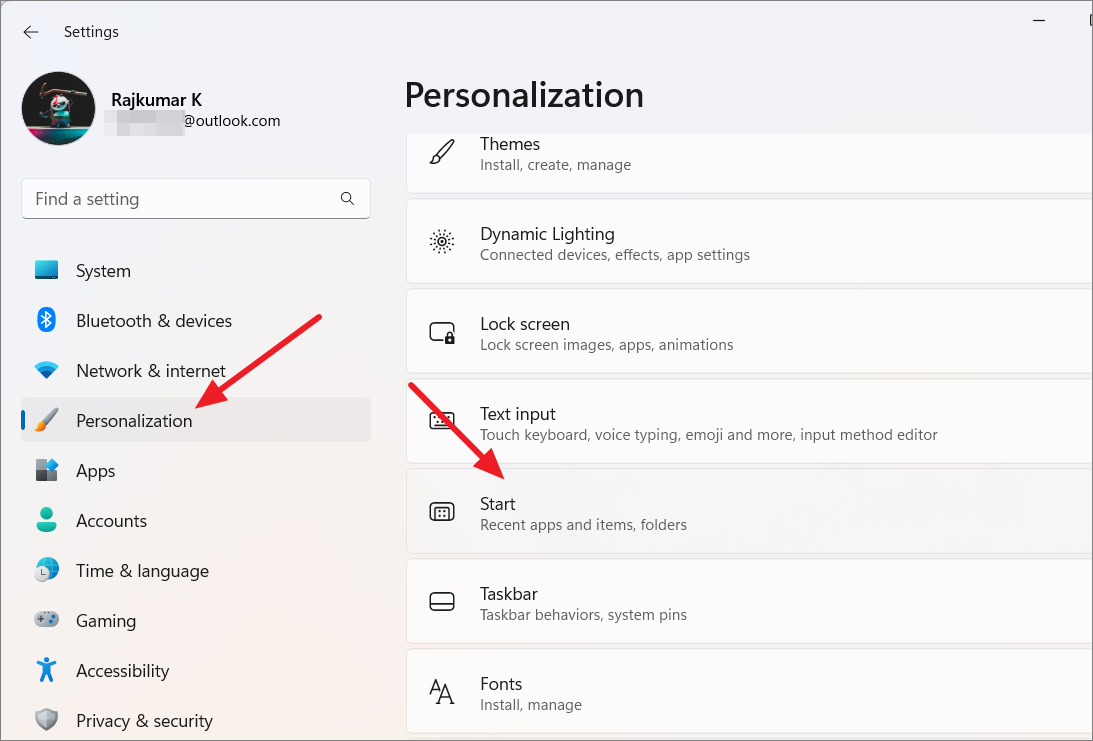
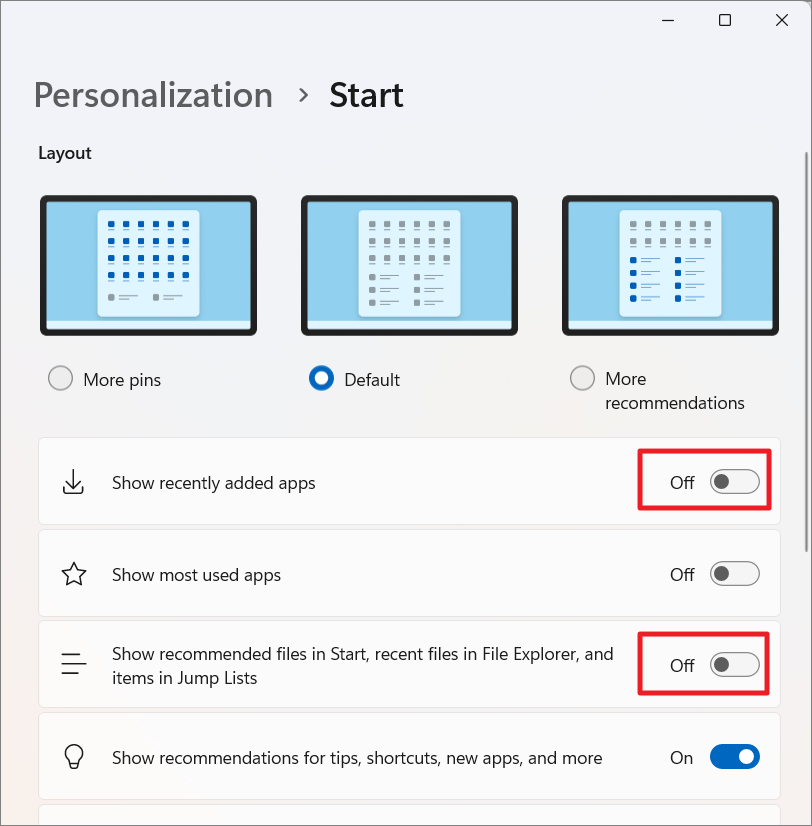
4. Turn Off Activity History
Activity History logs your actions on your device to provide personalized experiences. If you prefer to keep your activities private, you can disable this feature.
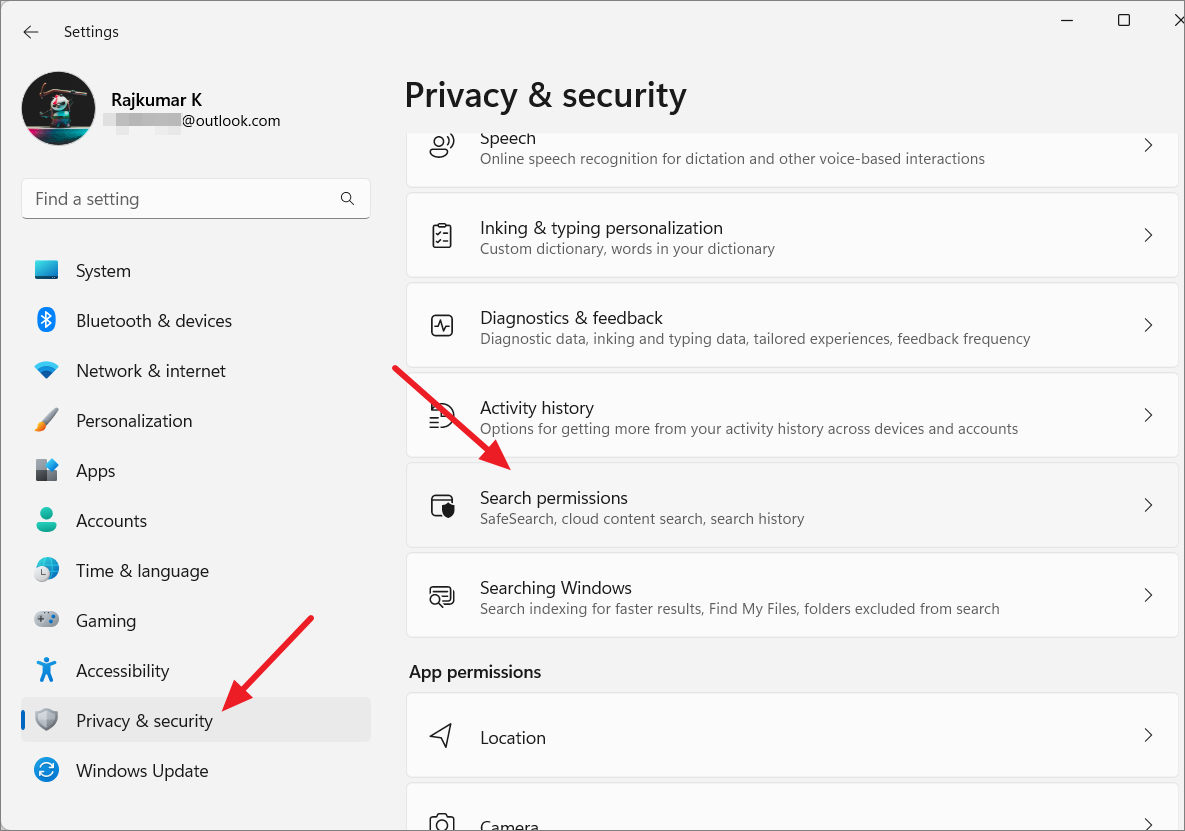
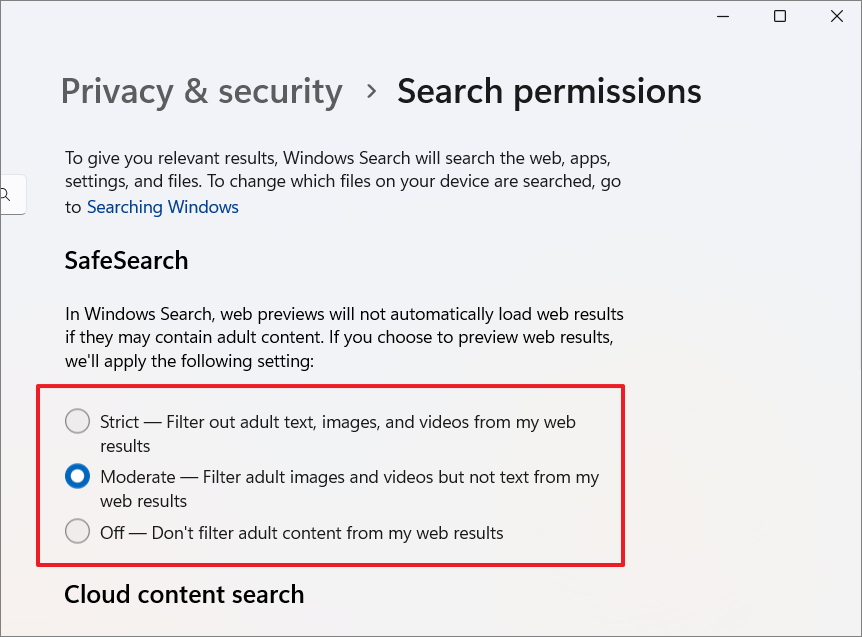
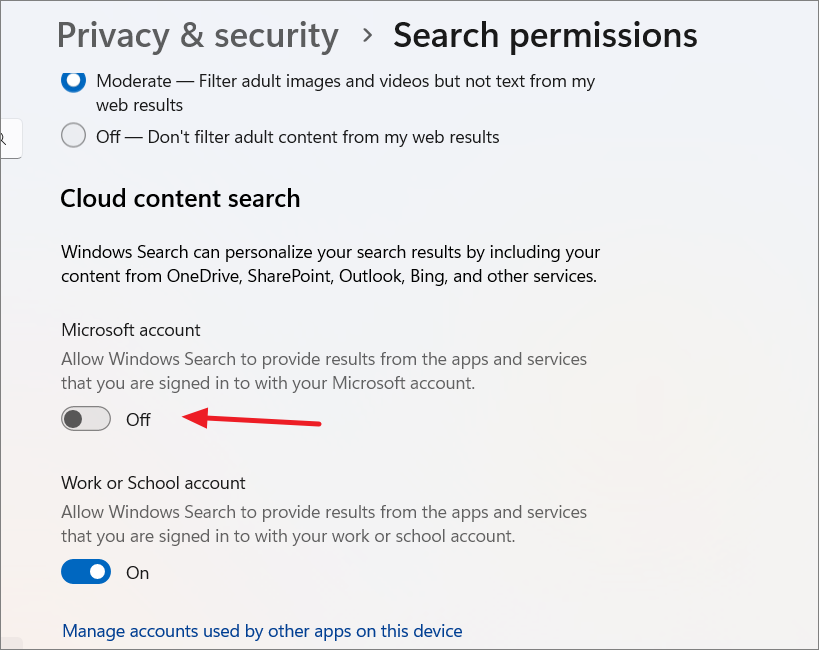
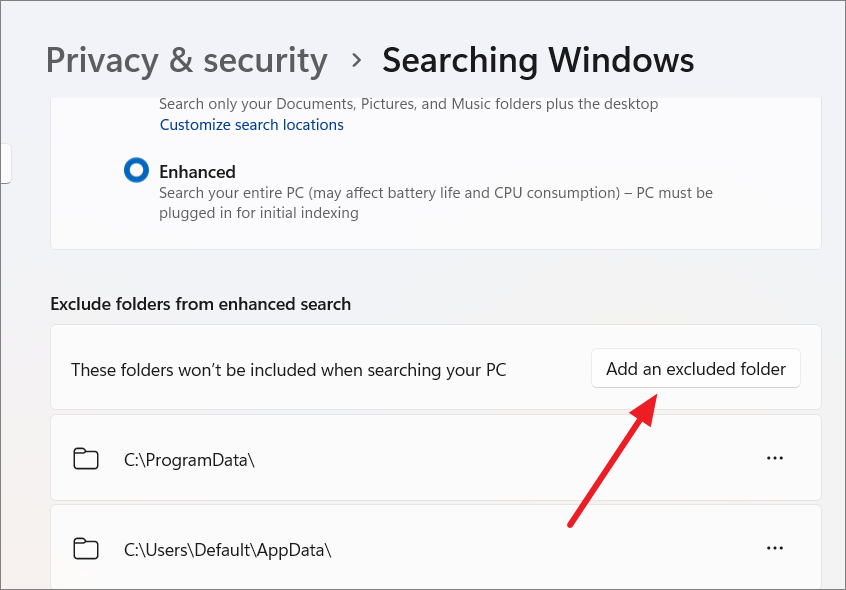
To limit search results to your device only, turn off the toggles under ‘Cloud content search’ for both ‘Microsoft account’ and ‘Work or school account’.
Navigate to the folder you want to exclude and click ‘Select Folder’.
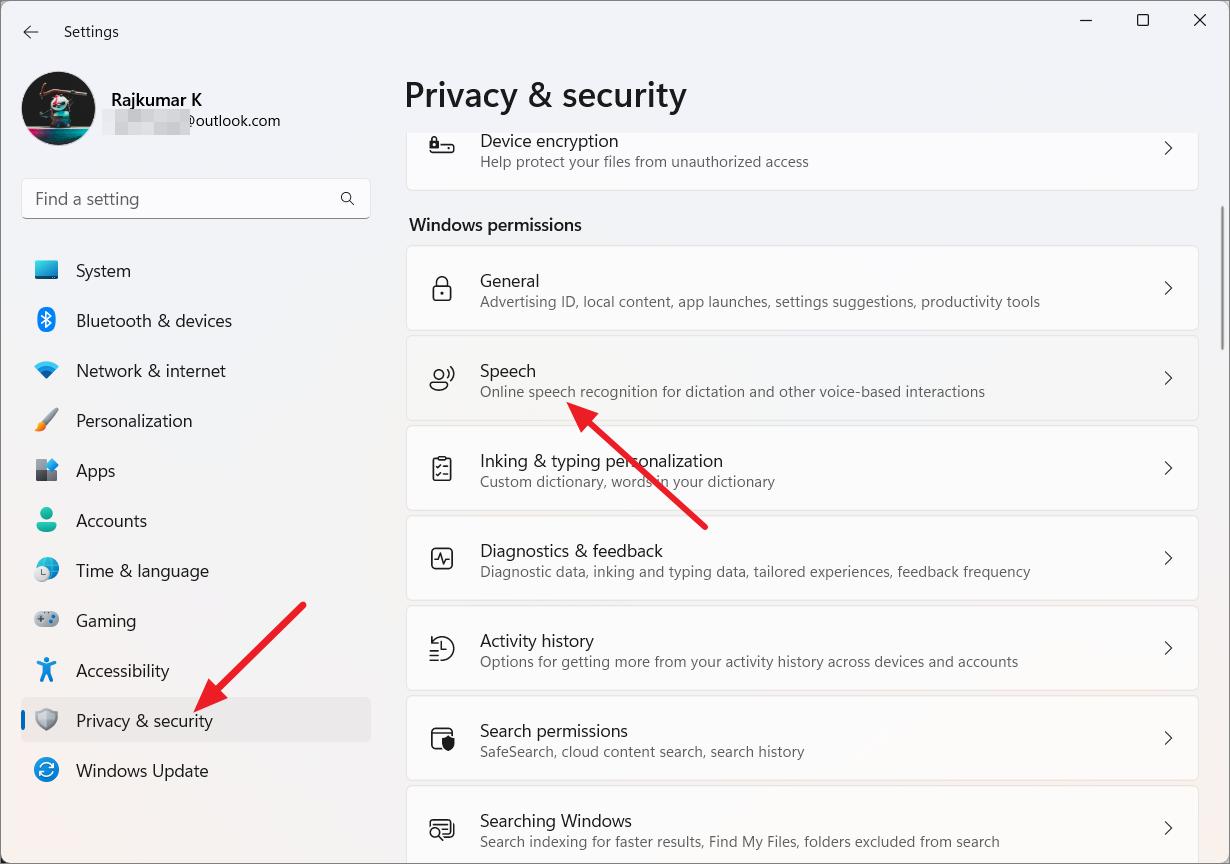
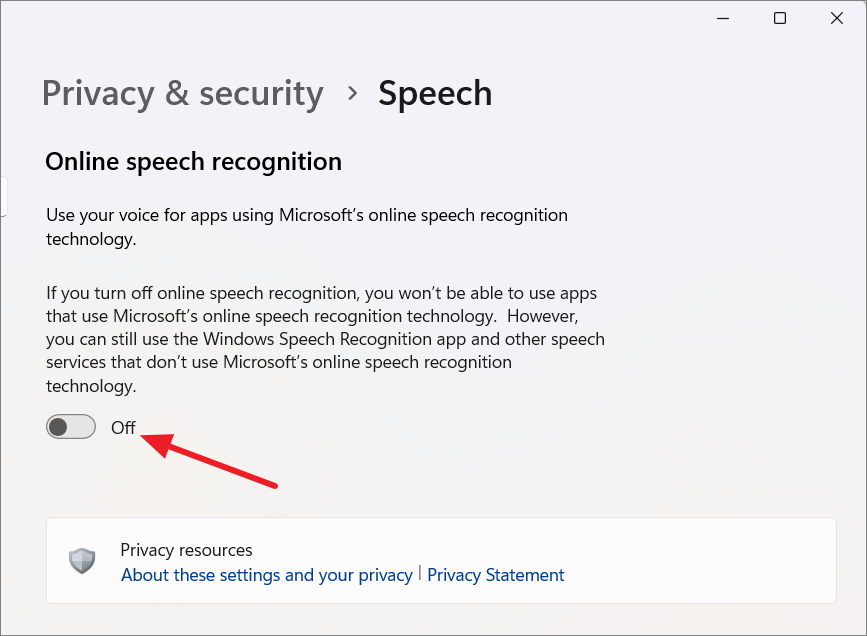
7. Turn Off Online Speech Recognition
When enabled, Online Speech Recognition sends your voice data to Microsoft servers to improve speech recognition services. If you don’t use voice features, you can disable this setting.
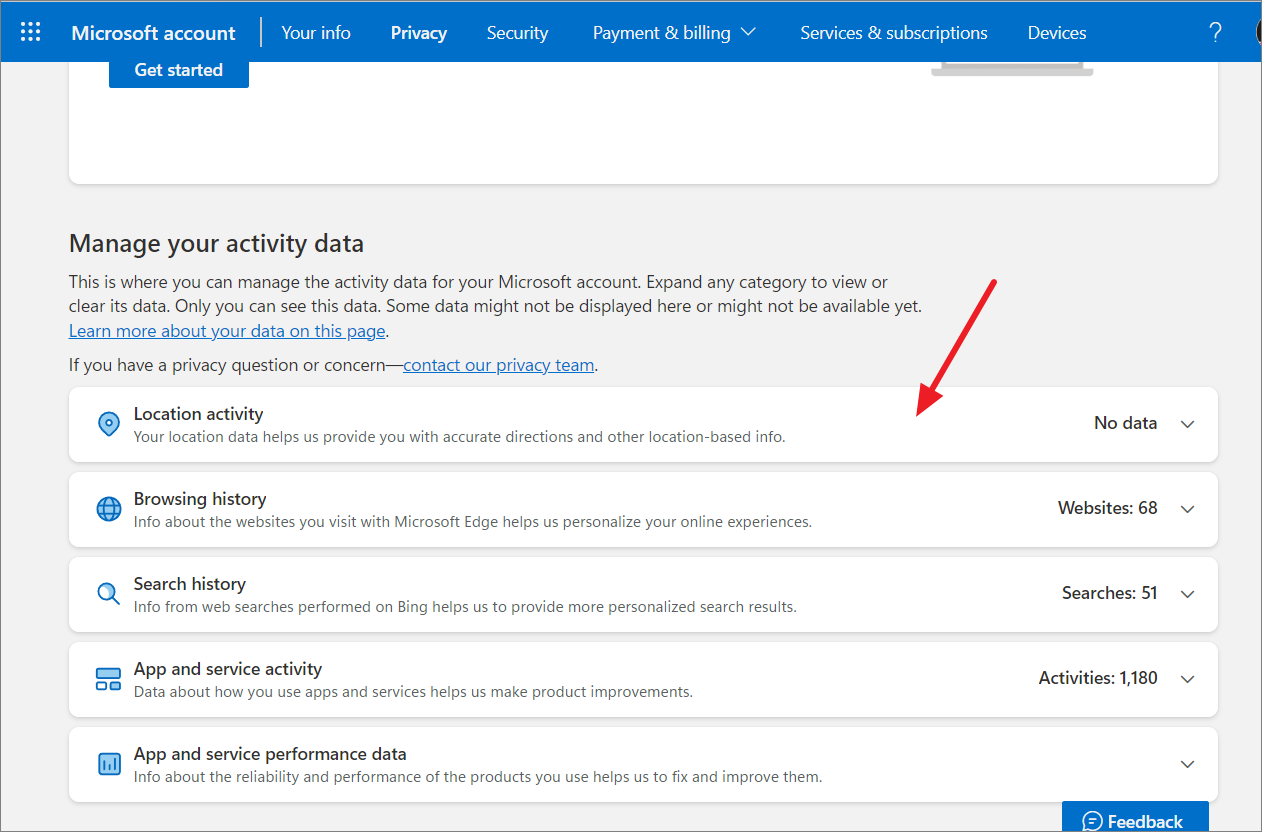
Expand each category like ‘Location activity’, ‘Browsing history’, ‘Search history’, ‘App and service activity’, and ‘App and service performance data’. Click ‘Clear’ to delete the data in each category.
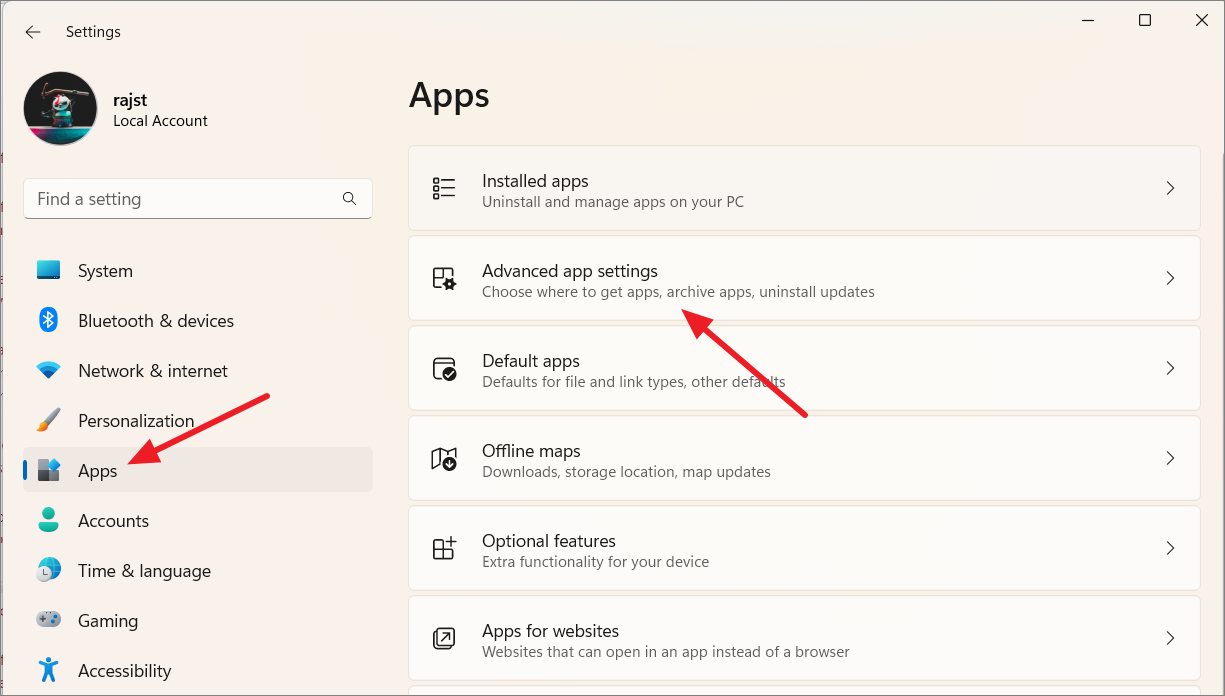
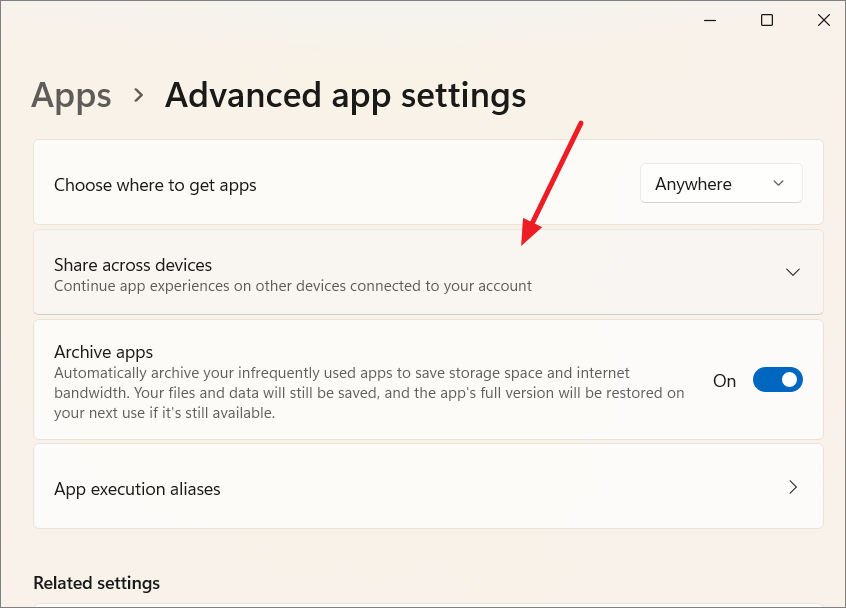
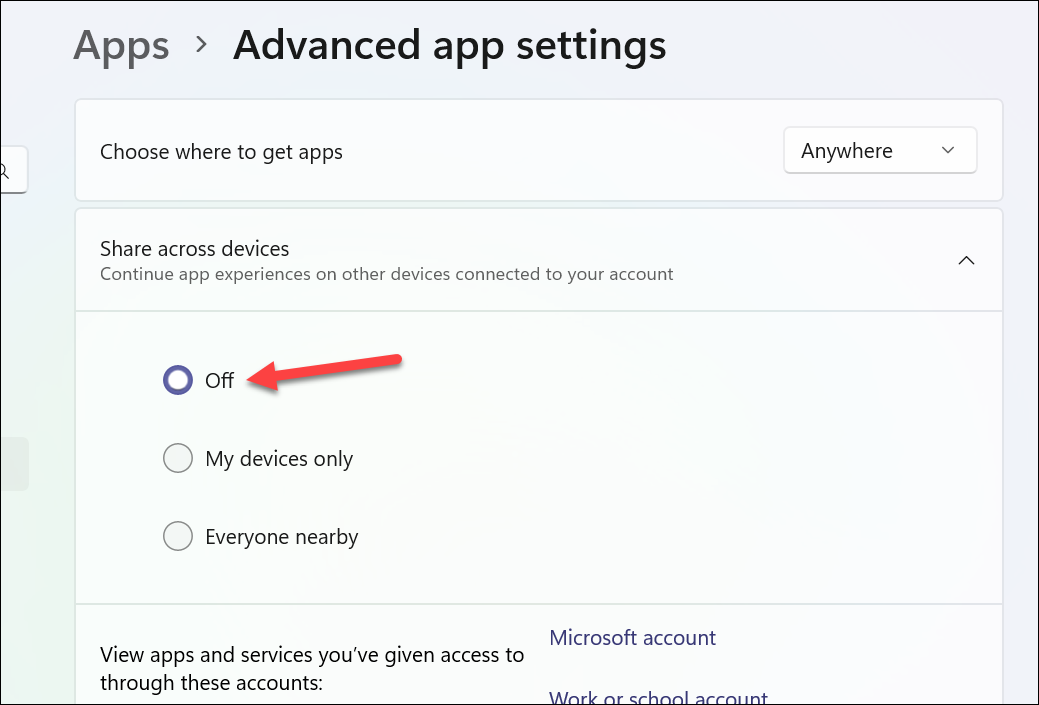
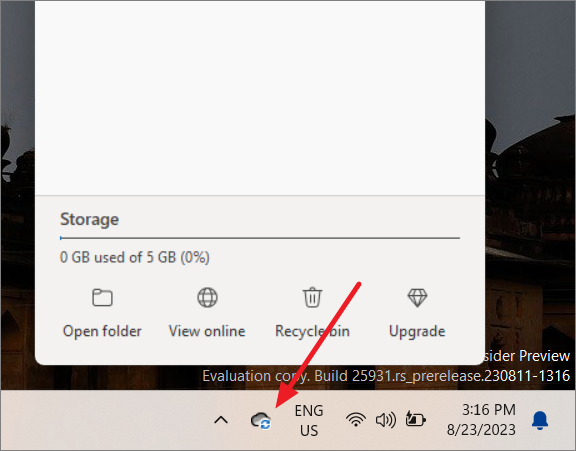
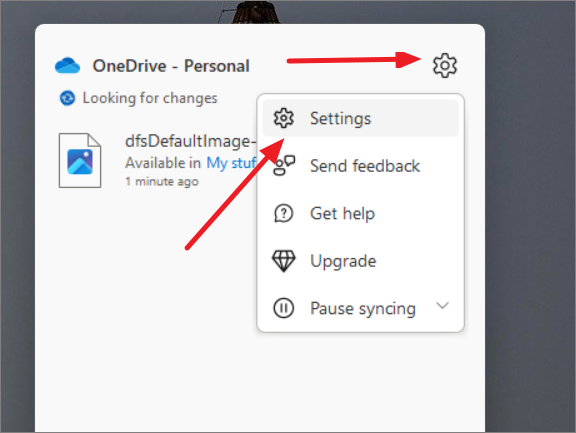
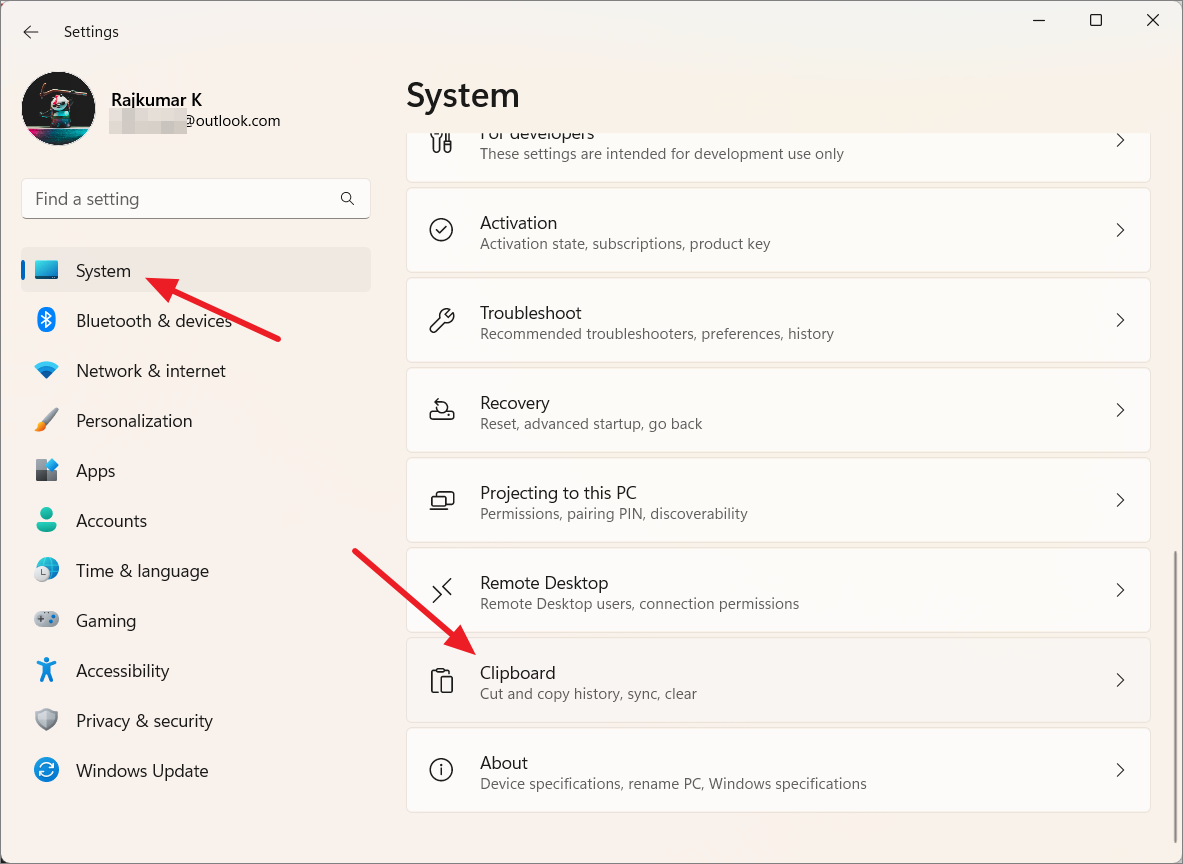
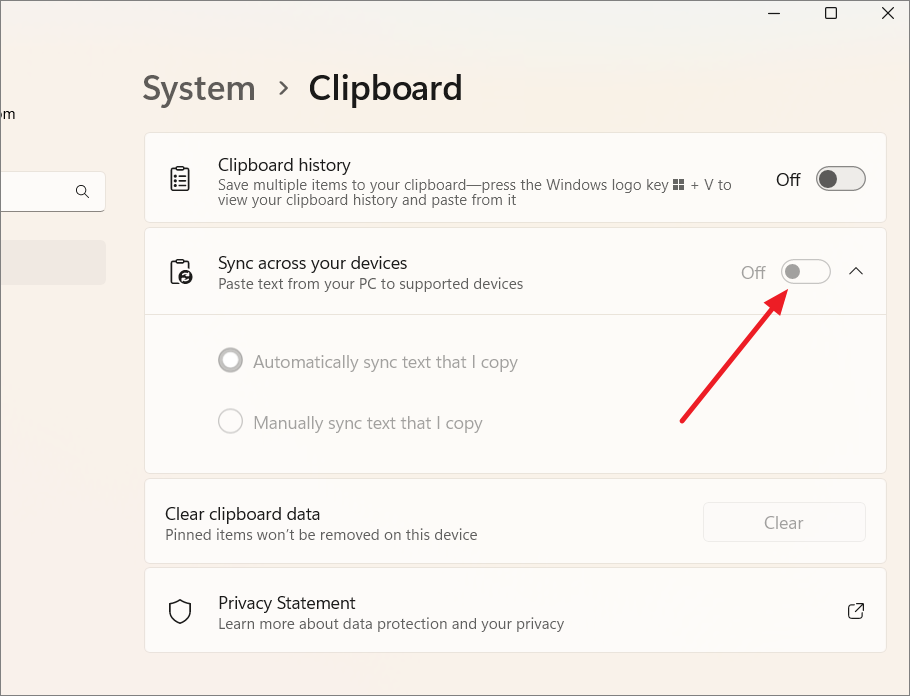
14. Disable Clipboard Syncing
Clipboard syncing shares your copied content across devices, which may include sensitive information.
Connect to the VPN server to encrypt your internet traffic and protect your online activities.
By taking these steps, you can significantly enhance your privacy while using Windows 11. While it’s challenging to achieve complete privacy in the digital age, these measures will help you maintain greater control over your personal information.