Canva isn’t just great for designing a little something for your website or social media platforms. Although a lot of people are using Canva to produce digital content, it has become just as hot a destination for designing things for print.
Whether you want to print business cards, posters, flyers, T-shirts, cards, wedding invitations, etc., Canva can churn up great designs for you in no time. You can even use their printing services to deliver the printed products straight to your home.
But whether you’re using Canva Print or some other printer, you’re still going to be the one designing them. And when designing for print, you need to be careful that you don’t lose any of your design elements while printing. That’s where margins come into play.
What are Margins in Canva Designs?
The margins designate a safe area in your design. It doesn’t mean all elements beyond the margin will surely get cut from your design while printing. But it does mean that all elements inside the margin never will. So, any important information that your design carries shouldn’t be beyond these margins.
These margins are a part of the editor and not your design. So, they’ll just be there during the design process. And you can rest assured that they won’t ruin your final design, whether you’re printing it or downloading or sharing it.
All types of accounts can use margins in Canva. So whether you’re a Canva Free, Pro, Enterprise, or Non-Profit user, this tool is available at your disposal. Margins are also available for design sizes.
How to Turn on the Margins?
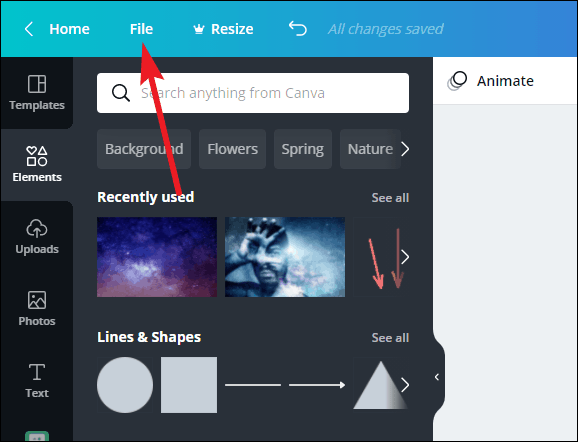
To use margins in Canva, create or open an existing design. Then, go to the ‘File’ option from the menu above the editor.
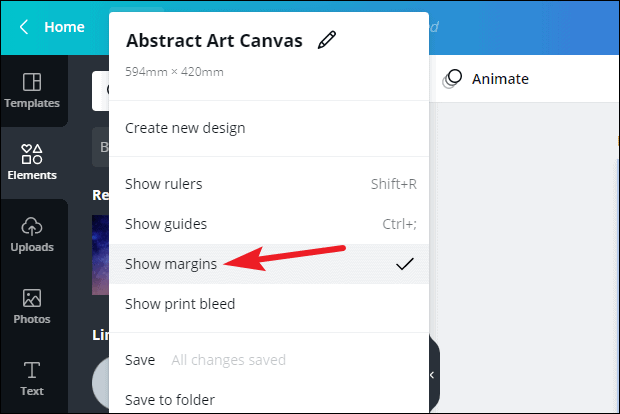
Then, click the ‘Show margins’ option to select it. A checkmark will appear to indicate that the option is selected.
A border of broken lines will appear on your design page. If any of the important elements are outside these margins, edit and readjust your design to make sure they’re safe and snug inside them. So, basically, text, infographics, or any other important design elements should be inside these safety lines.

But you can take a little leeway with other design elements that are just there for aesthetic reasons. Because as mentioned before, design elements outside these margins don’t necessarily get cut while printing. But they sure are in the risk zone.
You have to turn on margins for each design specifically as they are never on automatically. You can also use margins while creating digital content to have a guide to adhere to. Margins can help keep things streamlined and save you from messy designs.
Can You Change the Margin Size?
The margins in Canva are not editable as they are your safety guides for error-free printing. But if your printer recommends a different safety area than Canva’s margins (which many printers do) or you want a custom margin for your digital designs, you can use rulers or guides in Canva.
Along with margins, Canva also has tools like Bleed and Crop marks to ensure error-free printing. Using these tools, you can make sure that your prints come out professional and deliberate.