Microsoft Designer is Microsoft's new AI-powered graphics design tool that helps you create stunning visuals in minutes, such as social media posts, digital postcards, presentations, and flyers.
It is now integrated with Teams chat as well, so you can easily share your designs with your team members and get feedback in real-time. Powered by DALL-E 2, Microsoft Designer enables you to create a wide range of designs based on your description.
Although the Microsoft Designer integrated tool in Teams chat lacks most of the features in the Designer web or PC app, it can still quickly create professional-looking graphic designs from text input and images.
If you want to take full advantage of Designer's AI options and features, check out our detailed guide on how to use the Microsoft Designer web and PC app.

Using Microsoft Designer in Teams Chat
Microsoft Designer in Teams Chat is a powerful tool that can help you create more visually appealing and effective Teams chats.
By following these steps, you can easily use Microsoft Designer in Teams chat to share your designs with your team.
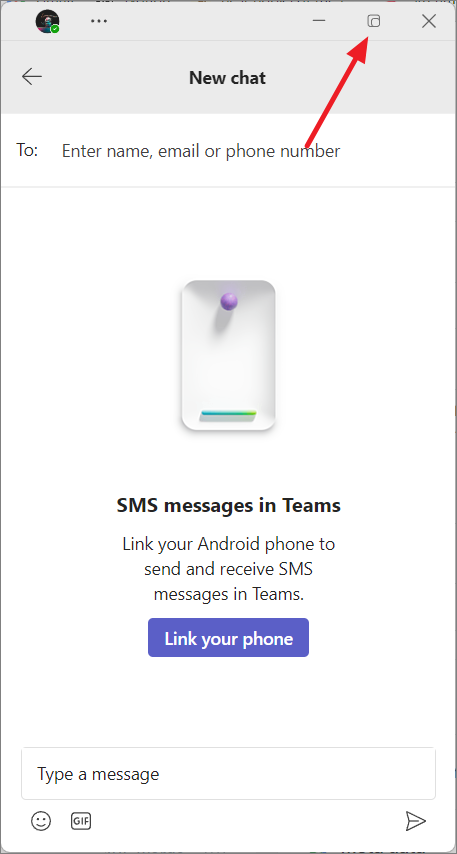
- First, launch your Microsoft Teams app on your computer. If the Teams app opens in a minimized window like this one, click the 'Maximize' button to open the app in full widow.
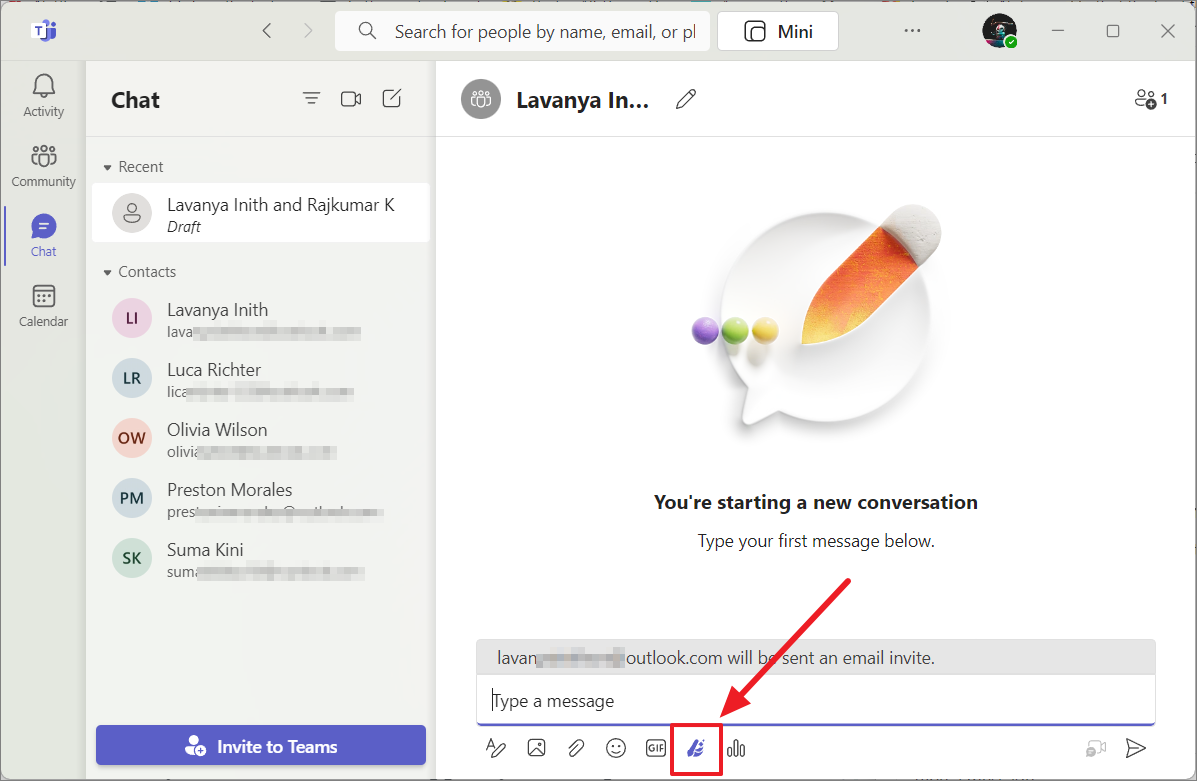
- Now, go to the chat where you want to use Designer and click the 'Designer' (brash icon) logo under the message box.
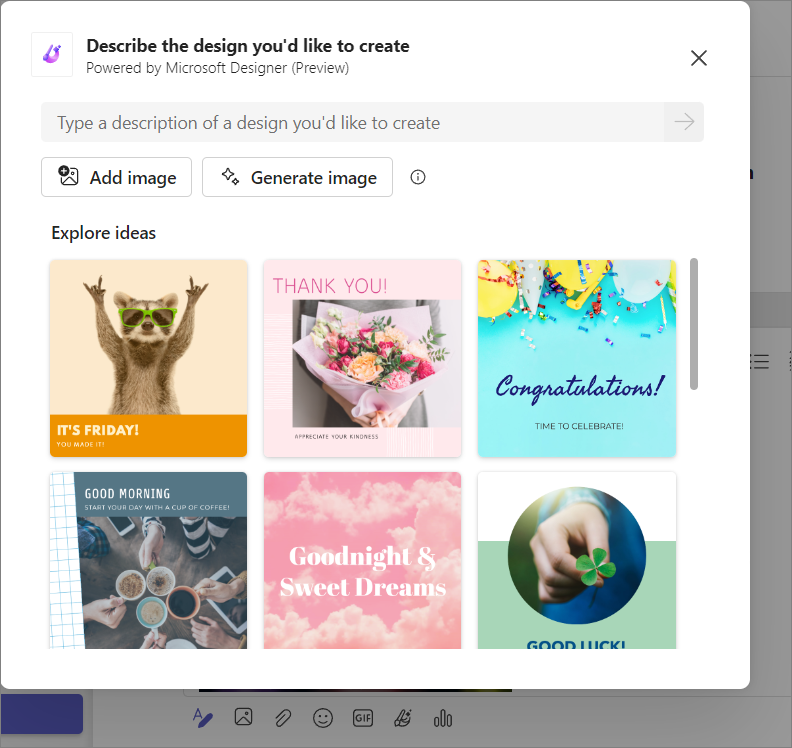
- The designer will open a new window, displaying a list of sample designs with prompts that you can try.
- When you hover over a design, you will see a description or prompt for that image that you can use or modify to create your own designs. Select a sample prompt or type a description for the design you want to create and click the purple arrow button (Submit).
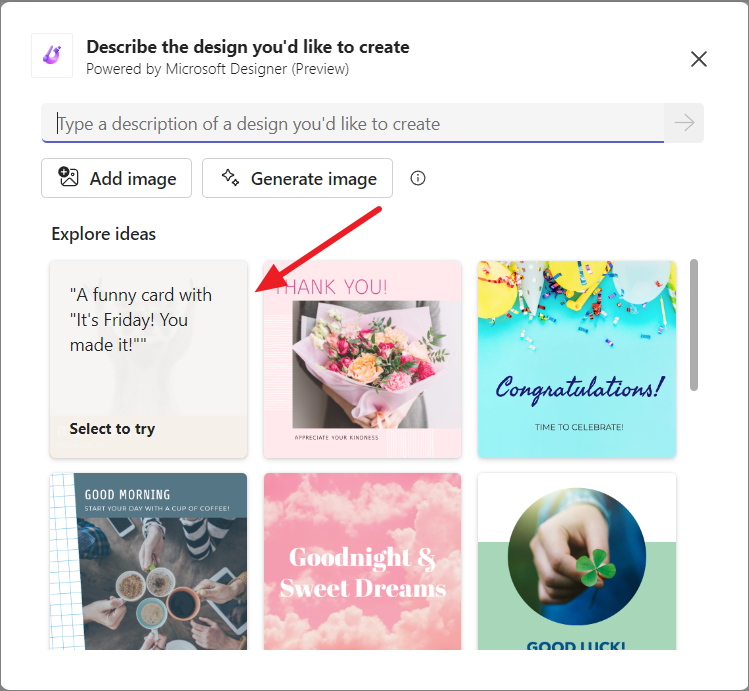
- When you select a sample design or enter a description, the designer will load a list of designs. For example, if you select a funny poster with the message "It's Friday! You made it.", the designer will generate a list of graphics created with the same prompt.
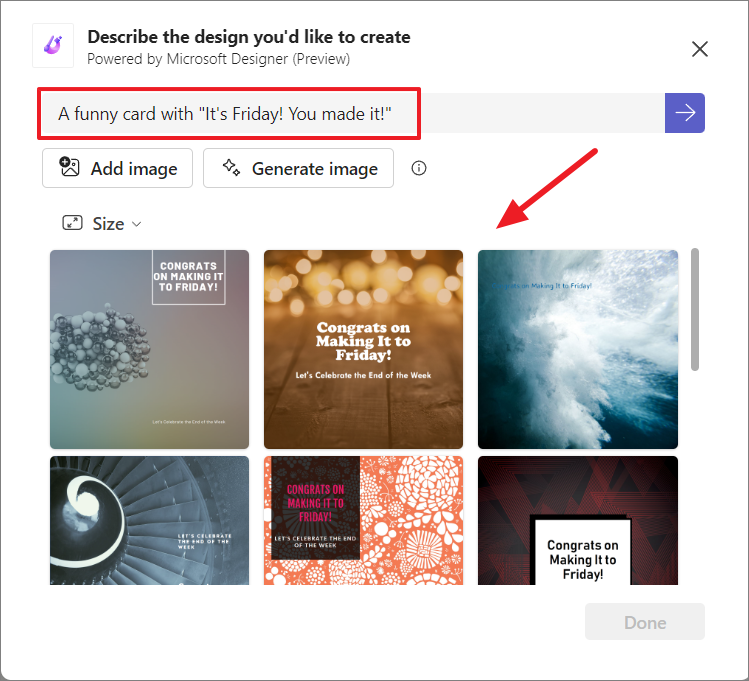
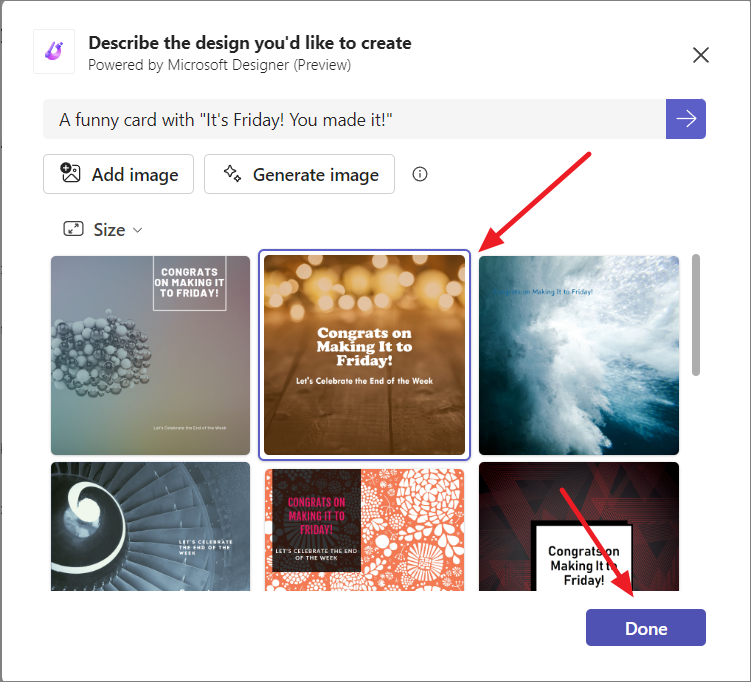
- If you're stuck, you can use these prompts library for ideas. It's normal to feel overwhelmed when you're first learning a new tool, so don't be afraid to browse through the prompts to see what different prompts can do. If you like a design, select it and click 'Done'.
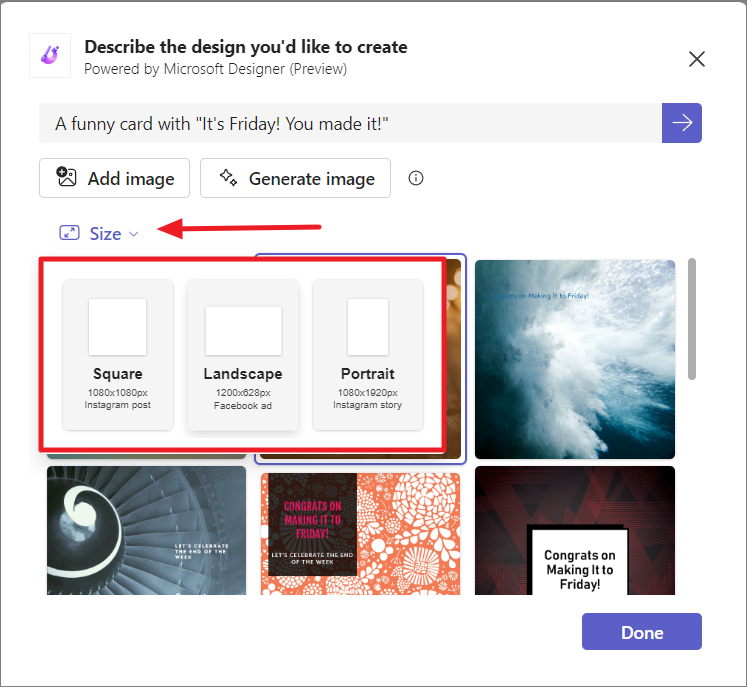
- By default, all designs are generated in a square size. If you wish to change the size, click the 'Size' drop-down menu and choose a size (square, landscape, or portrait).
Adding Your Own Image to Create Designs in Teams
Besides texts, you can also supply your own images to Microsoft Designer makes your designs more visually appealing, communicative, and professional. By adding your own image to the Designer, you can create personalized social media posts, infographics, product photos, illustrations, invitations, etc.
For example, if you want to create a birthday wish card for one of your teammates with their picture. Here's how to do that:
- Once the Designer window opens in the Team, click the 'Add image' button.
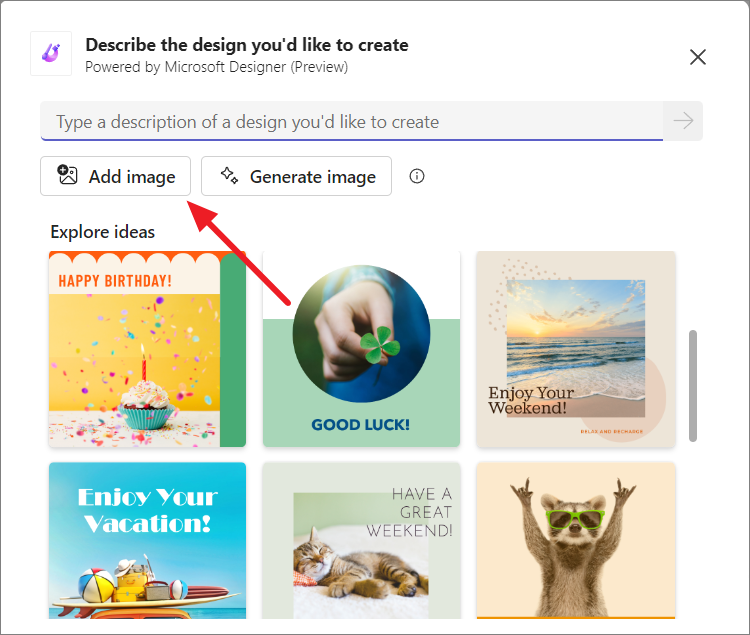
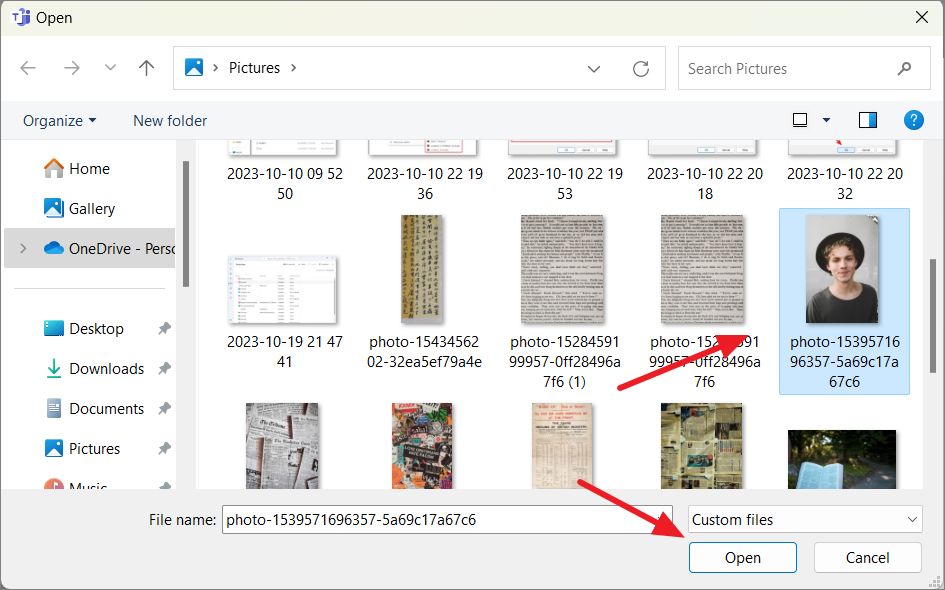
- Select your image from your computer and click 'Open'.
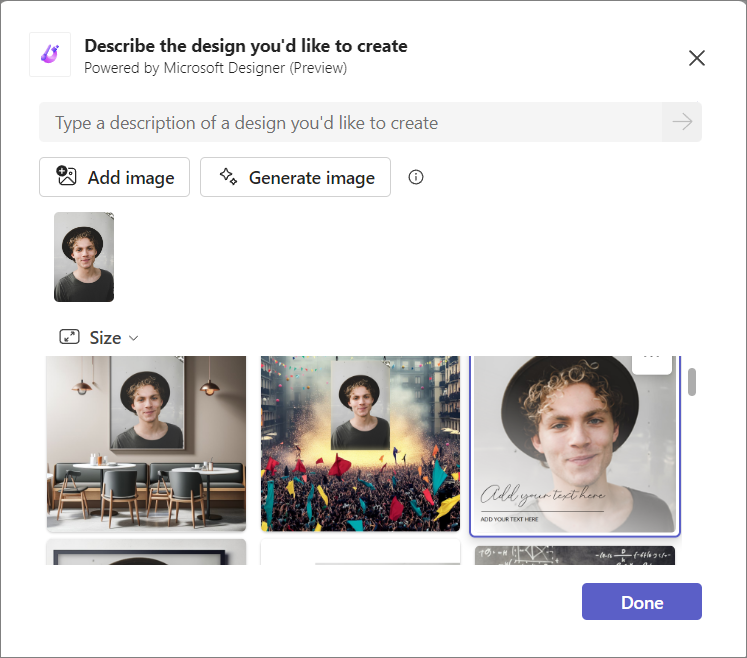
- Once you add an image, the tool will start showing sample designs that incorporate the selected image. If you like one, you can select it and click 'Done'.
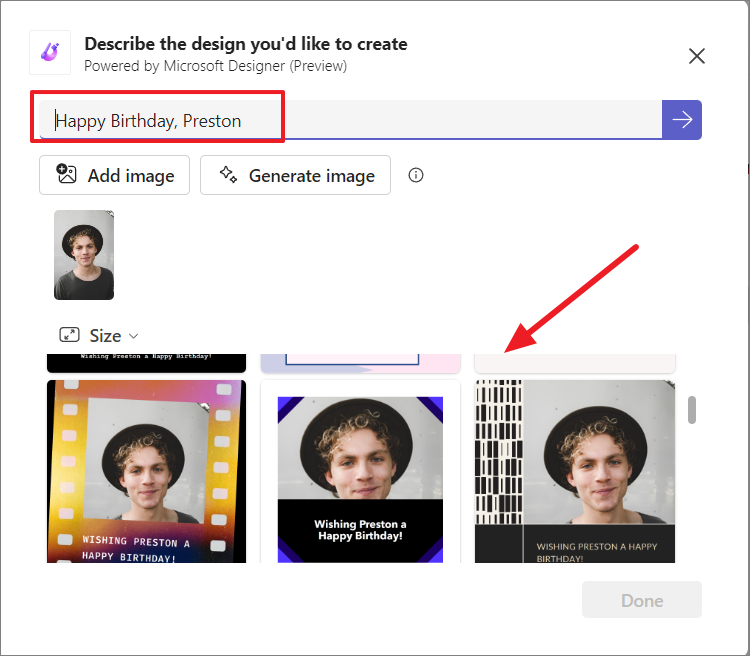
- However, you can also add a text or description for the design you'd like to create with the given image and click the 'Submit' button (purple arrow). For example, you could enter "Happy Birthday, Preston" to design a birthday card. The Designer will produce several birthday cards with the image you added. Select the one you like and click 'Done'.
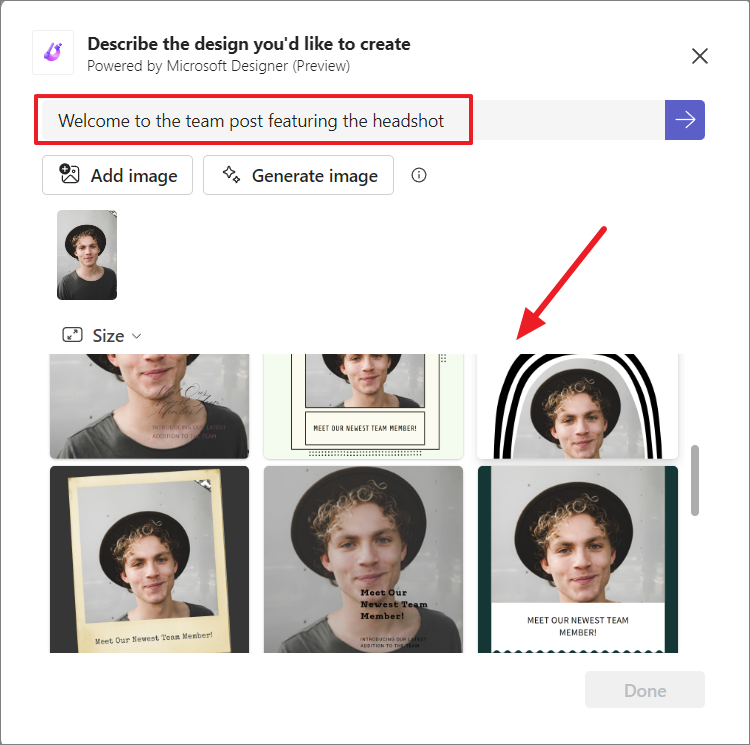
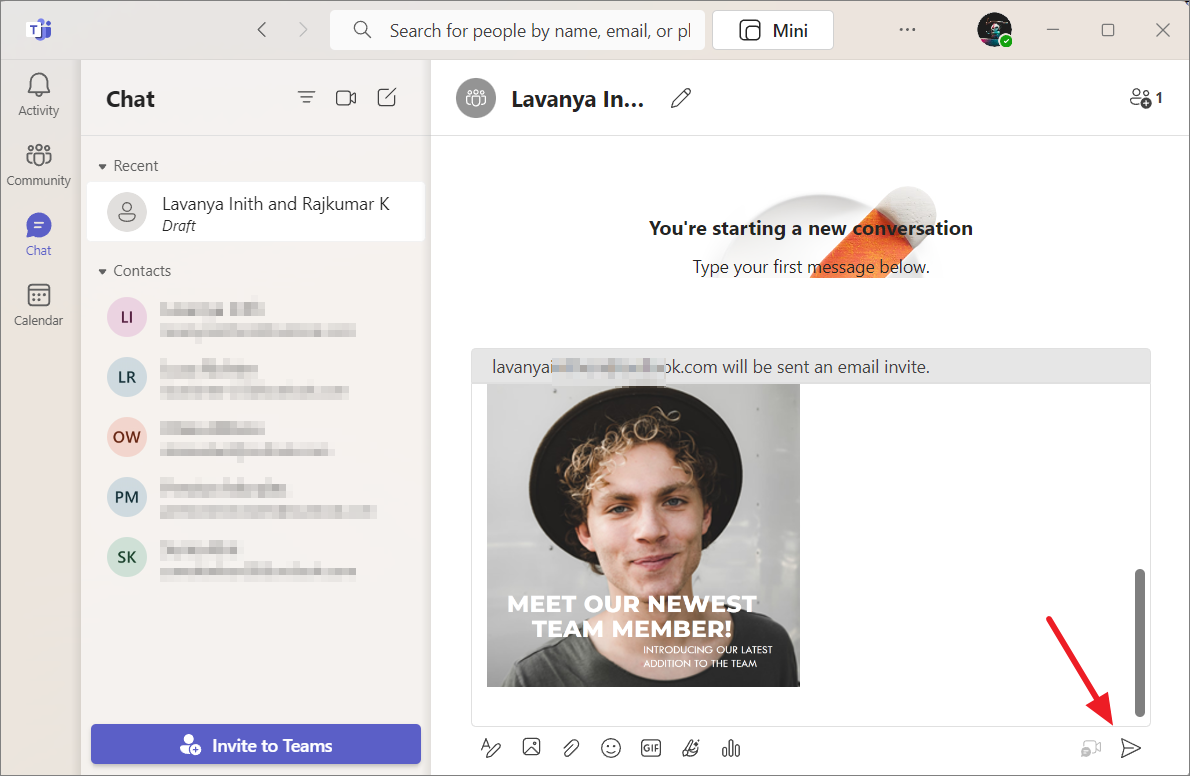
- Let's say you want to create a Welcome post with the image. For that, you could enter the "Welcome to the team post featuring the headshot" in the description box and click 'Submit'. Then, you can select the post you like and click 'Done'.
The selected image will be added to your chat. You can type your message along with the image and click 'Send' to share the design with your team.
Download or Copy Designs from MS Designer in Teams
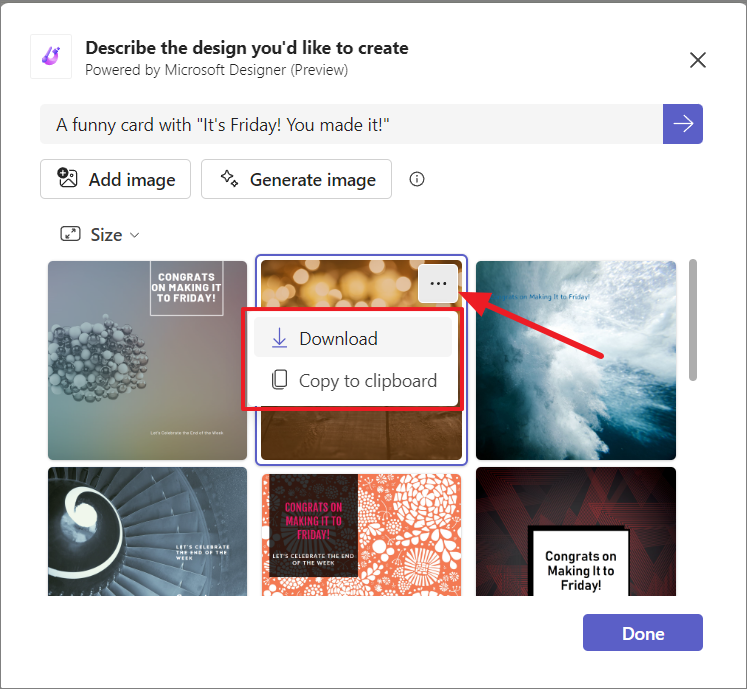
Unfortunately, the designer inside Teams Chat does not provide customization options. So, if you want to tinker with the created designs further, you can download them as images or copy them into another design tool, make your changes there, and paste them back into the Teams chat.
To do that, click the three dots button on the image and select 'Download' or 'Copy to clipboard'.
Generating AI Images in Teams
As we mentioned earlier, Microsoft Designer uses DALL-E 2.5 to generate a variety of design options for you to choose from. However, it also uses other AI technologies and features, such as layout engines and font-matching algorithms, to create designs that are both visually appealing and functional.
While Microsoft Designer is an AI-powered designer tool that you can use to create and customize graphics designs, DALL-E 2 is a text-to-image diffusion model that can generate realistic images from text prompts.
Since the Microsoft Designer tool inside Teams Chat does not have any customization options and can only create images similar to DALL-E 2 based on text descriptions, it can be confusing. However, these two tools work differently.
There is also an option called 'Generate image' in the Microsoft Designer in Teams which you can use to create images using DALL-E AI exclusively.
To use this feature, click the 'Generate image' option.
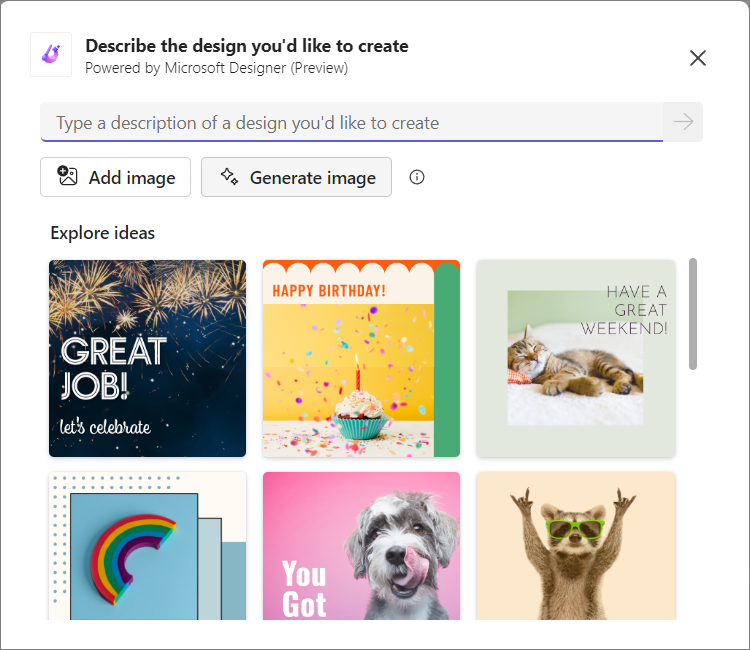
You will see sample images with text prompts on them.
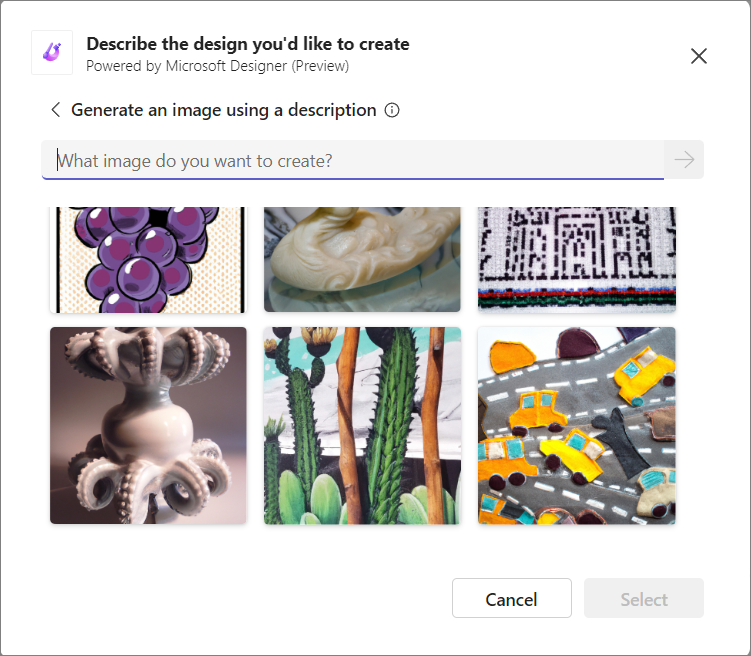
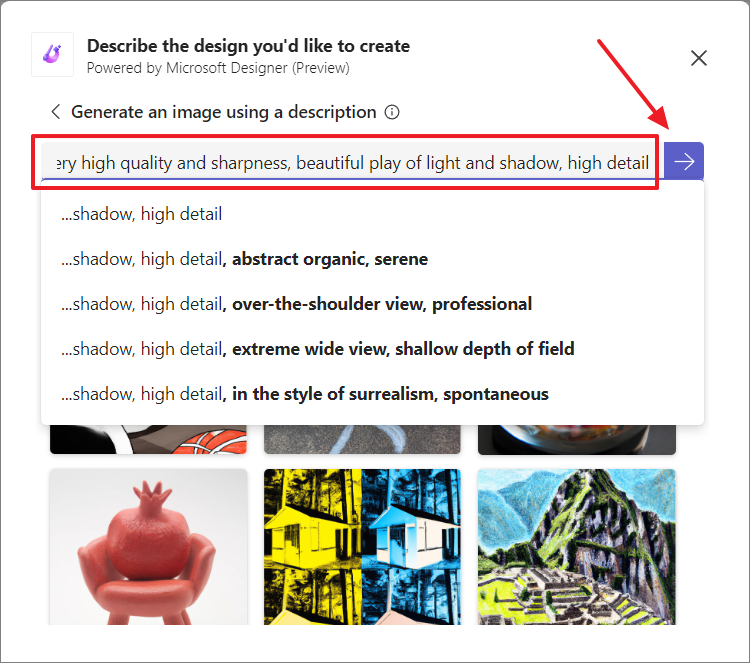
Then, type what you want to create, how will you use it, and any other instructions in the text box. Once you have entered your prompt, click the 'Purple arrow' button. It will take a few seconds to generate the images.
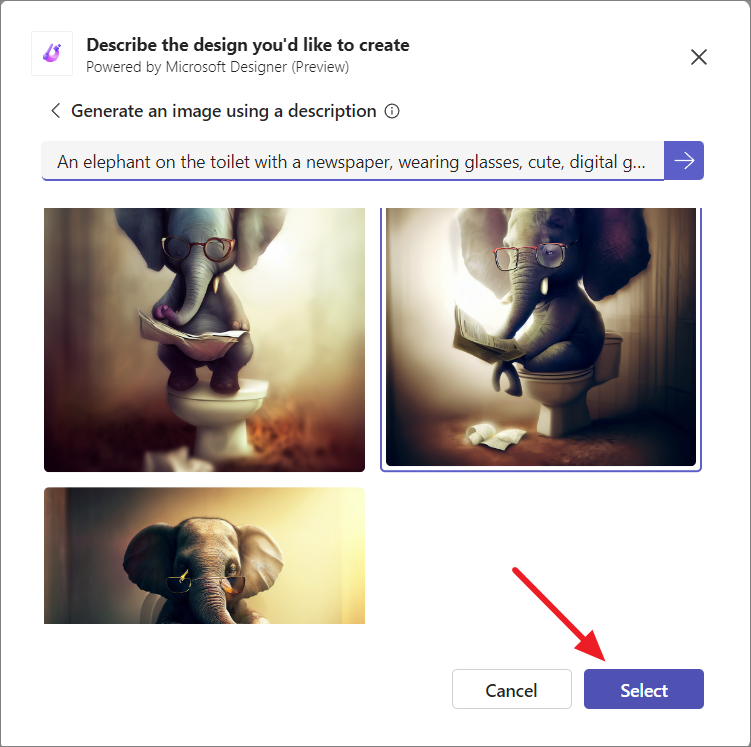
From the generated images, choose your desired image and click 'Select'.
The selected image will be added to the Designer and used to create sample design templates. Now, you can enter a description or text to create designs with the AI image for different purposes, as we did above. Then, select the image and click 'Done'.
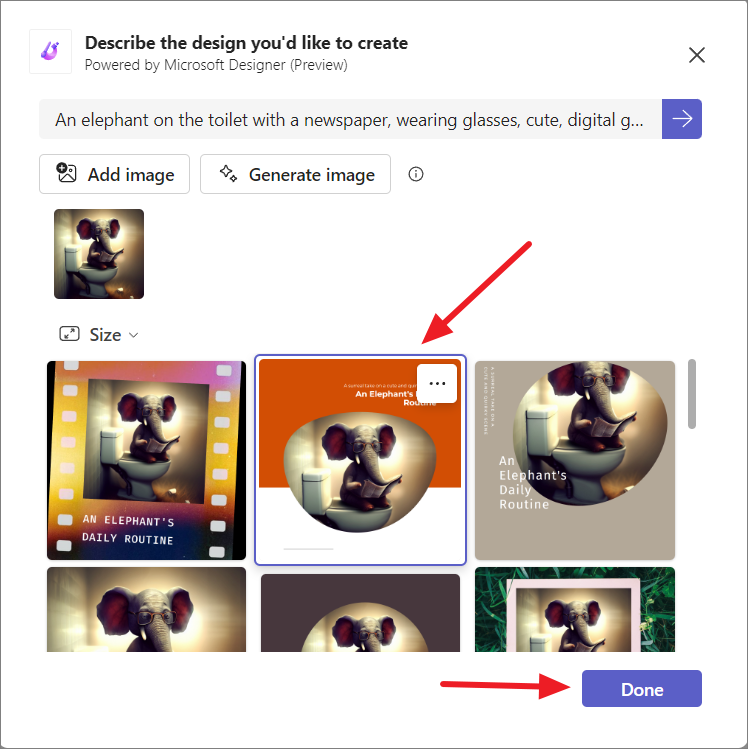
If you don't have any images, you can use this AI tool to create images and use them to create designs in the Designer.


