In today’s world, people have moved away from the traditional stance where only professional graphic designers could create anything of mettle. Today, anyone can create great designs without putting in much effort and it’s all because of the tools at our disposal. And now, Microsoft plans to take things up a notch with their newest tool.
Microsoft Designer is a new AI-powered design app that helps you create professional-quality designs in minutes. With Designer, you can create stunning visuals, social media posts, invitations, and more without any design experience. It’s a lot like Canva, but with the power of AI imbued in it, at every step.
What is Microsoft Designer and How Does It Work
Powered by AI technologies, including DALL-E 2 by OpenAI, it can create a gamut of customizable graphic designs for you. You’ve probably used Designer in PowerPoint before. Owing to its success in PowerPoint, Microsoft has made Designer a standalone app as well.
To create a design, all you need to do is provide a description of what you want to create. That means that you don’t even have to scour the hundreds of templates for a concept that you like. The AI does the rest of the heavy lifting. However, the library still contains thousands of high-quality images, illustrations, and templates that you can use in your designs.
You can then modify what the AI has produced for you. Even adding more elements to the design is easy. As you add more content to a design, the ‘design ideas’ feature magically integrates the content within the design in a single click. AI powers every surface of the Designer app, so you can create designs without any effort.
Although it will be a part of the Microsoft 365 family once it is generally available, it will also be available for free; the free version will not have all features that subscribers will get access to. However, the app is currently in the Preview stage which is free for everyone; it’s still in development though, and getting refined. It also does not include all the planned features at the moment.
Getting started with Microsoft Designer is also extremely easy. Where previously you needed to get on a waitlist to access the tool, Microsoft has now opened it for everyone. All you need is a Microsoft account to get started.
How to Use Microsoft Designer
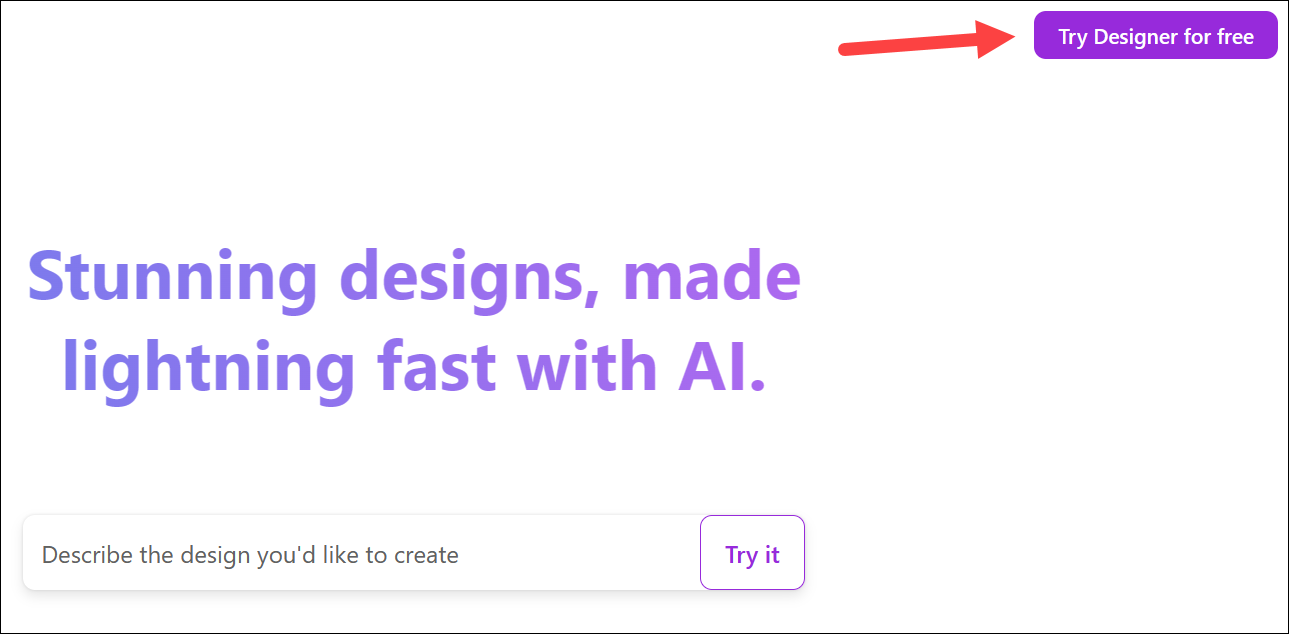
To get started with Designer, simply go to designer.microsoft.com and click the ‘Try Designer for Free’ button in the upper-right corner of the screen.
Then, click the ‘Sign up or Sign in with a Microsoft account’.

If you have a Microsoft account, sign into it or create a new one; it’s free to create and hardly takes any time.
A new design that you can start from scratch will open. There are a few options at your disposal for proceeding further.
1. Start a Design with the AI
The simplest is to provide a description, otherwise known as a prompt, to the AI for the design you want to create. Write the description in the textbox provided and click ‘Generate’.
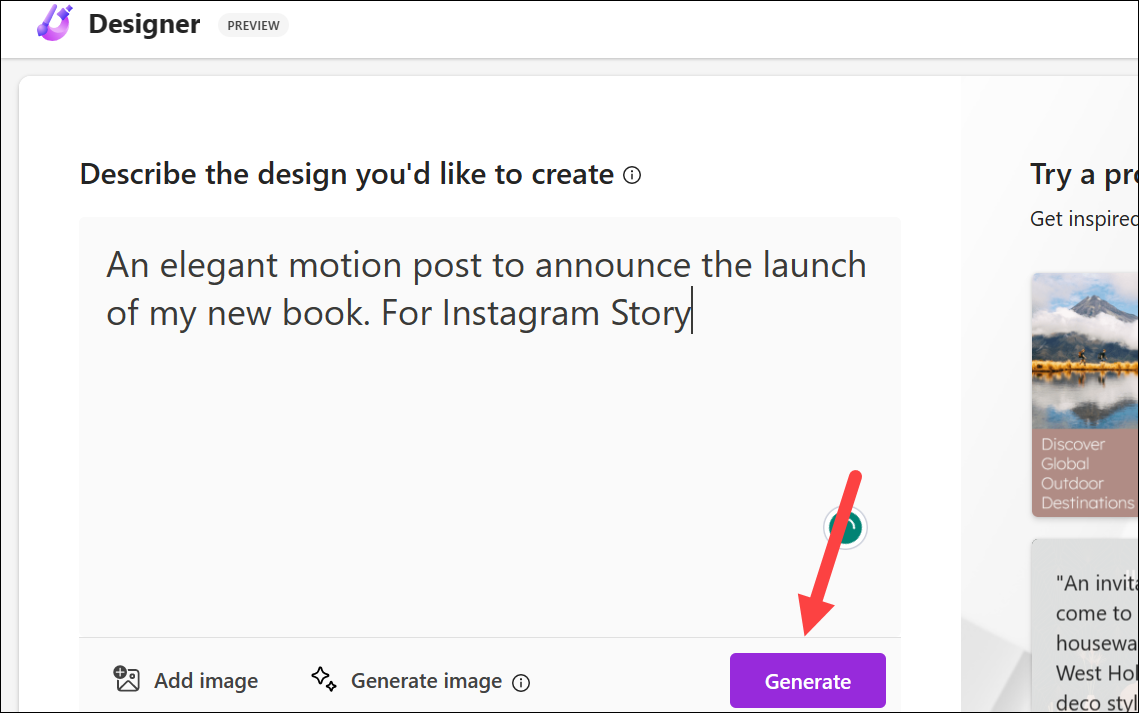
Start with a clear idea of what you want to create. What is the purpose of your design? Who is your target audience? The better you know this, the better you can explain it in your prompt. For example, if you want to create a design for your Instagram account, state it in the prompt. Instead of just saying “Create a post,” say, “Create an Instagram post” or “For an Instagram post” – words that make your intention clear to the AI.
Create an Animated Design:
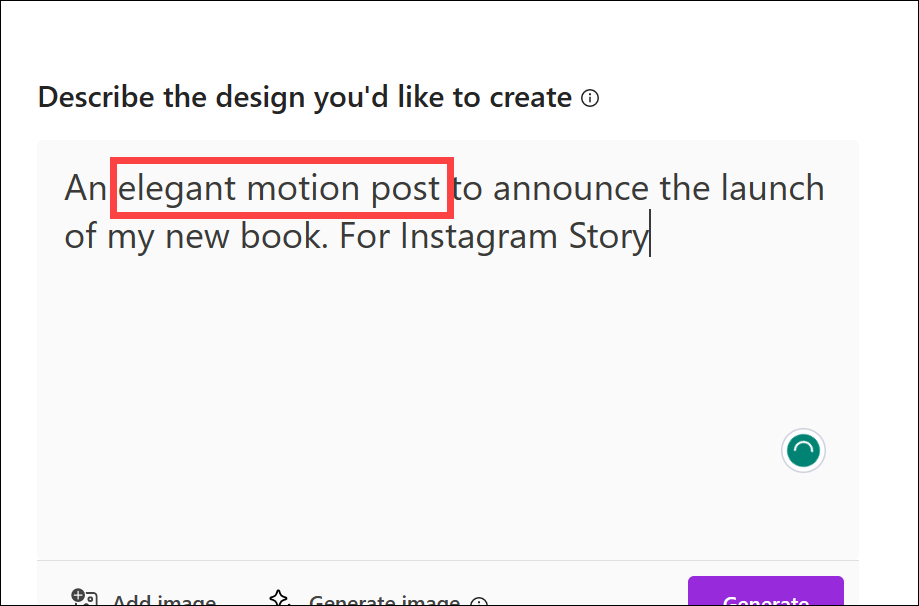
You can also create animated designs with Microsoft Designer. However, as far as I could tell, currently, the only way to do so is by entering the request for an animated design in the prompt itself.
So, including the words “an animated design” or “motion” in your prompt will cause Designer to apply animated transitions to the text and graphics in the design. However, these transitions are automatically applied and I can’t find an option to change these in the editor. Perhaps, they’ll enhance the functionality in the future.
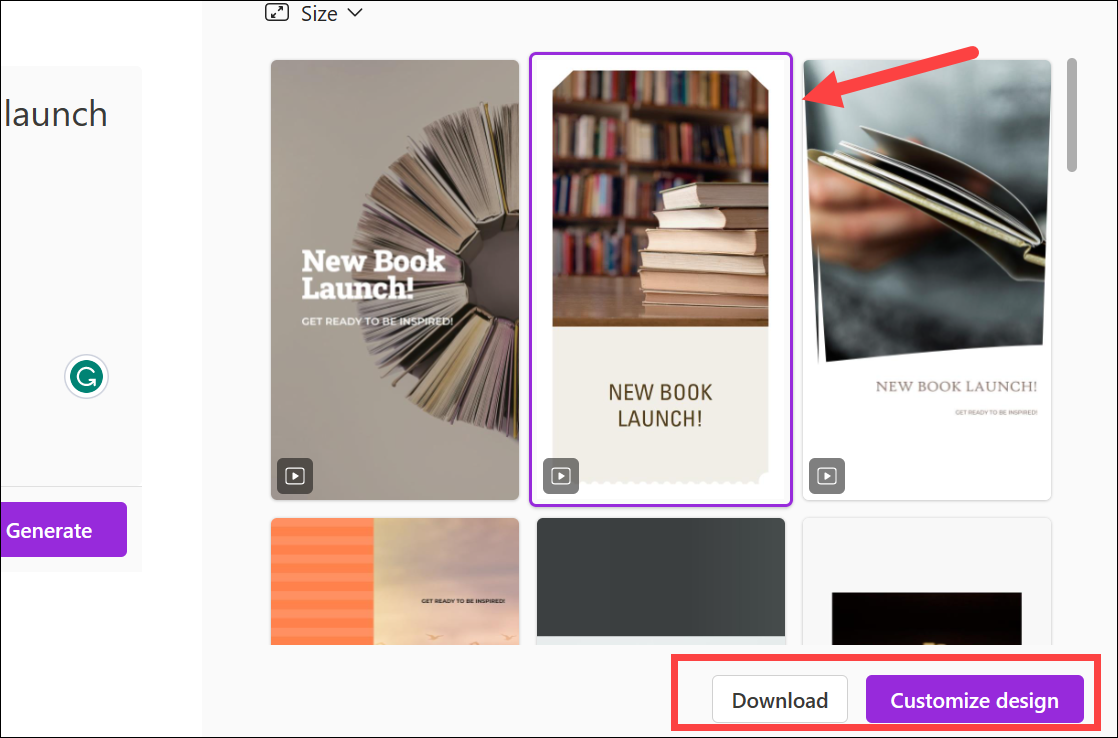
Microsoft Designer will generate a few designs for you which will feature text and images both. You can browse them for inspiration by scrolling down. If you like a design, you can either download it as it is or customize it further. Click on the design you like and select from the ‘Download’ or ‘Customize design’ options. Designer is a powerful tool that allows you to customize your designs to your liking; don’t be afraid to experiment with the templates the AI generates.
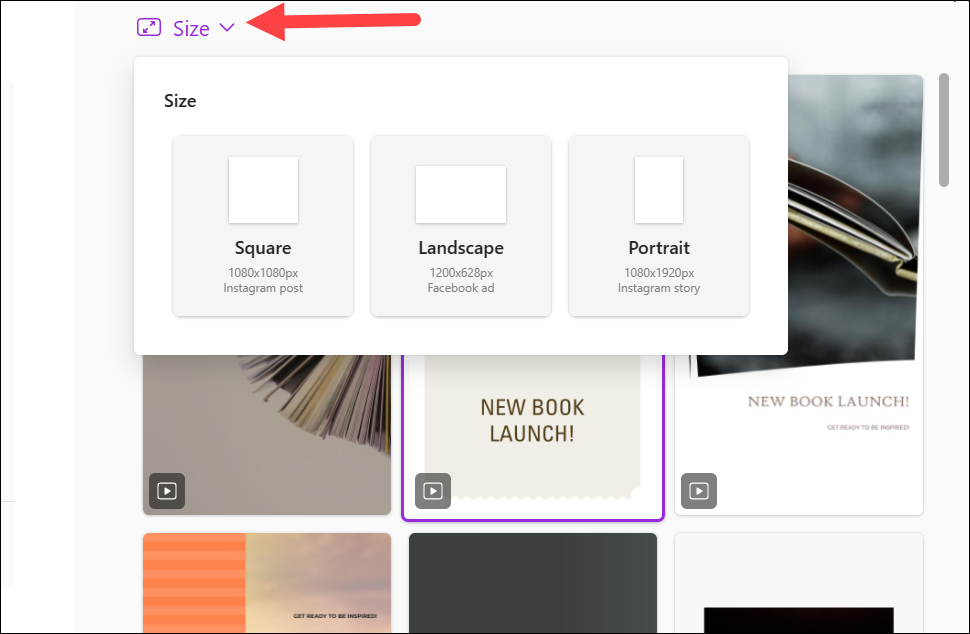
If you want to change the size of the generated design, click on the ‘Size’ option and choose an alternative from the drop-down menu. The designs will be regenerated in the selected size.
If you don’t like any of the designs, click on ‘Start from blank canvas’ instead.
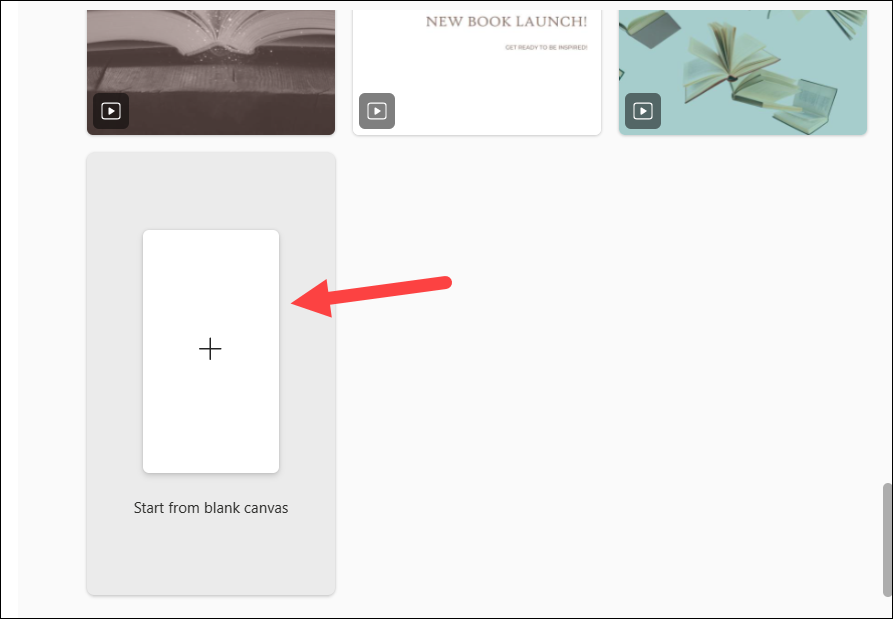
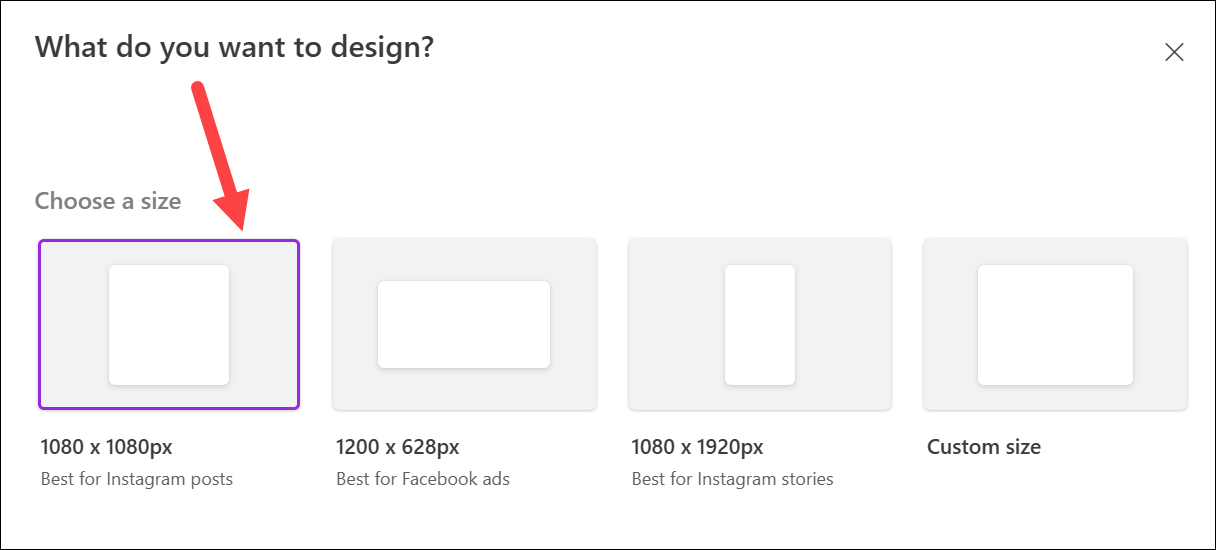
Then, choose a size for the blank canvas, or create a custom size.
The design/ blank page (depending on your choice) will load in the editor where you can customize it.
2. Try Microsoft Designer Prompts
If you’re fresh out of prompts to describe to the Designer, you’ll also find some designs on the right. When you hover over a design, you’ll be able to see a sample prompt. Clicking on a design will load the prompt in the textbox.
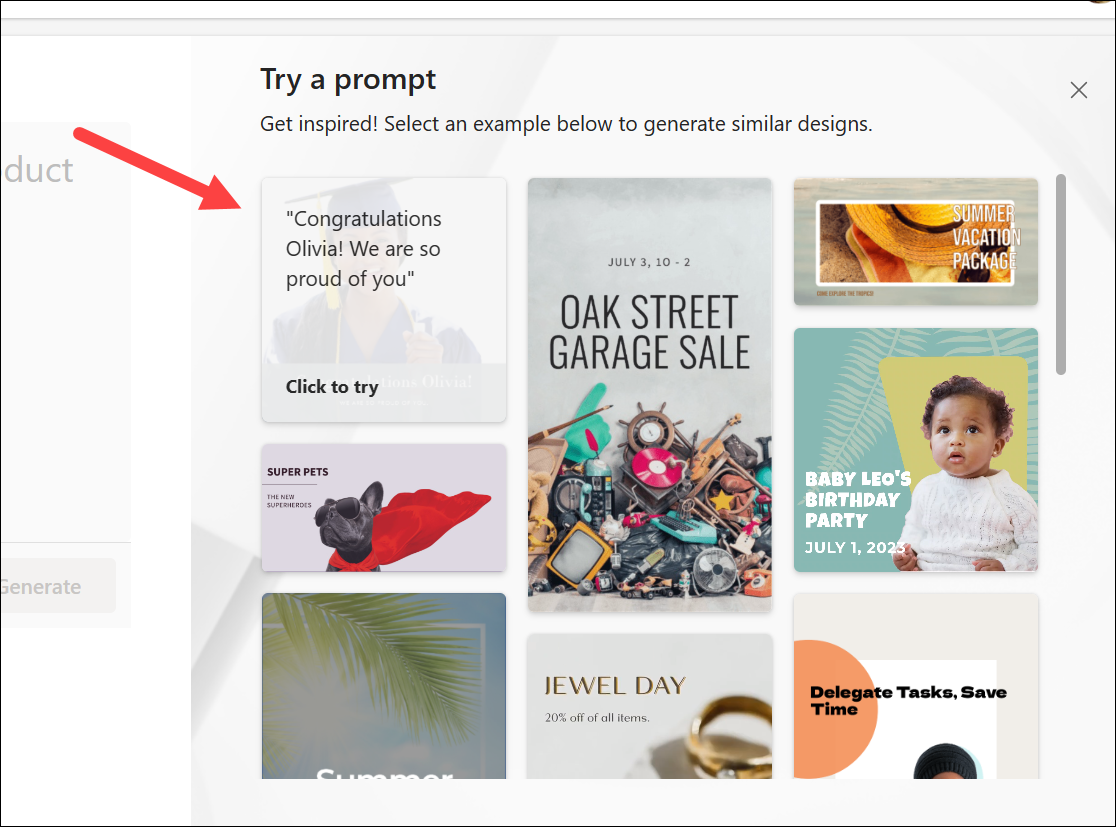
You can use a prompt as it is if you only want to take the tool for a test drive. Or you can use these as an inspiration or guide of sorts and make changes to them to get started on the design you actually want to create.
Use the Prompts library to find inspiration. It can be hard to get a new tool right the first time, so don’t be afraid to browse the prompts to get an idea of what different prompts can look like.
3. Upload your Own Image
You can also upload your own image from your computer, phone, or your media (images you upload in Designer as you use the tool) that you want to include in the design and the Designer AI will generate templates that include the photo.
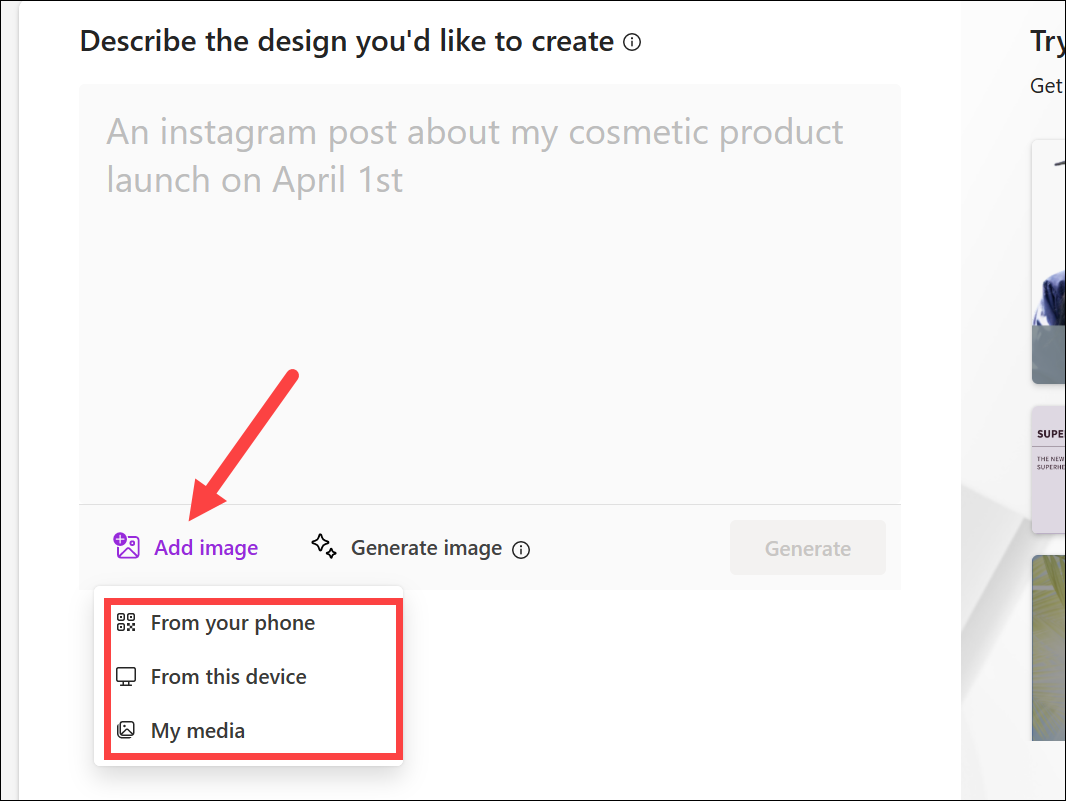
But you can always upload your own photos and even have the AI incorporate them into your design later.
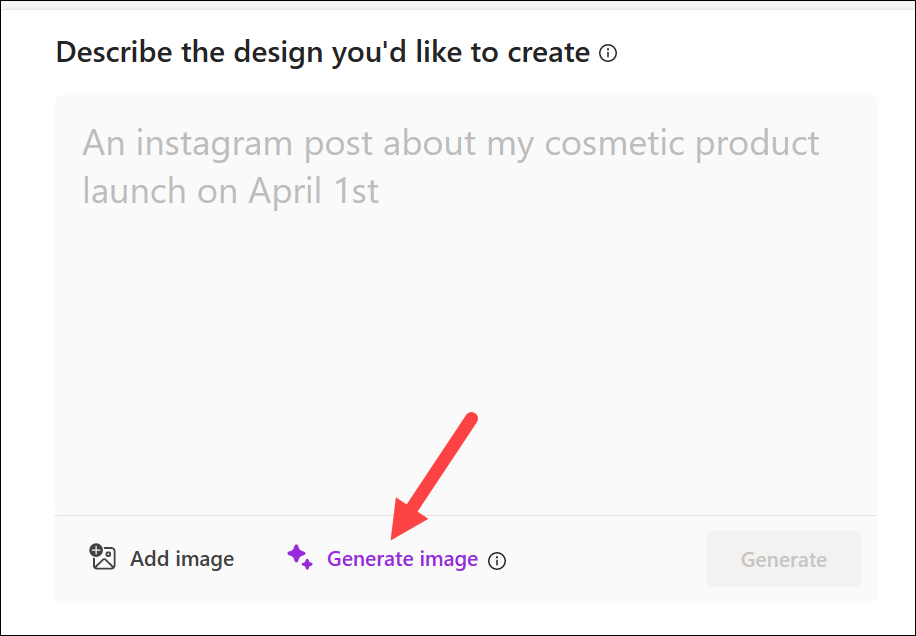
4. Get an AI-Generated Image
This is an AI-powered image creator, using DALL-E 2.5 from OpenAI to generate images using a text description. Similar to Designer itself, this sub-element of the tool generates only images instead of complete designs with text that Microsoft Designer does. But the difference is that you can use this to create any kind of image at all. You want a penguin in an office? Done✅. Or perhaps you want flying cars? It can do that. You can get any type of image from this tool to enhance your design.
Click the ‘Generate image’ option to use this tool.
Then, describe what you want Designer to create and click the purple arrow. You can include instructions for different mediums, such as oil painting, watercolors, pencil sketch, and comic book art, etc. or add the name of an artist to get an image in their style.
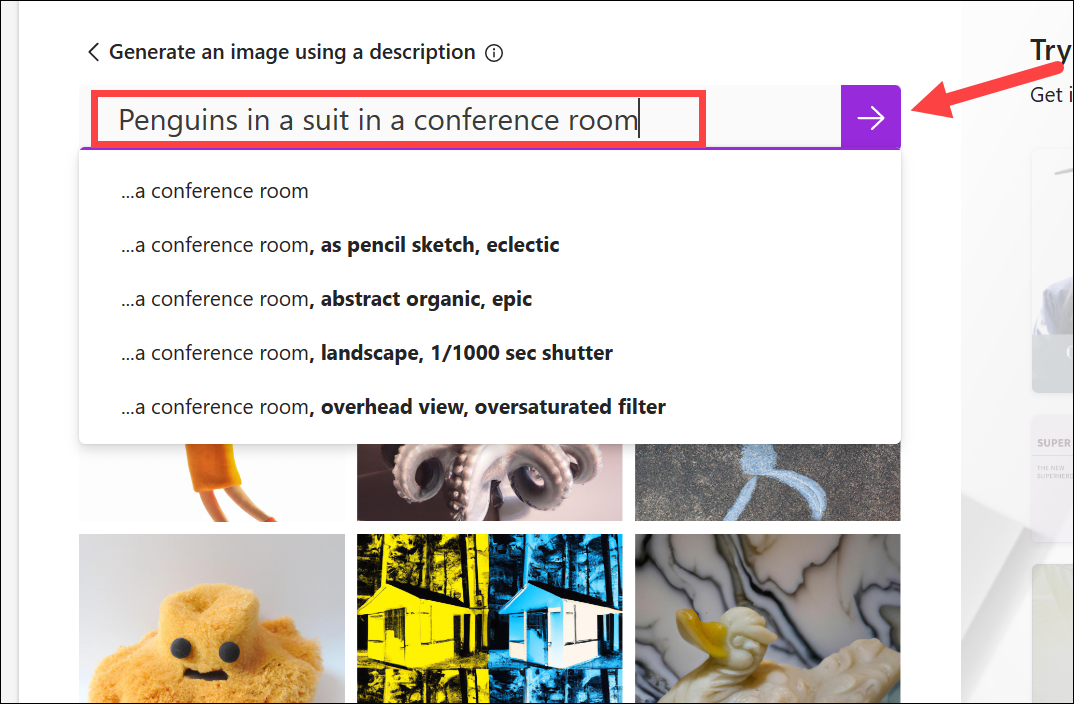
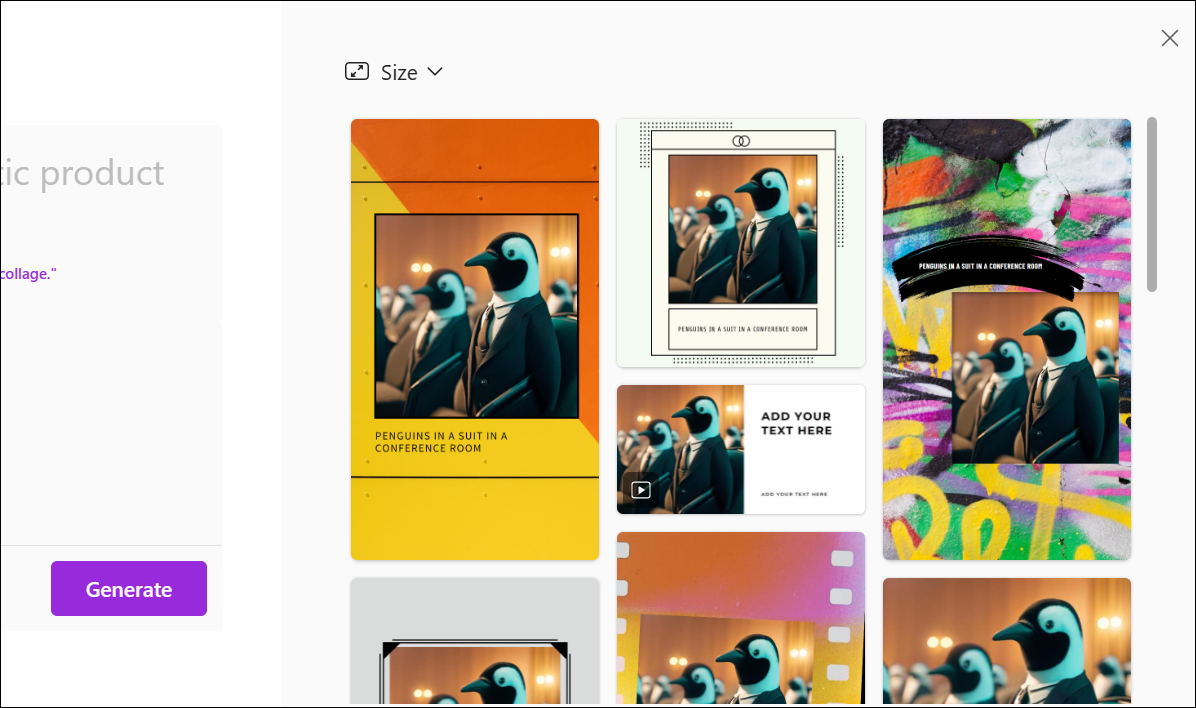
The AI will generate a few images in a few seconds. These images will also be saved in the ‘My Media’ section so you can access them later at any time. Select an image and click ‘Select’ to generate templates featuring the selected image.

Designer will generate design templates with the selected image.
Similar to the above option, it’s also available later in the Microsoft Designer Editor so you can generate an image before starting a design or in the middle of customizing it.
5. Start from a Blank Canvas or your Recent Designs
The initial interface of Designer can be confusing and it can make you think that there is no easy way to start from a blank canvas or customize your previous designs instead. But that’s not the case.
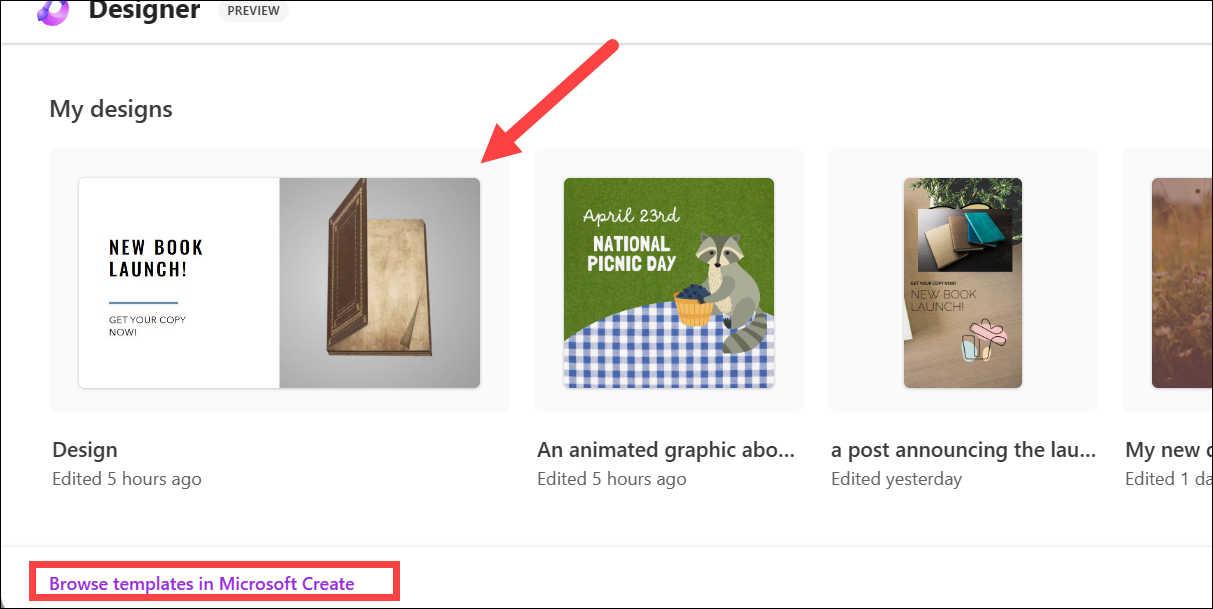
If you scroll down, you’ll find two small links for starting from a blank canvas or your recent designs. The former is pretty self-explanatory; it’ll open the editor with a blank canvas.

The latter opens a layover window with your recent designs; click on one to customize it. You’ll also find an option to browse templates in Microsoft Create. These templates can also be accessed within the Editor which we have covered in the next section.
Navigating the Microsoft Designer Editor
Although the interface of Microsoft Designer shares a lot of similarities with the popular design tool Canva, it still has a long way to go. There are only basic design tools at the moment. However, if you have ever used Canva before, you’ll find navigating Microsoft Designer’s Editor an easy feat.
Your design will be in the front and center, with three different toolbars, one on either side of the design and one on the top.
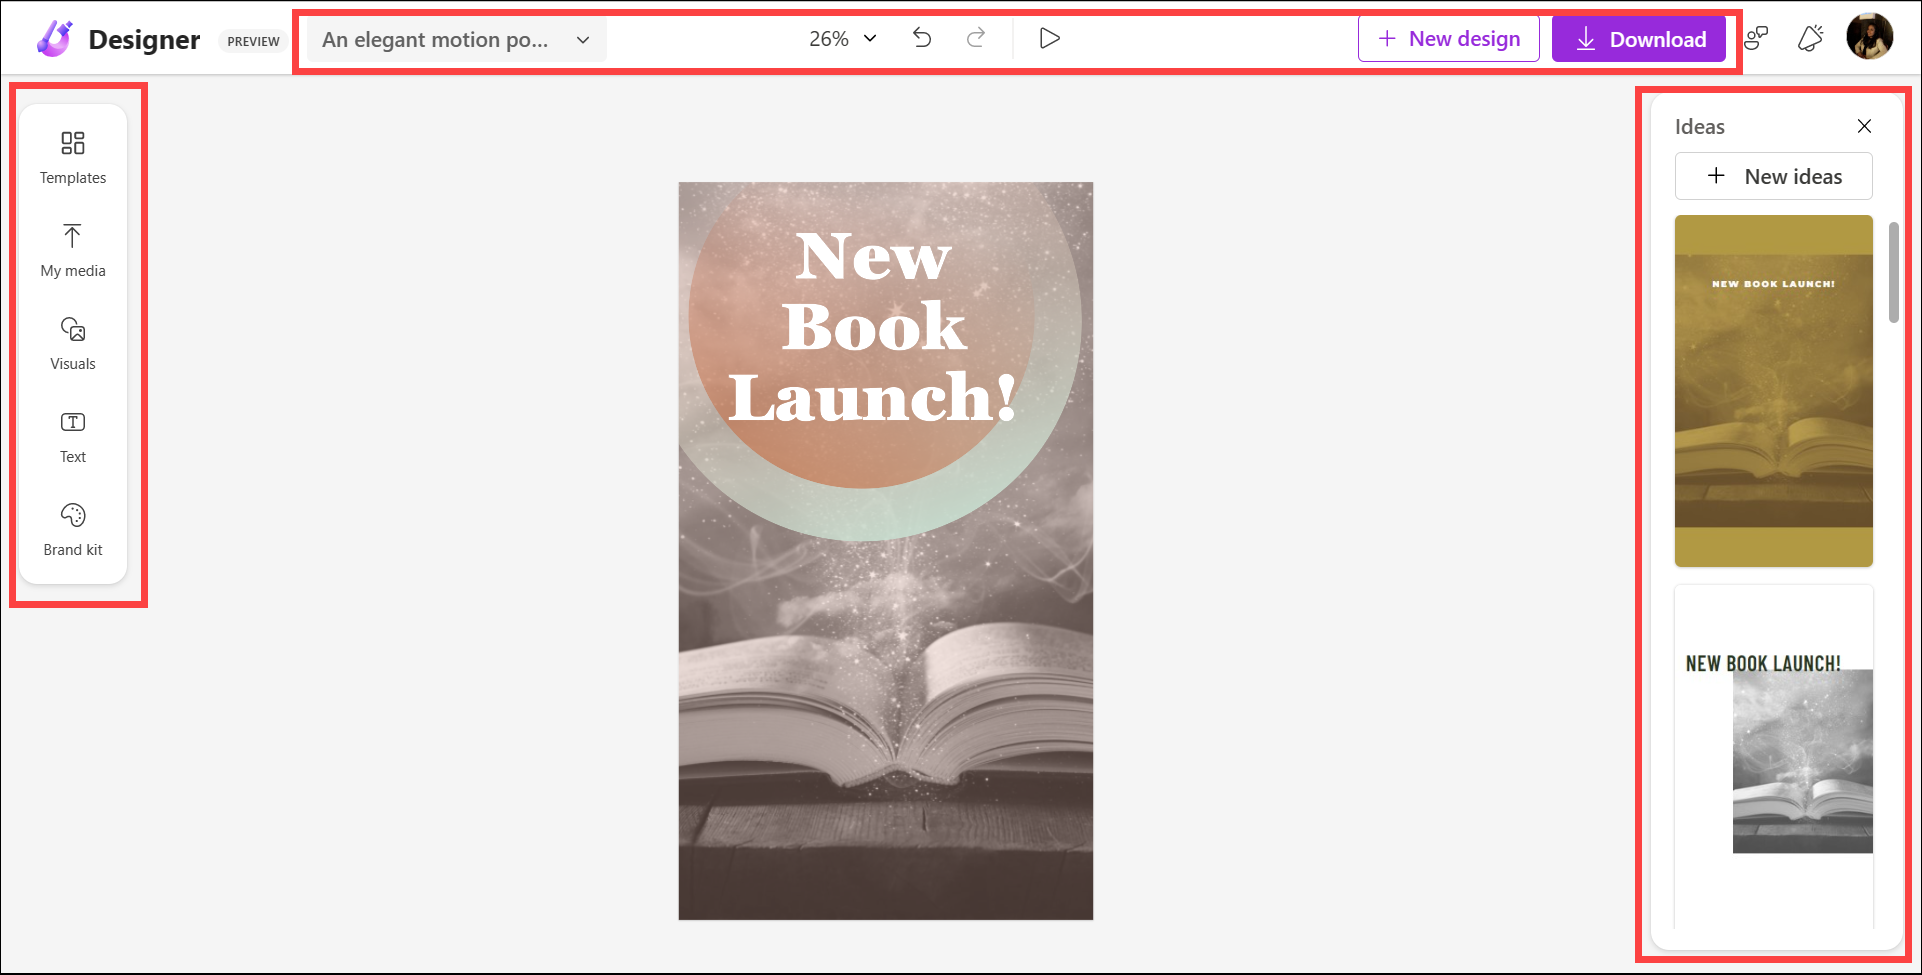
A secondary panel will also appear on the left that’ll change depending on your current selection.
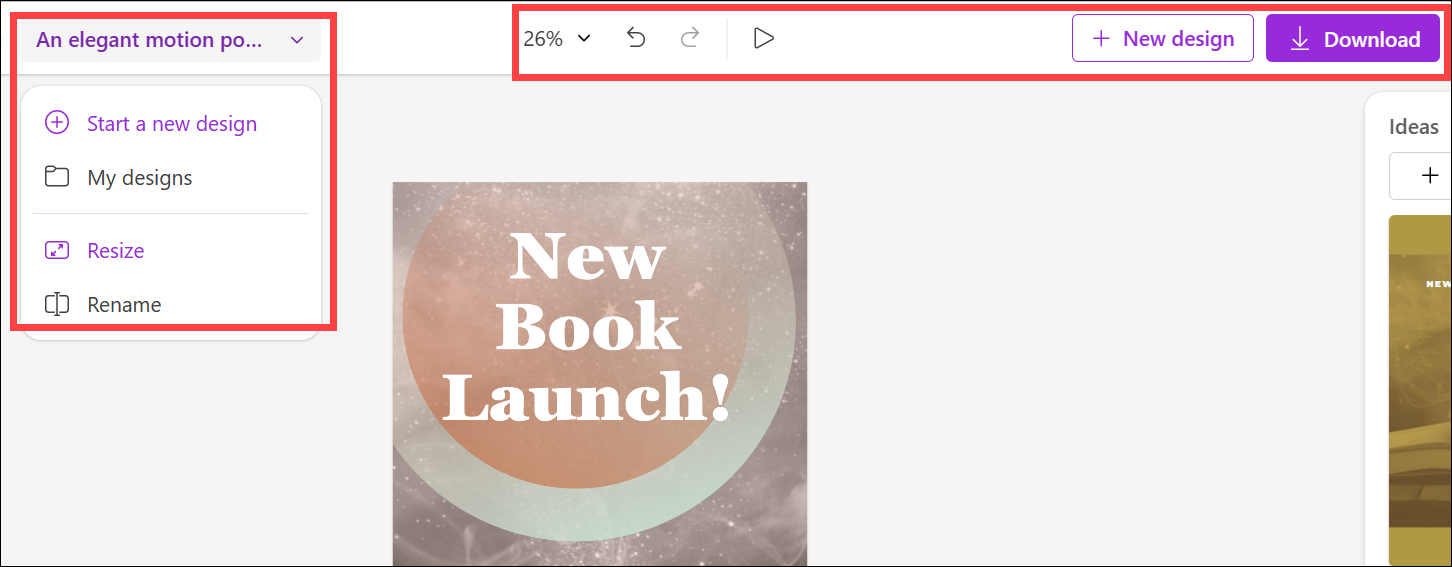
The toolbar on the top consists of some basic options such as changing the zoom percentage, undo and redo buttons, a drop-down menu with options to rename the design, resize the design, and open all your designs, and buttons to download the design and start a new design.
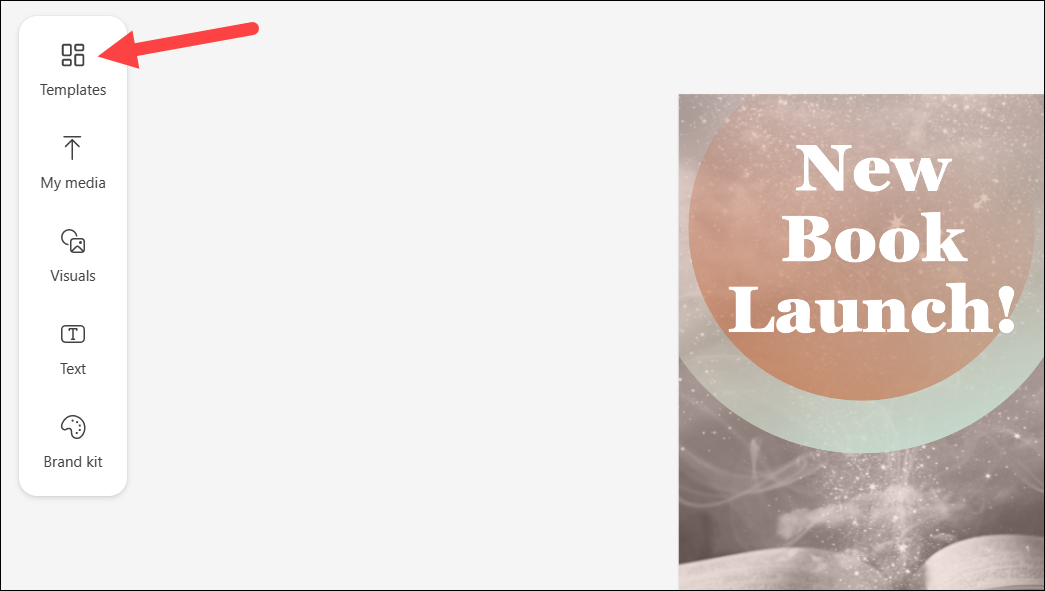
The toolbar on the left consists of the main options that you’ll use to customize your design.
Use Templates
If you chose a blank canvas, Microsoft Designer has templates to choose from. Even if you chose to customize an AI-generated design, you can still browse Designer templates. Click on ‘Templates’ from the navigation panel on the left.
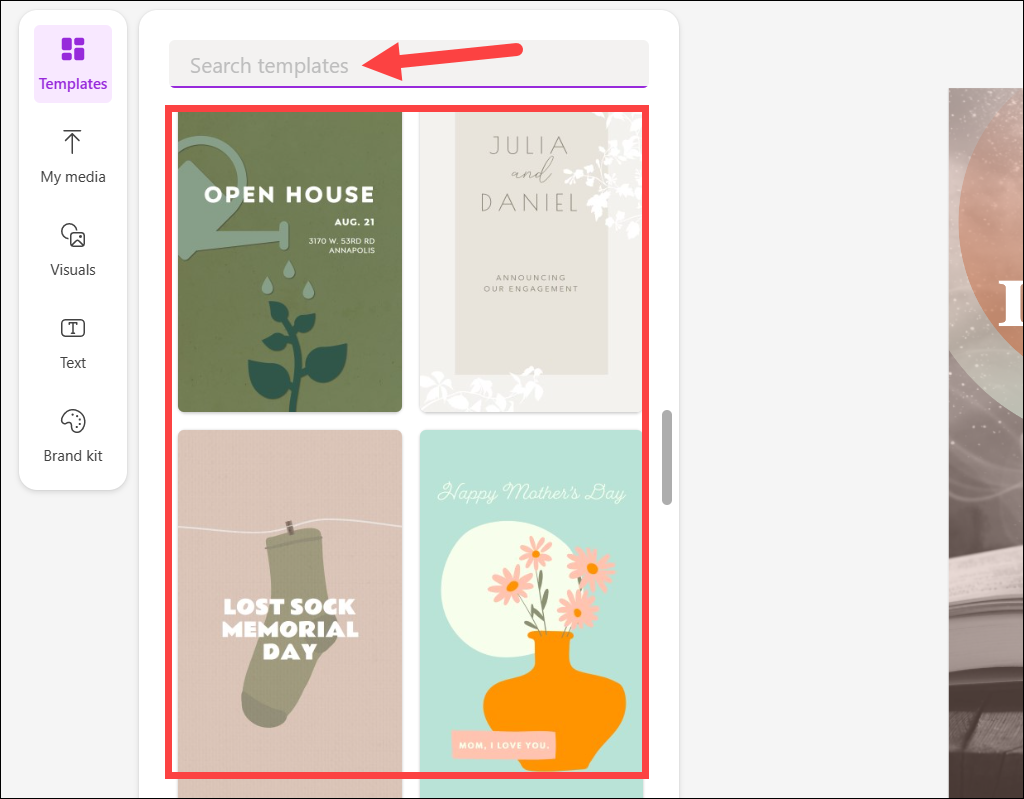
The templates will open in the secondary panel. Then, use the search bar to find a template for your chosen theme, or scroll through the featured templates to find one you like. Click a template to select it. It will replace the empty page/ the generated design. If you were customizing an AI-generated design, the template will replace only the design elements, leaving the text elements in place.
You can also customize the template completely, such as changing the text, colors, and layout of the design to create something that’s perfect for your needs.
Upload your Media
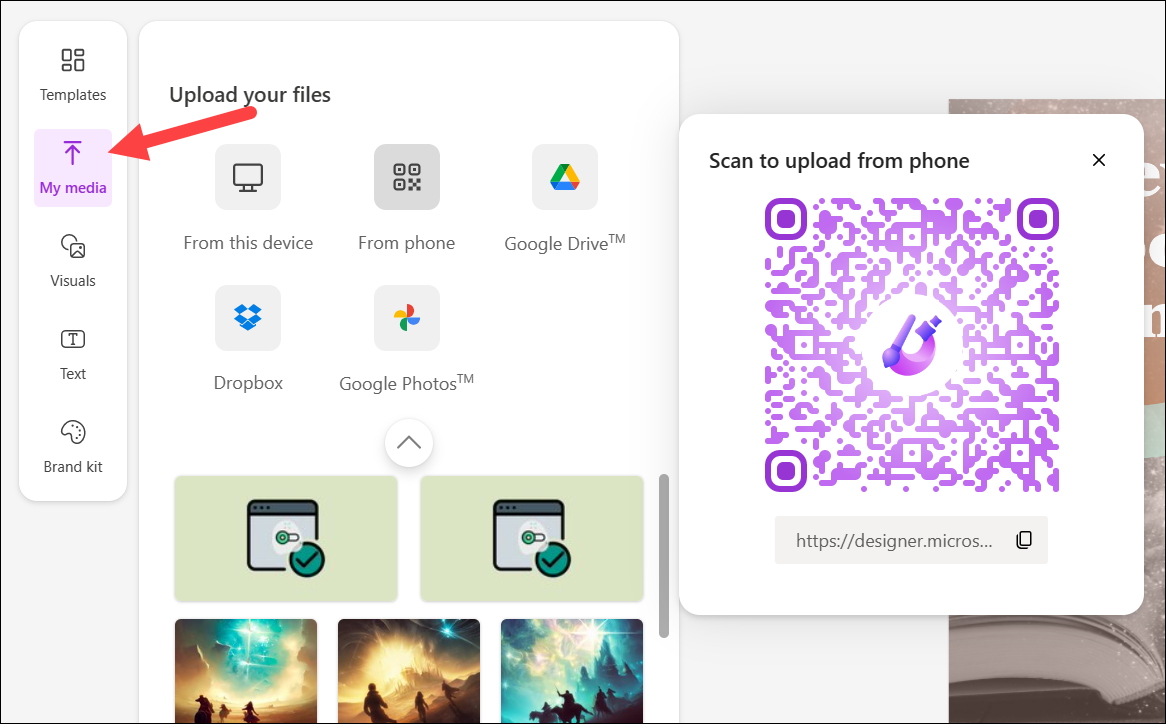
The ‘My Media’ option lets you upload files from various options, such as your computer, or cloud storage options, such as Google Photos, OneDrive, Dropbox, etc. You can also upload media directly from your phone (since Designer is not accessible on the phone yet; Android and iPhone apps are in the works) by scanning a QR code.
Use Microsoft Designer Visuals Library
The ‘Visuals’ section is where the strength of the designing tool lies. From here, you can access Microsoft Desinger’s library of graphics, photos, and videos.
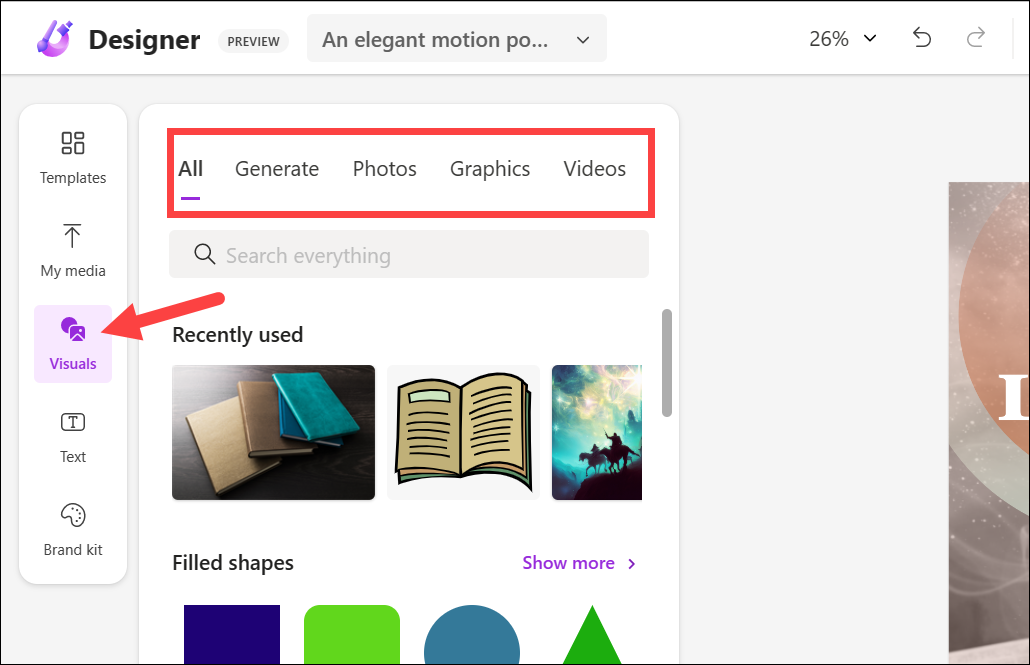
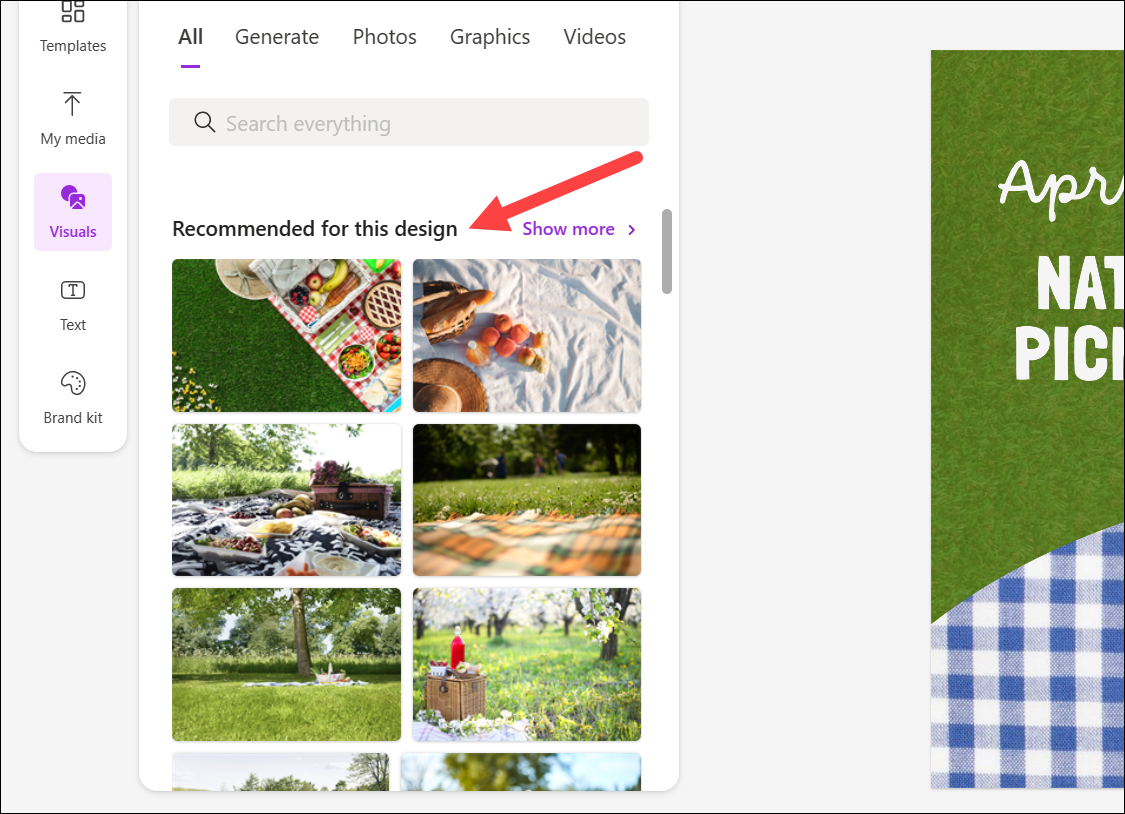
The AI also recommends photos for your design depending on the prompt you provided, the template you chose, or the current context of your design. When Microsoft said that AI is present at every surface of this tool, they weren’t kidding. And as you explore further tools, you’ll realize that more and more.
You can also use the search bar to find graphics (shapes, stickers, illustrations, etc.), photos, or videos for your design. Currently, everything from Microsoft Designer is free to use since there is no Pro or Free version as long as it is in Preview.
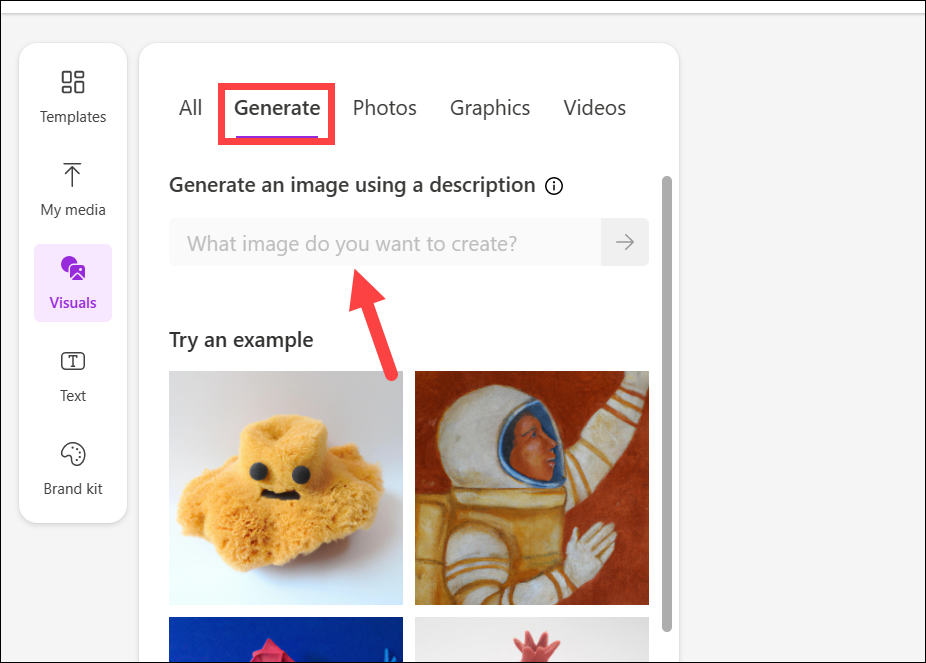
Now, there is also an option for ‘Generate’. If you can’t find what you’re looking for, you can always use this to generate an image. As explained above already, this tool uses DALL-E 2.5 to create any images from your prompts. Switch to the ‘Generate’ tab and enter the prompt for the image you want to generate.
Enter Text
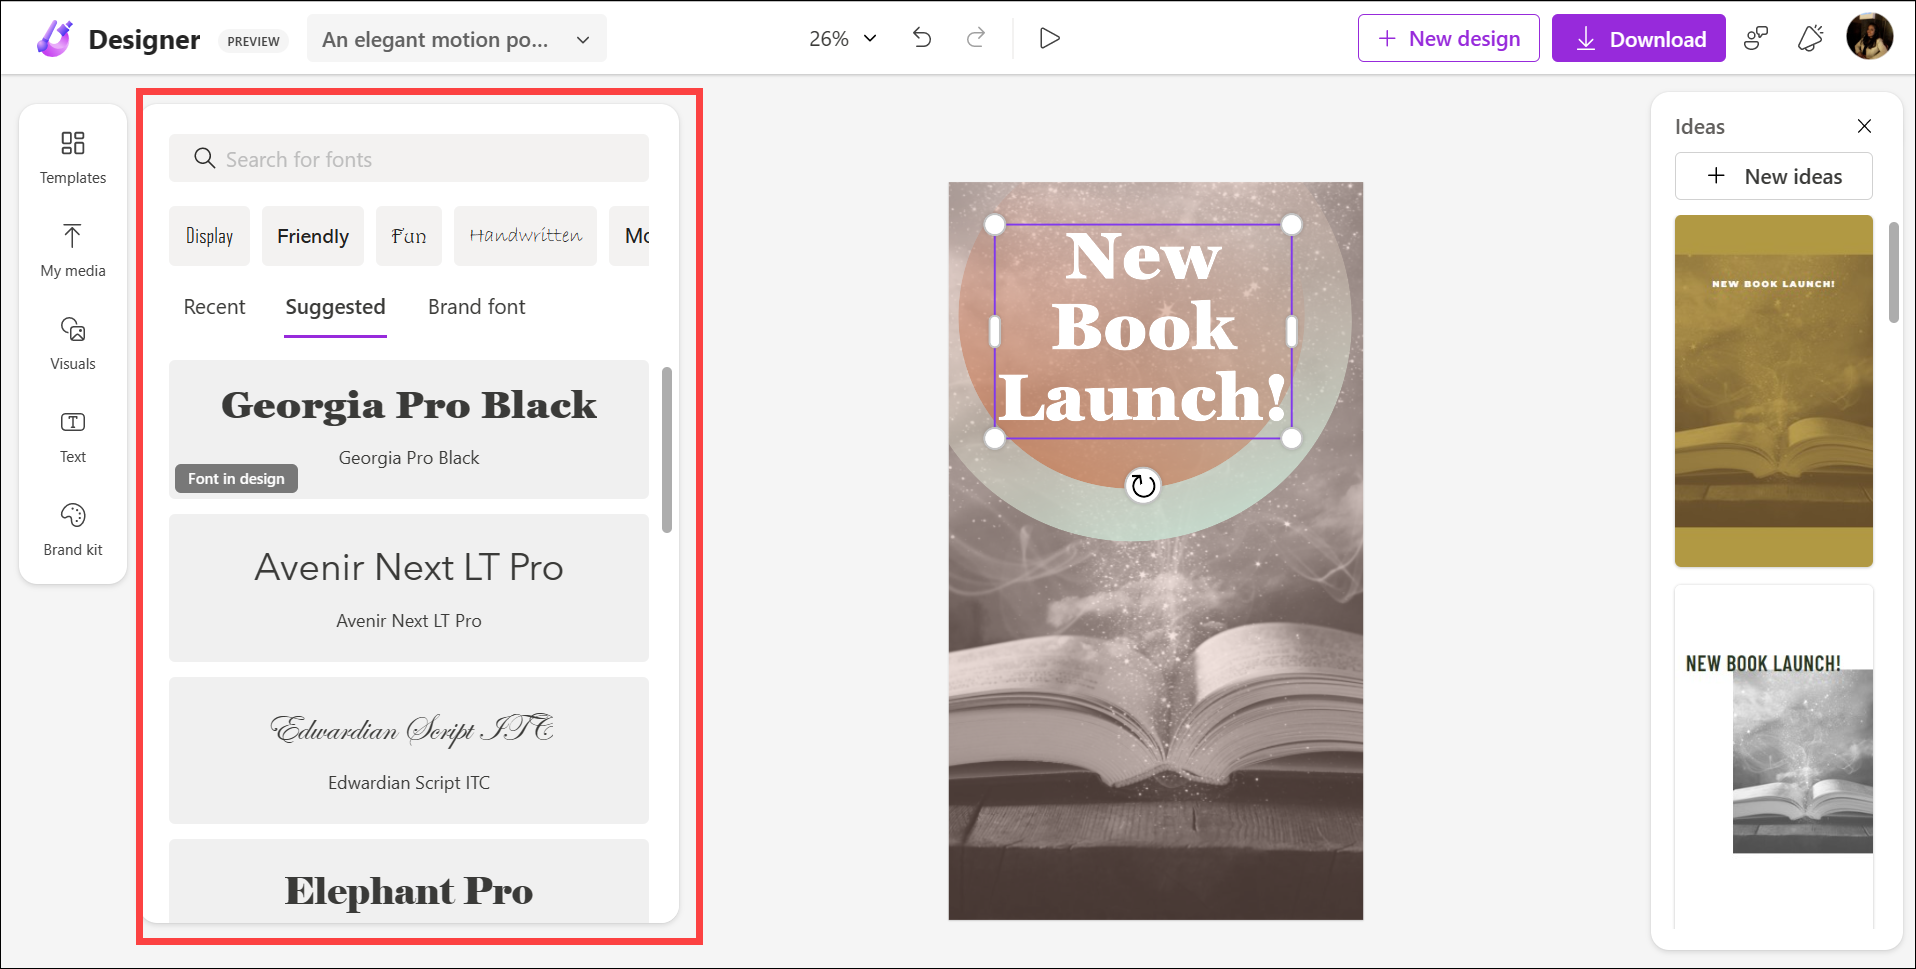
The ‘Text’ section lets you enter text into your design. Much like Canva, you can enter a heading, sub-heading, or body paragraph. You can change the font, size, color, position, etc. of this text. You can also choose from pre-defined fonts for the text.
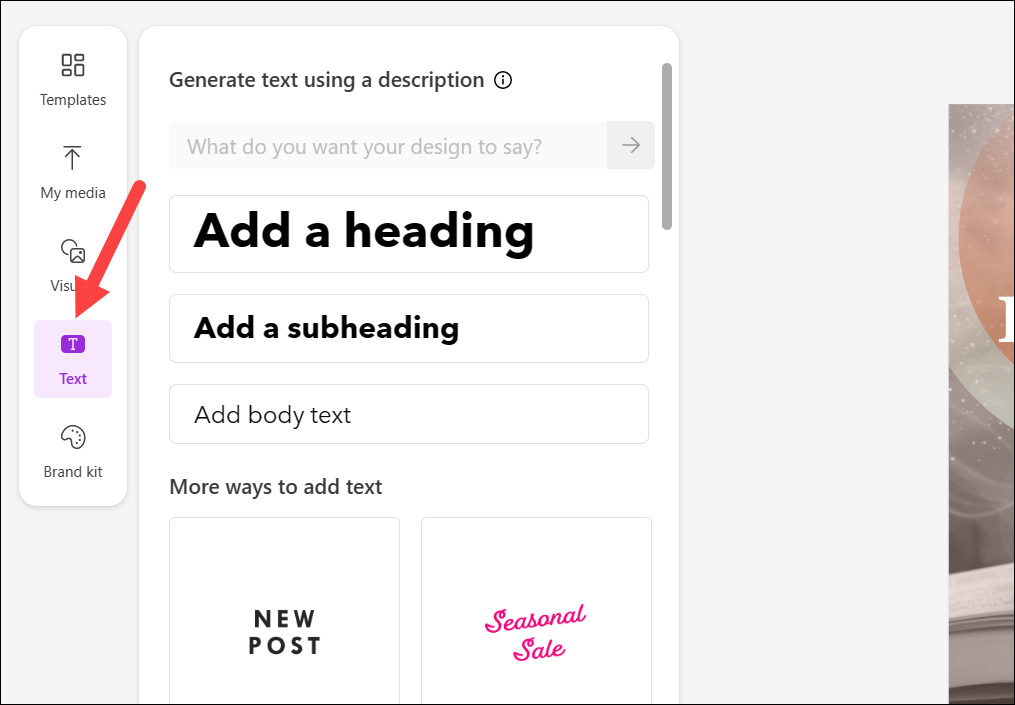
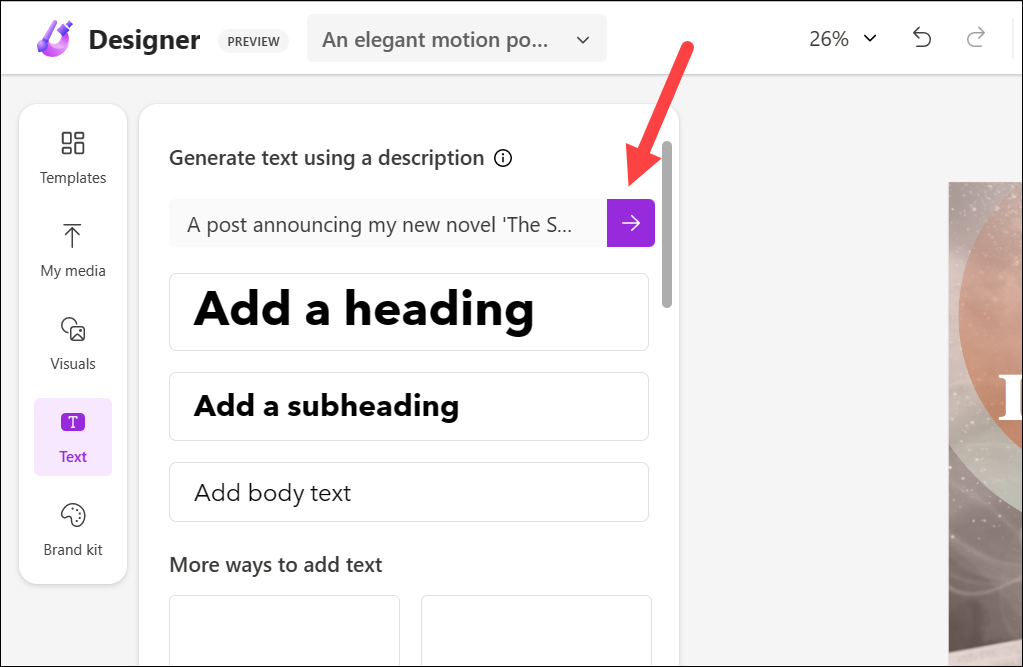
But what’s special is that if you’re having trouble even generating the text for your design, AI can do it for you. Provide a description of what the design text should be about and it will generate a heading, sub-heading, and short and long body paragraphs you can use in your design! Add a prompt for the AI in the textbox provided and click the purple arrow.
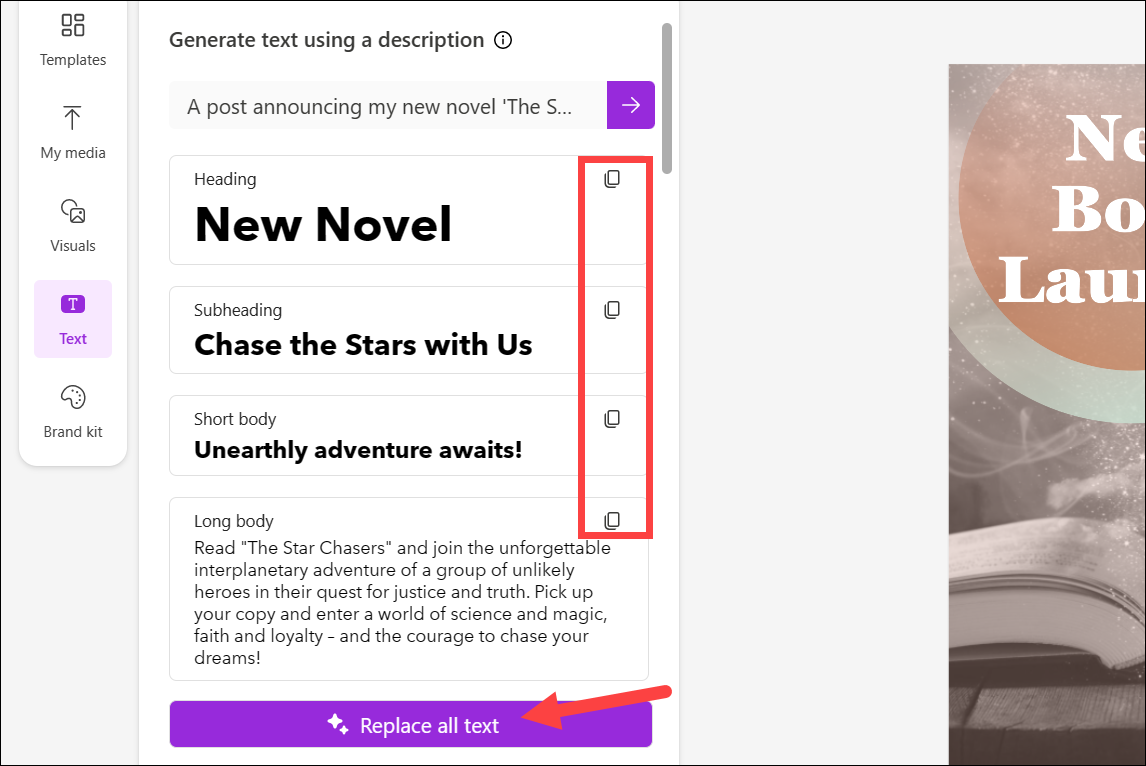
Then, either click ‘Replace All Text’ to replace all text in the design with the AI-generated text or click the ‘Copy’ button on the individual sections to use them.
The AI can even randomly change the font style and color of the text if you’re having difficulty selecting them. Simply click ‘Inspire Me’ and Designer will choose on your behalf.

Build your Brand Kit
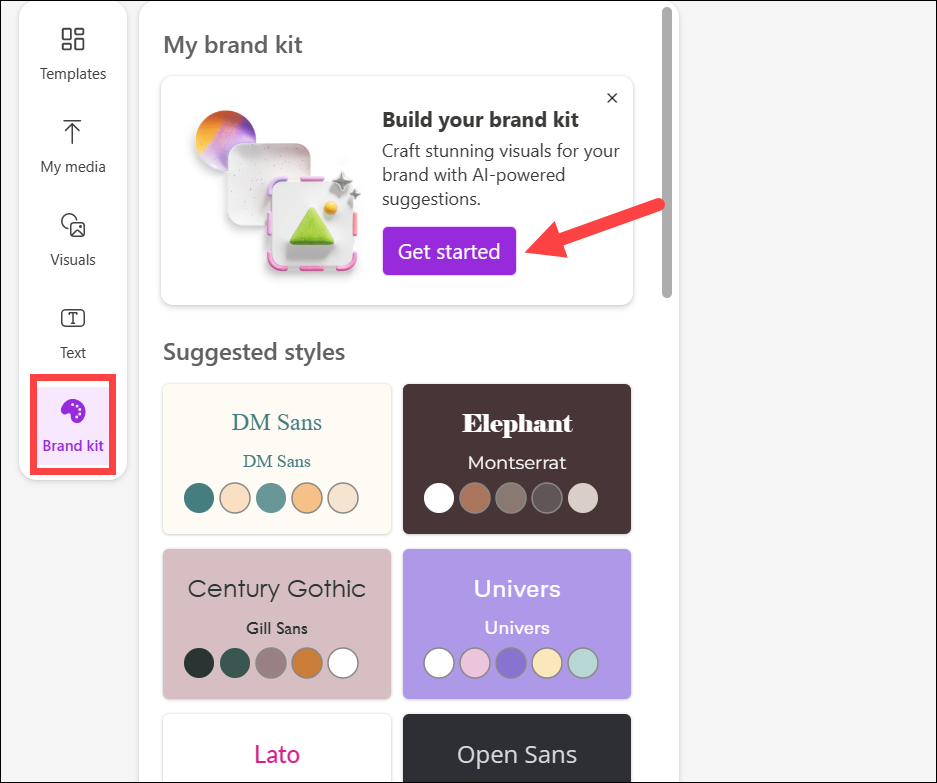
You can also build your Brand Kit for consistency across your designs by navigating to the option from the left toolbar. There are also some style kits you can use as it is. Click on ‘Get Started’ to create a brand kit.
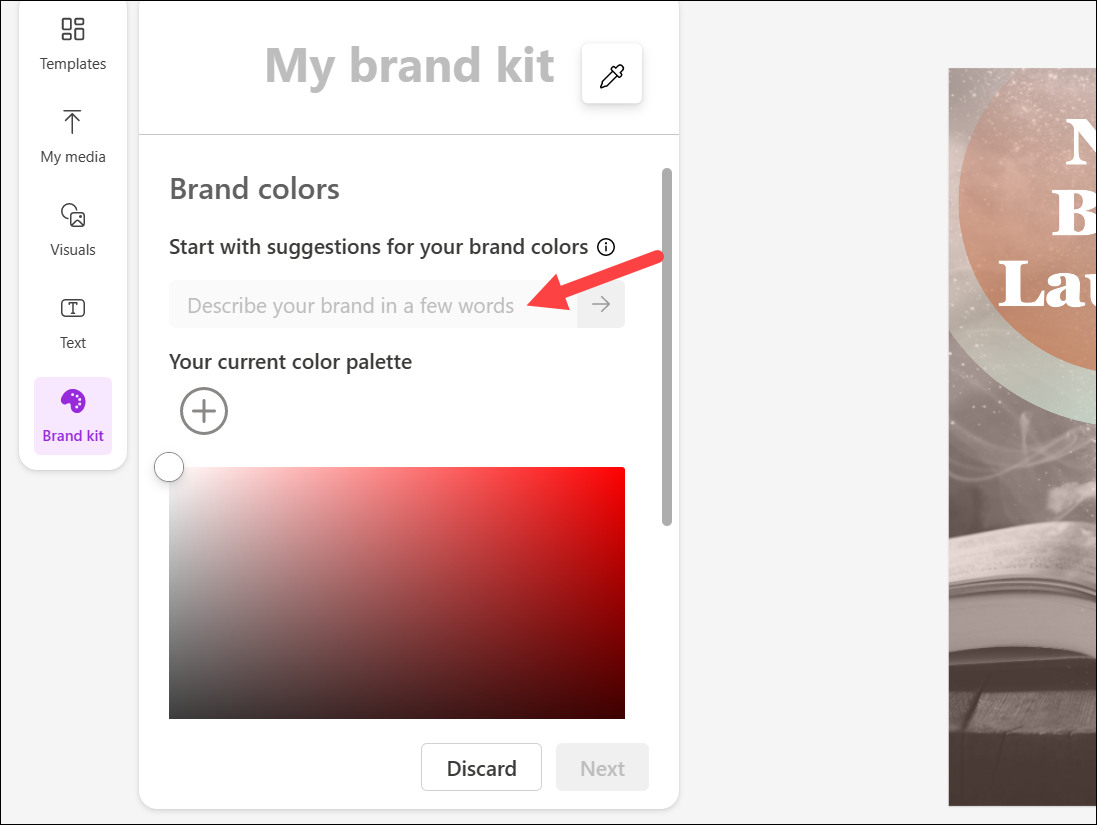
Next, you can either build your Brand Kit yourself or describe your brand to Designer and let its AI system come up with suggestions for it.
Floating Toolbar
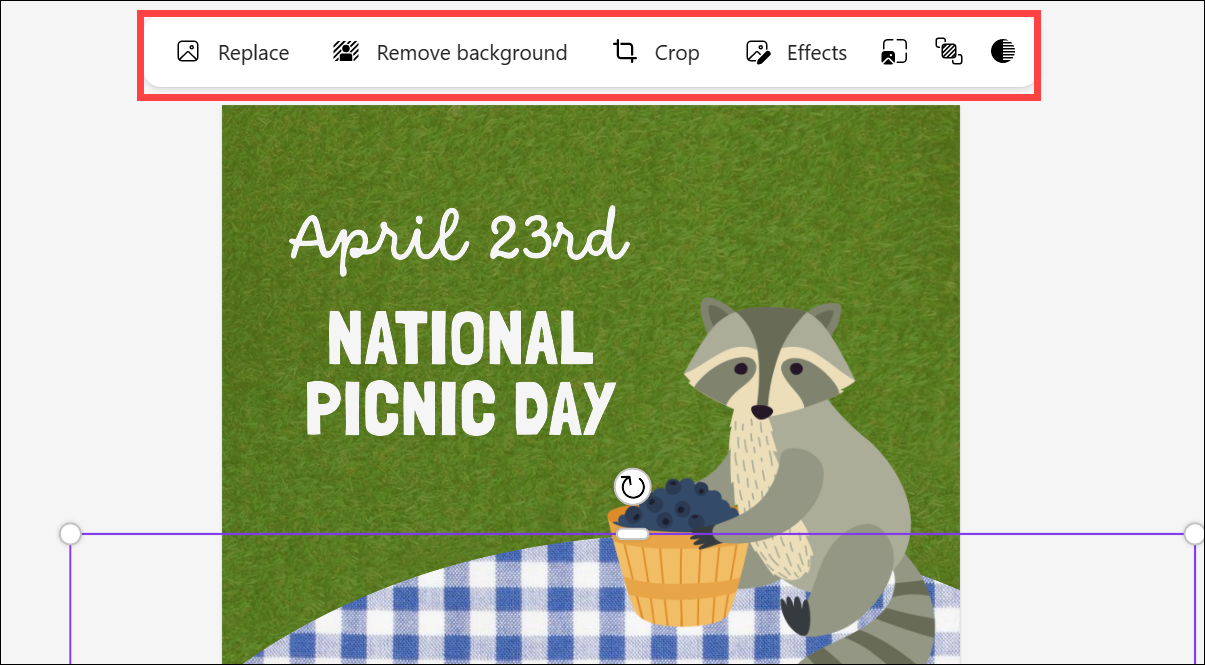
As you select an element in the design, say an image or text, a floating toolbar will appear on top of the design.
This floating toolbar will have different options, depending on the element selected.
For example, for an image, it might have options like ‘Replace’, ‘Remove Background’, ‘Crop’, ‘Effects’, ‘Set as Background’, ‘Position’, and ‘Opacity’. But the options can keep changing depending on the selected element.
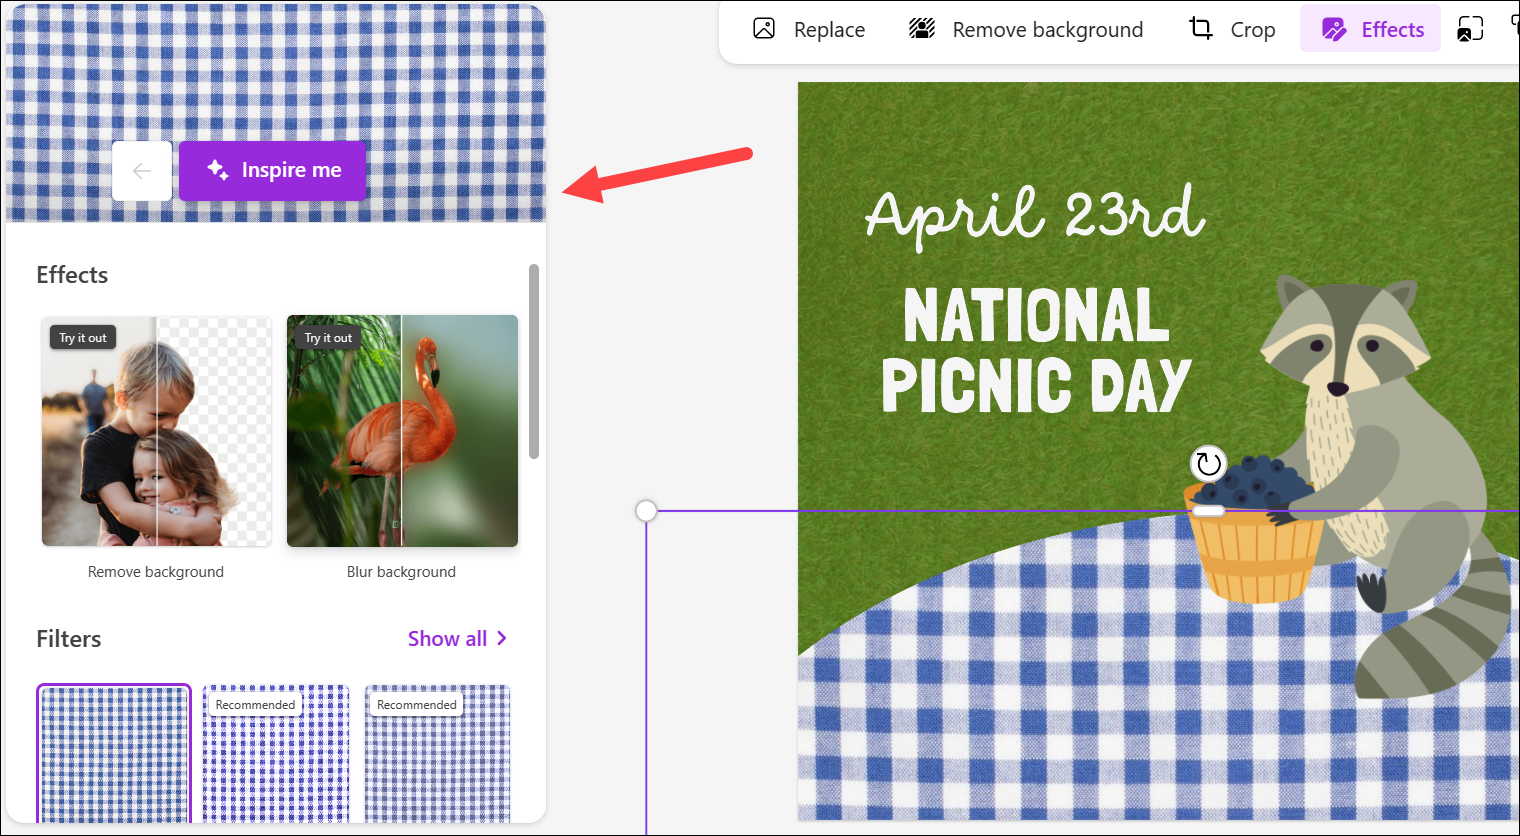
Depending on the option you choose, more options can appear either underneath the floating toolbar itself or in the secondary panel on the left.
For example, choosing ‘Effects’ will open the effects in the secondary panel. You can then choose from effects such as removing or blurring the background of the image or applying filters to it.
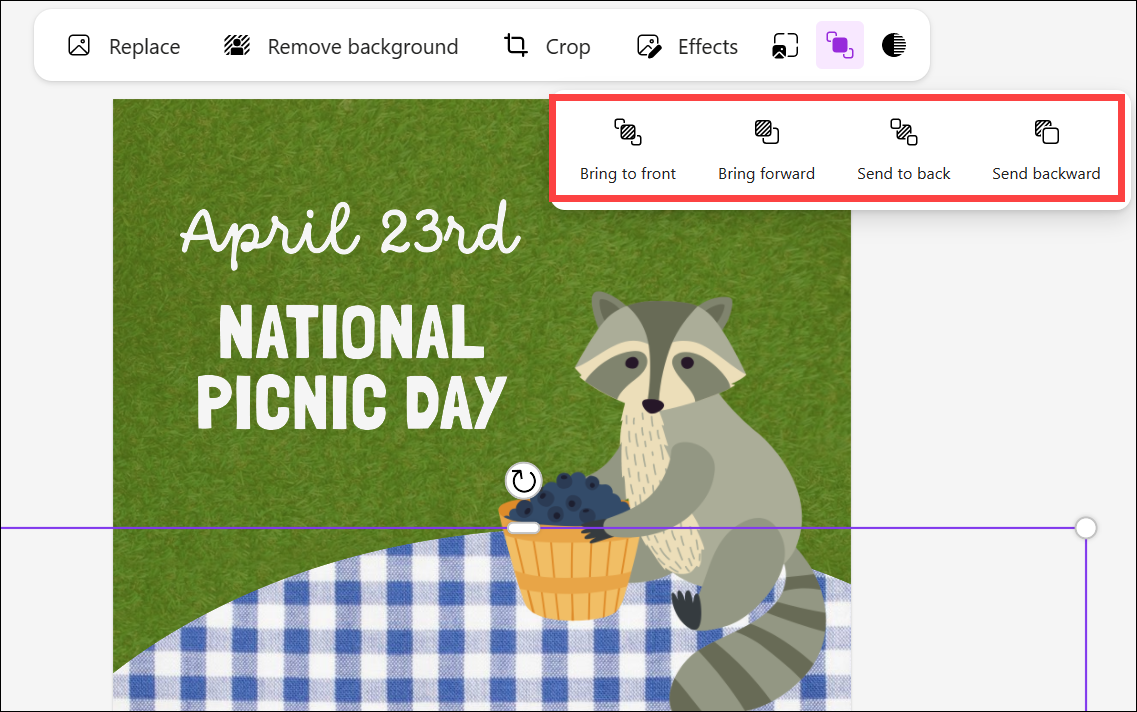
However, clicking the ‘Positions’ option will present more options, like sending the selected element to the back, front, etc. underneath the floating toolbar.
Use Design Ideas
If you get stuck at any stage, Designer can help you out. The app’s AI-powered ‘Design Ideas’ assistant can offer suggestions for improving your design or generate new ideas for you.
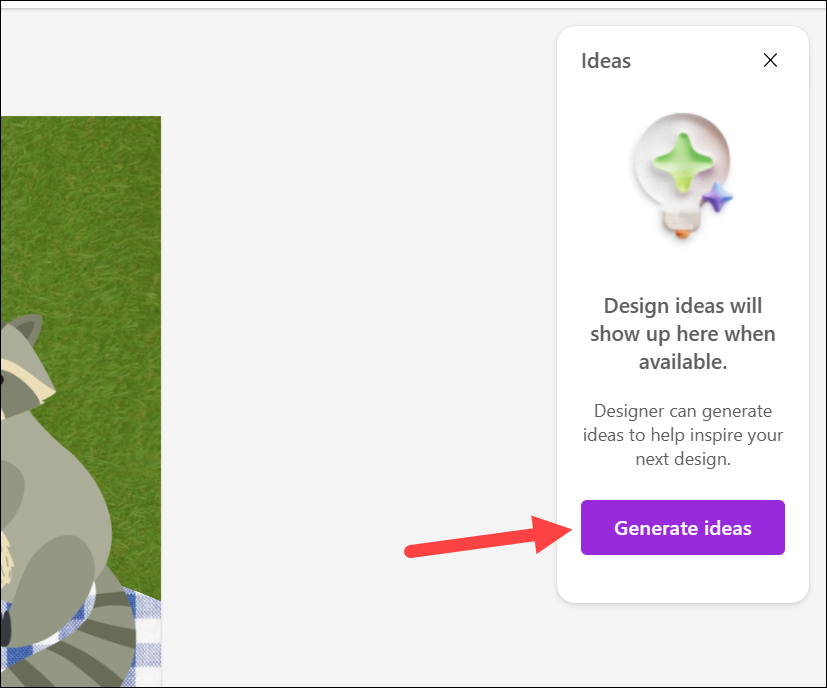
To generate new ideas for the design, go to the ‘Ideas’ panel on the right. If the panel is not visible, click the ‘circular button with sparkles (✨)’ to open it.
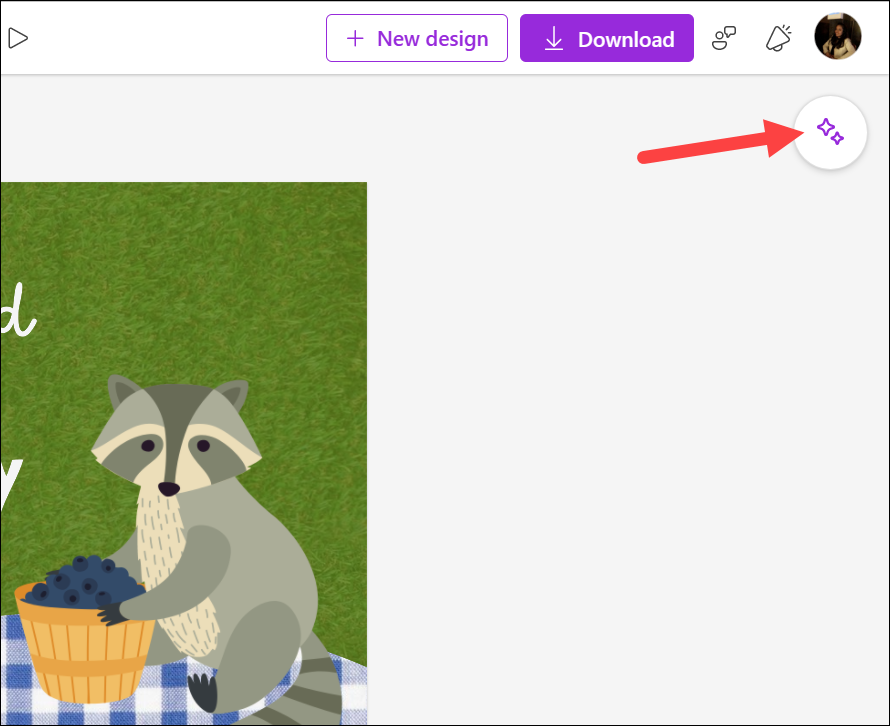
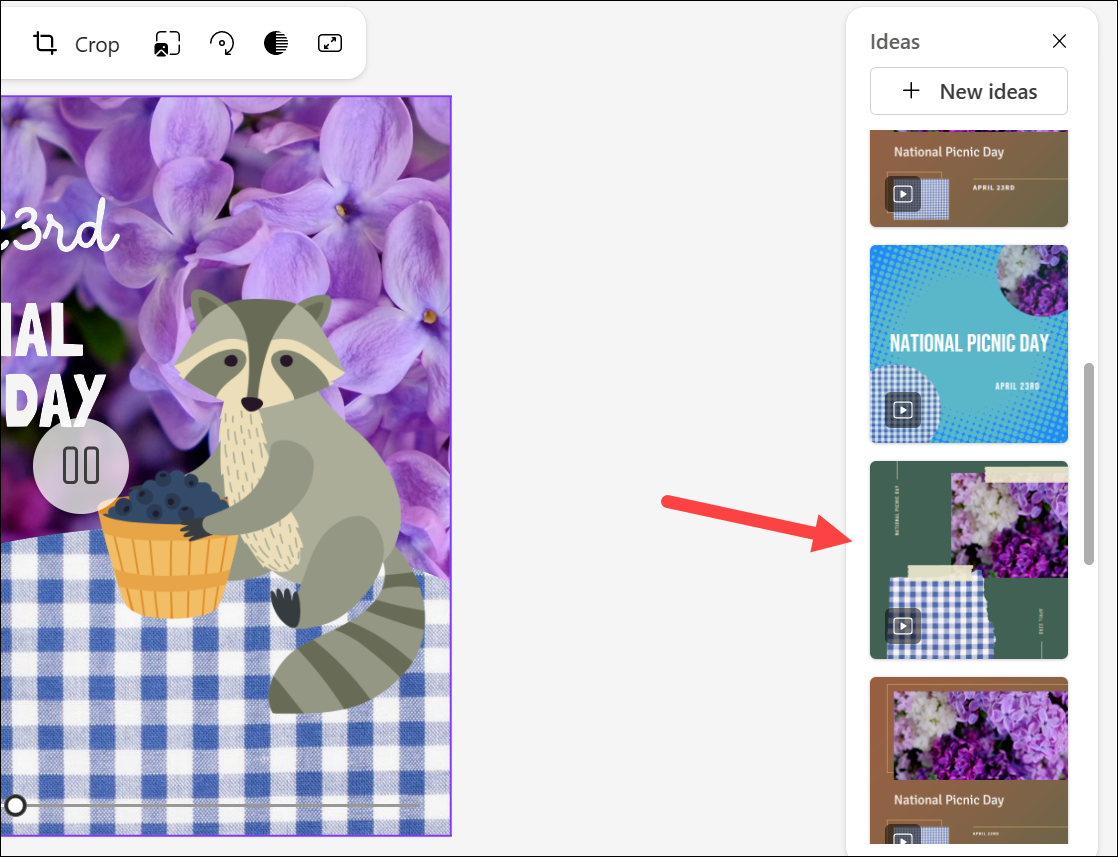
There’s a possibility that Designer might have already generated some ideas for your design; you can scroll through them. Otherwise, click ‘New Ideas’ to get the AI to generate more ideas.
Click a thumbnail for the idea to use it. Keep in mind that it will replace the current design.
If you don’t want to replace the current design, leave the Ideas panel alone and return to the tools on the left panel.
Download your Design
When you’re finished with your design, you can share it online or download it to your computer. The AI can help you even at this step.
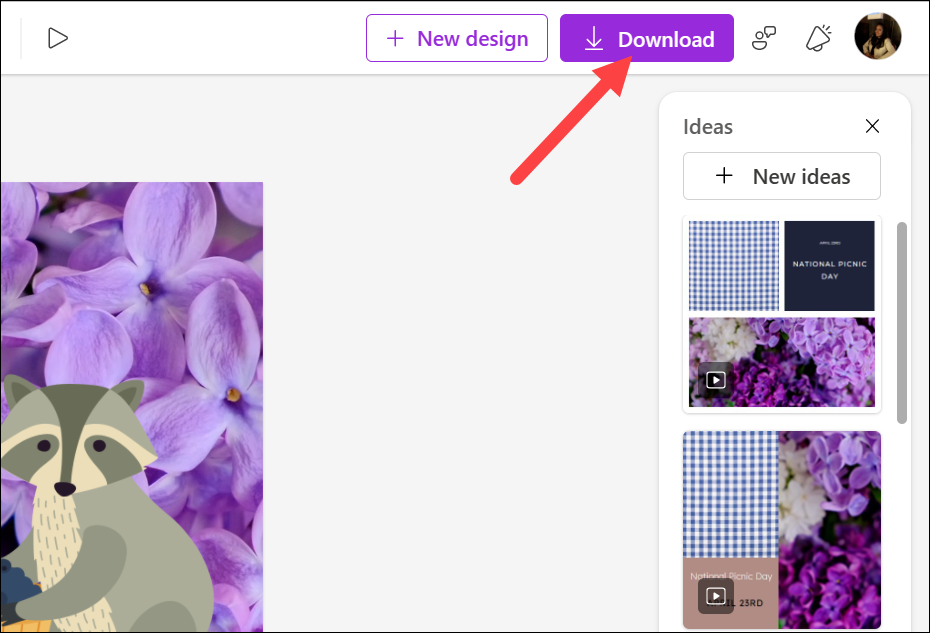
Click the ‘Download’ button from the top toolbar.
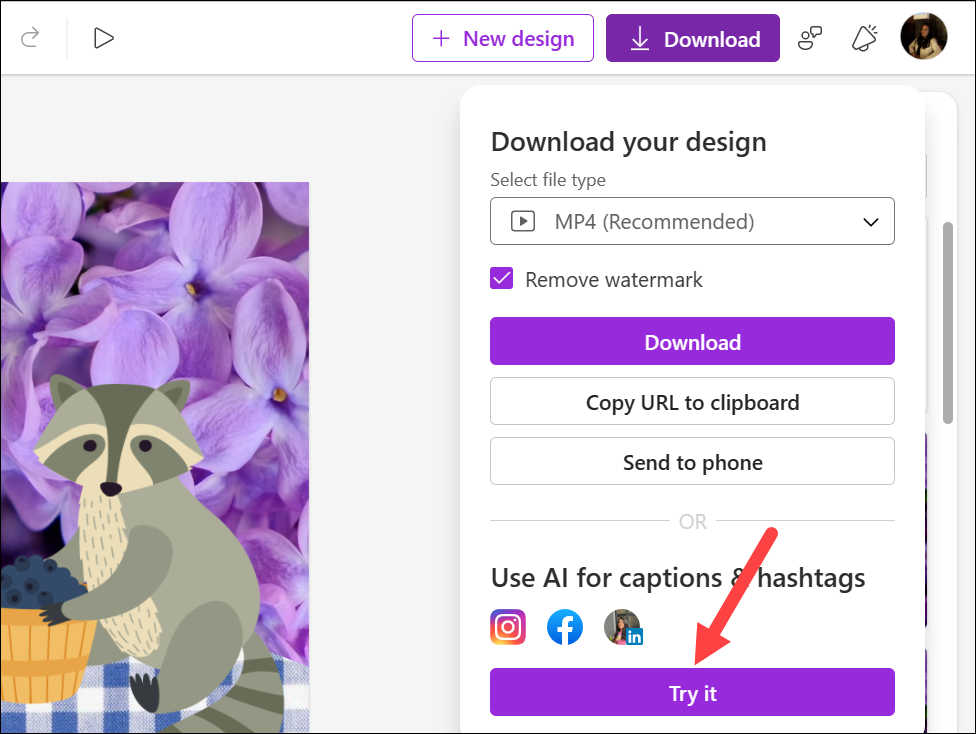
The Download menu will open. If you simply want to download it to your computer, choose the file type (although the recommended file type will already be chosen), check the ‘Remove watermark’ option, and click the ‘Download’ button. Alternatively, you can also send it to your phone using a QR code.
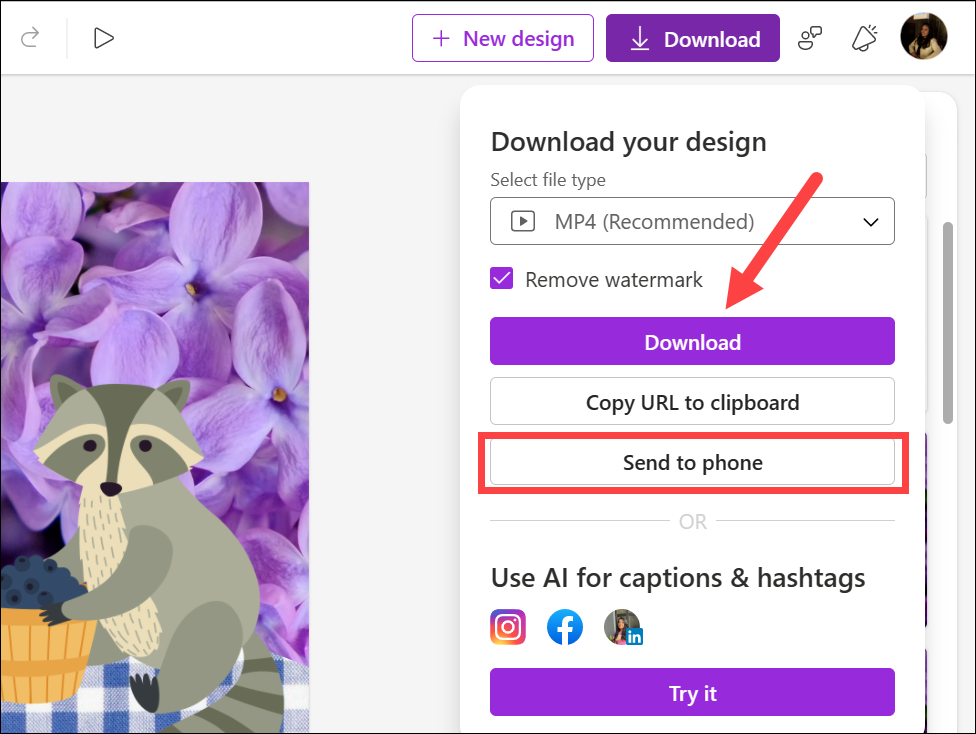
But if you want to share the design to social media sites like Instagram, Facebook, or LinkedIn, not only can you directly share it, the AI can even help you generate captions and hashtags.
Click the ‘Try It’ button to post to social media. You’ll need to connect your account to use the AI service for generating captions and hashtags. For Instagram and Facebook, only Instagram Business accounts and Facebook pages are supported at this moment.
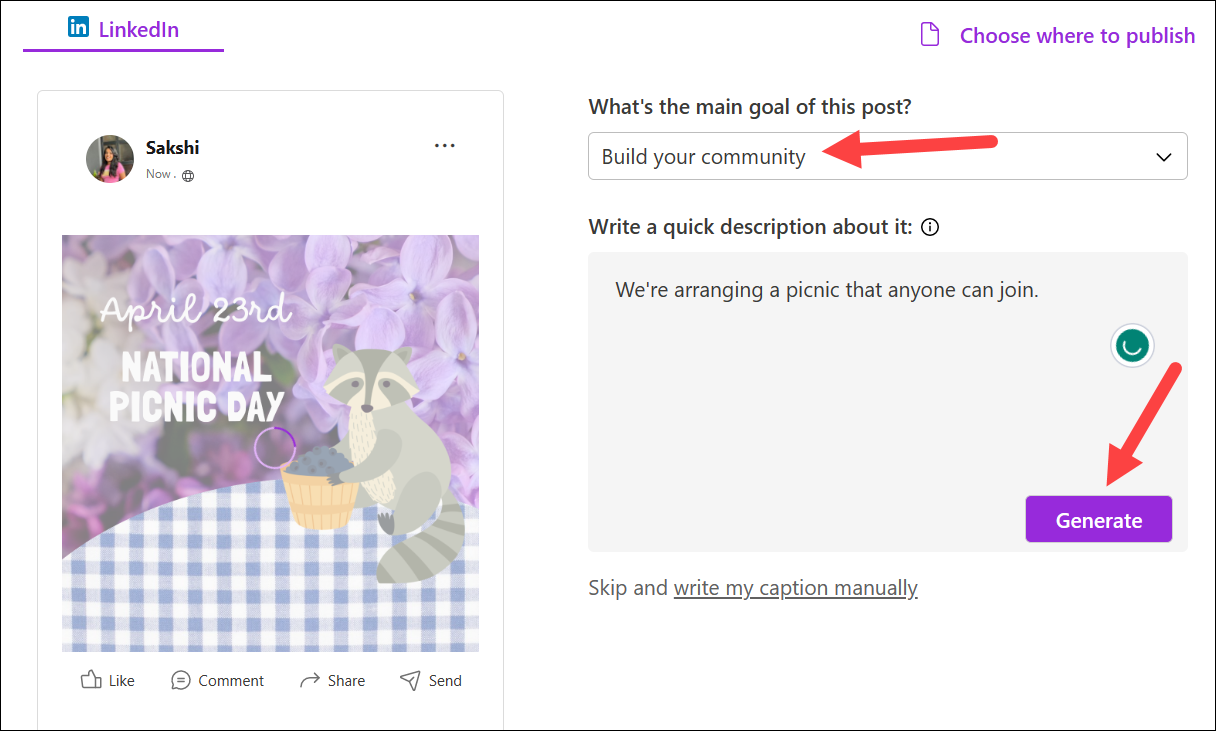
After connecting your account, tell the AI the goal of the post and give a brief description of what the caption should be.
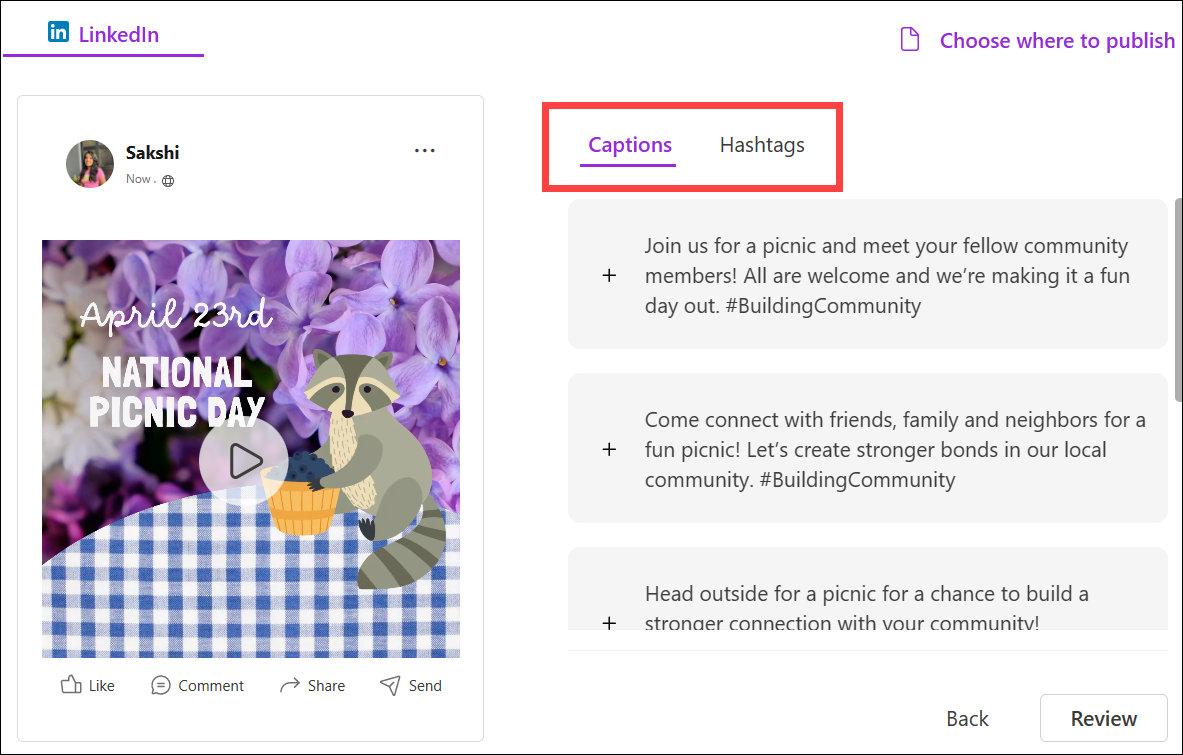
It will generate a few sample captions and a list of possible hashtags. You can select the caption and hashtags you want to use and then post the design to your account.
Microsoft Designer is a powerful tool that can help you create beautiful, professional-looking designs without any design experience. However, I wouldn’t go as far as calling it the best tool in existence out there. It still has a long way to go before it can even be in the same lane as them. But for users who want a tool where AI can do almost everything for them, it is definitely a tool to keep in your arsenal.