When installing third-party applications on your Windows 11 computer, you might encounter a warning message: “The app you’re trying to install isn’t a Microsoft-verified app.” This can be an obstacle when you need to install software that isn’t available in the Microsoft Store. Fortunately, you can adjust your system settings to bypass this message and install apps from any source you trust.
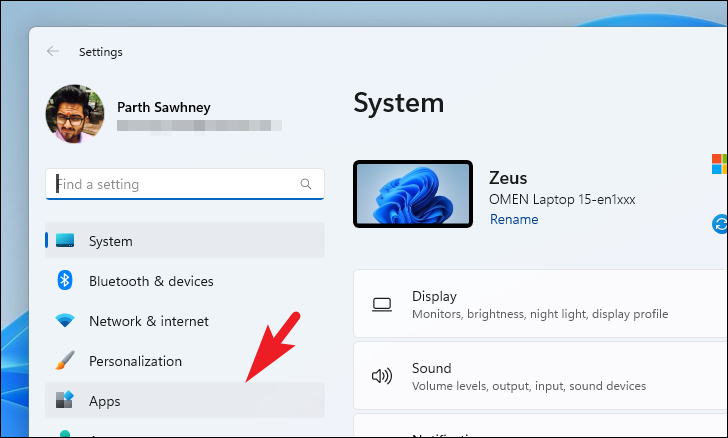
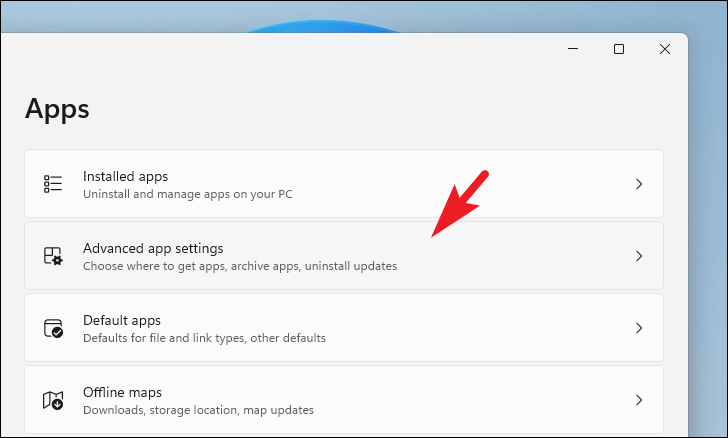
Disable Microsoft-verified App from the Settings App

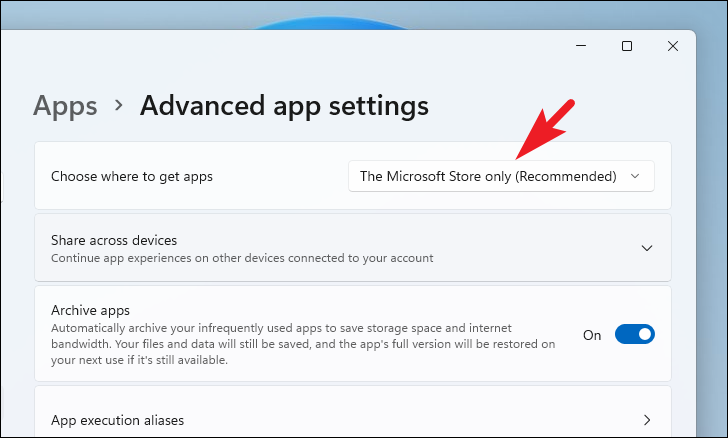
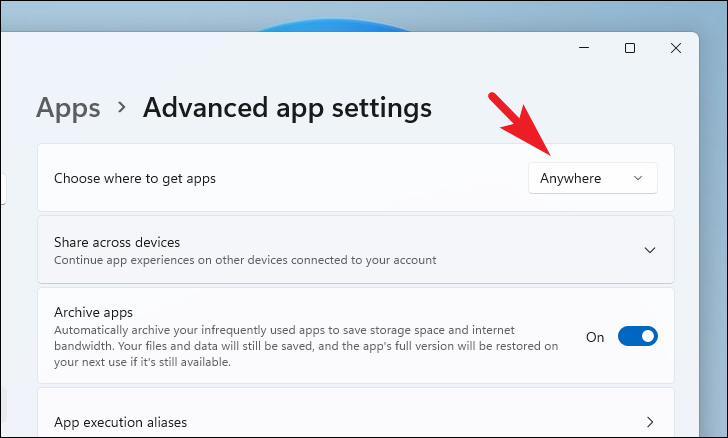
After making this change, you’ll be able to install applications from any source without seeing the Microsoft-verified app warning. Be cautious when installing apps from the internet, and ensure they’re from reputable sources to protect your system.
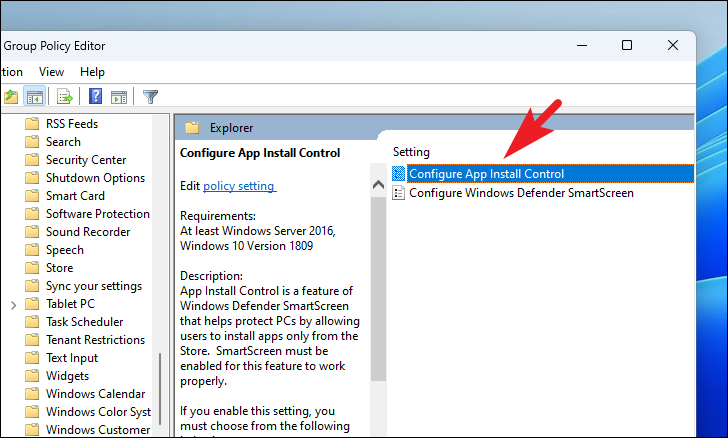
Use Group Policy Editor
If you prefer using the Group Policy Editor or need to apply this setting across multiple devices, you can disable the warning through Group Policy.
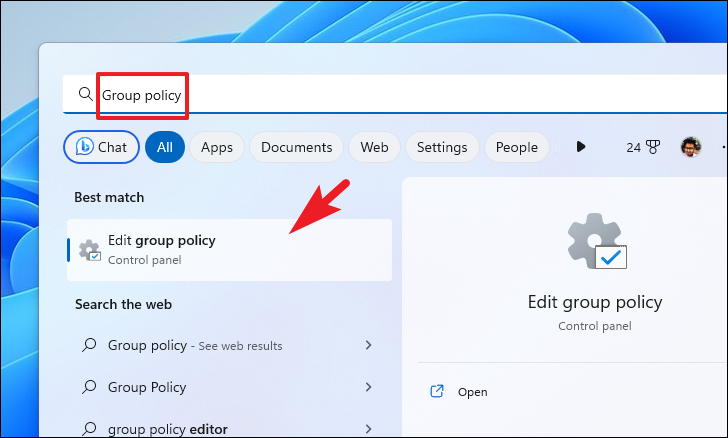
Group Policy in the search bar, and select Edit group policy from the results.
Computer Configuration > Administrative Templates > Windows Components > Windows Defender SmartScreen > Explorer.
Enabled. Under the Options section, choose Turn off app recommendations from the dropdown menu. Click Apply and then OK to save the changes.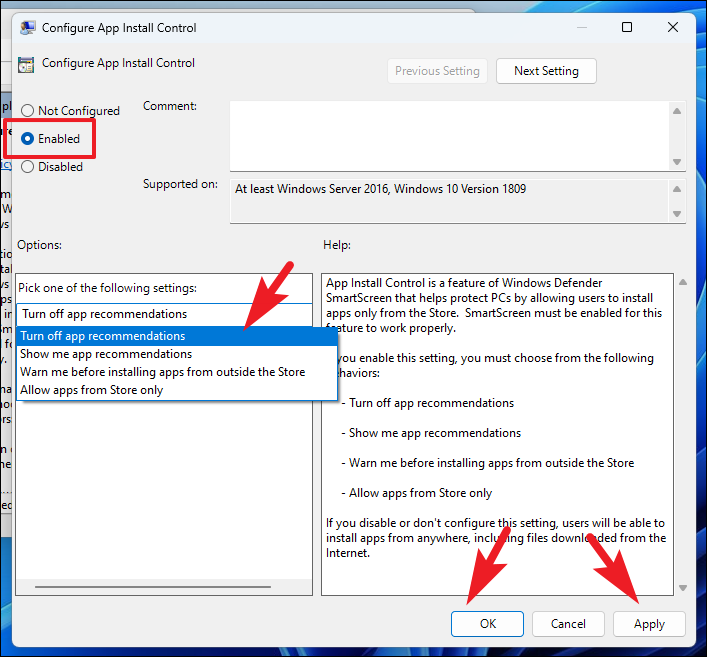
After completing these steps, the warning message should no longer appear when installing apps from non-Microsoft sources.
Disable Microsoft Store Entirely
If you want to prevent access to the Microsoft Store altogether, you can disable it using one of the following methods: Registry Editor, Group Policy Editor, or Local Security Policy. This can be useful in organizational settings where installing new apps is restricted.
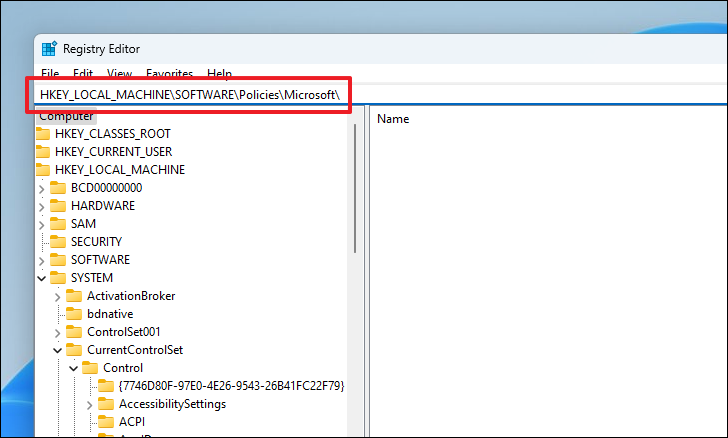
Using Registry Editor
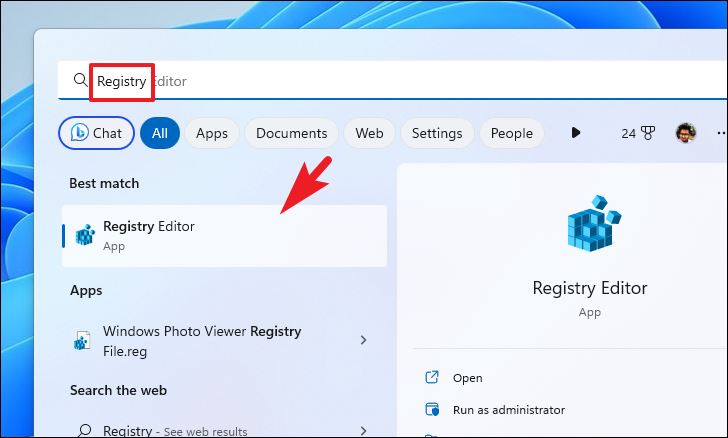
HKEY_LOCAL_MACHINE\SOFTWARE\Policies\Microsoft\
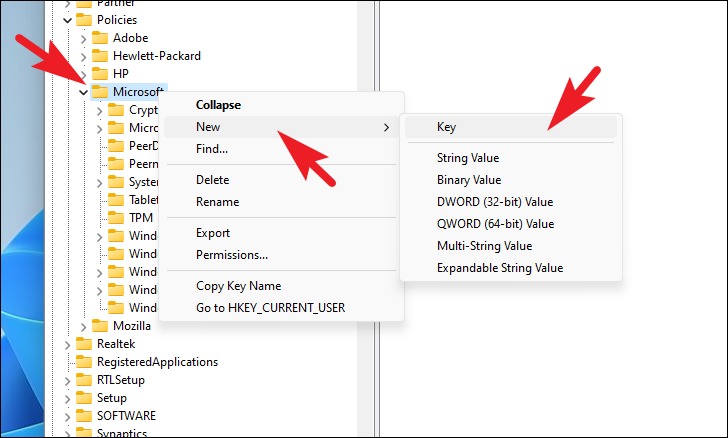
WindowsStore key selected, right-click on the right pane, choose New, and select DWORD (32-bit) Value. Name this new value RemoveWindowsStore.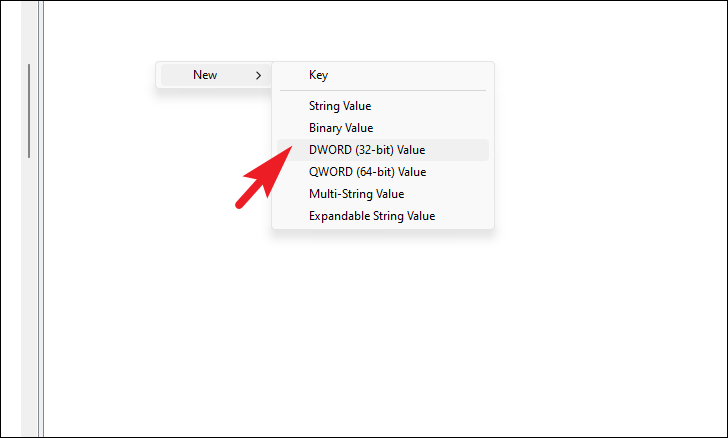
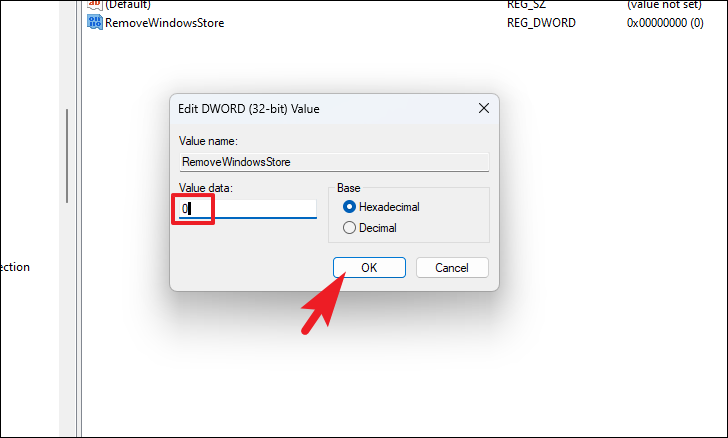
Restart your computer to apply the changes. The Microsoft Store should now be disabled.
Use Group Policy Editor
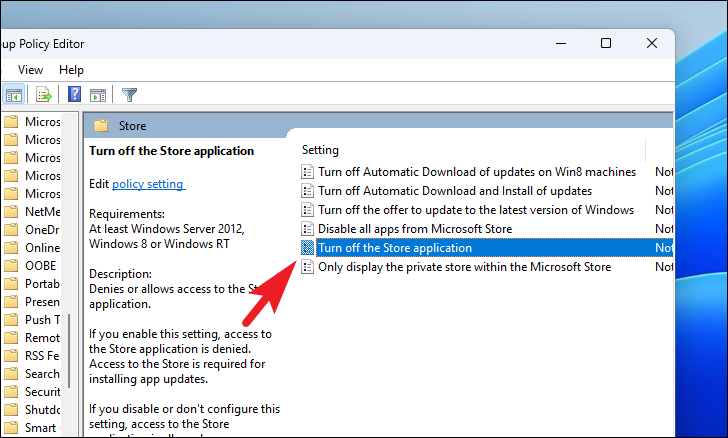
Computer Configuration > Administrative Templates > Windows Components > Store.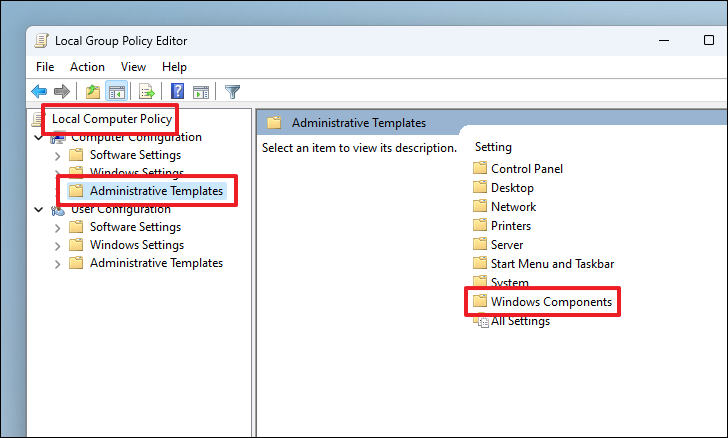
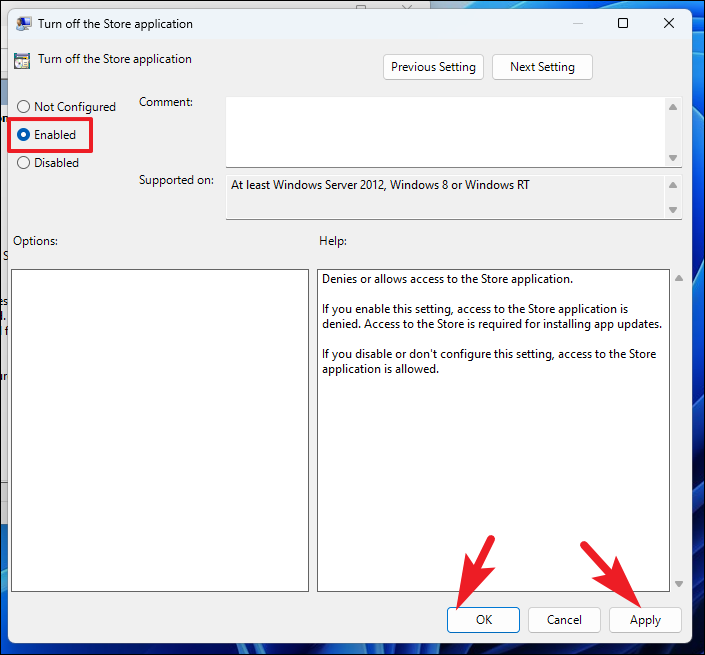
Restart your computer to apply the new policy. The Microsoft Store will now be inaccessible.
Use Local Security Policy
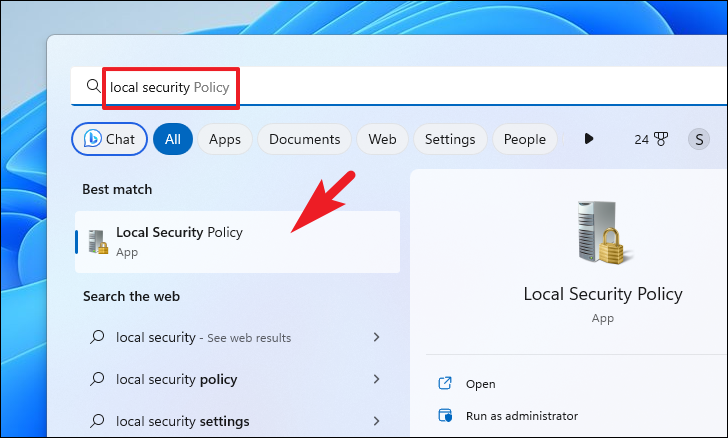
Software Restriction Policies, then click on Additional Rules.
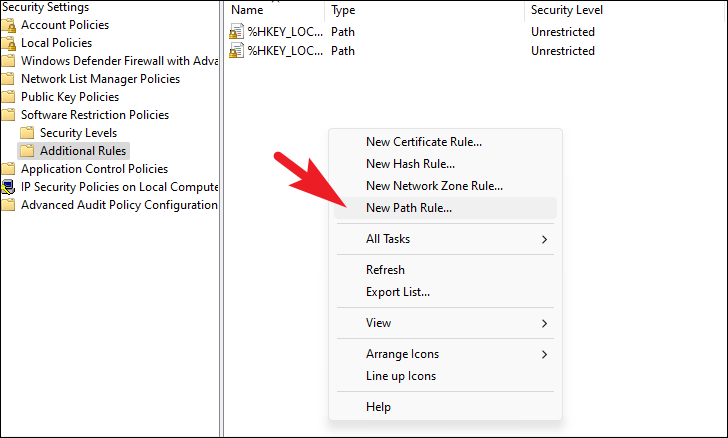
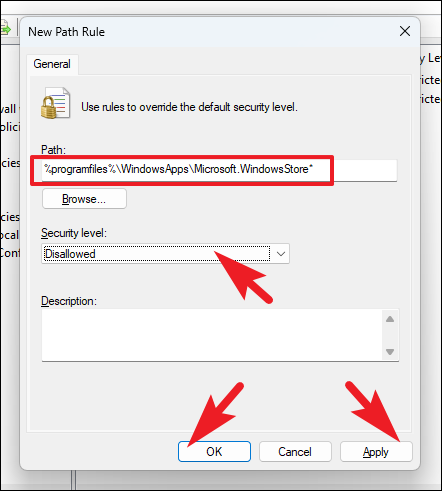
%programfiles%\WindowsApps\Microsoft.WindowsStore*
Set the Security level to Disallowed, then click Apply and OK.
Restart your computer to enforce the changes. Access to the Microsoft Store should now be blocked.
By following these methods, you can disable the Microsoft-verified app warning and even restrict access to the Microsoft Store if necessary. Always ensure that you trust the sources of the applications you install to maintain the security of your system.