
Microsoft Power Automate is a powerful tool integrated into Windows 11 that allows users to automate repetitive and time-consuming tasks. Formerly known as Microsoft Flow, this low-code application harnesses robotic process automation capabilities to streamline workflows across various Microsoft and third-party applications. Whether you want to schedule data transfers between systems or trigger emails based on specific events, Power Automate can help you focus on more important tasks by handling the mundane ones.
This guide will walk you through setting up Power Automate on Windows 11 and creating your own automation flows using both the Desktop and Web recorders.
Setting up Power Automate in Windows 11
To get started with Power Automate, you need to ensure your system meets the minimum requirements: a valid Windows 10 or 11 license, at least 2GB of RAM, 1GB of available storage, .NET Framework 4.7.2 or later, an updated web browser, and an active internet connection. Additionally, you should have a supported language and keyboard layout. You can find the list of supported languages and keyboard layouts on the official Microsoft page.
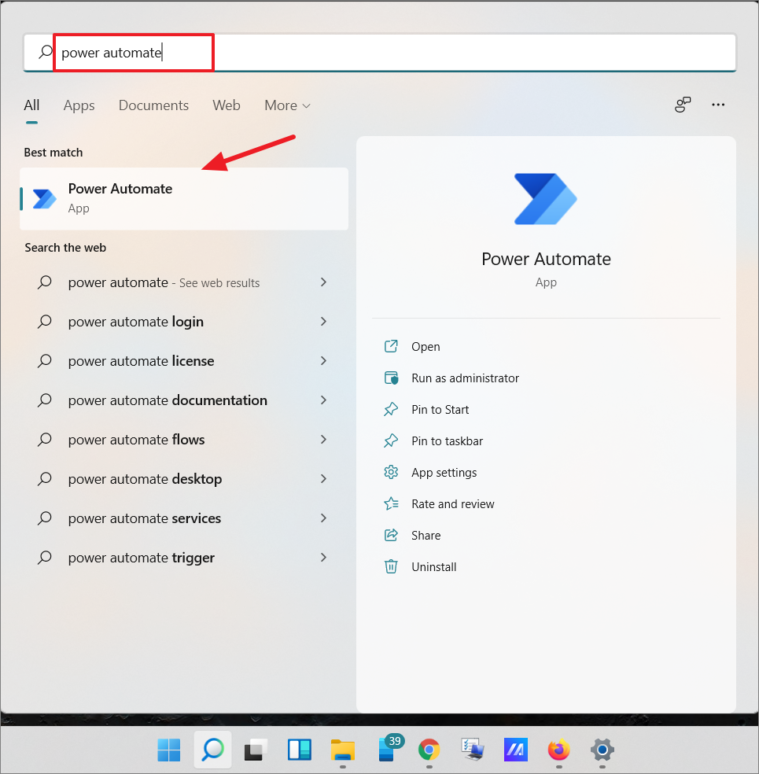
On Windows 11, Power Automate comes pre-installed. To access it, simply search for ‘Power Automate’ in the Windows search bar and open the application from the results.
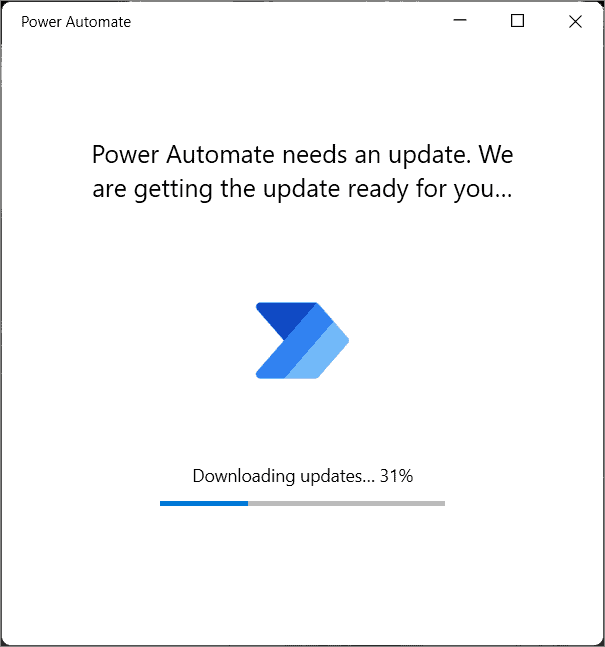
If it’s your first time launching Power Automate, it will check for updates and automatically download the latest version. Please wait while it completes the update process.
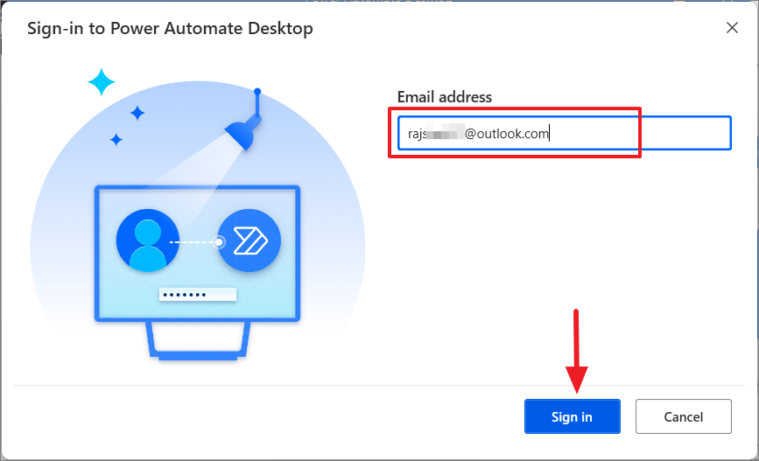
After updating, the Power Automate Desktop window will prompt you to sign in with your Microsoft account. Click on the Sign in button to proceed.

Enter your email address and click Sign in.
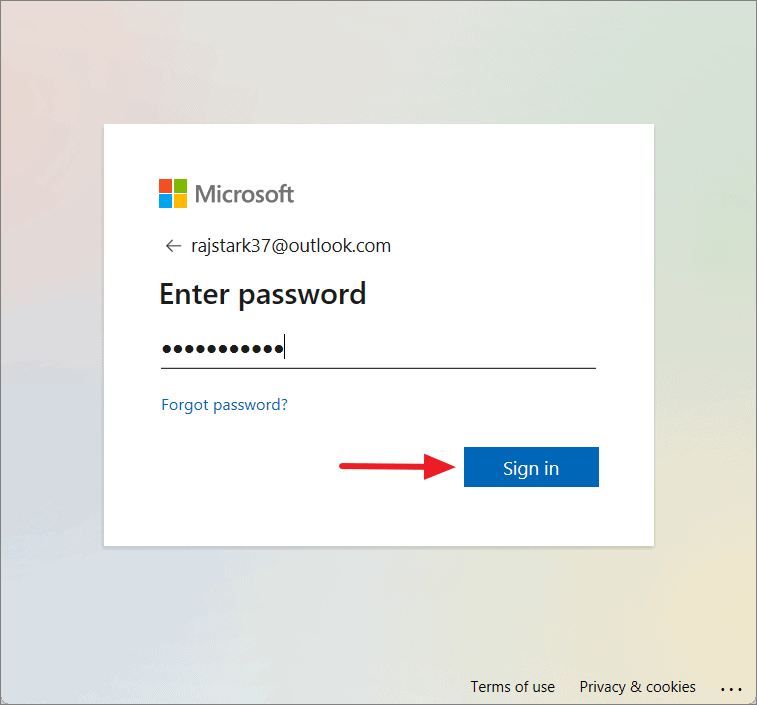
Then, provide your password and click Sign in again.
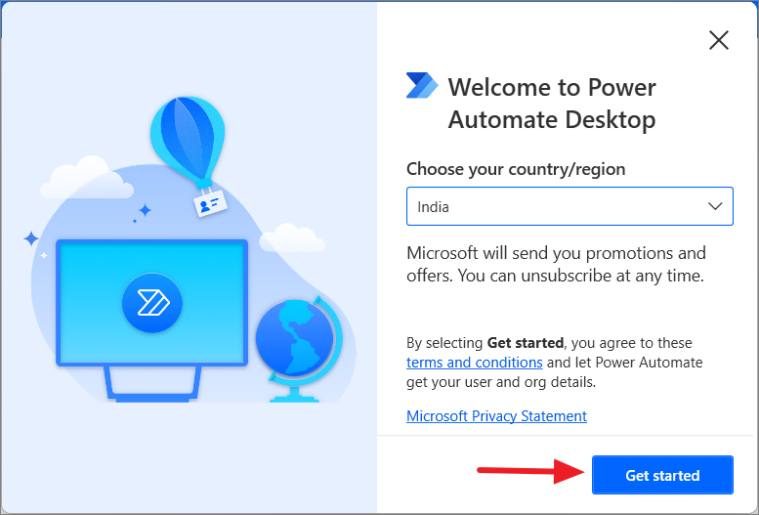
Select your country or region and click Get started to complete the setup.
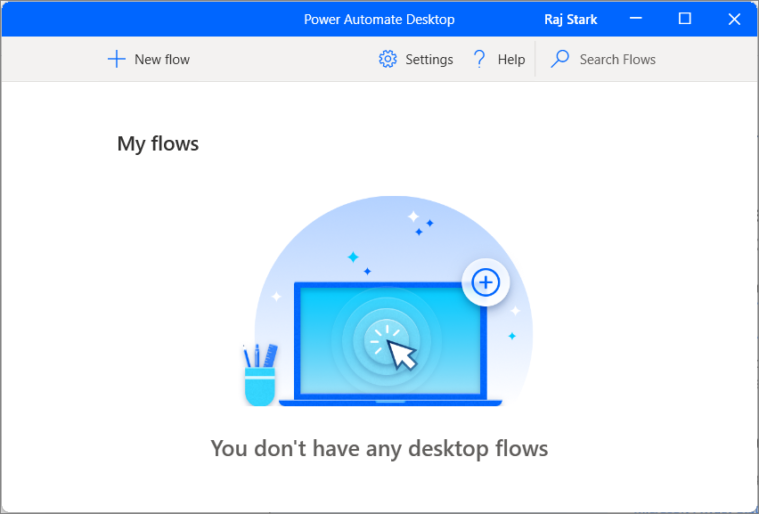
Once set up, the Power Automate Desktop window will open, and you’re ready to create your automation flows.
Creating automation in Power Automate on Windows 11
With Power Automate Desktop, you can build flows to automate tasks. These flows can be created using pre-built actions or by recording a series of steps that you perform manually. Here’s how you can create a new flow:
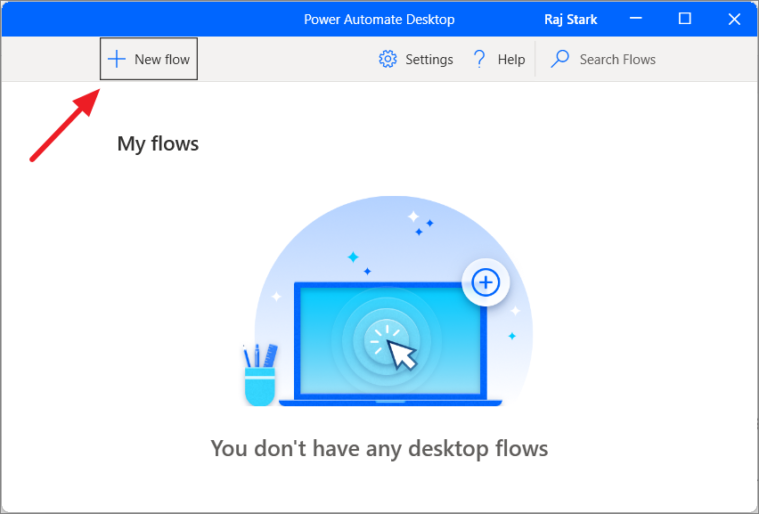
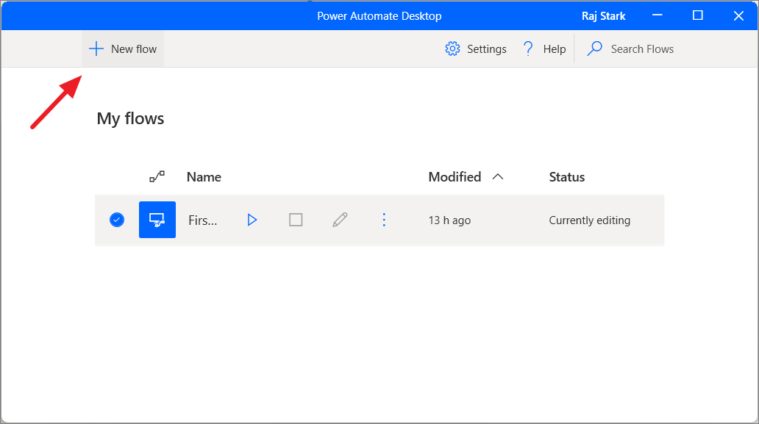
- In the Power Automate Desktop window, click on the + New Flow button at the top left corner.
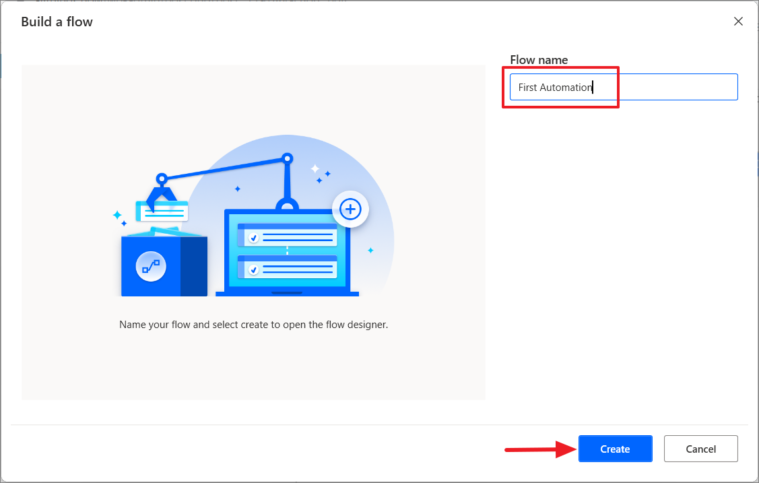
- Enter a name for your flow and click Create.
This will open two windows: the My flows page, where you can manage your flows, and the flow editor, where you can design your automation.
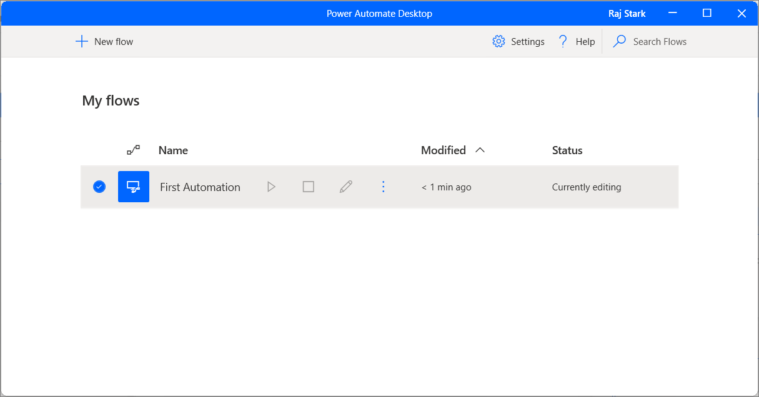
If the flow editor doesn’t open automatically, double-click on your flow’s name on the My flows page to open it.
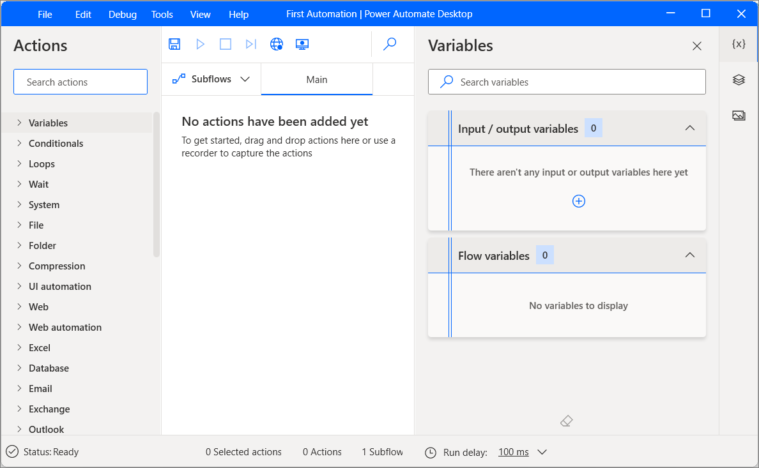
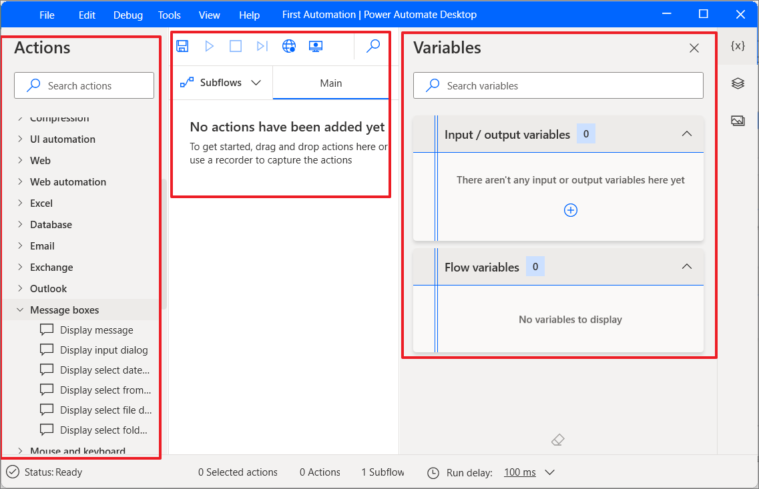
The flow editor is divided into three sections:
- The Actions pane on the left contains all the pre-built actions you can use.
- The Main pane in the center is where you build and edit your workflow.
- The Variables pane on the right displays input, output, and flow variables.
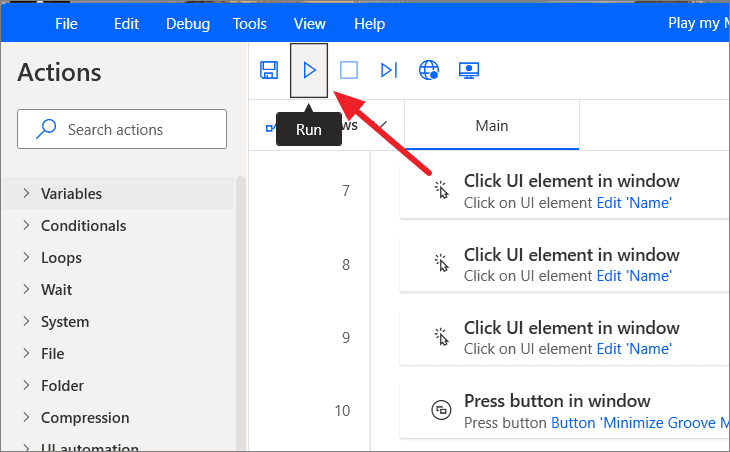
At the top of the main pane, you’ll find buttons like Save, Run, Stop, Run action by action, Web recorder, and Desktop recorder.
You can create a flow by either dragging and dropping actions from the Actions pane or by recording a sequence of steps using the recorders. You can also combine both methods for more complex tasks.
Building a workflow and automating a task using the Desktop recorder
The Desktop recorder lets you capture the steps you perform manually so that Power Automate can replicate them later. This is especially useful for automating tasks that involve multiple actions, such as opening applications, navigating menus, or entering data. Here’s how to use the Desktop recorder:
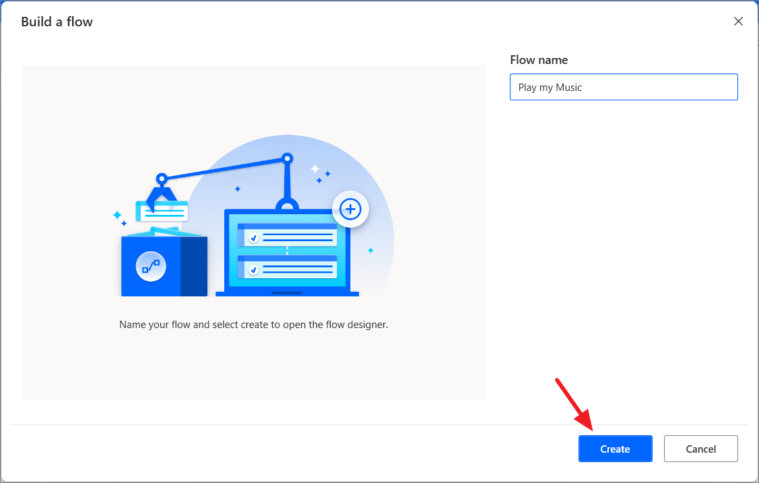
- Create a new flow by clicking on the New Flow button.
- Name your flow and click Create.
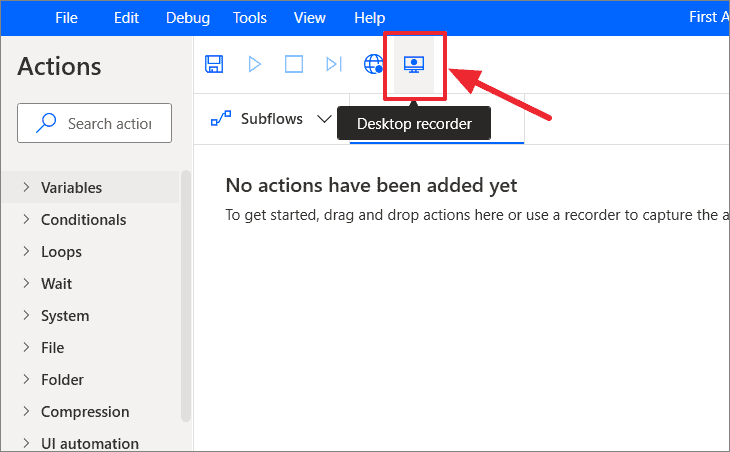
- In the flow editor, click on the Desktop recorder button at the top.
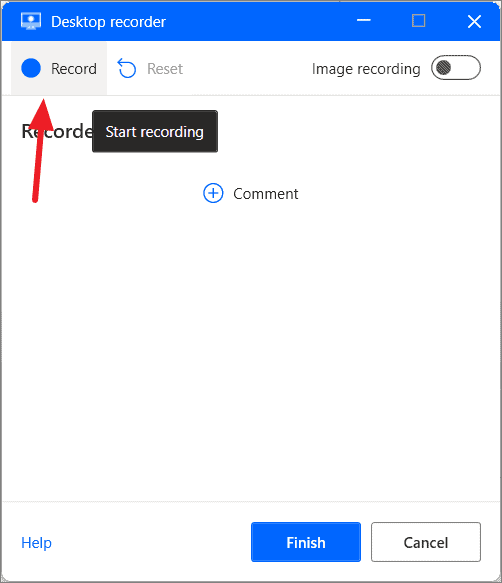
- In the Desktop recorder window, click Record.
- Minimize the recorder and perform the actions you want to automate. As you interact with applications, the recorder will capture each step, highlighting elements with a red rectangle.
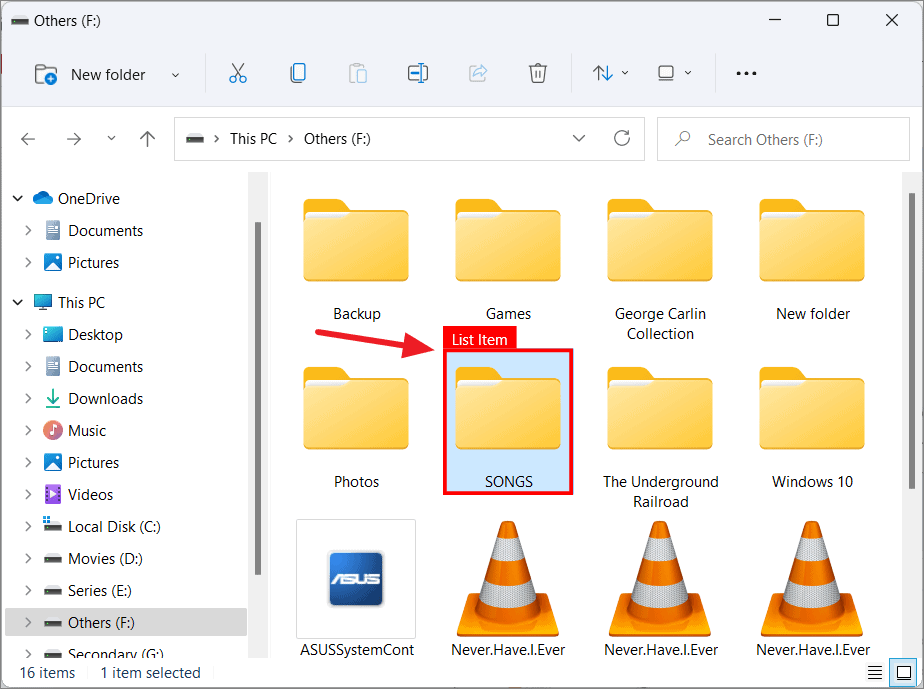
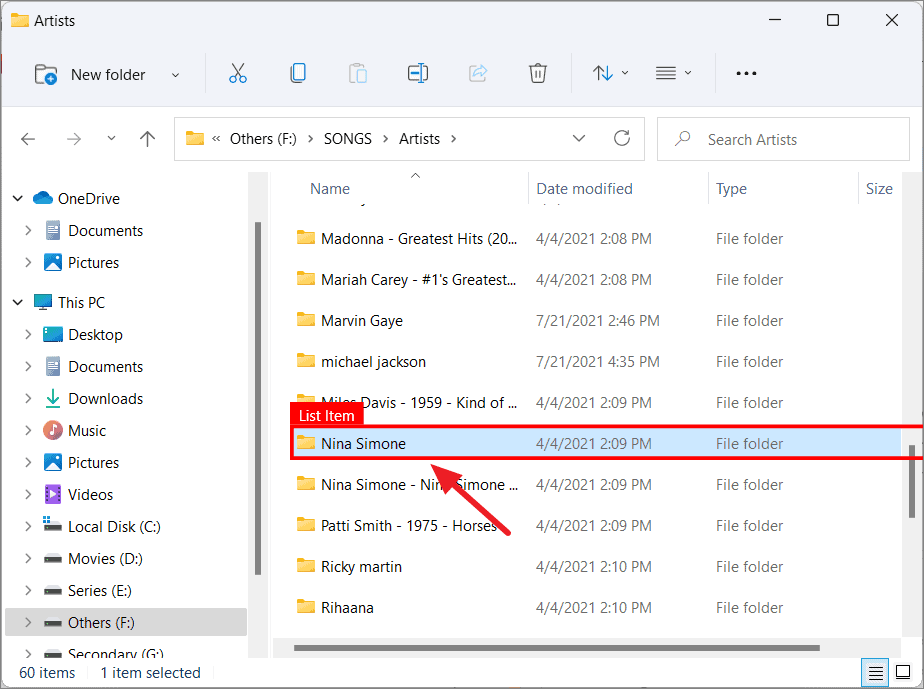
For example, if you want to automate playing a specific song every morning:
- Open File Explorer and navigate to the folder containing your music.
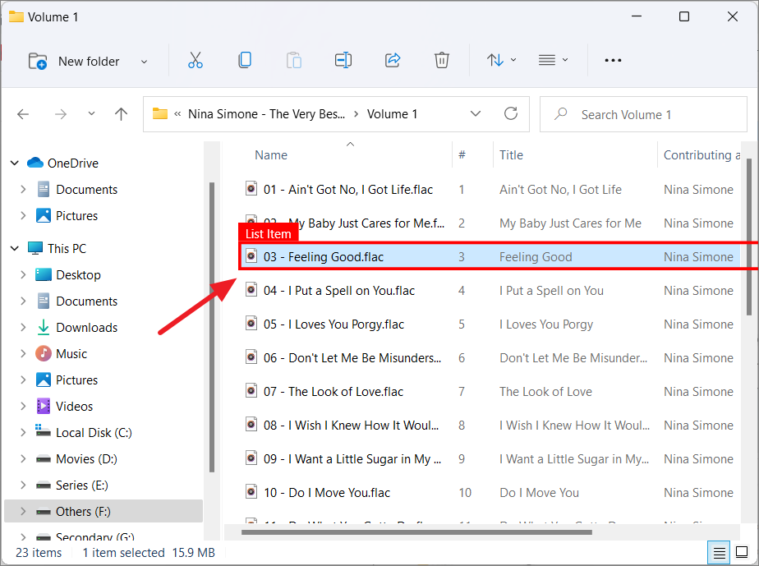
- Double-click on the song to play it.

- Minimize the music player and close File Explorer.
- Once you’ve completed the actions, restore the Desktop recorder and click Finish.
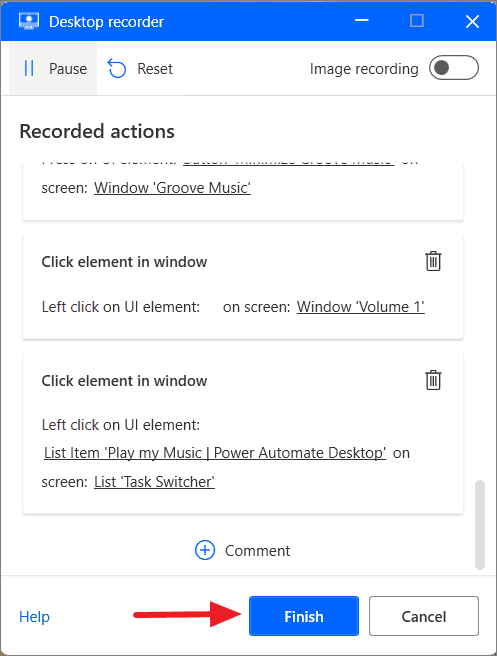
- Review the recorded steps in the flow editor and click the Save icon to save your flow.
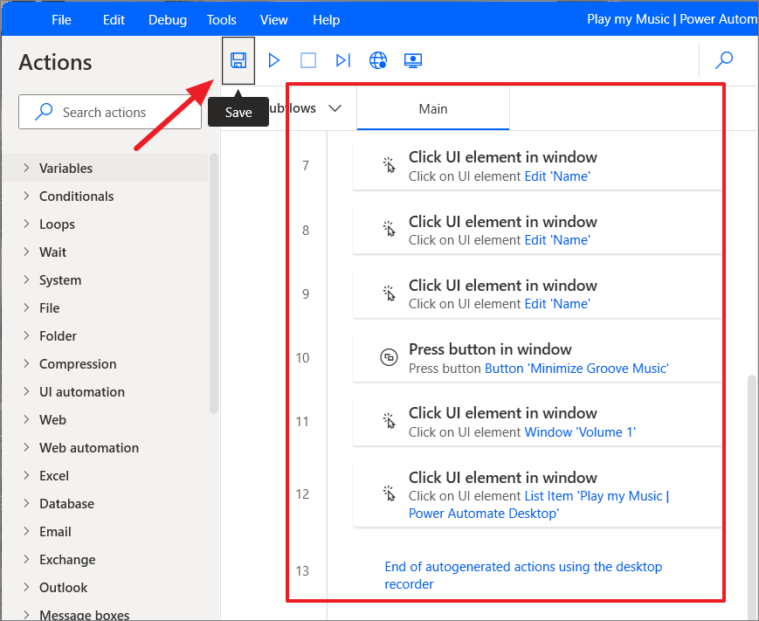
After saving, you can run the flow by clicking the Run button. Power Automate will replicate the steps you recorded, automating the task with a single click.
If you need to pause the recording at any point, click the Pause button in the Desktop recorder. To resume, click Record again. If you want to start over, click the Reset icon to discard the current recording.

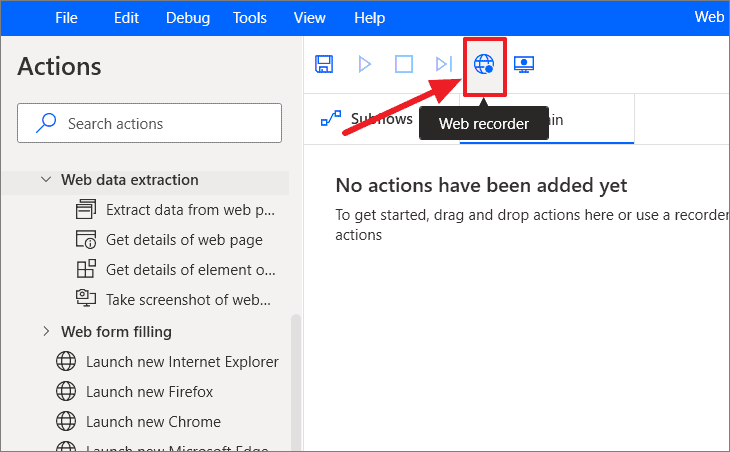
Building a flow using the Web recorder
The Web recorder allows you to automate tasks in web browsers, such as filling out online forms or navigating websites. Before you can use the Web recorder, you need to set it up:
Configuring the Web recorder
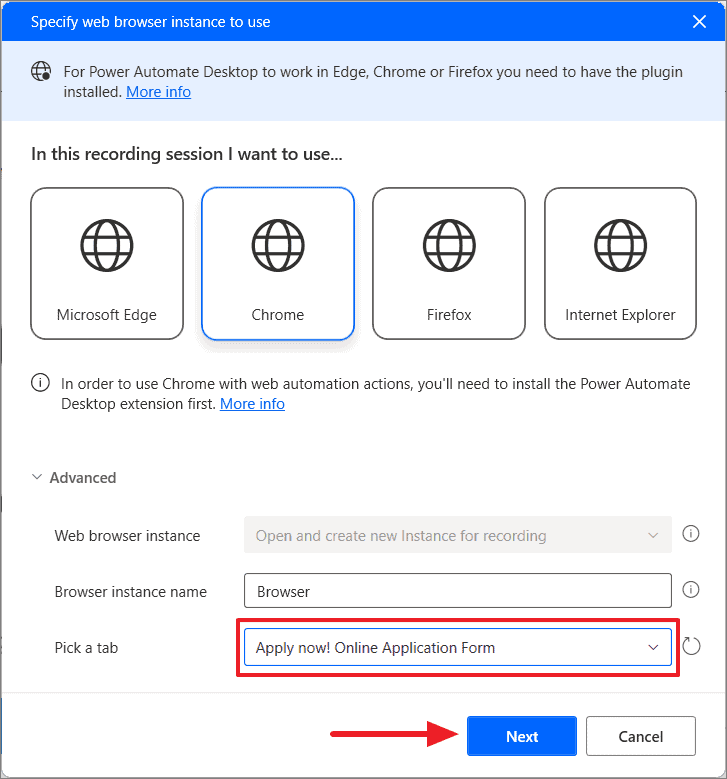
- In the flow editor, click on the Web recorder button.
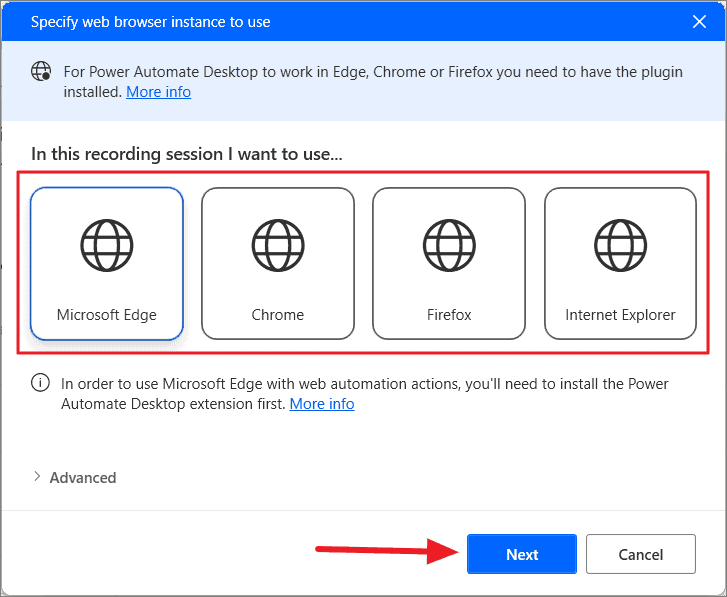
- Select the web browser you want to use and click Next.
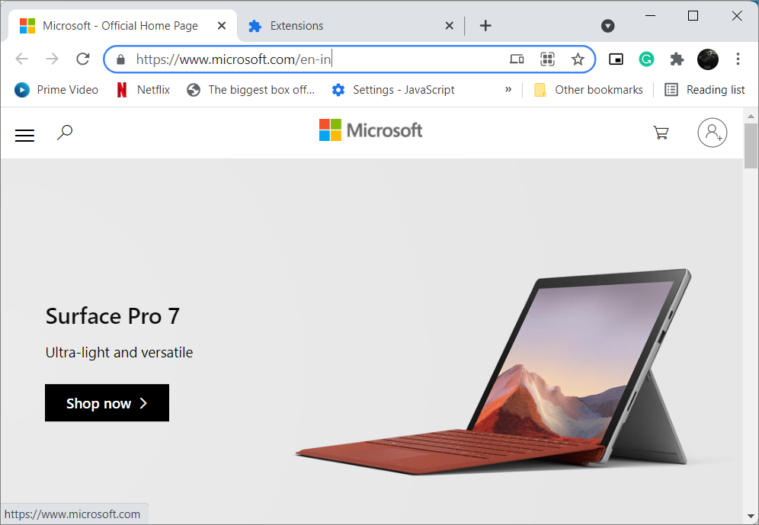
The Web recorder will open along with the selected browser.
If prompted, install the Power Automate Desktop extension for your browser by clicking Get Extension and following the instructions for your browser.

Once the extension is installed, you can start recording web actions.
Using the Web recorder
For instance, if you need to fill out multiple online forms, you can automate this process:
- In the flow editor, click the Web recorder icon.
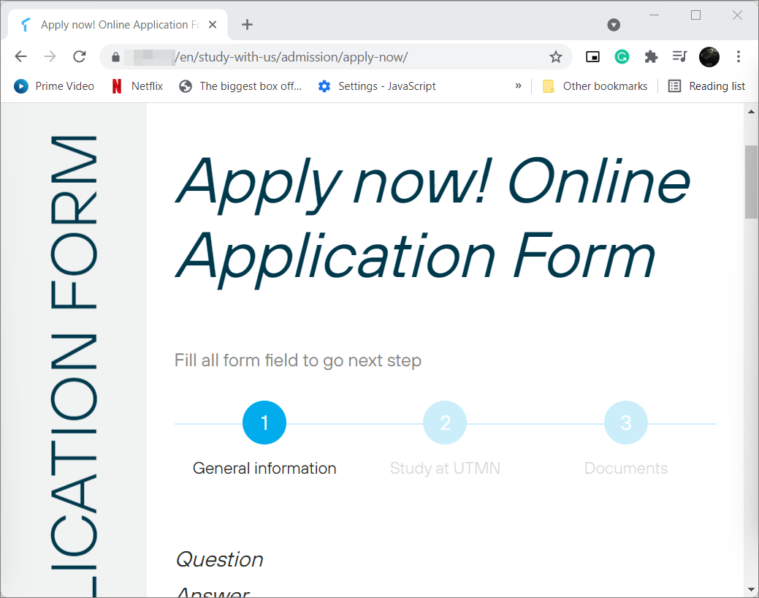
Ensure that the webpage you want to automate is open in your browser.
- In the Web recorder window, select the browser and the tab containing the webpage, then click Record.
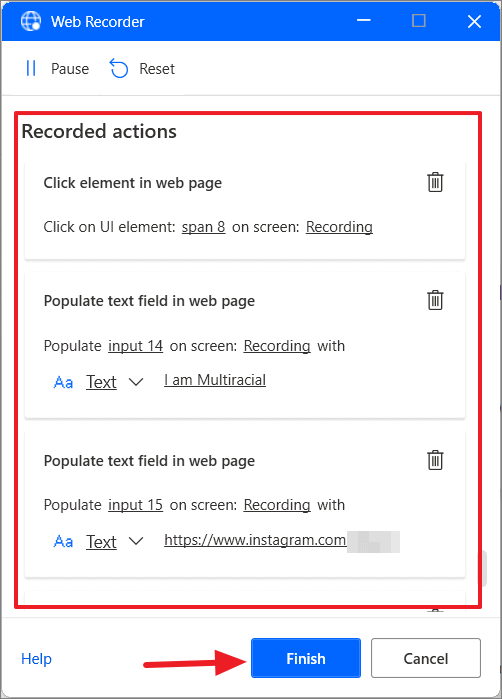
- As the webpage opens, perform the actions you want to automate, such as entering data into form fields and clicking buttons. The recorder will highlight elements with a red box as you interact with them.
- Once you have completed all the steps, click the Finish button on the Web recorder.
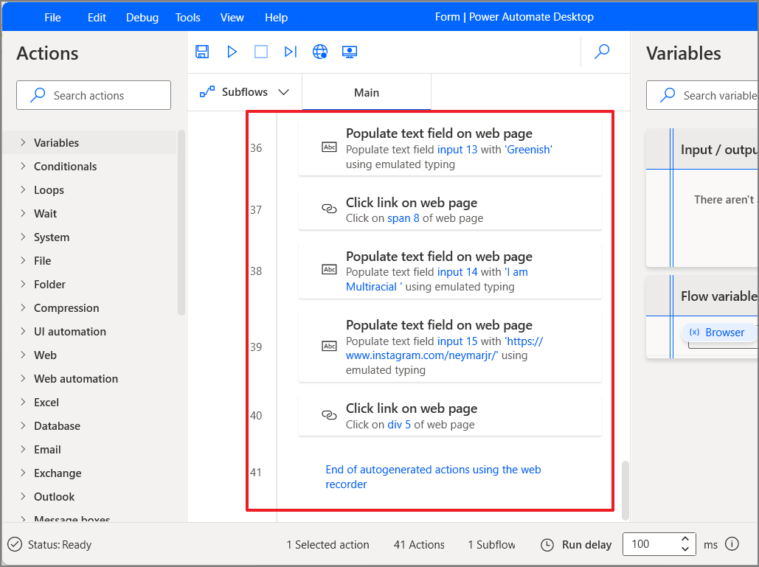
- Review the recorded actions in the flow editor and click Save to store your flow.
Now, you can run the flow to automate filling out the form whenever needed. Power Automate will replicate your actions, saving you time and effort.
Power Automate Desktop offers extensive capabilities for automating a wide range of tasks in Windows 11. By utilizing the Desktop and Web recorders, you can streamline repetitive processes and increase productivity.


