
Minecraft, a standout sandbox game since its 2011 debut, continues to captivate players worldwide. Available on multiple platforms—including consoles, PCs, and mobile devices—the game remains fresh and exciting through regular updates that introduce new content like skins and adventure maps. These updates not only add features but also fix bugs, enhance performance, and improve device compatibility. Therefore, keeping your Minecraft game updated on Windows 11 is essential for the best gaming experience.
Update Minecraft Bedrock Edition via Microsoft Store
If you have the ‘Minecraft for Windows 10’ (Bedrock Edition) installed through the Microsoft Store, the most straightforward way to update the game is through the store itself. Here’s how to manually check for updates:
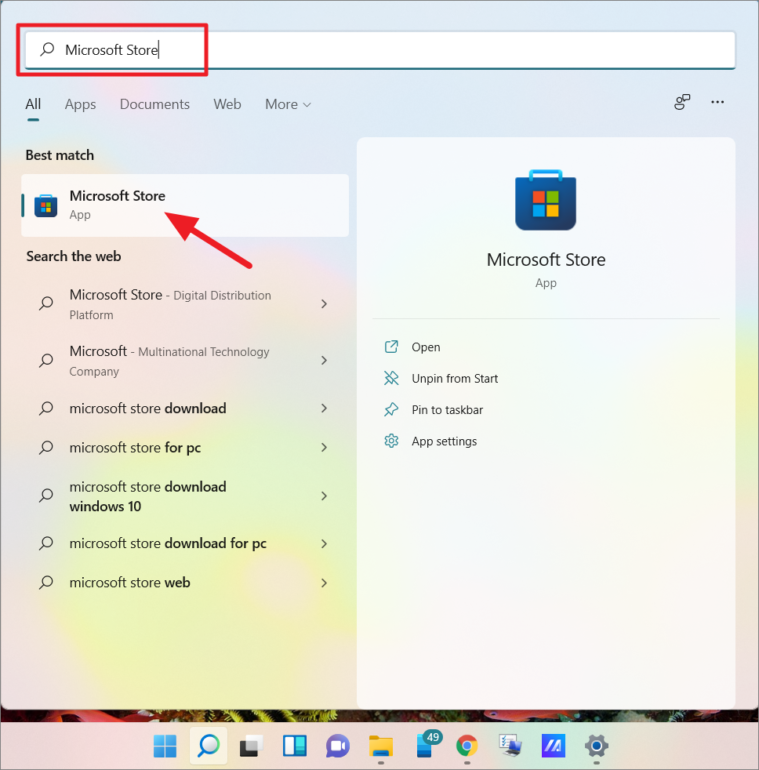
- Open the Microsoft Store by typing Microsoft Store into the Windows search bar and selecting it.
- In the Microsoft Store, click on the Library button located at the lower-left corner of the window.
- On the Library page, click the Get updates button in the upper-right corner.

The Microsoft Store will now search for the latest updates for all your apps and games, including Minecraft. If updates are available, they will be downloaded and installed automatically.
If you’re experiencing issues with the Microsoft Store updates, such as errors or the store not working properly, resetting the app might help.
Reset the Microsoft Store App
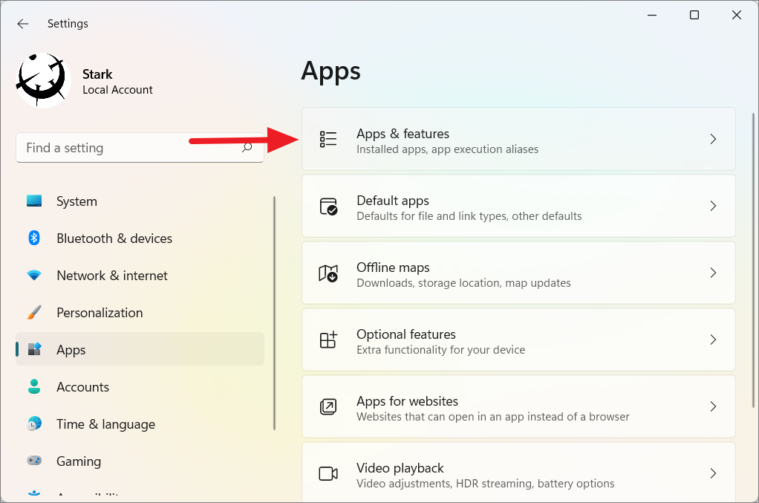
- Open Windows Settings by pressing Windows + I or by right-clicking the Start button and selecting Settings.
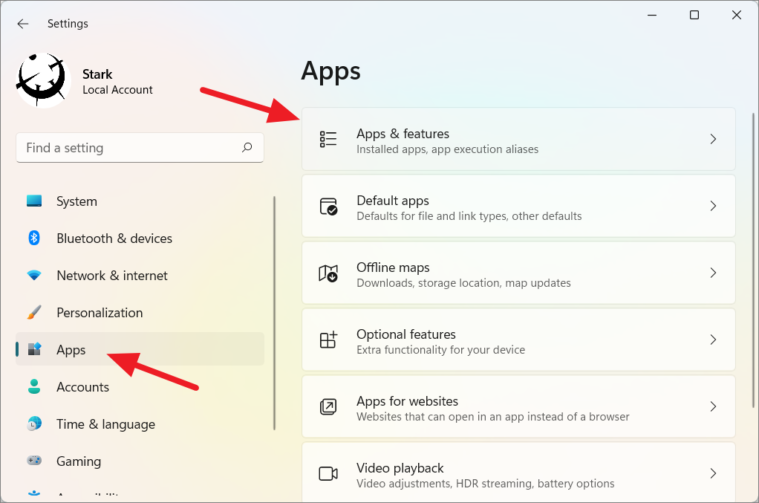
- Click on the Apps tab in the left pane, then select Apps & features on the right.
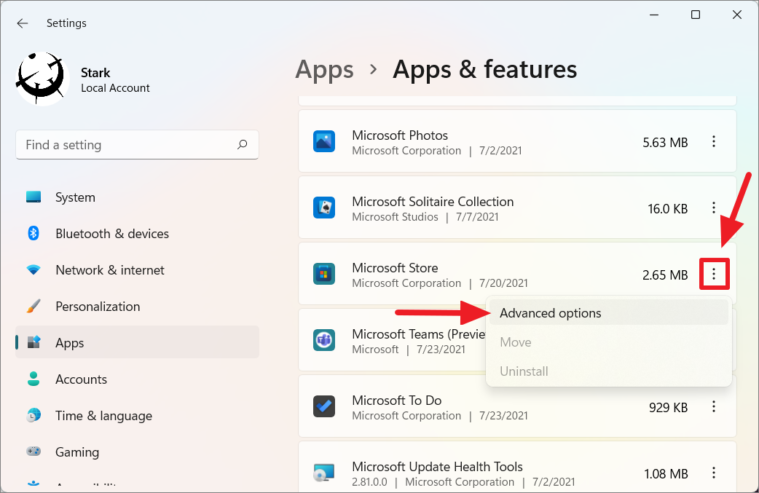
- Scroll down to find Microsoft Store in the list of apps. Click the three-dot menu icon next to it and select Advanced options.
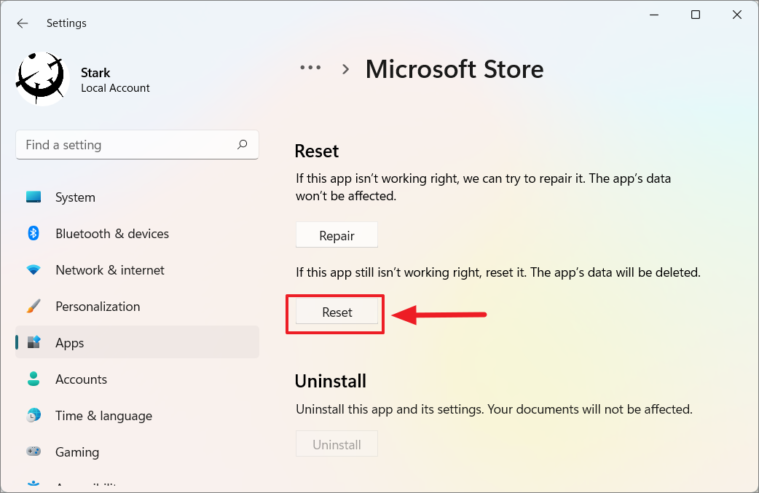
- In the Advanced options, scroll down to the Reset section and click the Reset button. Confirm any prompts that appear.
Enable Auto-Updates in Microsoft Store
To ensure Minecraft updates automatically in the future, make sure the auto-update feature is enabled:
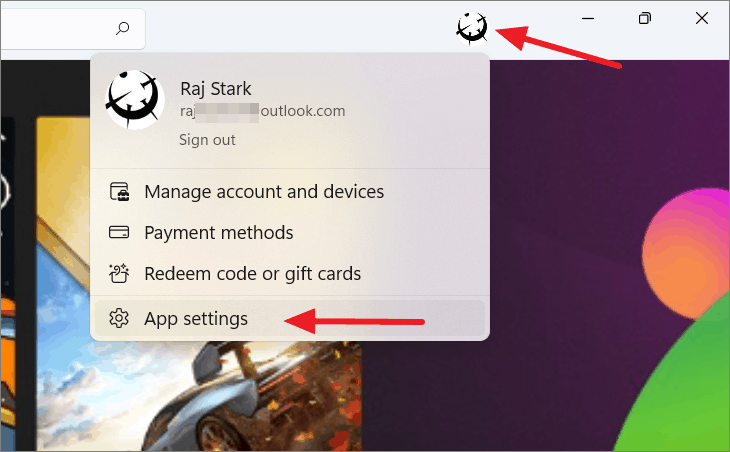
- In the Microsoft Store, click your profile icon in the top-right corner and select App settings.
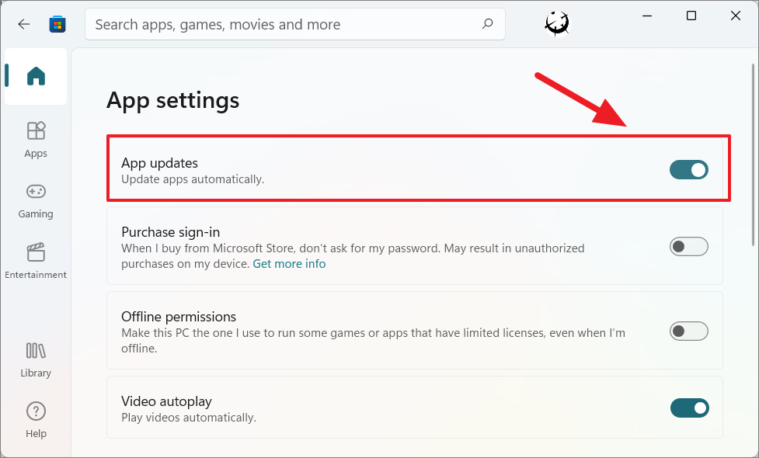
- Under the App updates section, toggle on the Update apps automatically option.
Reinstall Minecraft Bedrock Edition
If updating through the Microsoft Store doesn’t resolve the issue, reinstalling the game can help you get the latest version:
- Open Windows Settings by pressing Windows + I.
- Navigate to the Apps tab on the left, then select Apps & features on the right.
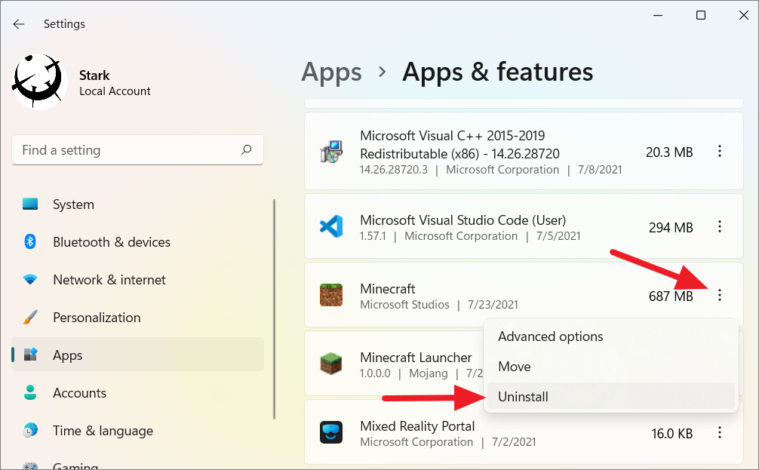
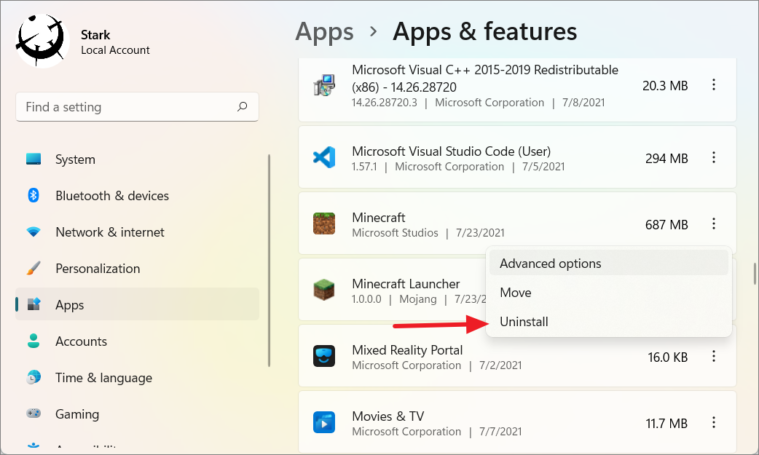
- Scroll down to find Minecraft in the list of installed apps.
- Click the three-dot menu icon next to Minecraft and select Uninstall. Confirm any prompts to remove the game.
- Once uninstalled, restart your computer.
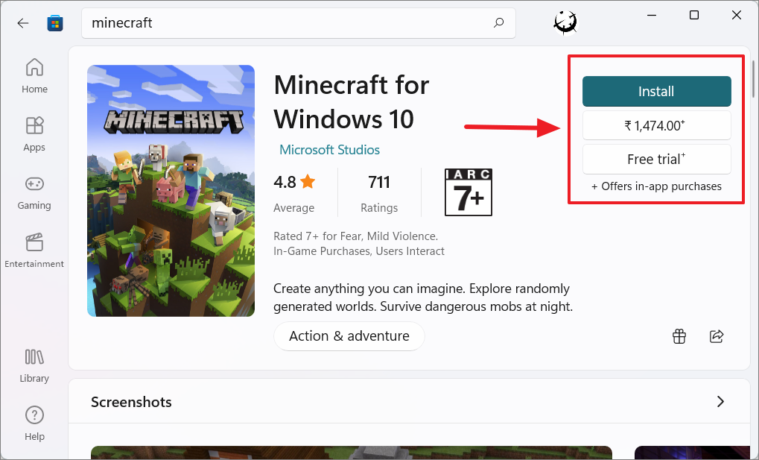
- After rebooting, open the Microsoft Store and reinstall Minecraft Bedrock Edition.
Note: If you’ve previously purchased the game, make sure to sign in with the same Microsoft account to retain your license.
Manually Update Minecraft Java Edition
For those playing the Java Edition of Minecraft on Windows 11, you can manually check for updates through the Minecraft Launcher:
- Launch the Minecraft Launcher on your PC.
- In the launcher, click the drop-down menu next to the Play button and select Latest Release.
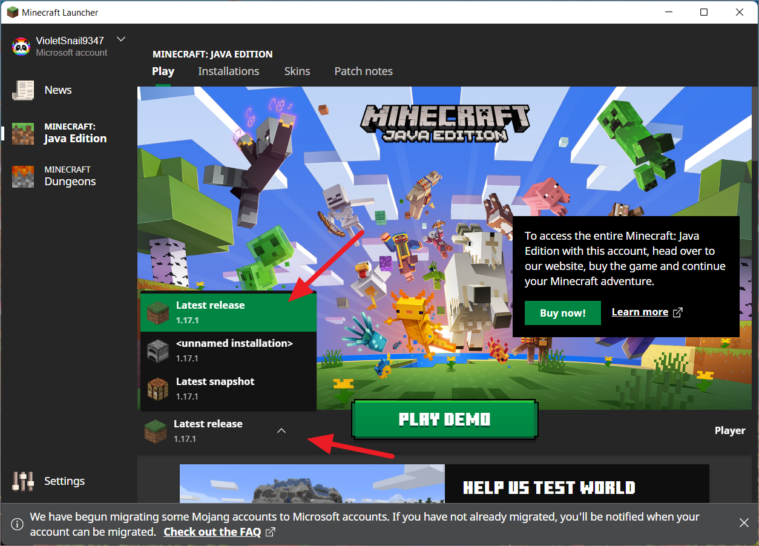
The launcher will automatically download and install any available updates for the game.
Reinstall Minecraft Java Edition
If updating through the launcher doesn’t work, reinstalling the game ensures you have the latest version:
- Open Windows Settings by pressing Windows + I and go to the Apps tab.
- Select Apps & features from the right pane.
- Locate Minecraft Launcher in the list. Click the three-dot menu icon next to it and select Uninstall.
Note: Uninstalling the launcher may not remove the game files entirely. To completely remove Minecraft Java Edition:
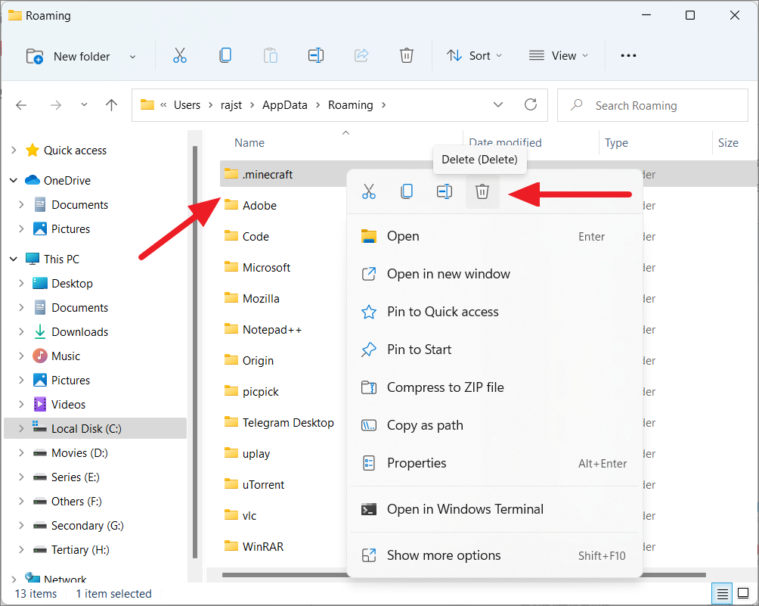
- Open File Explorer and enter
%appdata%in the address bar. Press Enter to navigate to the Roaming folder.
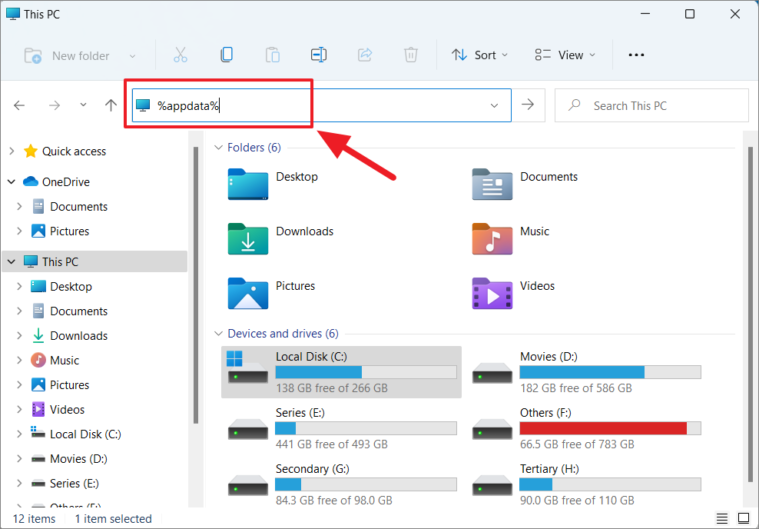
- Find the .minecraft folder, right-click it, and select Delete or press Shift + Delete to remove it permanently.
- Restart your computer.
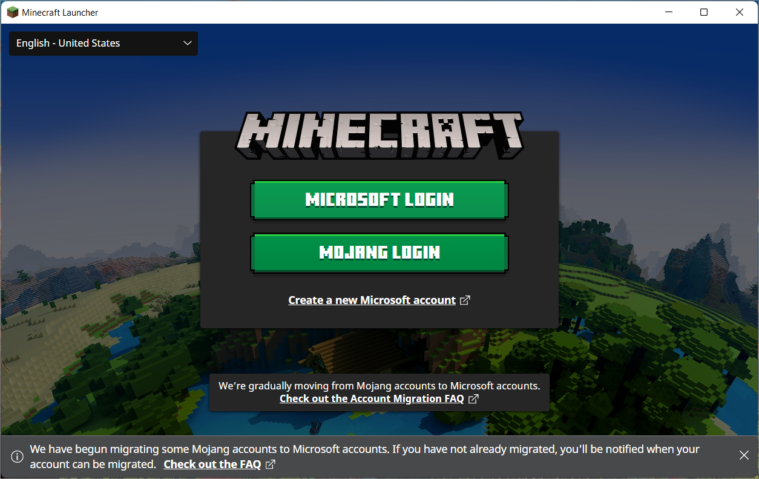
- After rebooting, open the Minecraft Launcher and log in to your account.
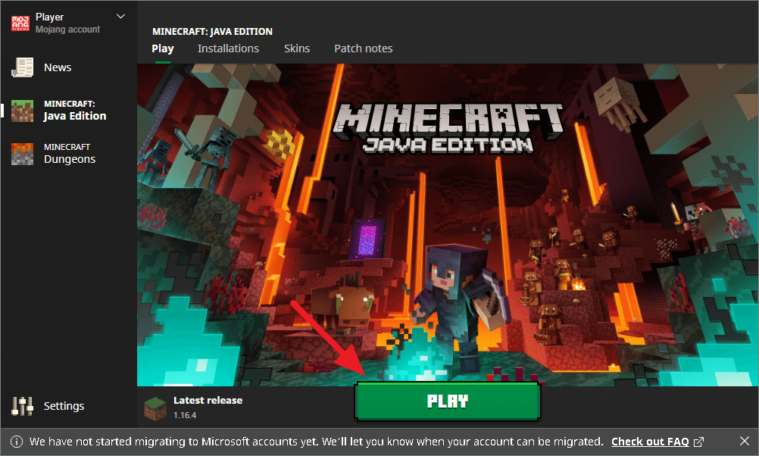
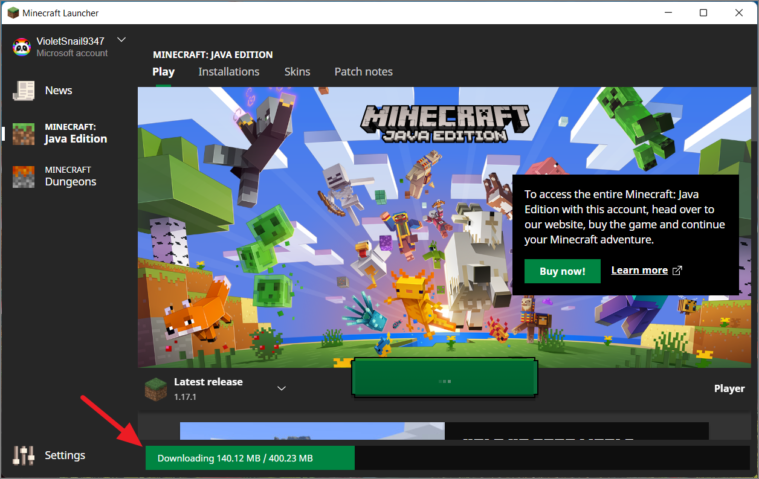
- Click the Play button to download and install the latest version of Minecraft Java Edition.
The launcher will handle the download and installation process automatically.
Troubleshooting Minecraft Update Issues
If you encounter the error message “Try that again, Something went wrong” with error code 0x80070490 when updating Minecraft, it may be due to pending Windows updates. Resolving this issue involves updating Windows 11:
- Press Windows + I to open Windows Settings.
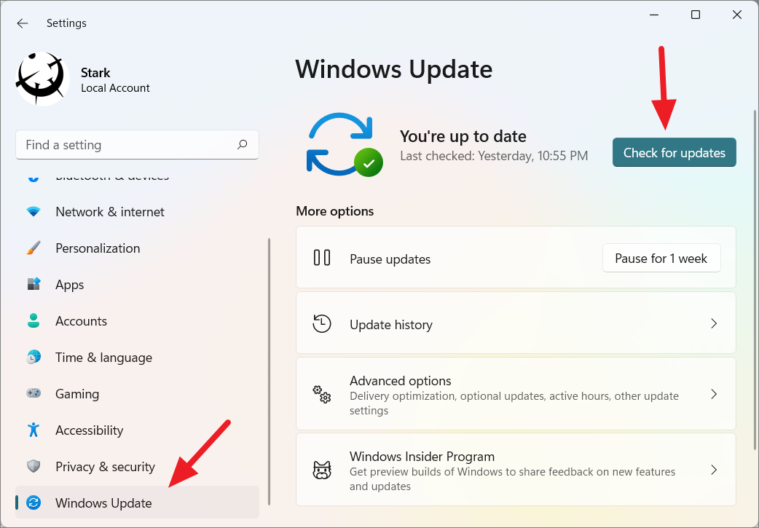
- Click on Windows Update in the left pane.
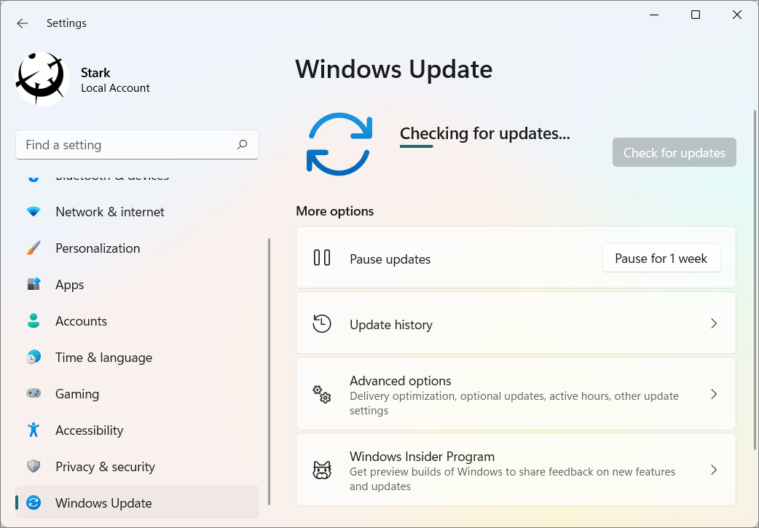
- Select Check for updates on the right to search for available Windows updates.
- If updates are found, click the Download Now button to begin the update process.
- Once the updates are installed, restart your computer.
- After rebooting, try updating Minecraft again through the Microsoft Store or the Minecraft Launcher.
Keeping Minecraft updated ensures you have access to the latest features and improvements. Whether you’re using the Bedrock or Java Edition on Windows 11, following these steps will help you maintain the best possible gaming experience.


