Windows Security (Microsoft Defender) is a reliable antivirus solution that comes built into Windows. However, sometimes the Windows Security app might be inaccessible—particularly if you're running an unactivated version of Windows or experiencing system issues. In these cases, PowerShell provides an effective alternative to perform virus and malware scans directly from the command line.
This guide shows how to use PowerShell to check your system's antivirus status, update antivirus definitions, and perform various types of scans to identify and remove malware threats.
Launching PowerShell as Administrator
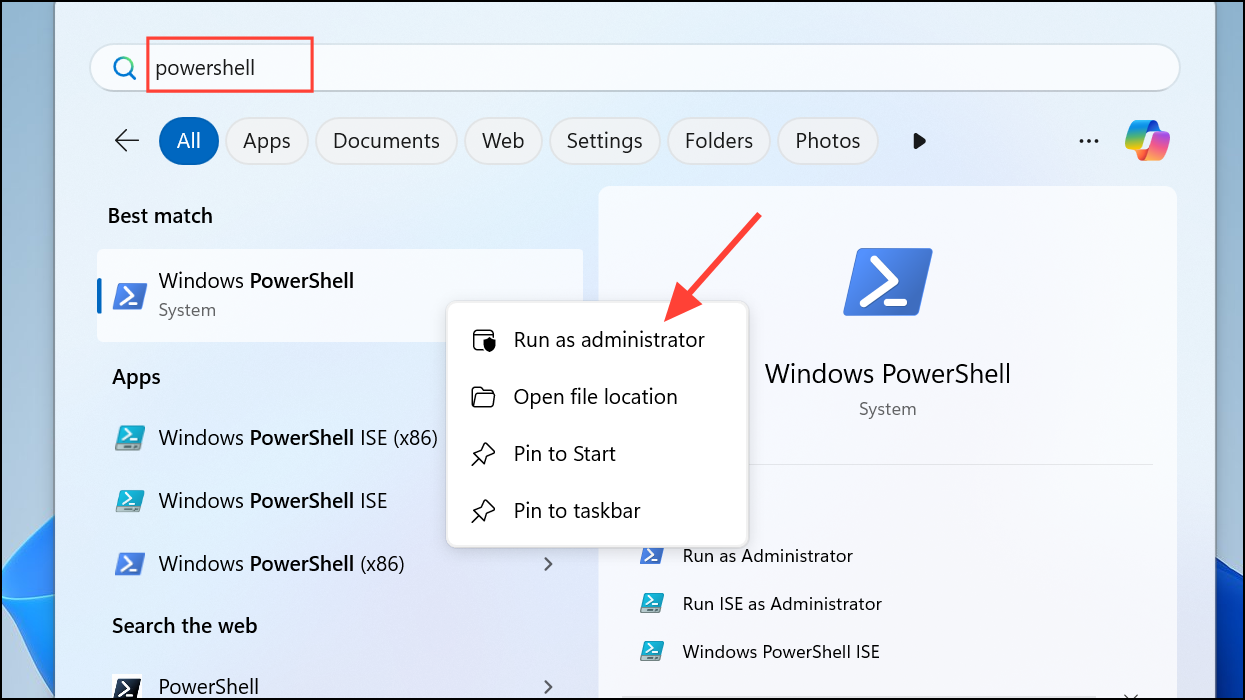
Step 1: To get started, open PowerShell with administrative privileges. Press the Windows key, type PowerShell, right-click on "Windows PowerShell," and select "Run as administrator."
Checking Windows Security Status
Step 2: Before scanning, verify that Windows Security is enabled. In the PowerShell window, type the following command and press Enter:
Get-MpComputerStatus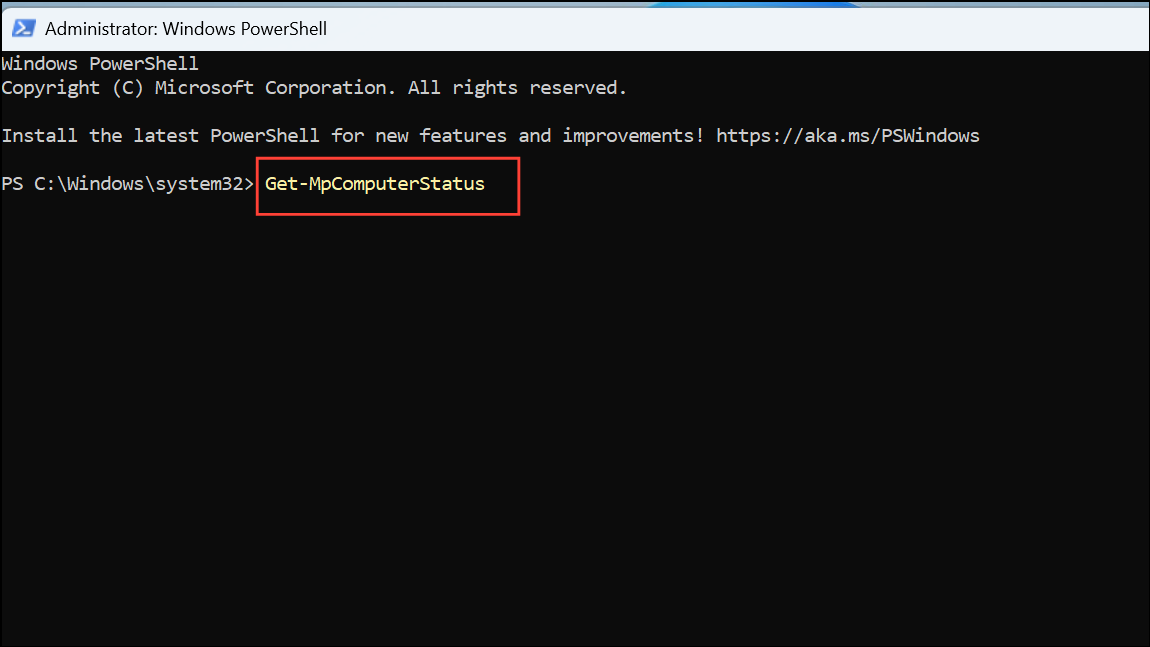
This command displays detailed information about your antivirus status. Look for the field labeled AntivirusEnabled. If it shows True, your antivirus is active and ready for scanning.
Updating Antivirus Definitions
Step 3: Updated virus definitions are crucial for detecting the latest threats. To manually update the antivirus database, run the following command:
Update-MpSignature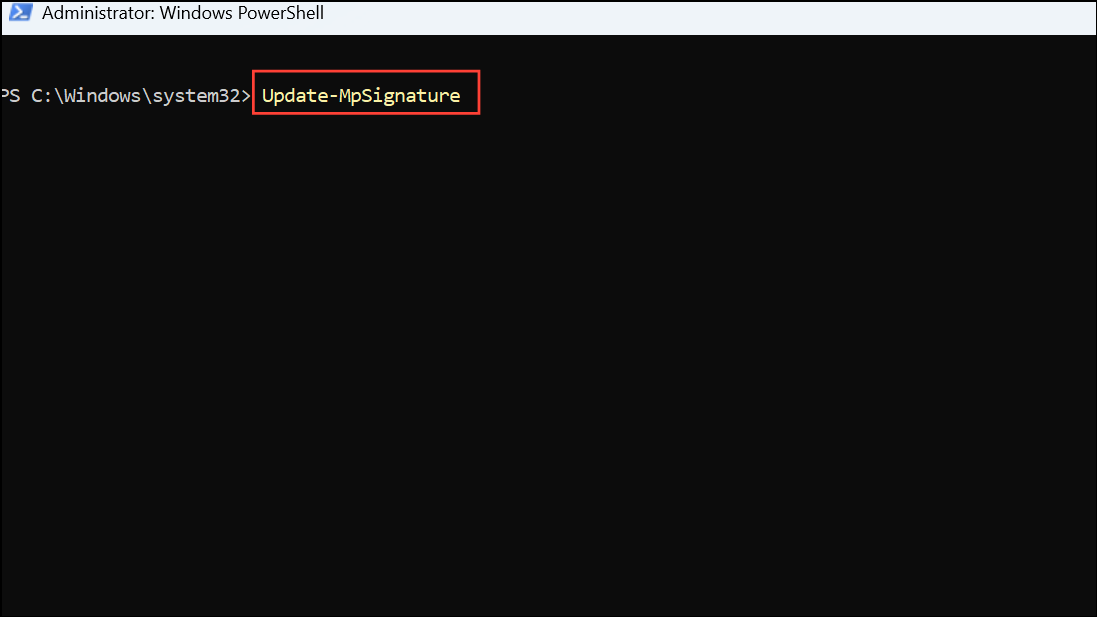
Once executed, this command downloads and installs the latest virus definitions from Microsoft's servers. It's best practice to run this command regularly, especially before performing a scan.
Running a Full Virus Scan
Step 4: A full scan thoroughly examines every file on your computer, making it the most comprehensive option. To initiate a full antivirus scan, type the following command:
Start-MpScan -ScanType FullScan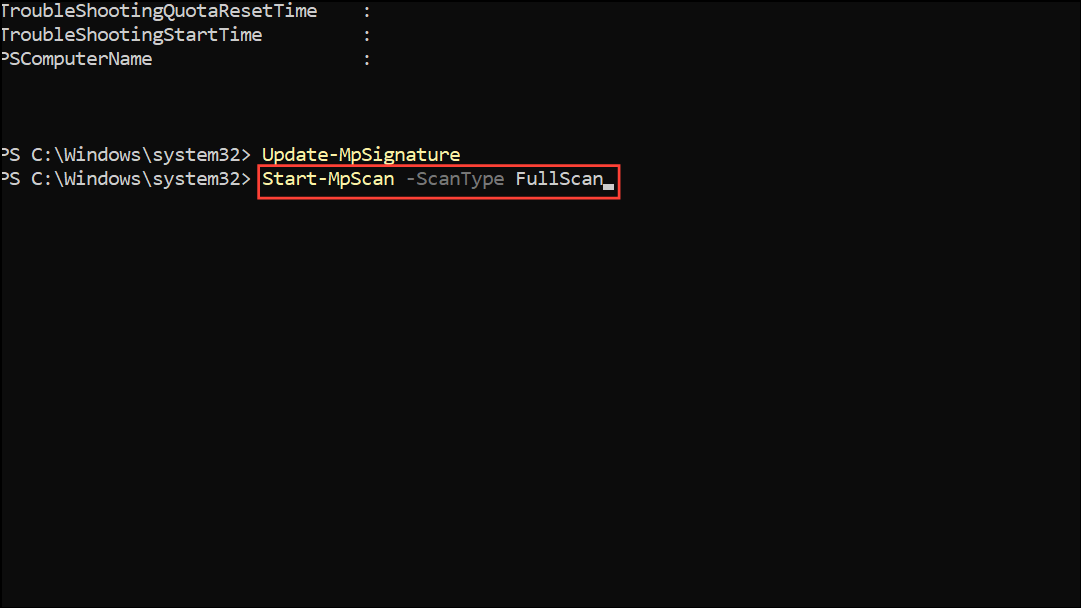
Step 5: Due to its thoroughness, a full scan can take considerable time and may slow down your PC. To run the scan in the background without interrupting your current tasks, use:
Start-MpScan -ScanType FullScan -AsJob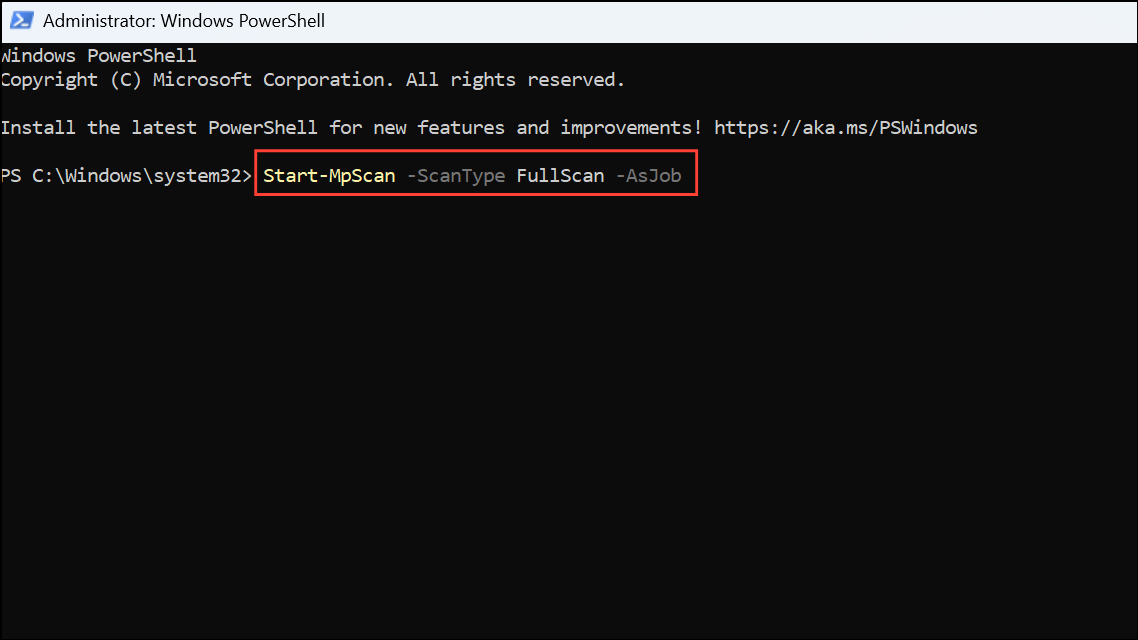
This command runs the full scan as a background job, allowing you to continue working without performance interruptions.
Performing a Quick Scan
Step 6: If you prefer a faster scan that targets common areas where malware typically hides, opt for a quick scan. Execute the following command:
Start-MpScan -ScanType QuickScan
A quick scan typically completes within minutes, making it ideal for regular checks or when you suspect malware but don't have time for a full scan.
Running a Windows Defender Offline Scan
Step 7: Certain malware types can hide deeply within your system, making them difficult to detect and remove while Windows is running. For these cases, an offline scan is your best option. It restarts your PC and scans from a trusted offline environment, effectively removing persistent threats.
Before running this scan, save all your open work as your PC will restart immediately after entering the following command:
Start-MpWDOScanYour PC will reboot into the offline scanning environment, perform the scan, and then restart normally once completed.
Automating Malware Scanning with a PowerShell Script
Step 8: To simplify regular scanning, you can automate the entire process by creating a PowerShell script. Open Notepad, paste the following commands, and save the file as ScanMalware.ps1:
# Update antivirus definitions
Update-MpSignature

# Perform a full system scan
Start-MpScan -ScanType FullScan

# Trigger Windows Defender Offline scan
Start-MpWDOScan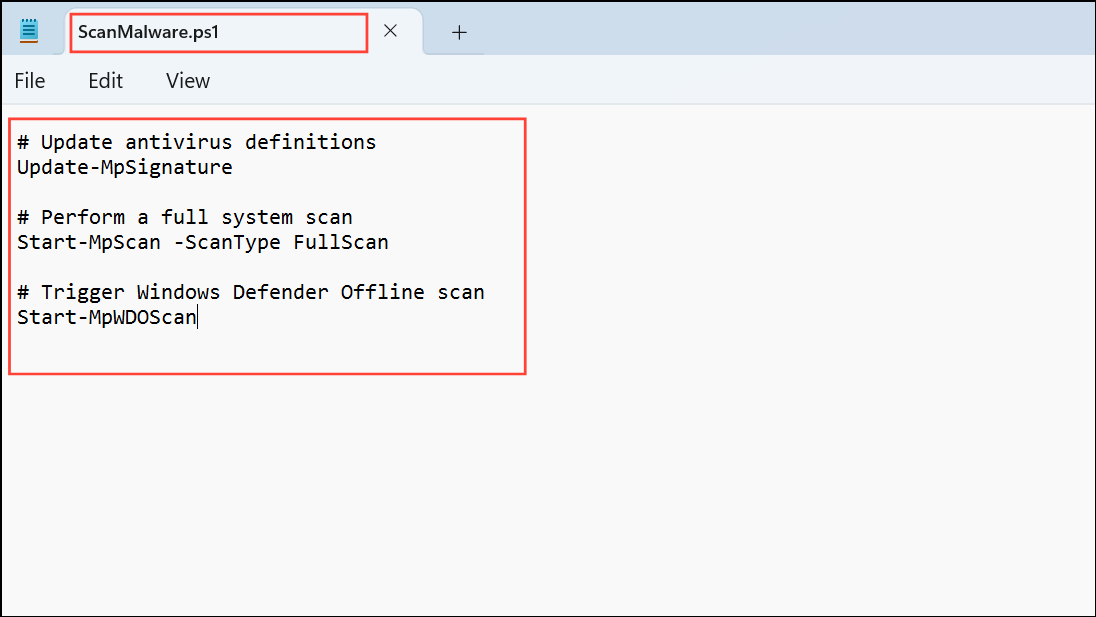
Step 9: To run the script, open PowerShell as administrator, navigate to the script's location, and execute:
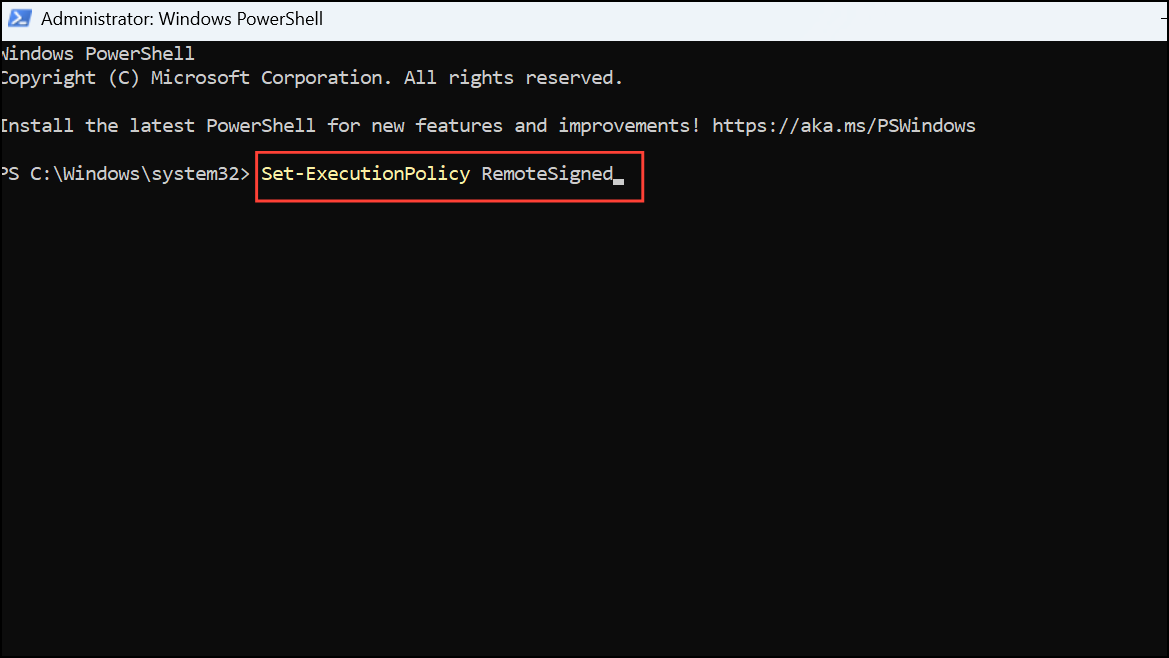
.\ScanMalware.ps1Ensure your execution policy allows running scripts. If not, temporarily set it with Set-ExecutionPolicy RemoteSigned and revert after completing the scan.
Using PowerShell for antivirus scanning provides a robust alternative when the Windows Security interface is unavailable or malfunctioning. Regularly performing these scans helps maintain your system's security and keeps malware threats at bay.

