Applying strikethrough formatting in Microsoft Word is a useful way to indicate that certain text is outdated, incorrect, or should be ignored without actually deleting it from the document. This feature is especially handy during collaborative editing or when tracking changes. There are multiple ways to apply strikethrough to text in Word, each with its own benefits.
Use your Ribbon Guide Shortcuts
Alt, then H, and then 4 sequentially. This will quickly apply the strikethrough formatting to the selected text using Word’s built-in ribbon shortcuts.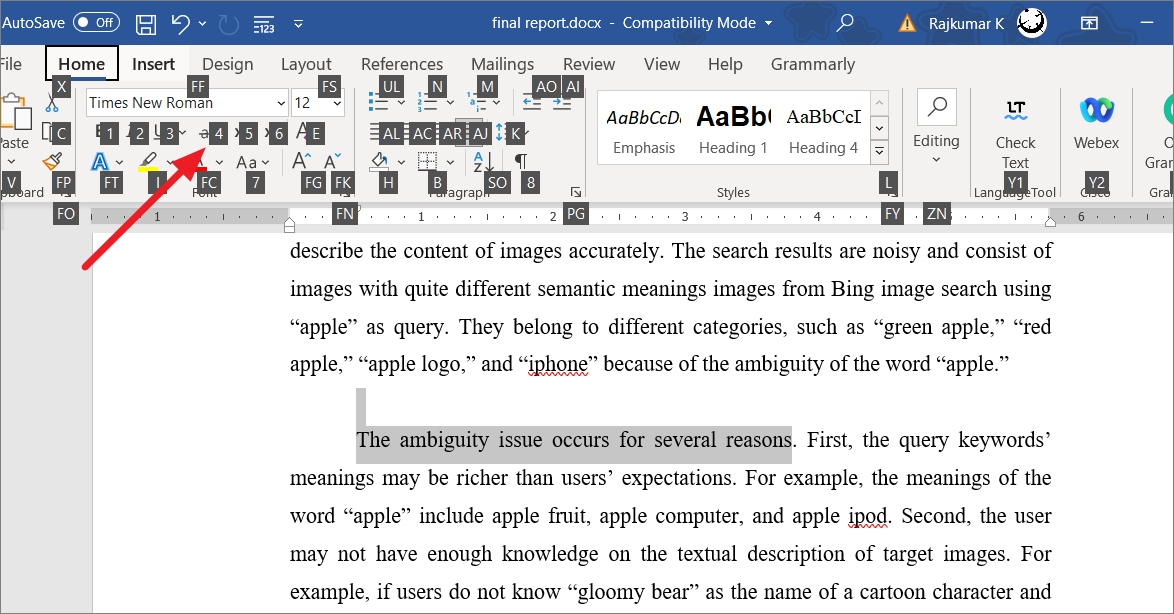
This method is fast and doesn’t require you to use the mouse, making it efficient for frequent use.
Use the Font Dialog Box to Cross Out Text
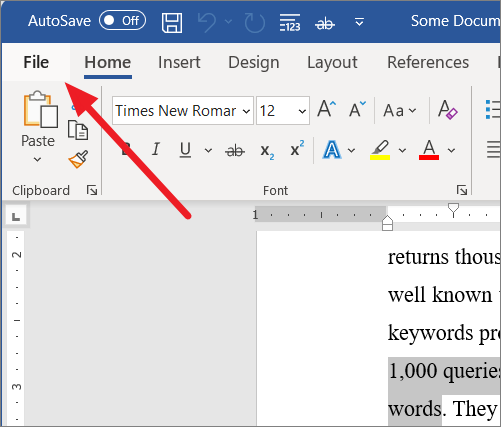
Ctrl + D to open the Font dialog box. Alternatively, you can click on the small diagonal arrow in the bottom-right corner of the Font group under the ‘Home’ tab.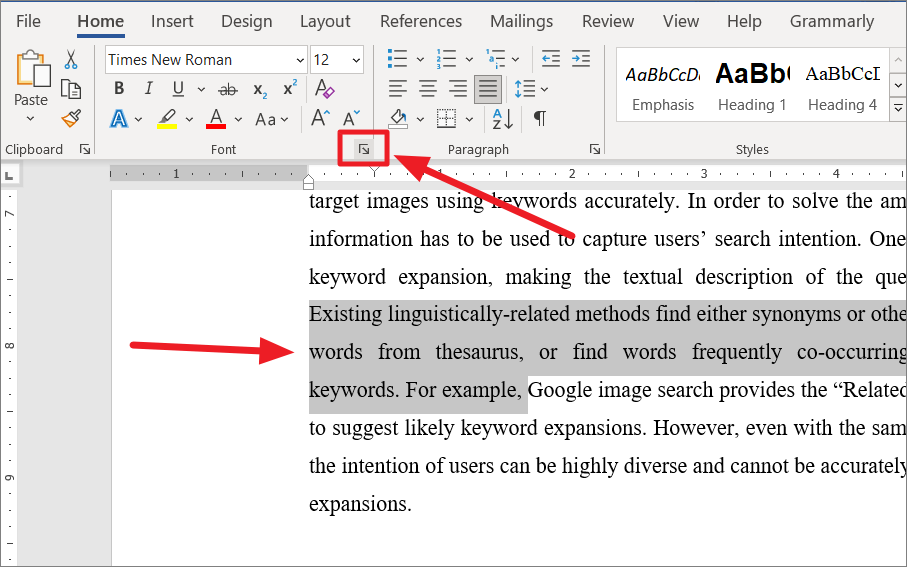
Enter to apply.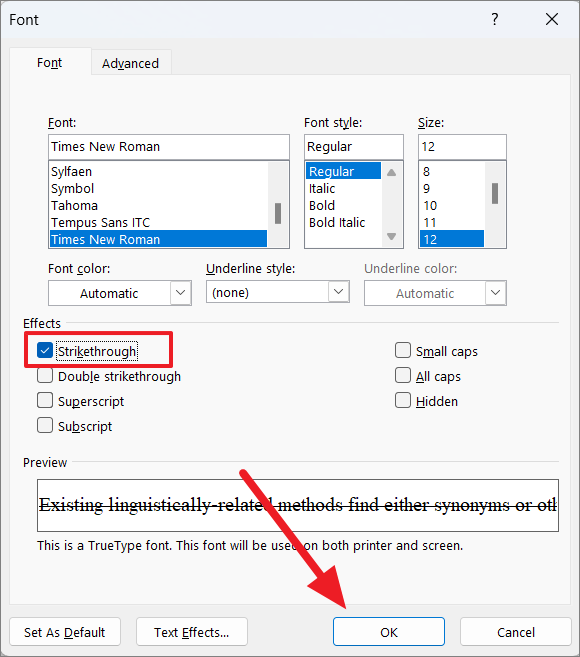
Add Double Strikethrough Using Font Dialog Box
Enter to apply.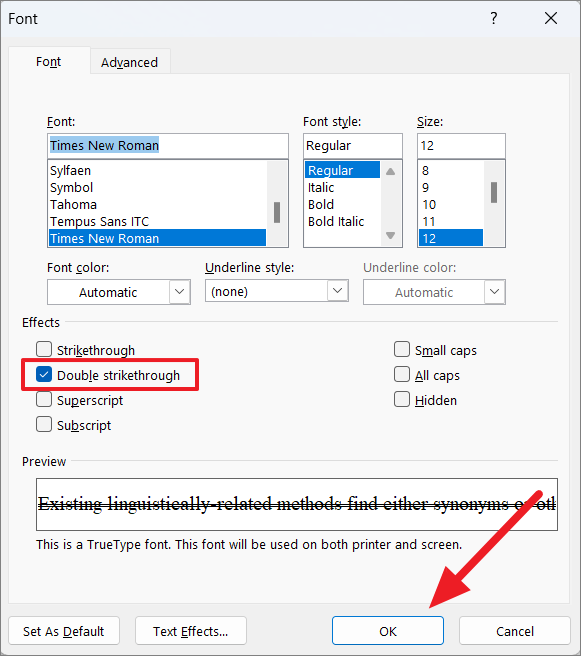
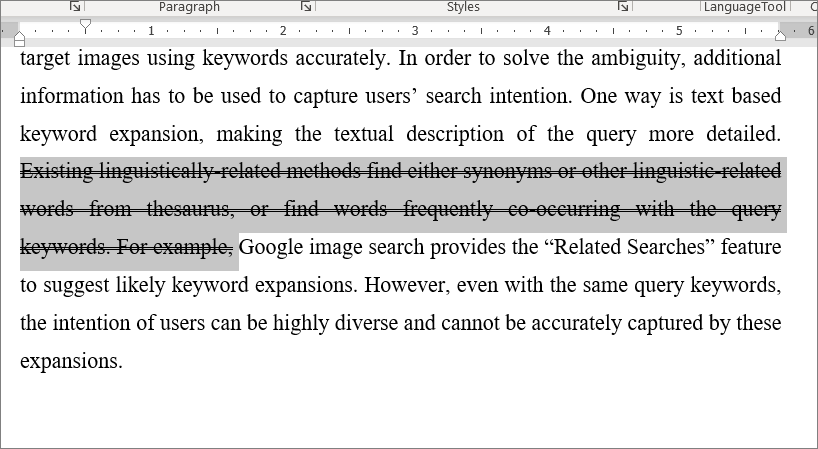
The selected text will now appear with a double line through it, indicating a stronger emphasis on its removal.
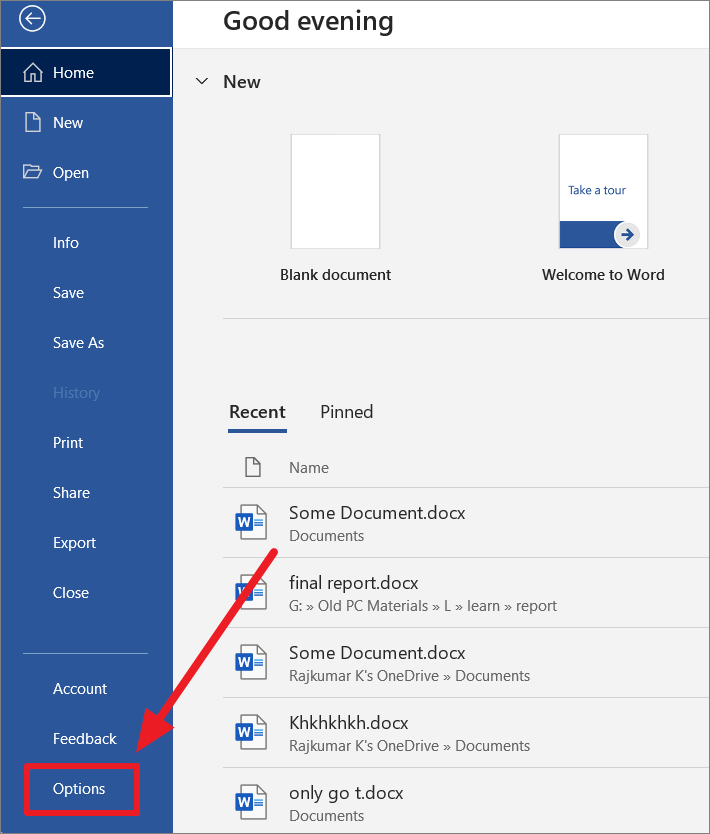
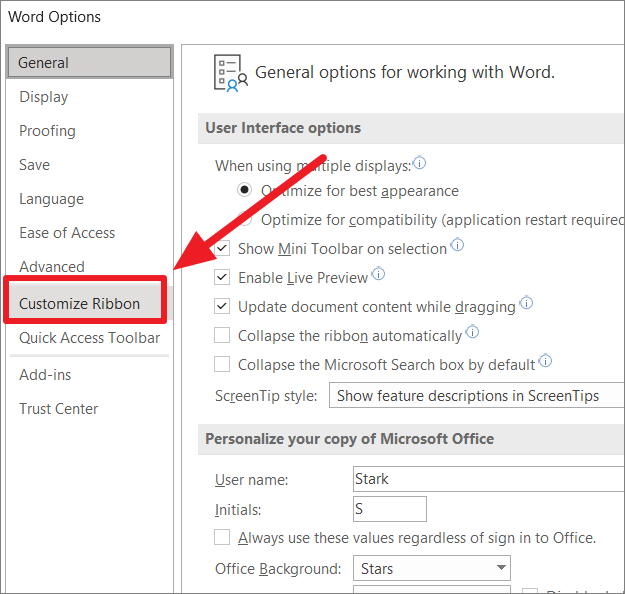
Create a Custom Keyboard Shortcut to Strikethrough
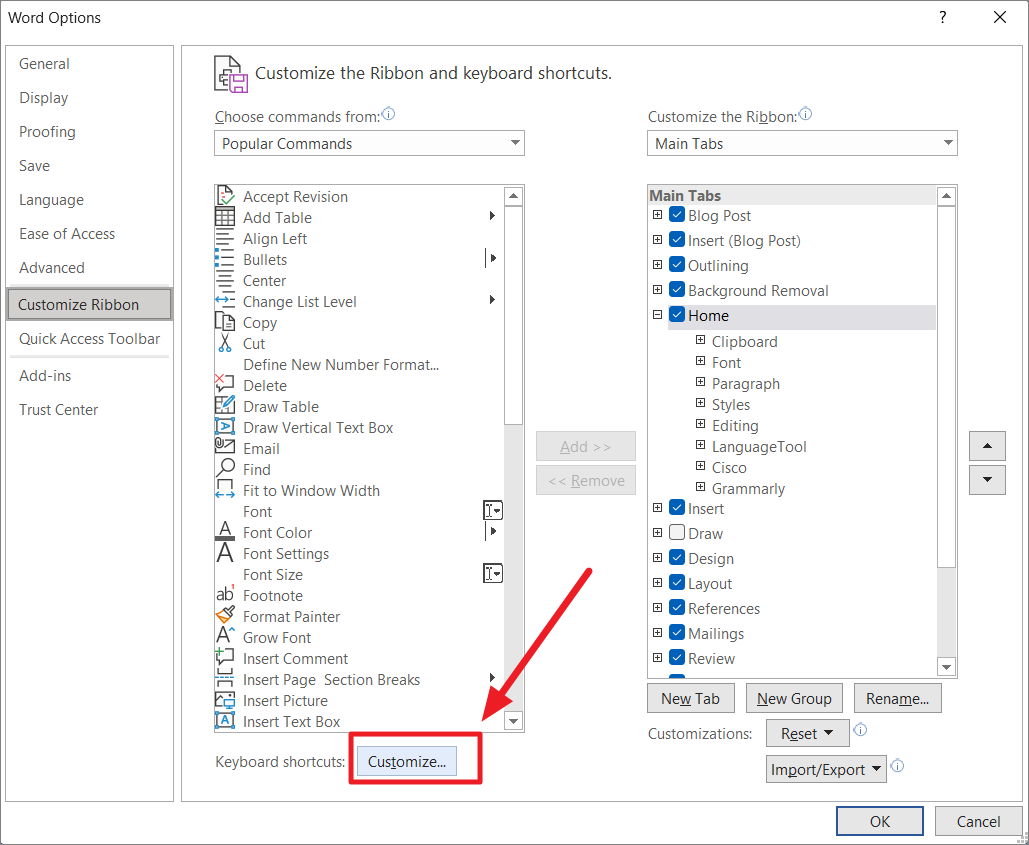
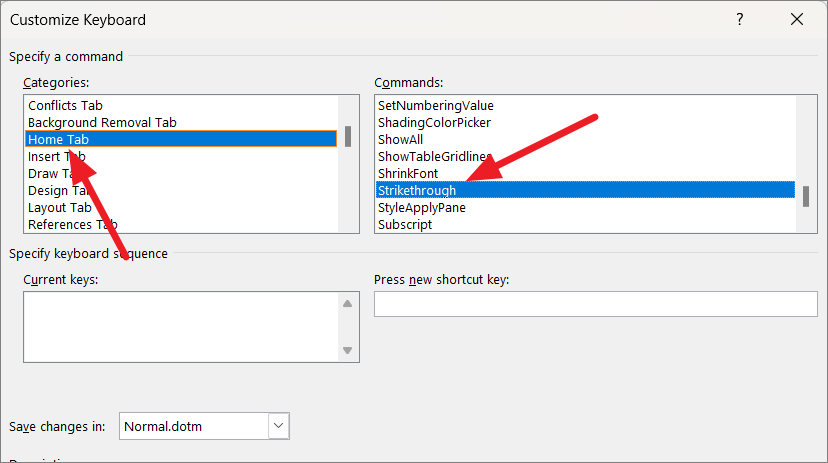
Ctrl + Alt + S). Make sure that the shortcut is not already assigned to another function.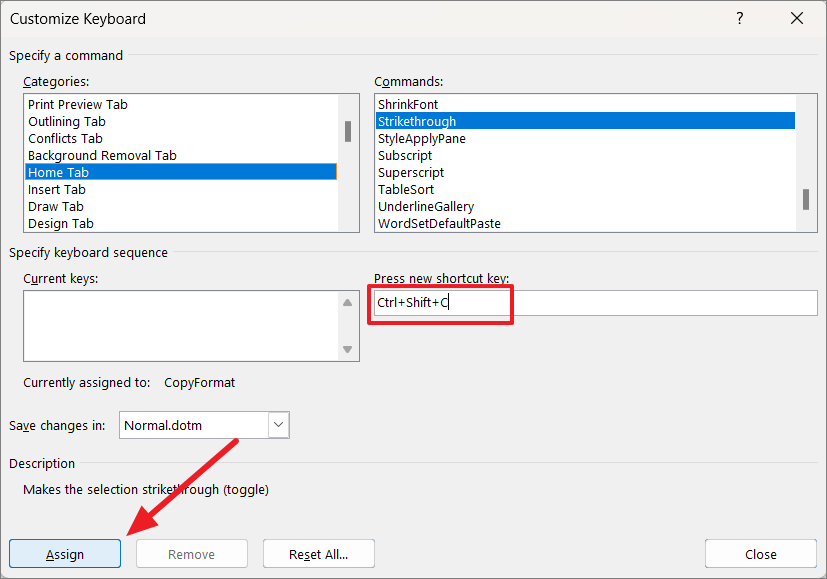
You can now use your custom keyboard shortcut to quickly apply strikethrough formatting to any selected text.
Strike Out Text Using Strikethrough Button from the Ribbon
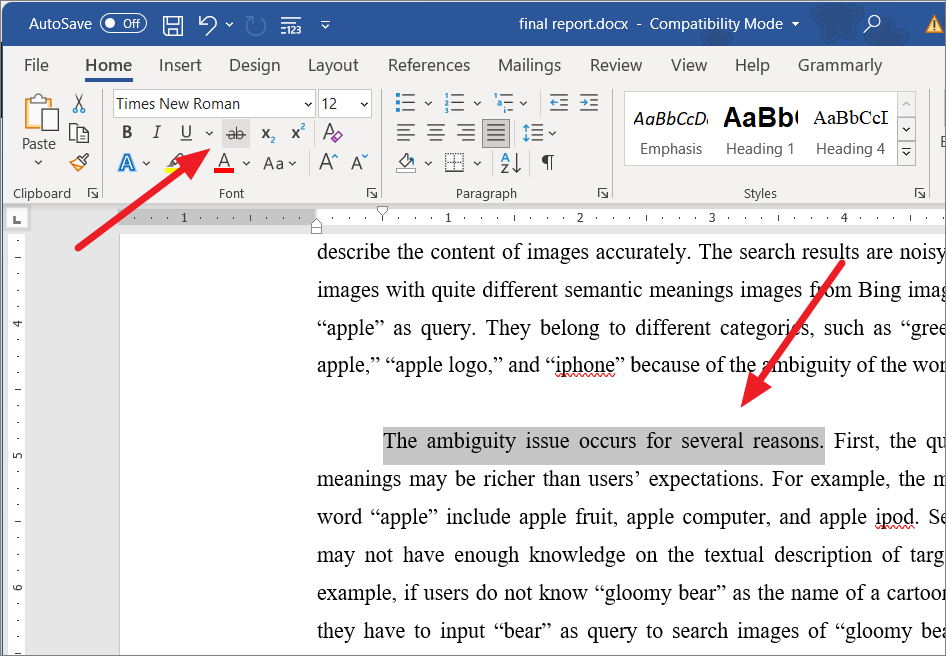
This method is straightforward and uses the graphical interface for those who prefer using the mouse.
Add Strikethrough to the Quick Access Toolbar


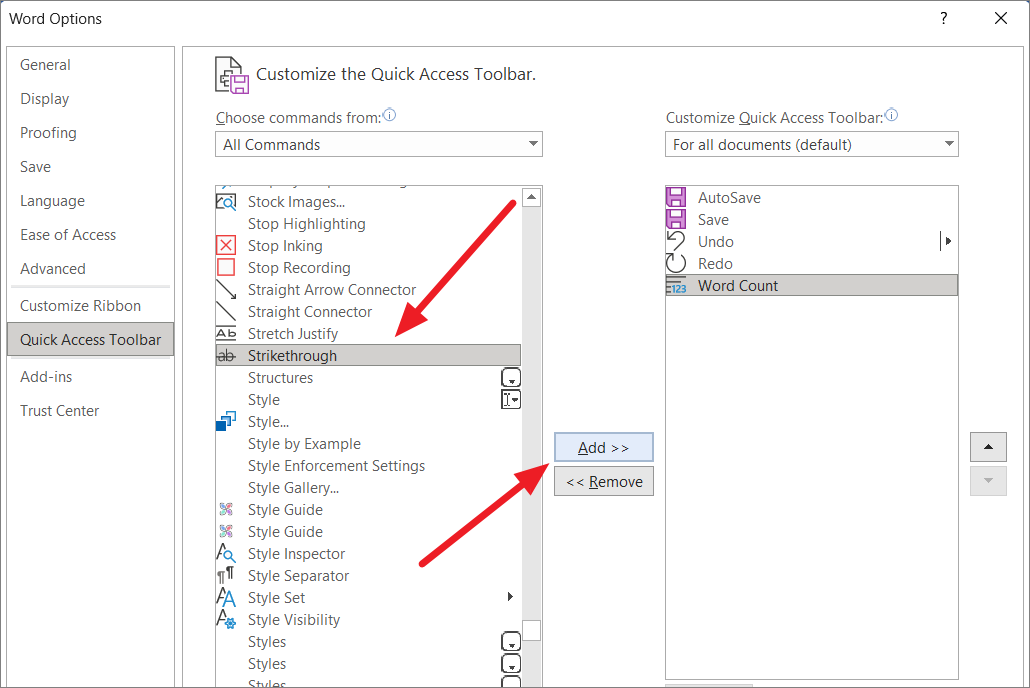
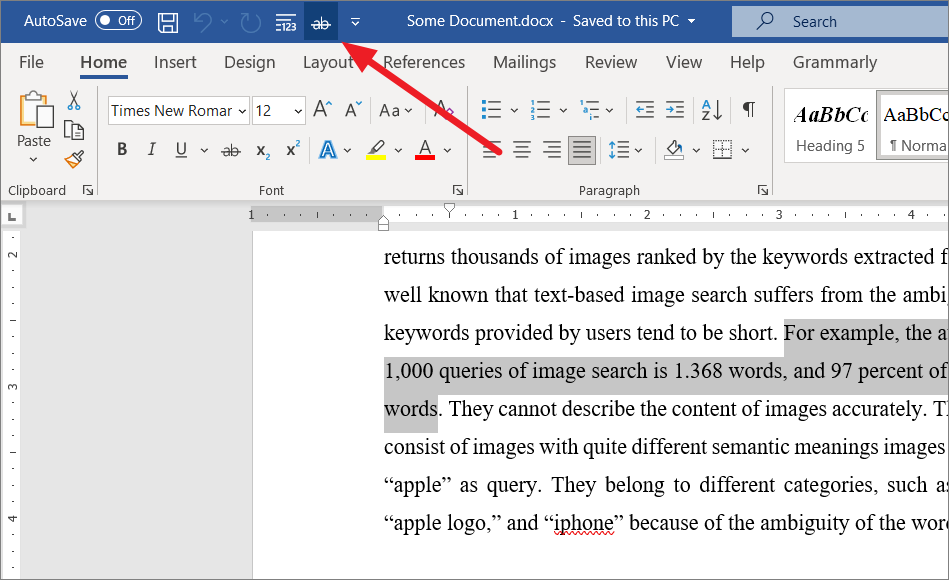
The ‘Strikethrough’ command will now appear in your Quick Access Toolbar for easy access.
Put a Line Through Text Using Shapes
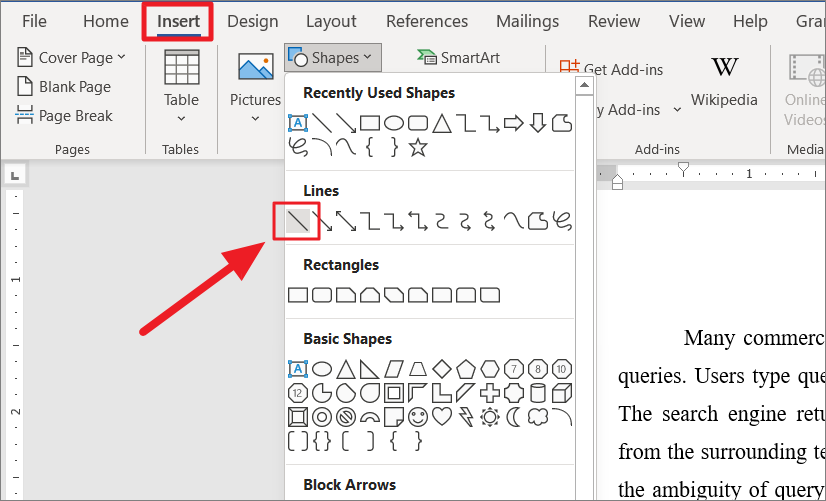
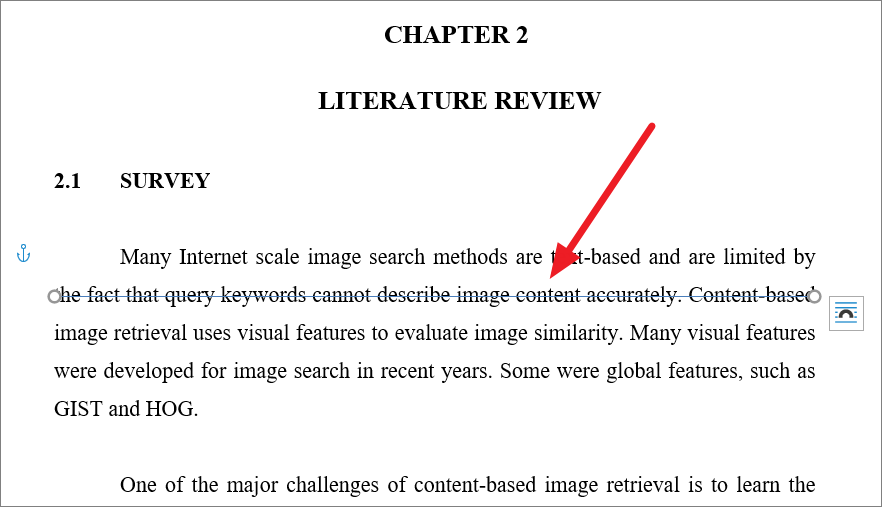
This method allows you to customize the appearance of the line. You can adjust the line’s style, color, and width through the ‘Shape Format’ tab.
For example, to change the line’s thickness or color:

This method is useful when you want to strike through large sections of text or add a visual emphasis.
Utilizing these methods, you can easily apply strikethrough formatting in Microsoft Word to enhance your document editing and collaboration workflow.