
Minecraft continues to captivate players with its limitless sandbox universe, allowing for endless creativity and exploration. With the advent of a unified launcher available through the Microsoft Store, managing different versions of the game has never been easier. If you’ve encountered issues or have uninstalled Minecraft, reinstalling it on Windows 11 is straightforward. Better yet, you can do so without losing your saved game progress.
READ: What is Minecraft Launcher and How to Download it on Windows 11 and 10
Reinstall Minecraft without losing game saves
If you’re experiencing issues with Minecraft but want to keep your saved worlds and progress intact, you can reinstall the game without losing your game data. Follow these steps to safely reinstall Minecraft while preserving your game saves.
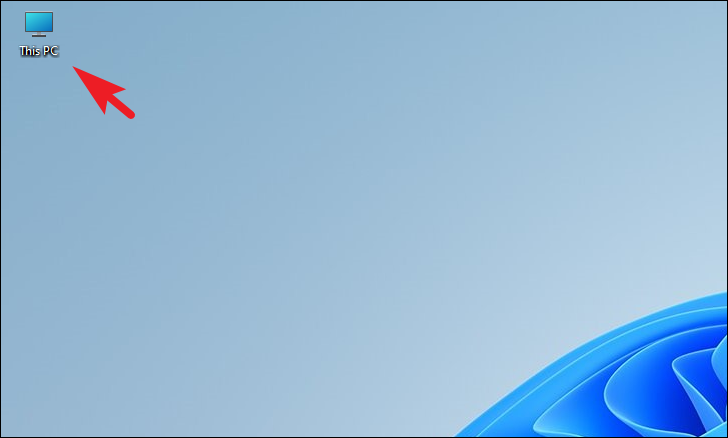
File Explorer icon on the taskbar or by pressing Windows + E on your keyboard.
%AppData% and press Enter. This will navigate you to the AppData directory where Minecraft stores its files.
.minecraft folder in the list. Click to select it, then press Ctrl + C to copy it. Paste this copy to a safe location, such as your desktop or an external drive. This backup will ensure your game saves are preserved.
%AppData% directory. Select the original .minecraft folder and press Shift + Delete to permanently remove it from your system. Confirm the deletion if prompted.Minecraft Launcher. Click on the application from the search results to launch it.
Microsoft Login button. This will authenticate your Xbox account and grant access to your game purchases.
Play button to begin downloading and installing the game.
.minecraft folder. Select the folder and press Ctrl + C to copy it.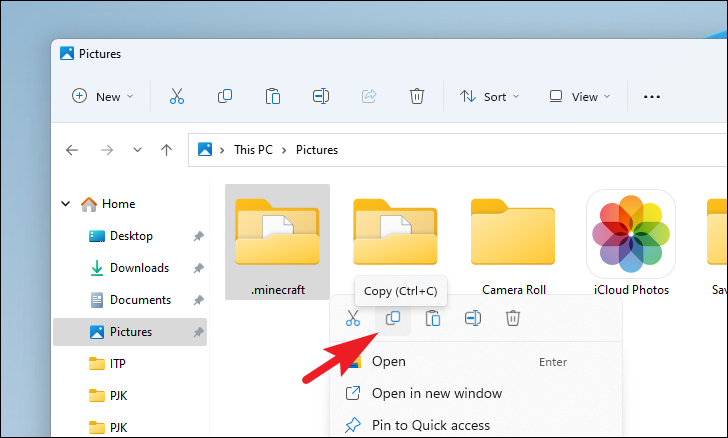
%AppData% directory by typing %AppData% into the address bar and pressing Enter.
.minecraft folder into the %AppData% directory by pressing Ctrl + V. If you’re prompted to replace files or folders, confirm to overwrite the existing ones. This will restore your saved games.
Fresh reinstall of Minecraft
If you’re new to Minecraft or prefer to start from scratch, you can perform a clean reinstall. This process removes all existing game data and settings, giving you a fresh installation.
%AppData% and press Enter to access the AppData directory.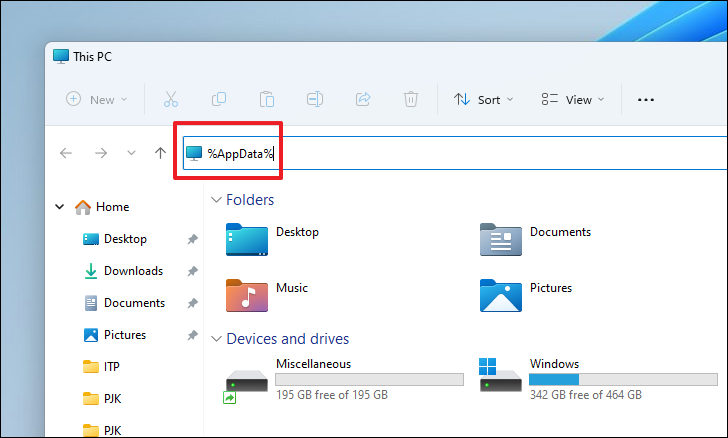
.minecraft folder in the list. Right-click on it and select the trash icon or choose Delete to remove it from your system.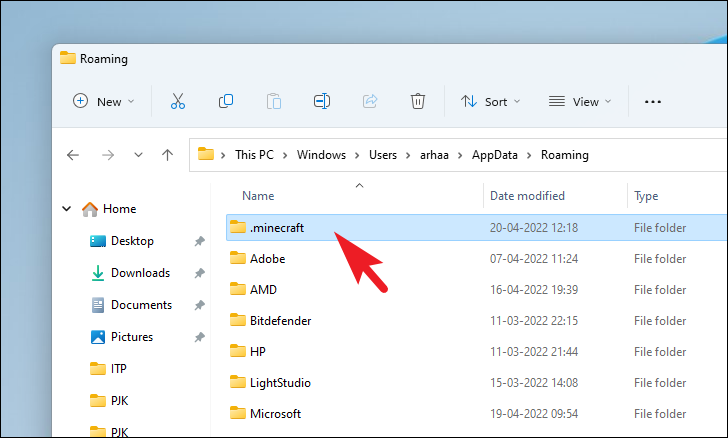
Minecraft Launcher. Click on the application from the search results to open it.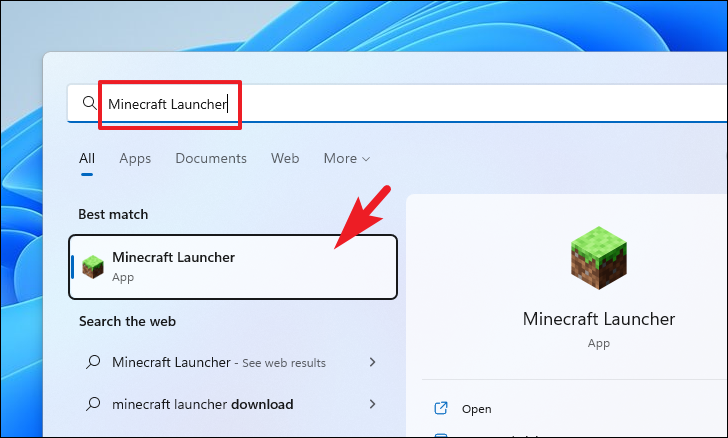
Microsoft Login button. This ensures you have access to your purchased content.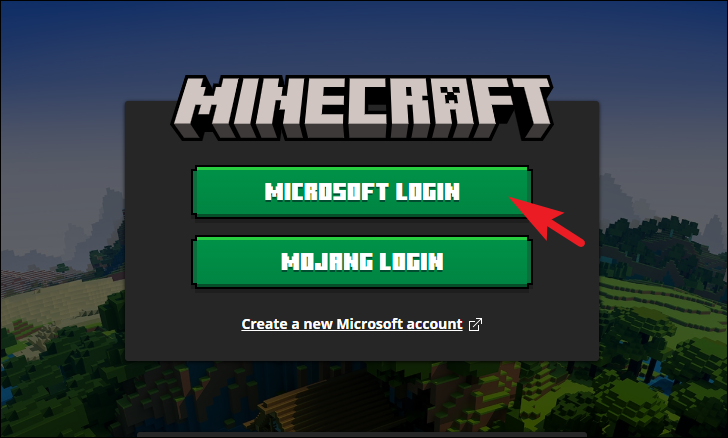
Play button to download and launch the game. You now have a fresh installation of Minecraft on your Windows 11 PC.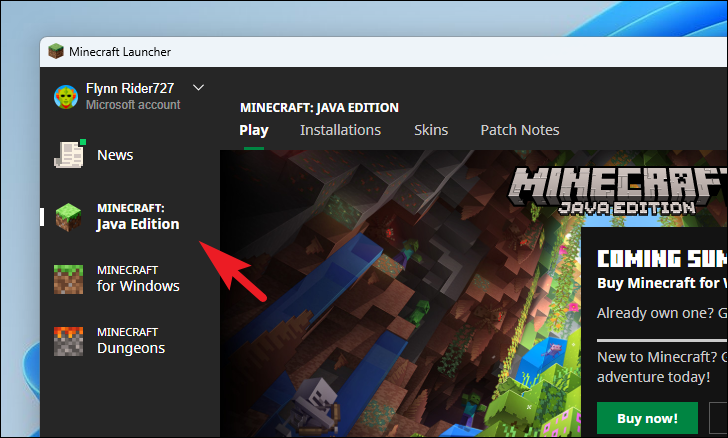
Reinstalling Minecraft on Windows 11 is a simple process, whether you’re preserving your game saves or starting anew. By following these steps, you can resolve issues and get back to building your Minecraft worlds in no time.


