Windows 11 introduces a revamped Start menu that offers a streamlined and user-friendly interface. Positioned at the center of the Taskbar by default, the new Start menu provides quick access to your apps, files, and settings. This guide will help you navigate the Windows 11 Start menu, customize it to your preferences, and make the most out of its features.
Accessing the Start Menu
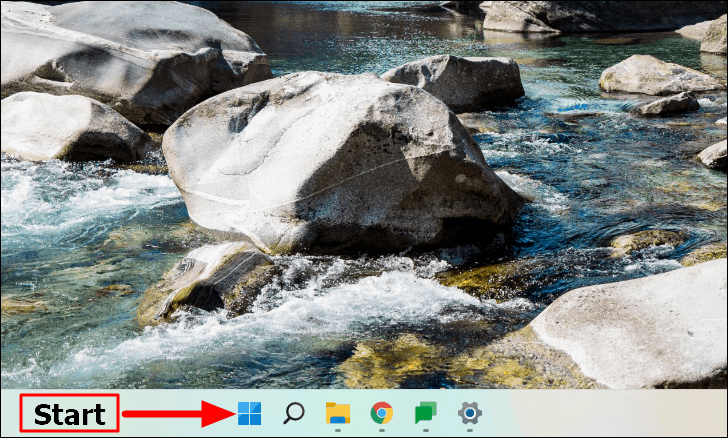
To open the Start menu, you can either click on the Start icon located at the center of the Taskbar or press the Windows key on your keyboard.
Once the Start menu is open, you’ll have access to various features designed to enhance your Windows experience.
Using the Search Bar in the Start Menu
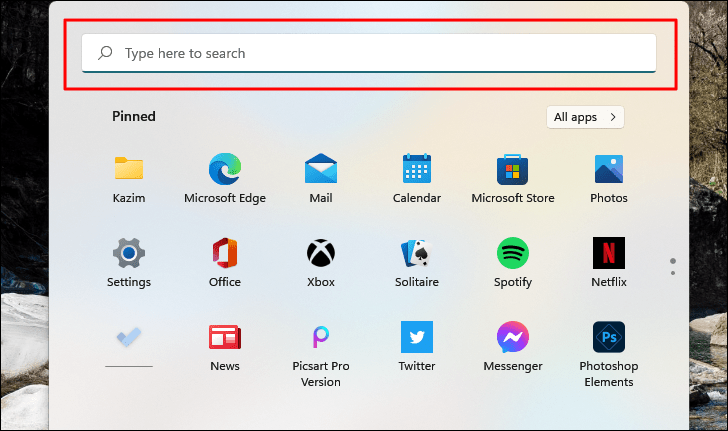
The Start menu includes a search bar at the top, making it easy to find apps, files, and settings. There’s no need to click the search bar; you can start typing immediately after opening the Start menu.
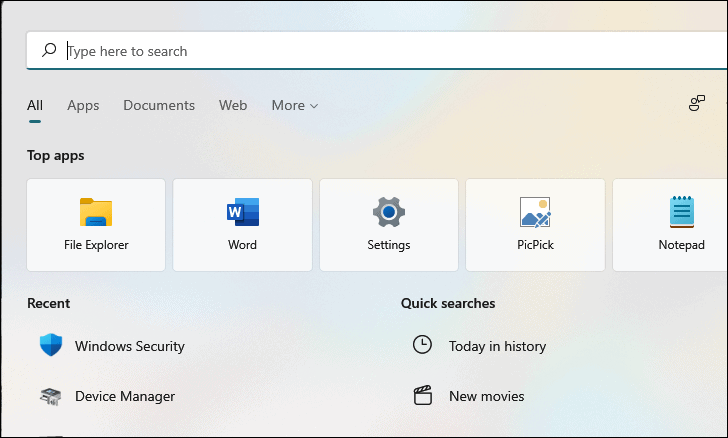
As you type, Windows will display search results in the Search window, automatically showing relevant matches.
For example, to find the Command Prompt, you can type a part of its name, such as “pro,” and Windows will display related results.
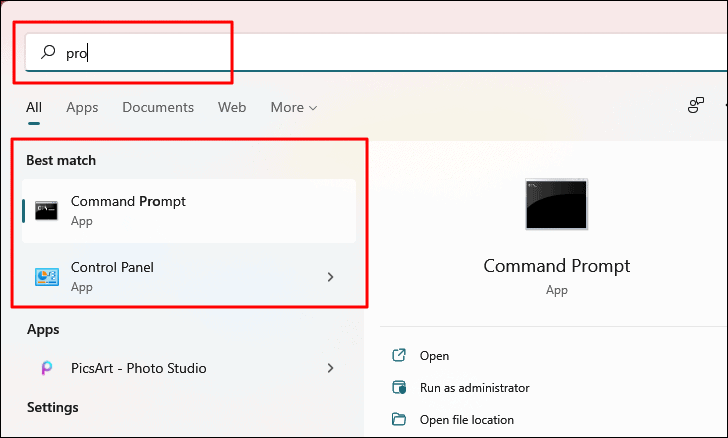
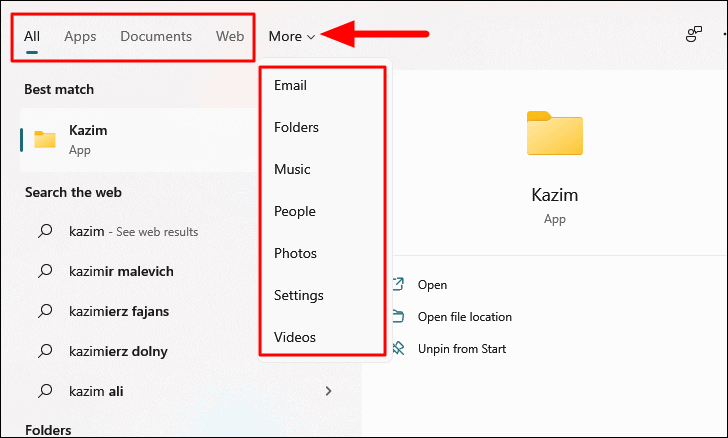
You can refine your search by selecting a specific category at the top, such as Apps, Documents, or Web. Click on “More” to see additional categories and narrow down your search results.
Accessing Pinned Items and All Apps from the Start Menu
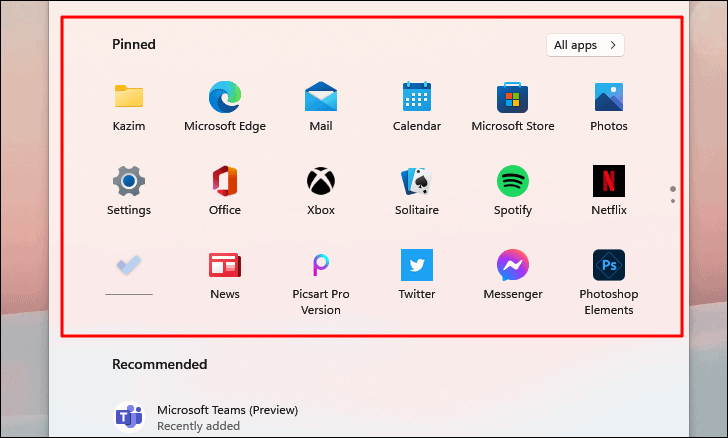
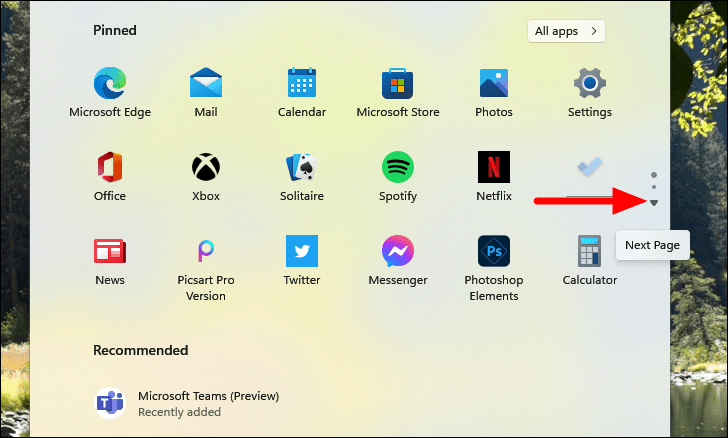
The Start menu features a “Pinned” section where you can place apps, folders, and files for quick access. This section displays up to 18 items per page and allows you to navigate between pages using the pagination controls on the right side.
Accessing All Apps Installed on Your Computer
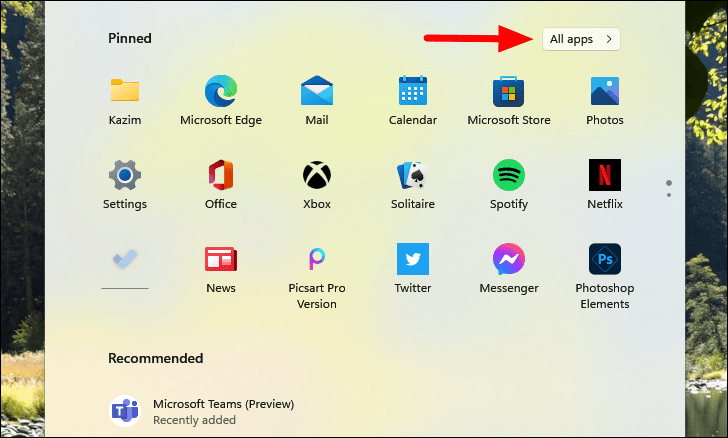
To view all the apps installed on your system, click on the “All apps” button located at the top-right corner of the Pinned section.
The apps are listed in alphabetical order, with the most used apps appearing at the top. You can scroll through the list to find the app you’re looking for.

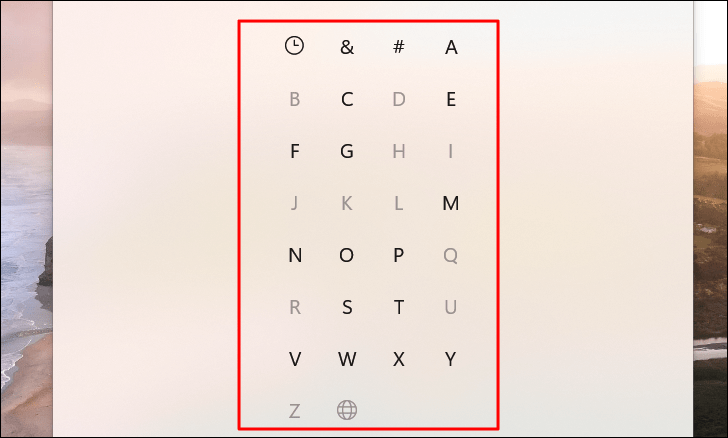
If you prefer not to scroll, click on any of the alphabet letters or symbols above the app sections to bring up an index of letters. Select the first letter of the app’s name to jump directly to that section.
Pinning Apps, Folders, or Files to the Start Menu
Pinning items to the Start menu allows for quick and easy access. You can pin apps, folders, drives, and executable files. Here’s how:
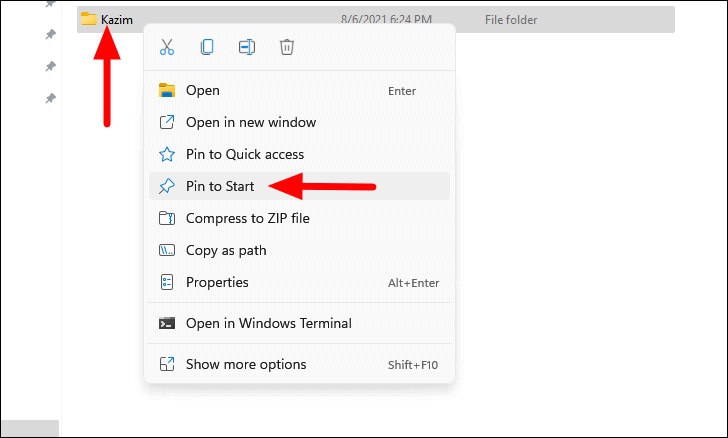
To pin a folder, drive, or executable file:
- Right-click on the item you want to pin.
- Select Pin to Start from the context menu.
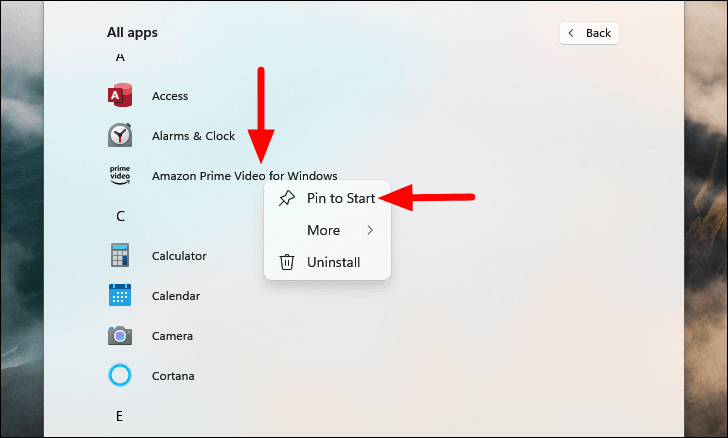
To pin an app:
- Open the Start menu and click on All apps.
- Find the app you wish to pin.
- Right-click on the app and select Pin to Start.
Navigating Through Pinned Items
If you have multiple pages of pinned items, you can navigate between them using the pagination controls on the right side of the Pinned section. Each dot represents a page, and you can click on the dots or use the arrow to move to the next page.
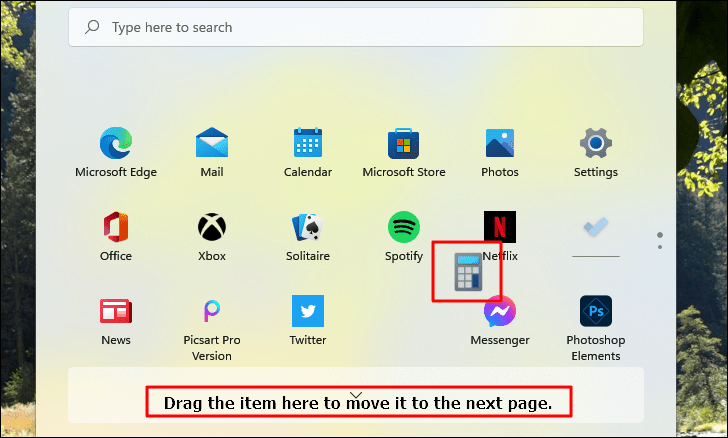
Rearranging Items Pinned to the Start Menu
You can customize the order of your pinned items. To move an item:
- Click and hold the item you want to move.
- Drag it to the desired position.
- Release the mouse button to drop it in place.
You can also move items across pages by dragging them to the bottom of the Pinned section and waiting for the page to change.
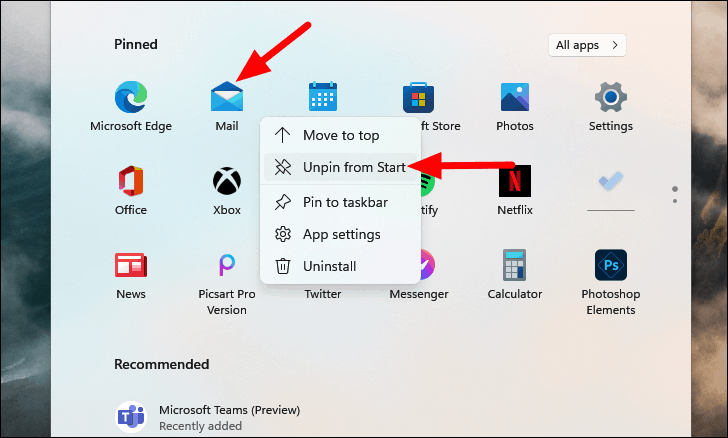
Unpinning Items from the Start Menu
If you no longer need a pinned item, you can remove it:
- Right-click on the pinned item.
- Select Unpin from Start from the context menu.
Using the Recommended Section in the Start Menu
The “Recommended” section displays recently added apps and frequently used or recently opened items, helping you quickly access them. You can customize what appears in this section:
- Right-click on the Start icon and select Settings. Alternatively, press Windows + I to open Settings.
- In the Settings window, select Personalization from the left menu.
- Click on Start to access Start menu settings.

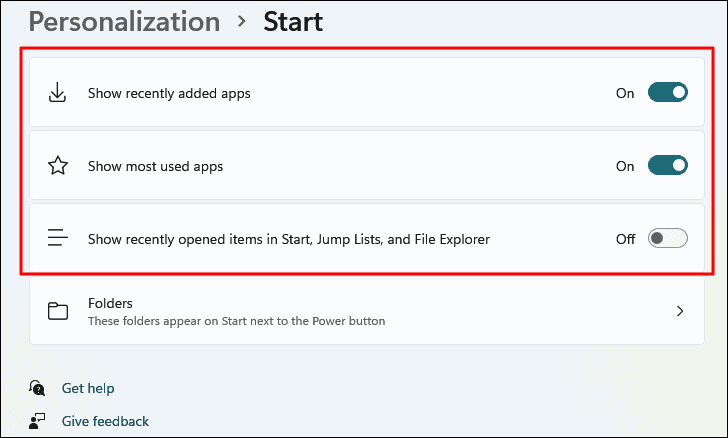
Here, you can toggle the following options:
- Show recently added apps: Displays apps you’ve recently installed.
- Show most used apps: Shows apps you frequently use.
- Show recently opened items in Start, Jump Lists, and File Explorer: Lists recently opened files and documents.
Adding Folders to the Start Menu
You can add shortcuts to specific folders next to the Power button in the Start menu:
- In the Start menu settings, click on Folders.
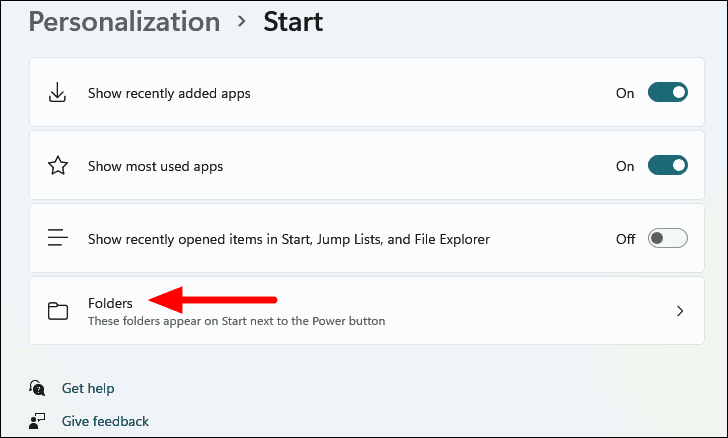
- Toggle on the folders you want to appear in the Start menu, such as Settings, Documents, or Downloads.

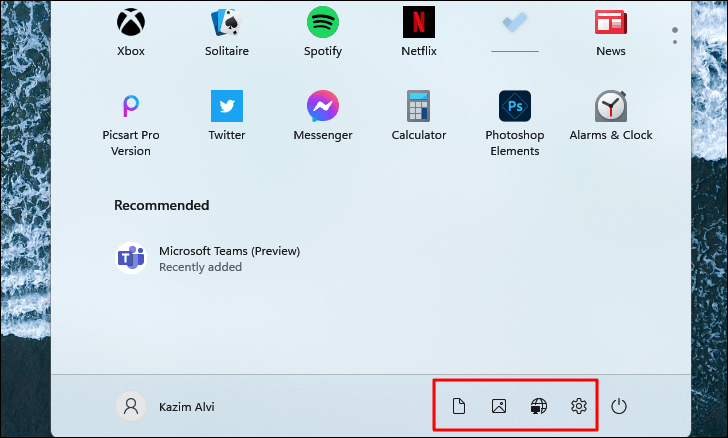
The selected folders will now appear next to the Power button in the Start menu for easy access.
Signing Out or Switching User Accounts from the Start Menu
You can manage user accounts directly from the Start menu:
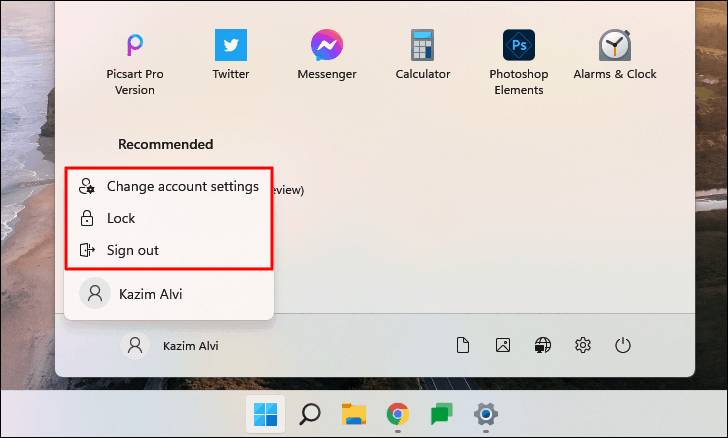
- Click on your user profile icon at the bottom-left corner of the Start menu.
- Choose from the available options:
- Change account settings: Opens your account settings to make changes.
- Lock: Locks your PC, requiring a sign-in to access it again.
- Sign out: Signs you out of your current session.
If you have multiple user accounts, they will be listed at the bottom. Clicking on another account will switch users without signing out, preserving your session.
Using the Power Options in the Start Menu
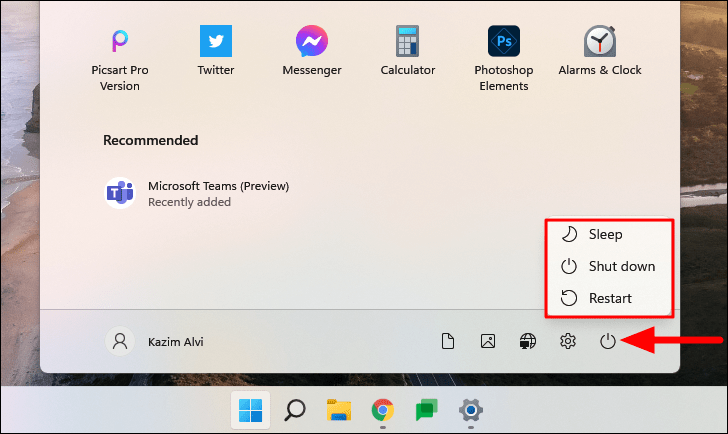
The Power button at the bottom-right corner of the Start menu provides options to manage your PC’s power state:
- Click on the Power icon.
- Select one of the following options:
- Sleep: Puts your PC into a low-power state while preserving your session.
- Shut down: Closes all applications and turns off your PC.
- Restart: Shuts down and then restarts your PC, which can help resolve issues.
Moving the Start Menu to the Left Side of the Taskbar
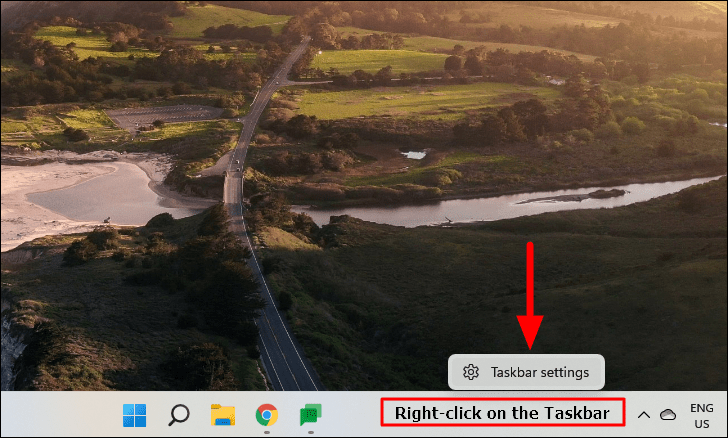
If you prefer the classic left-aligned Start menu, you can change its position:
- Right-click on the Taskbar and select Taskbar settings.
- Scroll down and click on Taskbar behaviors.
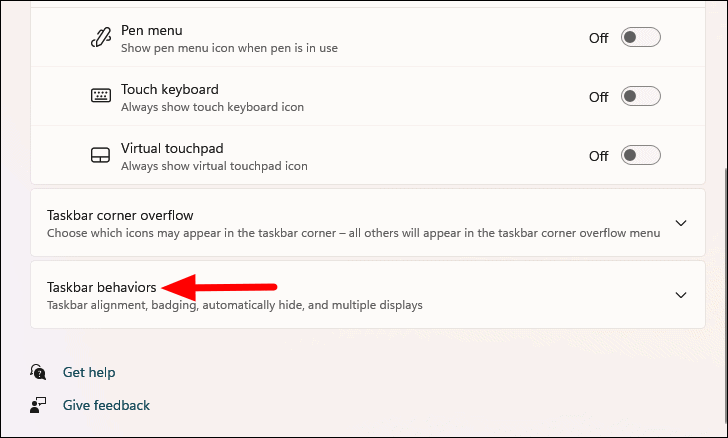
- Under Taskbar alignment, select Left from the dropdown menu.
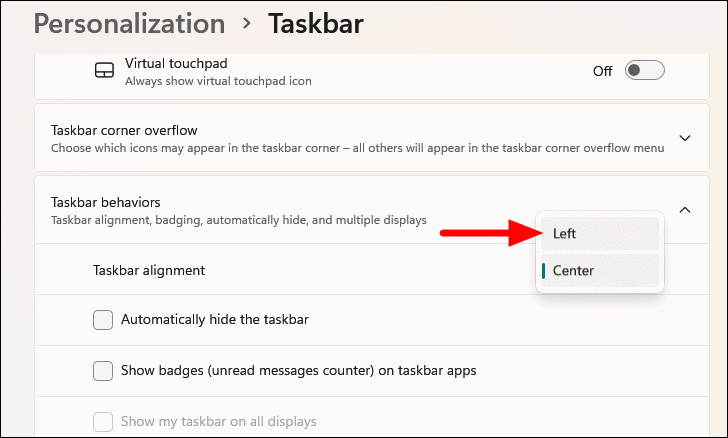
The Start menu and Taskbar icons will now align to the left side of the Taskbar.
With these tips, you can effectively navigate and customize the Windows 11 Start menu to suit your preferences and enhance your productivity.


