
Using a television as a monitor for your Windows 11 PC offers a larger display for work, gaming, or streaming. Whether you opt for a wired or wireless connection, setting it up is straightforward. This guide will walk you through both methods to help you make the most of your TV screen.
Connecting via HDMI cable
To establish a wired connection, use an HDMI cable to link your PC and TV. Begin by connecting one end of the HDMI cable to your PC’s HDMI port and the other end to an available HDMI port on your TV. If your TV has multiple HDMI ports, use the remote to select the correct HDMI source.
Windows + P on your keyboard to open the projection settings.The projection options include:
PC screen only: Displays content only on your PC screen (useful for laptops).
Duplicate: Mirrors your PC screen on the TV.
Extend: Expands your workspace across both screens, allowing you to drag windows between them.
Second screen only: Uses the TV as the sole display, turning off the PC’s main screen (ideal for desktops).

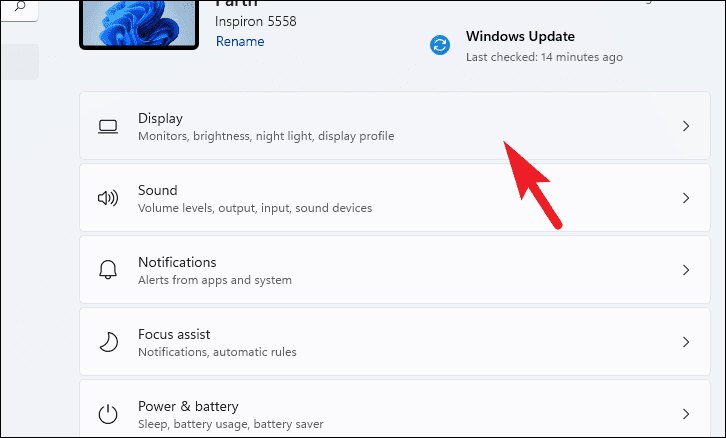
If the display on your TV appears blurry, you may need to adjust your PC’s screen resolution.
Windows + I on your keyboard.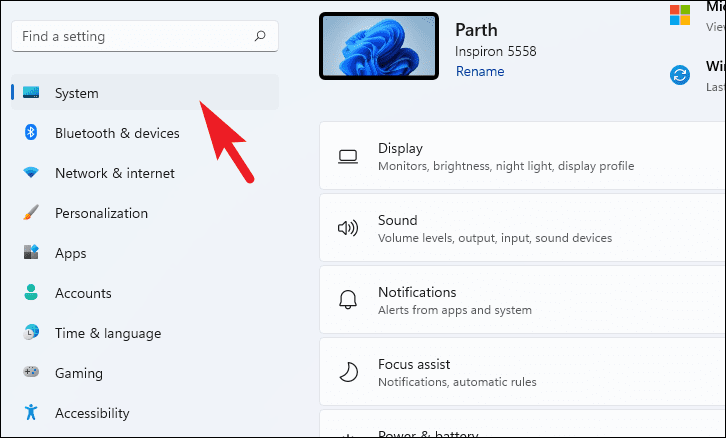

Wireless connection
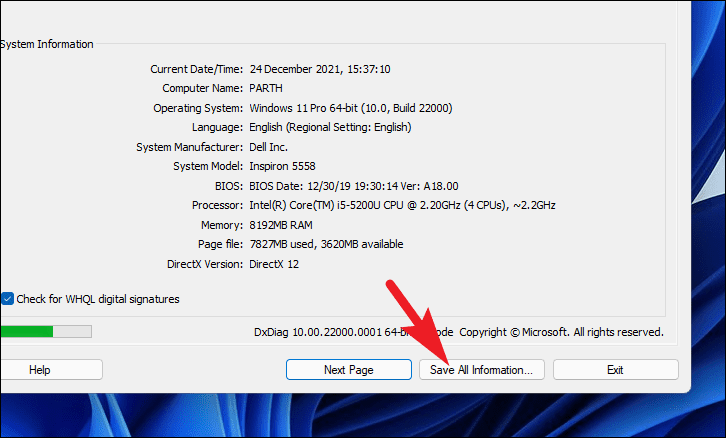
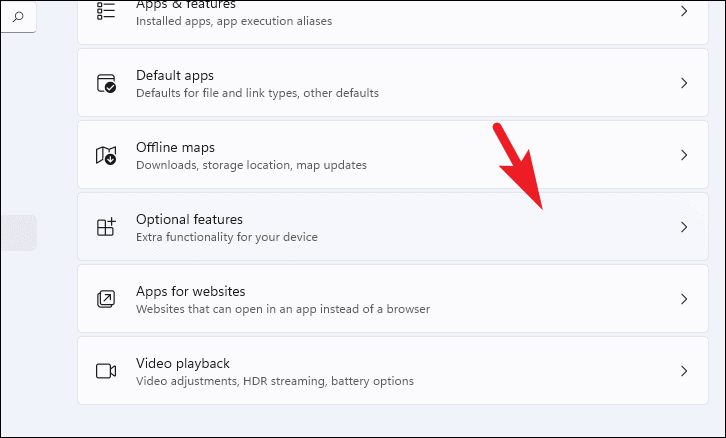
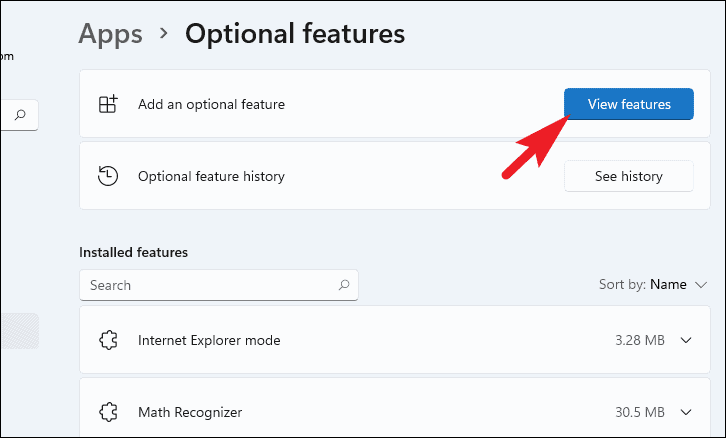
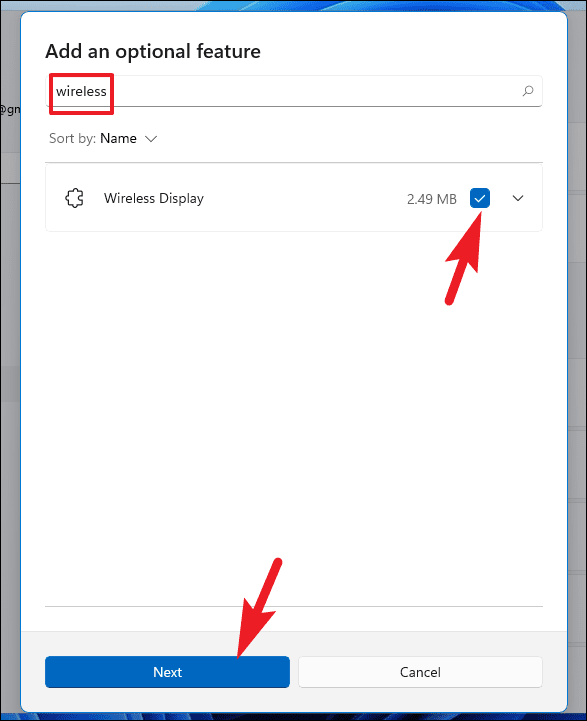
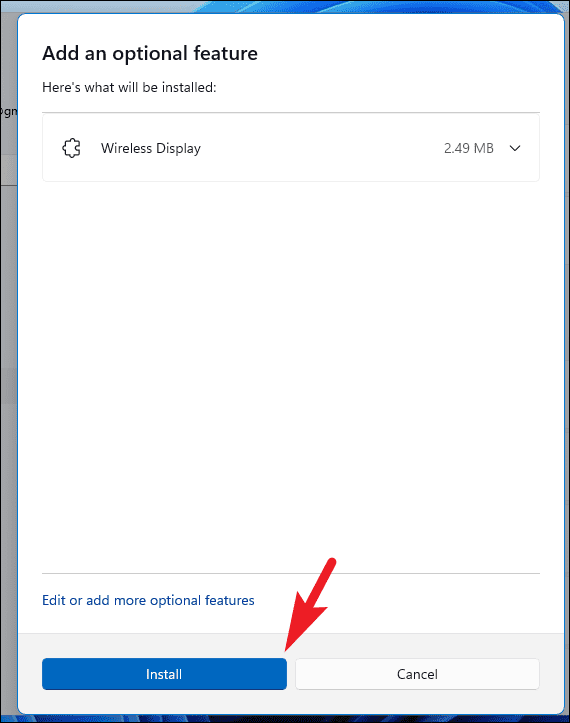
If your TV supports Wi-Fi and you prefer a cable-free setup, you can connect wirelessly. First, verify that your PC is capable of wireless display.
Windows + R to open the Run dialog box. Type dxdiag and press Enter to launch the DirectX Diagnostic Tool.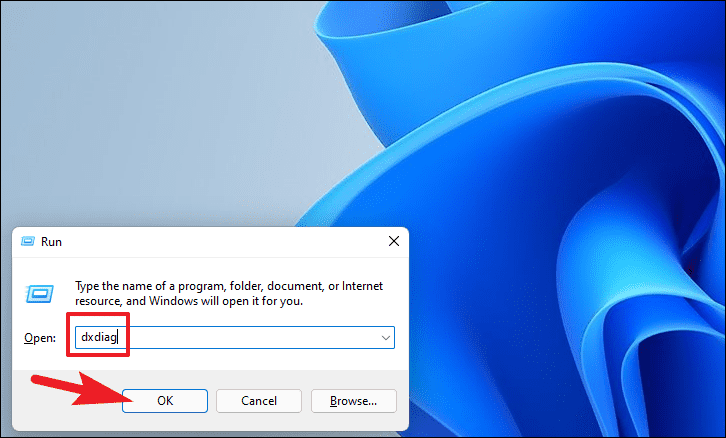

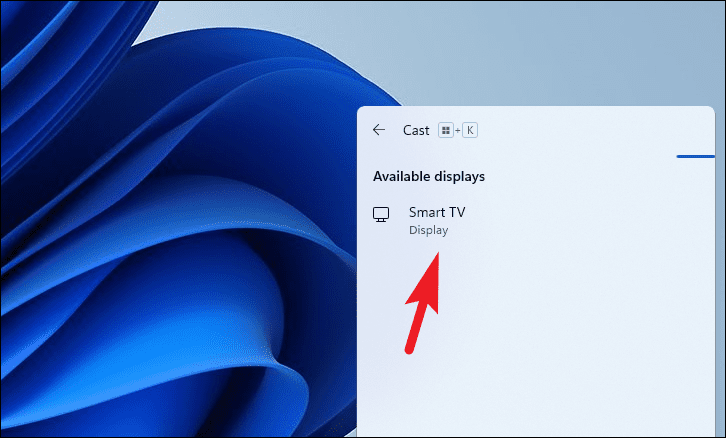
Windows + K to open the Connect pane. From the list of available devices, select your TV to start the wireless projection.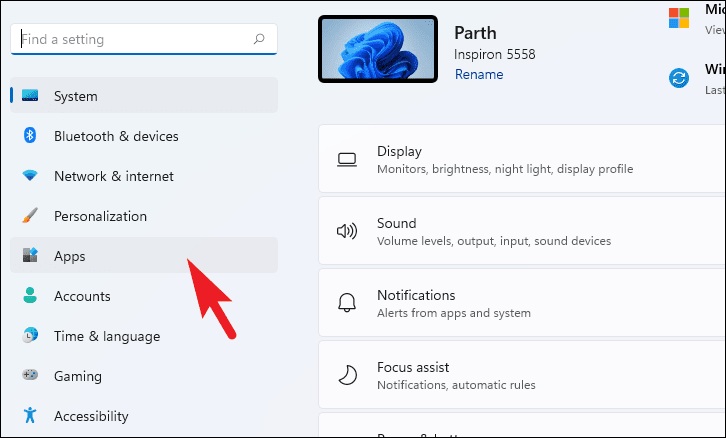
By following these steps, you can easily use your TV as a monitor for your Windows 11 PC. Whether through a direct HDMI connection or wirelessly, expanding your display enhances productivity and entertainment on a larger screen.


