
Everybody is almost always running out of space on their PCs. Moreover, many a time, we are not able to send a large file over the Internet due to file size restrictions. Fortunately, WinRAR can help you tackle these issues and reduce the file size using various compression techniques.
There are many third-party software available for compressing and decompressing the files on your computer. However, WinRAR is one of the most efficient ones out there. Along with that, it is also one of the most user-friendly.
Though before you can use WinRAR on your computer, you will need to install it if you haven’t already done so.
Download and Install WinRAR on Windows 11
You will need to download WinRAR from its official website and install it on your computer, which is no different from downloading and installing any third-party software.
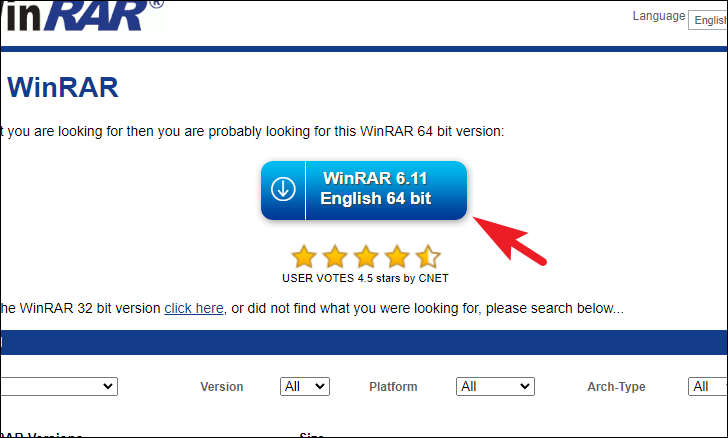
First, head to the win-rar.com/download web address and click on the ‘Download’ button present on the webpage. This will immediately initiate the download on your computer.
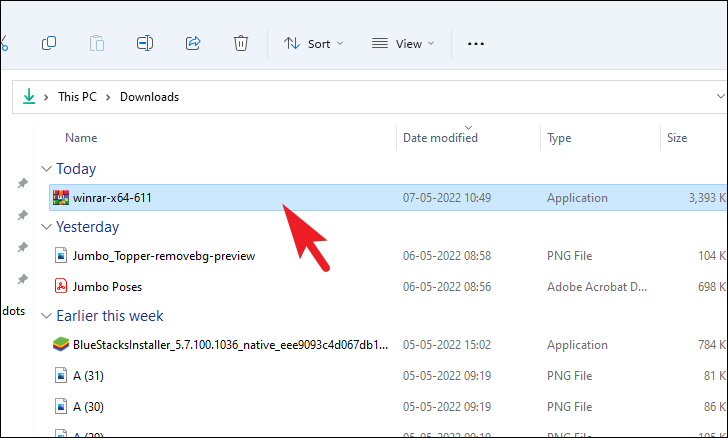
Once downloaded, head to the default downloads directory from the File Explorer window. Then, double-click on the .EXE file you just downloaded to run the installer package on your PC.
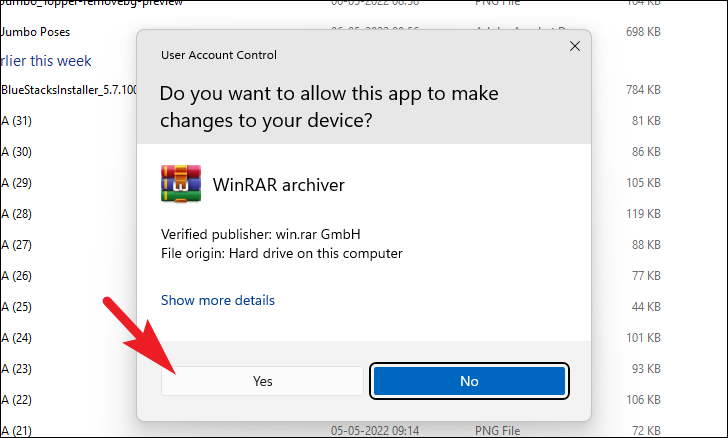
Then, a UAC (User Account Control) window will appear on your screen. If you are not logged in with an admin account, enter the credentials for one. Otherwise, click on the ‘Yes’ button to proceed.
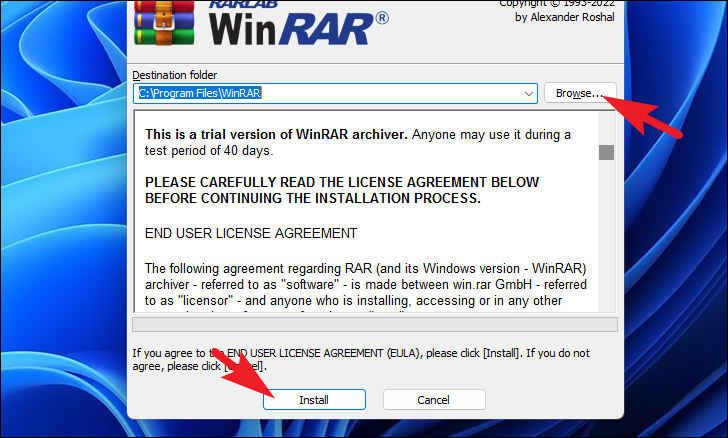
Next, on the installer window, if you wish to change the default installation directory, click on the ‘Browse’ button to open a File Explorer window and select the location manually. Otherwise, click on the ‘Install’ button to initiate the installation on your PC.
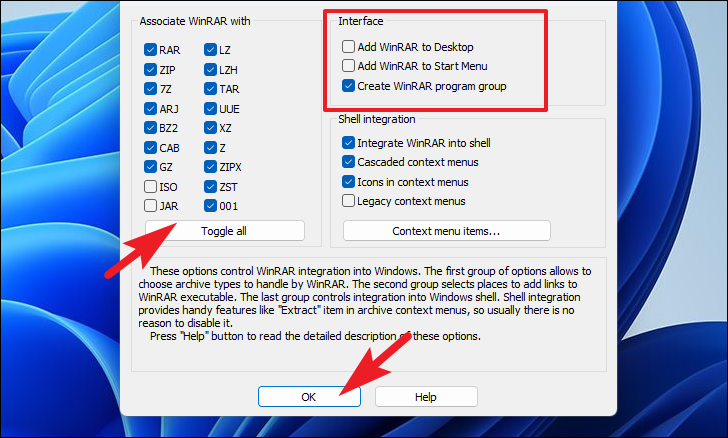
Then, on the setup screen of the installer, click on the ‘Toggle all’ button present under the ‘Associate WinRAR with’ section to open all supported file types using WinRAR. Next, if you wish to have a Desktop shortcut to WinRAR, click on the checkbox preceding the ‘Add WinRAR to Desktop’ option. After that, click on the ‘OK’ button to proceed.
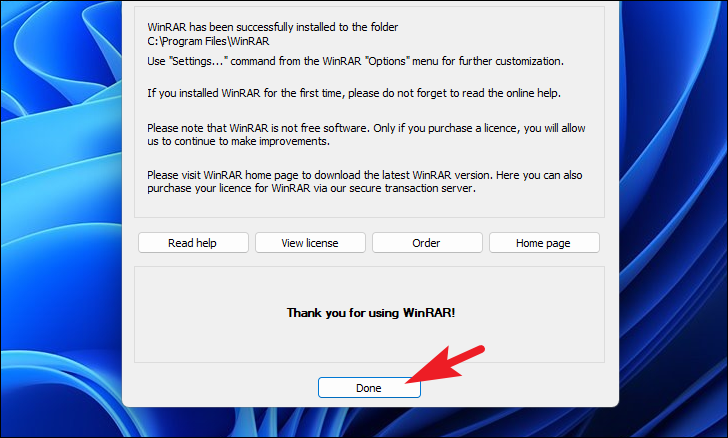
On the next screen, click on the ‘Done’ button to close the window and finish the installation process of WinRAR.
Compress Files with WinRAR
Once you have installed WinRAR on your computer, you can now zip large files and folders or you can unzip received folders on your computer to access its content. The process is very simple and hardly demands any effort from your side.
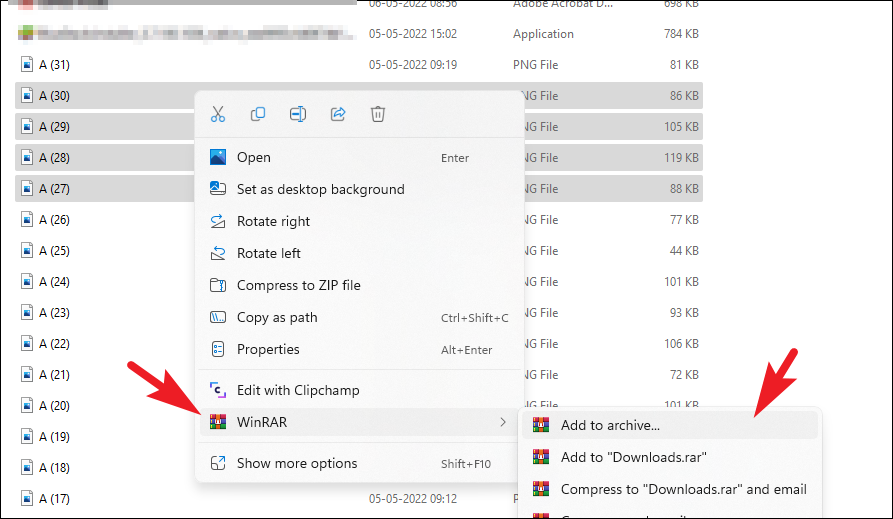
First, head to the file/ group of files that you wish to compress. Then, to select multiple files at a single time, Press CTRL on your keyboard and click on the files using the left mouse button. After that, press the right mouse button by keeping the cursor hovering over any of the selected files to reveal the context menu. Next, hover over the ‘WinRAR’ option to expand it and then select the ‘Add to archive’ option to continue. This will open a WinRAR window on your screen.
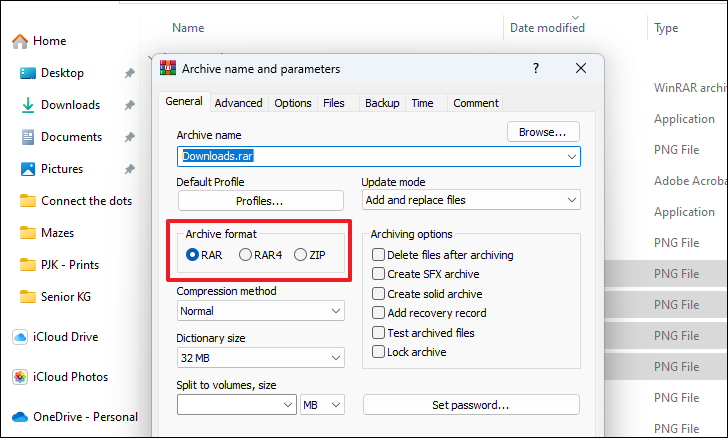
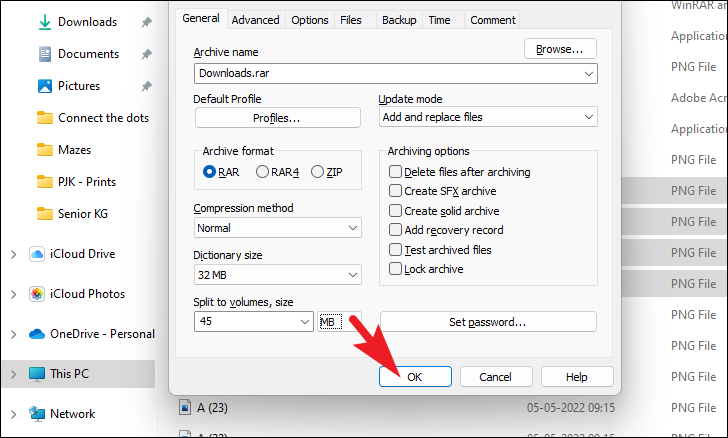
Now, from the separately opened window, first, type the name that you wish to give to the zipped folder in the text box present right underneath the ‘Archive name’ field. Next, click on the ‘Browse’ button if you wish to create the zipped folder anywhere else other than the current location of the files selected.
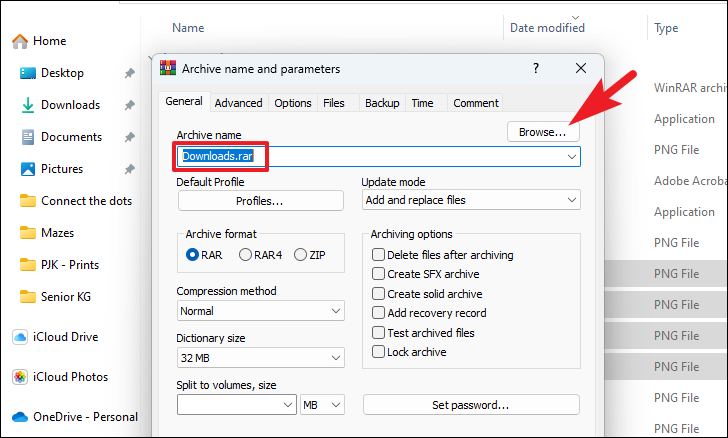
After that, you will need to select the type of archive. WinRAR supports either the ‘ZIP’ format which offers maximum compatibility and can be opened by a majority of operating systems themselves. Whereas RAR is a proprietary method and will require third-party software to unarchive the files. Under the ‘Archive format’ section, click on the radio button preceding the option required and useful for your use case.
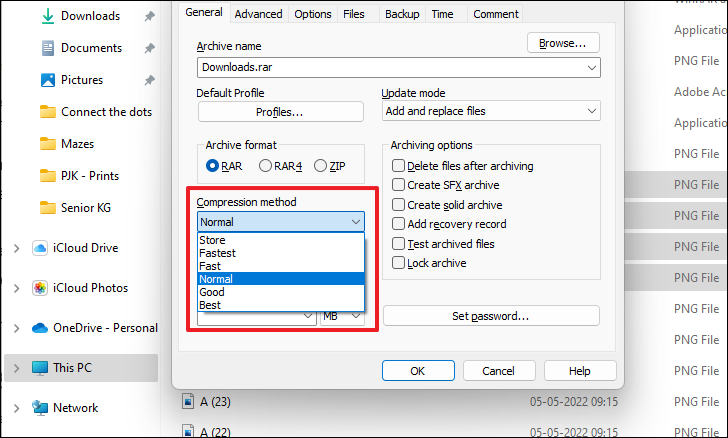
Next, click on the dropdown menu present under the ‘Compression method’ field. Here, you can either choose the ‘Fastest’ method that will create an archive of your selected files/folders in very less time but won’t offer you much compression. At the same time, if you select the ‘Best’ option will offer you exceptional compression but will do it rather slowly. Hence, according to your requirement and convenience select one of the options.
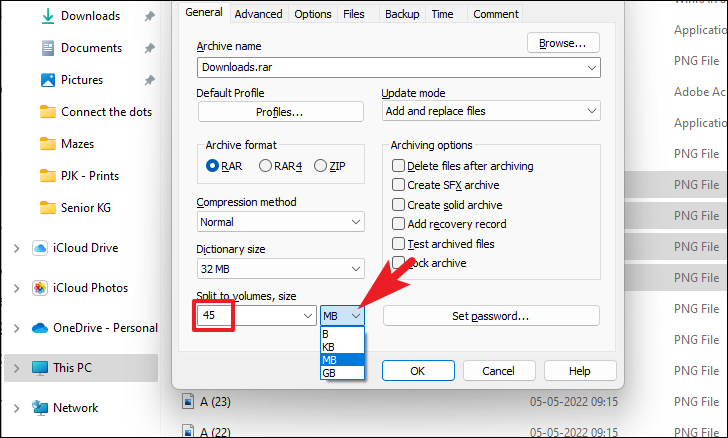
Then, if you wish to split the volumes into equal partitions, click on the dropdown menu present under the ‘Split to volumes, size’ field and select a base unit from the option of B, KB, MB, or GB. Next, enter a number in the text box present just left to the base unit option or click on the dropdown to select a preset numerical value.
In case you are storing or sharing some very sensitive data, you can also secure the compressed folder by adding a password to it by clicking on the ‘Set password’ button.
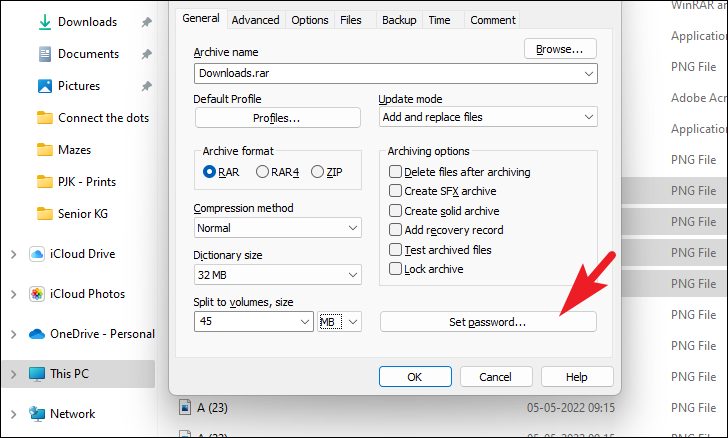
Once done, click on the ‘OK’ button to create an archive that follows the preferences set by you.
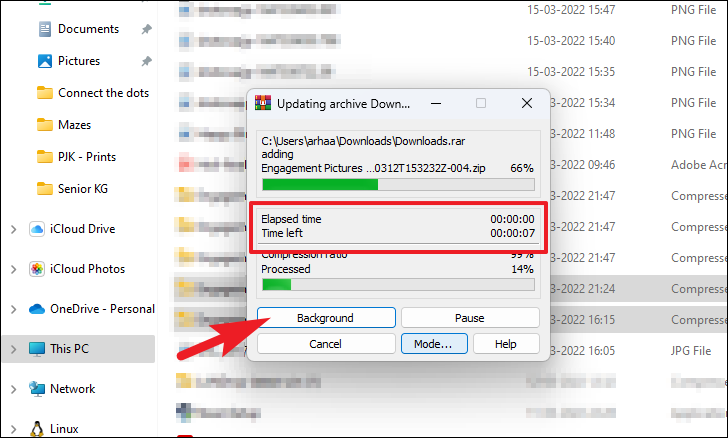
It might take several minutes to create an archive if the files are large enough; wait patiently till WinRAR does that. You can also click on the ‘Background’ button to archive the files in the background while you use your computer for other purposes.

Once created, you will be able to find the compressed folder in the directory you chose to create it. In case you did not set any custom directory, you can find the compressed folder in the same directory where you chose the files to compress.
Extract Files from a Compressed Folder
If you have received a compressed folder over an email or any other sharing method, you can easily unzip it using the WinRAR software. To do that, all it takes is a single click.
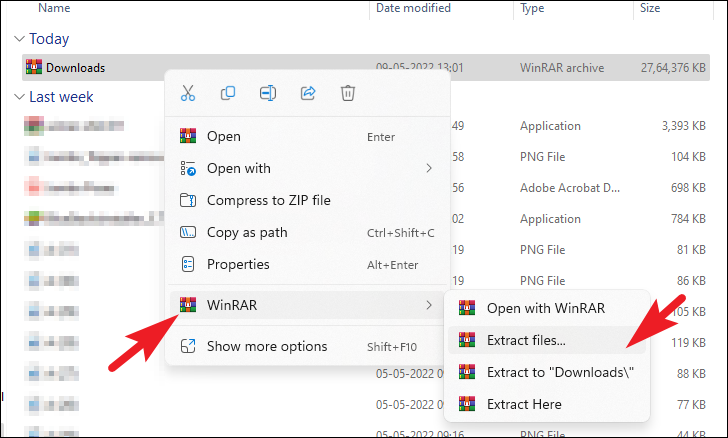
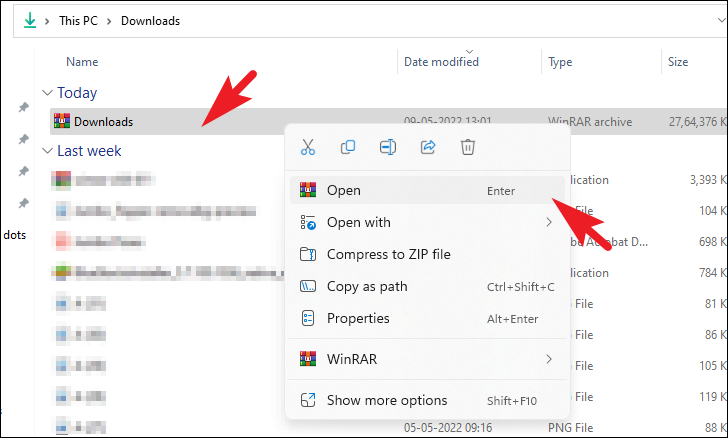
First, head to the zip file that you wish to unzip and right-click it to reveal the context menu. Then, from the context menu, hover over the ‘WinRAR’ file to open the sub-menu and click on the ‘Extract files’ option to continue. This will open a separate window on your screen.
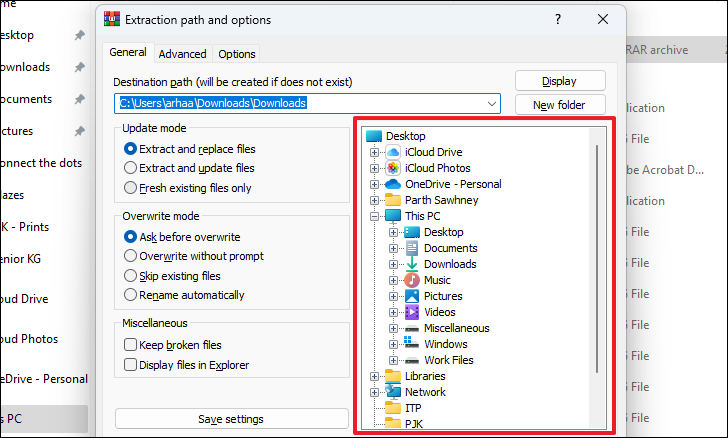
Now, from the separately opened window, from the right section, locate and click the directory where you wish to extract the files. If you do not wish to set a custom directory, by default your files will be extracted in the same directory where your compressed folder is present.
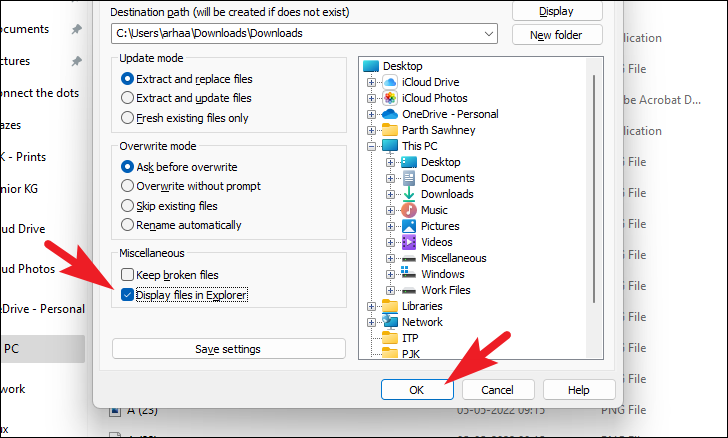
You can also set WinRAR to automatically open the directory once the extraction process is complete by clicking on the checkbox preceding the ‘Display files in Explorer’ option present under the ‘Miscellaneous’ section. Once you have the preferences as per your requirement, click on the ‘OK’ button present at the bottom right section to start extracting the files.
If you are extracting large files, it might take a while to extract all of them. You can track the progress of extracted files and the approximate time it might take the system to complete the operation on the extraction window of WinRAR. Moreover, if you wish to use your PC for a separate task and are comfortable assigning low priority to the extraction process, click on the ‘background’ button present in the window to do so. This will keep running the extraction process in the background while occupying lower than average RAM of your system.
If you had selected to display the files in explorer after extraction, a File Explorer window of the directory comprising all the extracted files and folders will open on your screen.
Extract Some Files from a Compressed Folder
You can also extract selected or single files from a compressed folder using WinRAR instead of extracting all the files it contains.
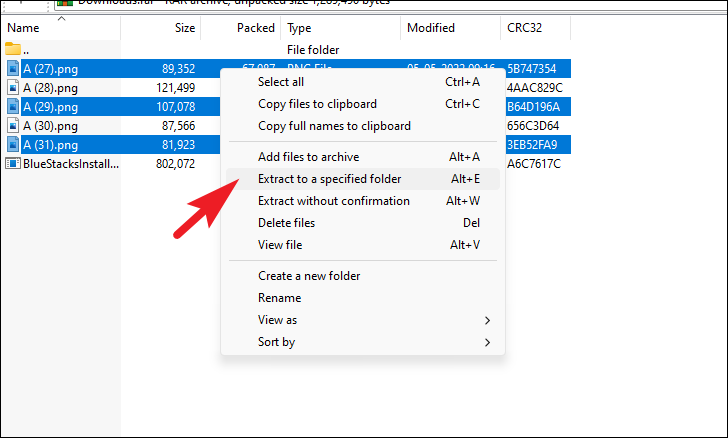
To extract only selected files from WinRAR, double-click on the compressed folder to view its contents of it.
Then, select the file that you wish to extract. In case there are multiple files, press and hold the Ctrl key on your keyboard while selecting the files. Once selected, right-click on one of the selected files to reveal the context menu. Then, click on the ‘Extract to a specified folder’ option. You can also use the Alt + E keyboard shortcut to perform this action without opening the context menu. Either way, a separate window will open on your screen.
Now, from the separately opened window, choose the directory where you wish to extract the files. Then, click on the ‘OK’ button present at the bottom section of the window to confirm the action.
Only the selected files will appear in the location where you chose to decompress them.
There you go, folks! Hopefully, with the help of this guide, you will be able to use WinRAR for all your compressing and de-compressing requirements on your Windows 11 PC.


