
Safe Mode in Windows 11 allows you to start your computer with a minimal set of drivers and services, which can be helpful for troubleshooting problems. However, if you find yourself unable to exit Safe Mode, it can hinder your ability to use your PC normally. Here are some methods to help you exit Safe Mode and return to the full functionality of Windows 11.
Use System Configuration to Exit Safe Mode
One of the most straightforward ways to leave Safe Mode is by adjusting the System Configuration settings.
Windows + R on your keyboard to open the Run dialog box. Type msconfig and press Enter to launch the System Configuration window.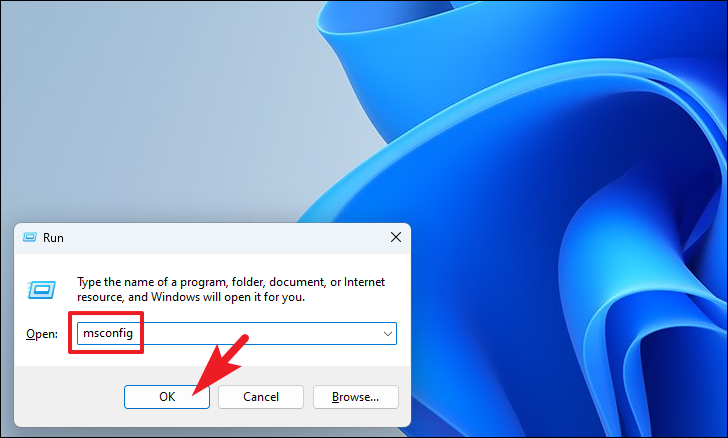
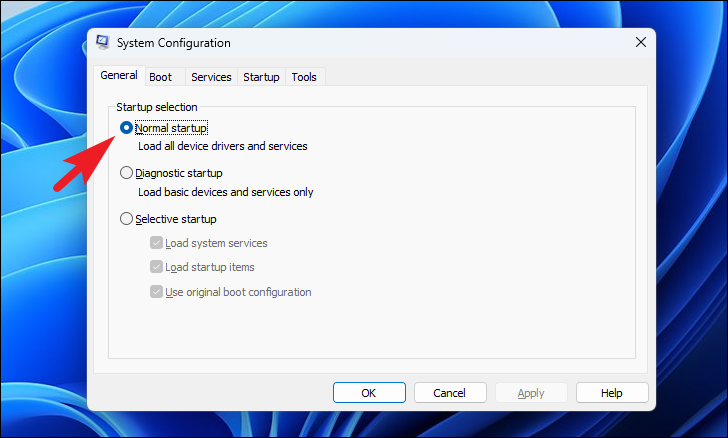
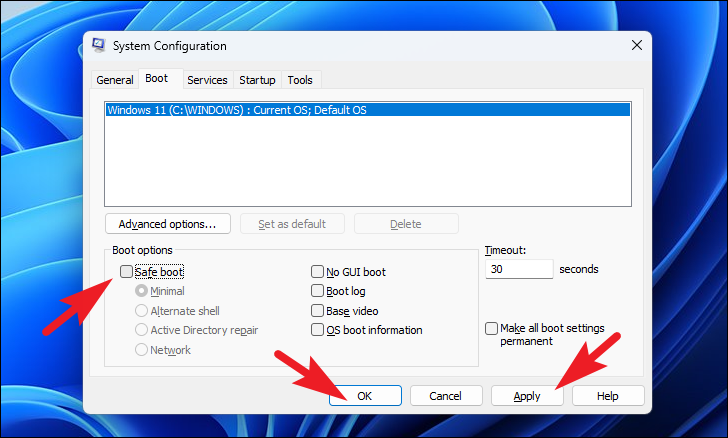
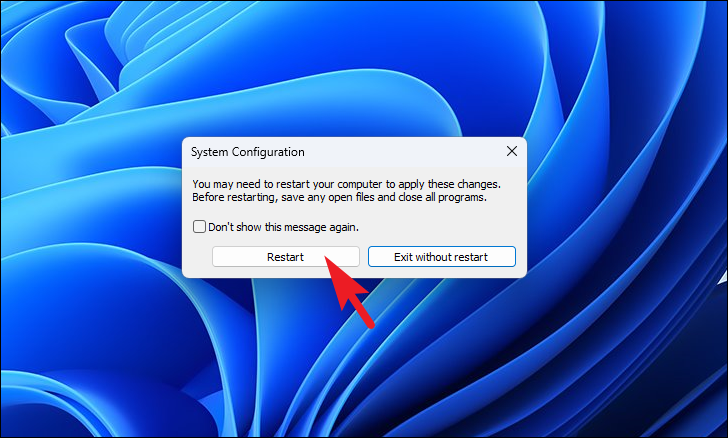
After your PC restarts, it should boot into normal mode with all standard services and applications running.
Edit Boot Configuration Using Command Prompt
If the System Configuration method doesn’t work, you can use the Command Prompt to modify your boot settings and exit Safe Mode.
Terminal in the search bar. Right-click on the Terminal app and select Run as administrator to open it with administrative privileges.

Ctrl + Shift + 2 to open Command Prompt.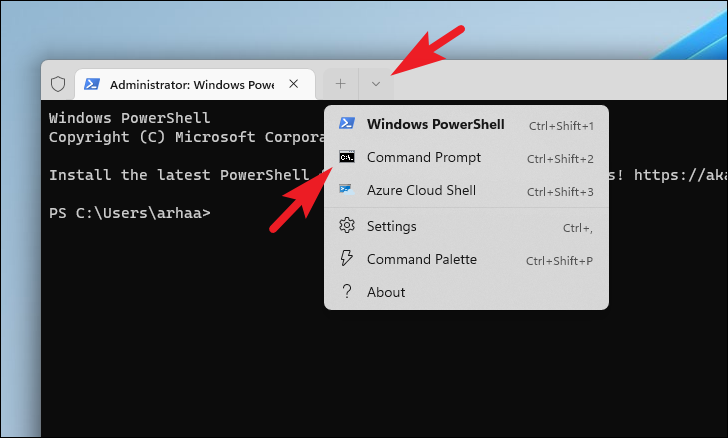
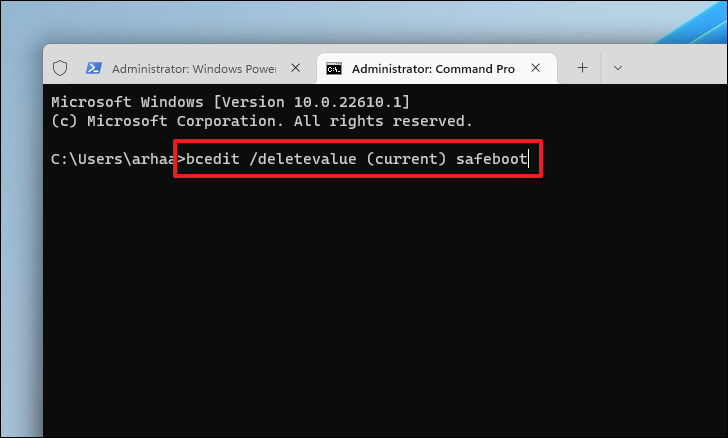
bcdedit /deletevalue {current} safebootThis command removes the Safe Boot option from your boot configuration data.
shutdown /r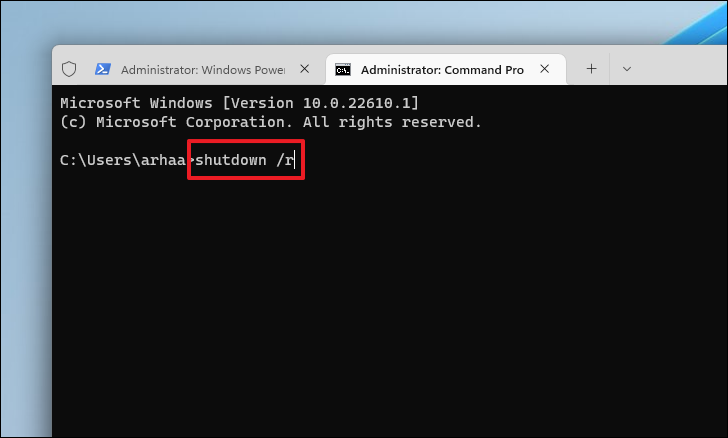
Your PC will restart and should boot into normal mode.
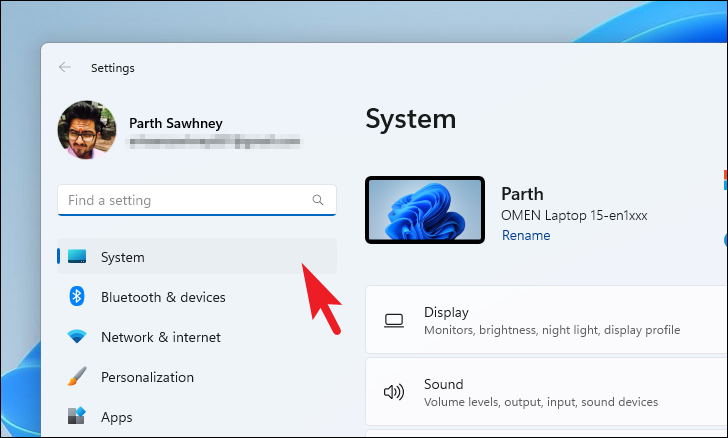
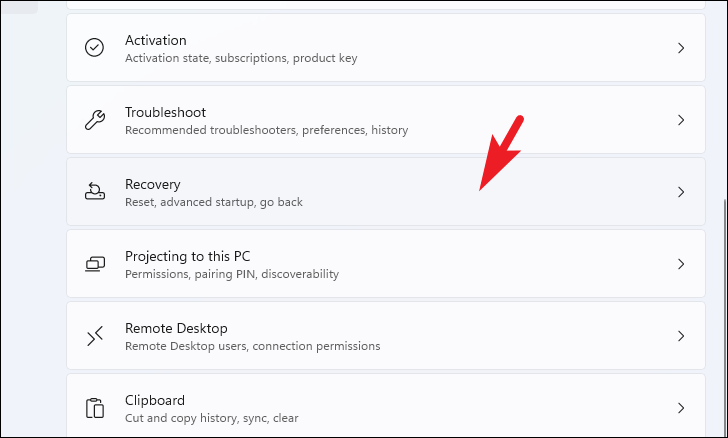
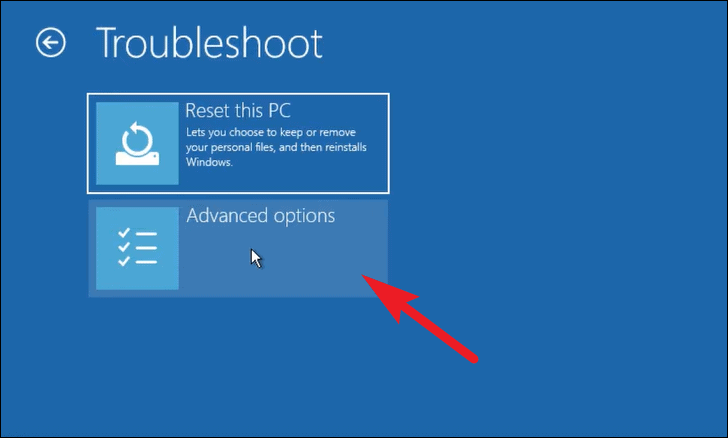
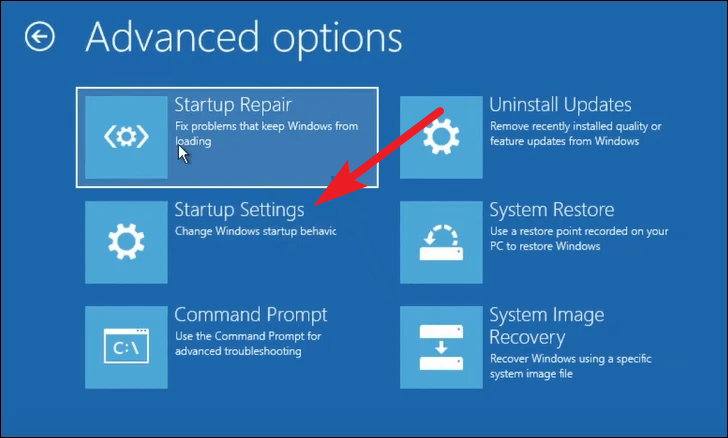
Use Advanced Startup Settings
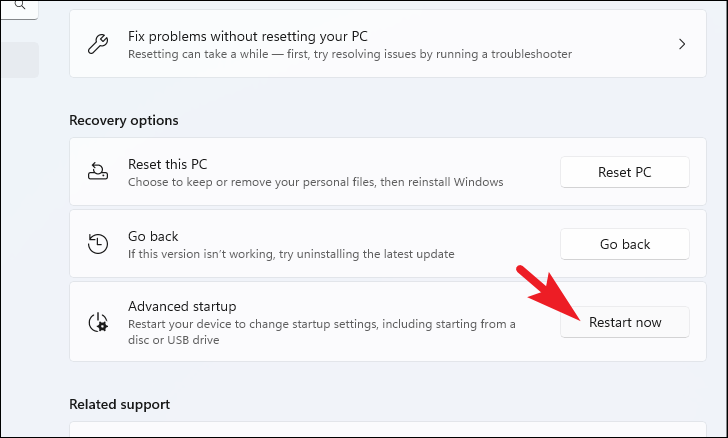
If the previous methods do not resolve the issue, you can use the Advanced Startup options to exit Safe Mode through the Windows Recovery Environment.
Windows + I to open Settings directly.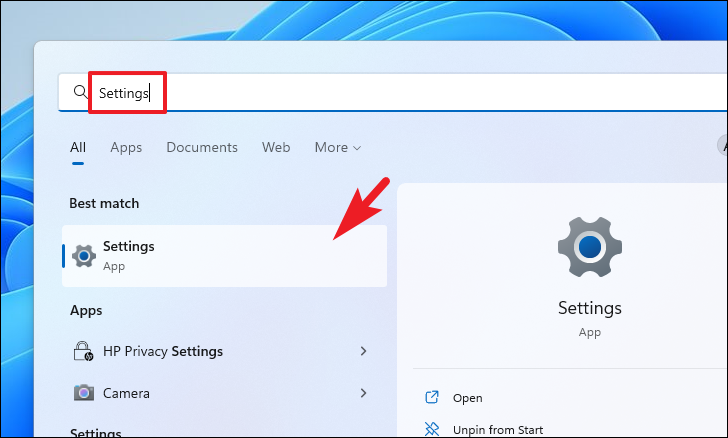
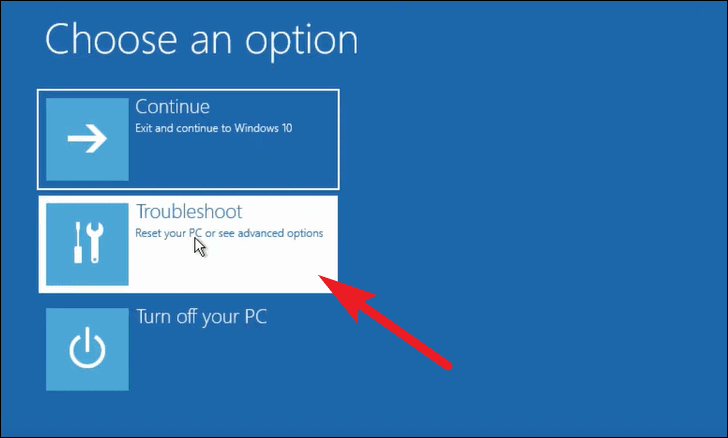
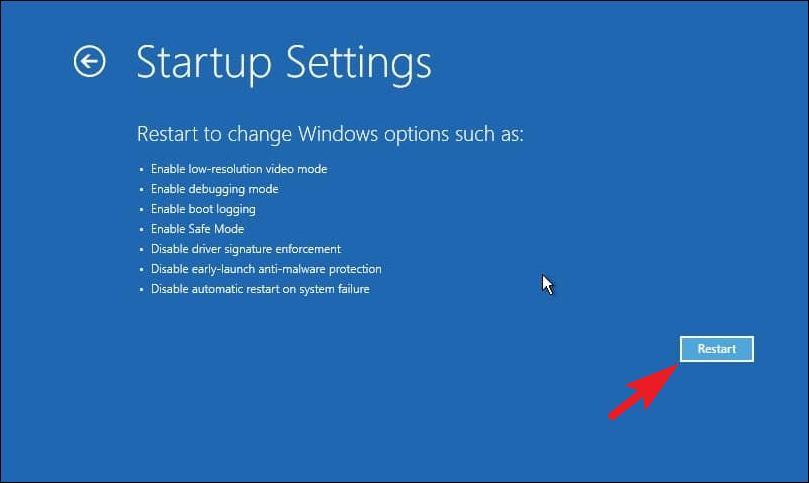
Enter to continue and boot into normal mode.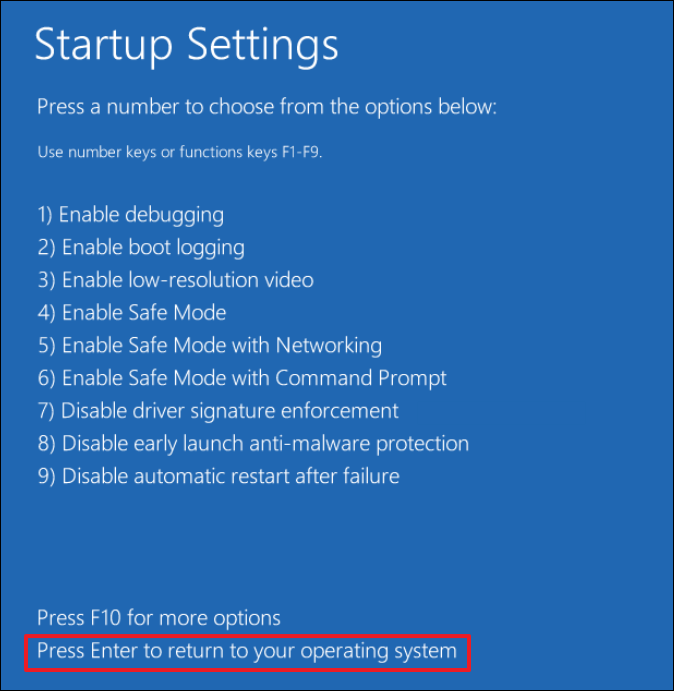
Your computer will restart once more and should now load Windows 11 in normal mode.
By following these methods, you can successfully exit Safe Mode and restore your Windows 11 PC to its full functionality with all features and services enabled.


