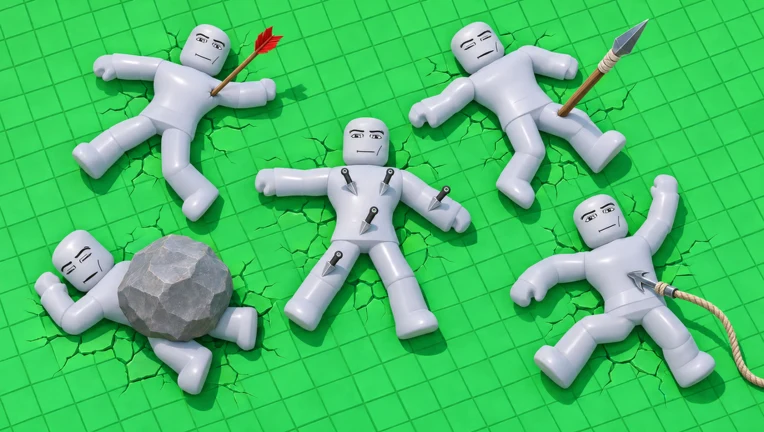
Hyper Realistic Ragdoll gives you a full 1–0 hotbar of weapons and tools, and every one of them hurts a body in a different way. Guns tear through specific organs, blunt tools break bones, and a few utility tools knock targets over without wounding them at all. Everything else sits in the Weapons menu behind a cash price or a kill count.
Quick answer: Your hotbar holds ten tools on keys 1 through 0. Extra weapons are bought with in-game cash in the Weapons menu. The Grenade is the exception, unlocking at 50 kills instead.
Hyper Realistic Ragdoll hotbar weapons by key
Each number key maps to one slot, and the slot name is printed on the hotbar at the bottom of the screen. Press the key and the tool appears in your hands in first person. The full layout looks like this.
| Key | Tool | Type | What it does |
|---|---|---|---|
| 1 | Assault Rifle | 5.56 MM, AUTO | Full-auto fire |
| 2 | Pistol | 9MM, SEMI | Precise single shots |
| 3 | Shotgun | 12 GA, SEMI | Heavy close-range blast |
| 4 | Golf Club | Melee | Blunt swings |
| 5 | Physics Hand | Tool | Beam that ragdolls targets |
| 6 | Brick | Impact throwable | Thrown blunt hit |
| 7 | Fists | Melee | Punches, can be charged |
| 8 | Med Kit | Medical | Treats and revives |
| 9 | Fire Extinguisher | Tool | Continuous CO2 cloud |
| 0 | Force Push | Tool | Knockback blast, no wound |
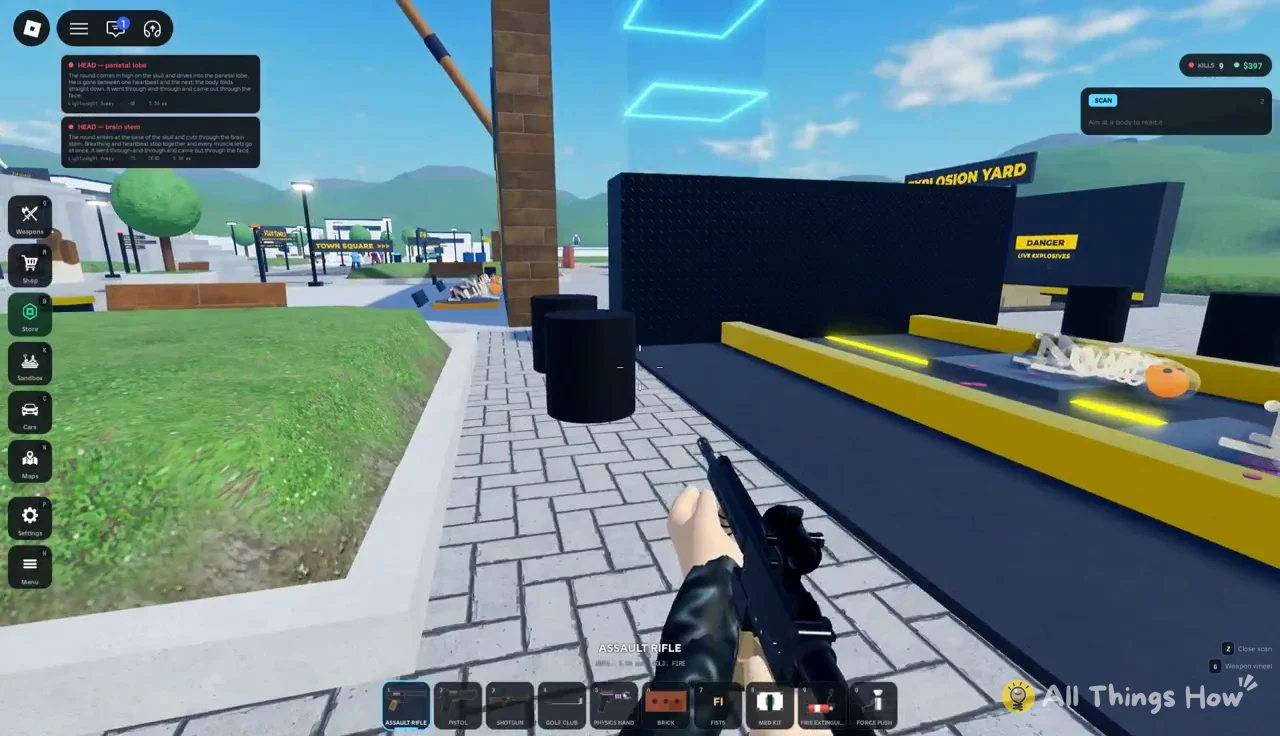
The guns are where the damage model gets granular. Every bullet registers against a named structure, so a hit is logged as something like HEAD - brain stem, CHEST - heart or LOWER BACK - right kidney. Brain stem and heart hits drop a target immediately. Limb and lung hits do something slower: the body starts bleeding, moves badly, crawls, or passes out.
Assault Rifle (key 1)
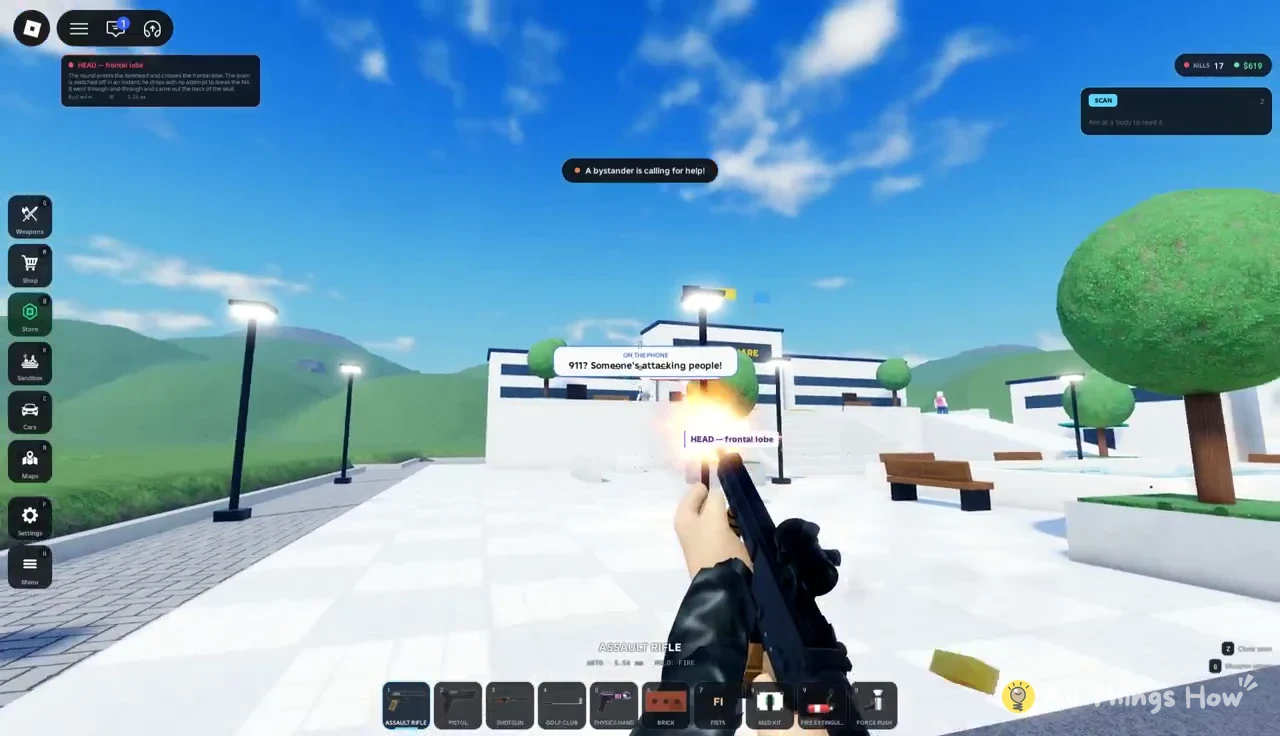
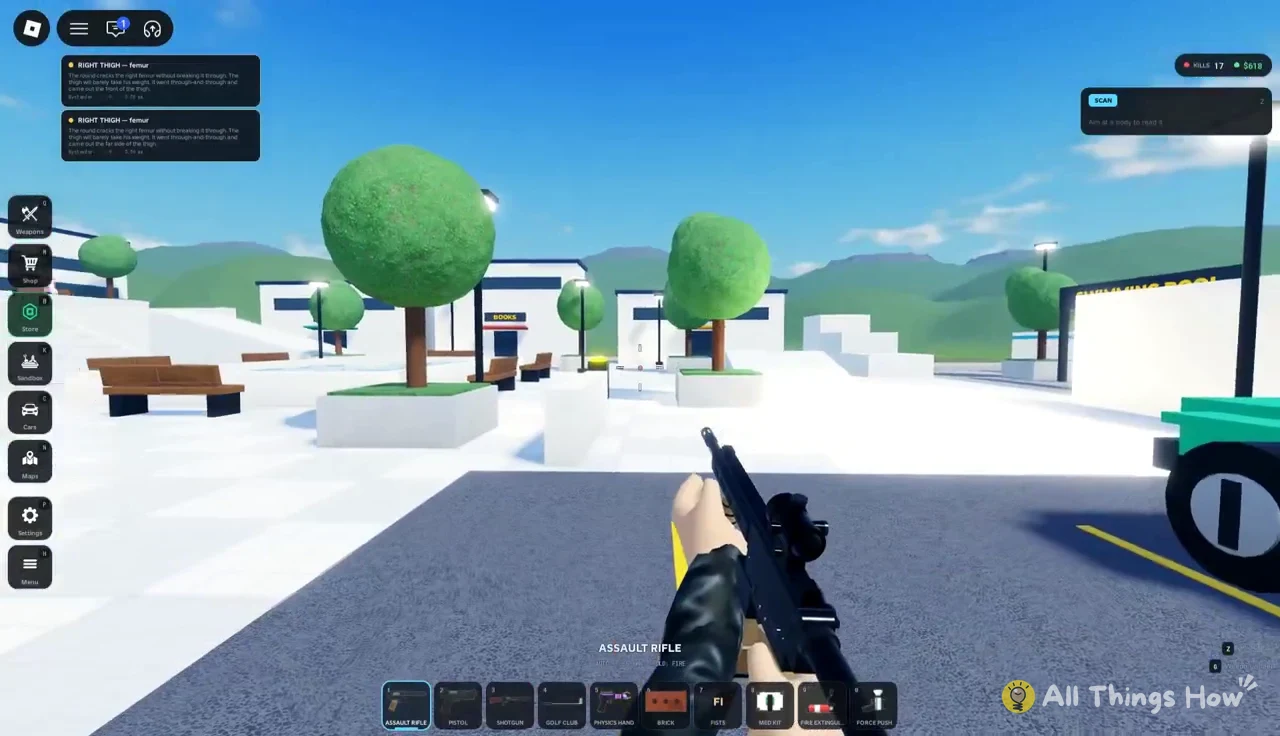
Assault Rifle is the only automatic gun in the starting loadout. Hold the trigger and it fires continuously, which makes it good for hitting moving targets and running bystanders. Body hits land as spinal, lung and kidney damage. Sustained bursts at legs and torsos break femurs and ribs, and a stray round into the head registers as frontal lobe, parietal lobe or brain stem trauma.
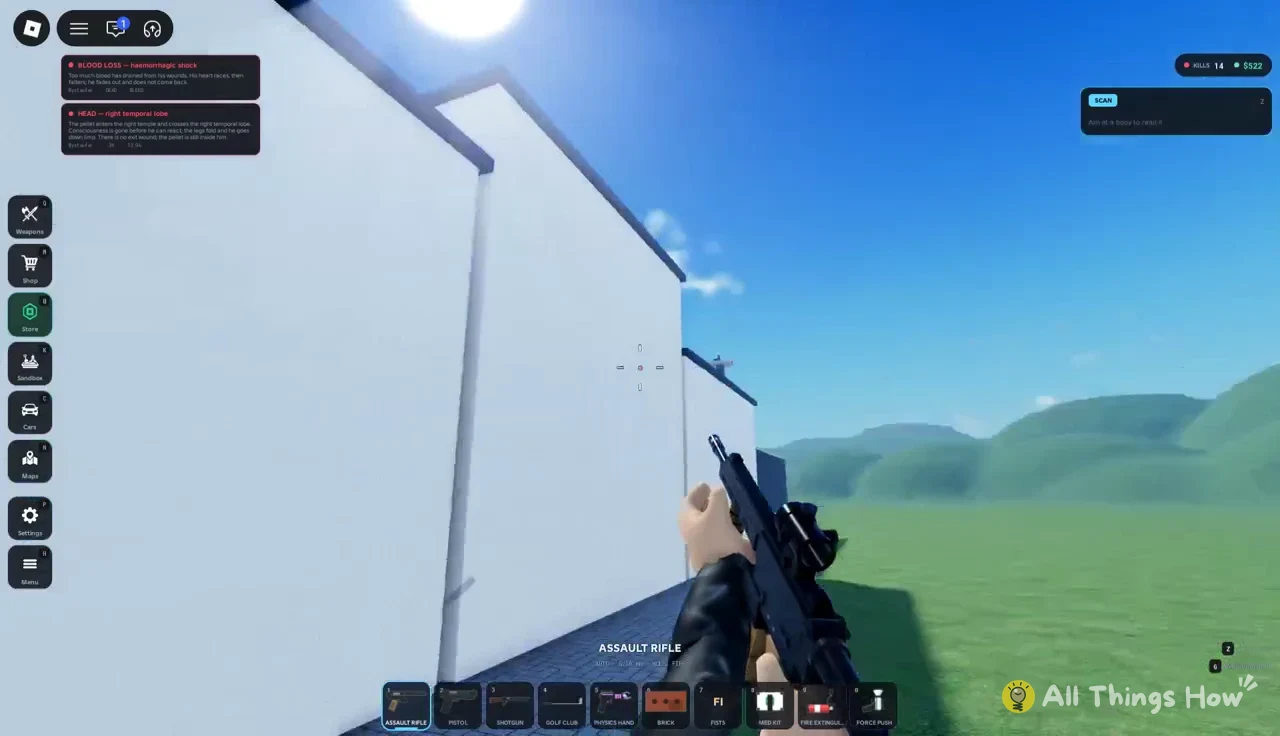
Range matters less with this gun than with the Shotgun, so it works from rooftops, ramps and open lawns. If a target is far away, the rifle is the starting weapon that will keep landing hits.
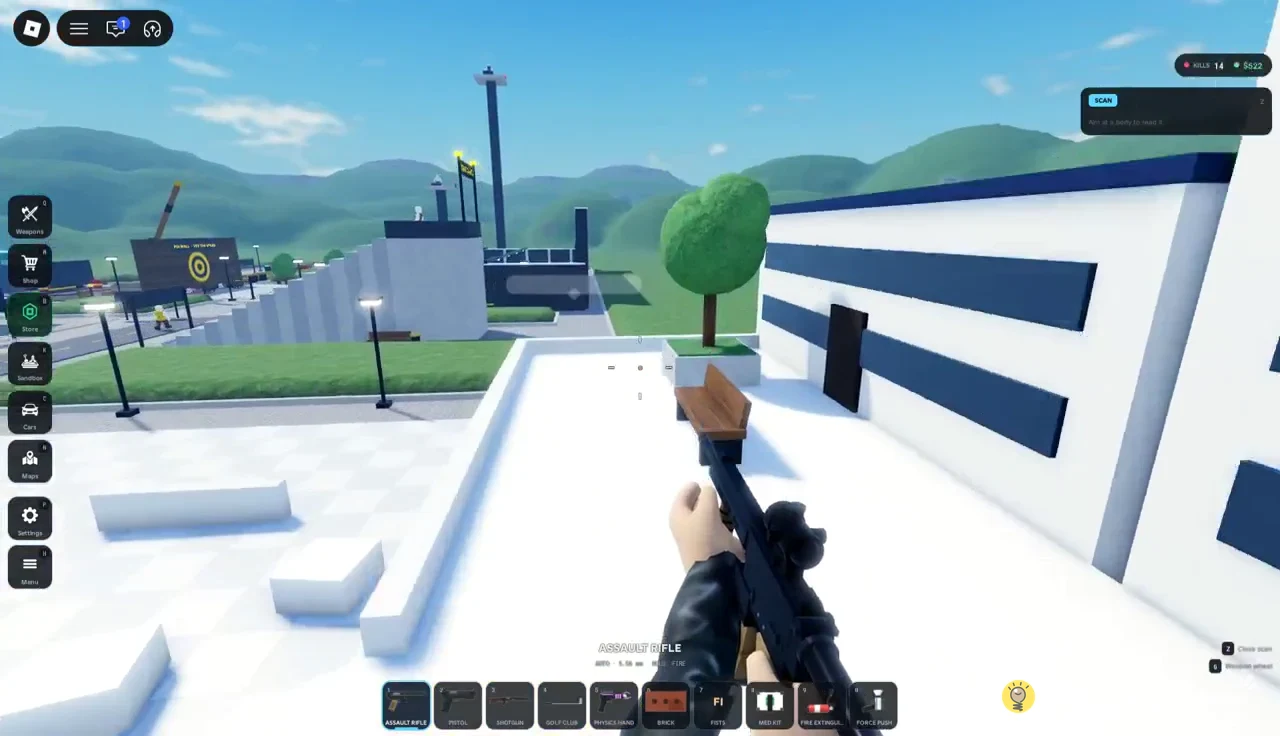
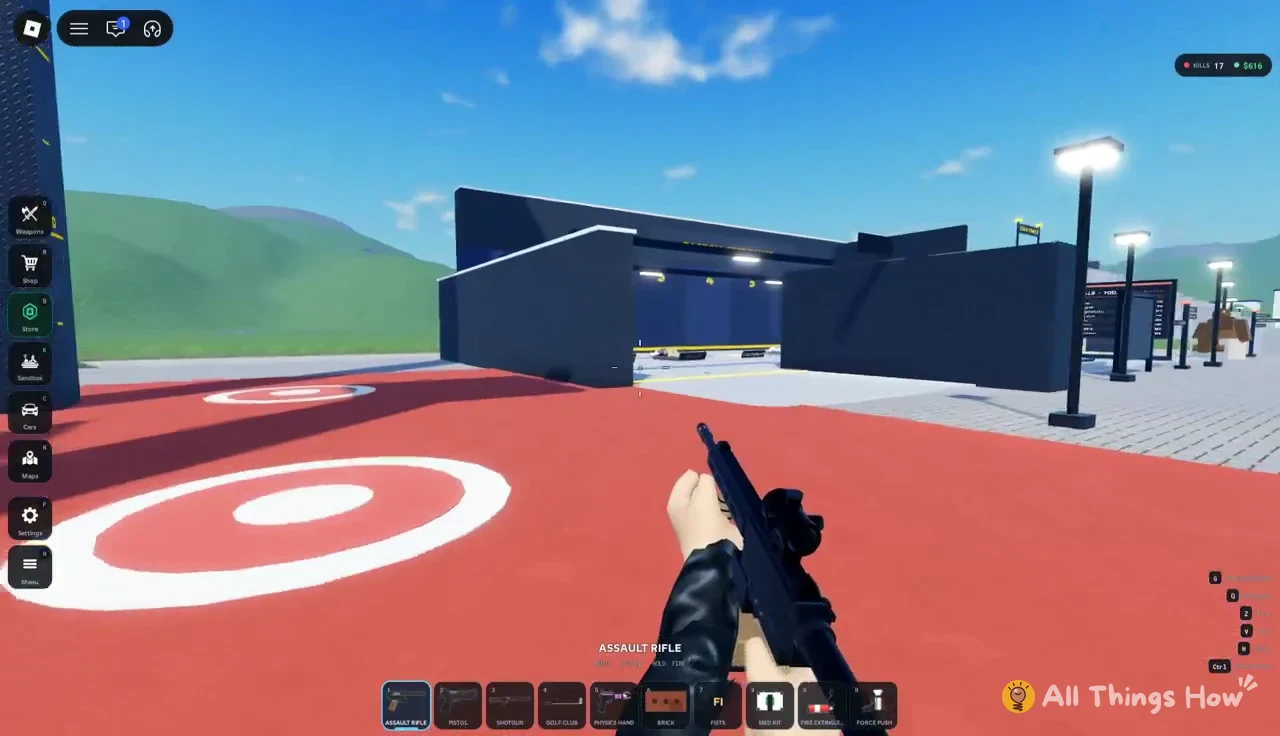
Headshots with the rifle show the exact brain region hit in floating damage text above the target. Firing down a busy road also tracks every body you hit as it bleeds and falls.
Pistol (key 2)
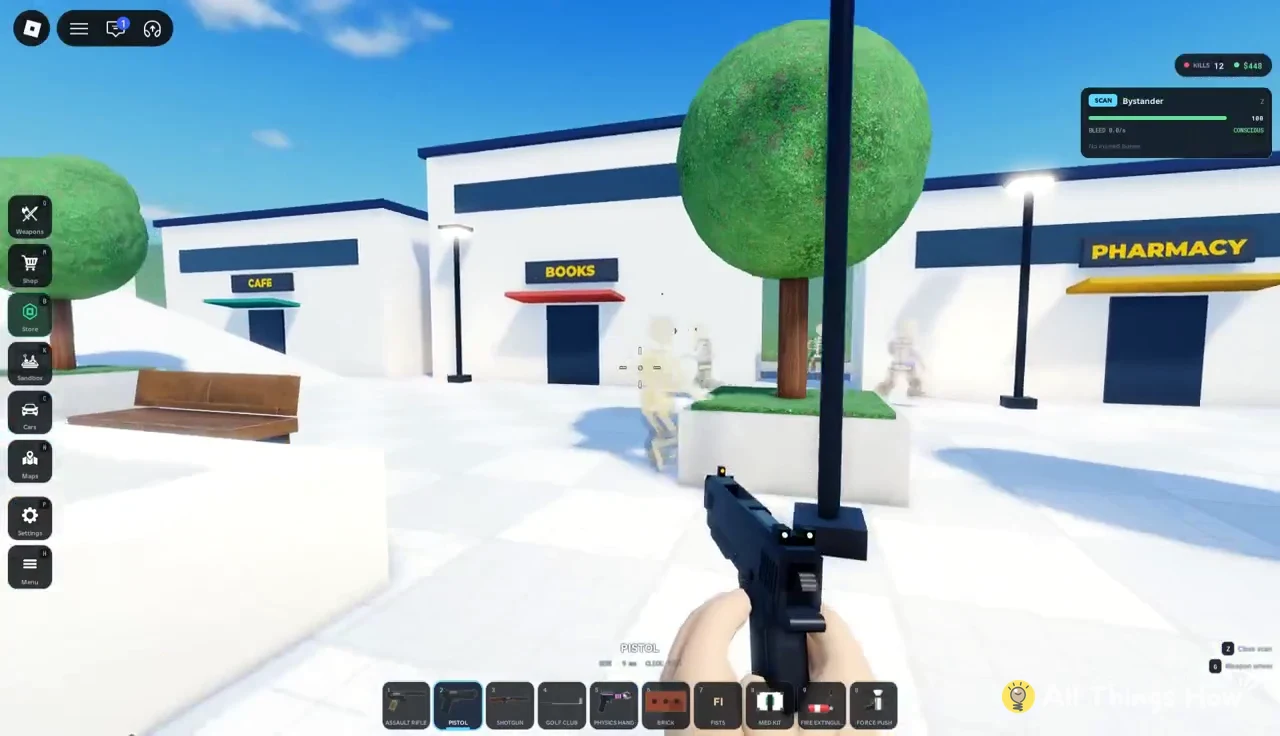
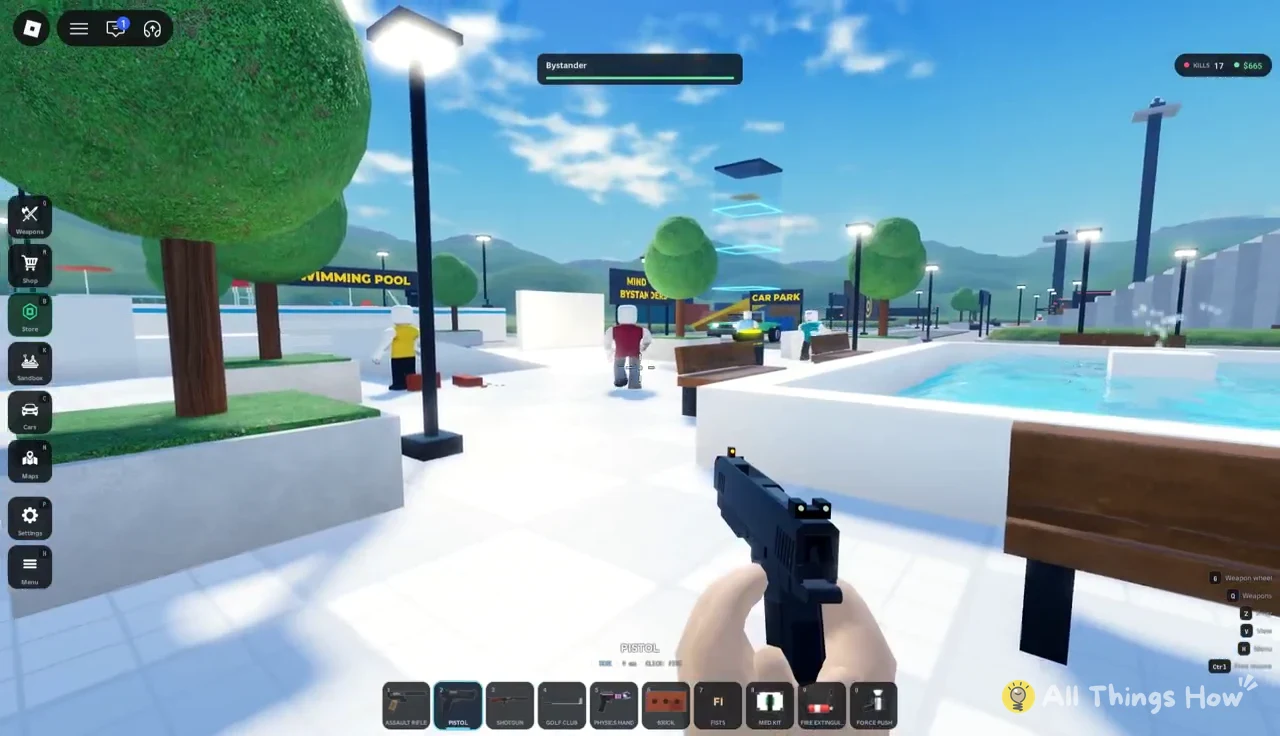
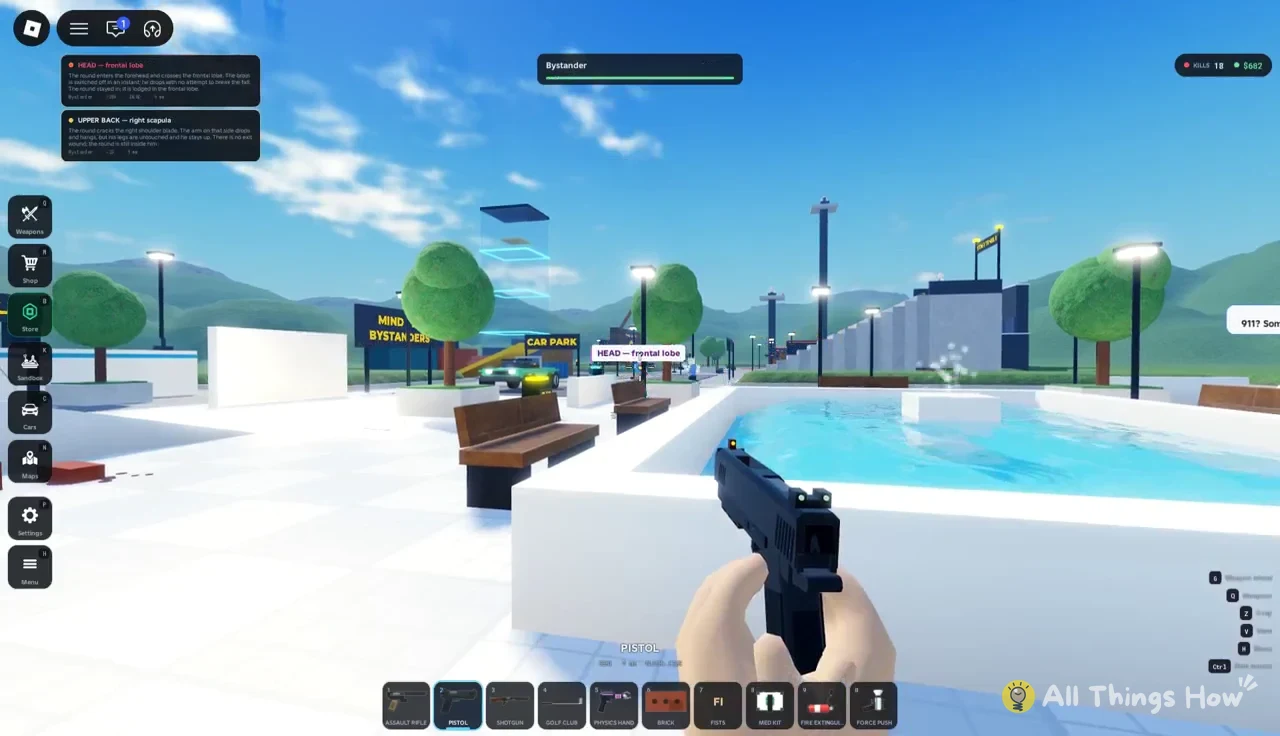
Pistol fires one round per click, so it rewards aim over volume. It is the cleanest way to put a bullet exactly where you want it, whether that is a chest, an abdomen or a target standing far out on the grass at the edge of the map.
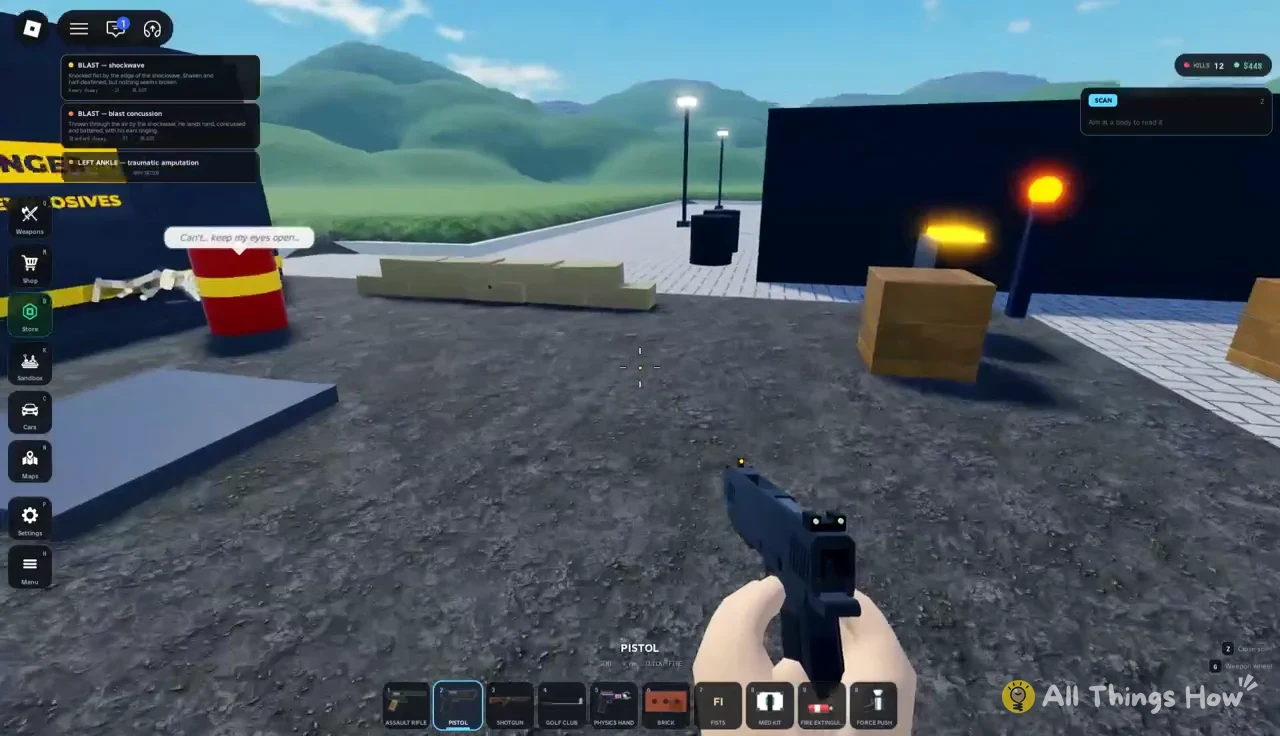
A single shot to the upper back hits a lung and causes the target to collapse. Hurt bystanders react out loud, gasping that they cannot get air, and a downed body stays on the ground where you can follow up or treat it.
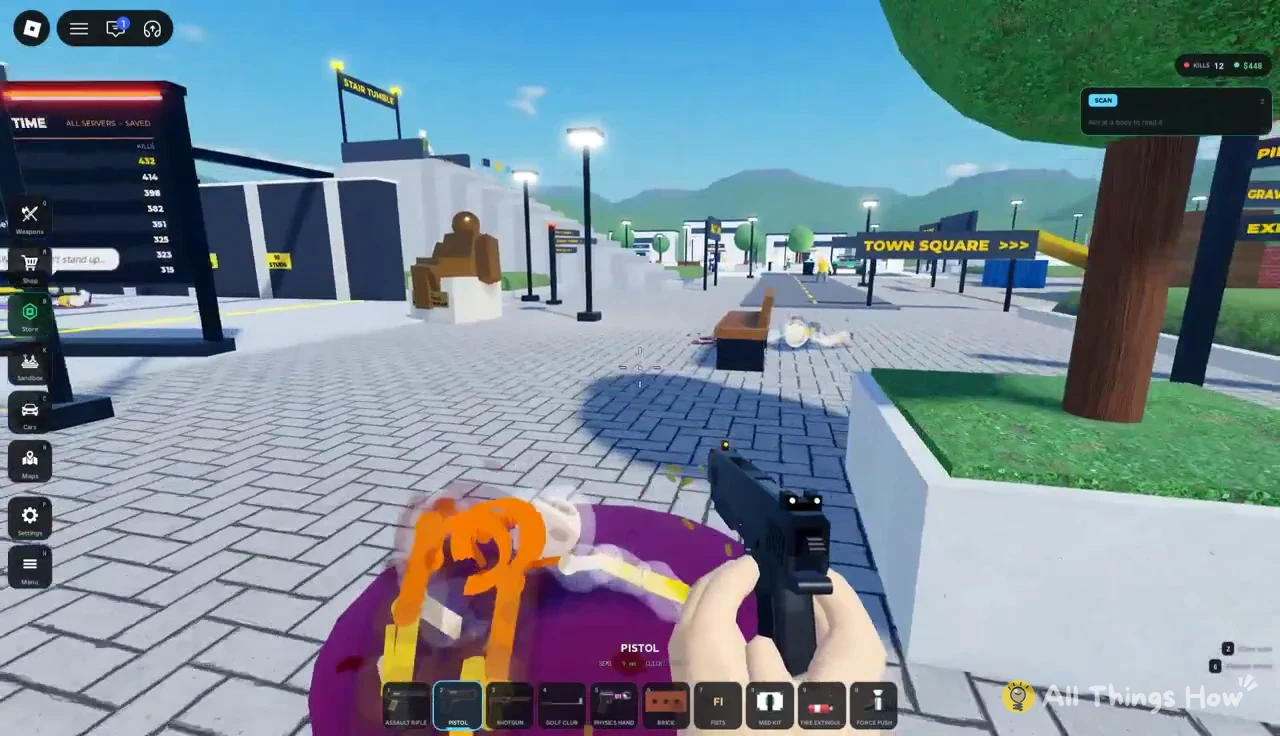
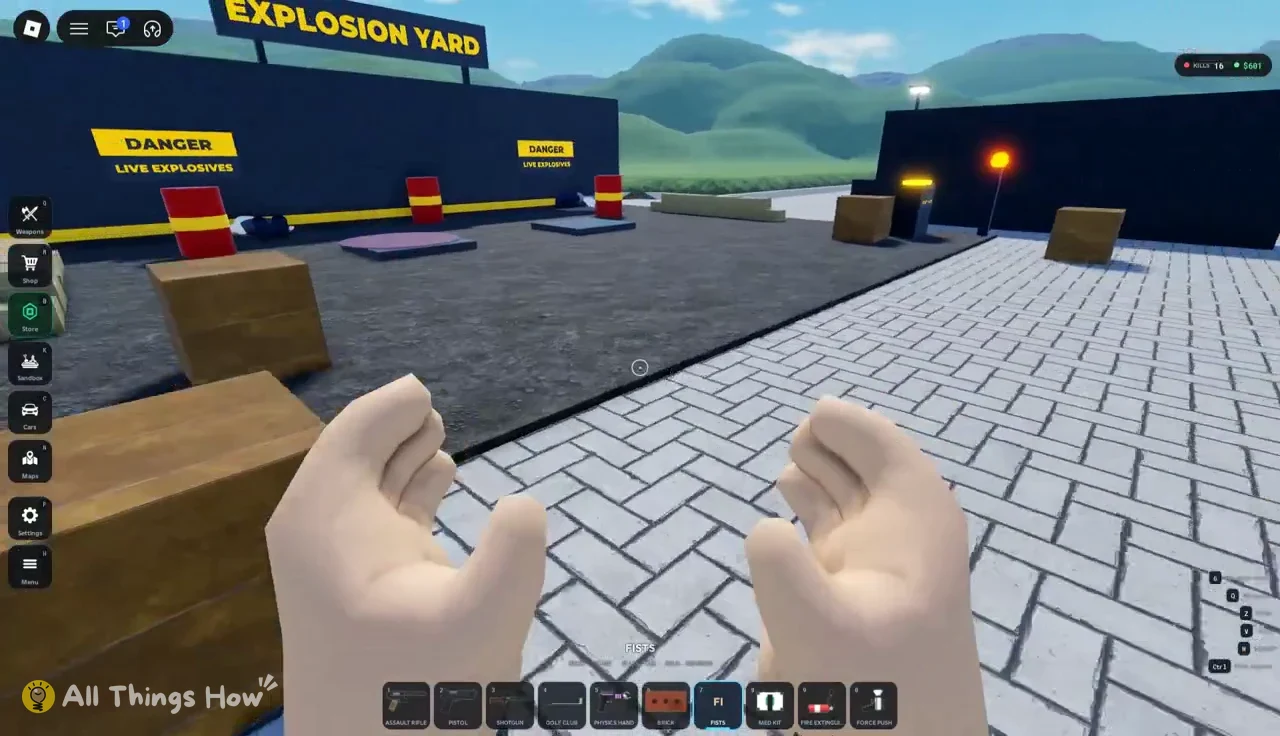
The Pistol is also the easiest way to set off explosive red barrels from a safe distance. More on that below.
Shotgun (key 3)
Shotgun is a close-range tool. Get right next to the target before you fire. At point-blank range, a shot to the head produces temporal lobe trauma, and the blast carries enough force to throw a body. Fire at a dummy standing on the swimming pool diving board and it goes straight into the water.
Golf Club (key 4) and Fists (key 7)
Golf Club deals blunt melee damage. A swing to the side of a body lands on the ribs. You have to walk up to your target, so it pairs well with anything that knocks people down first.
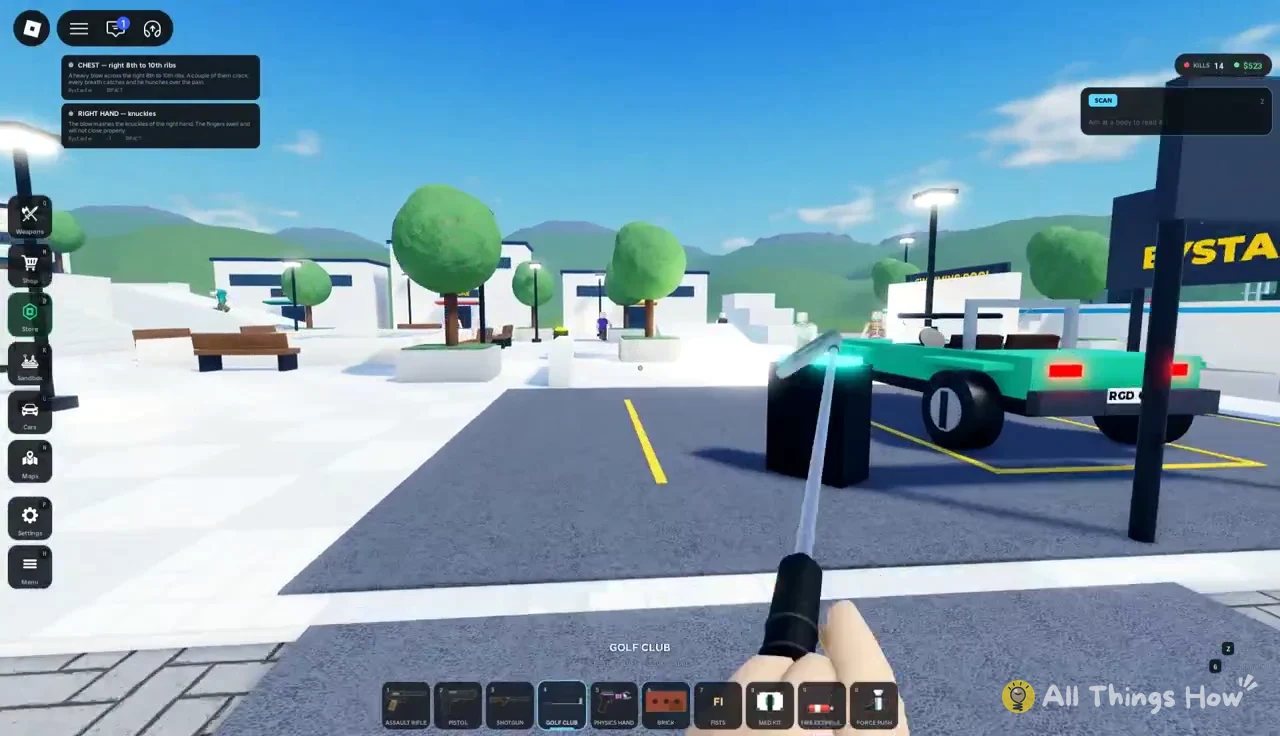
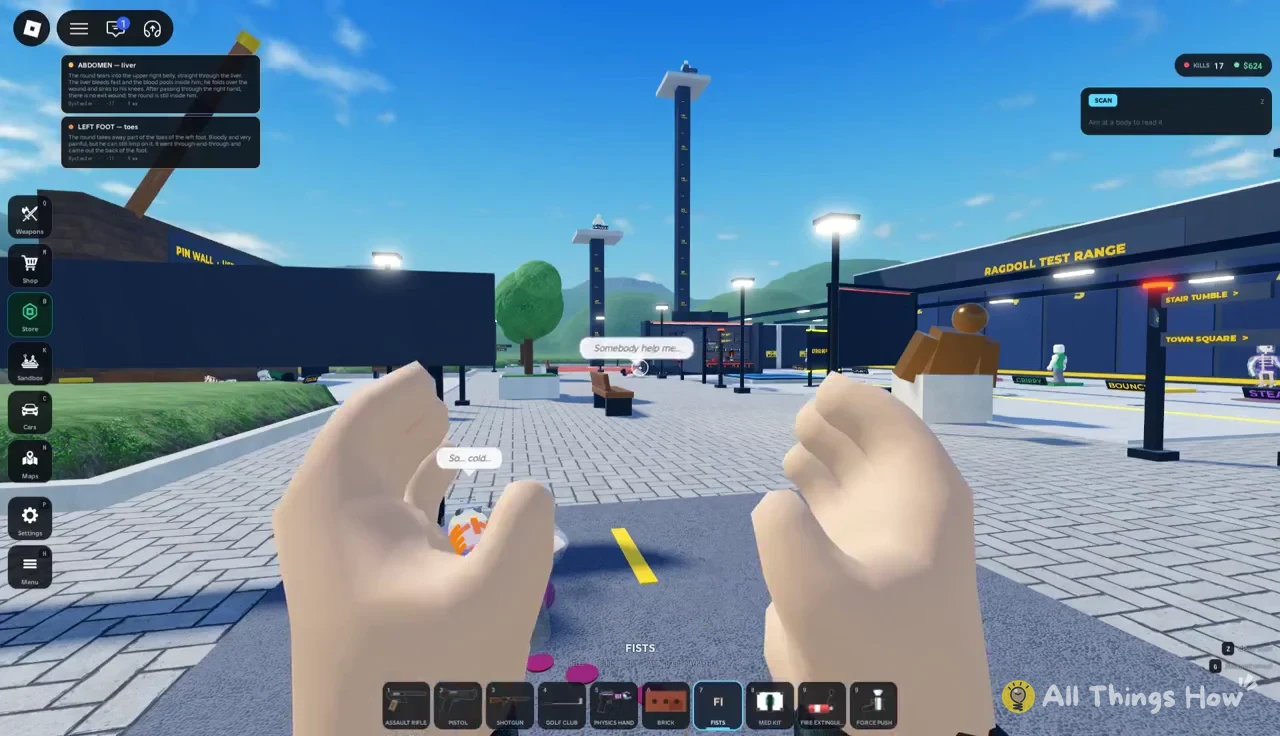
It is also a convenient tool to keep out while you explore, because it does nothing unless you swing it. That makes it safe to hold while walking past crowds toward the Ragdoll Test Range.
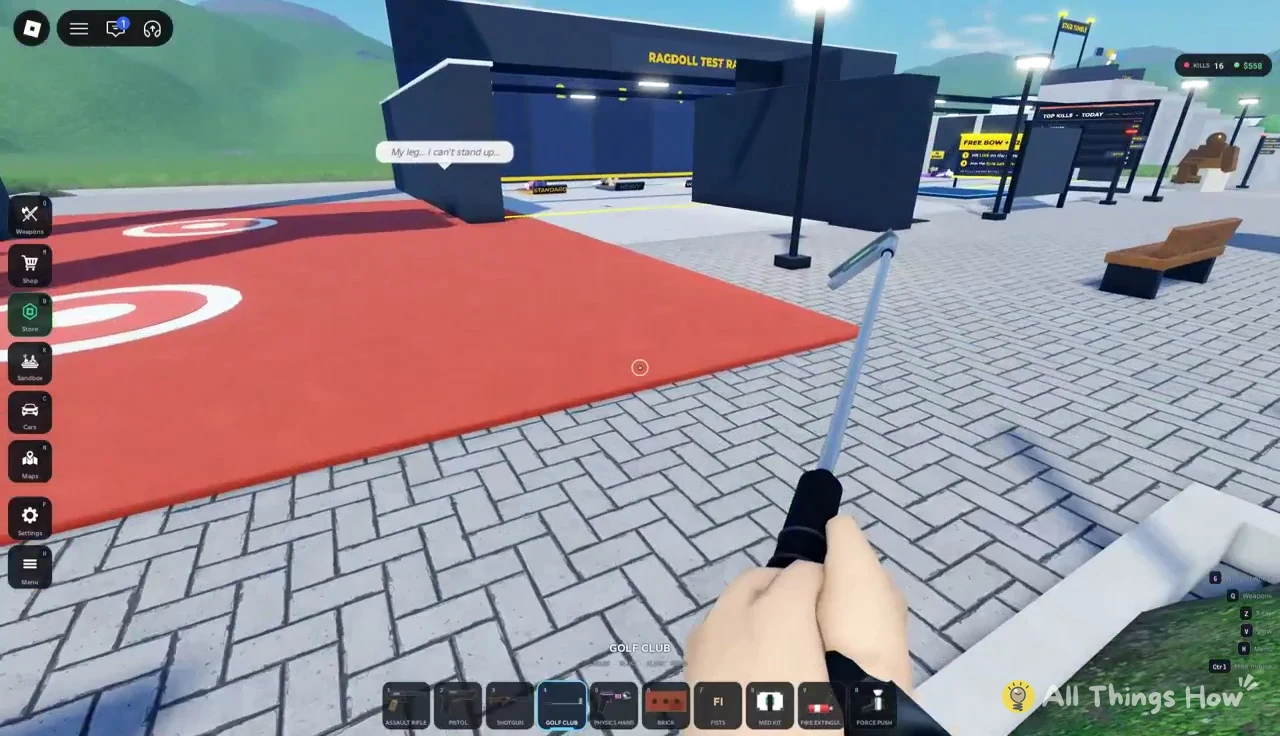
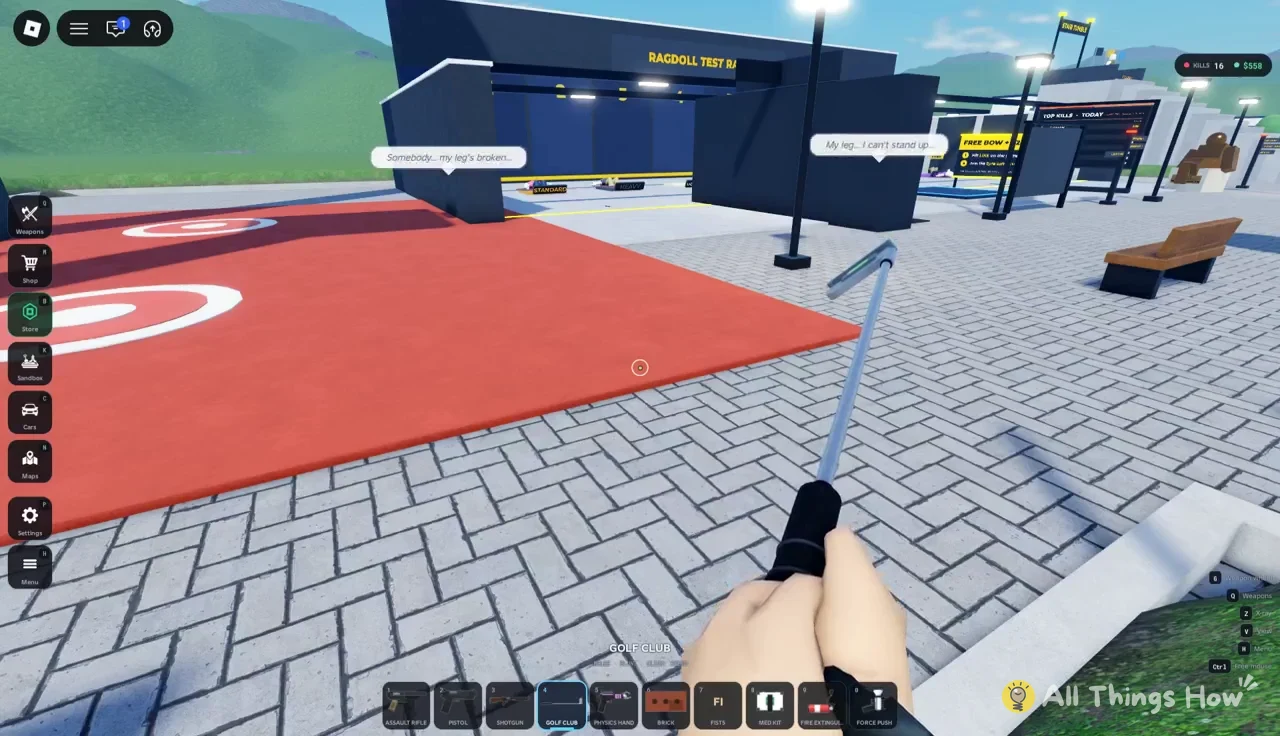
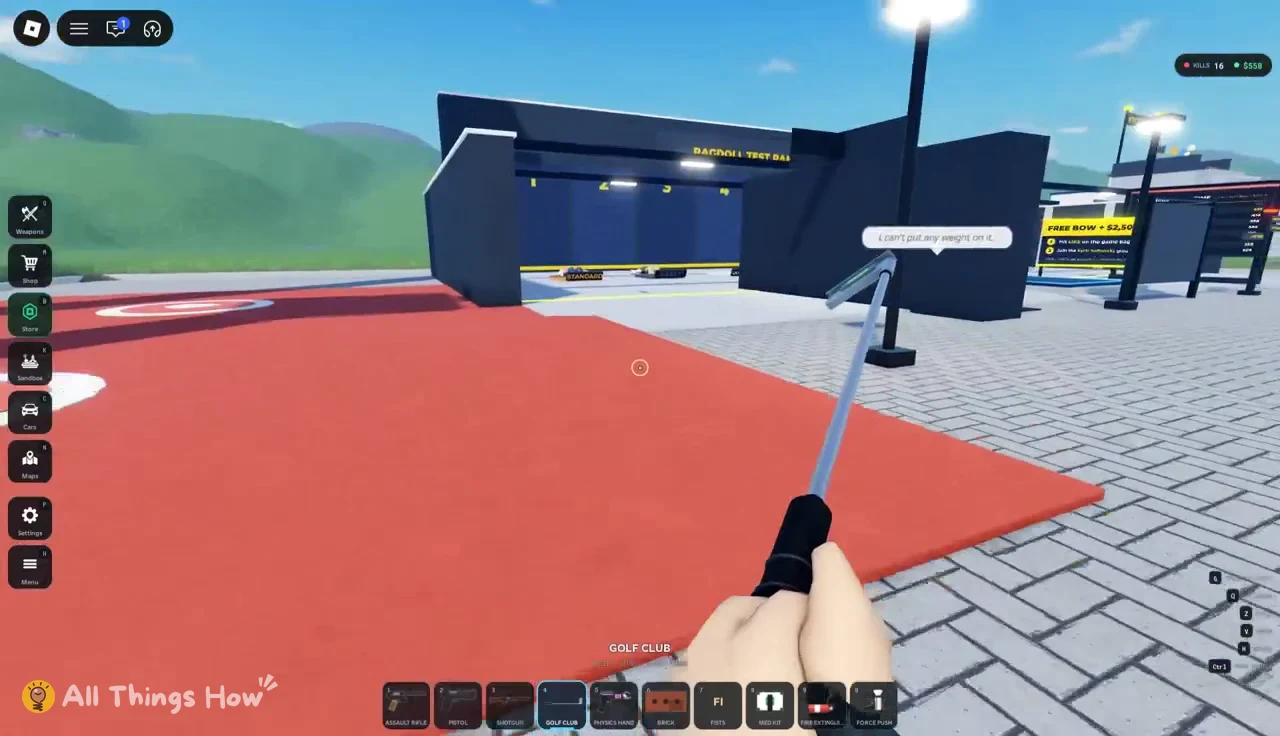
Fists throw bare-handed punches that land as blunt damage on the shoulder and ribs. Punches can be charged for a harder hit, and a charged punch to the skull of someone already on the ground does real damage.
Physics Hand (key 5) and Brick (key 6)
Physics Hand fires an energy beam that turns a standing person into a ragdoll. It does not shoot them, it knocks them flat. Use it to drop someone in the road, then switch to Fists or the Golf Club to finish the job up close.
Brick is the throwable you start with. It lands as an impact hit, and a good throw cracks ribs or breaks knees. Because it travels in an arc, it is easiest to land on people walking toward you.
Fire Extinguisher (key 9) and Force Push (key 0)
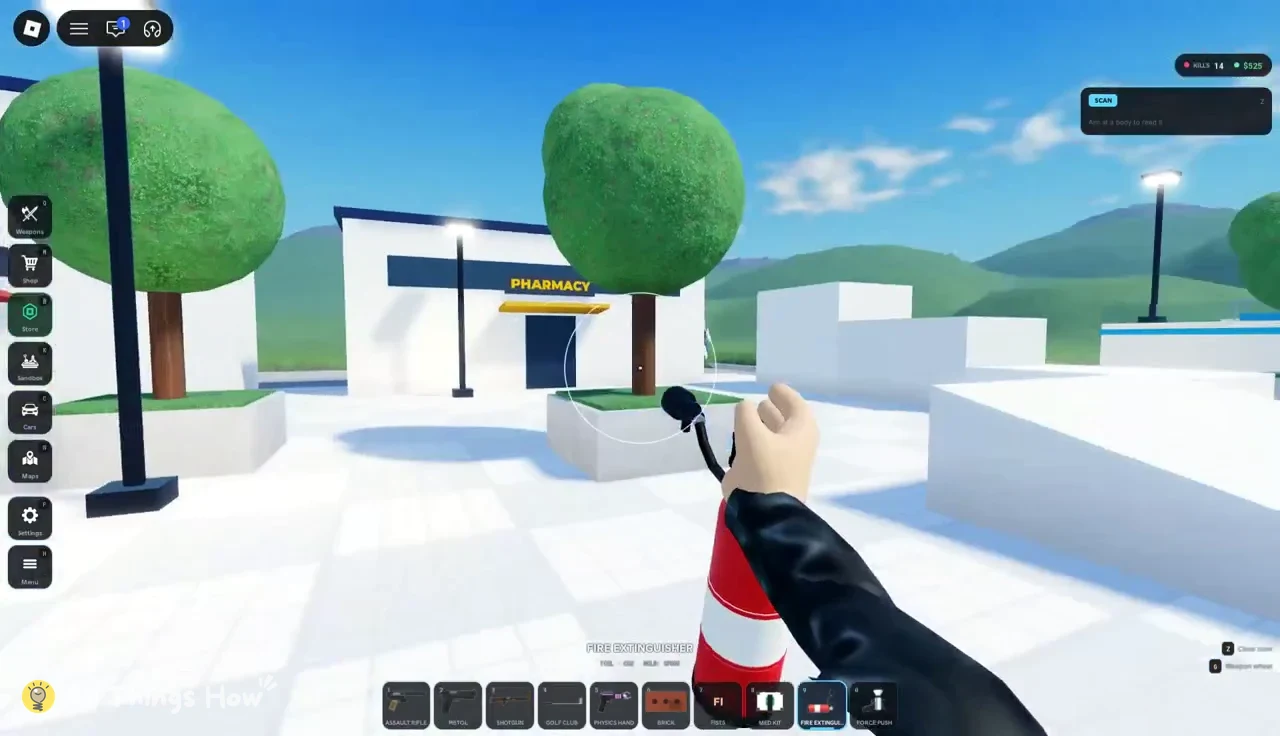
Fire Extinguisher sprays a continuous CO2 cloud while you hold it. The cloud blocks vision and shoves people backward, so it works as a crowd-control tool rather than a damage dealer.
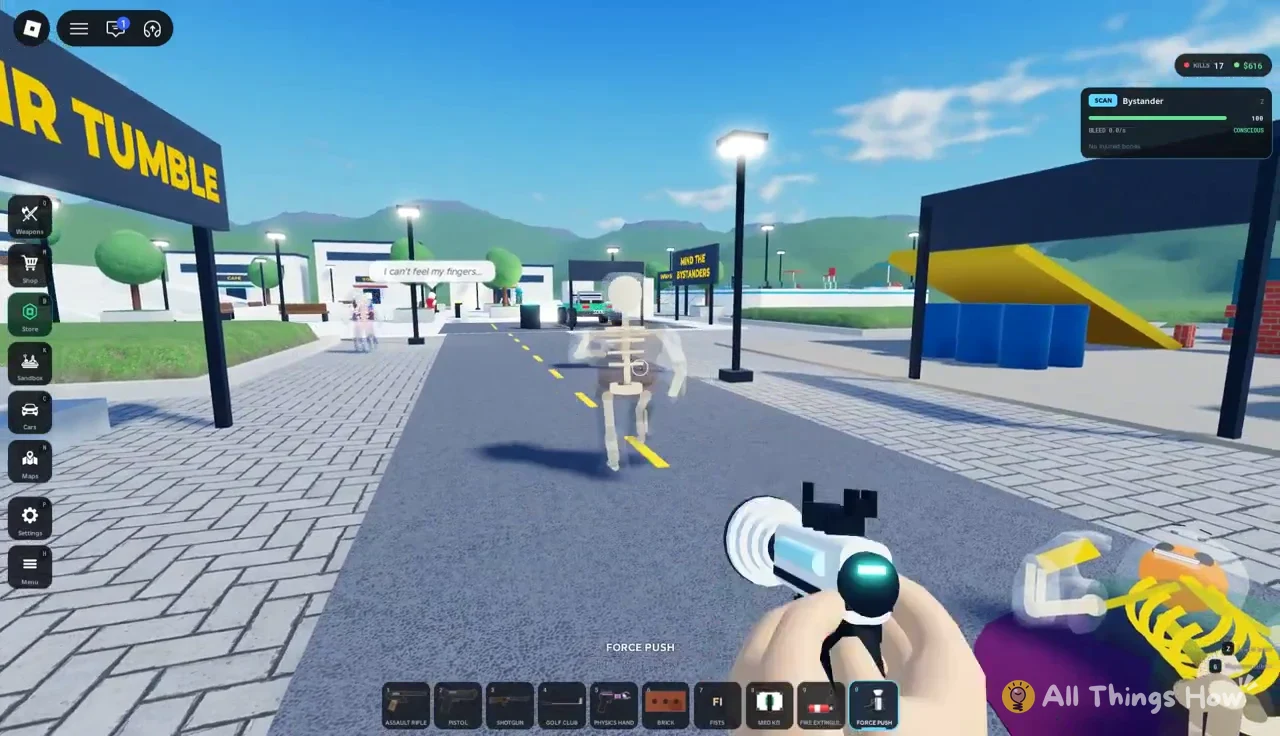
Force Push fires a blast wave that launches a person backward without leaving a puncture wound. A running target hit in the street flies off their feet and lands on the asphalt. It is the tool to use when you want the physics without the bleeding.
Weapons menu: prices and unlock conditions
The Weapons menu is your backpack and shop in one screen. It lists every weapon, shows which are already yours, and lets you rearrange the 1–0 hotbar. Cash is earned by playing, mainly by hitting and killing targets. The kill count and your balance sit together in the top counter, shown as KILLS 4 | $318 early in a session. That number climbs as you play.
| Weapon | Category | Cost or unlock |
|---|---|---|
| Pistol | 9MM firearm | Owned |
| Assault Rifle | 5.56 MM firearm | Owned |
| Shotgun | 12 GA firearm | Owned |
| Brick | Impact throwable | Owned |
| Dart Launcher | Dart projectile | $500 |
| Revolver | .44 firearm | $750 |
| Bow | Arrow projectile | $800 |
| Throwing Knife | Knife throwable | $900 |
| Spear | Spear throwable | $1,200 |
| Molotov | Fire throwable | $2,000 |
| Sniper Rifle | 7.62 firearm | $3,500 |
| Grenade | Blast throwable | 50 kills |
The Revolver and Sniper Rifle also show an R$ UNLOCK NOW button, which lets you skip the cash price and pay Robux instead. The Grenade is the only item tied to kills rather than money, so it opens up on its own once your counter passes 50 kills. Spear is worth noting if you plan to use the Pin Wall, since that target wall is signed “USE THE SPEAR.”
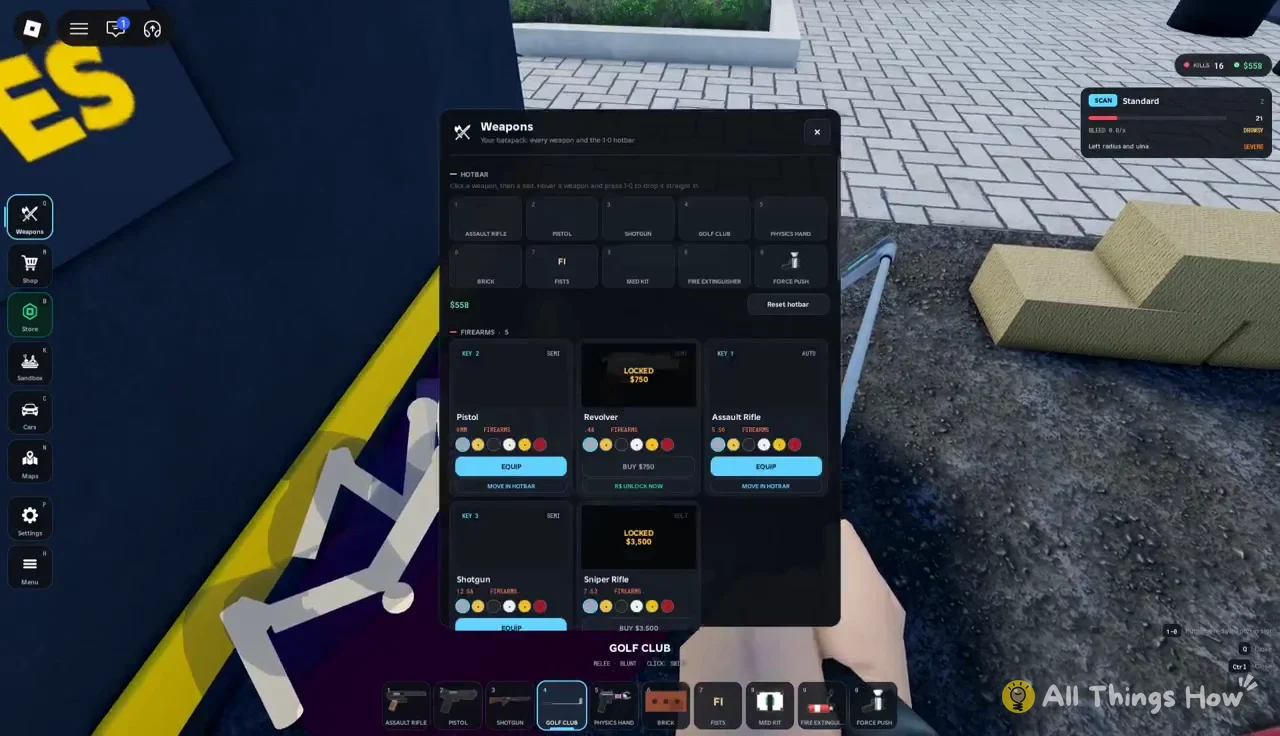
BUY. Your balance needs to cover the listed price, so check the dollar figure in the top counter first. For the Revolver or Sniper Rifle, you can press R$ UNLOCK NOW to pay with Robux instead.EQUIP on the newly owned weapon. Owned items swap their price tag for the EQUIP and MOVE IN HOTBAR buttons, which is how you know the purchase went through.MOVE IN HOTBAR to put the weapon on a number key. The entry then shows its key, the same way the Pistol shows KEY 2 and the Brick shows KEY 6.A sign in the hub offers “FREE BOW + $2,500” to anyone who likes the game page and joins the Eyrie Softworks group. Walk up to it and press E to claim. It is limited to one claim per account, and it saves you the Bow’s $800 price.
Checking weapon damage with the Scan
The Scan is how you see what a weapon actually did. Open it, and the prompt reads “Aim at a body to read it.” Point at anyone and the panel fills in with their body type, their current state, their bleed rate and a list of injured parts. Press Z to close it.
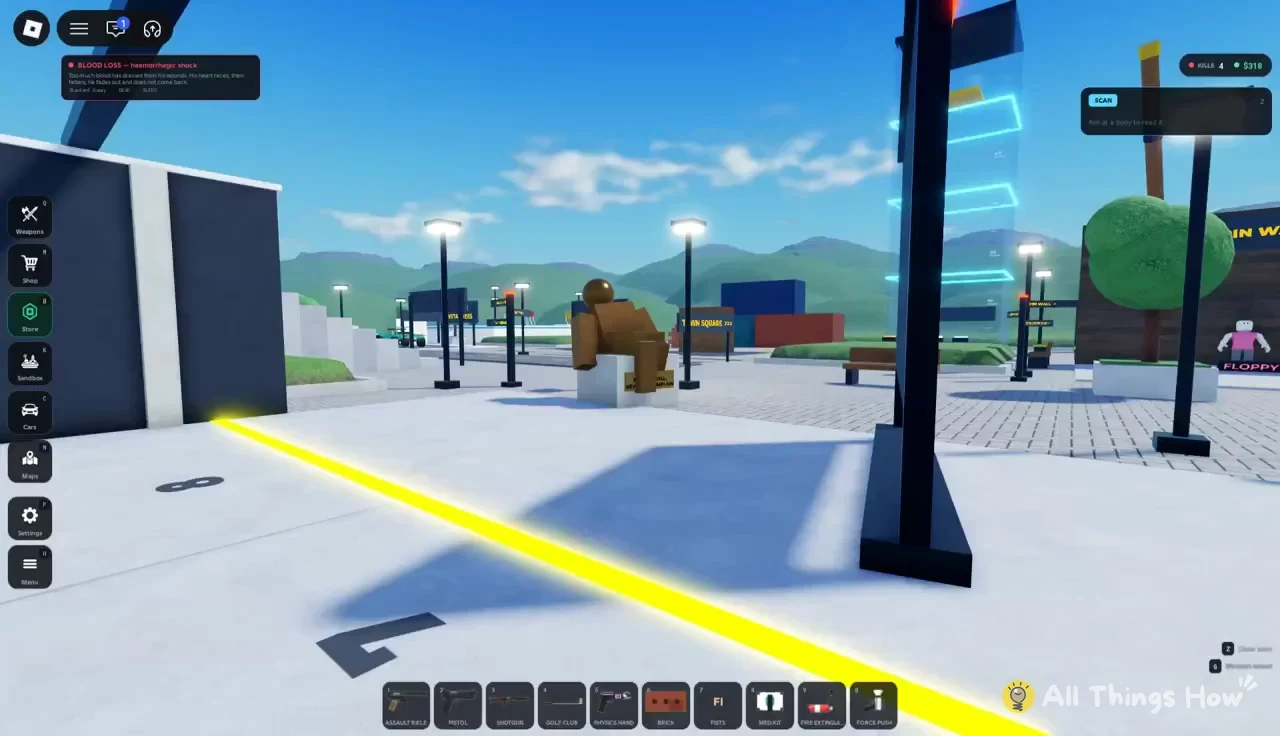
Body types change how a ragdoll falls. Test dummies come as Floppy, Standard, Lightweight, Heavy, Grippy, Steady and Stiff, while townspeople read as Bystander. The panel also offers an X-ray skeleton view, so you can see broken bones on a body that is already lying down.
- States:
CONSCIOUS,DROWSY,UNCONSCIOUS,SETTLING,RECOVERING,DEAD. - Bleed rate: shown per second, from
BLEED: 0.0/son an unhurt body up to values likeBLEED: 9.5/s. - Injury entries: a body part plus severity, such as
Skull SEVEREorRight tibia and fibula HIT. - Hit labels: a region and organ, such as
UPPER BACK - left lungorABDOMEN - liver.
Scan stays usable with any weapon in your hands, so you can shoot, check and shoot again without changing slots.
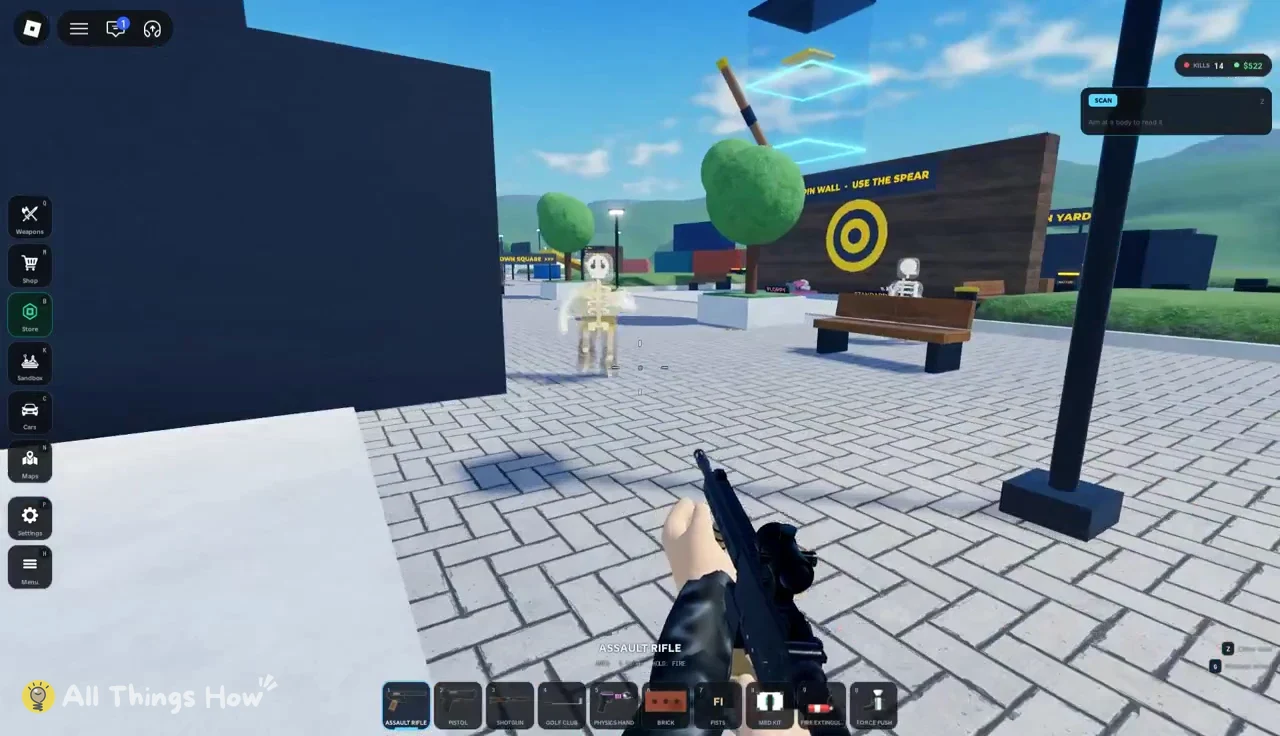
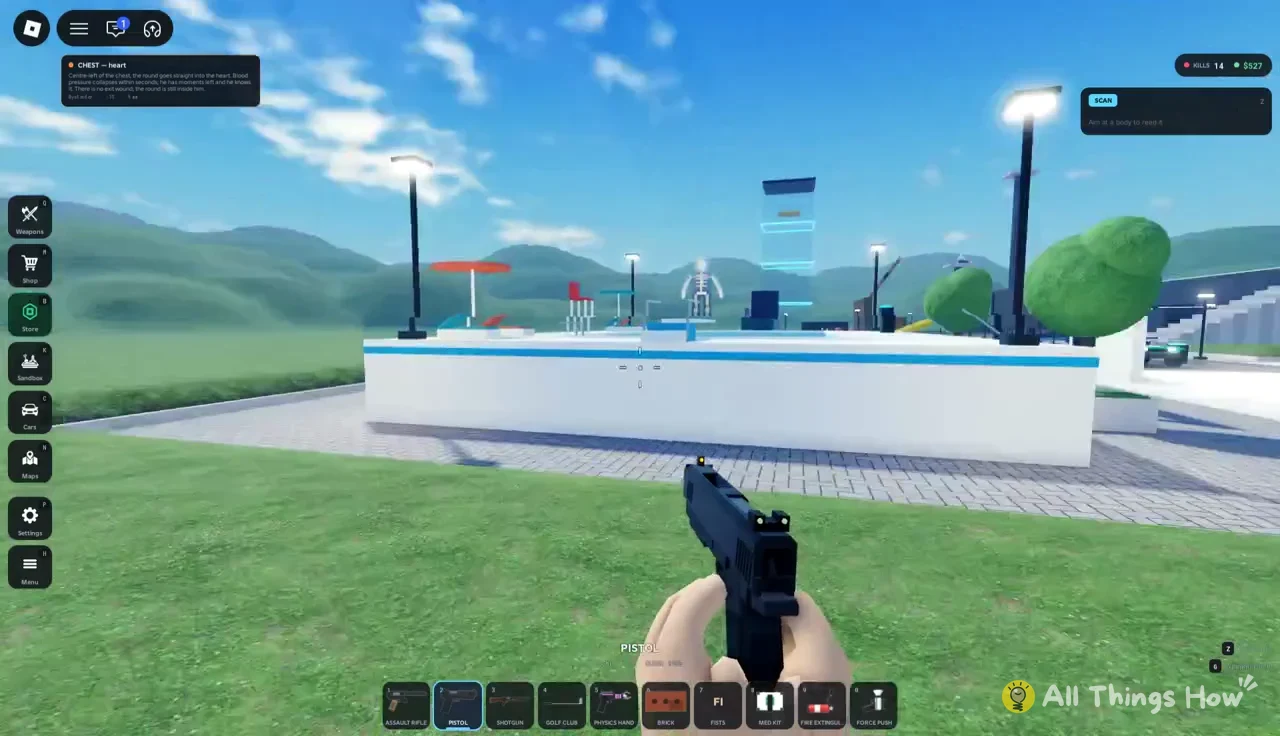
Skeletal bodies read the same way. Aim, wait for the panel to fill, and the injury list tells you which bones the last hit broke.
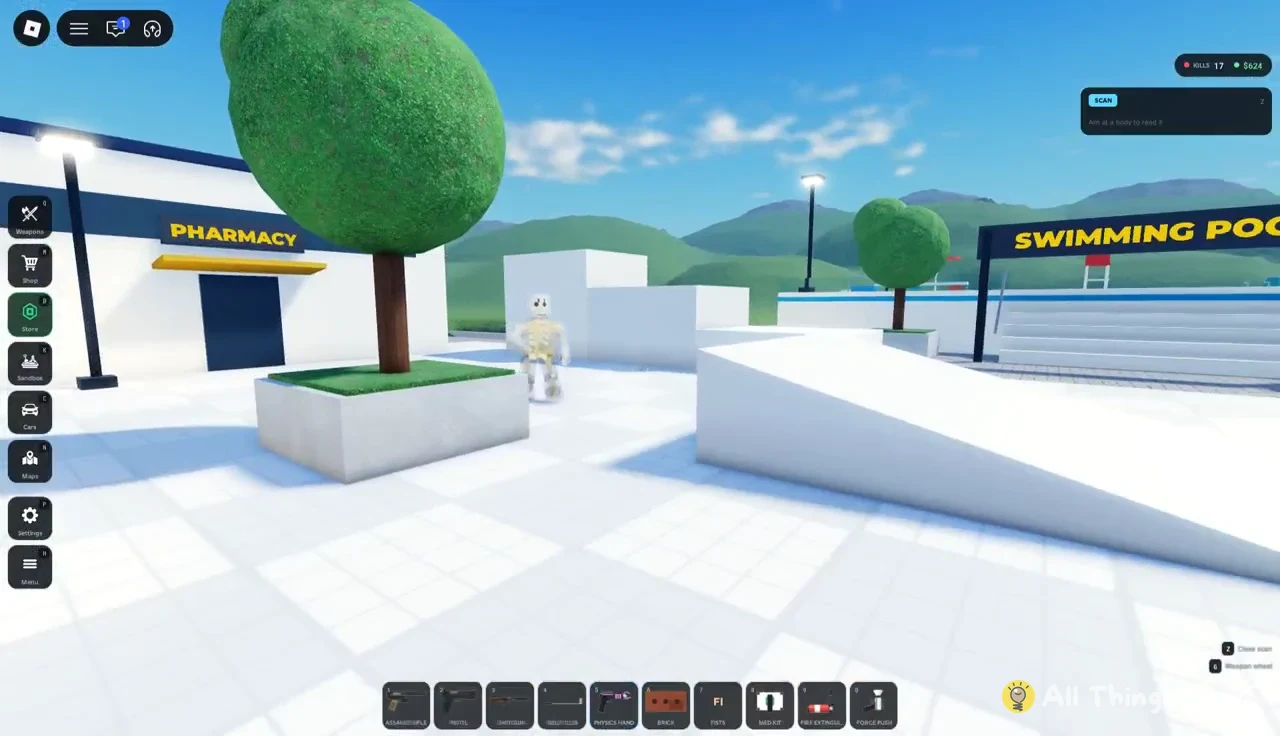
Where to test each weapon on the map
The map is built around test zones, and some suit certain weapons better than others. The Explosion Yard, marked “DANGER LIVE EXPLOSIVES,” holds red barrels that blow up when shot. The blast wave knocks nearby bodies down, causes blast concussions and can tear off limbs. Any gun sets them off.
| Location | What is there | Good for |
|---|---|---|
| PIN WALL | Standing skeletal dummies | Headshot tests, Spear |
| EXPLOSION YARD | Red explosive barrels | Pistol, Assault Rifle |
| TOWN SQUARE | Moving bystanders | Assault Rifle, Brick |
| SWIMMING POOL | Diving board, 1.4 M depth | Shotgun knockback |
| RAGDOLL TEST RANGE | 10–40 STUDS drop bays | Med Kit practice |
| DROP TOWER | Landing target circles | Fall damage |
Town Square is the busiest area, with the cafe, books shop and pharmacy around a central plaza. People there react to weapons. They ask why you are aiming at them, run when shooting starts, and call the police. Signs elsewhere point to the Car Park, Stair Tumble, Vehicle Impact Zone and Prop Yard.
Reviving downed bodies with the Med Kit
The Med Kit on key 8 undoes what the other nine slots do. It treats wounds, stops active bleeding and brings unconscious bodies back to their feet. It works on test dummies and bystanders alike.
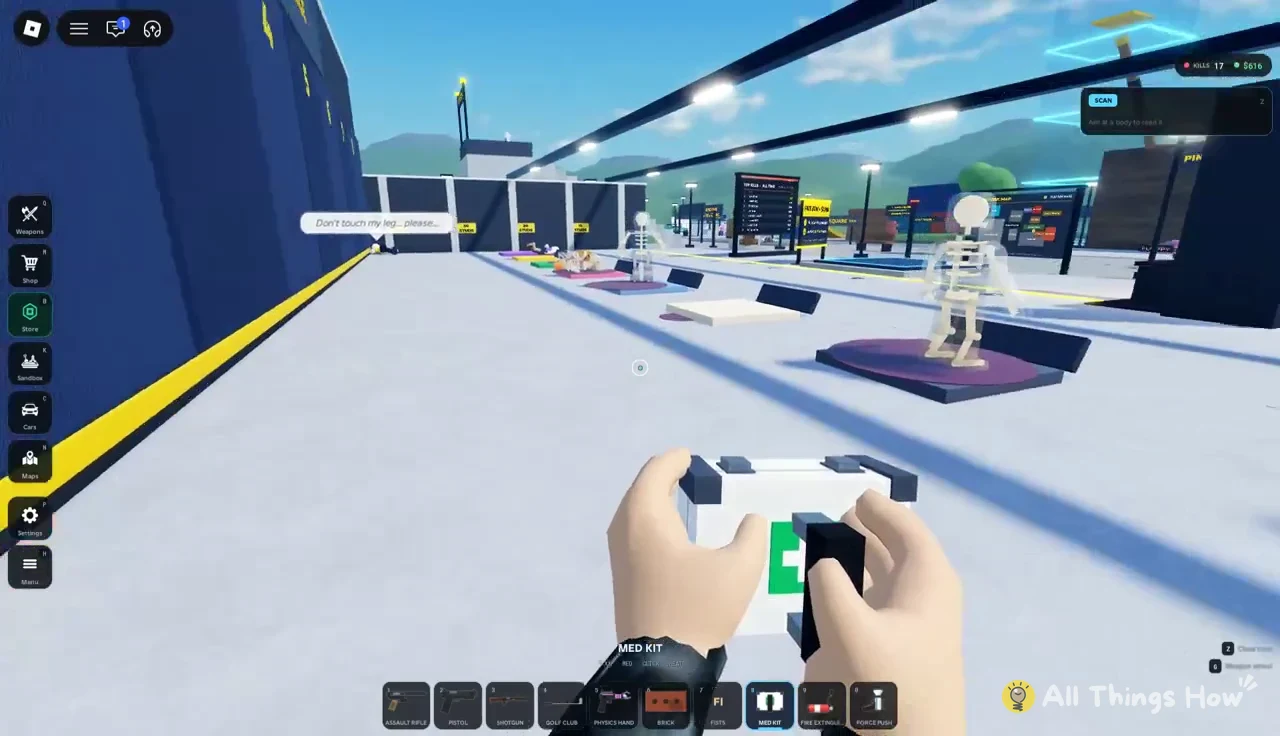
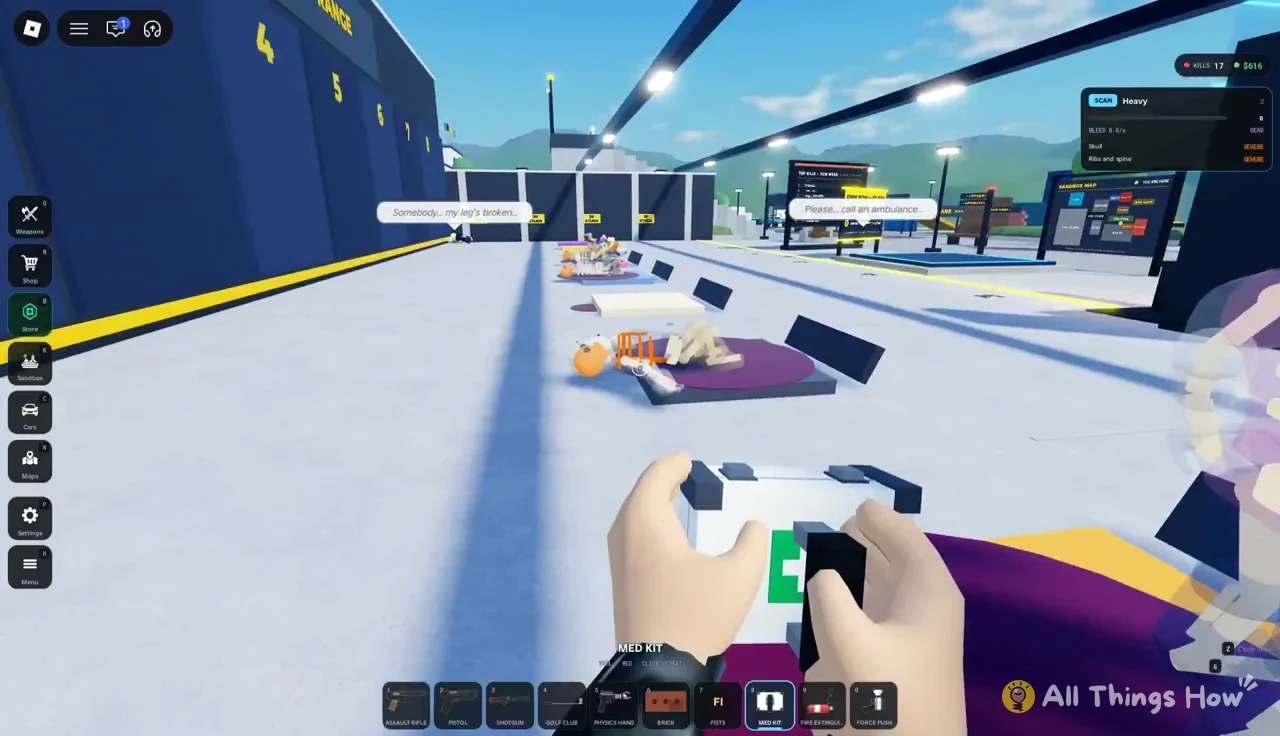
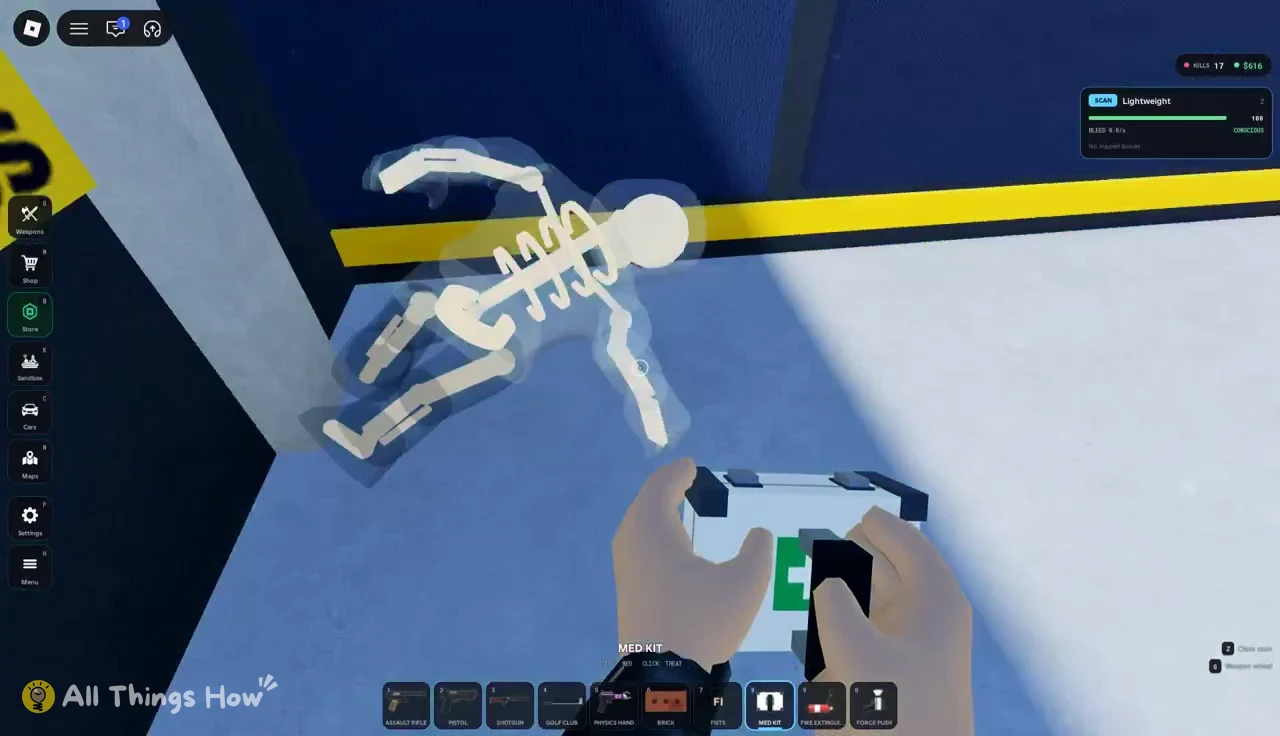
You know it worked when the body stands back up. Scan them to confirm: the bleed rate drops to BLEED: 0.0/s and the state moves through RECOVERING to CONSCIOUS. The Ragdoll Test Range is the best place to practice, since its 10, 20, 30 and 40 stud bays keep several injured dummies lined up in one room.
Beyond the starting hotbar and the shop, the game’s official description also lists a Katana, Minigun, Rocket Launcher, Flamethrower and Void Gun among its weapons, plus a Defibrillator as a second revival tool. New weapons open up the more you play.