The players who look untouchable in Illegal Soccer are not faster than you. They are spending less. Every touch on the ball pulls from a stamina bar, and two of the most tempting actions empty a whole bar in a single press. Learn what each input costs and the flashy stuff stops being luck.
Quick answer: Use the right mouse button to pass, not the left. Passing consumes a quarter of a bar, while a kick takes half; at maximum power, a pass cannot be intercepted during its flight.
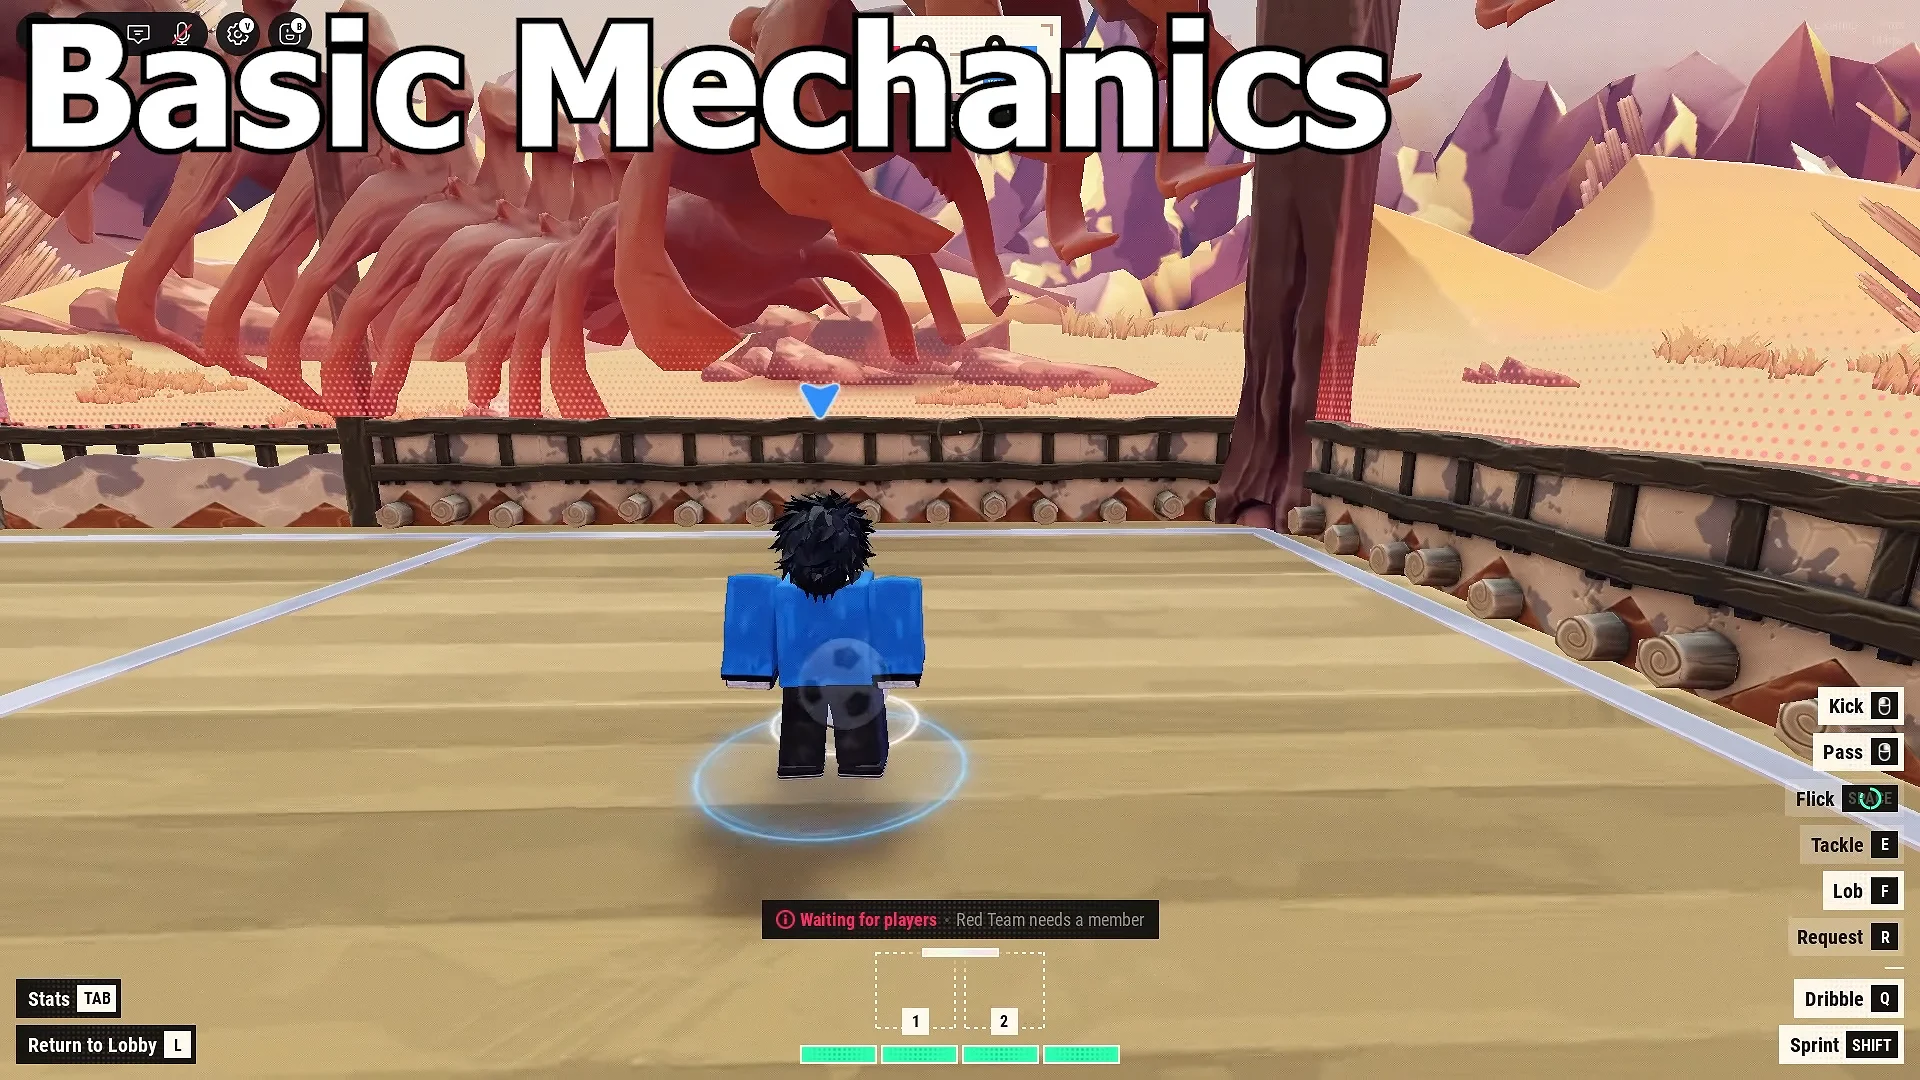
Dribbling controls and where to drill them
The entire system uses only a few inputs. Mouse buttons perform the two shot types, while the keyboard manages flicks, lobs, tackles and movement.
| Action | Input |
|---|---|
| Kick / shoot | Left-click |
| Pass | Right-click |
| Lob | F |
| Tackle | E |
| Sprint | Shift |
| Request the ball | Q |
| Flick | Space or Q |
| Dribble | Space or G |
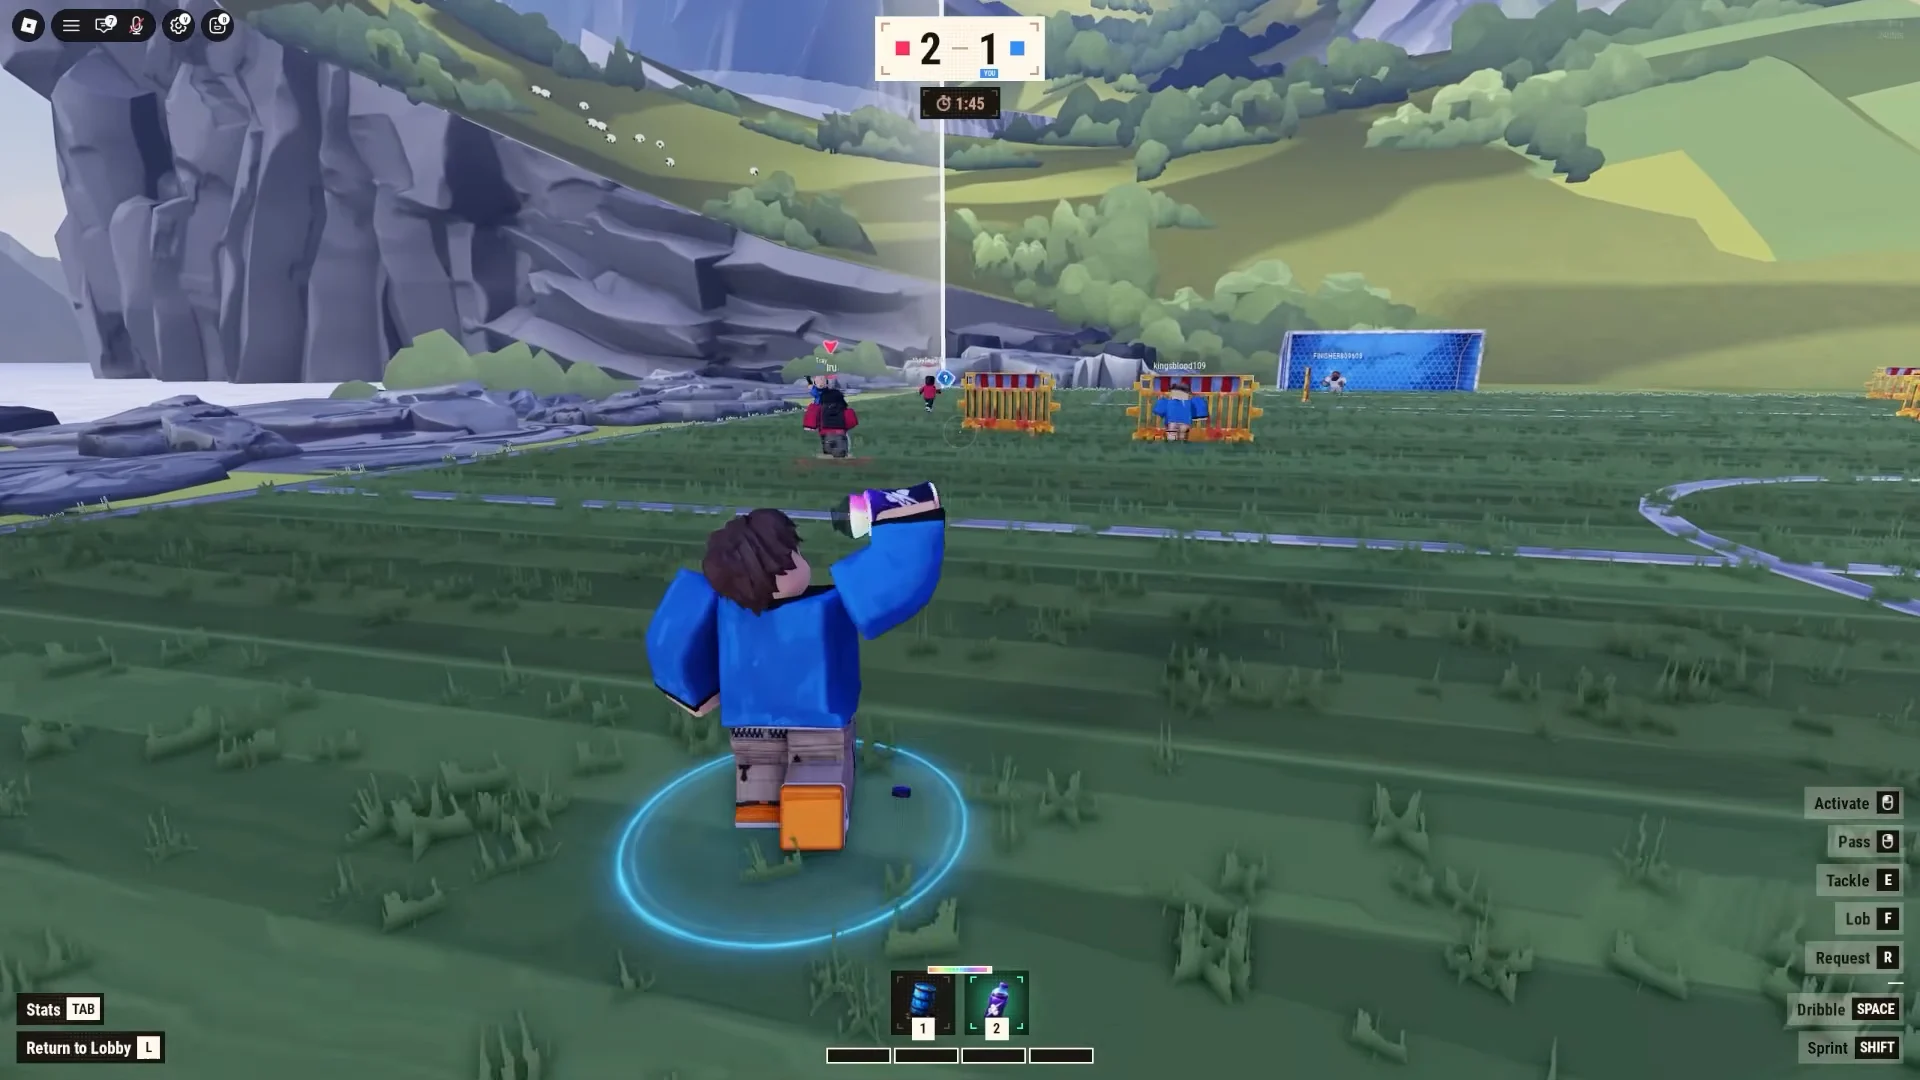
The flick and the dribble are the two that players most often have mapped differently, so read the on-screen prompt bar in your own session before you commit to a tech. The prompt sits at the bottom of the screen next to the stamina bars and names the key it wants.
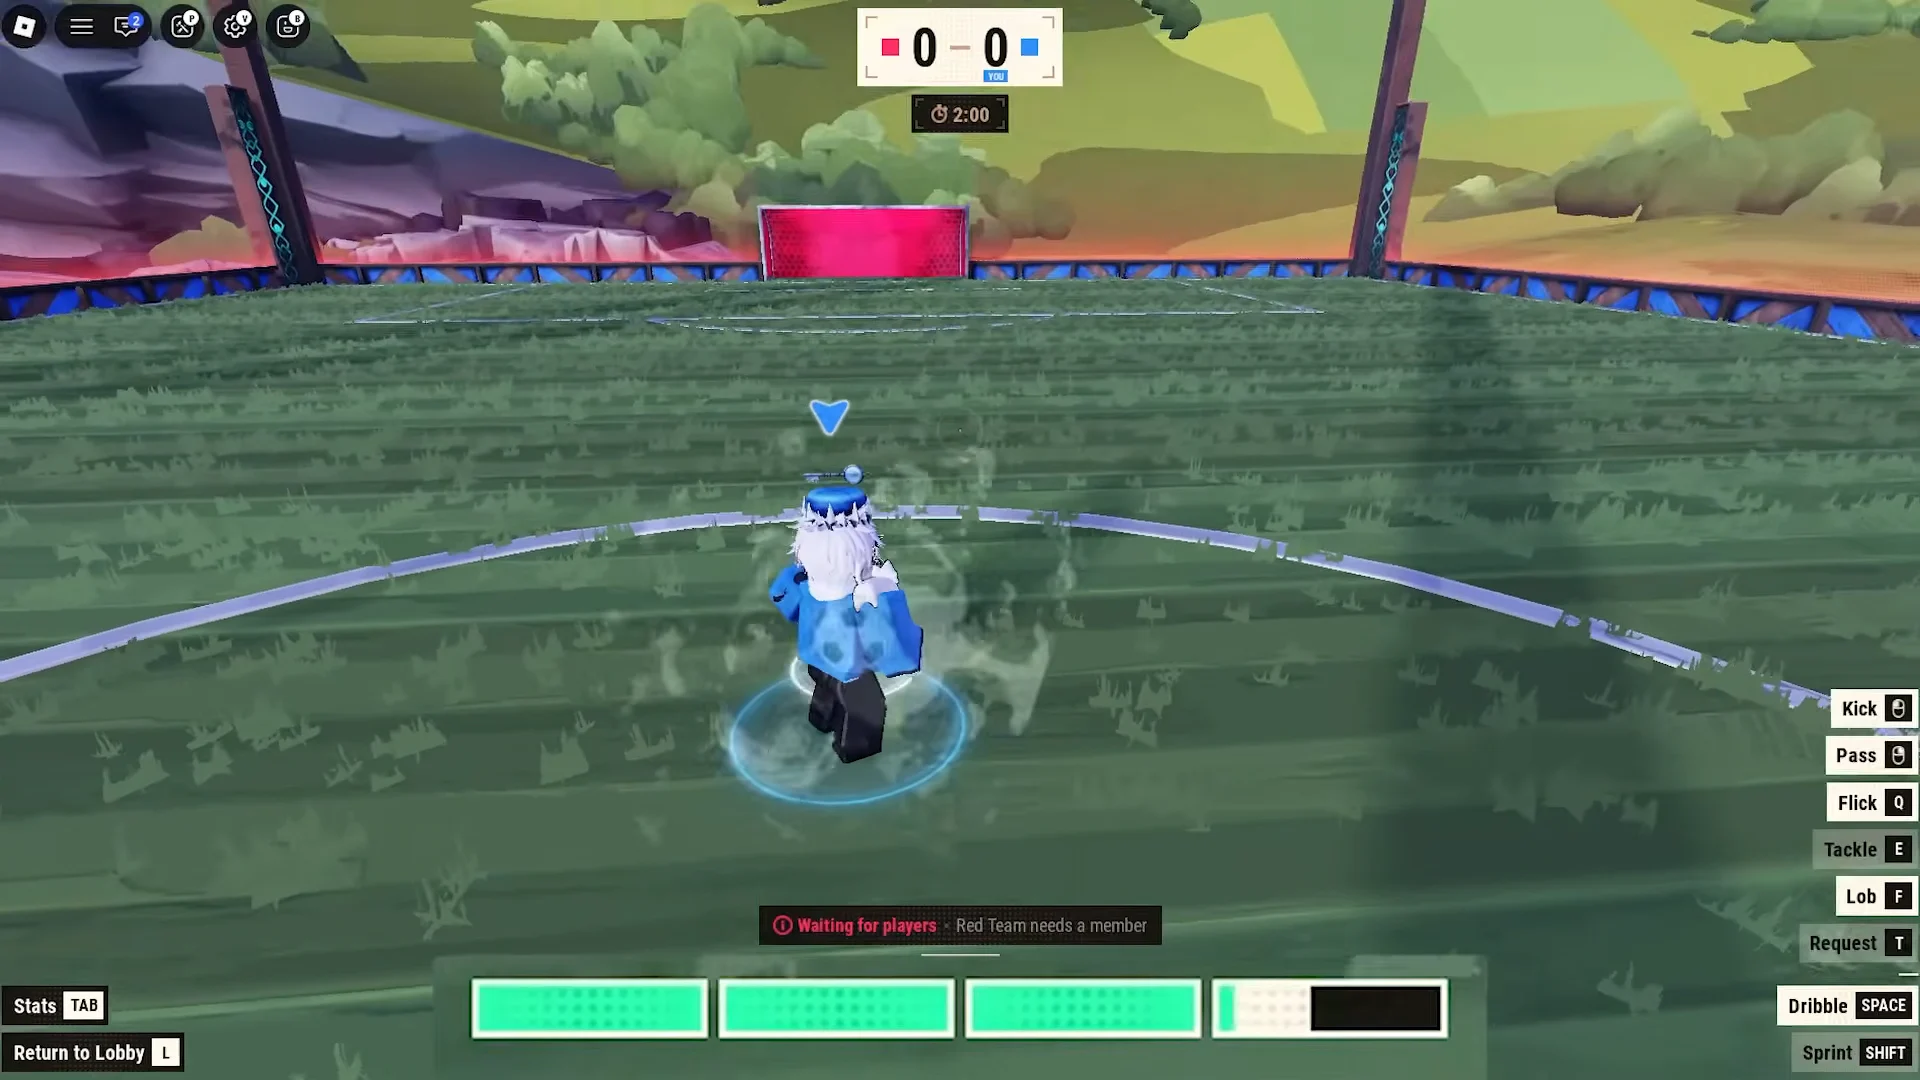
These techniques are unreliable in a real match until the inputs are automatic, so rehearse them in the practice area. Open Illegal Soccer on Roblox, choose PLAY on the lobby screen, then use the period when the banner says “Waiting for players” to practice flick height and volley timing without anyone challenging you.
Stamina costs for every ball action
You have four stamina bars across the bottom of the screen, and the bar total, not your movement speed, is what caps a carry. Run the whole thing dry and your character drops into a fatigued state, which is exactly when a slide tackle arrives.
| Action | Stamina cost |
|---|---|
| Pass | Quarter bar |
| Lob | Quarter bar |
| Kick (shot) | Half bar |
| Rainbow flick | Half bar |
| Dribble | Full bar |
| Slide tackle | Full bar |
Most turnovers come from two actions that consume a complete bar. Missing with a slide tackle leaves a player stuck for the next few seconds, while an instinctive dribble costs as much as that failed tackle. Save at least one full bar for an emergency dodge or your final shot.
A bug makes repeated jumping consume stamina, even if the character does not actually get airborne. When the bar falls during a carry without an obvious cause, stop repeatedly pressing jump.
Moving the ball upfield for less stamina
To move forward cheaply, use a right-click pass against a boundary wall instead of a left-click kick. The rebound is identical for half the cost, letting you make two or three touches during the time a left-click player gets one.
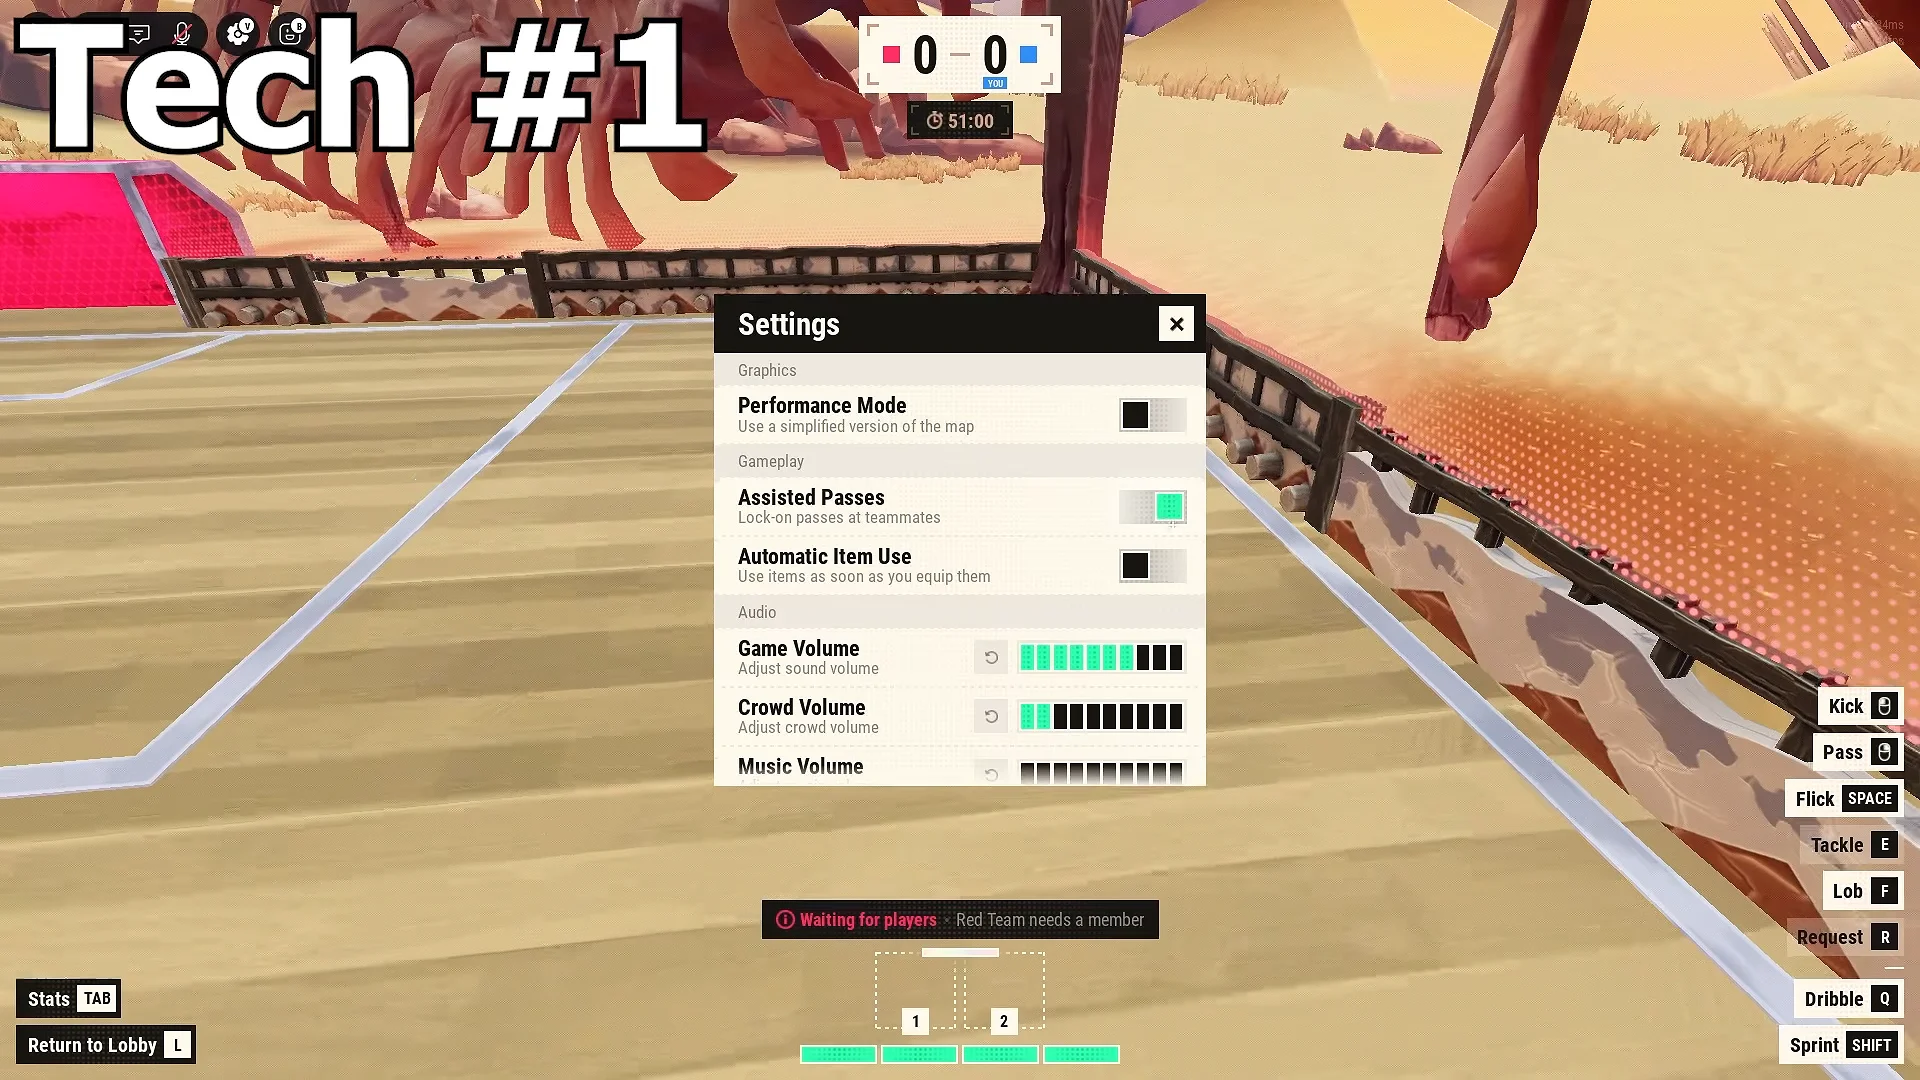
Its other advantage is interception immunity. A full-power pass cannot be intercepted in flight, meaning a defender in the lane cannot simply take it as they could a gentle touch. Before relying on wall rebounds, open settings and inspect Assisted Passes, which affects the pass’s endpoint.
For a crowded midfield, use the self-volley pass. Send the ball to yourself in the air, then move beyond the opponent while it falls. Since it uses a quarter bar instead of the half required by a kick, you can repeat it during one attack.
Flick techs that beat a slide tackle
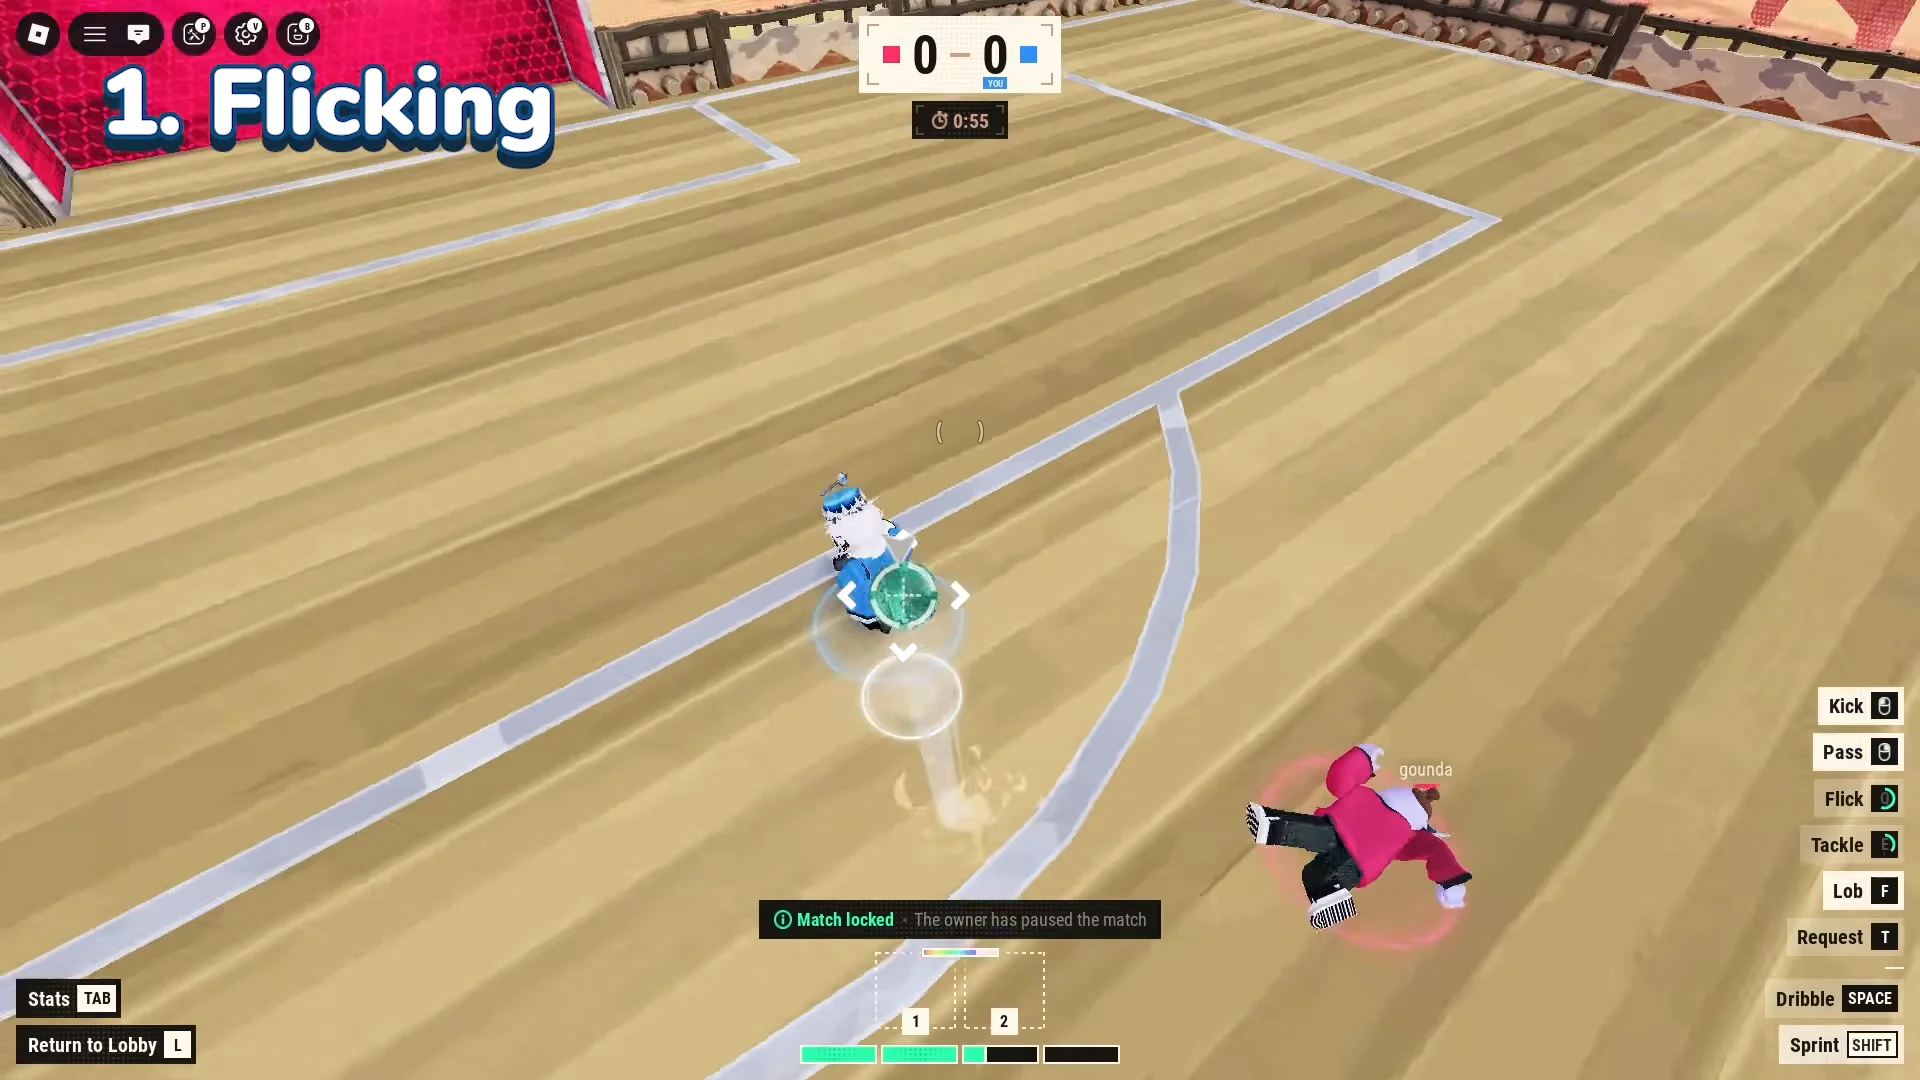
Mid-air catch
With forward momentum, flick the ball upward and reclaim it before it touches down. You rise alongside it, allowing an incoming slide to go beneath you while possession remains yours. On the descent, steer in a new direction to escape a defender who committed to your initial path.
Late slide direction change
The start is identical, but the finish changes. After lifting the ball, slide backward or sideways at the last moment rather than continuing ahead. By then the defender has committed to your run, so you retain the ball while they pursue vacant ground.
Finishing past a set goalkeeper
A keeper who is planted on the line eats ground shots. Both techs here solve the last few metres by getting the ball off the floor or hiding the moment you strike it.
Volley types and inputs
To volley, leap and time your input while the ball is airborne. The jump itself stays the same; your chosen button determines the result.
| Volley type | Input while airborne | Best use |
|---|---|---|
| Kick volley | Left-click | Power finish, longest range |
| Pass volley | Right-click | Cheap, accurate close-range redirect |
| Lob volley | F | Chip over a keeper who leaves the line |
Poor timing produces two different failures. An early press makes you strike before the ball arrives, leaving it at your feet. A late press means you touch down first, converting the attempt into a normal ground touch that a defender can contest.
Flick-jump-slide
Wall volley shot
Best items for a dribbling playstyle
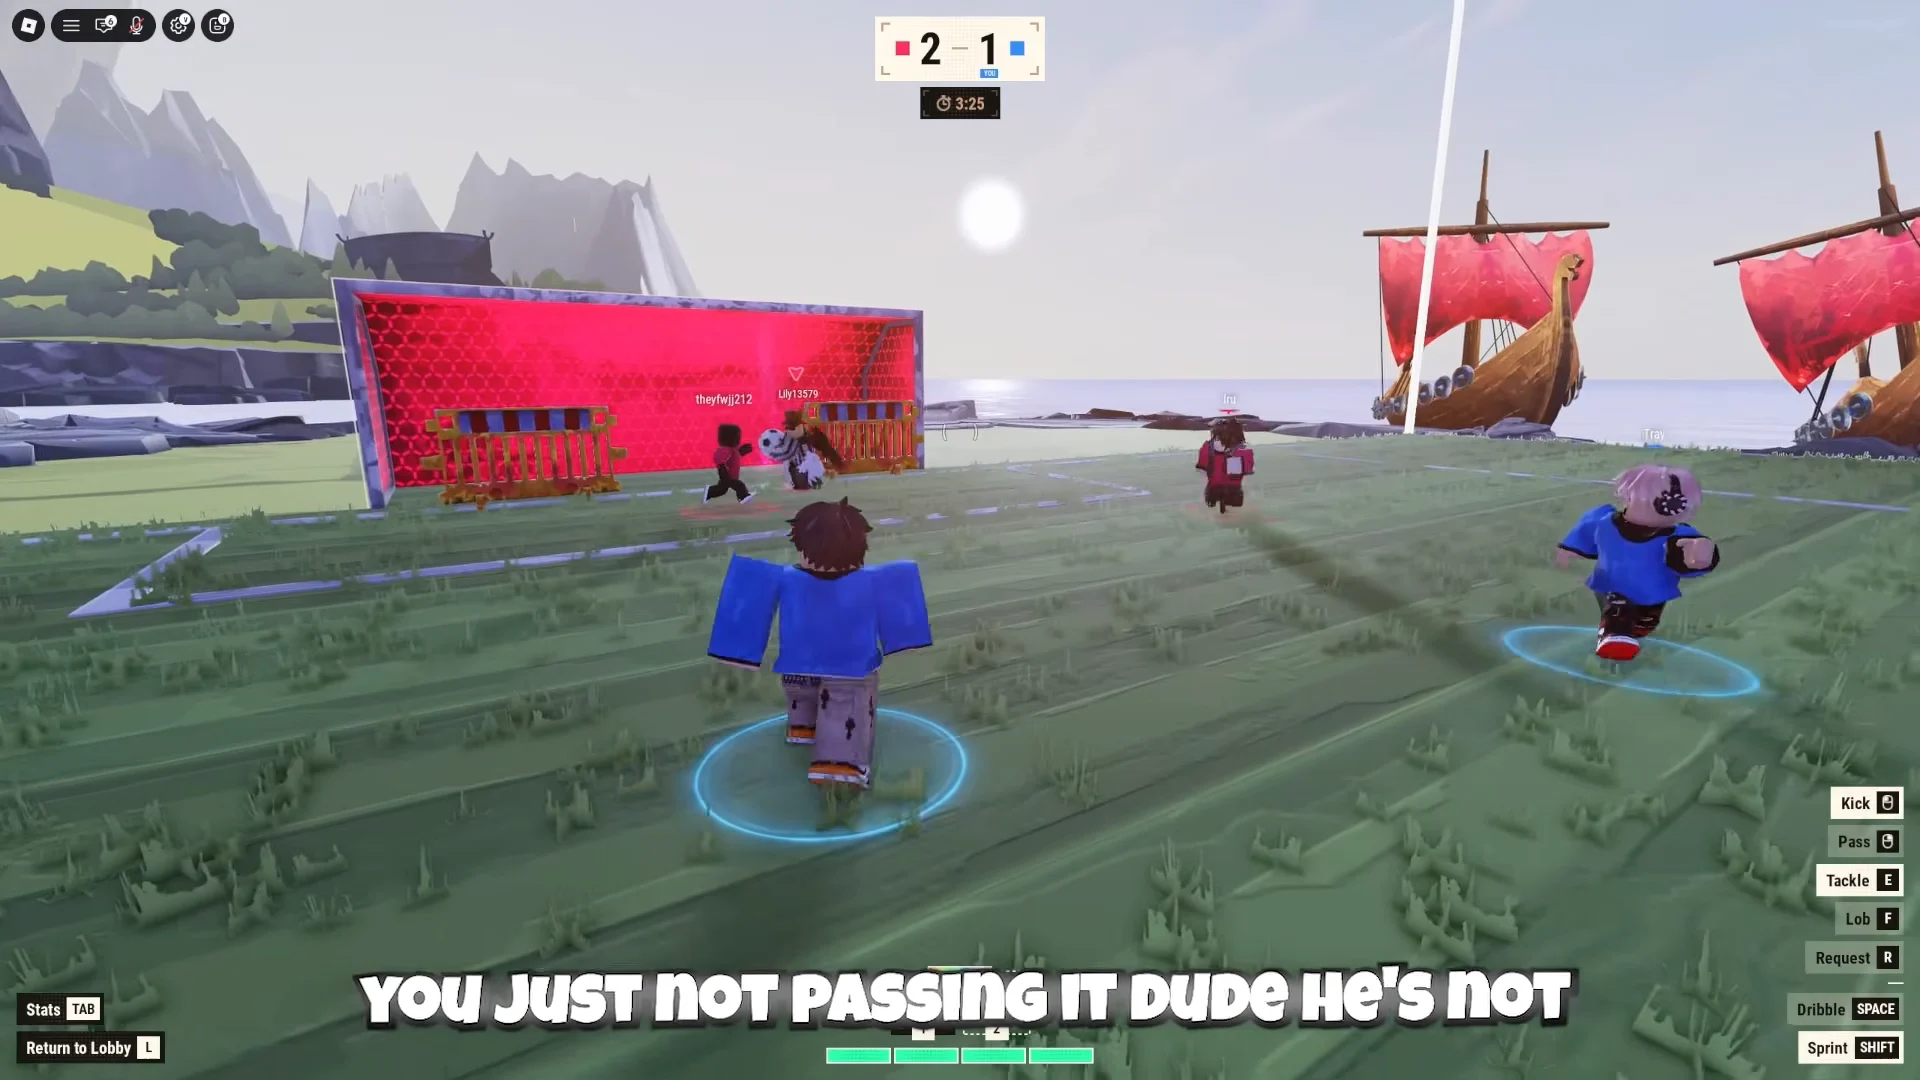
Question mark blocks spawn on the pitch during a match, and the Daily Shop rotates through a long list including Barricades, Oil Spill, Landmines, Rocket Punch, Bazooka, Freeze Gun and Jetpack. Most of that is defensive clutter or area denial. Only a handful of items do anything for a player who wants to carry the ball.
| Item | Why it helps a dribbler |
|---|---|
| Energy Drink | Restores the bar every flick, kick and slide spends |
| Flintlock | Multi-hit shot that stuns a defender or the keeper |
| Forcefield | Absorbs a hit mid-carry |
| Grappling Hook | Closes the gap to a loose ball or an open lane |
| Magnet | Pulls the ball toward you in a scramble |
| Supercharge | Adds pace to a run or shot power |
| Shotgun | Close-range answer to a defender pressing you |
If you only carry three, take the Energy Drink and the Flintlock, then fill the last slot with the Forcefield, Grappling Hook or Magnet depending on whether you would rather survive contact, cover ground, or win loose balls. Stamina is the bottleneck on everything else here, which is why the drink goes in first.
How to confirm a tech actually worked
Look at the result rather than the animation. The mid-air catch worked if the tackler passes beneath you and you retain the ball. The flick-jump-slide worked if it leaves you farther up the pitch than a normal sprint. The wall volley shot worked if the ball goes over a goalkeeper positioned low.
When one of them keeps failing, the cause is nearly always fuel rather than timing. Either a full-cost dribble or slide emptied the bar just before the attempt, or jump spam bled it away while you were carrying.
Remember this above all: no technique here is better than an uncomplicated pass. Attacks break down when you chain moves just to keep possession, whereas a quarter-bar pass to an open teammate succeeds more often than a half-bar shot at a set keeper. Master the flicks for escaping pressure, then intentionally release the ball.